
Gen V Supercharger Swap


Thread Starter
Junior Member
Joined: Jun 2002
Posts: 0
Likes: 0

its just a little plastic plug that you need to pop out with a knife
The end of this Gen V is not the same as my Gen III. Sure I used a plastic plug to replace the threaded bronze filter.
I tried prying around this "metal" convex button and there is no lip to grab.

DINOSAURUS BOOSTUS


Expert Gearhead
Joined: Mar 2005
Posts: 41,391
Likes: 30
From: Enfield, CT

Originally Posted by harofreak00
my bad..  i dont have experience on this gen5 ***^

Thread Starter
Junior Member
Joined: Jun 2002
Posts: 0
Likes: 0
Thank you Rogue for the reply and explaination.
Little tricks like that are priceless information that could help save an injury to person or blower.
Tonight I made up two aluminum cover plates for the Gen V EGR and Evap delete.
I have another interesting question when it comes to port matching.
The intake manifold ports are way smaller than the thick gasket openings.
If the head ports are matched identically to the intake ports even if they are slightly larger, won't there be turbulence caused by the anular space (thickness of the gasket) all around the port by the larger gasket opening :?:
I bought some dremel polishing tools and flappers 80 and 120 grit.

Junior Member
Posts like a Ricer Type-R
Joined: Aug 2002
Posts: 11
Likes: 13
Paul, if you match the LIM outlet ports to the head ports, and lightly chamfer or blend each opening to match the size of the gasket aperture, any turbulence that would be possible would be greatly diminished.
As far as the turbulence is concerned without blending the exit/entrance (LIM/Head), the benefits of the XY dimensions being matched may greatly outweigh any decrease in performance caused by the turbulence.
Edit:
The natural turbulence that already exists is where the boost charge expands in the opening (gap) provided by the LIM gasket, then has to hit a perimeter wall around the head port. Increasing the size of the LIM outlets to match the head ports won't make this worse.
The LIM outlets on the S1 L67 and S2 L36 taper (neck down) RANDOMLY due to casting differences in the last 1/4 inch before the charge is released. This isn't by design, it'* by process.
Thread Starter
Junior Member
Joined: Jun 2002
Posts: 0
Likes: 0
So, then Bill are you saying that you don't blend in any farther than the depth of the dremel tool :?:
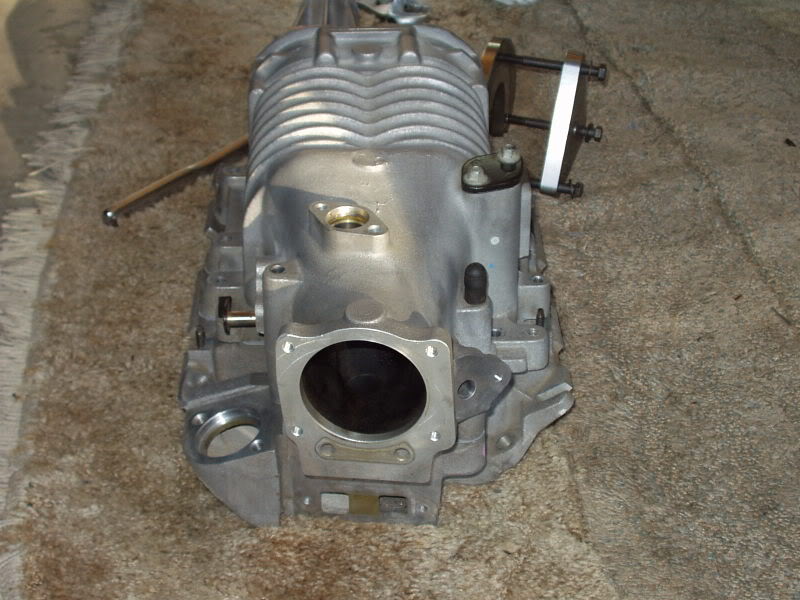
Here are some pics I took over the weekend while in Vancouver and tonight of the Gen V with the block off plates.
Boosty - there'* a good shot of the intake end. Looks so much like the Gen III. :?


Here are some pics I took over the weekend while in Vancouver and tonight of the Gen V with the block off plates.
Boosty - there'* a good shot of the intake end. Looks so much like the Gen III. :?
Junior Member
Posts like a Ricer Type-R
Joined: Aug 2002
Posts: 11
Likes: 13
Paul, on every L67 S1 LIM I have here, and on the L36 I had here when we did Eric'* top end, the taper is only in the last 1/4". I've never had to work more depth than that on any LIM. The runners are the right size and shape to match the heads if you go up in there 1/4". Get a telescoping gauge and see what I mean.
Thread Starter
Junior Member
Joined: Jun 2002
Posts: 0
Likes: 0
Second modification you must make is the PCV system extension. If you look at the Gen V, and locate the EVAP sensor, look to the right, and you'll see a small nipple. This is part of your PCV system, this MUST be utilized, or you WILL have a vaccuum leak!! Below are your choices:
You can run a tube from this nipple, to the air intake, this inlet must be located behind the MAF sensor, but before your throttle butterfly. In the LS1/Northstar setups, this is easily done by threading a tube into the air intake between the MAF sensor and the throttle body. On the L67 throttle body, its alittle more involved. There is a brass plug on the bottom of the l67 tb, drill out the plug then tap it.
You can cap this nipple off, and run a breather on the front valve cover. (***NOTE*** This allows unmetered air to enter the PCV system, and may cause problems down the road)
For now I plan on simply plugging the port on the Gen V. What problems down the road will this cause :?:
What did Rogue do :?:
Thread Starter
Junior Member
Joined: Jun 2002
Posts: 0
Likes: 0
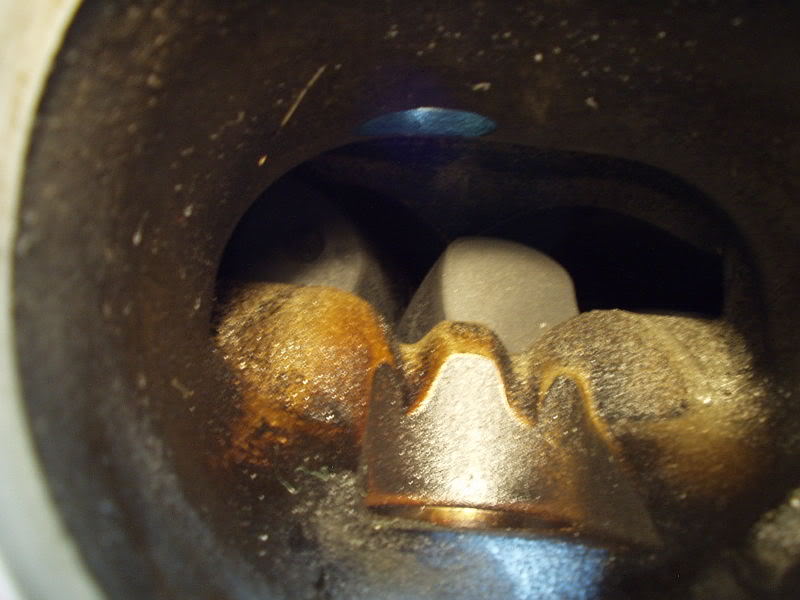
Thanks to Rogue'* advice on the plastic plug.......it sure felt like steel.
the old 3.8" pulley has been extracted and shelved with its twin from my Gen III.

Can you see what happened :?:
A closer look....

The pulley was soo corroded that I destroyed the puller washer the first try.
The next day I replaced the washer with its spare and it popped right off.
These puller washers will only last for two pulls

Hey Bill :P Here'* my hole for you to ream...
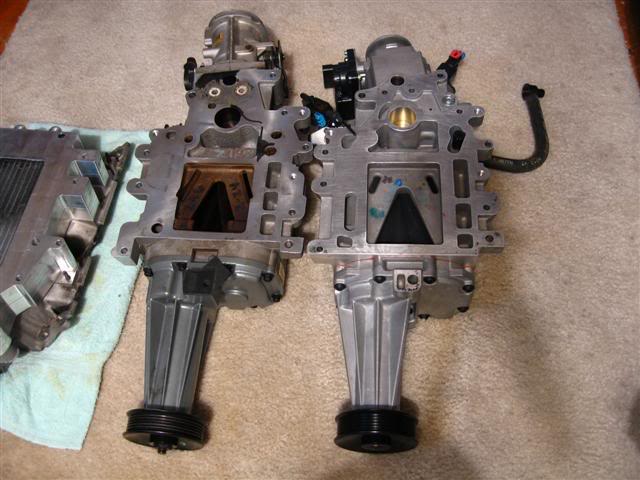
Compo shots
Gen III

Gen V


the old 3.8" pulley has been extracted and shelved with its twin from my Gen III.
Can you see what happened :?:
A closer look....
The pulley was soo corroded that I destroyed the puller washer the first try.
The next day I replaced the washer with its spare and it popped right off.
These puller washers will only last for two pulls
Hey Bill :P Here'* my hole for you to ream...
Compo shots
Gen III
Gen V