
Zilla's rebuild (exhaust mod revealed, gauges going in.....)


Senior Member
True Car Nut
Joined: Sep 2006
Posts: 3,277
Likes: 0
From: Somewhere south of Ottawa with your girlfriend driving faster then you.

Originally Posted by willwren
Read this:
http://www.bonnevilleclub.com/forum/...ic.php?t=74148

Update on the coating is 'not yet deemed appropriate for long-term durability'. We'll see. I'm testing it on the SC, and one other member is testing it over bare aluminum on a Throttle Body.
If it holds up for a month or so of heat/cool cycles on the Zilla, and maybe a couple engine cleanings, I'll dish out the info on it. Alot more of this has to do with HOW it'* applied, not just WHAT it is.
http://www.bonnevilleclub.com/forum/...ic.php?t=74148
Update on the coating is 'not yet deemed appropriate for long-term durability'. We'll see. I'm testing it on the SC, and one other member is testing it over bare aluminum on a Throttle Body.
If it holds up for a month or so of heat/cool cycles on the Zilla, and maybe a couple engine cleanings, I'll dish out the info on it. Alot more of this has to do with HOW it'* applied, not just WHAT it is.

Thread Starter
Junior Member
Posts like a Ricer Type-R
Joined: Aug 2002
Posts: 11
Likes: 13
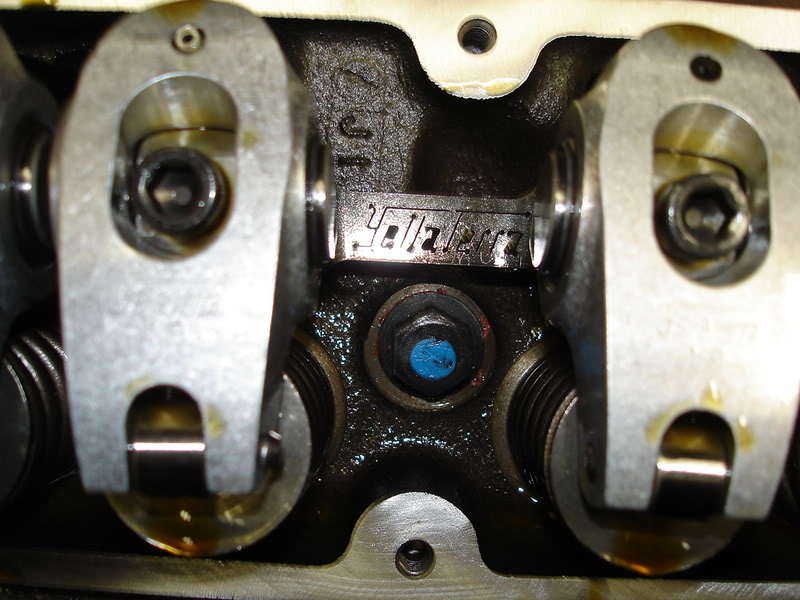
BEST PRACTICE procedure here.
After personally experiencing a misaligned rocker arm on a S2, and seeing another do exactly the same thing a couple months later on the forum, I have a suggestion for rocker arm installs on both the front and especially REAR bank:
Before initial tightening of the bolt, offset the rocker arm SLIGHTLY OPPOSITE the tightening rotation of the bolt. Some of us call that counter-clockwise. The target for misaligning (yes, deliberately) the rocker is HALF OFF the head of the valve stem. Why?
As you do the initial hand-tightening, the natural rotational movement of tightening AND the cupped profile of the pedestal will VISIBLY correct the alignment of the rocker arm.
This is important to prevent startup damage that has happened before.
Having experienced it personally on Chadow427'* cueball, and reading about another here, I started out tonight on the rear bank thinking about a way to SEE the alignment happening. I also strongly suggest using a flashlight and mirror to visibly verify alignment of the rocker tip to the valve before torquing.
This should prevent rocker and pedestal damage on rocker installs. Particularly the 2000 and newer that are VERY cramped on the rear bank, and those that run aluminum pedestals.

Senior Member
Certified Car Nut
Joined: Oct 2003
Posts: 19,756
Likes: 1
Originally Posted by willwren
Add to that:
Torque to 5 pounds LESS than target. Then crank the engine through a couple full rotations of the balance shaft, and torque rockers to final target.
Torque to 5 pounds LESS than target. Then crank the engine through a couple full rotations of the balance shaft, and torque rockers to final target.
Thread Starter
Junior Member
Posts like a Ricer Type-R
Joined: Aug 2002
Posts: 11
Likes: 13
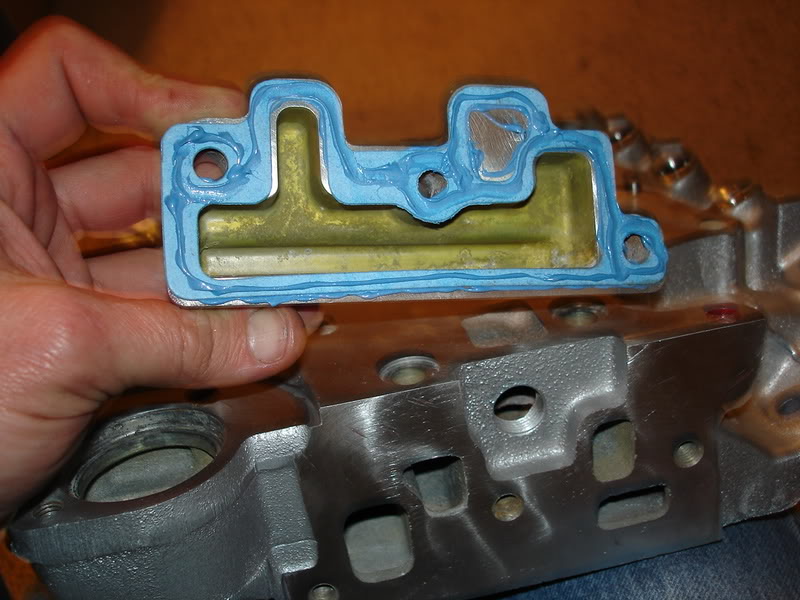
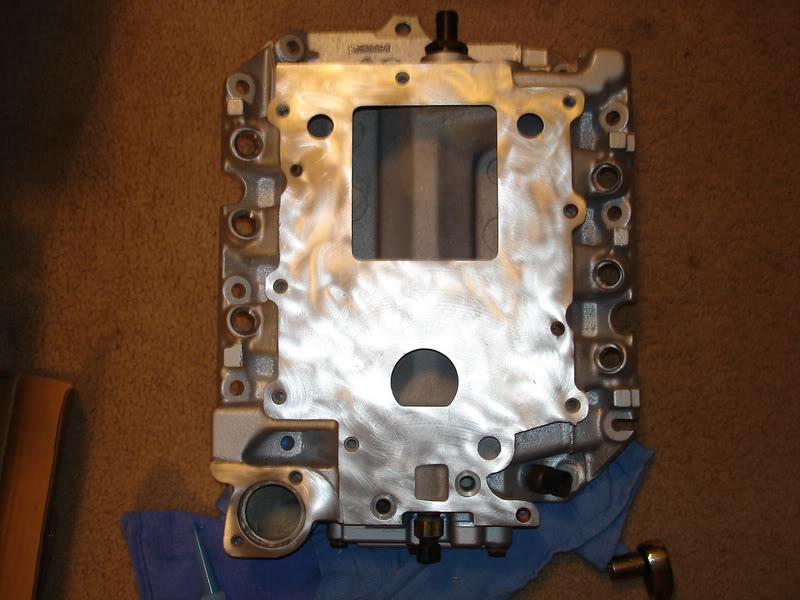
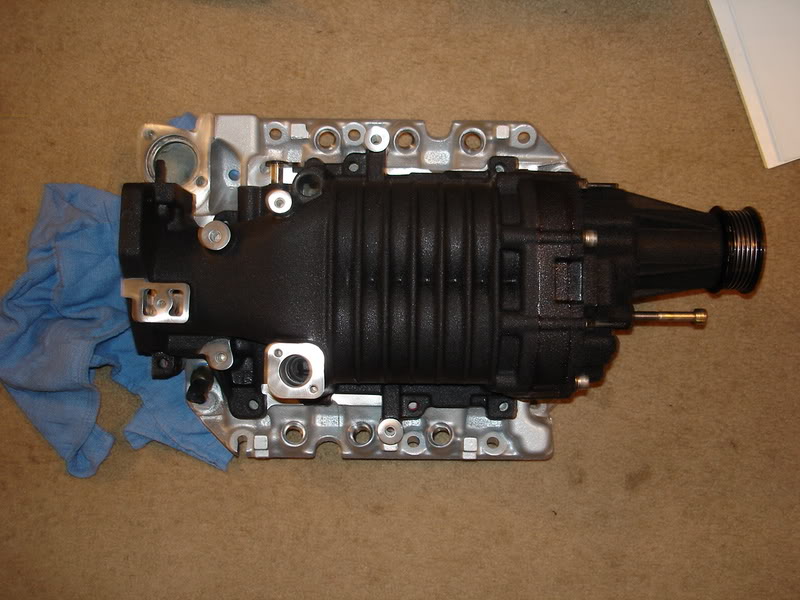
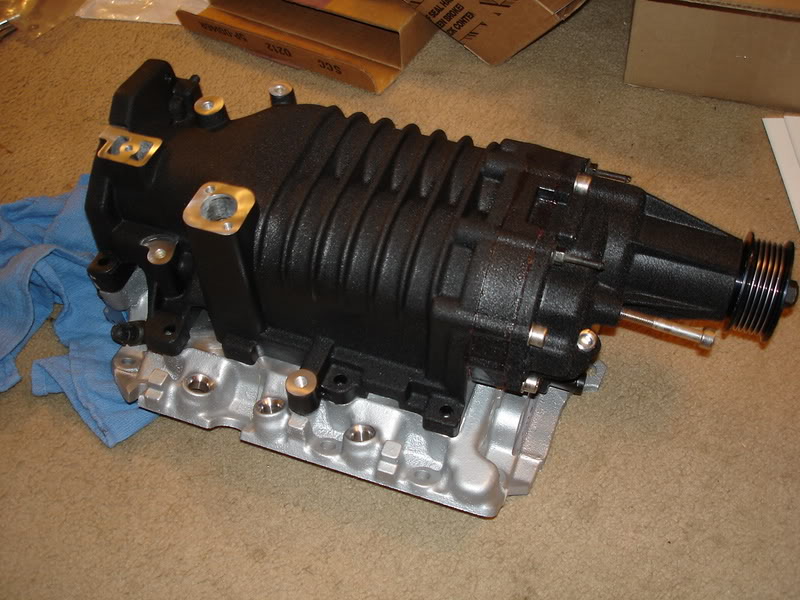
Further progress. LIM and SC are ready for install, rear bank valvetrain is together again.

Yup, that'* right. I tested both my coolant sensors (tested six in all, and selected the closest match):
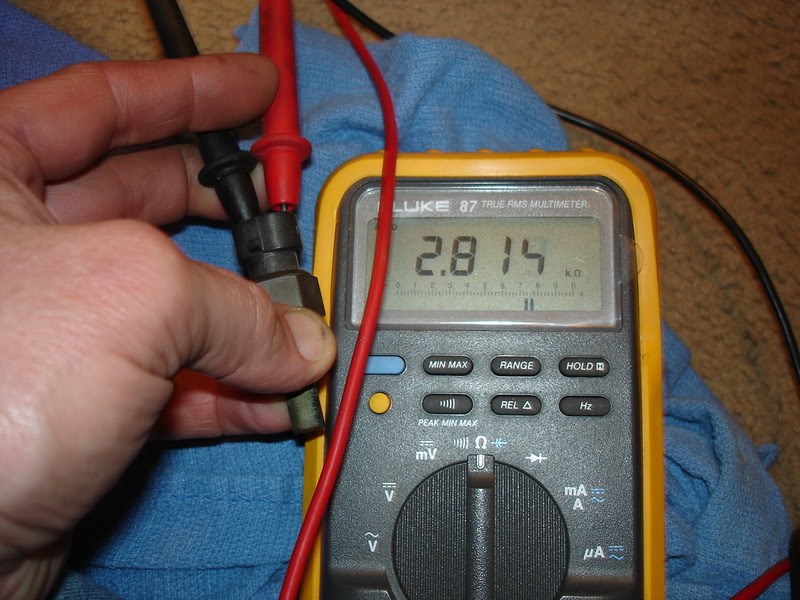
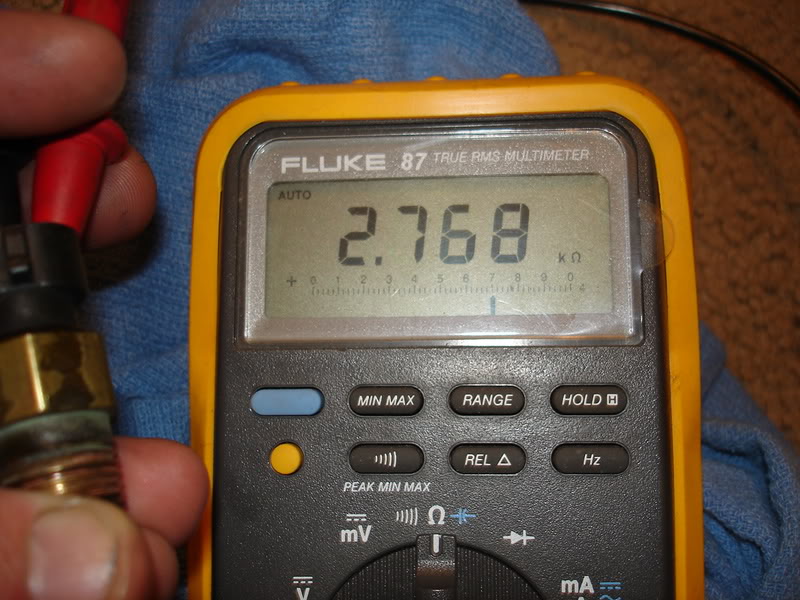
Yup, that'* right. I tested both my coolant sensors (tested six in all, and selected the closest match):
Thread Starter
Junior Member
Posts like a Ricer Type-R
Joined: Aug 2002
Posts: 11
Likes: 13
You should see it with the new stainless steel fasteners holding that sexy monster to the sexy LIIM.
Yes, Matt. That'* the one you sent me.
Tomorrow night? Both valve covers go on. LIM and SC go on. That will leave a few harness connections, plugs, wires, and vacuum re-routing for the changes under the hood.
Still have a couple new sensors to install, plugs to install (a little more involved than normal) and other minor issues including new aftermarket plug wire retainers (again), new plug wires, and who knows what else. FWI to finish up as well.
Methinks the battery should hit the charger tomorrow night. Shooting for turning the key on Thursday now.

Senior Member
True Car Nut
Joined: May 2003
Posts: 8,135
Likes: 1
From: Lethbridge, Alberta, _______Canada._______ West Coast Bonneville Fest ___05,06,07 Survivor___
I can't wait to hear of that car running again!
I am excited to watch as a Series 1 L67 starts to break new barriers.
I am excited to watch as a Series 1 L67 starts to break new barriers.