
Turn signal mirror

Thread Starter
Senior Member
True Car Nut
Joined: Mar 2009
Posts: 2,894
Likes: 0
From: Fort crack homie

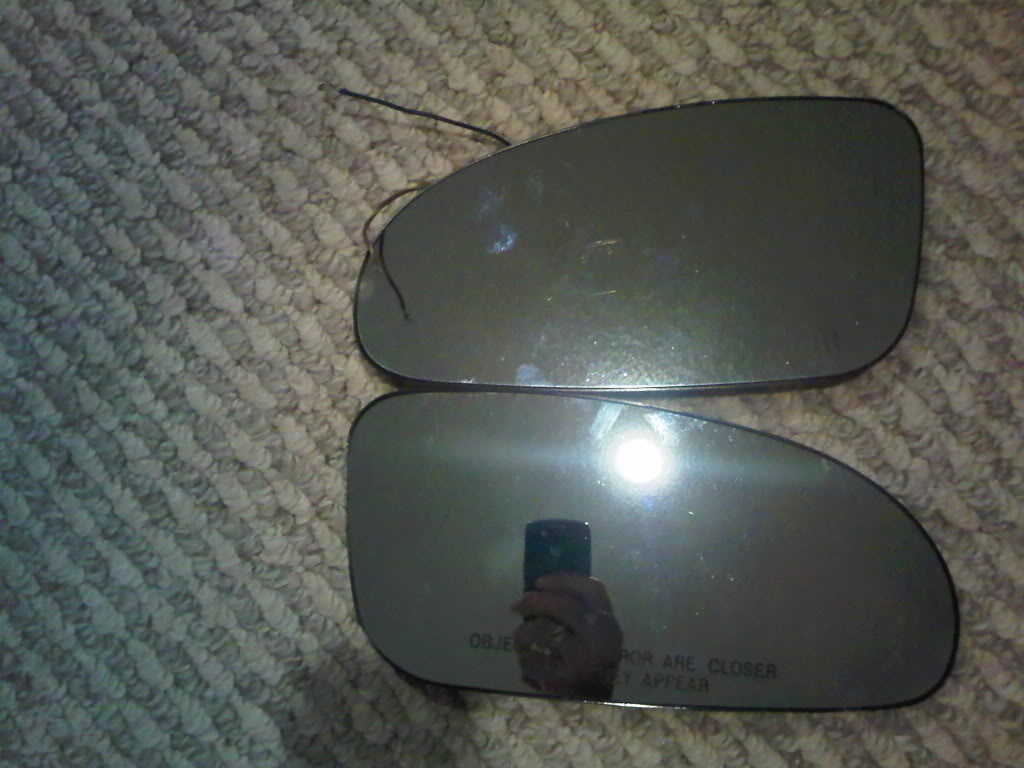
im doing my turn signal mirror LED install
i dont think theres a point of doing a write up.. theres atleast a total of 3 between here and P*B*C..
reason im posting this was i didnt quite follow the way everyone did it...
its been done as:
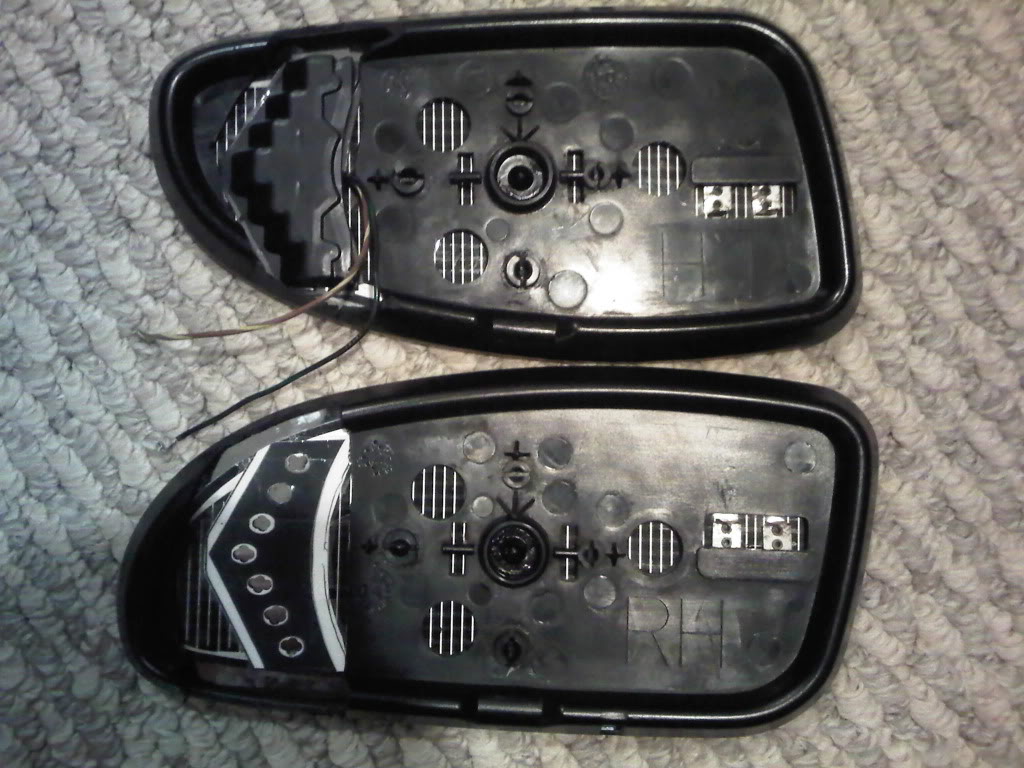
cut thru the heating element and the threw the LEDs on top (they also etched the glass)
and other one was pealing off the heating element and throwing the whole LED assembly under it, then the heating element went on top.
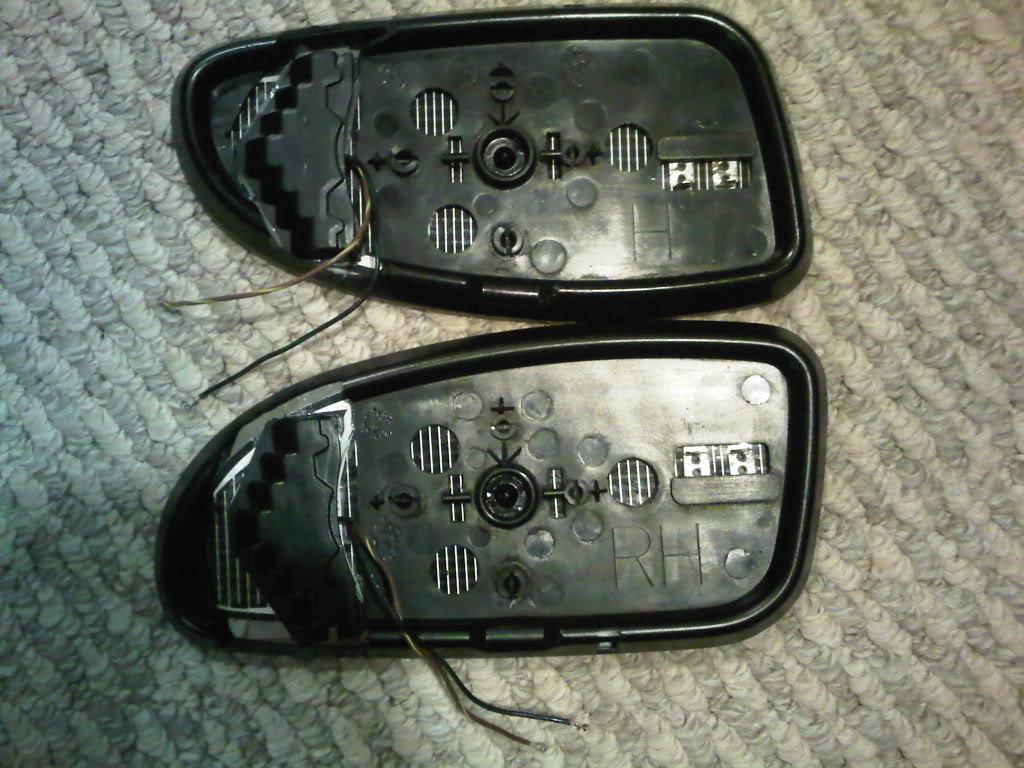
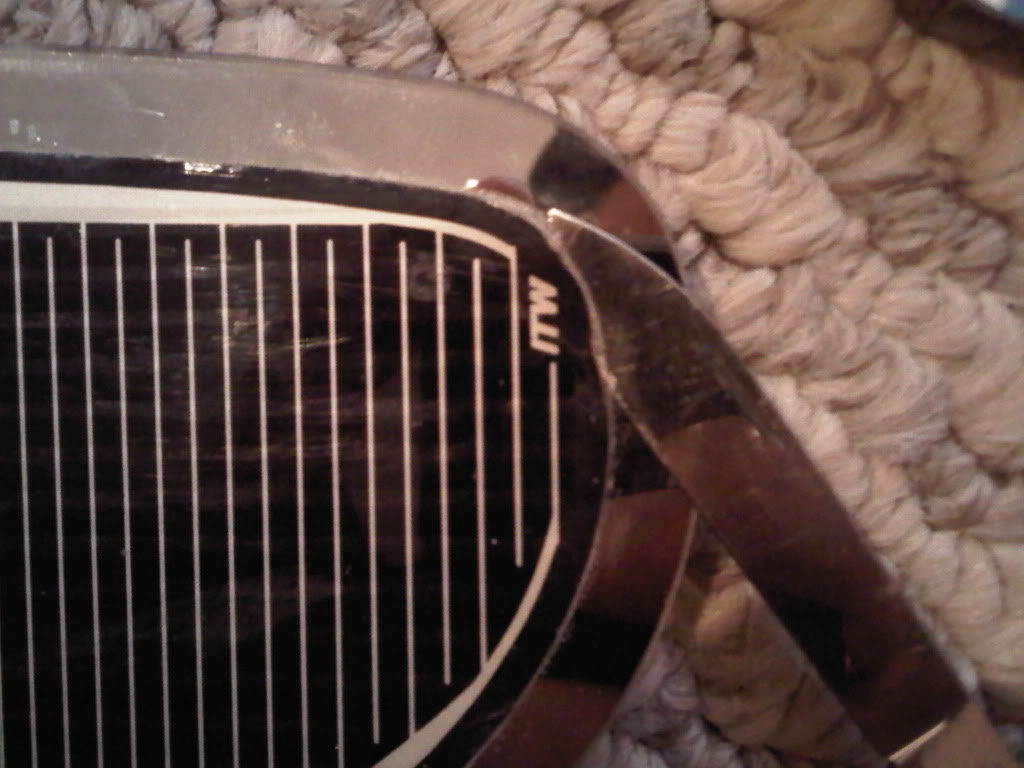
my way was i used a hole puncher to make round holes in the heating element itself and then stick it right on the back of it.. i thought this would be easier than both ways before.. and this would keep my heated mirrors working like before, because the small amount you cut out wont make any difference
im not quite done yet.. but getting there..
and wiring is a whole different story


nothin is completely done yet... im just doing some testings and making sure the LEDs are sitting straight and praying that my heated mirrors are stil working :P jk i dont see why wont they..
but ill keep you updated
i dont think theres a point of doing a write up.. theres atleast a total of 3 between here and P*B*C..
reason im posting this was i didnt quite follow the way everyone did it...
its been done as:
cut thru the heating element and the threw the LEDs on top (they also etched the glass)
and other one was pealing off the heating element and throwing the whole LED assembly under it, then the heating element went on top.
my way was i used a hole puncher to make round holes in the heating element itself and then stick it right on the back of it.. i thought this would be easier than both ways before.. and this would keep my heated mirrors working like before, because the small amount you cut out wont make any difference
im not quite done yet.. but getting there..
and wiring is a whole different story
nothin is completely done yet... im just doing some testings and making sure the LEDs are sitting straight and praying that my heated mirrors are stil working :P jk i dont see why wont they..
but ill keep you updated
Last edited by SAMzGXP; Jan 21, 2010 at 02:57 AM.
DINOSAURUS BOOSTUS


Expert Gearhead
Joined: Mar 2005
Posts: 41,391
Likes: 30
From: Enfield, CT

Did a little more research here. How did you peel back the heater? The W body ones are pretty darn stuck.
Edit: Got it with a razor, I'll need to find something thin and black to recoat or figure out how to punch them through the heater clean without pulling it off. It'* possible for me though.

Edit: Got it with a razor, I'll need to find something thin and black to recoat or figure out how to punch them through the heater clean without pulling it off. It'* possible for me though.

Thread Starter
Senior Member
True Car Nut
Joined: Mar 2009
Posts: 2,894
Likes: 0
From: Fort crack homie
thanks Todd.. glad you like it
yes punching holes is alot easier and cleaner.. i this way all you see is PERFECTLY round circles with no blurryness around them..
second mirror is done.. just gotta put it back together and run the wires.. this could take me some time, just kinda busy with life and work...
to take the mirror off the car, turn the driver side one all the way to the left and the passenger side all the way to the right, then closer to the window on both sides, tuck your fingers all the way inside till you feel the middle of the mirror.. from there pull out evenly, dont apply crazy force.. its just a snap in, and make SURE not to apply the force to the corners only make sure you reached the center.. honestly.. my biggest worry was how to remove the mirrors.. and it turned out to be the easiest thing ever.. just have common sense and remember you have glasss in your hands not plastic
and to answer your question, no i didnt do any etching or anything.. my mirror still look 101% stock on the outside.. you cant even tell...

mine was very easy.. i peeled the corner just a bit with a knife and from there i easily pulled it with my hand.. it was like having masking tape on a car.. very easy :* but if its giving you hard time throw it in the oven... that should do it
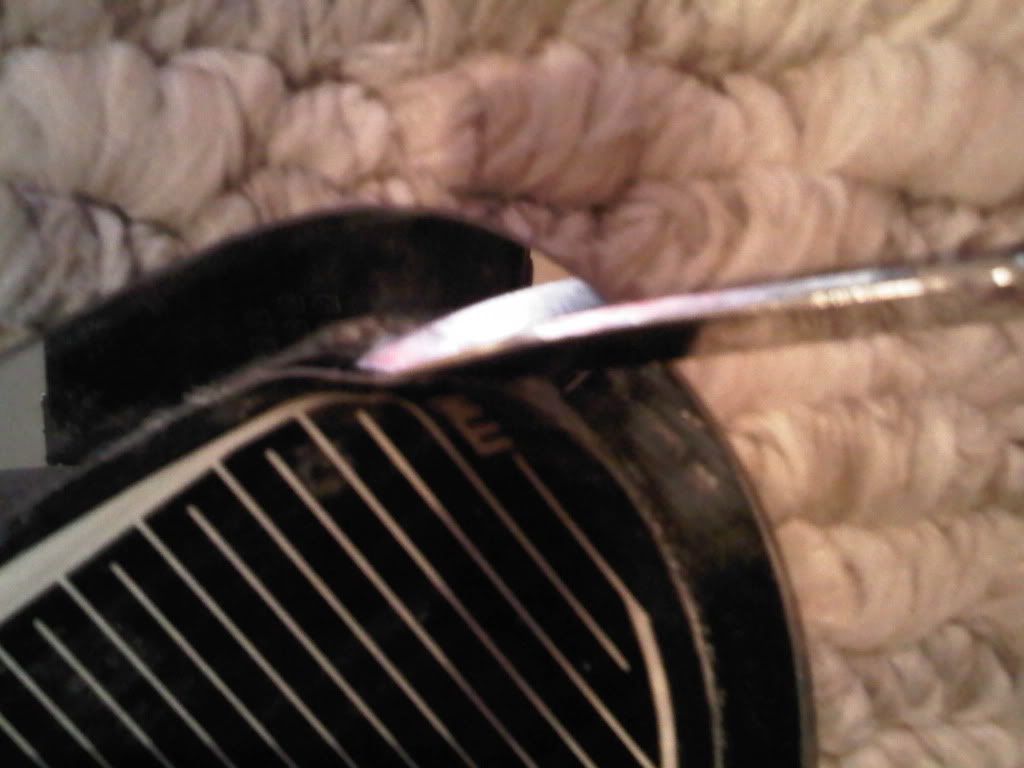
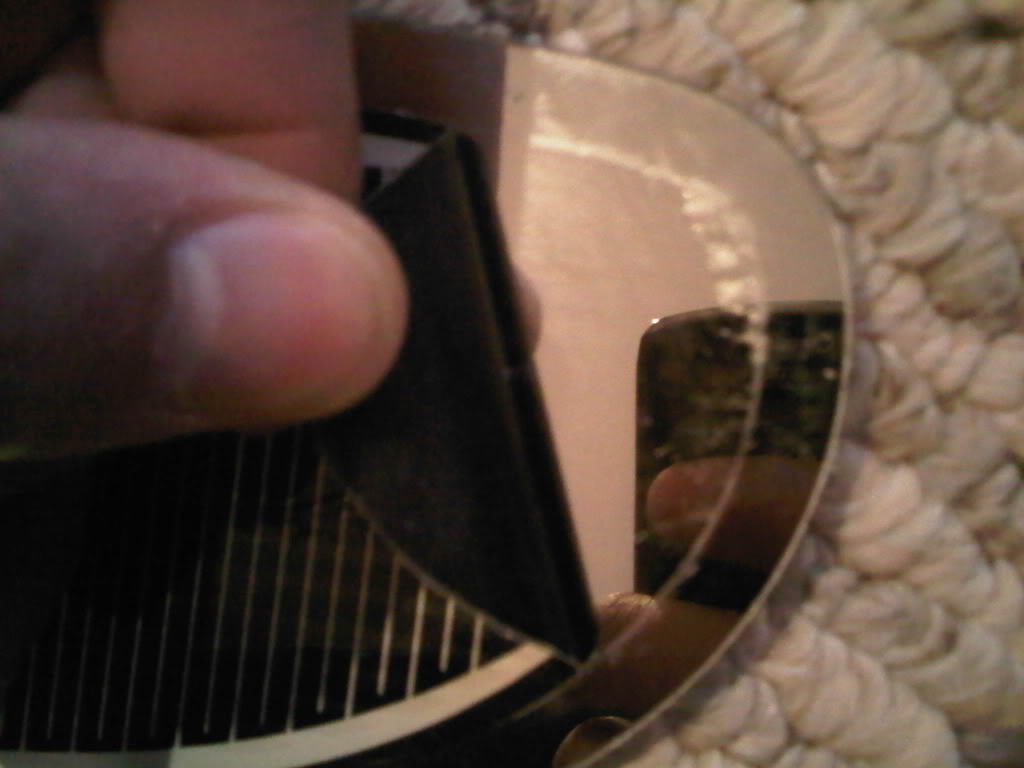
if you remove it try to keep your finger prints away from it.. it wont stick as good if you have them all over.. i gotta admit my prints were all over and i didnt have a problem.. but for an older car could be different
second mirror is done.. just gotta put it back together and run the wires.. this could take me some time, just kinda busy with life and work...
and to answer your question, no i didnt do any etching or anything.. my mirror still look 101% stock on the outside.. you cant even tell...
Did a little more research here. How did you peel back the heater? The W body ones are pretty darn stuck.
Edit: Got it with a razor, I'll need to find something thin and black to recoat or figure out how to punch them through the heater clean without pulling it off. It'* possible for me though.
Edit: Got it with a razor, I'll need to find something thin and black to recoat or figure out how to punch them through the heater clean without pulling it off. It'* possible for me though.
mine was very easy.. i peeled the corner just a bit with a knife and from there i easily pulled it with my hand.. it was like having masking tape on a car.. very easy :* but if its giving you hard time throw it in the oven... that should do it
if you remove it try to keep your finger prints away from it.. it wont stick as good if you have them all over.. i gotta admit my prints were all over and i didnt have a problem.. but for an older car could be different
Last edited by SAMzGXP; Jan 21, 2010 at 03:05 AM.
Thread Starter
Senior Member
True Car Nut
Joined: Mar 2009
Posts: 2,894
Likes: 0
From: Fort crack homie
and before i forget i would like to thank "gtpsuprchrgd03", "harofreak00" & "ddalder" for all their help and information
and for anyone that would like to do this mod, "gtpsuprchrgd03" would be more than happy to sell you an amazing set for just 20 bucks shipped..

more pics to come soon

