
SSExi is getting a heart transplant

Thread Starter
Retired Senior Admin


Expert Gearhead
Joined: May 2006
Posts: 29,661
Likes: 43
From: Sheboygan Wisconsin


Just mounted the engine in the car. Still need to hook it all up, ran out of time for now. Need to go pick up some new autolite 103 plugs and I'm going to grab a 160* thermostat. Just need to do a bracket, plug in all the electrical, and the fuel. Then it should be just about good to go. Oh ya, and the headers and throttle body. Hmm, and starter, battery, coolant, washer bottle, EVAP canister, PCM. Dang, I have a ways to go yet. Oh well, I'm happy. Pictures will be posted later on when I have time.

Member
Posts like a V-Tak
Joined: Feb 2007
Posts: 95
Likes: 0
From: Ontario, Canada
Awesome project. Wish I had a garage to build a sweet new engine for my ride. I hope you'll do a write up on the oil pressure mod. It is a reliabilty mod, I would guess. A little higher oil pressure keeps things lubed up better? what about gaskets? like is it hard on gaskets and seals?
 Mix of 103'* and 104'*.
Thread Starter
Retired Senior Admin
Expert Gearhead
Joined: May 2006
Posts: 29,661
Likes: 43
From: Sheboygan Wisconsin
I wanted some of those last year, and totally forgot. I'm sure I'll take a dozen.
I did a write up of sorts on it, but never put it in tech info. Perhaps I'll do that when I have time. No real need for it on a stock or nearly stock engine. But when heavily modded, it'* a good idea.
Pictures are uploading now.
I did a write up of sorts on it, but never put it in tech info. Perhaps I'll do that when I have time. No real need for it on a stock or nearly stock engine. But when heavily modded, it'* a good idea.
Pictures are uploading now.
Thread Starter
Retired Senior Admin
Expert Gearhead
Joined: May 2006
Posts: 29,661
Likes: 43
From: Sheboygan Wisconsin
Was hopping to finish up today, but nope, close.
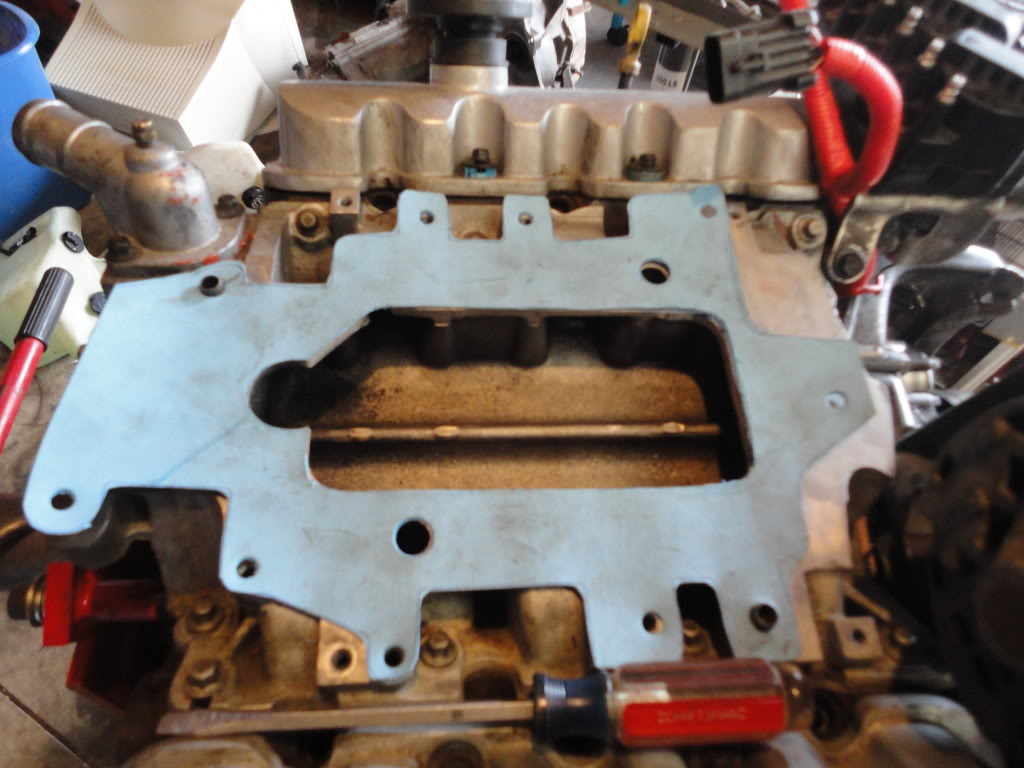
Started out with making the gaskets.
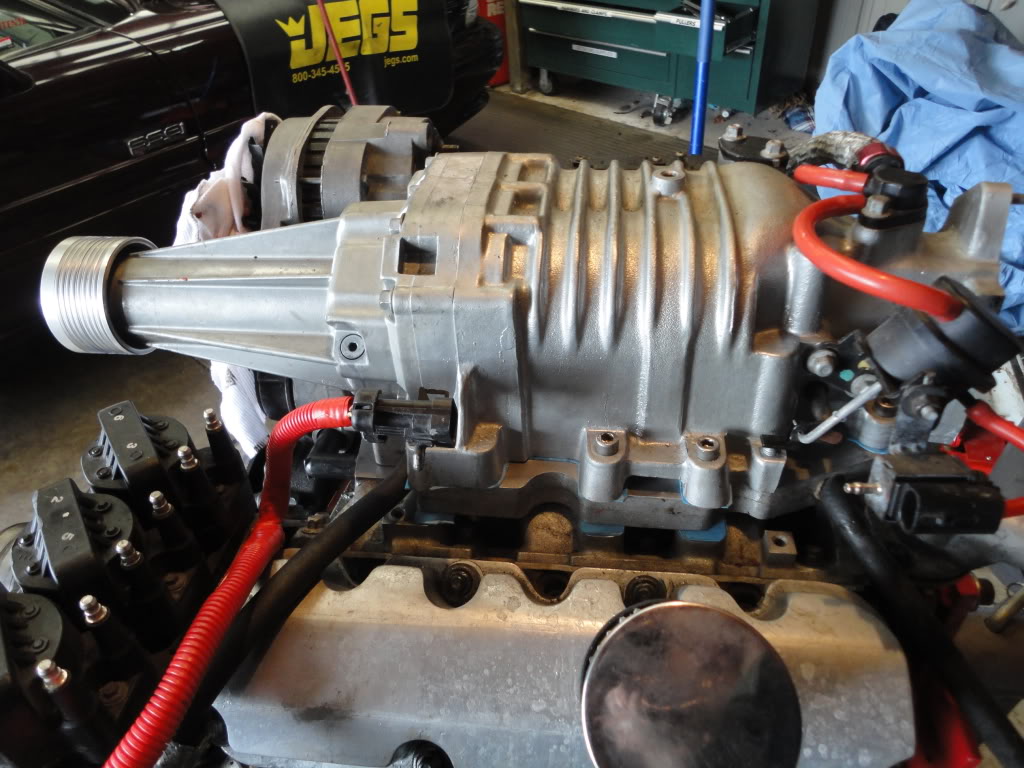
Then mounted and torqued the supercharger.
So much waste making supercharger gaskets, but it'* still cheaper.

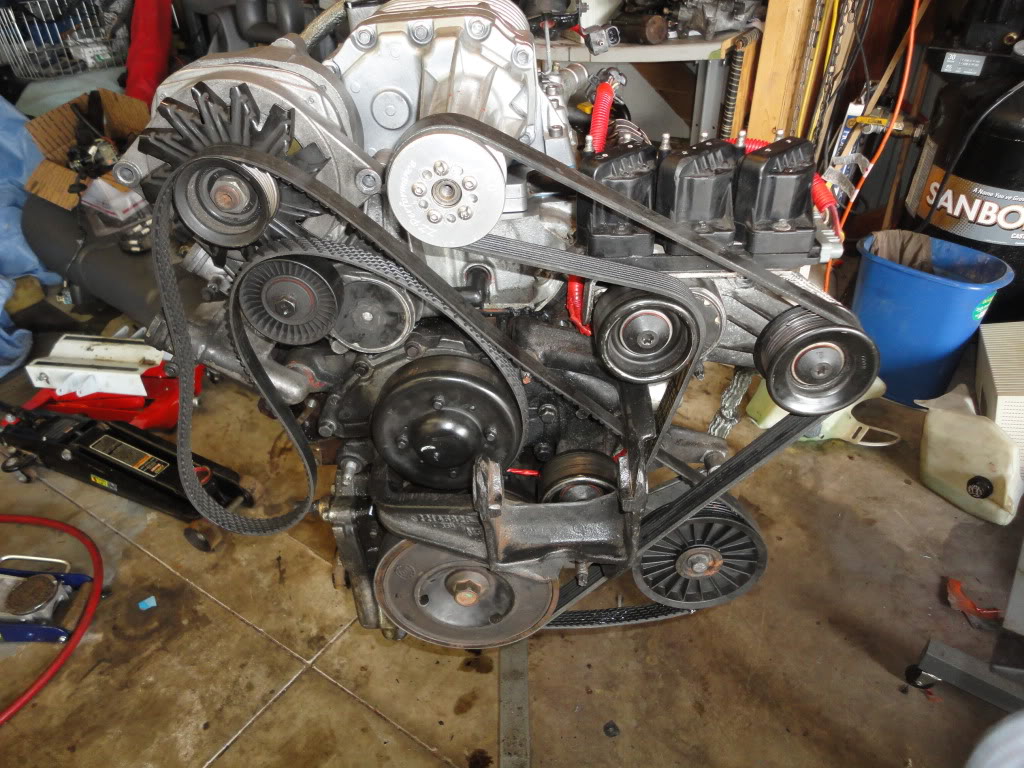
Got the belts on and then the front motor mount.
Valve covers.

Then injectors and fuel rail.
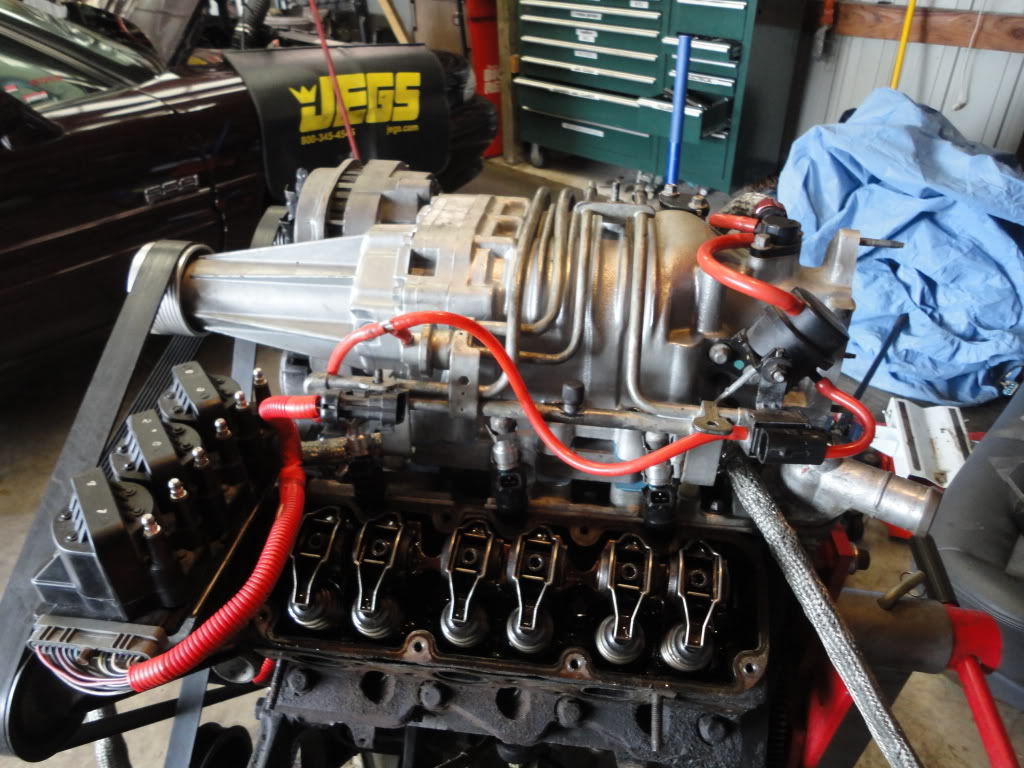
Now it'* time to come off the stand.

Here we go.

All lined up.

Open wide and say ahhhh.

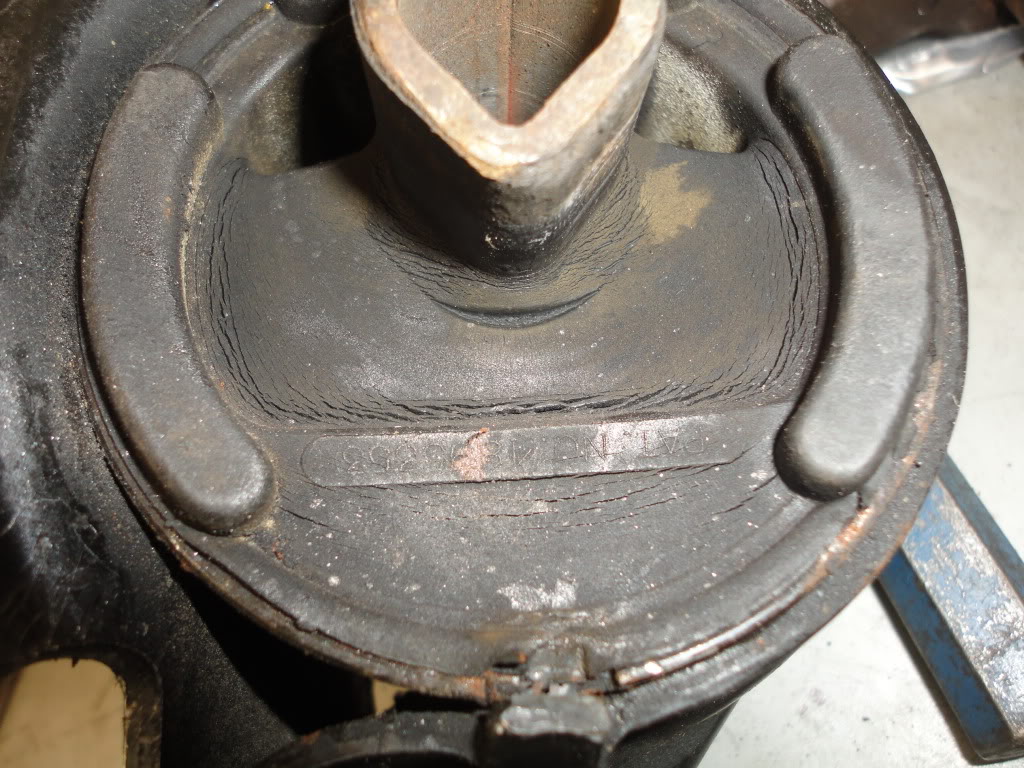
Ack, forgot about this. Not really wanting to reuse this mount.
It fought, but I was victorious.

Don't need this anymore.
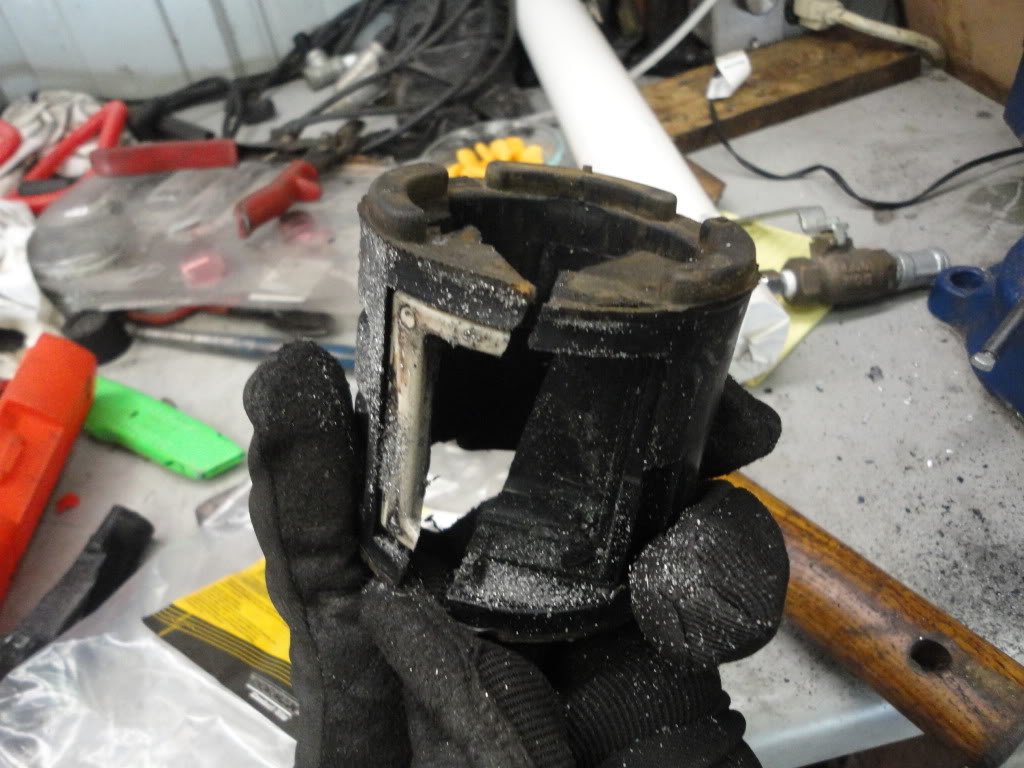
The new mount.

All pounded in.

Lowering it in.
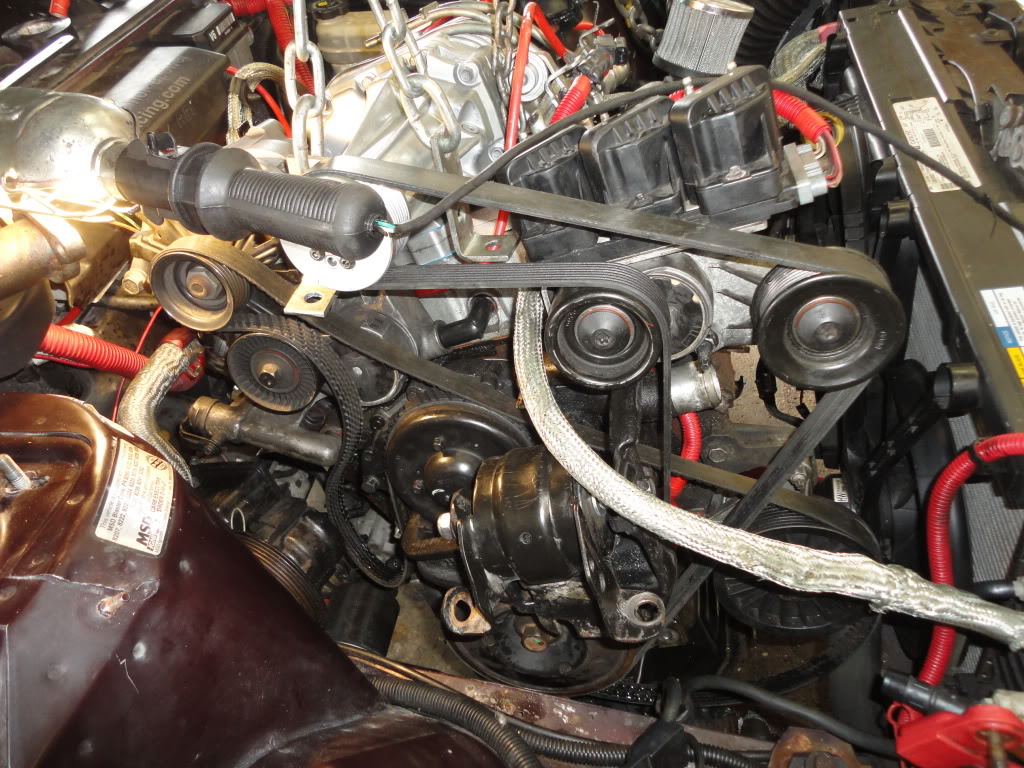
Getting the wiring harness hooked up.

Almost looks like it'* ready to go.

Started out with making the gaskets.
Then mounted and torqued the supercharger.
So much waste making supercharger gaskets, but it'* still cheaper.
Got the belts on and then the front motor mount.
Valve covers.
Then injectors and fuel rail.
Now it'* time to come off the stand.
Here we go.
All lined up.
Open wide and say ahhhh.
Ack, forgot about this. Not really wanting to reuse this mount.
It fought, but I was victorious.
Don't need this anymore.
The new mount.
All pounded in.
Lowering it in.
Getting the wiring harness hooked up.
Almost looks like it'* ready to go.
Thread Starter
Retired Senior Admin
Expert Gearhead
Joined: May 2006
Posts: 29,661
Likes: 43
From: Sheboygan Wisconsin
And fairly clean now too. Just not enough time in a day. So much to do today, not sure how much time I will have in the shop.
Got a few PITA things to do. Like connect the diff to engine mount, change the oil pressure sender, looks like 2000 is a different plug. Wish I had noticed that when the engine was outside the car. Mount the power steering pump, put the rear header back on. Hmm, plug in the knock sensors, put the starter back on, and connect the torque converter to the flex plate. Then fill the fluids connect the PCM and battery. And finally, start it.
Got a few PITA things to do. Like connect the diff to engine mount, change the oil pressure sender, looks like 2000 is a different plug. Wish I had noticed that when the engine was outside the car. Mount the power steering pump, put the rear header back on. Hmm, plug in the knock sensors, put the starter back on, and connect the torque converter to the flex plate. Then fill the fluids connect the PCM and battery. And finally, start it.
DINOSAURUS BOOSTUS
Expert Gearhead
Joined: Mar 2005
Posts: 41,391
Likes: 30
From: Enfield, CT
It'* a bit late for this helpful trick, I found it easier for me to leave the SC off, put a towel on the LIM and kneel on it while reconnecting the rear header. Although IIRC you pulled it completely out, I'd typically leave mine in because it was welded.
The 00+ sensor is different. (they fail more frequently..lol) Oh..did you leave the 00+ power steering spacer bracket on? I found that bracket super for helping to line up the ps pump in order to bolt it back up. It cradles the pump into the perfect position.
Soon you'll have it purring again and ... this is gonna be you
Thread Starter
Retired Senior Admin
Expert Gearhead
Joined: May 2006
Posts: 29,661
Likes: 43
From: Sheboygan Wisconsin
I took that bracket off. I may have to crawl under there and put it back I guess. Only other difference I found was the motor mount. I had to remove a plug to put a stud in it'* place. Glad I noticed that before putting in.
My wife keeps adding things to my list. Not even sure if I'm going to get much done today. My projects mean nothing.
My wife keeps adding things to my list. Not even sure if I'm going to get much done today. My projects mean nothing.