
Dissection of a FLoz supercharger


Junior Member
Posts like a Ricer Type-R
Joined: Aug 2002
Posts: 11
Likes: 13

Brad, leave the OEM coating on the SC and remove whatever FLOZ put on by whatever method necessary, up to and including bead blasting (with all orifices covered by tape).
The wrinkle can be applied directly to the OEM tan coating as long as you 'etch' the coating with CSC first.
If the FLOZ coating fights you, it'* not going anywhere. So in that case, etch with CSC and apply wrinkle.
The wrinkle can be applied directly to the OEM tan coating as long as you 'etch' the coating with CSC first.
If the FLOZ coating fights you, it'* not going anywhere. So in that case, etch with CSC and apply wrinkle.

Junior Member
Posts like a Ricer Type-R
Joined: Aug 2002
Posts: 11
Likes: 13
Reminds me of this:
http://www.williamwren.com/FLOZ.html
I need to update that page to reflect the new Ebay identities.
http://www.williamwren.com/FLOZ.html
I need to update that page to reflect the new Ebay identities.

Thread Starter
Senior Member
True Car Nut
Joined: Aug 2004
Posts: 3,067
Likes: 1
From: In your garage, swipin' da lug nutz
Got in later than I thought I would tonight, so I didn't get a chance to work on Boozes car. So I worked on my 'charger instead 
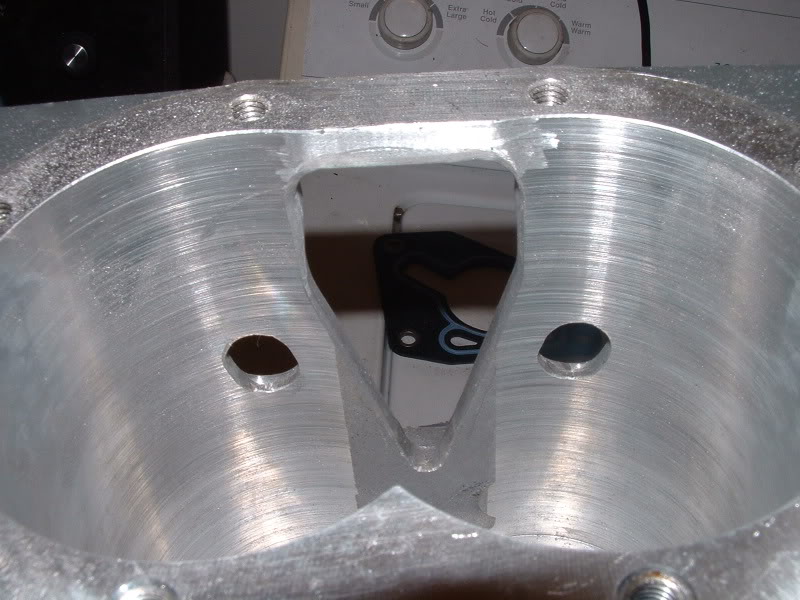
So I started cleaning up Floz'* mess at the outlet. Nothing but dremel drums.
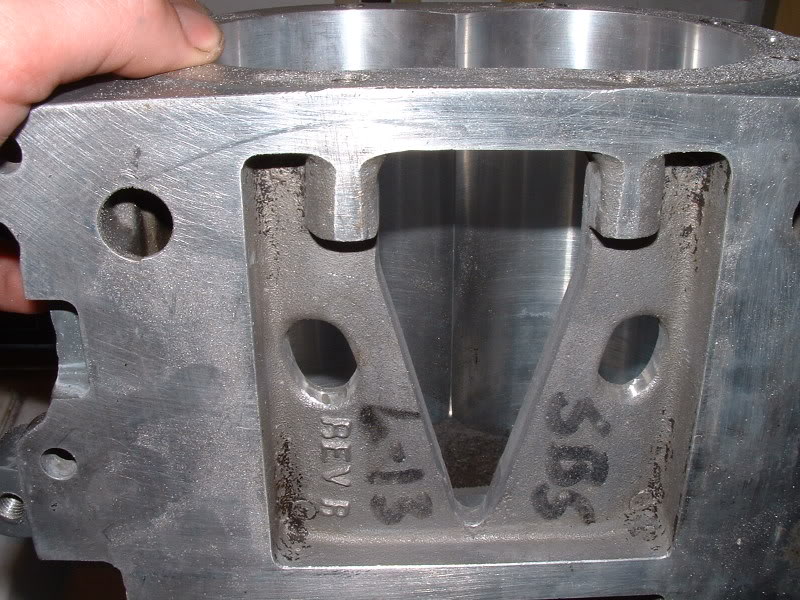
That'* all finished up. Now to start working on the throttle inlet. I gasket-matched it and ground down all the roughness for the most part. I gotta go get some fine drums to finish this part of it up.
So I started cleaning up Floz'* mess at the outlet. Nothing but dremel drums.
That'* all finished up. Now to start working on the throttle inlet. I gasket-matched it and ground down all the roughness for the most part. I gotta go get some fine drums to finish this part of it up.
Junior Member
Posts like a Ricer Type-R
Joined: Aug 2002
Posts: 11
Likes: 13
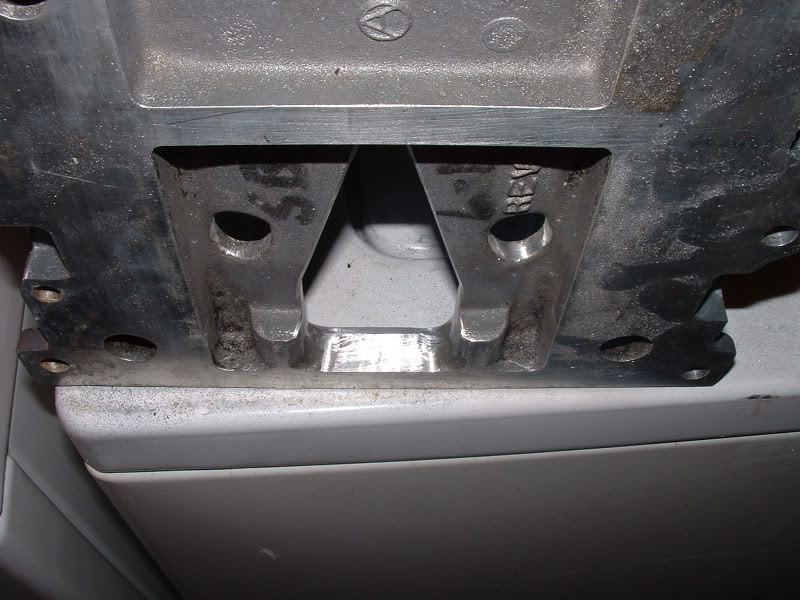
Brad, roll that outlet edge over some more on the LIM side.
LIGHTLY break the edge on the rotor side (you got that already it looks like) and then roll the LIM-closest edge to about a 1/8" to 3/16" radius. The smoother the better.
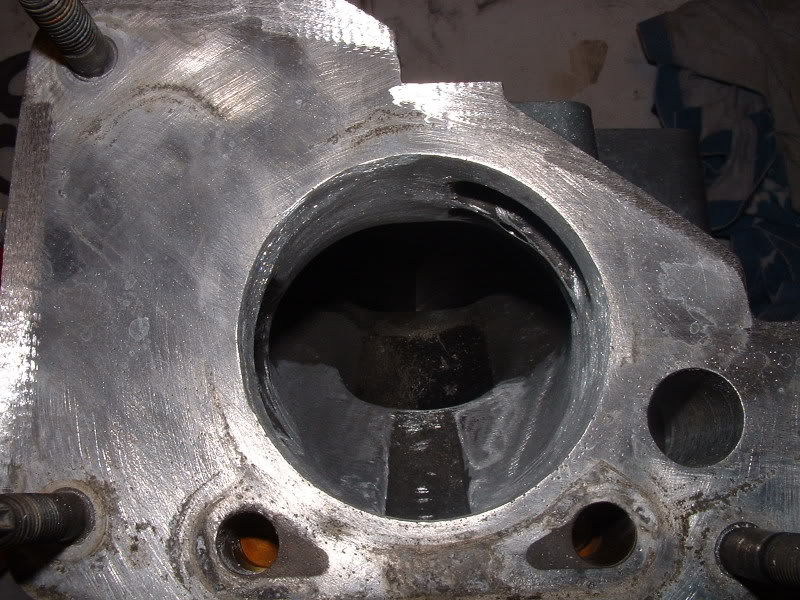
Smooth as much of the inlet as you can to the touch. Doesn't have to be like a mirror. Flush out the bypass shaft and bushings very well so the debris doesn't bind it up.
LIGHTLY break the edge on the rotor side (you got that already it looks like) and then roll the LIM-closest edge to about a 1/8" to 3/16" radius. The smoother the better.
Smooth as much of the inlet as you can to the touch. Doesn't have to be like a mirror. Flush out the bypass shaft and bushings very well so the debris doesn't bind it up.

Thread
Thread Starter
Forum
Replies
Last Post

