
Black hood? No more. ;) No 56k at all. No chance.


Thread Starter
Junior Member
Posts like a Ricer Type-R
Joined: Aug 2002
Posts: 11
Likes: 13

Originally Posted by Peterg22000
That'll do Donkey, That'll do 
And A TON of rpm'* and brute force while using rubbing compound after 1500 grit. :(
My hands, back, and neck are killing me. But I'm almost done with the driver'* side. You guys wouldn't believe how many 1/4 sheets of 1500 grit wet paper I've worn out.

Senior Member
Posts like a Northstar
Joined: Dec 2006
Posts: 635
Likes: 0
From: Niagara Region, ON, Canada
I think that looks incredible! I can't believe that was done in the garage.
I saw an episode of Pimp My Ride where they sprayed a Mustang with subtle gold flex mixed in. They sprayed it thru a lace table cloth. It looked pretty wild.
I'm meandering off topic. Good job, Will. I can't wait to see it installed.
(Merry Christmas, btw.)
Adam
I saw an episode of Pimp My Ride where they sprayed a Mustang with subtle gold flex mixed in. They sprayed it thru a lace table cloth. It looked pretty wild.
I'm meandering off topic. Good job, Will. I can't wait to see it installed.
(Merry Christmas, btw.)
Adam
Thread Starter
Junior Member
Posts like a Ricer Type-R
Joined: Aug 2002
Posts: 11
Likes: 13
The trick for doing it in the garage for me was washing down the 'walls' of the paint booth regularly to control the dust. This included the inside of the garage door, too.
Merry Christmas to you, too.
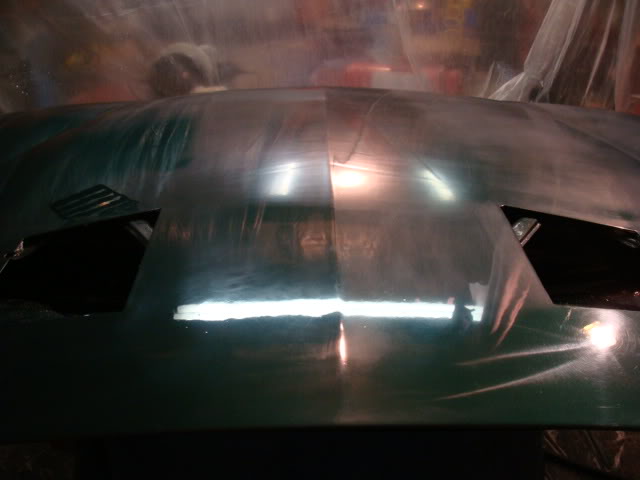
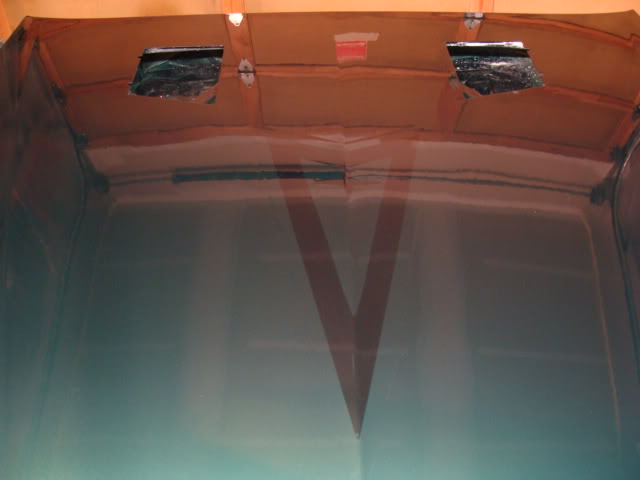
Here'* where she sits right now. Pretty much done with the rubbing compound on the driver'* side, ready to do the same to the passenger side'* 1500 grit work. After that, it'* back to the buffer for polishing compound, then 3 good coats of liquid glass before it goes back on the car. Probably 3 more days (got some stuff to do in the meantime):
Merry Christmas to you, too.
Here'* where she sits right now. Pretty much done with the rubbing compound on the driver'* side, ready to do the same to the passenger side'* 1500 grit work. After that, it'* back to the buffer for polishing compound, then 3 good coats of liquid glass before it goes back on the car. Probably 3 more days (got some stuff to do in the meantime):


Senior Member
Certified GM nut
Joined: Jan 2007
Posts: 1,646
Likes: 0
From: allentown, pa--brooklyn, ny
Originally Posted by willwren
Originally Posted by Peterg22000
That'll do Donkey, That'll do
And A TON of rpm'* and brute force while using rubbing compound after 1500 grit. :(
My hands, back, and neck are killing me. But I'm almost done with the driver'* side. You guys wouldn't believe how many 1/4 sheets of 1500 grit wet paper I've worn out.
Thread Starter
Junior Member
Posts like a Ricer Type-R
Joined: Aug 2002
Posts: 11
Likes: 13
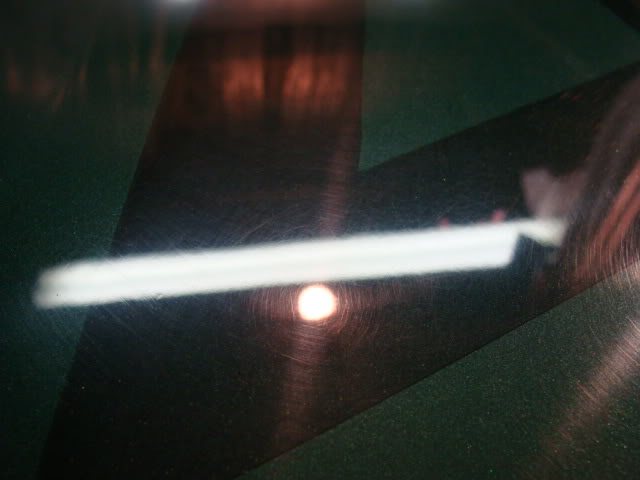
I'm pressed for time. Alot to do before I go back to work on Jan 2nd, so this will go back on the car tonight. I'll have to come back to it in the spring for a little more polishing, but for now, here'* the first coat of wax (second coat will go on tomorrow morning, then the hood goes back on the car for now):
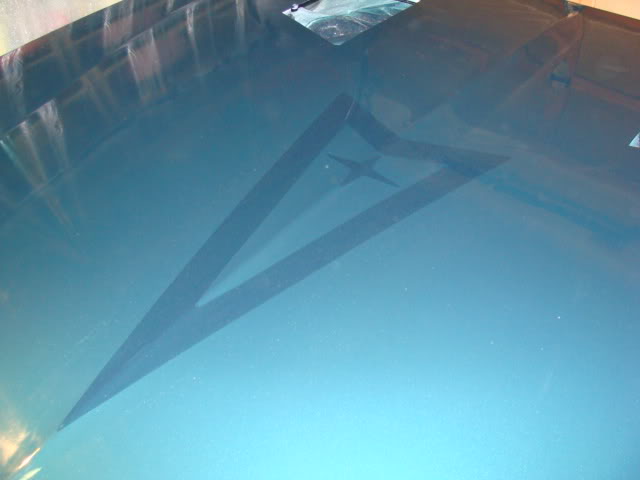
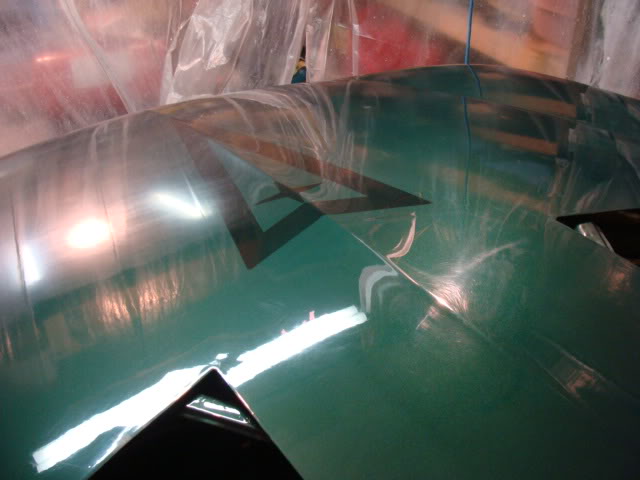
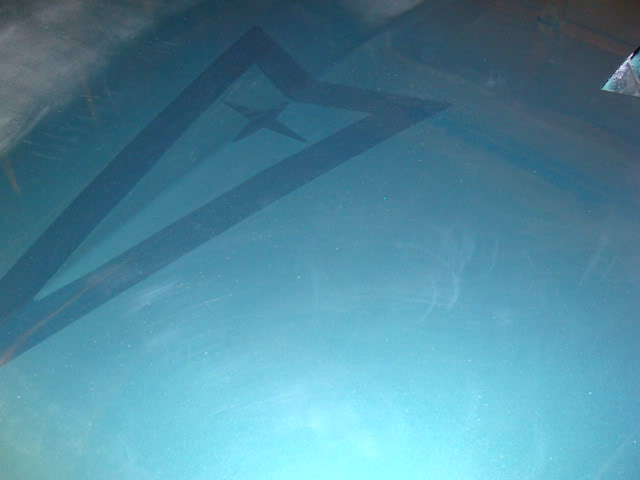
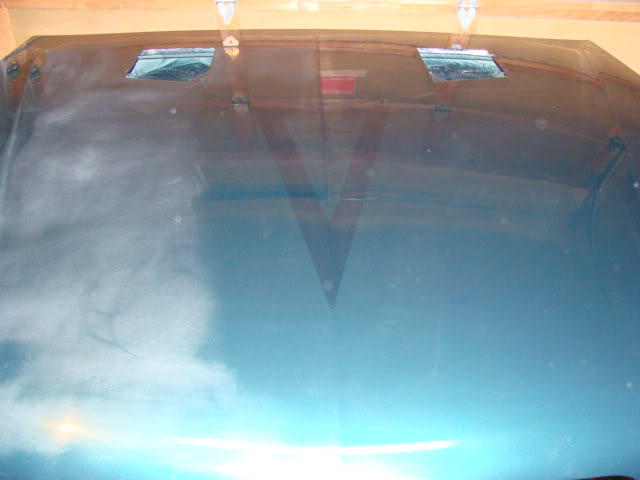
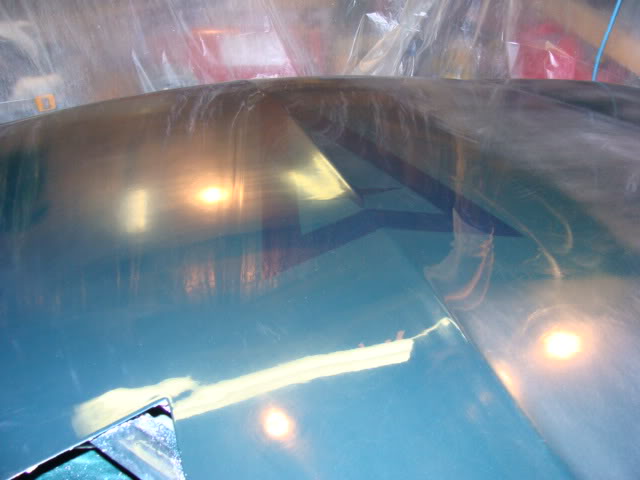
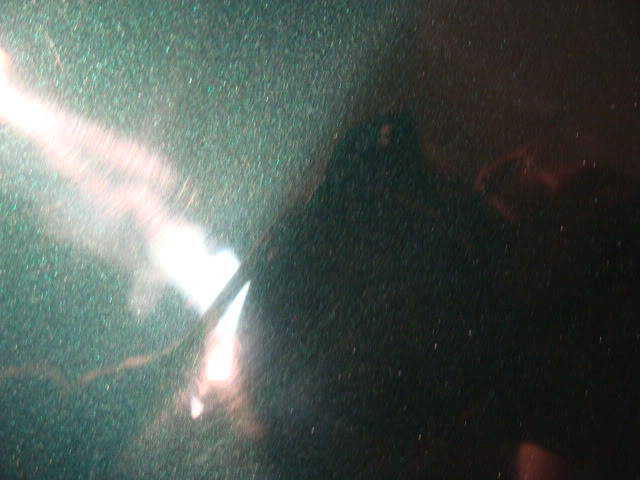
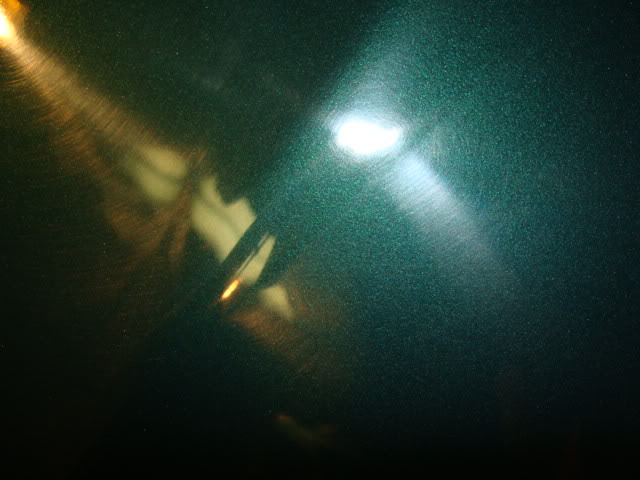
It'* really odd (in a good way) how the angle and the lighting affect the contrast. Sometimes the logo is very faint, sometimes more pronounced.
It'* really odd (in a good way) how the angle and the lighting affect the contrast. Sometimes the logo is very faint, sometimes more pronounced.


Senior Member
Posts like a Northstar
Joined: Mar 2007
Posts: 691
Likes: 1
From: Illinois
Looks like equipment is holding you back on the buffing/polishing stage. A variable speed Makita with some Presta Croma 1500 and a compounding pad would fix that right up. Follow up with Menzerna'* IP and a finishing pad and you would be golden. The paint job really impressed me and I was disappointed to see the lack of a true rotary buffer holding you back. That thing could be like glass!
Grant
EDIT: I just noticed you said you wet-sanded the vents. Why? Did they have excessive peel? Also, what paint did you use(sorry if I missed it)?
Grant
EDIT: I just noticed you said you wet-sanded the vents. Why? Did they have excessive peel? Also, what paint did you use(sorry if I missed it)?
Thread Starter
Junior Member
Posts like a Ricer Type-R
Joined: Aug 2002
Posts: 11
Likes: 13
I used PPG paint. I had to strip the old paint and primer off the vents, then used a plastic prep before prime. I sprayed color and clear on the vents, but did it hanging. I had a couple drips I couldn't see (not good lighting in that corner of the garage). I may actually just wetsand down, finish with 1500 grit, and re-clear them today instead of polishing.
FYI, I have a 10" ROB, 6" ROB, a 6" rotary pad on a variable speed drill, and an an 8" rotary pad on my 10,000 rpm angle grinder. I have the polishing tools covered pretty well. My budget went into the paint ($260) rather than more tools.
FYI, I have a 10" ROB, 6" ROB, a 6" rotary pad on a variable speed drill, and an an 8" rotary pad on my 10,000 rpm angle grinder. I have the polishing tools covered pretty well. My budget went into the paint ($260) rather than more tools.

