
Black hood? No more. ;) No 56k at all. No chance.


Thread Starter
Junior Member
Posts like a Ricer Type-R
Joined: Aug 2002
Posts: 11
Likes: 13

Been bizzy the last 3 days. Had a little fun in the garage.
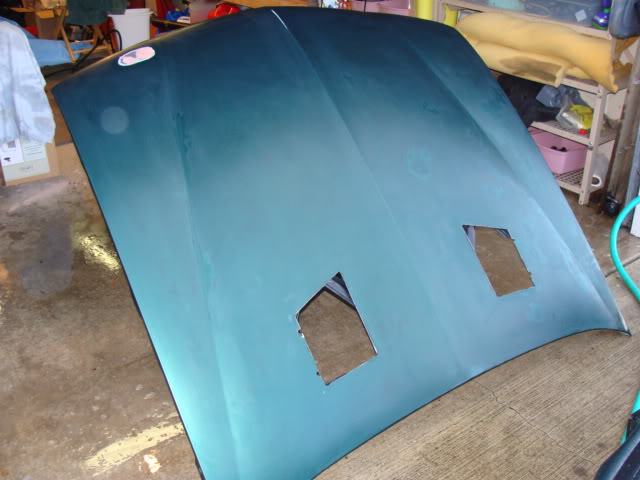
Hood removal comes first:

Dents courtesy of a friend a year ago:


Look! Something green covering the motor!

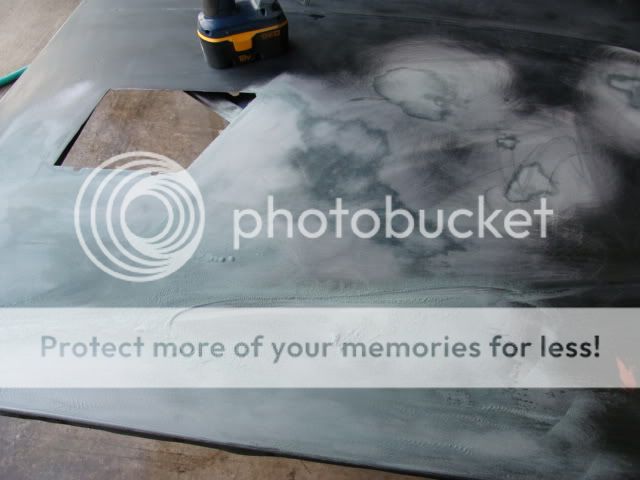
Time to remove the old black primer with castrol super clean (my favorite caustic chemical):


Time to break the clearcoat down. The clear was flaking off, which is why I went after the hood vents when I did. Nothing to lose:


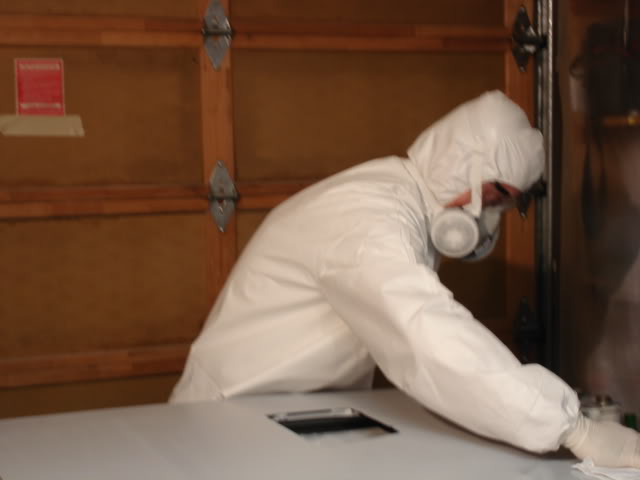
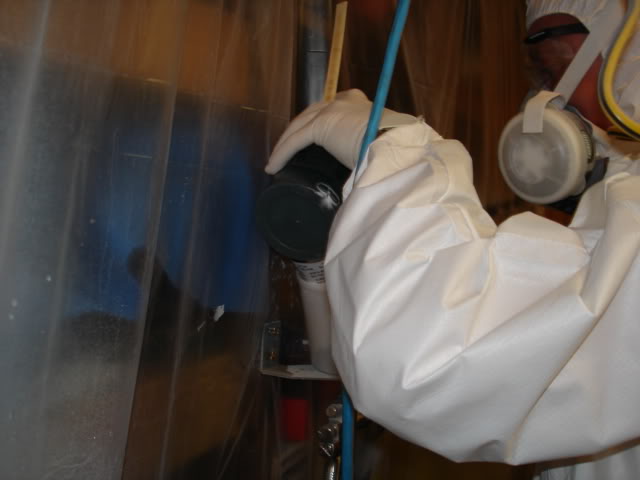
Let'* build a paint booth. This got washed out with water to control the dust between every coat (primer, color, clear):


Now let'* do something cool to the underside. This is a textured fleck-coat for outdoor patio furniture. It'* actually a dark forest green, but in the bad lighting, you can't tell very well:


I primed these the first time with the underside of the hood because I had some wear and abuse over the years installed on a Trans Am that I had to address. The first coat of primer made that easier:
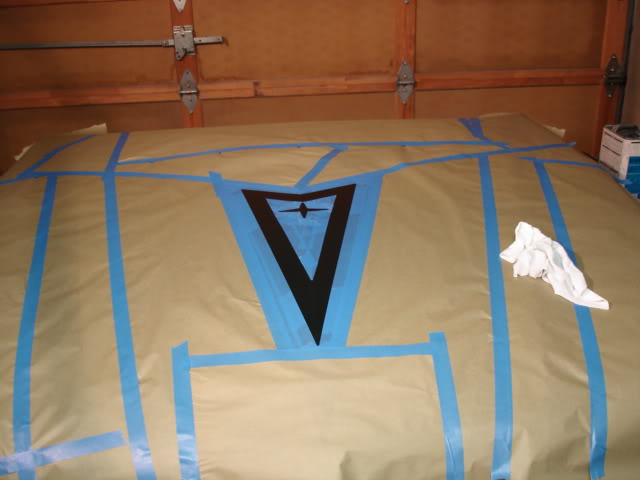
The priming begins:

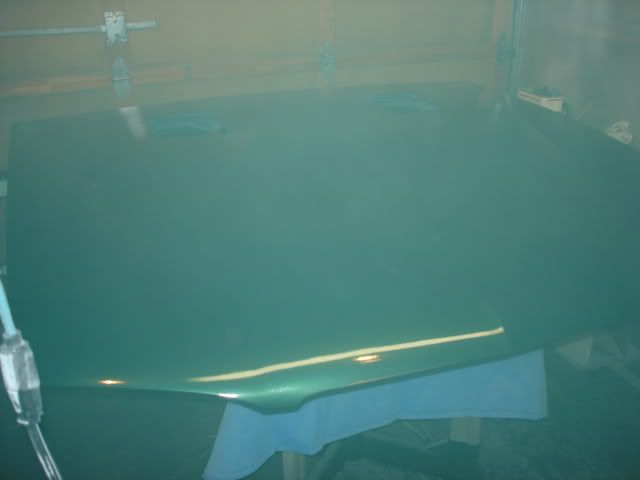
After a bunch of wetsanding on these 2 coats of high-build primer, it was time for color:


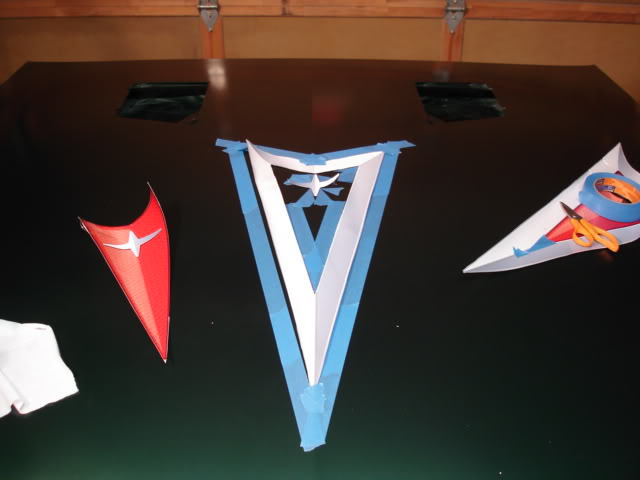
Now let'* play around with a new idea. The logo will be shot with the same color, but with some gold pearl mixed in. The idea is to be subtle. Not right in your face, but easy to see in the right light:


Bad news. The tape that was rated for oil, alkyd, polyurethane, latex, and acrylic paints decided to leave imprints in the fully dried basecoat:

Time to wet-sand the entire hood EXCEPT the logo, and re-shoot color:
Before the next coat of color, we have to re-mask the logo (it has the gold pearl in it, and I don't want to have to re-mix and re-shoot it). This time we'll use electrical tape and a trimmed fridge magnet to mask it off:

The results (notice the 800-grit oops in the logo from the previous step):


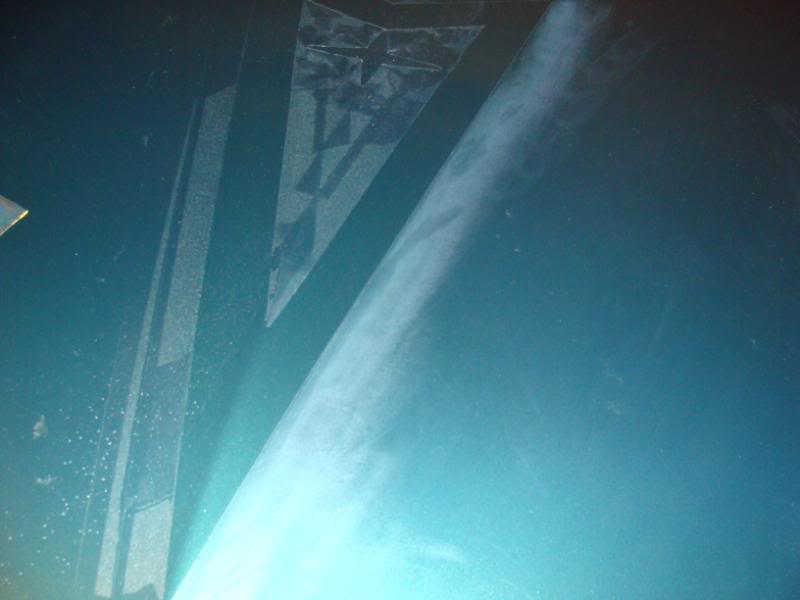
I had no choice at this point but to hide that oops with 1500 grit. I did the whole logo (inside corners, especially on the star, were a B I T C H). It had to look the same. After that, it was time for clear:


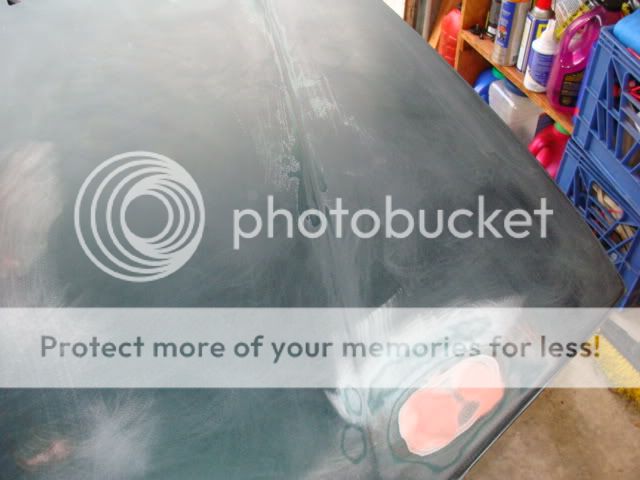
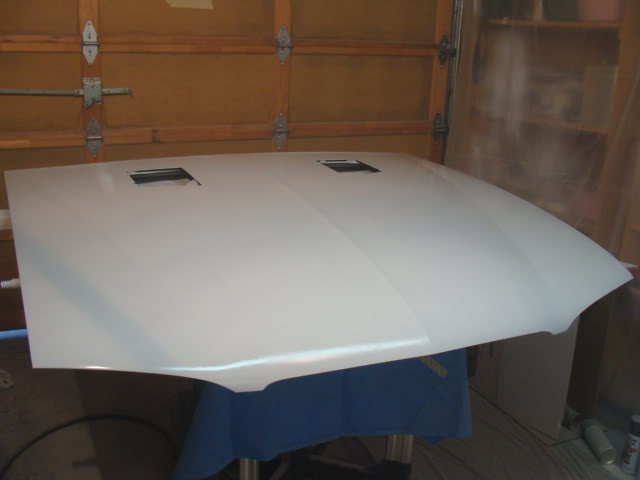
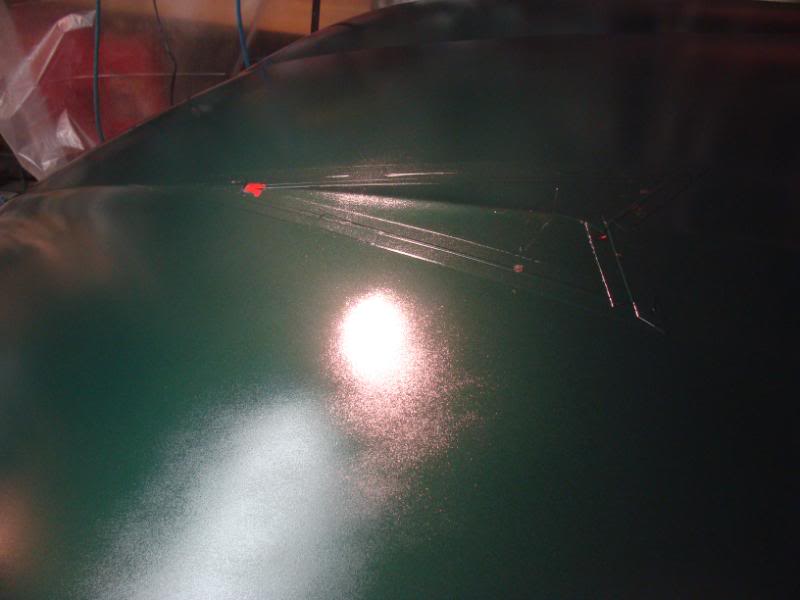
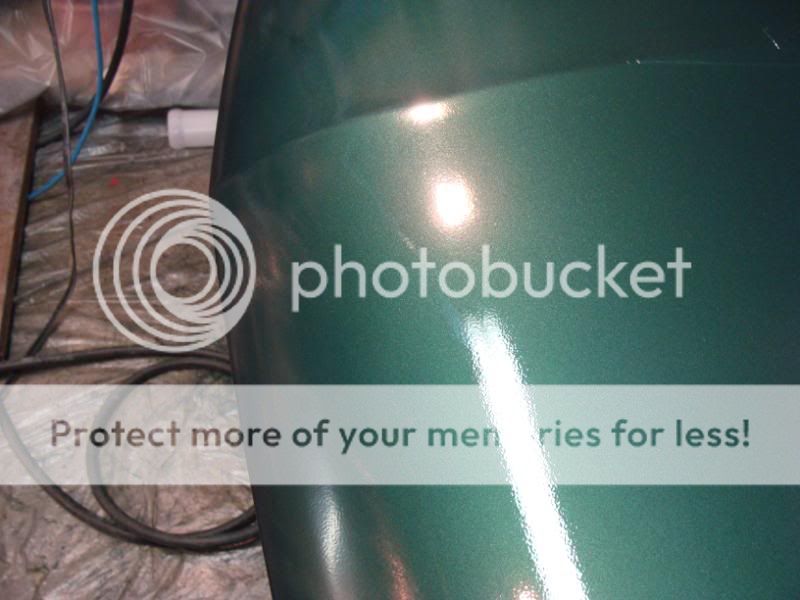
Remember that body work at the beginning? Can't see a hint of it now:


Hood removal comes first:
Dents courtesy of a friend a year ago:
Look! Something green covering the motor!
Time to remove the old black primer with castrol super clean (my favorite caustic chemical):
Time to break the clearcoat down. The clear was flaking off, which is why I went after the hood vents when I did. Nothing to lose:
Let'* build a paint booth. This got washed out with water to control the dust between every coat (primer, color, clear):
Now let'* do something cool to the underside. This is a textured fleck-coat for outdoor patio furniture. It'* actually a dark forest green, but in the bad lighting, you can't tell very well:
I primed these the first time with the underside of the hood because I had some wear and abuse over the years installed on a Trans Am that I had to address. The first coat of primer made that easier:
The priming begins:
After a bunch of wetsanding on these 2 coats of high-build primer, it was time for color:
Now let'* play around with a new idea. The logo will be shot with the same color, but with some gold pearl mixed in. The idea is to be subtle. Not right in your face, but easy to see in the right light:
Bad news. The tape that was rated for oil, alkyd, polyurethane, latex, and acrylic paints decided to leave imprints in the fully dried basecoat:
Time to wet-sand the entire hood EXCEPT the logo, and re-shoot color:
Before the next coat of color, we have to re-mask the logo (it has the gold pearl in it, and I don't want to have to re-mix and re-shoot it). This time we'll use electrical tape and a trimmed fridge magnet to mask it off:
The results (notice the 800-grit oops in the logo from the previous step):
I had no choice at this point but to hide that oops with 1500 grit. I did the whole logo (inside corners, especially on the star, were a B I T C H). It had to look the same. After that, it was time for clear:
Remember that body work at the beginning? Can't see a hint of it now:

Senior Member
True Car Nut
Joined: May 2003
Posts: 8,135
Likes: 1
From: Lethbridge, Alberta, _______Canada._______ West Coast Bonneville Fest ___05,06,07 Survivor___
WOW That looks frickin AWESOME!!!!!!!!
Nice, nice, nice work.
Did u drive the zilla without a hood? I would of lol

Nice, nice, nice work.
Did u drive the zilla without a hood? I would of lol
Thread Starter
Junior Member
Posts like a Ricer Type-R
Joined: Aug 2002
Posts: 11
Likes: 13
Not yet, but the Zilla is getting new shoes VERY soon, and may go the whole 6 blocks to the tire shop with no hood.
I'm not totally pleased with the quality of the finish (due to the oops and wetsanding) on the logo, but the rest turned out pretty damn good considering it was a garage job.
While I look at the flaws, I remind myself how much better this is than the black hood, and remember also that my lowest quote for a plain-jane job was 600 bucks. This paint cost $250. Call it 300 total with consumables.

Senior Member
True Car Nut
Joined: May 2003
Posts: 8,135
Likes: 1
From: Lethbridge, Alberta, _______Canada._______ West Coast Bonneville Fest ___05,06,07 Survivor___
Looks pretty good overall though. The Logo looks quite well. Frickin cool idea on that part.
I cant imagine why the zilla would need new tires.

I cant imagine why the zilla would need new tires.

Junior Member
Joined: Aug 2005
Posts: 0
Likes: 0
Aww. Damn it bill. now your green hood is shinier than mine. 
So I hope you're gonna be painting that bumper to match this spectacular hood!
did this get two coats? or is one sufficient? and no baking or anything? how long does it take the paint to fully cure without any type of drying process?
*edit*
just watched the video...lmao, the first thought in my mind when it started was..."I wonder if he disconnected the engine bay light"
Thread Starter
Junior Member
Posts like a Ricer Type-R
Joined: Aug 2002
Posts: 11
Likes: 13
Hey Matt. These tires have less than 5k on them and they're at 50% tread already or less. All 4. I rotate regularly.
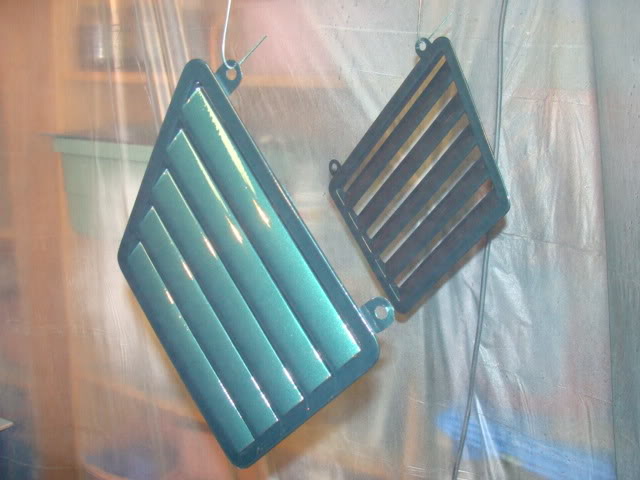
It'll be on the car maybe on Xmas, and the vents may be installed tomorrow. It'* curing pretty rapidly out there. I'm keeping the garage at 65 degrees F tonight.
It'll be on the car maybe on Xmas, and the vents may be installed tomorrow. It'* curing pretty rapidly out there. I'm keeping the garage at 65 degrees F tonight.
Thread Starter
Junior Member
Posts like a Ricer Type-R
Joined: Aug 2002
Posts: 11
Likes: 13
Originally Posted by wjcollier07
Aww. Damn it bill. now your green hood is shinier than mine.
So I hope you're gonna be painting that bumper to match this spectacular hood!
did this get two coats? or is one sufficient? and no baking or anything? how long does it take the paint to fully cure without any type of drying process?
So I hope you're gonna be painting that bumper to match this spectacular hood!
did this get two coats? or is one sufficient? and no baking or anything? how long does it take the paint to fully cure without any type of drying process?

Senior Member
True Car Nut
Joined: Dec 2003
Posts: 2,767
Likes: 0
From: Corn Fields, IN
Looks great! I like that the dart is subtle. Did you use PPG paint? The full body suit is nice...I find that a lot of the dust when i paint comes from my clothes. And give that bondo a couple more weeks and it might show up...damn stuff.