When you click on links to various merchants on this site and make a purchase, this can result in this site earning a commission. Affiliate programs and affiliations include, but are not limited to, the eBay Partner Network.
This Was done on my 2001 Buick Century Custom And I would say that Process would be the same for any gm running this same Climate Control unit (non Digital unit)
NOTE: You Must Be able to Solder pretty well To Do this the traces are very small
1 Remove the lower trim Ash tray trim panel there are two screws on far bottom and top side just snaps off
2 the Climate Control Unit is Mounted with two screws one on each side
3 Remove the electrical connectors and vacuum hoses just make sure you disconnect the vacuum only part I did not and had three springs and a ball bearing,copper plate to tend to going back together just removing the vacuum part is the two tabs farthest from the unit
4 remove the fan speed control switch two screws
5 Remove the vacuum valve two screws Careful There are three springs under it you will need to hang on to for reassembly
6 Remove the four case screws and open case careful to hold the control face down so buttons do not fall out less work on reassembly
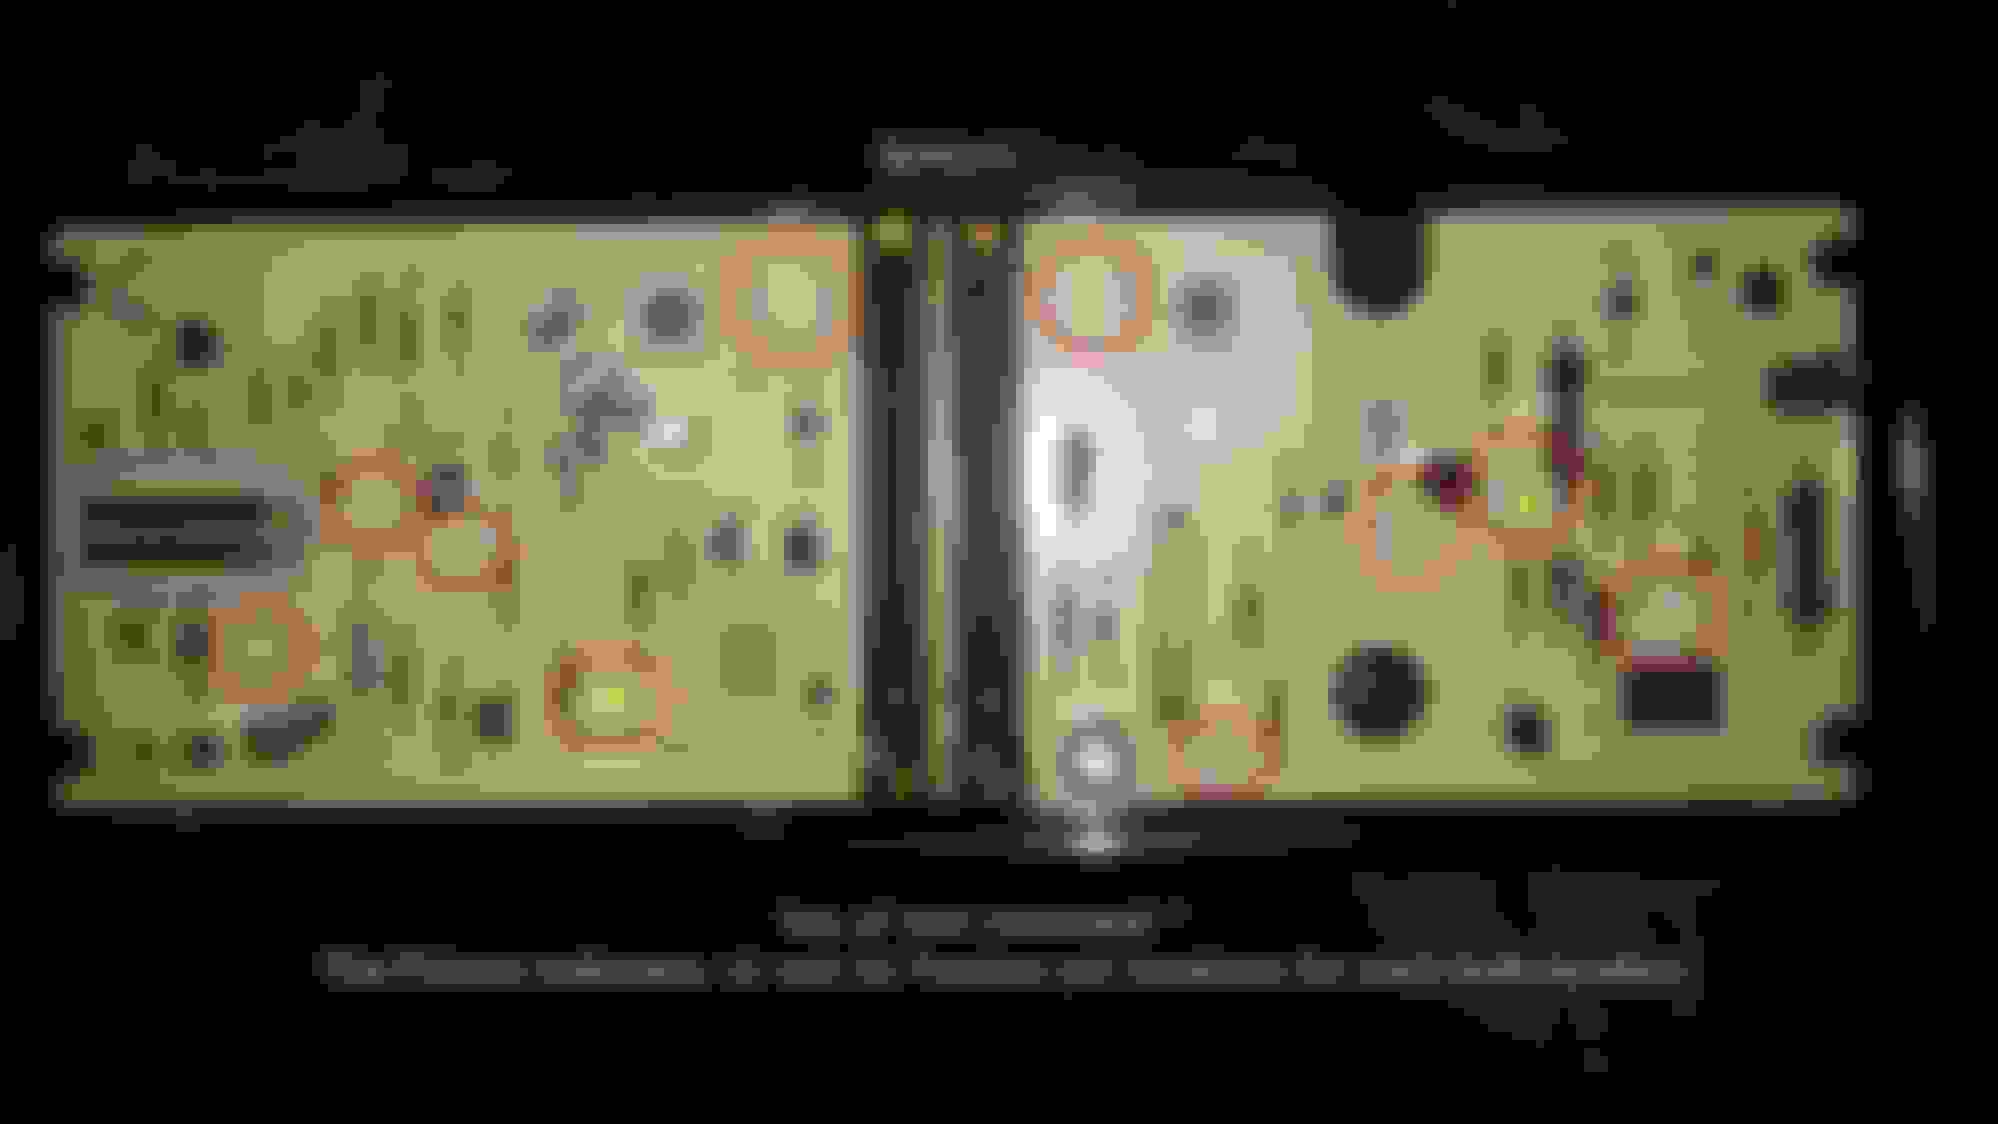
7 Remove board from case by genteelly prying to board pass the tabs in case
8 now you can position the board (See Pic Below) there are 10 bulbs on board they have a blue rubber filter cover on them
9 Now You can replace you bulbs take you time and make sure polarity is correct or bulb will not work (LED'* Only)
I have went through the process and tried to show where the positive is for each base to make it easier If needed I Found my test light worked the best the gator clip to cigeratte lighter ground worked good. Not much steel for ground in that area the needle point on test light worked good for the close quarters to each other
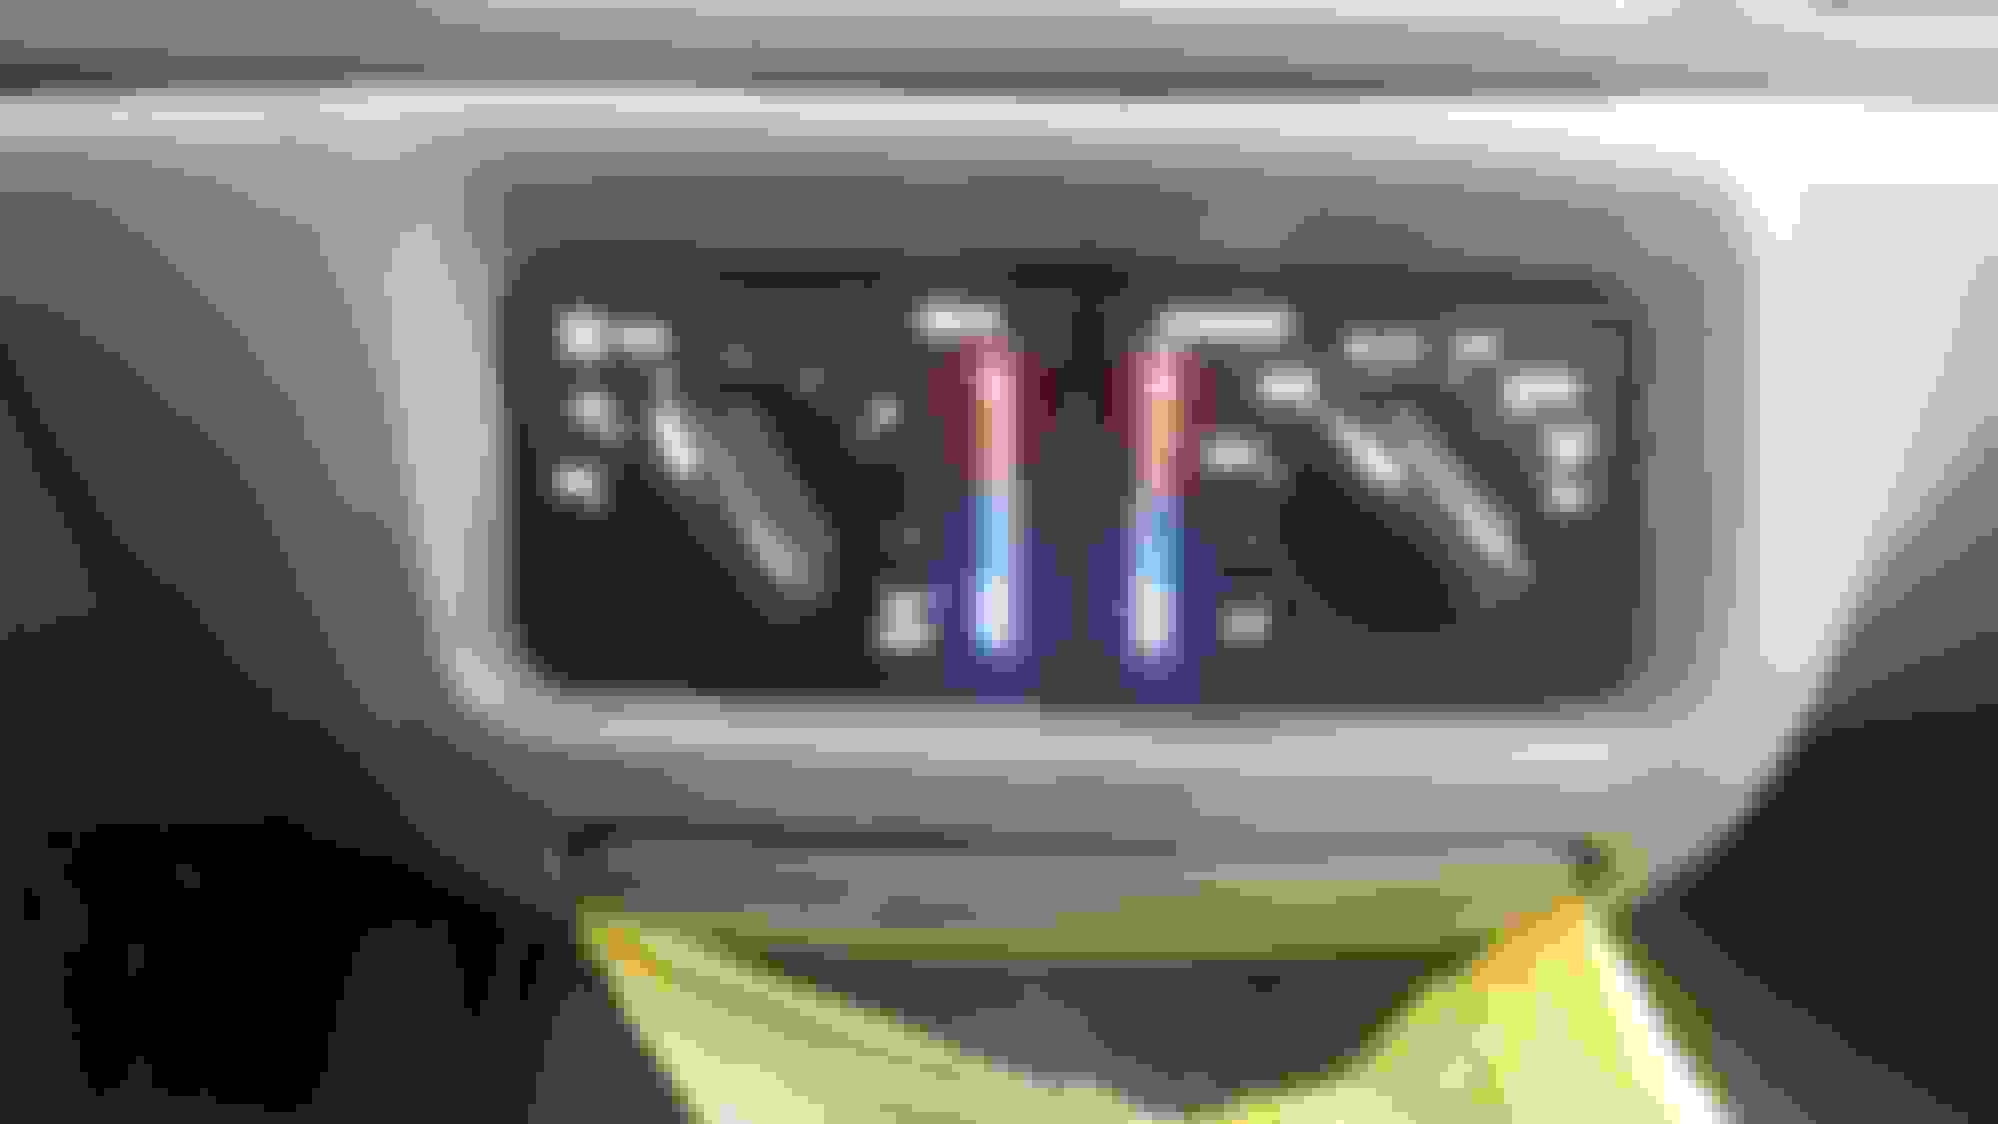
Of Course I used Leds and all though you can change colors at this point just note that colors will effect the red and blue of the temp Indicator Install Finished One Side Test Done Old Bulbs still installed All ten Changed And Test Complete Time to Assemble Bulb Locations from back of board Finished