
The little pulley thread

Thread Starter
DINOSAURUS BOOSTUS


Expert Gearhead
Joined: Mar 2005
Posts: 41,391
Likes: 30
From: Enfield, CT


Ok.. must have dreamed I posted a pulley thread.
Here goes..
Box arrives and excitement level is high

Look at this packing job! JeepRat did an awesome job...Thanks again

What am I supposed to do with all these parts and instructions that have the pictures out of order on a seperate page. Will I HAVE to read?

Found a car to put it on

Before pic

I always suggest practicing or reading the procedure a couple of times. Test subject, old supercharger snout that started squeaking recently.

Basic procedure is sandwich pulley in the puller.
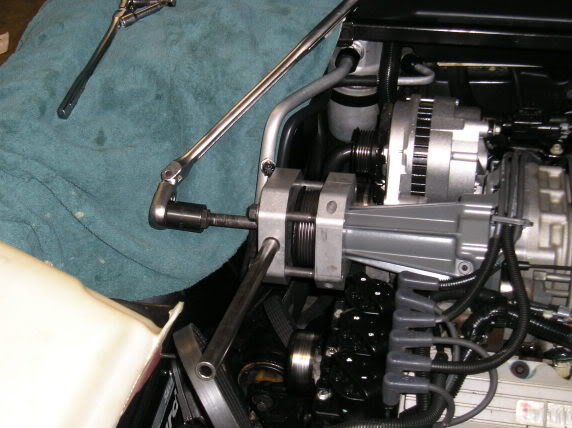
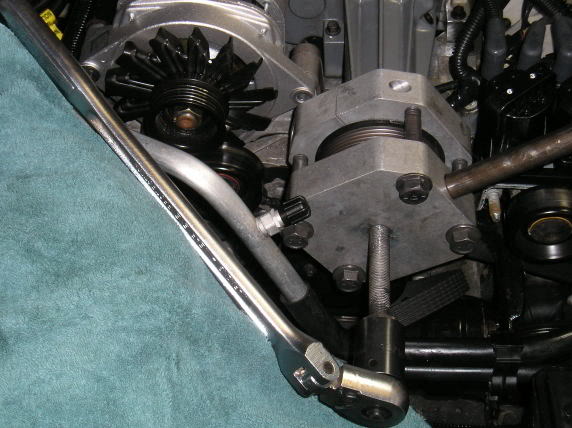
Ensure you've used plenty of antiseize on the threads and apply more force than you are comfortable doing. A second person holds the bar on the side to keep the assembly from turning. There is a loud pop as the pulley starts to release and then you gently continue cranking until it is ready to fall off.
Here'* my buddy John helping out.

Reinstall is scary as well.
The whole process is dependent on a small threaded piece between the end of the puller and the SC snout. It threads in and you then use the puller pieces assembled differently to push the new pulley on. I didn't take any pics because I was ensuring it was done properly.
Then there were no pics of the belt change..I've got some around if anyone needs them. No pics after that because we were driving it to check the boost.
This pulley has rendered my in dash gauge worthless. 10psi is no problem.
Here goes..
Box arrives and excitement level is high
Look at this packing job! JeepRat did an awesome job...Thanks again
What am I supposed to do with all these parts and instructions that have the pictures out of order on a seperate page. Will I HAVE to read?
Found a car to put it on
Before pic
I always suggest practicing or reading the procedure a couple of times. Test subject, old supercharger snout that started squeaking recently.
Basic procedure is sandwich pulley in the puller.
Ensure you've used plenty of antiseize on the threads and apply more force than you are comfortable doing. A second person holds the bar on the side to keep the assembly from turning. There is a loud pop as the pulley starts to release and then you gently continue cranking until it is ready to fall off.
Here'* my buddy John helping out.
Reinstall is scary as well.
The whole process is dependent on a small threaded piece between the end of the puller and the SC snout. It threads in and you then use the puller pieces assembled differently to push the new pulley on. I didn't take any pics because I was ensuring it was done properly.
Then there were no pics of the belt change..I've got some around if anyone needs them. No pics after that because we were driving it to check the boost.
This pulley has rendered my in dash gauge worthless. 10psi is no problem.
Thread Starter
DINOSAURUS BOOSTUS
Expert Gearhead
Joined: Mar 2005
Posts: 41,391
Likes: 30
From: Enfield, CT
My puller is the ZZP puller. I noticed the practice pulley was much harder to get off than the real one. That test snout, I'm not sure I could have done that by myself.

Thread
Thread Starter
Forum
Replies
Last Post
tripscarcare95
Your Ride: GM Pictures & Videos
27
Apr 25, 2006 12:32 PM
dbtk2
Performance, Brainstorming & Tuning
13
Aug 27, 2003 11:30 AM