
Well it's about time, eh?


Thread Starter
Junior Member
Posts like a Ricer Type-R
Joined: Aug 2002
Posts: 11
Likes: 13

Somewhat of a performance topic, but more cosmetic I suppose. This is more of a DIY know-how post anyway.
Finally decided to go after the SC cover on the SLE. I've wanted to mesh it like the SSEi'* for a long time.
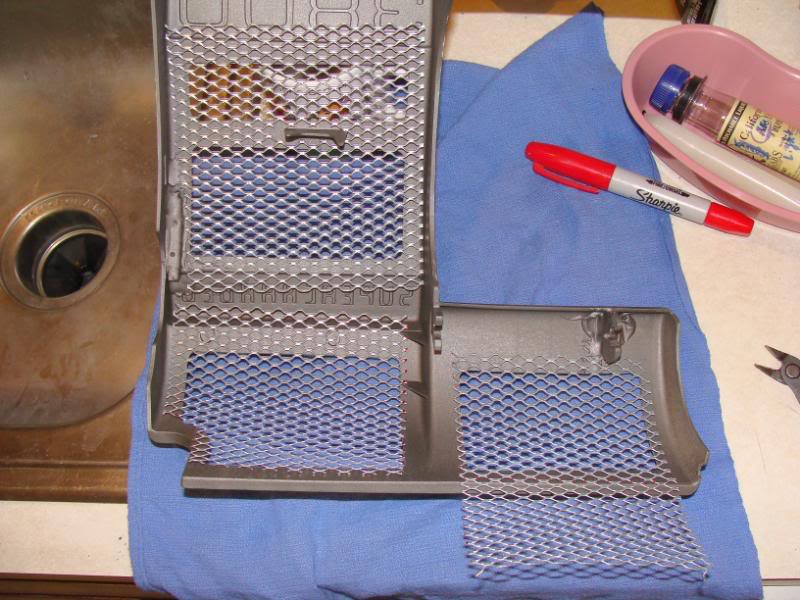
I drilled with a 1/4" bit in each corner of each intended cutout, then roughed in with a 3" pneumatic cutoff tool. Finished the rough cuts with a dremel, then used a sanding drum on the dremel (1/4") to finish off each window.
Lightyly sanded and de-greased the entire thing, then used some of the cutout material to re-build my two broken clips and repair a crack:
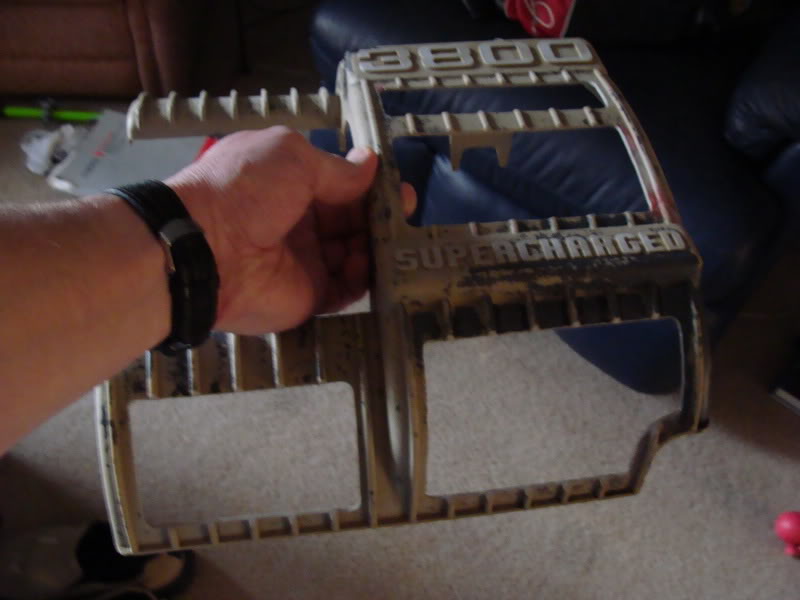
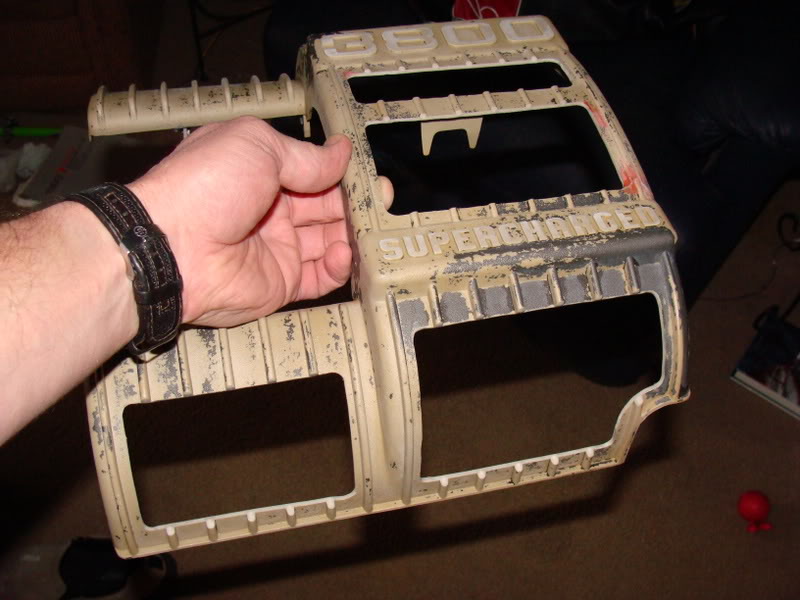


Tonight I'll wet-sand down the letters and numbers to expose the plastic color, then sand off the overspray underneath where the adhesive has to hold the mesh to the plastic. Then I'll pre-cut and shape each piece of mesh and glue it in.
Finally decided to go after the SC cover on the SLE. I've wanted to mesh it like the SSEi'* for a long time.
I drilled with a 1/4" bit in each corner of each intended cutout, then roughed in with a 3" pneumatic cutoff tool. Finished the rough cuts with a dremel, then used a sanding drum on the dremel (1/4") to finish off each window.
Lightyly sanded and de-greased the entire thing, then used some of the cutout material to re-build my two broken clips and repair a crack:
Tonight I'll wet-sand down the letters and numbers to expose the plastic color, then sand off the overspray underneath where the adhesive has to hold the mesh to the plastic. Then I'll pre-cut and shape each piece of mesh and glue it in.


Thread Starter
Junior Member
Posts like a Ricer Type-R
Joined: Aug 2002
Posts: 11
Likes: 13
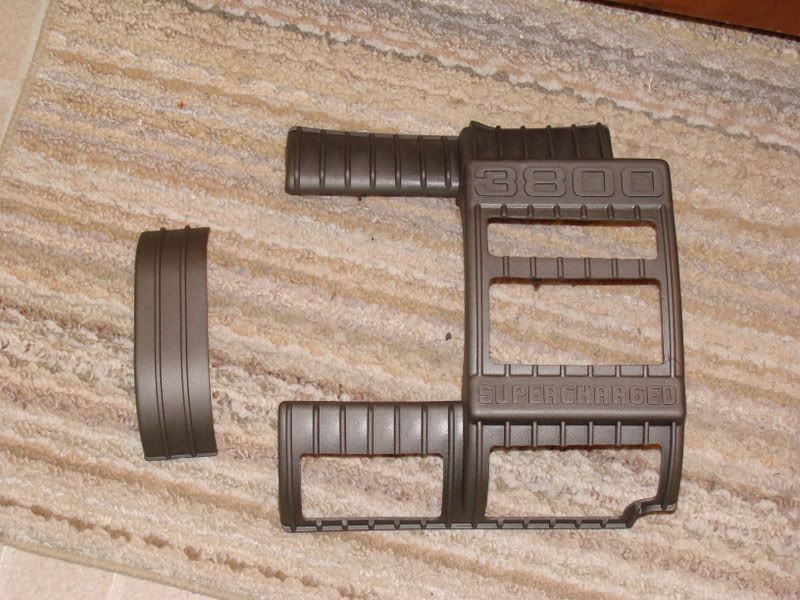
This mesh will remain bright (no paint), but the same style as the Zilla'* SC cover and hood vent screen.
The hood vent screens may have to go to black soon. I'm not sure they look right bright under dark green.
I'll have to get a pic of that up soon and let you guys decide.
The hood vent screens may have to go to black soon. I'm not sure they look right bright under dark green.
I'll have to get a pic of that up soon and let you guys decide.

Thread Starter
Junior Member
Posts like a Ricer Type-R
Joined: Aug 2002
Posts: 11
Likes: 13
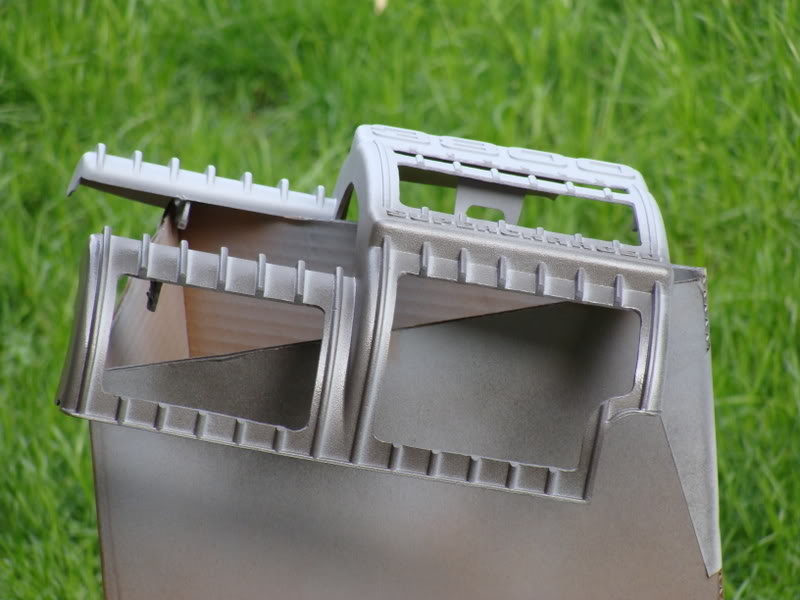
Did a little more work tonight after work.
Got the lettering wet-sanded off, cut the mesh, and glued it in with 3M exterior trim adhesive/sealant.


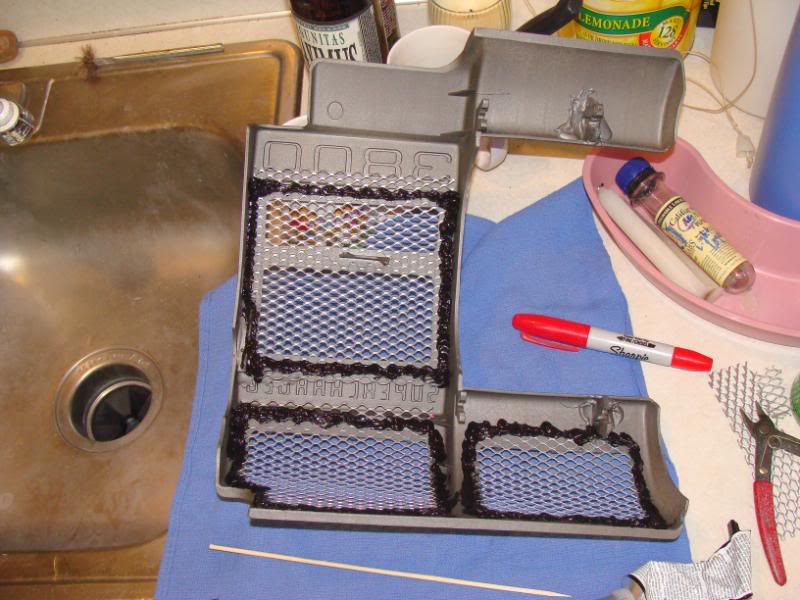
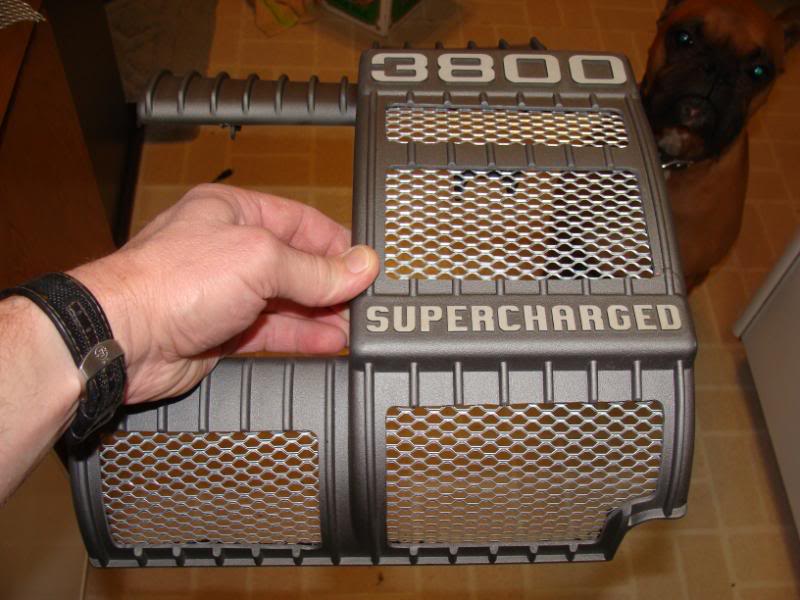
Looks great, and the air flows through to cool the supercharger just as well as with no cover. This will go well with the black supercharger moving over to the SLE from the Zilla. I'll install this tomorrow morning to 'heat cure' the adhesive after it tacks up tonight.
Another little update coming soon......
Got the lettering wet-sanded off, cut the mesh, and glued it in with 3M exterior trim adhesive/sealant.
Looks great, and the air flows through to cool the supercharger just as well as with no cover. This will go well with the black supercharger moving over to the SLE from the Zilla. I'll install this tomorrow morning to 'heat cure' the adhesive after it tacks up tonight.
Another little update coming soon......


Senior Member
True Car Nut
Joined: Jul 2006
Posts: 5,001
Likes: 0
From: Granville, Ohio ~NEBF '07 Survivor~
Looks really good, I wish the L36 cover could look that nice...
You said you wet-sanded the lettering down to the original color, but it looks like it'* in a lot better condition. You didn't paint it afterwords, right?
You said you wet-sanded the lettering down to the original color, but it looks like it'* in a lot better condition. You didn't paint it afterwords, right?

