
Re-Reconditioned hood insulator w/pics FINISHED


Thread Starter
Junior Member
Posts like a Ricer Type-R
Joined: Aug 2002
Posts: 11
Likes: 13

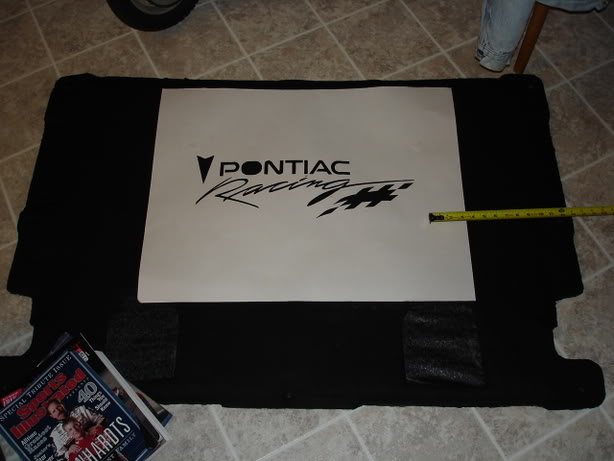
Chose different material this time. Visible surface is canvas duck cloth (will be waterproofed when the painting is done). The invisible face that faces the underside of the hood has been covered with polyester rip-stop waterproof windbreaker material, as I'm certain to get some leaks from the hood vents on the Zilla.
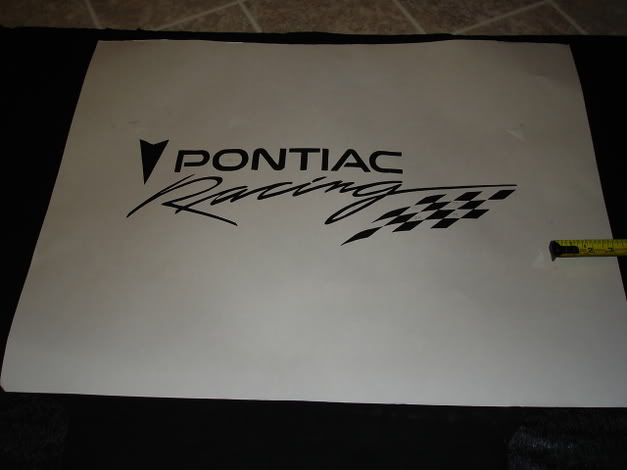
Both materials were put on with headliner adhesive, and carefully contoured. The stencil was held in place by a weaker spray on adhesive that can be re-positioned.
Paint is fabric paint. I still have some touch-up to do, but here'* an almost completed sequence:
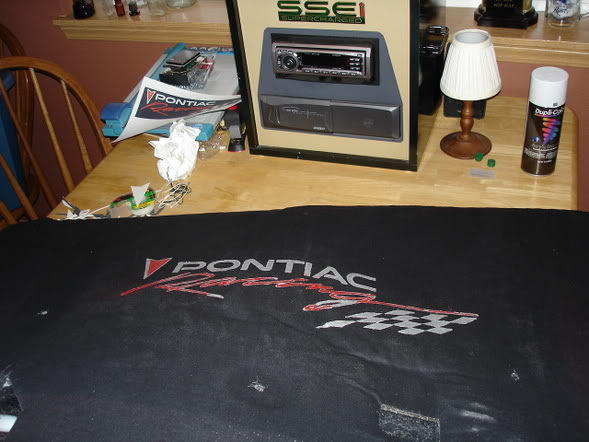
I think this version came out much nicer.
Both materials were put on with headliner adhesive, and carefully contoured. The stencil was held in place by a weaker spray on adhesive that can be re-positioned.
Paint is fabric paint. I still have some touch-up to do, but here'* an almost completed sequence:
I think this version came out much nicer.


Thread Starter
Junior Member
Posts like a Ricer Type-R
Joined: Aug 2002
Posts: 11
Likes: 13
I can do it right here. This is the second time I've done this one. I'm getting pretty good at it.
1. Take hoodliner off car (do this sober, as you can weaken it if it bends too much).
2. Use a stiff brush (if using a soft brush, talk dirty to it first) to clean off any loose material.
3. Choose your material. Something that can tolerate heat and moisture.
4. Spray a liberal amount of Headliner Adhesive on the old hood insulator.
5. Spray a medium amount of the same goop on the back side of the cloth.
6. After waiting 5 minutes, have a helper help apply the material to the hood insulator. This is a critical step in order to get the contours to follow correctly. I used an iron to get it right and cure the adhesive fully (make sure your material choice will tolerate this).
7. If your hood insulator is as bad as mine was this time, poke your fastener holes through at this time, then flip the hood insulator over and apply 'patches' of the scrap material you just trimmed in the step I didn't list to the opposite side of the retainer holes. This will strengthen them. Use the same adhesive technique. Poke holes in these too.
I made the stencil out of medium weight poster board. Note that some pieces are unattached. I numbered these and saved them. Spray the back side of the stencil and pieces with a low-tack re-positionable adhesive (it'll say so on the can) and let dry for a minute. Then apply. This will hold it in place during painting with no leaking. Spray numerous light coats.
After the paint dries, you can clean up any overspray with a black permanent marker if you used the same material as me. Most people won't have to cover the top side of the liner like I did, but due to the possibility of water getting on it from my hood vents, I chose to cover and waterproof it.
1. Take hoodliner off car (do this sober, as you can weaken it if it bends too much).
2. Use a stiff brush (if using a soft brush, talk dirty to it first) to clean off any loose material.
3. Choose your material. Something that can tolerate heat and moisture.
4. Spray a liberal amount of Headliner Adhesive on the old hood insulator.
5. Spray a medium amount of the same goop on the back side of the cloth.
6. After waiting 5 minutes, have a helper help apply the material to the hood insulator. This is a critical step in order to get the contours to follow correctly. I used an iron to get it right and cure the adhesive fully (make sure your material choice will tolerate this).
7. If your hood insulator is as bad as mine was this time, poke your fastener holes through at this time, then flip the hood insulator over and apply 'patches' of the scrap material you just trimmed in the step I didn't list to the opposite side of the retainer holes. This will strengthen them. Use the same adhesive technique. Poke holes in these too.
I made the stencil out of medium weight poster board. Note that some pieces are unattached. I numbered these and saved them. Spray the back side of the stencil and pieces with a low-tack re-positionable adhesive (it'll say so on the can) and let dry for a minute. Then apply. This will hold it in place during painting with no leaking. Spray numerous light coats.
After the paint dries, you can clean up any overspray with a black permanent marker if you used the same material as me.
Most people won't have to cover the top side of the liner like I did, but due to the possibility of water getting on it from my hood vents, I chose to cover and waterproof it.


