Detailing & Appearance Discuss washing, waxing and detailing information as well as interior/exterior cosmetic modifications. This includes neons, body, cosmetic wheels, etc. Even under the hood detailing.

Getting started on my latest project

Thread Tools
 
Search this Thread
 
Old Jun 11, 2009 | 02:29 PM
  #21  
PaulPool's Avatar
Senior Member
Posts like a Turbo
 
Joined: May 2009
Posts: 257
Likes: 0
From: NJ
PaulPool is on a distinguished road
Default

Gonna be sweet.

haha don't stop there keep piling the hoods up; like a totem pole! Paw Paw bears, lol.
Reply
Old Jun 11, 2009 | 05:12 PM
  #22  
Danthurs's Avatar
Thread Starter
Retired Senior Admin

Expert Gearhead
 
Joined: May 2006
Posts: 29,661
Likes: 43
From: Sheboygan Wisconsin
Danthurs is a name known to allDanthurs is a name known to allDanthurs is a name known to allDanthurs is a name known to allDanthurs is a name known to allDanthurs is a name known to all
Default

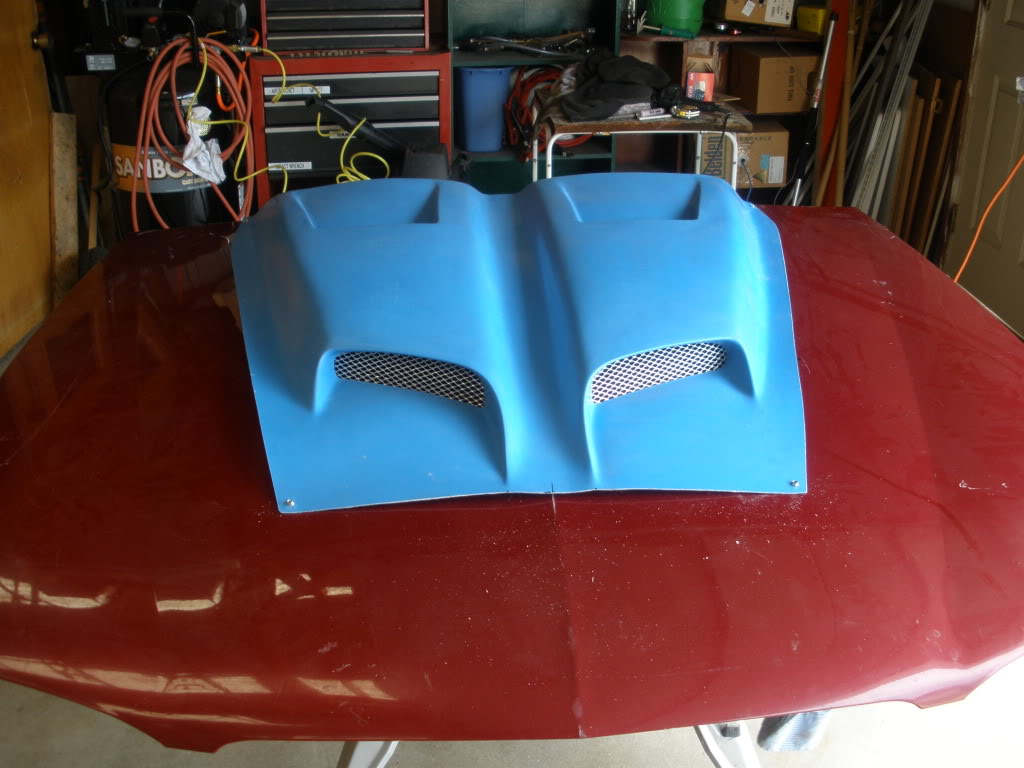
Got a lot done today. Just a bit more touching up and then I need to get the panel adhesive.

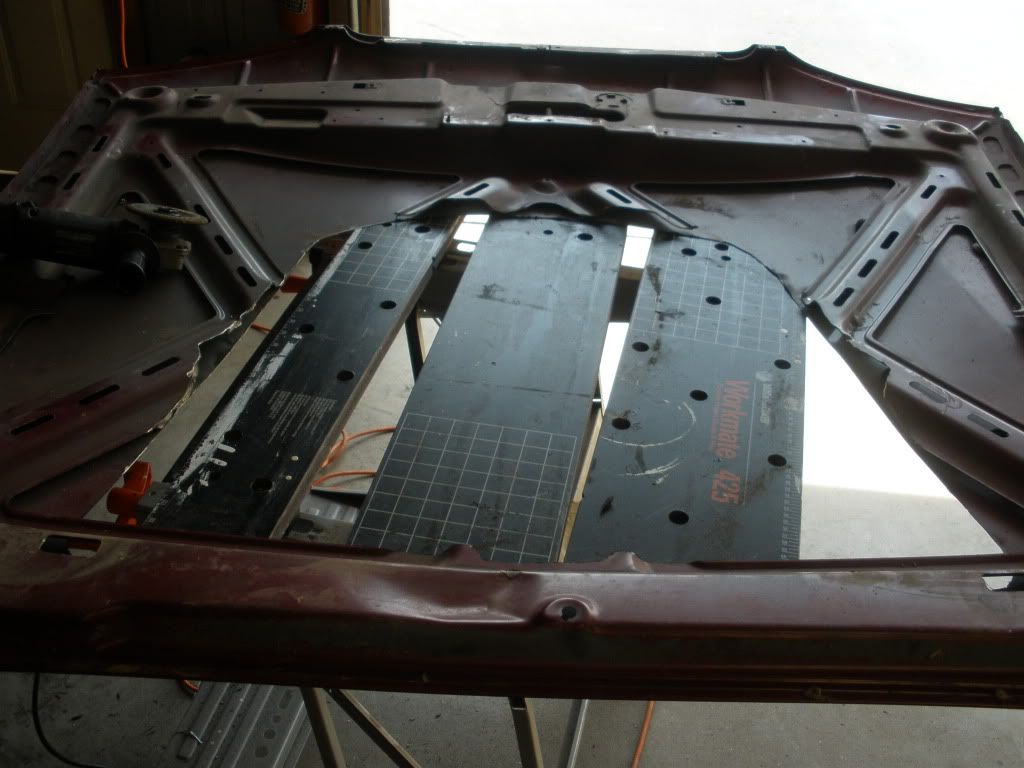
Lined it all up and and screwed it down with 4 self tapping screws.
Name:  P6110014.jpg
Views: 71
Size:  114.2 KB

I was then able to mark everything off so I knew where to cut.
Name:  P6110015.jpg
Views: 74
Size:  119.1 KB

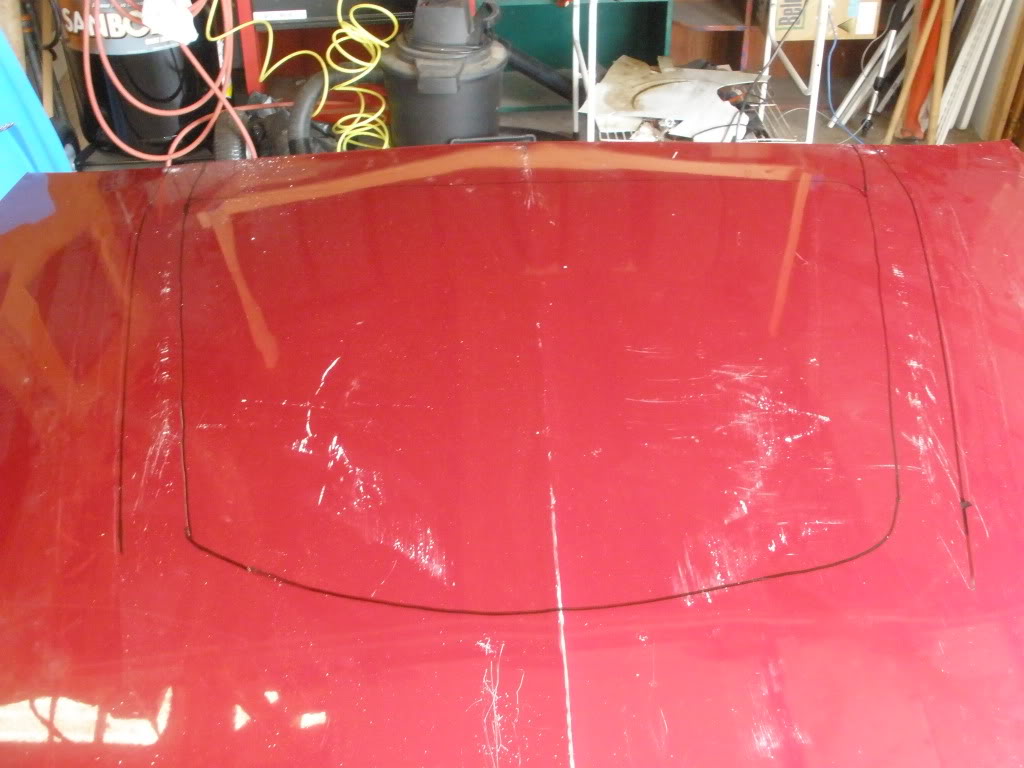
Scribed the lines so I knew where to cut.
Name:  P6110016.jpg
Views: 74
Size:  98.0 KB

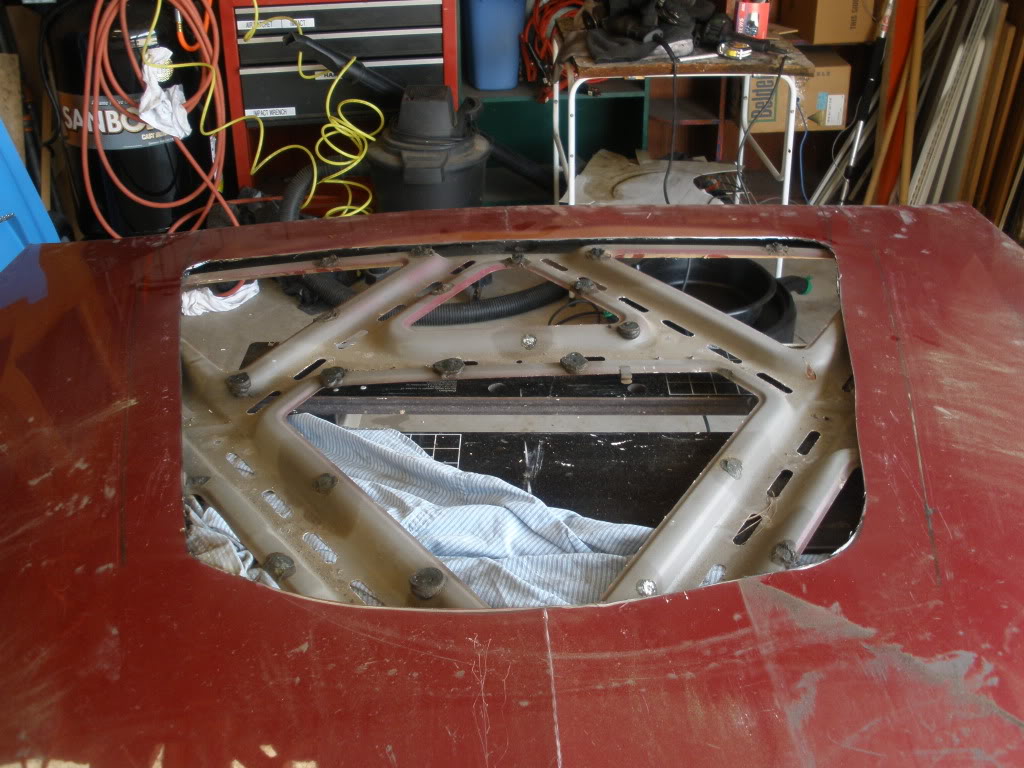
Well, here'* your problem, there'* a great big hole in the hood.
Name:  P6110017.jpg
Views: 75
Size:  158.7 KB

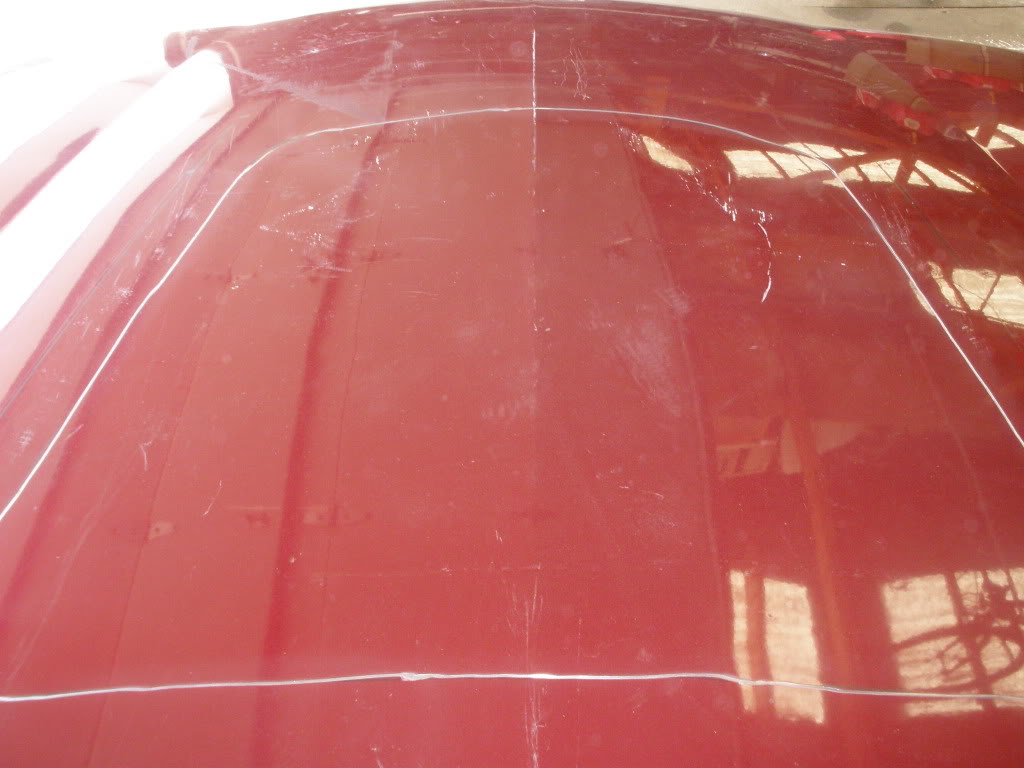
More marking to do more cutting.
Name:  P6110018.jpg
Views: 71
Size:  154.2 KB

Got it all cut, now I need to clean it up.


All sanded.
Name:  P6110020.jpg
Views: 73
Size:  159.0 KB

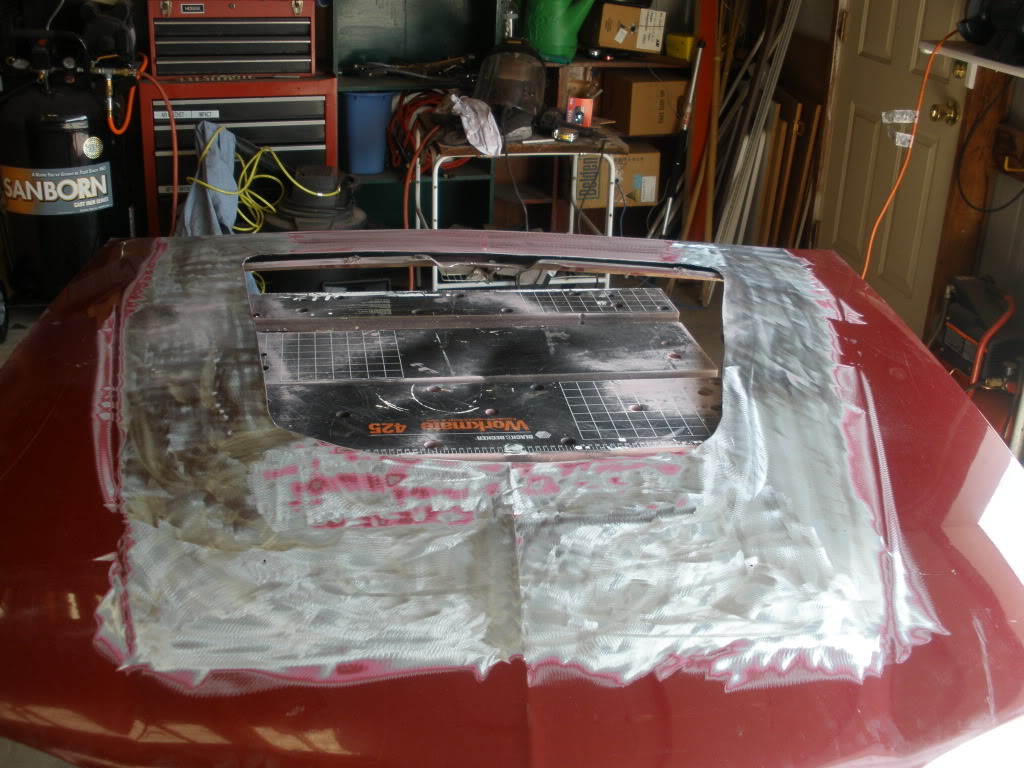
Lots of screws. Need to do some filling to clean up the lines.
Name:  P6110021.jpg
Views: 74
Size:  129.9 KB

Name:  P6110022.jpg
Views: 76
Size:  108.3 KB


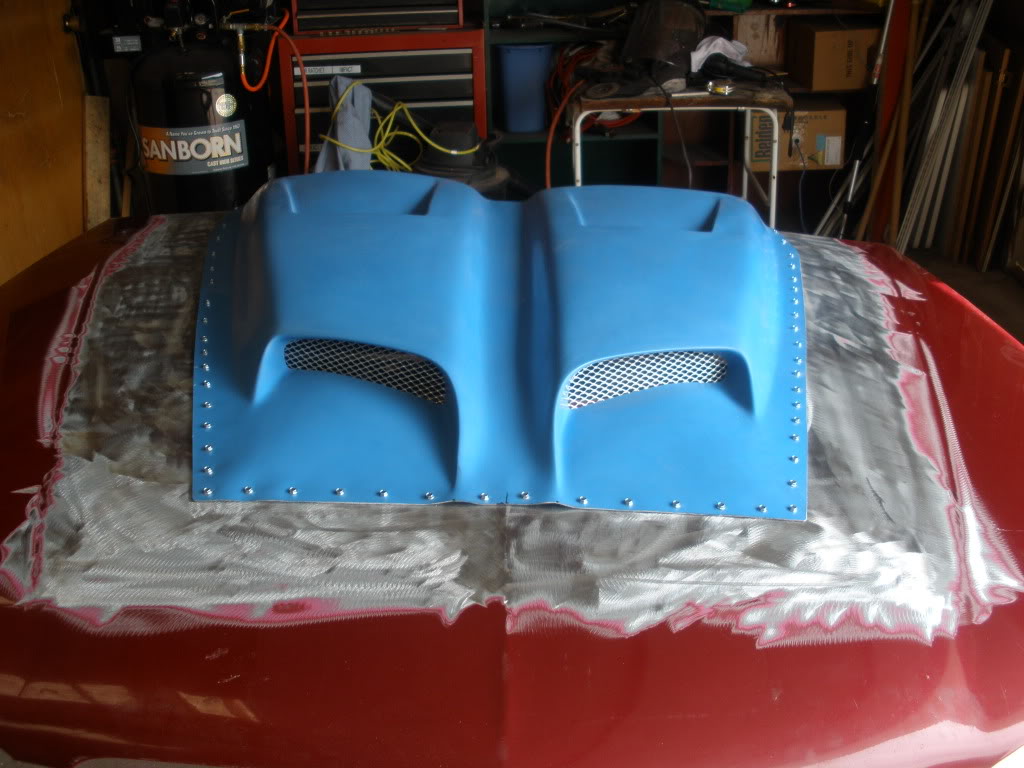
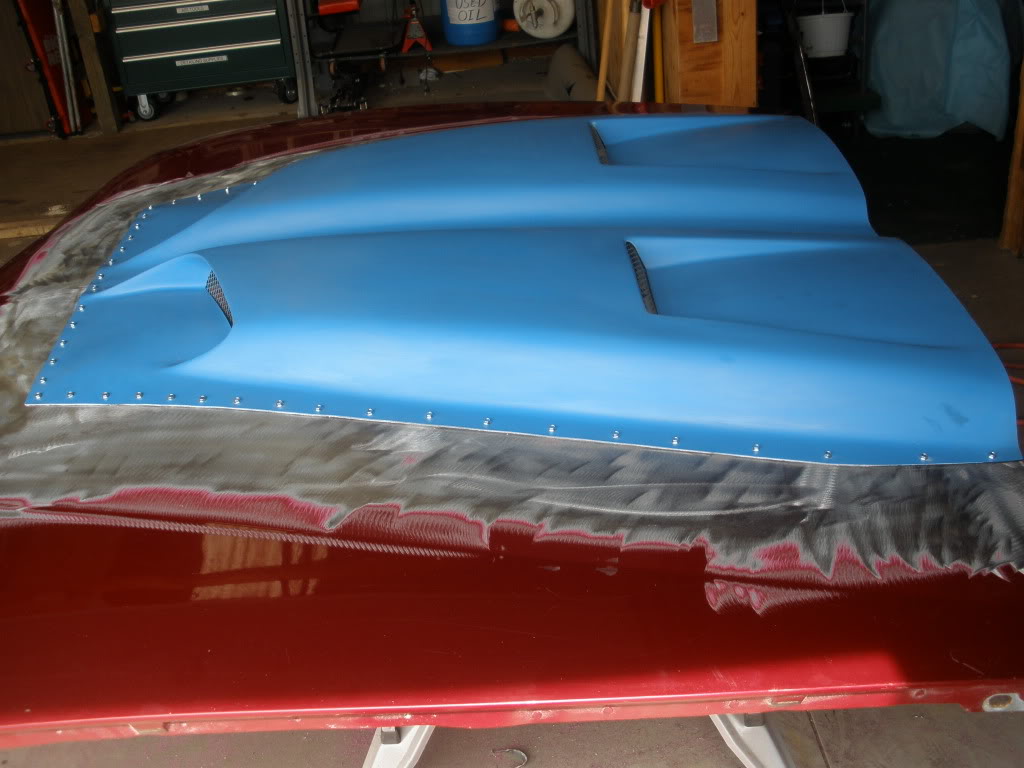
Would have been nice if the makers of the scoops actually got it straight. Guess I'll have to do a little trimming on this side. The other side lines up and it'* all centered.
Name:  P6110023.jpg
Views: 76
Size:  77.5 KB

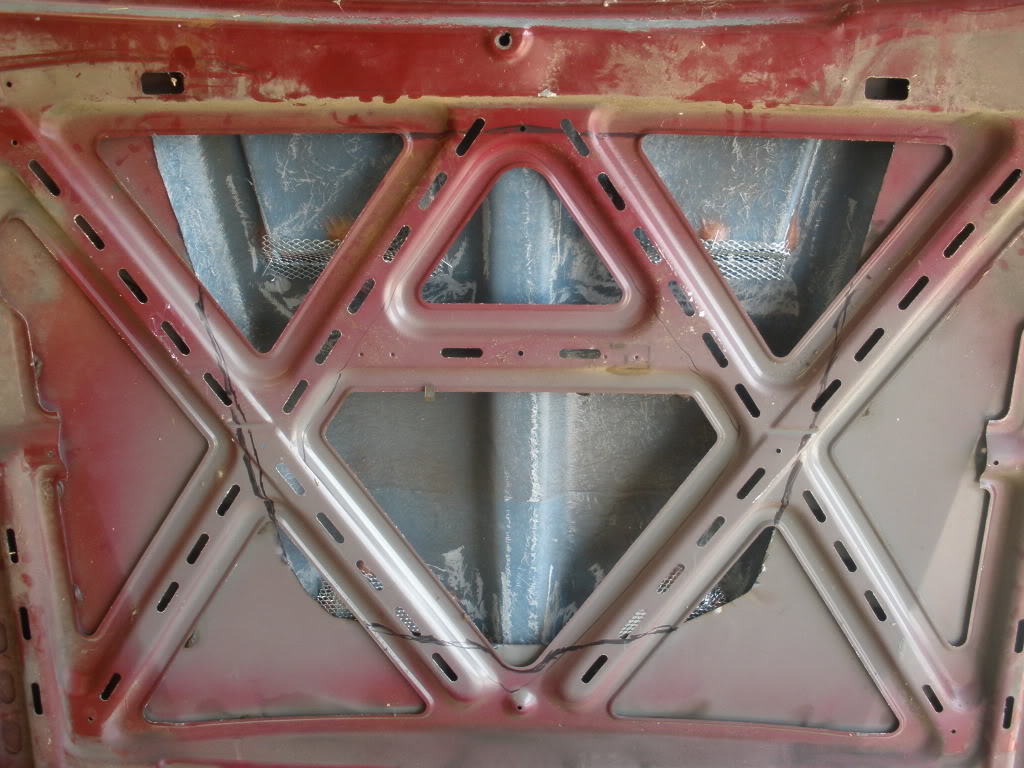
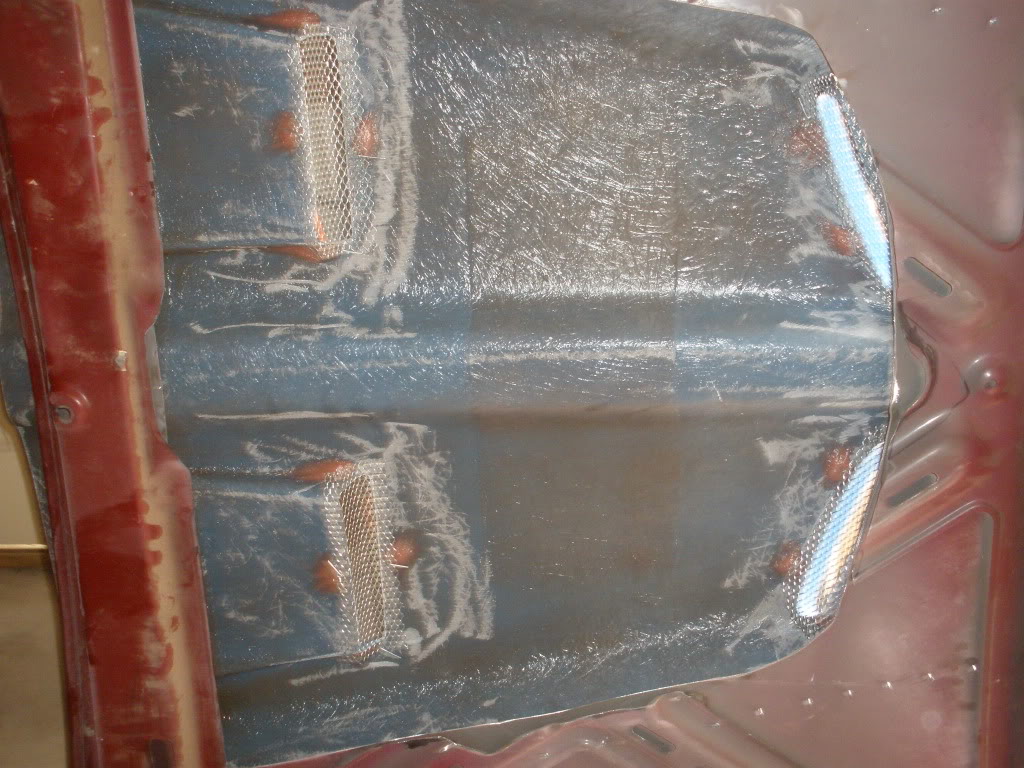
A shot from under. This will all be cleaned up to look real good.
Name:  P6110024.jpg
Views: 70
Size:  180.6 KB
Reply
Old Jun 11, 2009 | 05:29 PM
  #23  
BillBoost37's Avatar
DINOSAURUS BOOSTUS

Expert Gearhead
 
Joined: Mar 2005
Posts: 41,391
Likes: 30
From: Enfield, CT
BillBoost37 is a glorious beacon of lightBillBoost37 is a glorious beacon of lightBillBoost37 is a glorious beacon of lightBillBoost37 is a glorious beacon of lightBillBoost37 is a glorious beacon of lightBillBoost37 is a glorious beacon of light
Default

I realize you've made a lot of progress. Before you go too much further, I was wondering..are you worried about having removed the structure underneath and the hood bending in half when you try to close it?
Reply
Old Jun 11, 2009 | 05:38 PM
  #24  
Danthurs's Avatar
Thread Starter
Retired Senior Admin

Expert Gearhead
 
Joined: May 2006
Posts: 29,661
Likes: 43
From: Sheboygan Wisconsin
Danthurs is a name known to allDanthurs is a name known to allDanthurs is a name known to allDanthurs is a name known to allDanthurs is a name known to allDanthurs is a name known to all
Default

I did not remove all of it, only what was in the way. I plan to add some more support using aluminum bar stock.
Reply
Old Jun 11, 2009 | 06:02 PM
  #25  
tlsheff's Avatar
Okie Hokie
Posts like a Camaro
 
Joined: Dec 2008
Posts: 1,107
Likes: 1
From: Durant, Ok 74701
tlsheff is on a distinguished road
Default

Diggin the work biggin... keep going... more pics... yay!!!!
Reply
Old Jun 11, 2009 | 07:06 PM
  #26  
PaulPool's Avatar
Senior Member
Posts like a Turbo
 
Joined: May 2009
Posts: 257
Likes: 0
From: NJ
PaulPool is on a distinguished road
Default

Work it, dan!

I'm just wondering... won't those screw heads be a pain later? Are you planning to fill it in so much that you'll cover the heads?
Reply
Old Jun 11, 2009 | 08:23 PM
  #27  
Danthurs's Avatar
Thread Starter
Retired Senior Admin

Expert Gearhead
 
Joined: May 2006
Posts: 29,661
Likes: 43
From: Sheboygan Wisconsin
Danthurs is a name known to allDanthurs is a name known to allDanthurs is a name known to allDanthurs is a name known to allDanthurs is a name known to allDanthurs is a name known to all
Default

The screws are there only to hold everything in place while I match the hole and to get it back in the correct place when I attach it with the epoxy. The screws will then be removed and the holes filled in.
Reply
Old Jun 11, 2009 | 08:36 PM
  #28  
Purplehazeir's Avatar
Senior Member
True Car Nut
 
Joined: Sep 2008
Posts: 7,979
Likes: 2
From: Arlington, WA
Purplehazeir is on a distinguished road
Default

Looking great Dan! Keep us posted on your progress....this is going to be awesome.
Reply
Old Jun 11, 2009 | 09:21 PM
  #29  
judgemikdredd's Avatar
Senior Member
Posts like a Turbo
 
Joined: Mar 2009
Posts: 478
Likes: 0
From: Clawson, Michigan
judgemikdredd is on a distinguished road
Default

Originally Posted by Danthurs
The screws are there only to hold everything in place while I match the hole and to get it back in the correct place when I attach it with the epoxy. The screws will then be removed and the holes filled in.

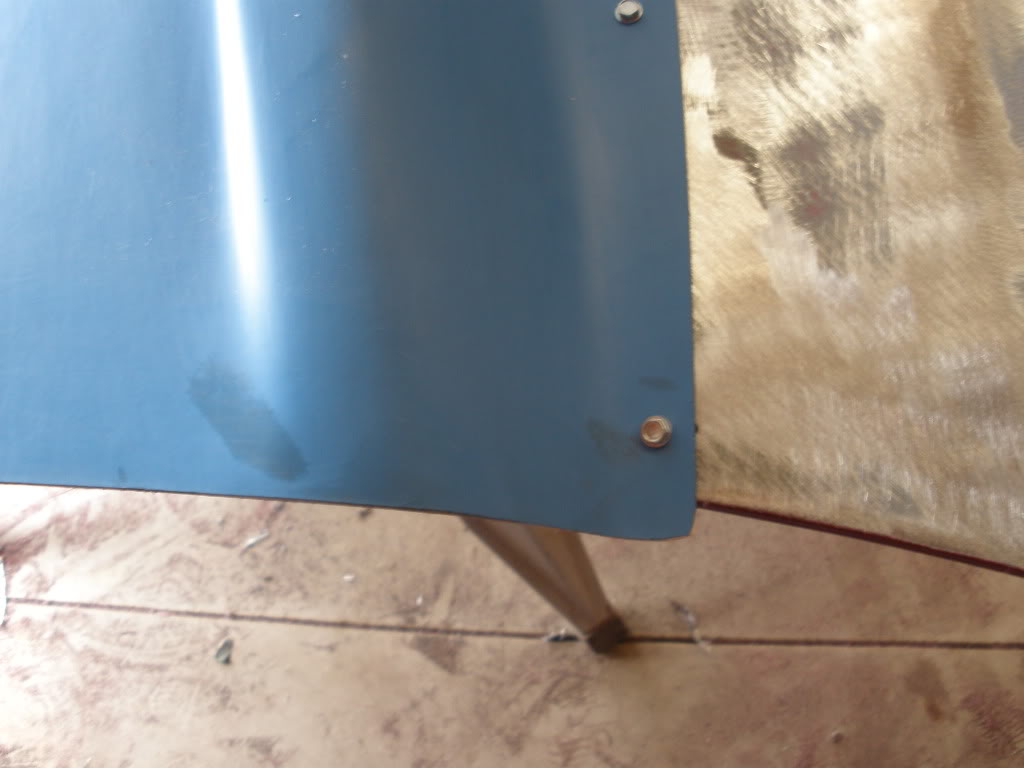
I was wondering how you were going to attach it to the hood. What are you going to do about those little dimple things on the front of the scoop?

p.*. what kind of sander are you using?
Reply
Old Jun 11, 2009 | 09:29 PM
  #30  
Danthurs's Avatar
Thread Starter
Retired Senior Admin

Expert Gearhead
 
Joined: May 2006
Posts: 29,661
Likes: 43
From: Sheboygan Wisconsin
Danthurs is a name known to allDanthurs is a name known to allDanthurs is a name known to allDanthurs is a name known to allDanthurs is a name known to allDanthurs is a name known to all
Default

I'm using panel adhesive. The little dimples I'm not real happy with, but it'* just the way the scoops are. My plan is to build up a bead of epoxy and shape it to fit. I'm sure I'll be using several different sanders.
Reply


All times are GMT -4. The time now is 04:38 PM.