
hello- 1990 Buick Park Avenue 'Ultra' restoration


Thread Starter
Junior Member
Posts like a V-Tak
Joined: Feb 2014
Posts: 26
Likes: 1

Hello everyone - I have hit a roadblock concerning one of my mini-projects for my car.
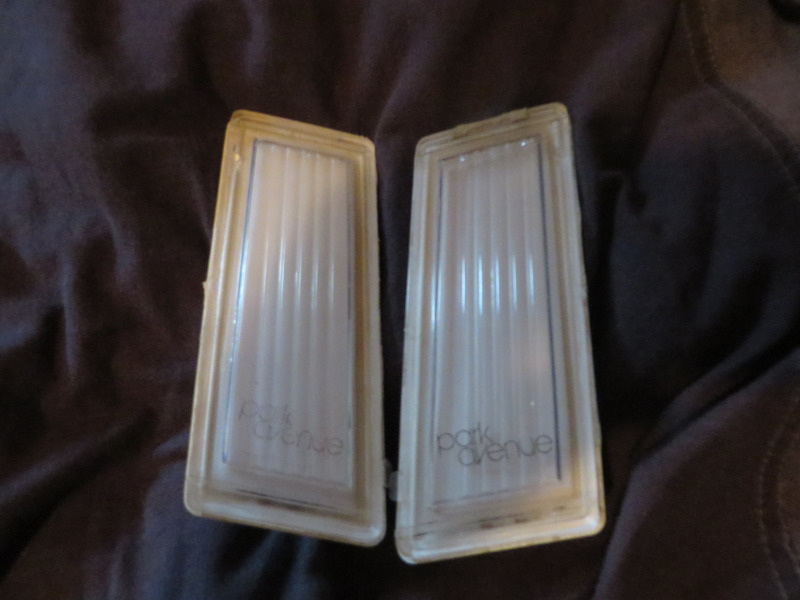
I have no idea how to open up the carriage/opera lights casings. I have managed to obtain an extra set of carriage lights that I want to rebuild (by buying a new electroluminescent panel and replacing the older EL bulbs), however I have no idea how to open the casings without destroying the flimsy/aged plastic.
They seem to be glued together rather then simply clipped together. I have tried using an X-Acto knife with little luck. Here are some pics if anyone is curious...this might be beyond my abilities.....my car would look neat if I could get these lights to work


Senior Member
True Car Nut
Joined: Jun 2003
Posts: 7,270
Likes: 461
From: Las Cruces, NM

I stumbled across this in my journeys: Rebuild Your Car'* EL (electroluminescent) Lights!
This is something I never recall being addressed on this forum however.
This is something I never recall being addressed on this forum however.
Thread Starter
Junior Member
Posts like a V-Tak
Joined: Feb 2014
Posts: 26
Likes: 1
Yes I was happy when I found that tutorial, it seems like he faced the same problems that I did.....he just seems better at it then I do lol
I have tried the utility/X-Acto knife route but it hasn't been easy...It appears the covers were sealed using a system 'Ultra welding' https://en.wikipedia.org/wiki/Ultrasonic_welding
I looked online and it sound like a heated knife might work?
I have tried the utility/X-Acto knife route but it hasn't been easy...It appears the covers were sealed using a system 'Ultra welding' https://en.wikipedia.org/wiki/Ultrasonic_welding
I looked online and it sound like a heated knife might work?
Last edited by 1990buickultra; Jul 11, 2015 at 03:38 PM.
Senior Member


True Car Nut
Joined: Jun 2011
Posts: 3,467
Likes: 589
From: VA
Maybe this idea would help.
Make a Hot Knife using a soldering iron
Not sure how you will seal it back though.
Make a Hot Knife using a soldering iron
Not sure how you will seal it back though.
Senior Member
True Car Nut
Joined: Jun 2003
Posts: 7,270
Likes: 461
From: Las Cruces, NM
Are you planning on restoring as original, or going for LED retrofit? The latter seems like a cheaper and easier method, where as the former would hold true to the original. If the latter, I would be inclined to cut the back with a rotary tool, drop in a diffuser, lay LED'*, and then seal it back up. Splitting it open on the original seam seems like risky work. I would reserve the restoration of original equipment for the museum quality garage queens.
Thread Starter
Junior Member
Posts like a V-Tak
Joined: Feb 2014
Posts: 26
Likes: 1
Are you planning on restoring as original, or going for LED retrofit? The latter seems like a cheaper and easier method, where as the former would hold true to the original. If the latter, I would be inclined to cut the back with a rotary tool, drop in a diffuser, lay LED'*, and then seal it back up. Splitting it open on the original seam seems like risky work. I would reserve the restoration of original equipment for the museum quality garage queens.
In terms of styling, I am on the fence about LED'* vs EL - considering my age- I have never seen a functional EL carriage/opera light on a car. I always felt strange about having EL lights on such a traditional vehicle (perhaps they look okay- someone will have to chime in)
LED'* - I would like to see what it would look like before going that route.
I have slight good news though- I managed to successfully open one! and destroy the other

*note* GM has separate part numbers for the left and right- they are different shapes and not interchangeable

 it was really tough glue - *note* I tried opening this one after I successfully opened the first one, so you think I would have the technique down
 Success!


Last edited by 1990buickultra; Jul 12, 2015 at 03:43 PM.
Thread Starter
Junior Member
Posts like a V-Tak
Joined: Feb 2014
Posts: 26
Likes: 1
Some minor setbacks
I was driving on the highway last week when I heard a strange noise that would disappear as I slowed down.....I didn't think anything of it until I saw my right hand 'drip panel' - 'chrome trim that goes along the base on my vinyl roof flapping in the wind.
As it turned out the center small chrome trim piece that helps hold this piece together had fallen off the car while at highway speed. I have since ordered another piece but the unfortunate problem is that my drip panel is now bent out of shape (used some trim adhesive to reattach - will see if it holds up)


Another issue I discovered is that I have a bit of a water leak in my car - rear drivers side seating area (left side) behind the seat cushions - not sure where it is coming from but it is damp behind the leather cushions on the one side - not sure what the best solution for this will be - you cant really see it but it is damp

good news is that I found a cheap trunk emblem replacement!

Senior Member
True Car Nut
Joined: Jun 2011
Posts: 3,467
Likes: 589
From: VA
It is tough tracking those leaks down, I have had a leak for a while now, and need to remove my seats, all carpeting, and have somebody hose the car down good as I set inside to look for the leaking locations.
My guess for my leak is the wiper/cowl area, or somehow from some window trim.
Good luck finding that leak, you may need to remove the seats, carpet, and some trim here and there, then have the car hosed down and hope you can see the leaking area.
My guess for my leak is the wiper/cowl area, or somehow from some window trim.
Good luck finding that leak, you may need to remove the seats, carpet, and some trim here and there, then have the car hosed down and hope you can see the leaking area.