
67 Camaro stereo build.


Thread Starter
Junior Member
Posts like a Ricer Type-R
Joined: Aug 2012
Posts: 18
Likes: 0

Had this over on SMD so I figured I would toss this buildup over on here. Buddy of mine wanted to see it posted up on here so here we are. Figured some of you guys would enjoy a little look into a build up of a very fun car to drive.
The gear will be:
DC 2.0
DC 175.4
DC LVL4 XL 15
DC LVL 2 8'*
RE XXX comps
Alpine X305 Deck
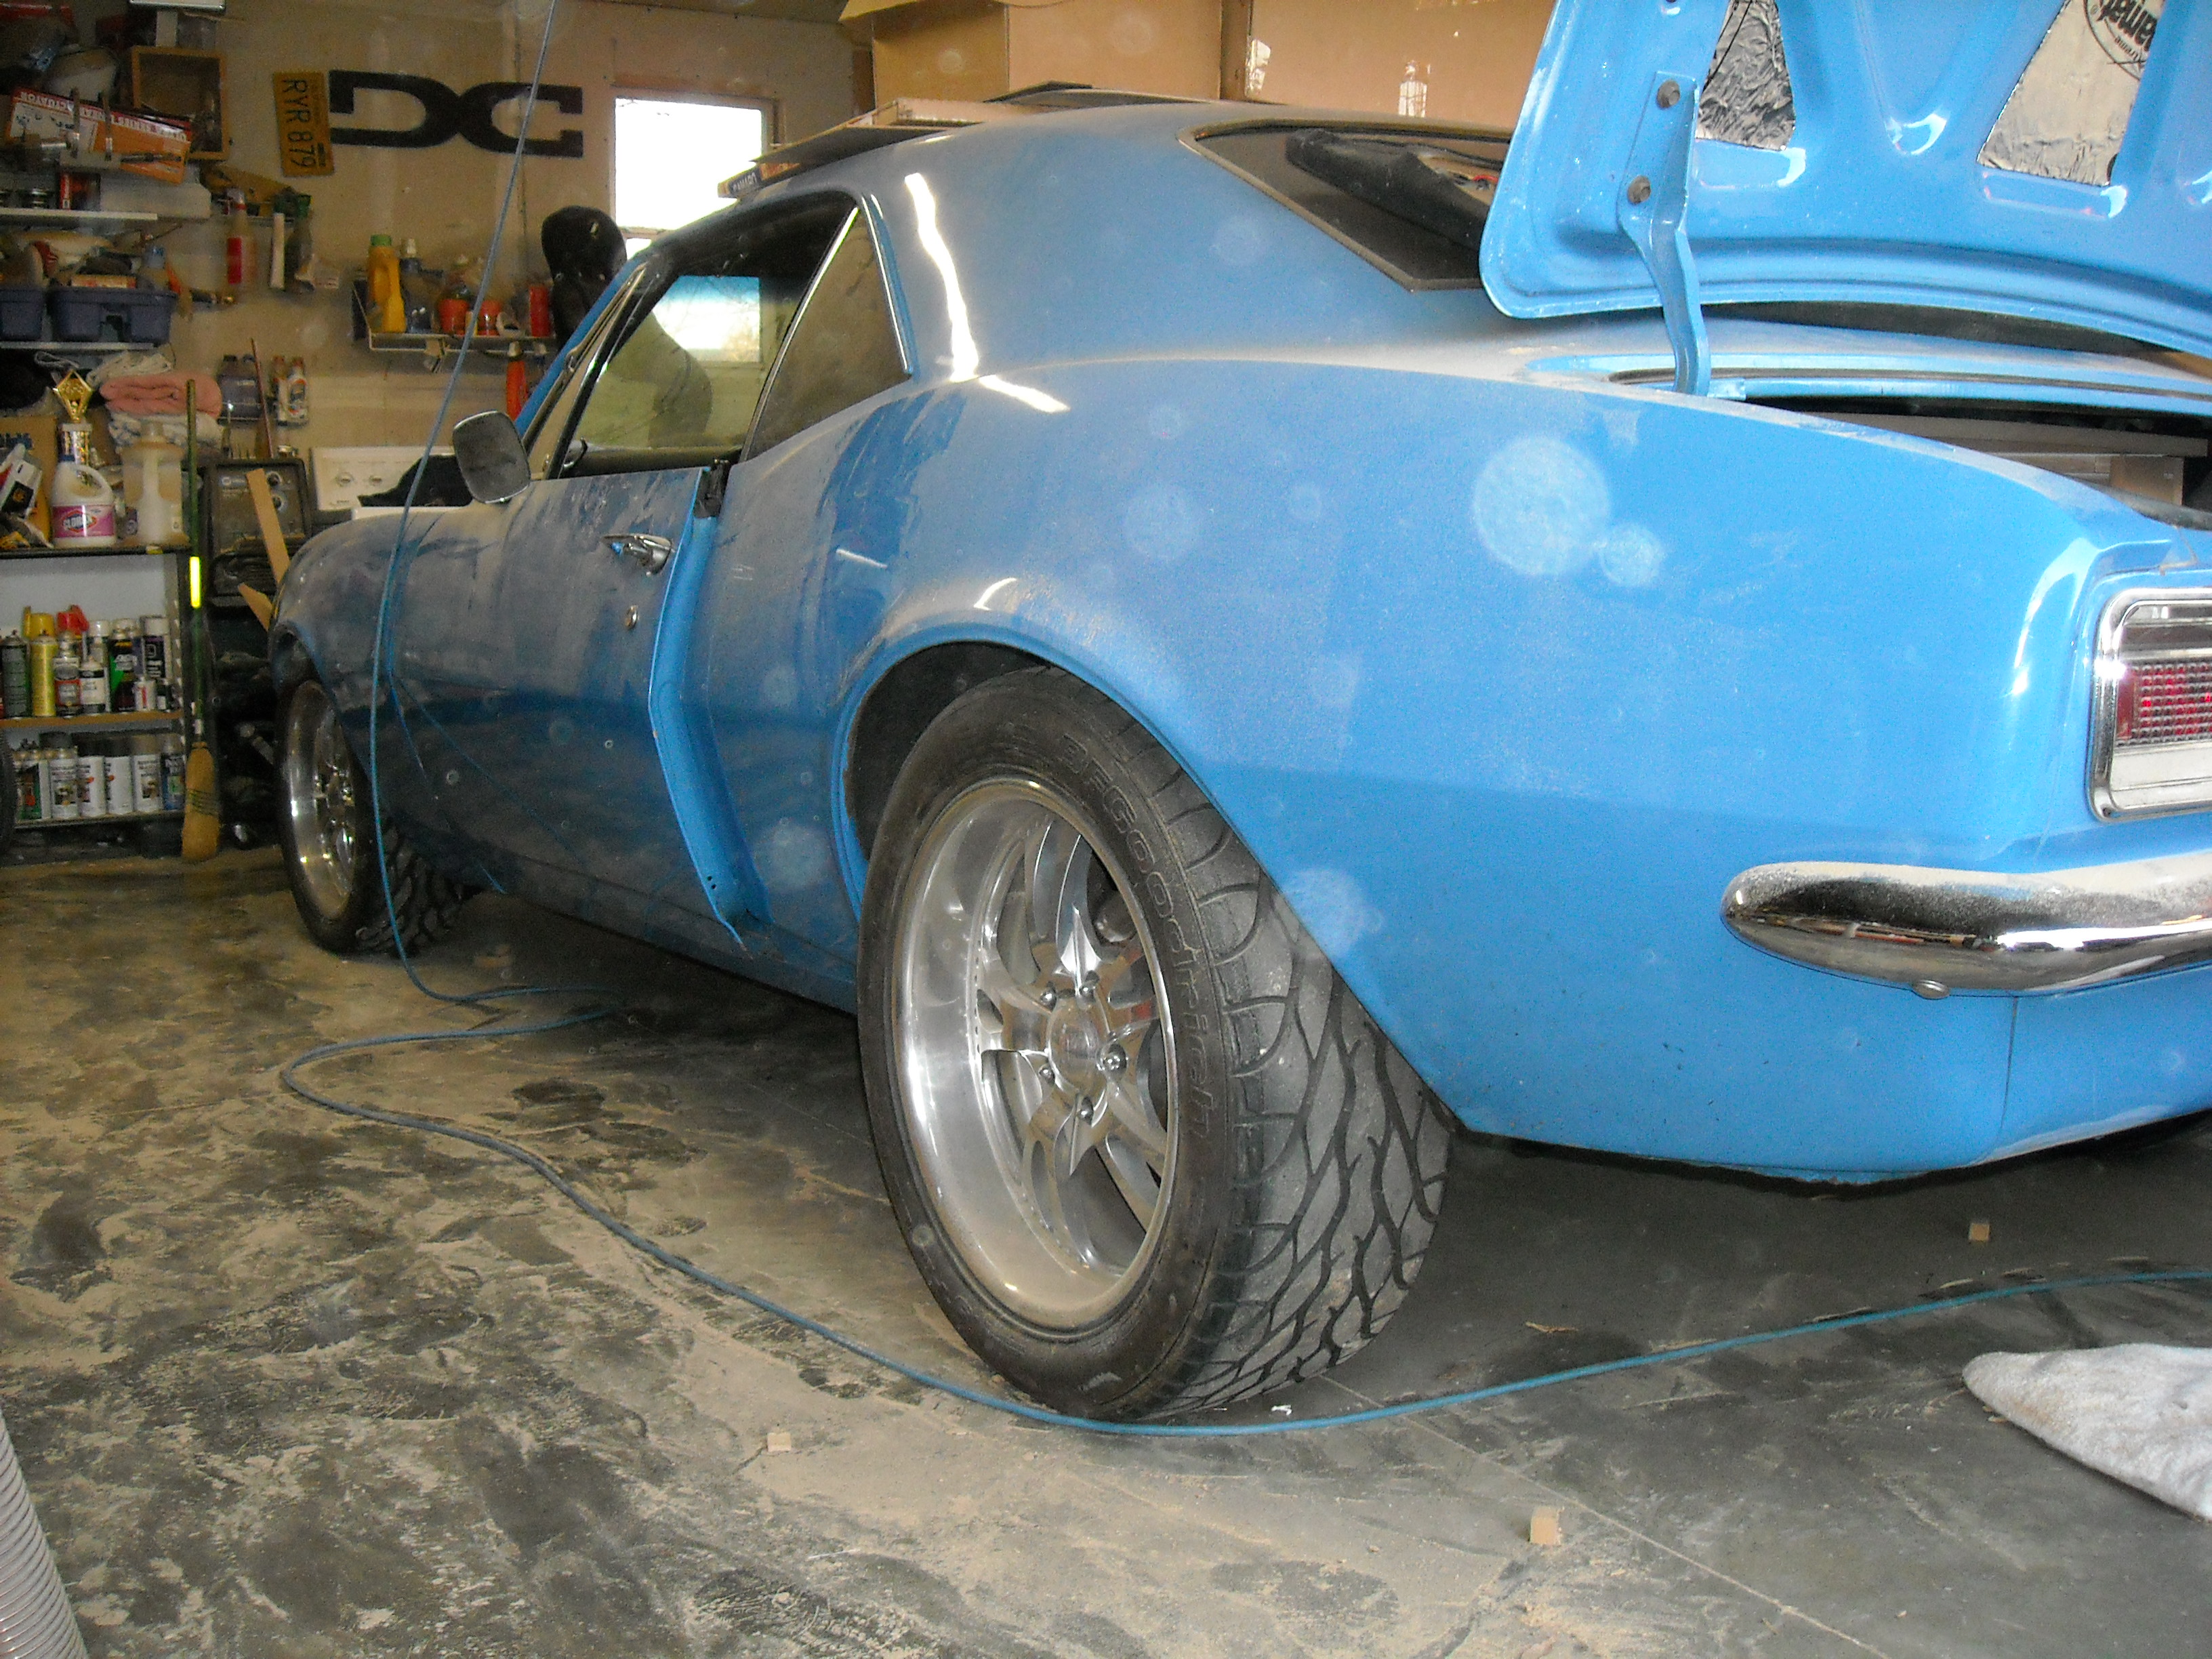
Here she is when she came in. Up until now, the owner has done all the work on this car himself. It started out as a very rough shell of a car and he brought it up to where it is today. Some things worked out very well, a few others needed a little more finishing He'* a good friend of mine that allowed me to have full range on his car where i saw fit.

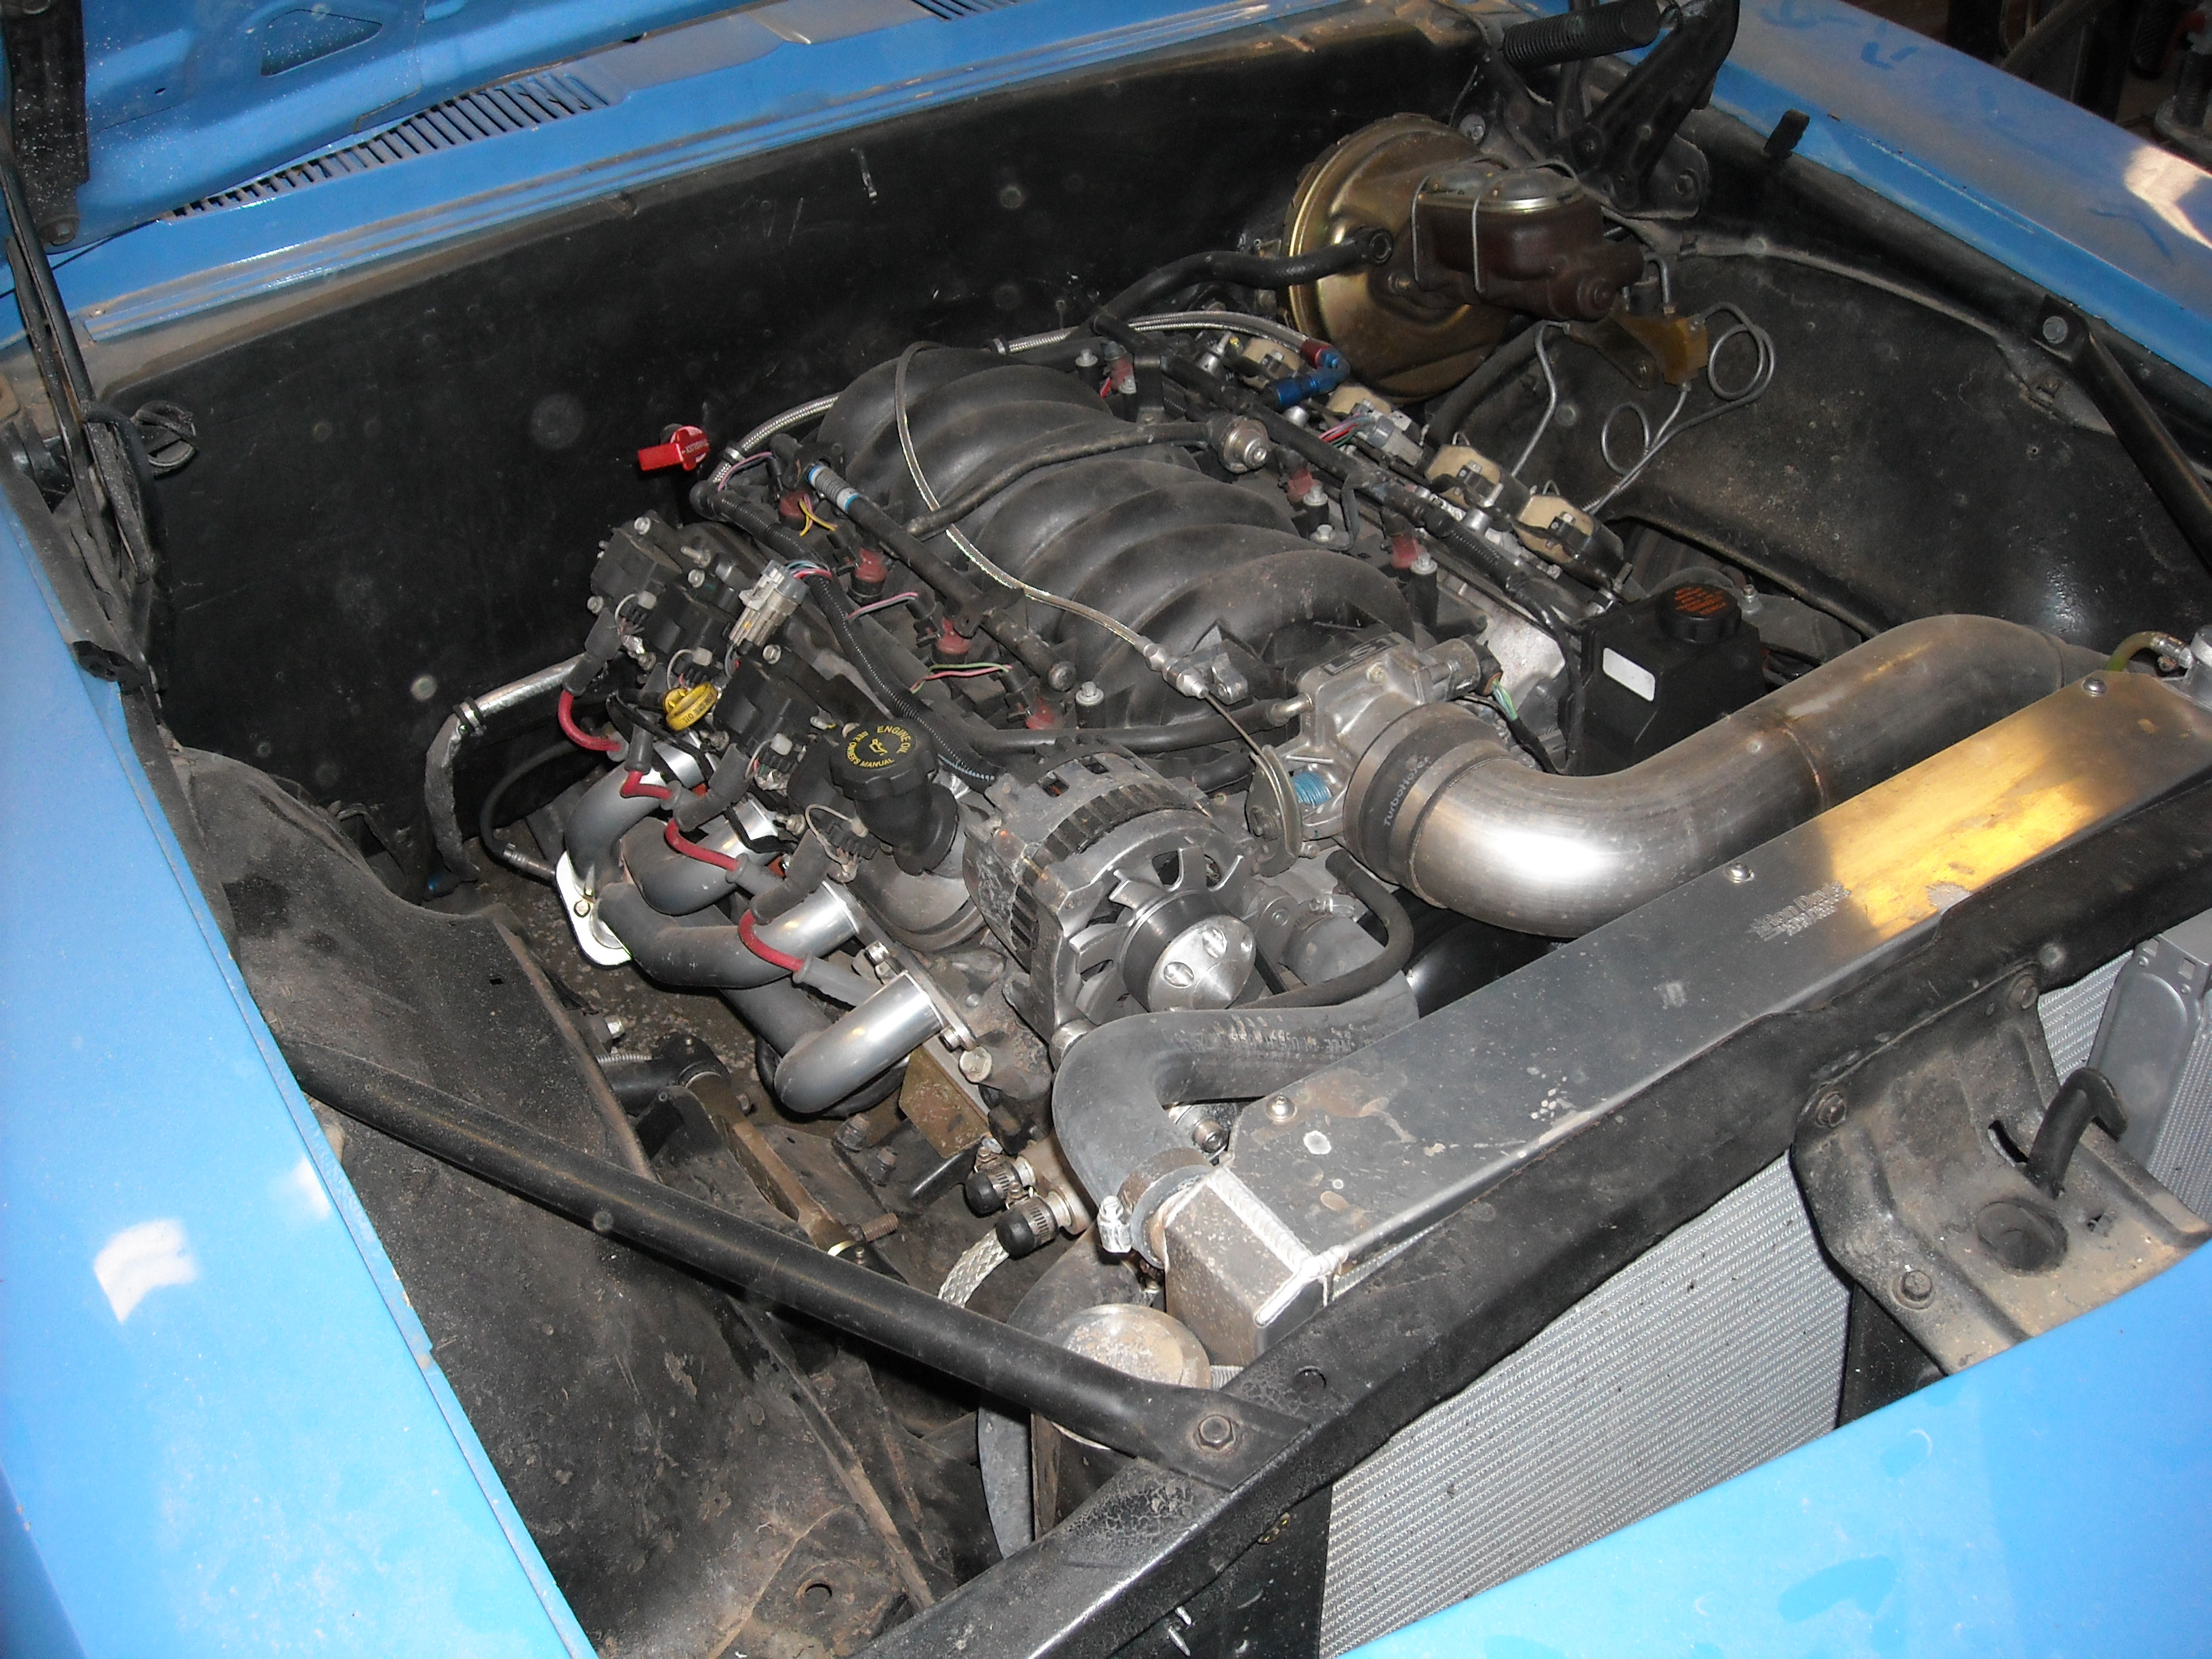
Very nice and neat LS-1 tucked away under the hood.
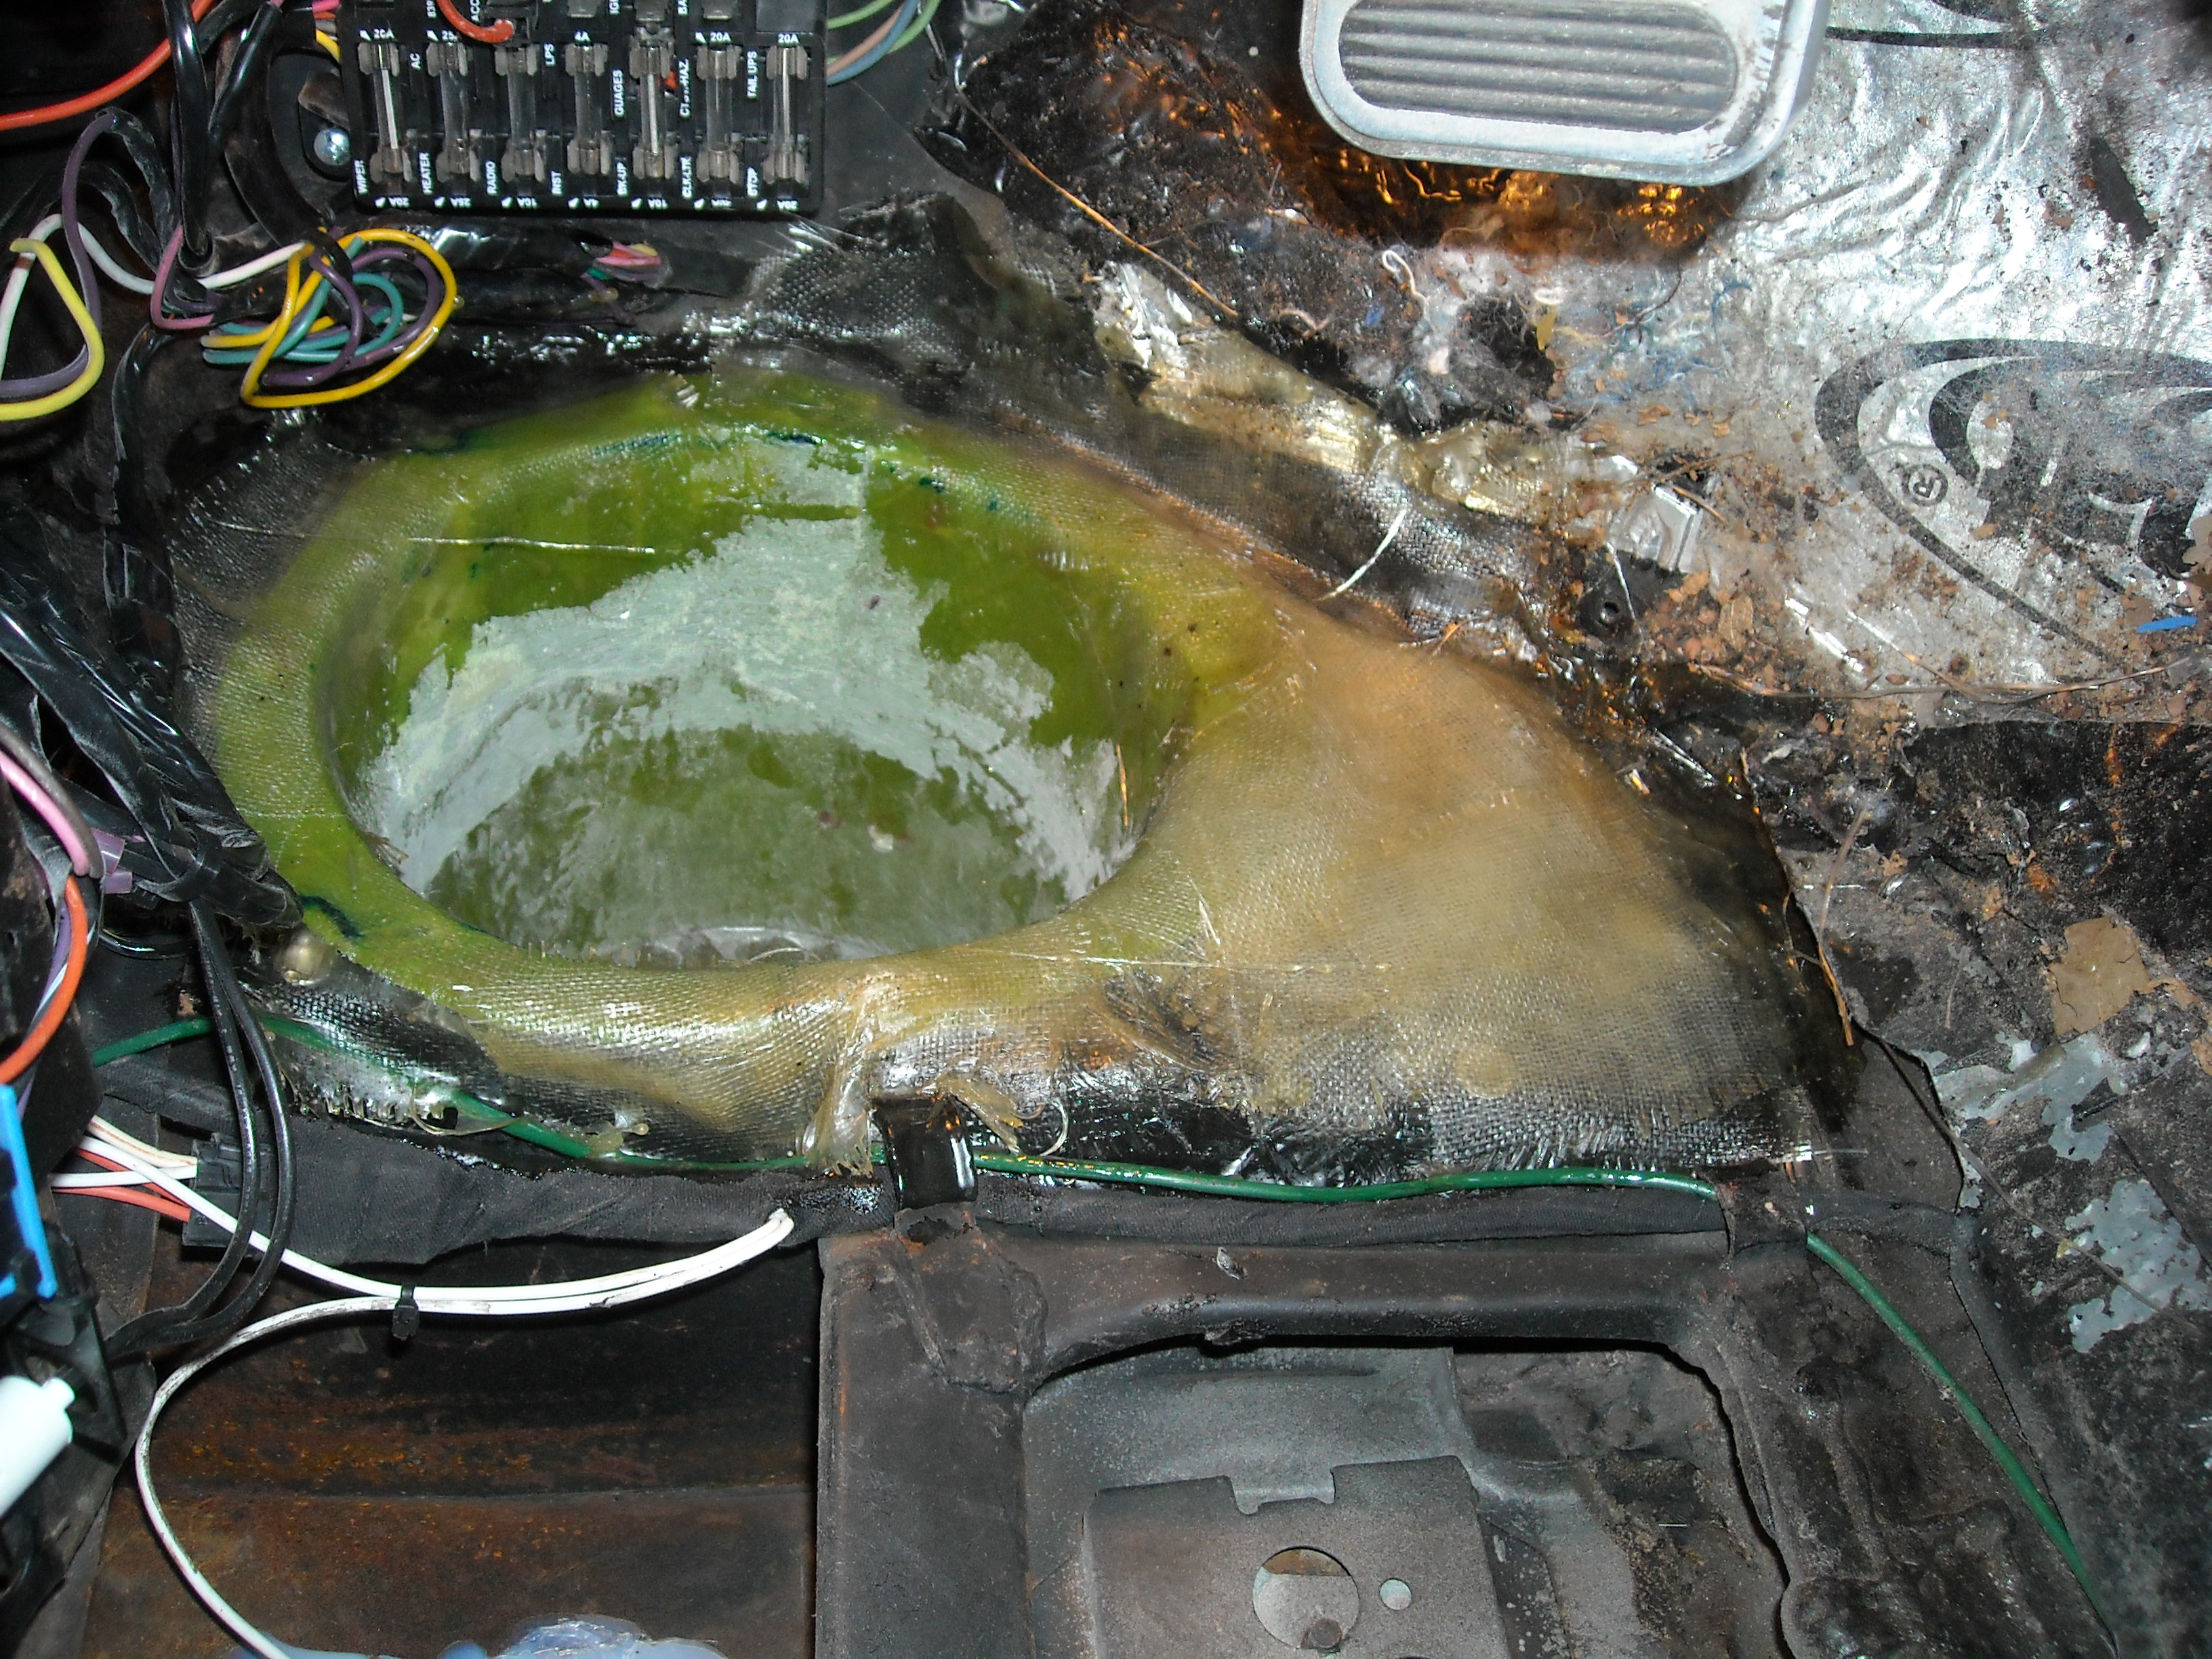
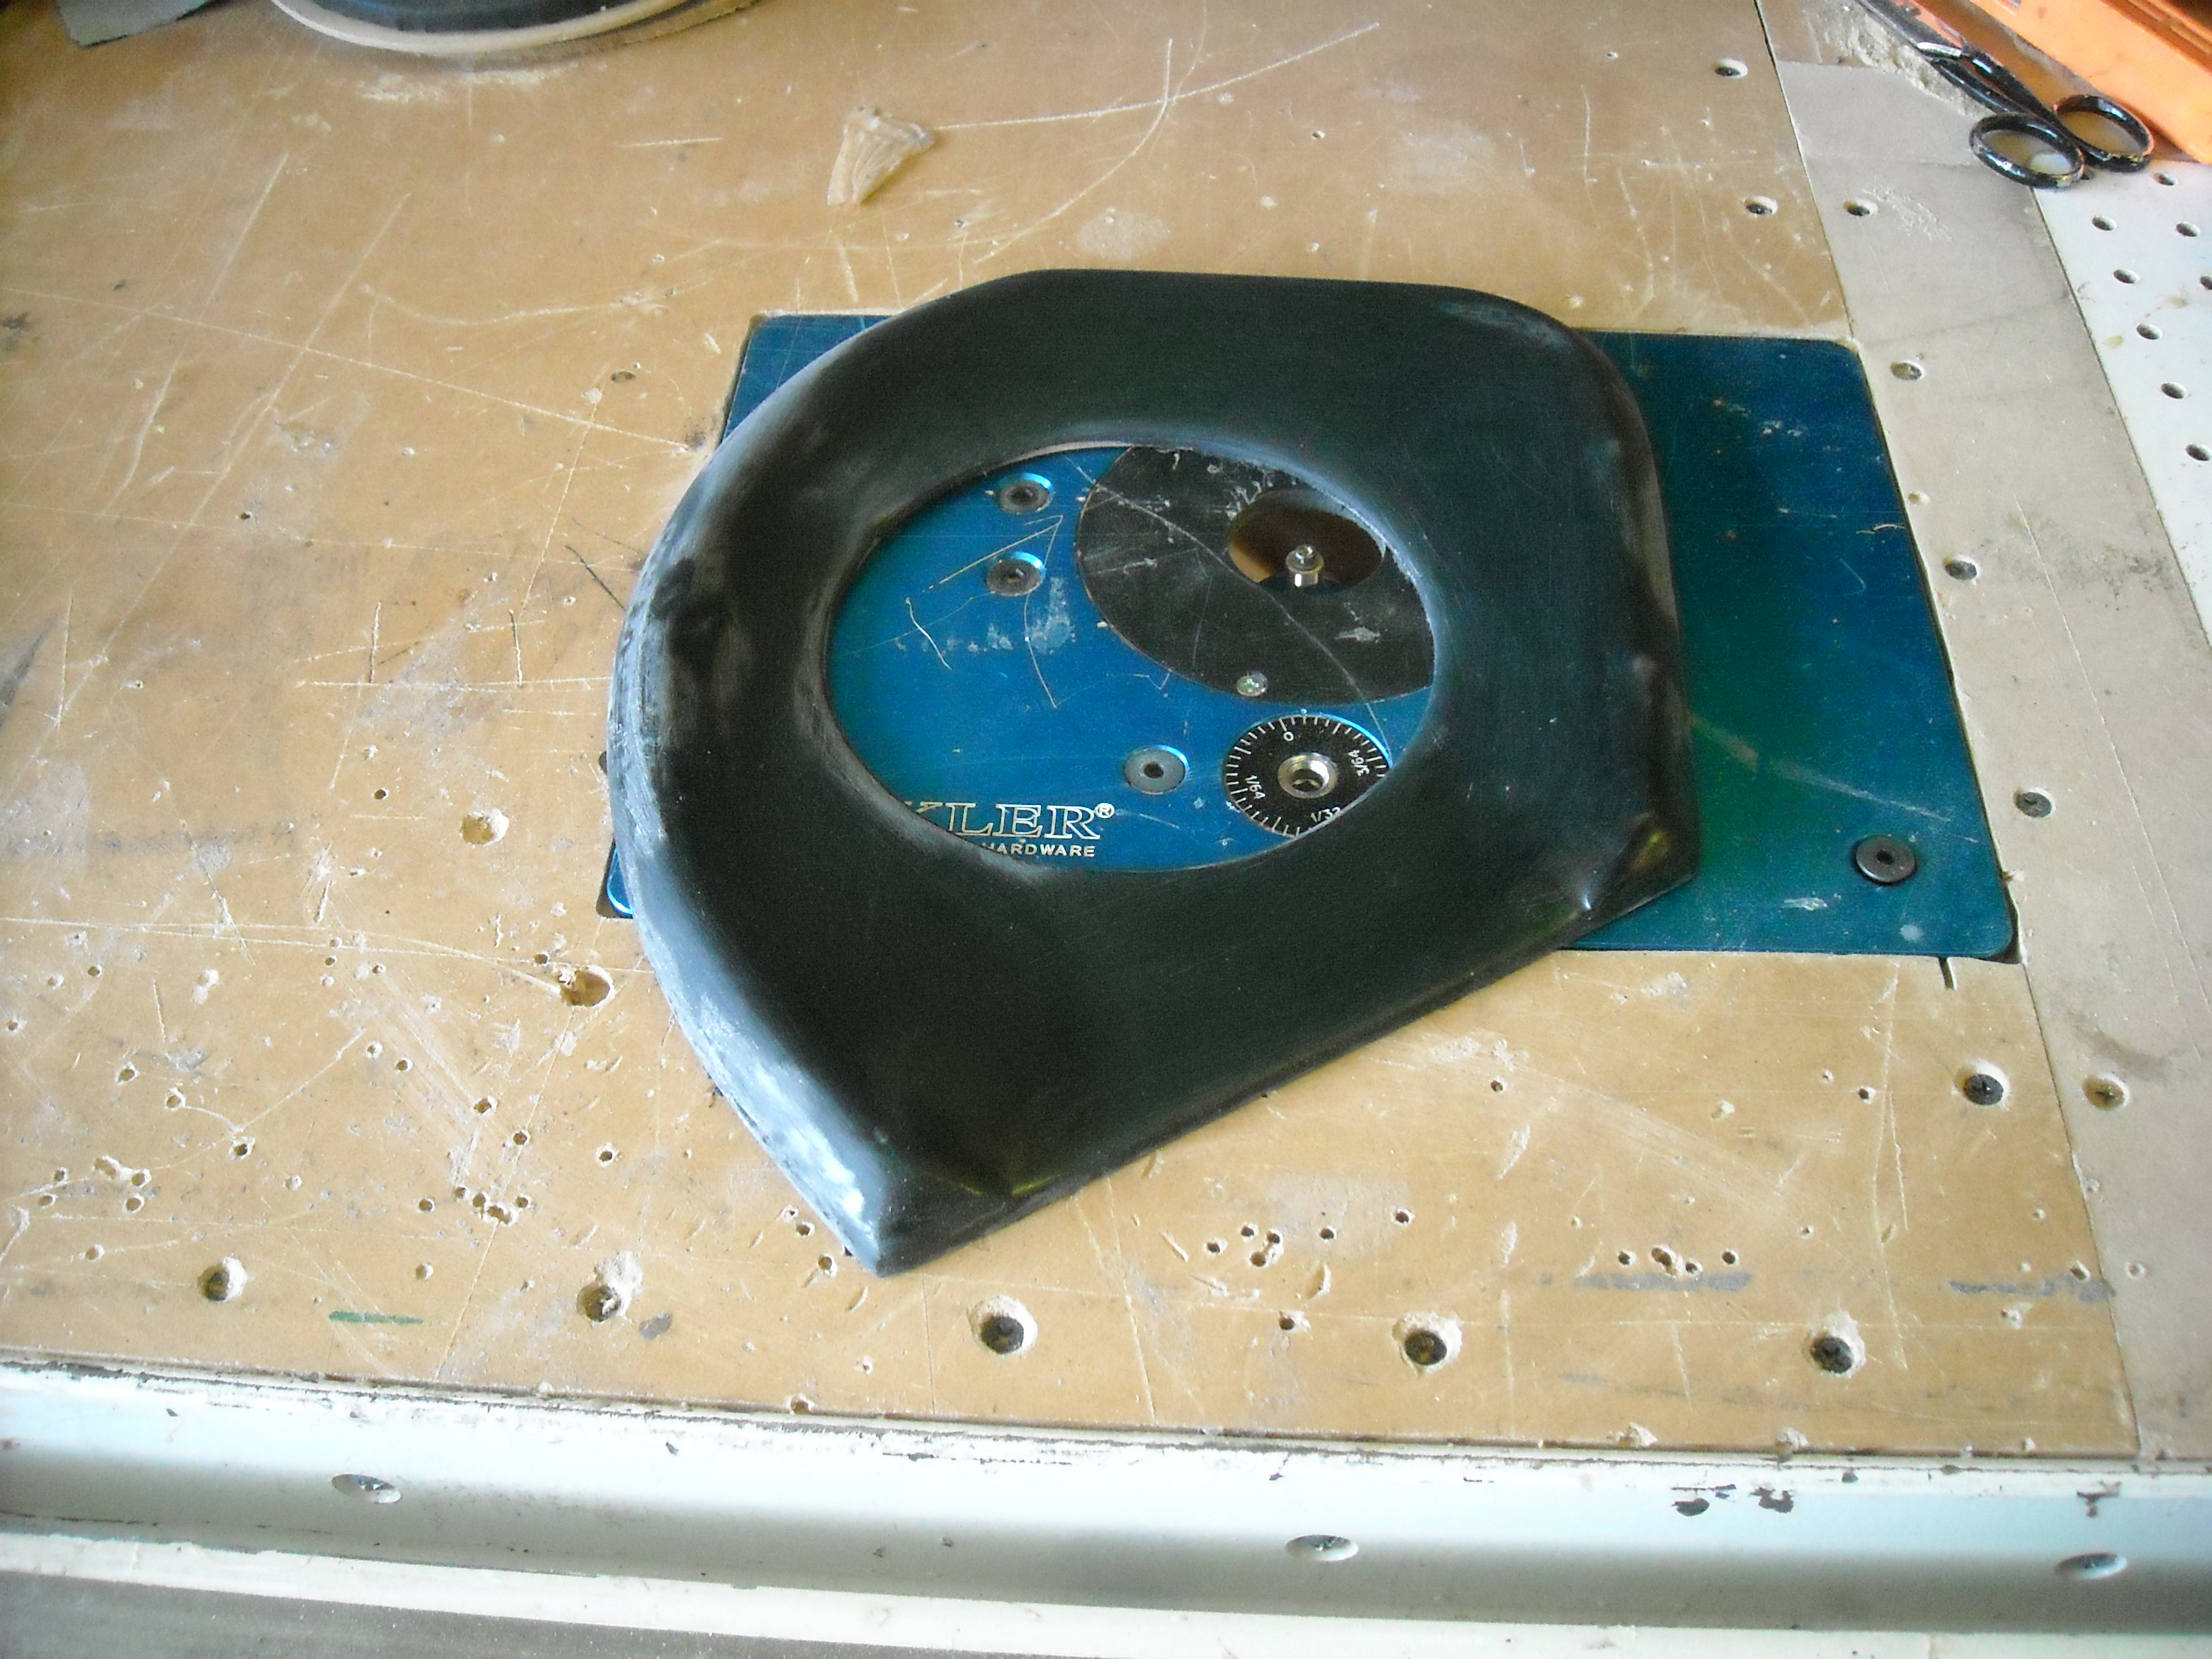
His heart was in the right place when he decided to customize the dash. Given it was his first and only attempt, I can't beat him up about it.

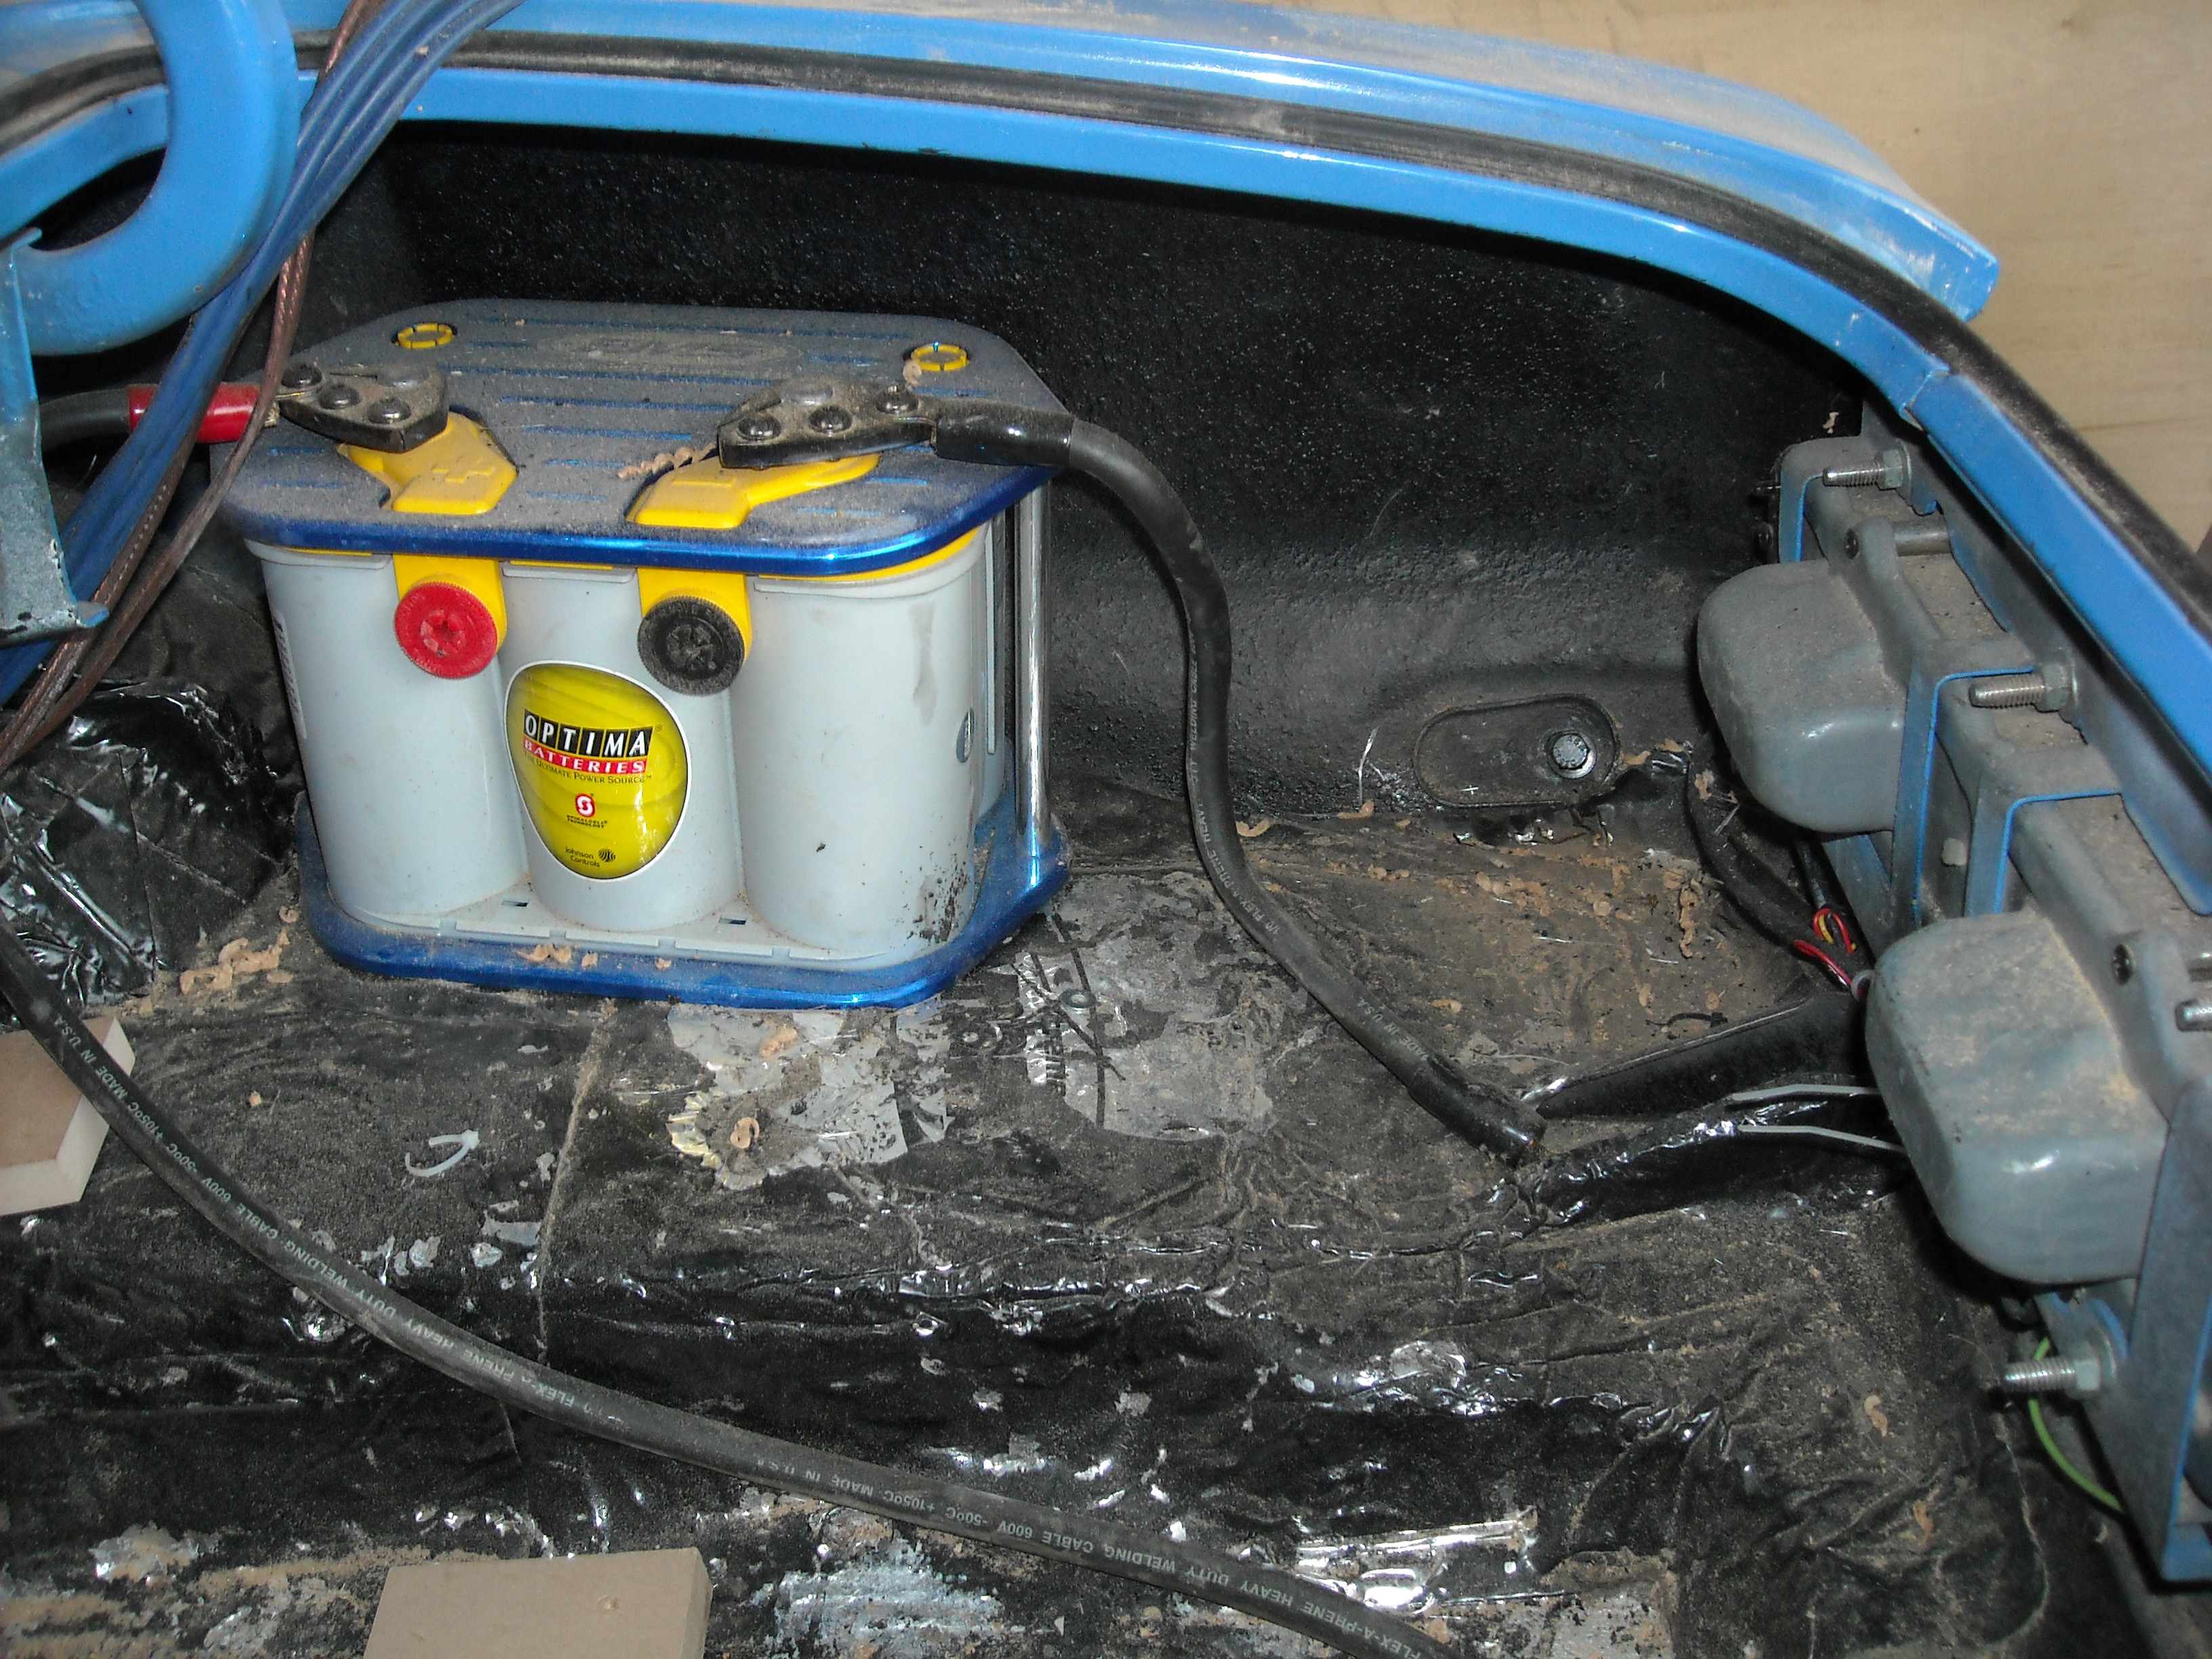
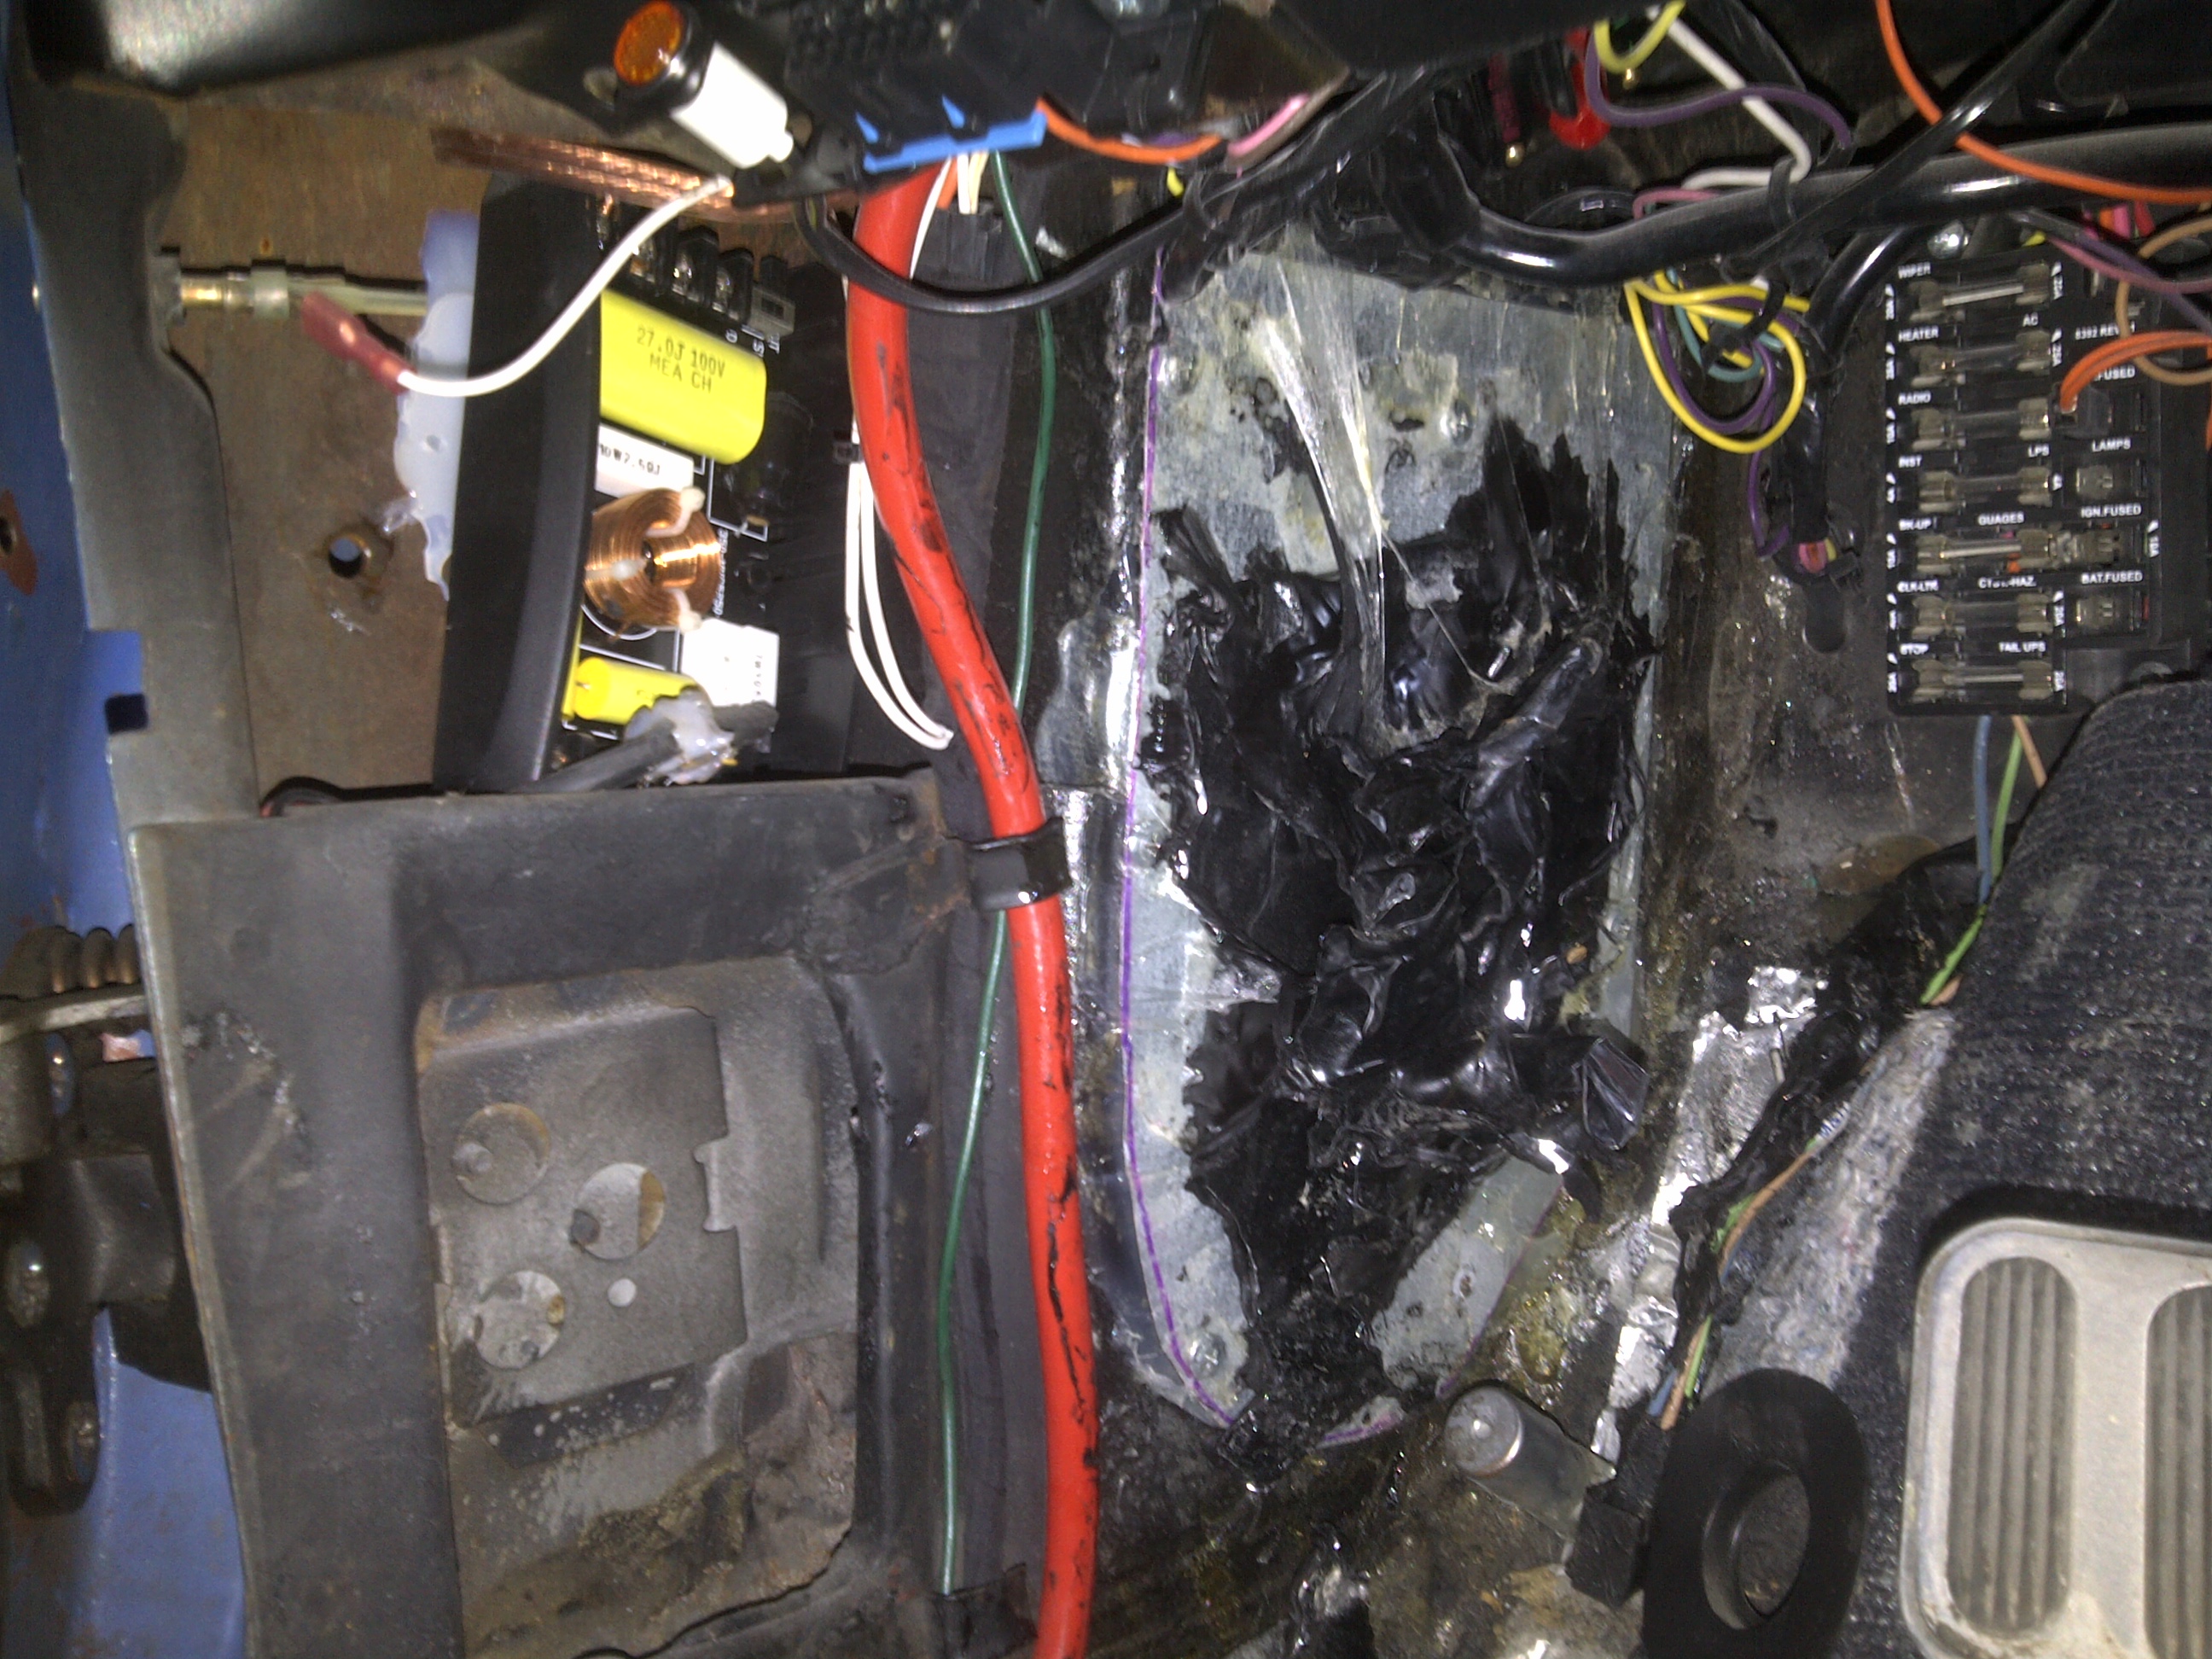
Couple of house cleaning things to address in the wiring.

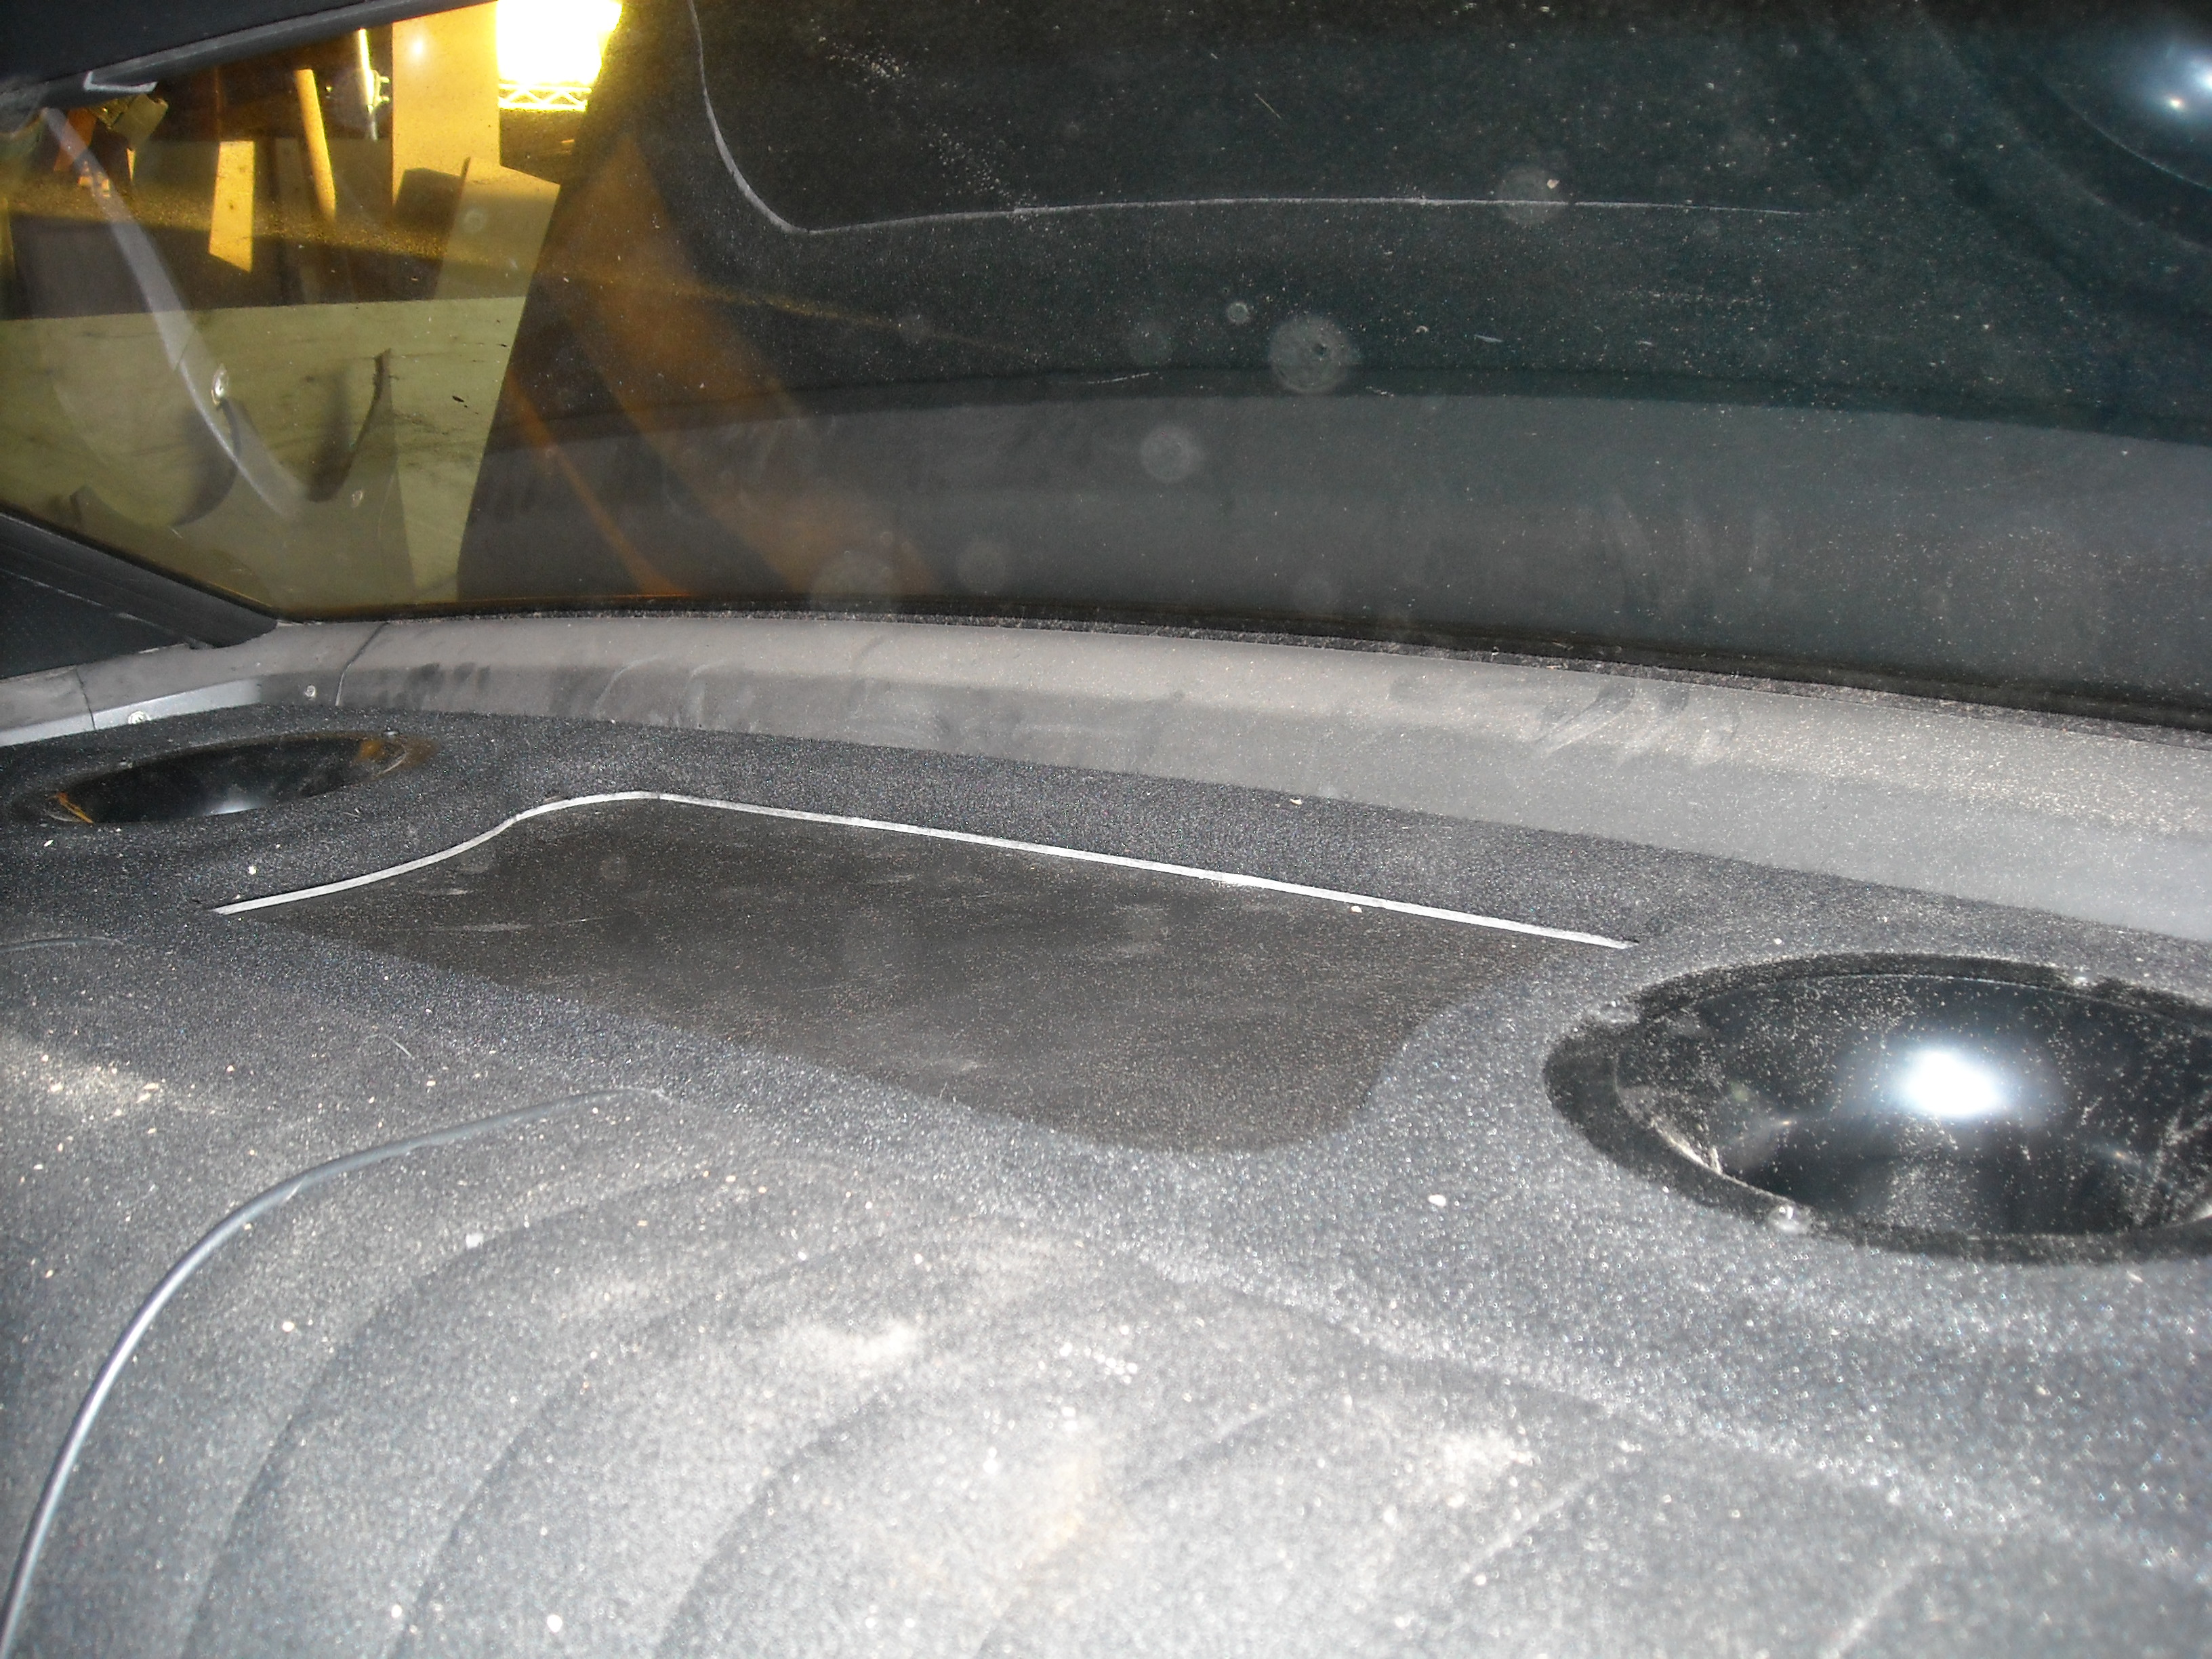
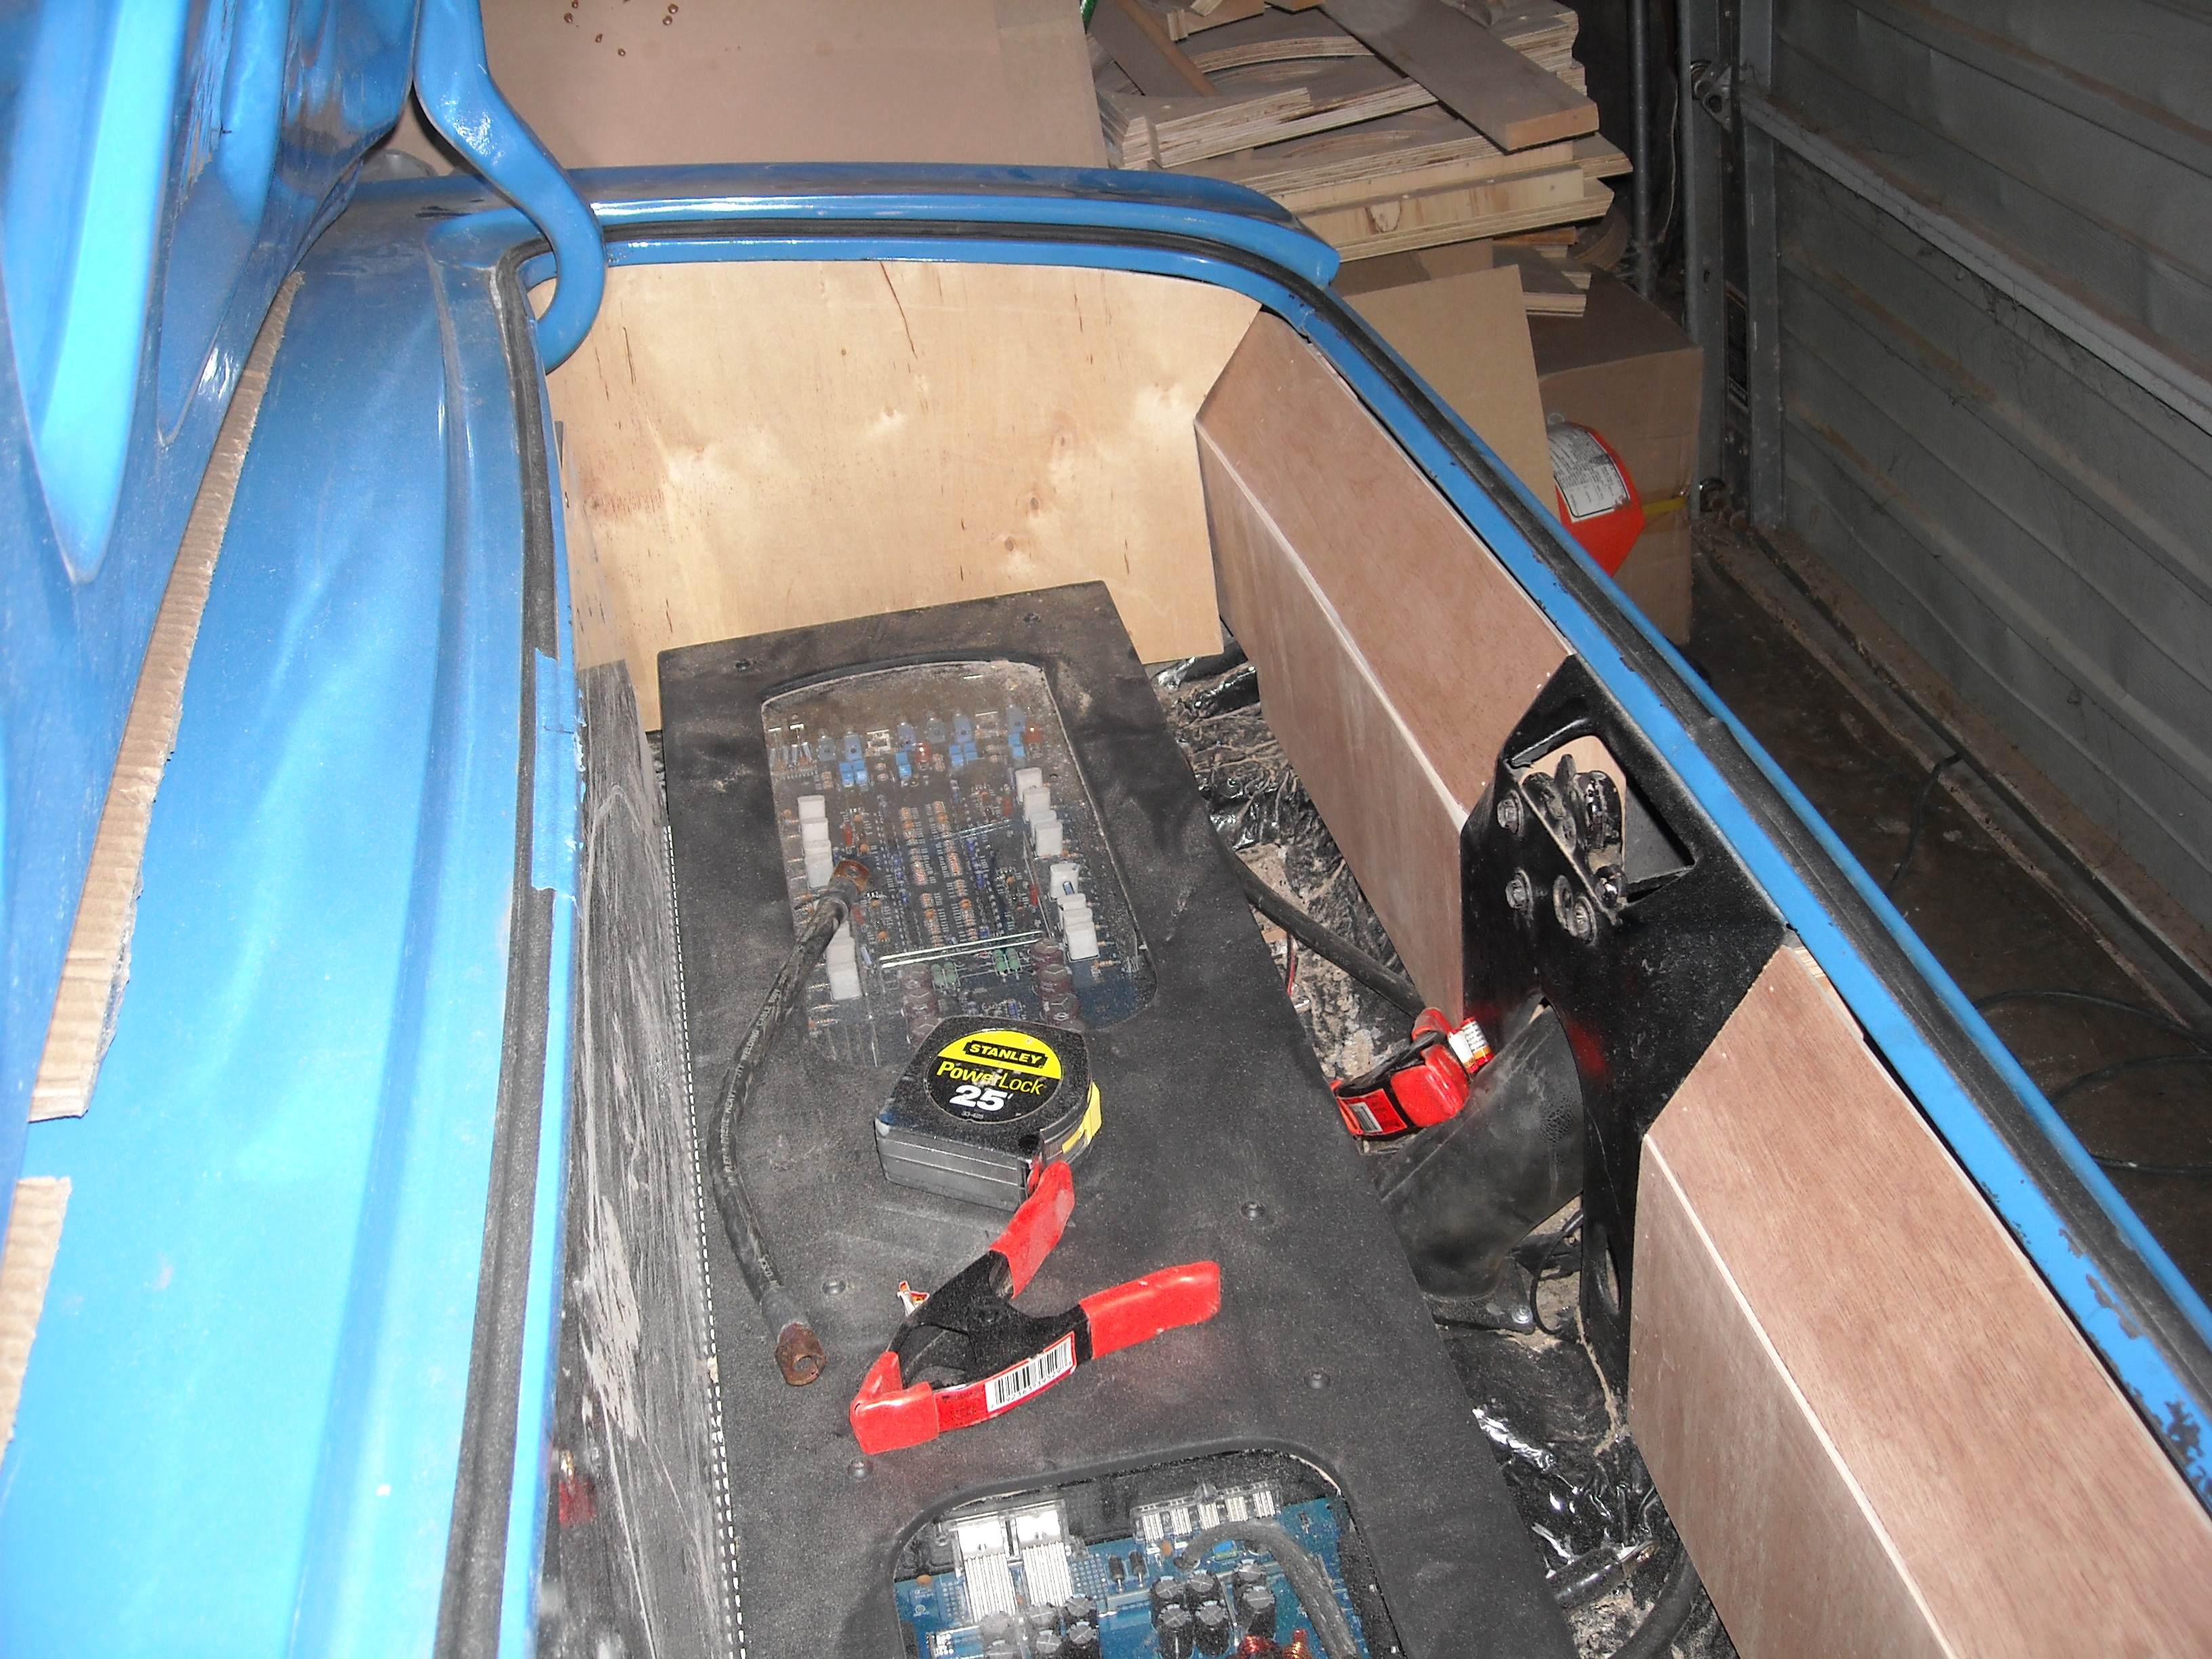
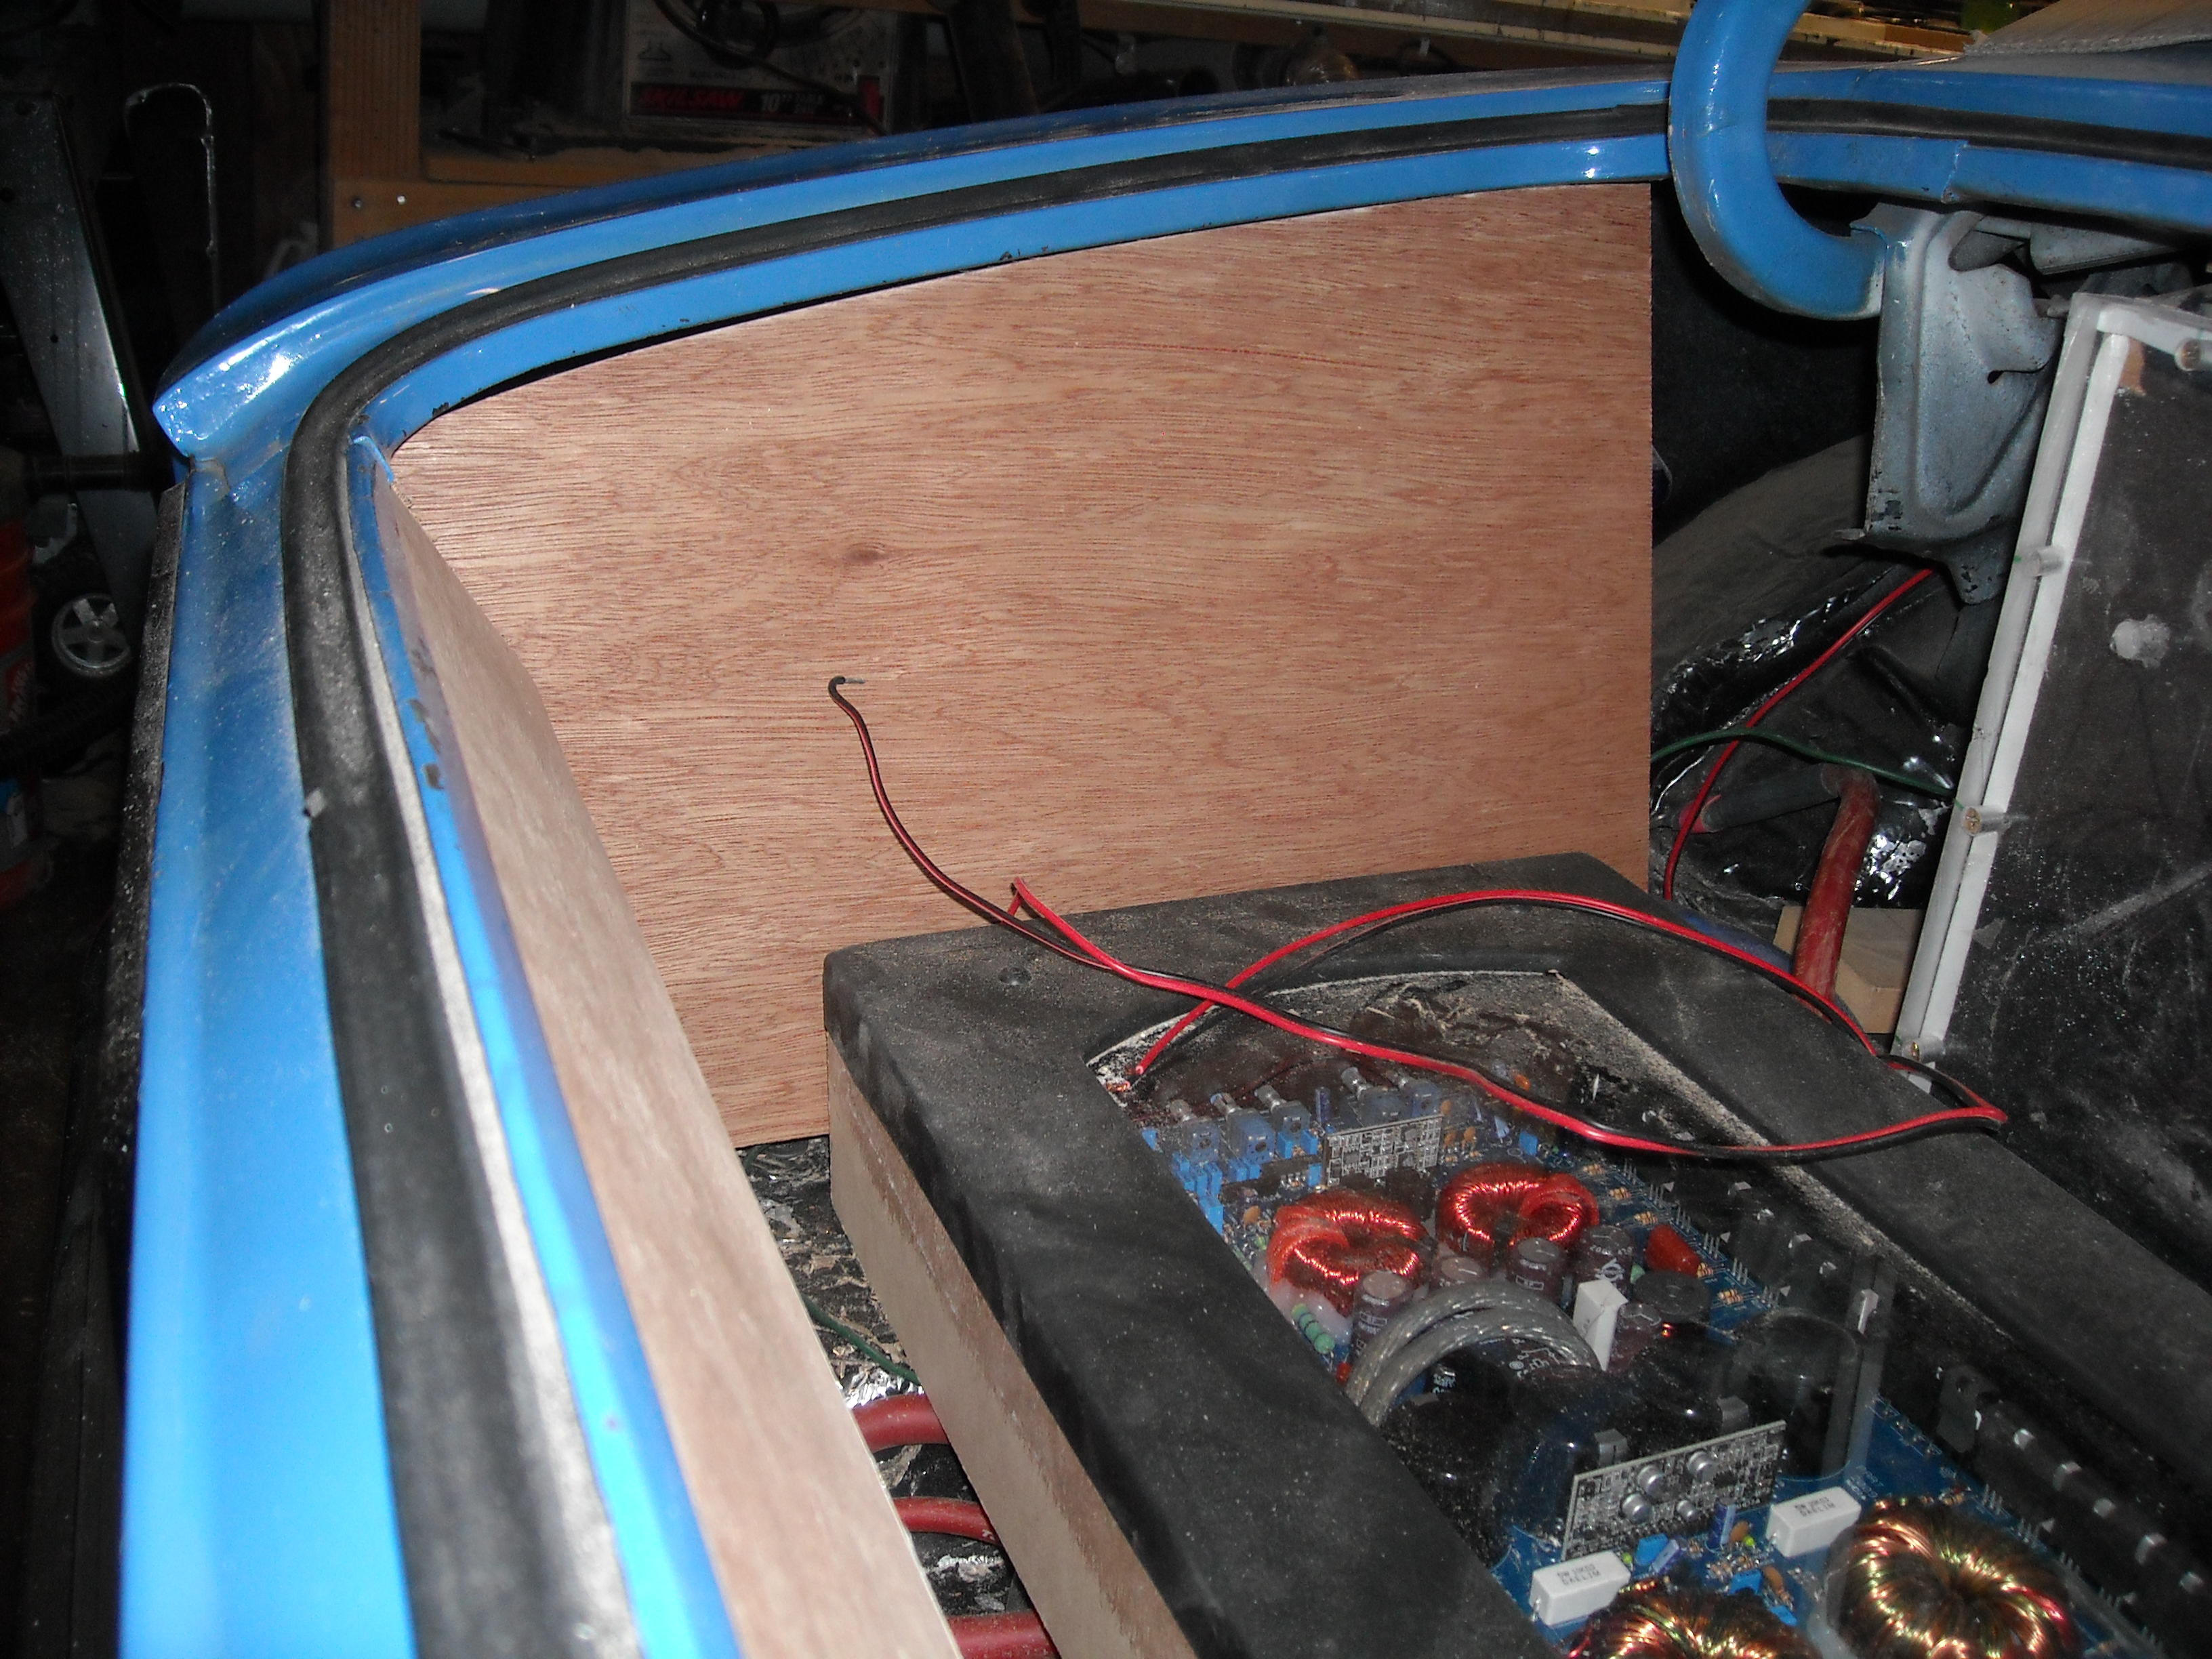
Looks like a good amount of room to work with. I have a good amount of gear to put in here. At first weight was a concern, but I think we can do what needs to be done without adding too much.


The gear will be:
DC 2.0
DC 175.4
DC LVL4 XL 15
DC LVL 2 8'*
RE XXX comps
Alpine X305 Deck
Here she is when she came in. Up until now, the owner has done all the work on this car himself. It started out as a very rough shell of a car and he brought it up to where it is today. Some things worked out very well, a few others needed a little more finishing
He'* a good friend of mine that allowed me to have full range on his car where i saw fit. Very nice and neat LS-1 tucked away under the hood.
His heart was in the right place when he decided to customize the dash. Given it was his first and only attempt, I can't beat him up about it.
Couple of house cleaning things to address in the wiring.
Looks like a good amount of room to work with. I have a good amount of gear to put in here. At first weight was a concern, but I think we can do what needs to be done without adding too much.
Thread Starter
Junior Member
Posts like a Ricer Type-R
Joined: Aug 2012
Posts: 18
Likes: 0
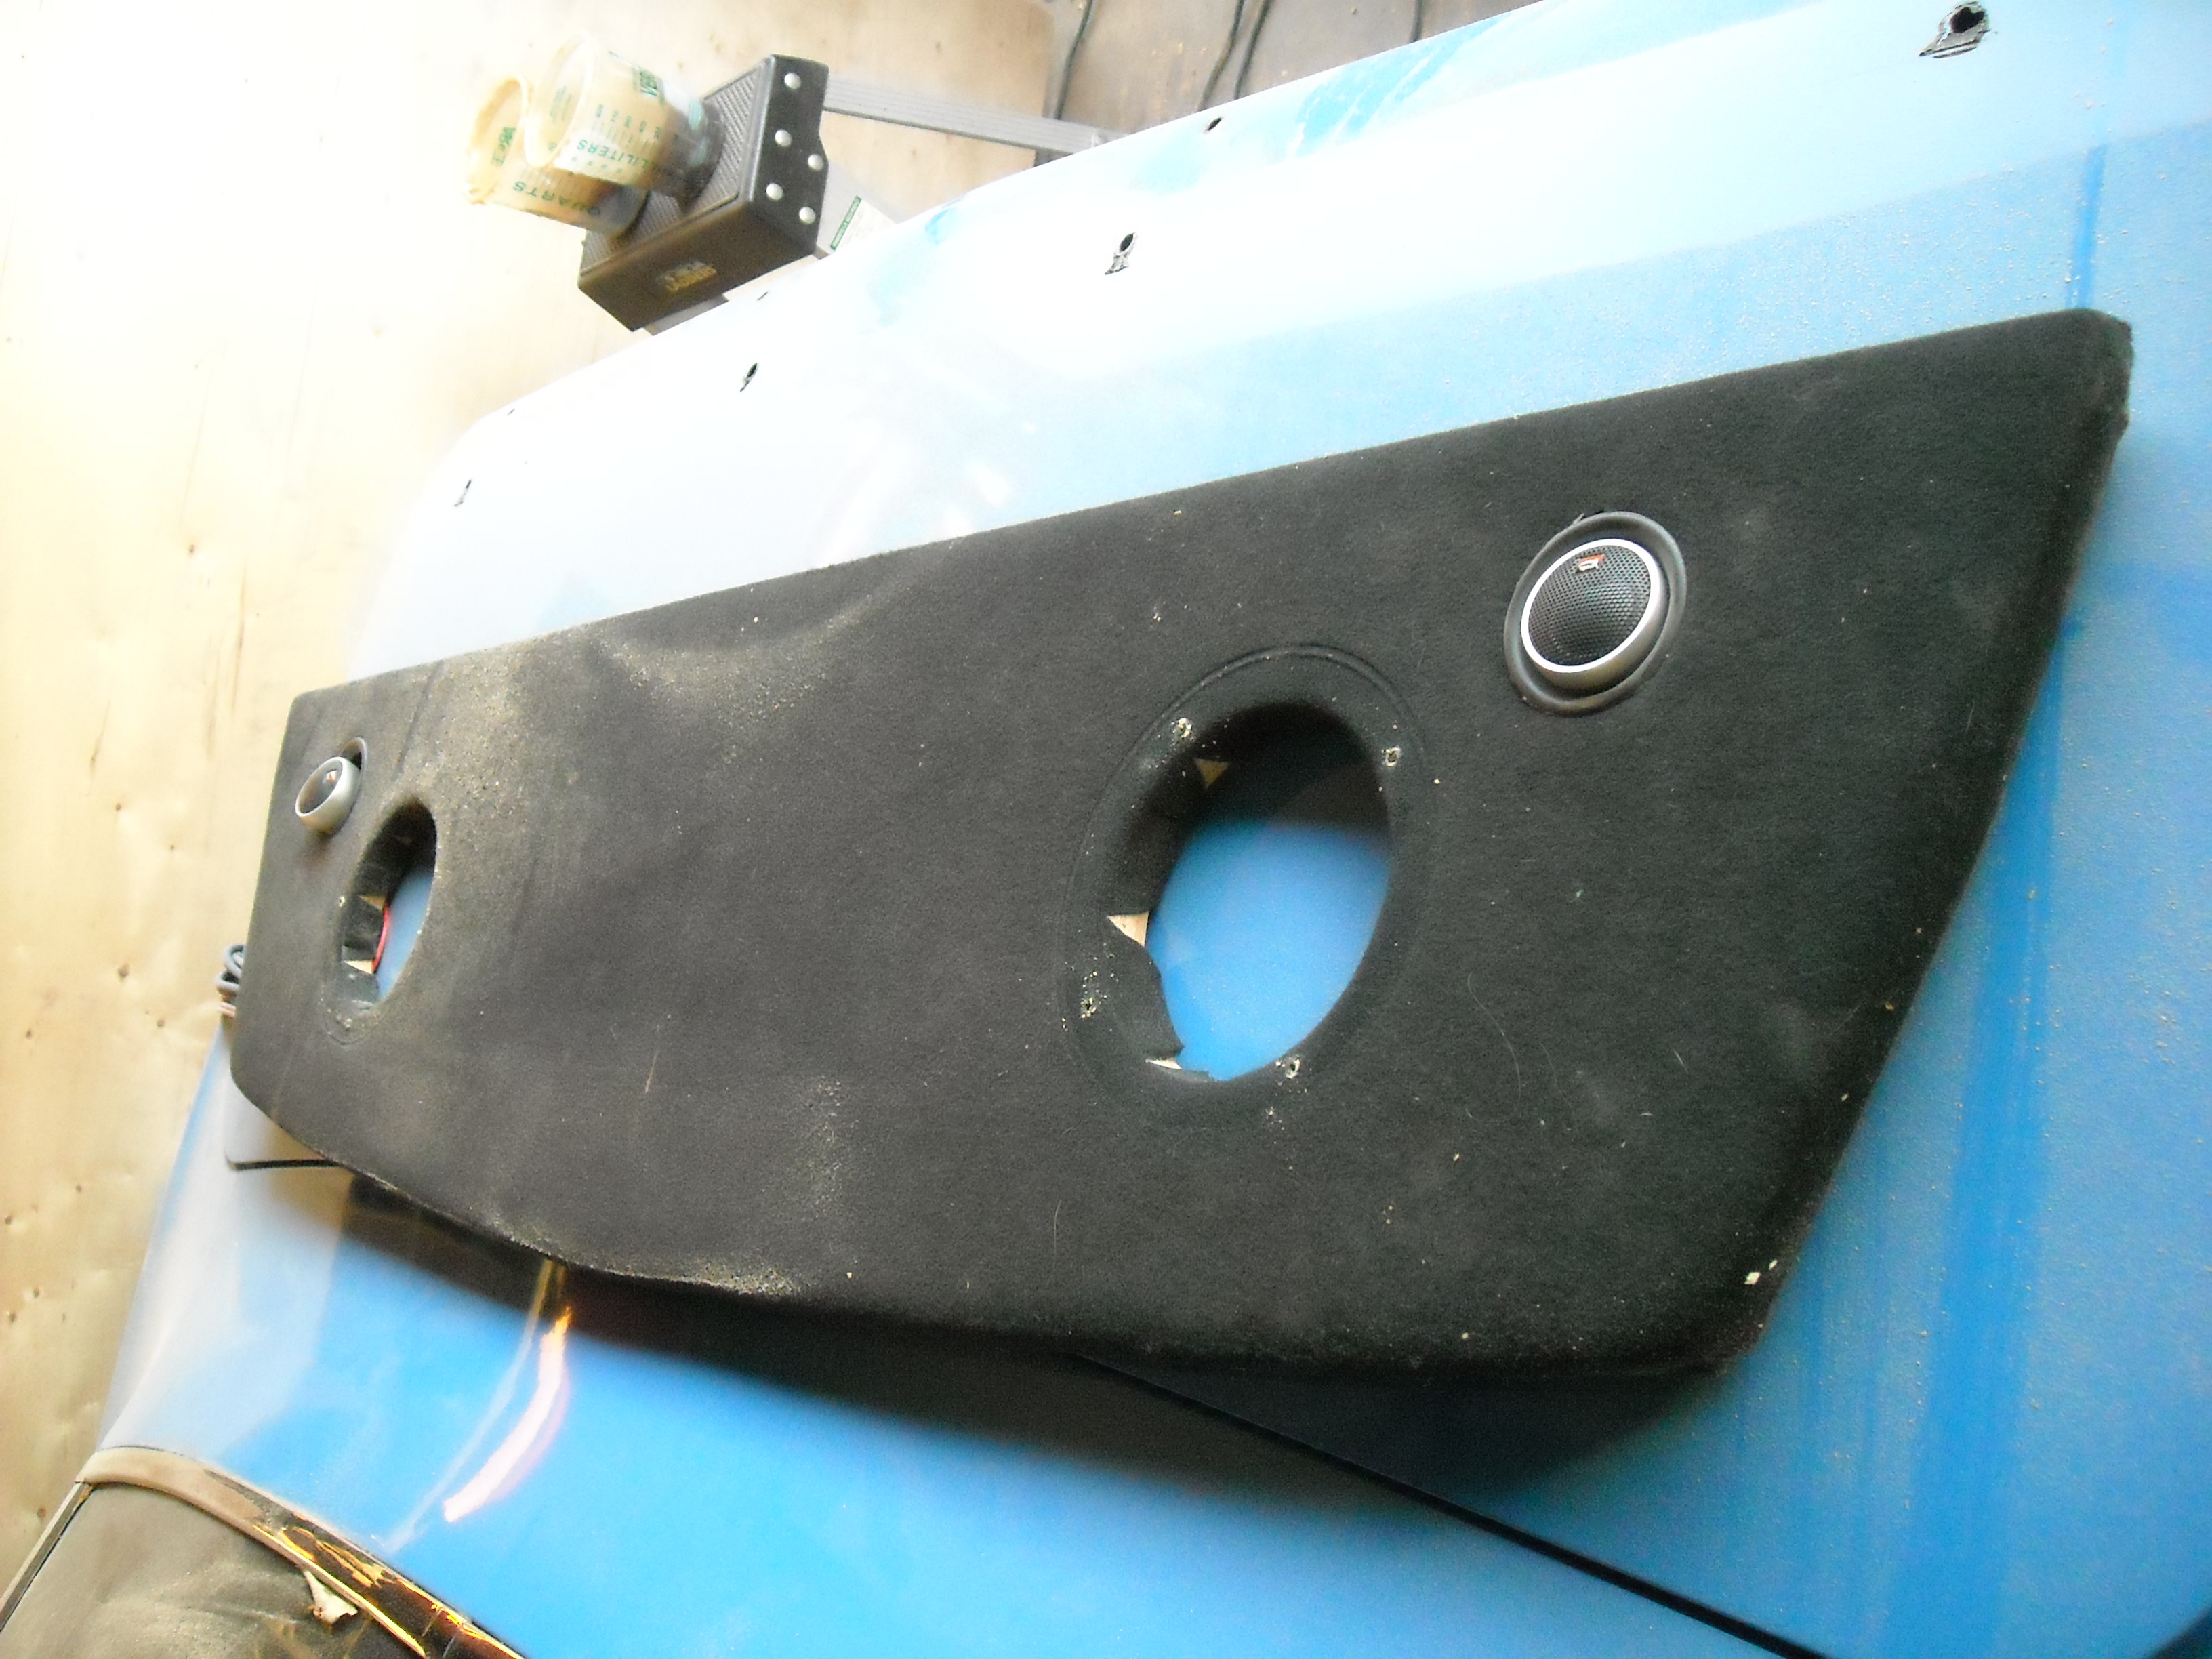
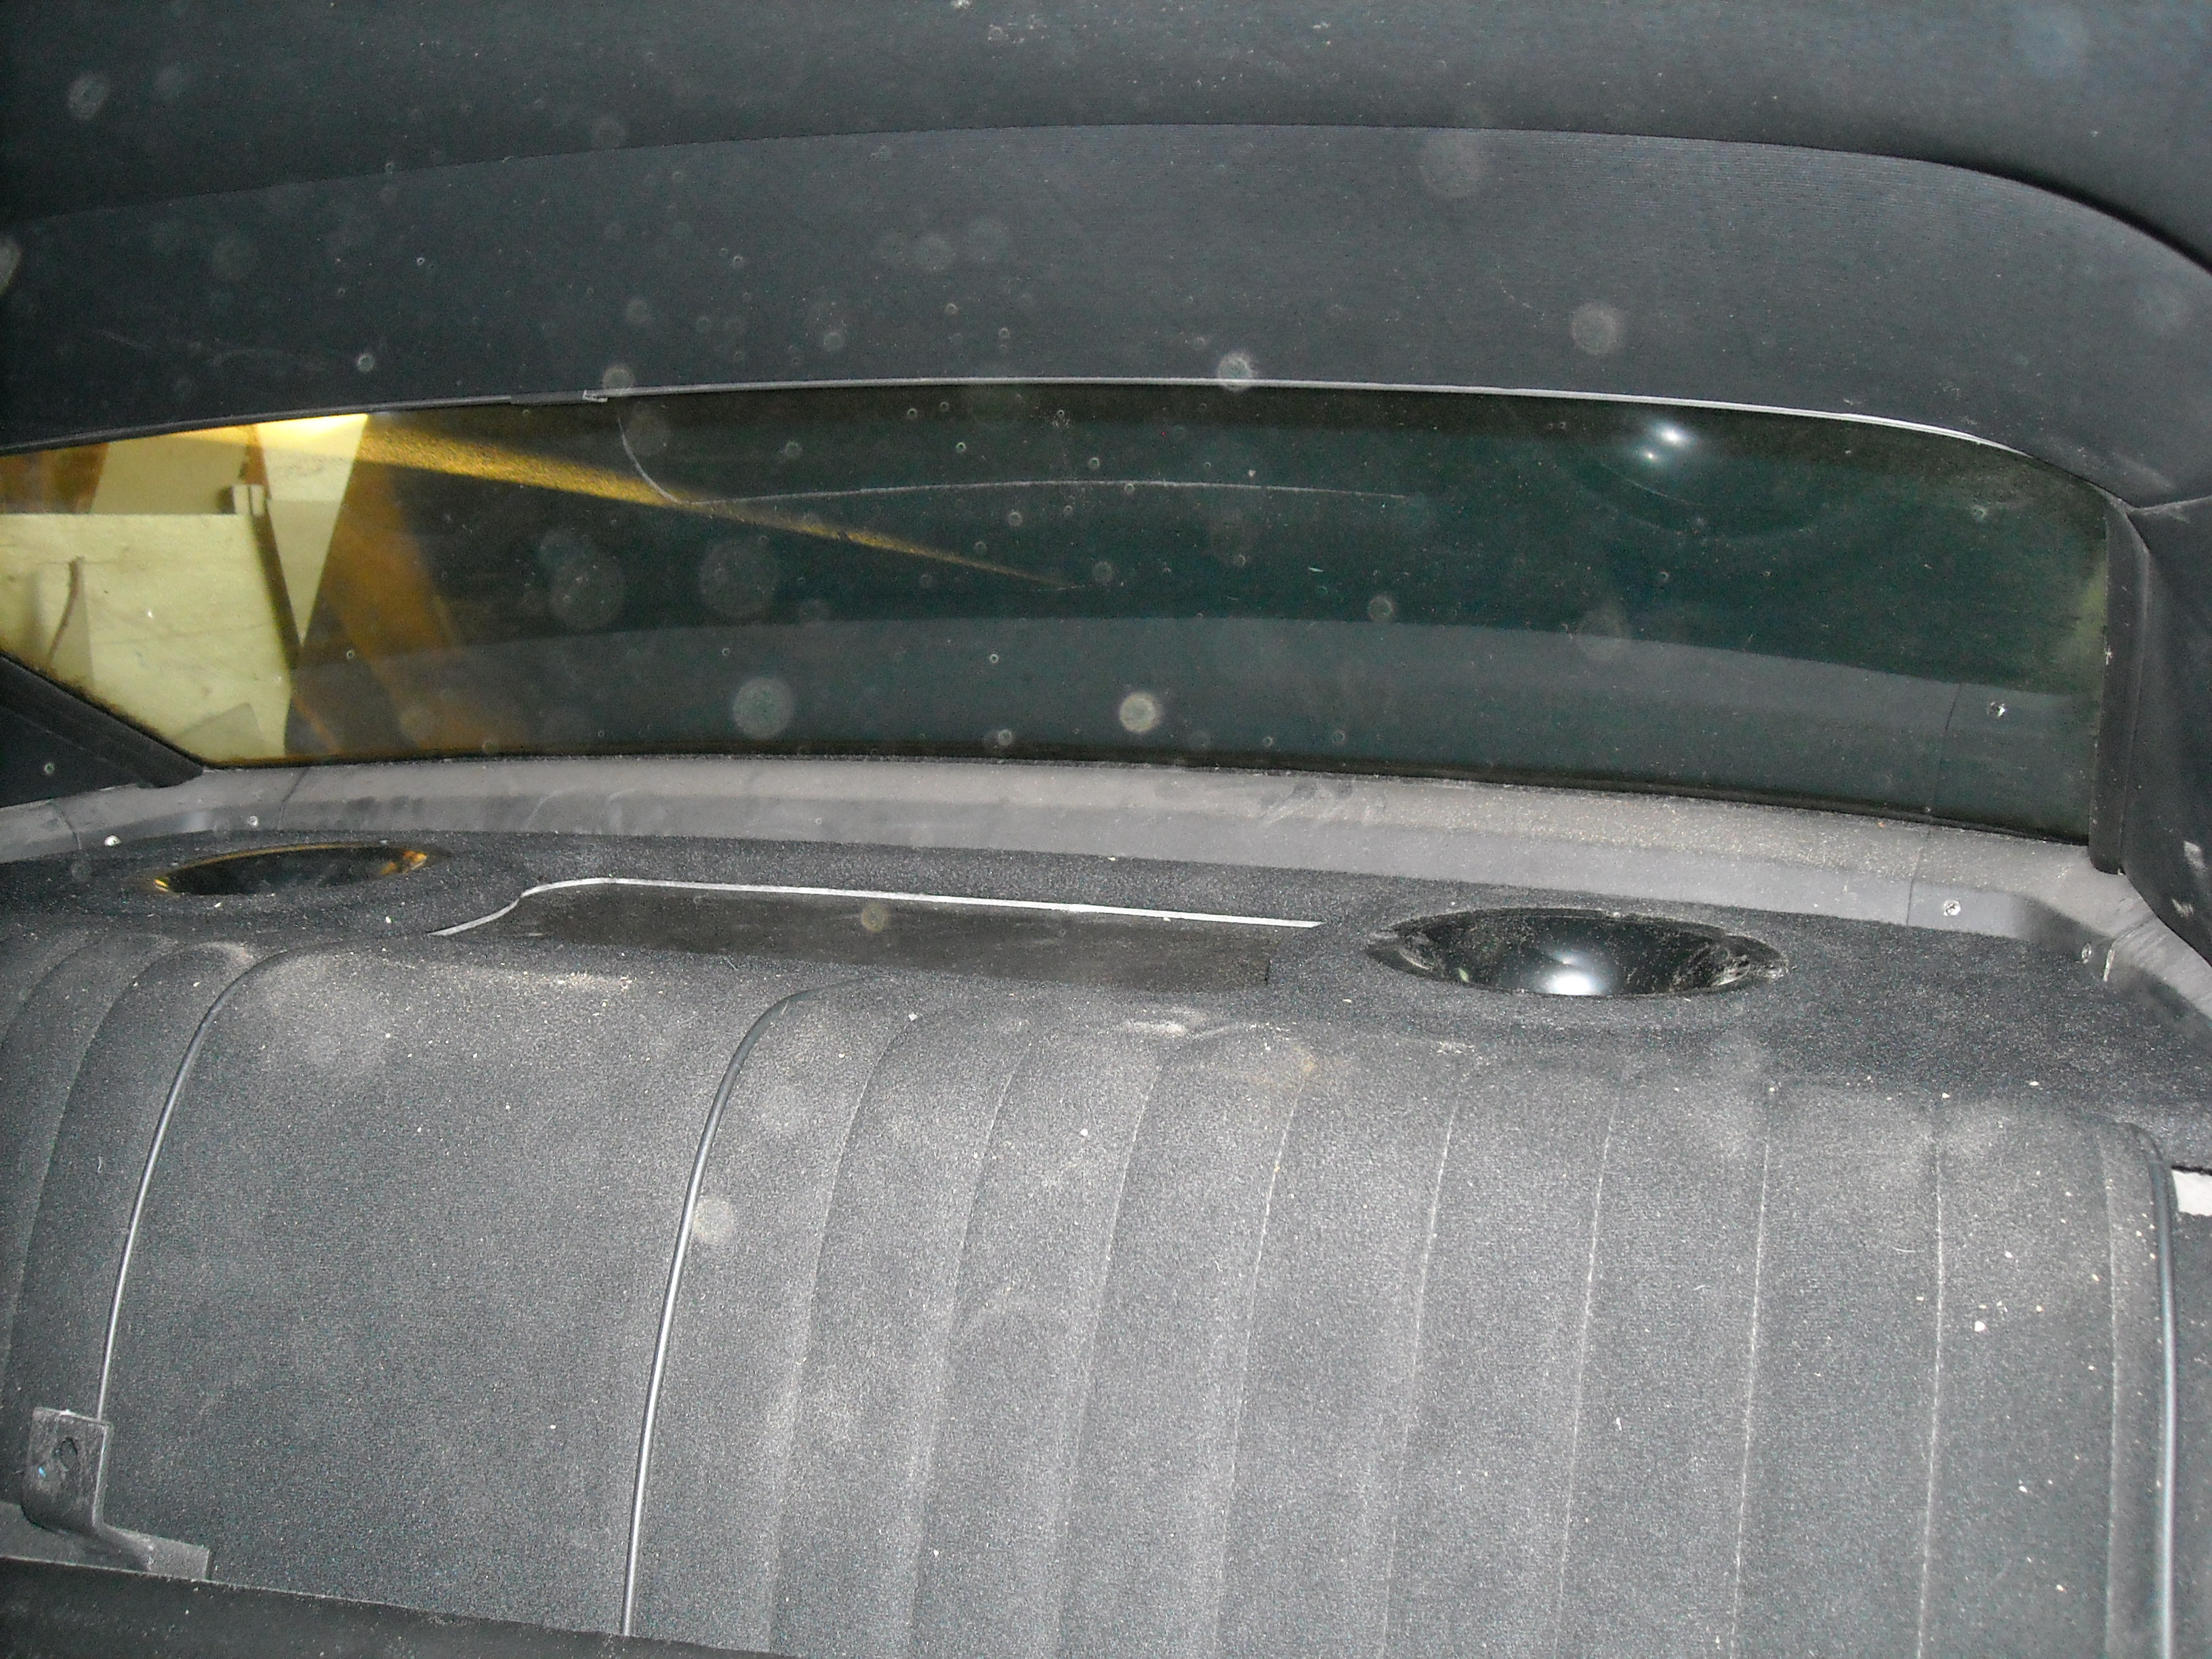
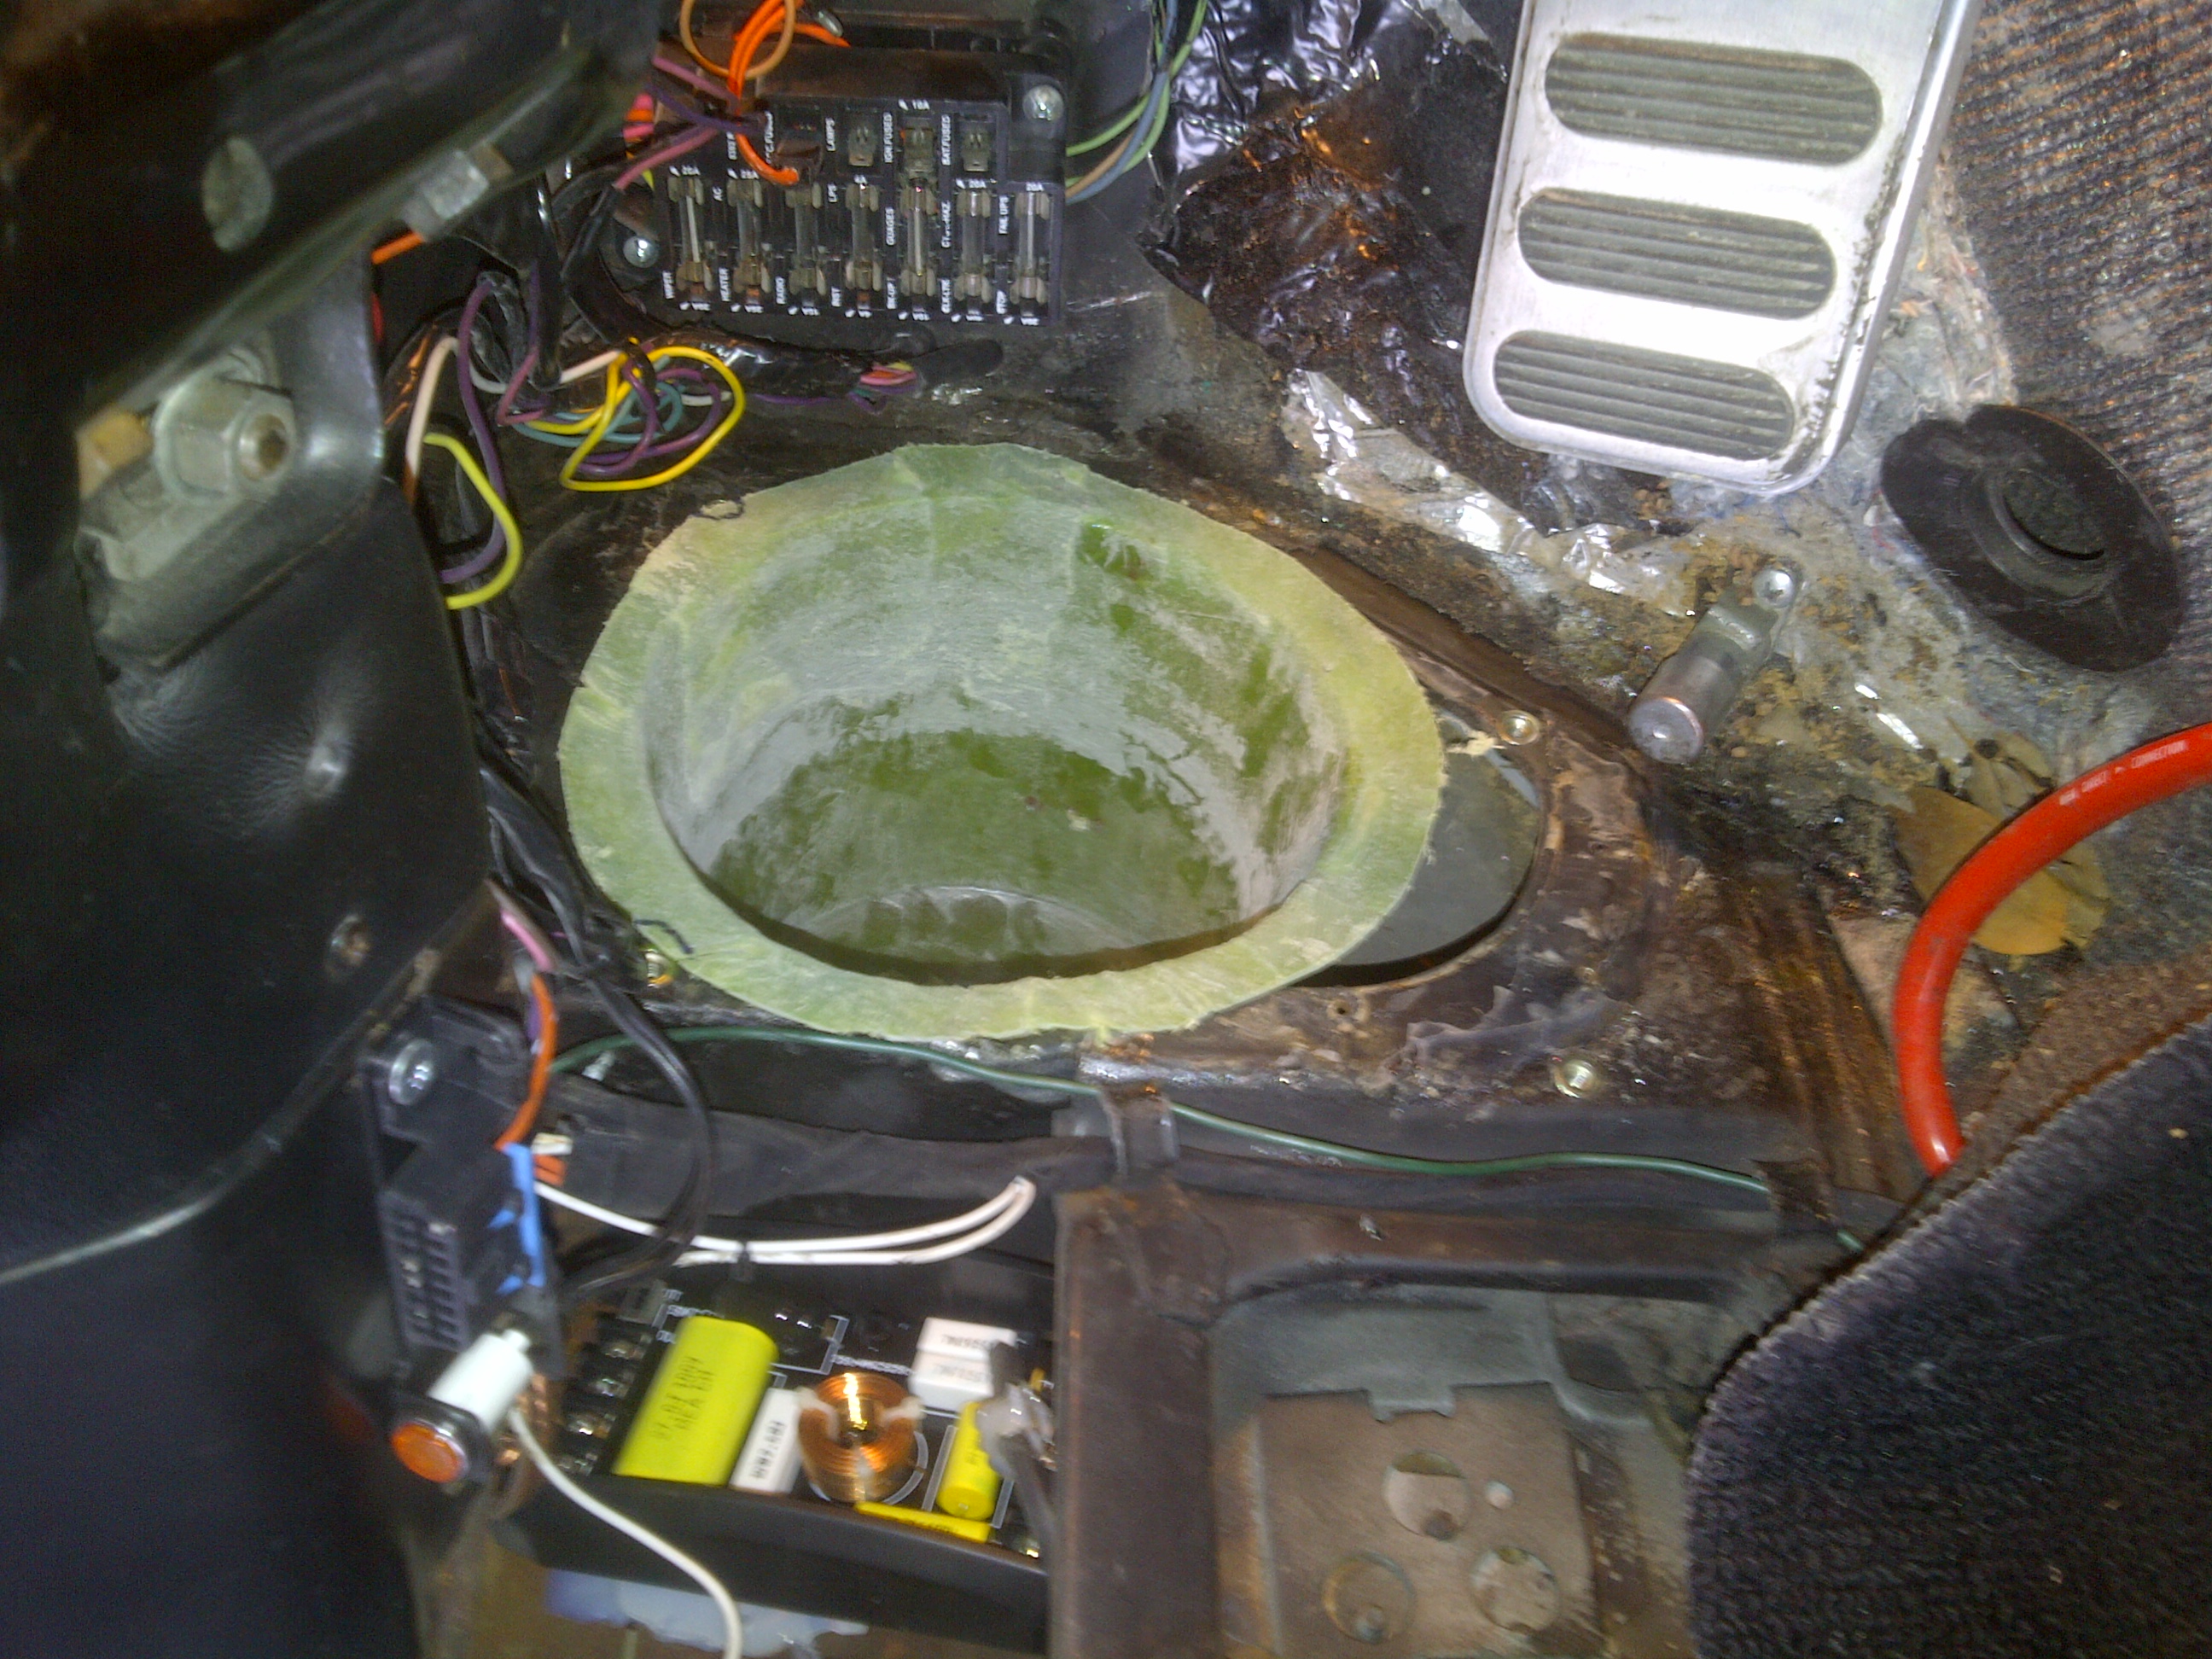
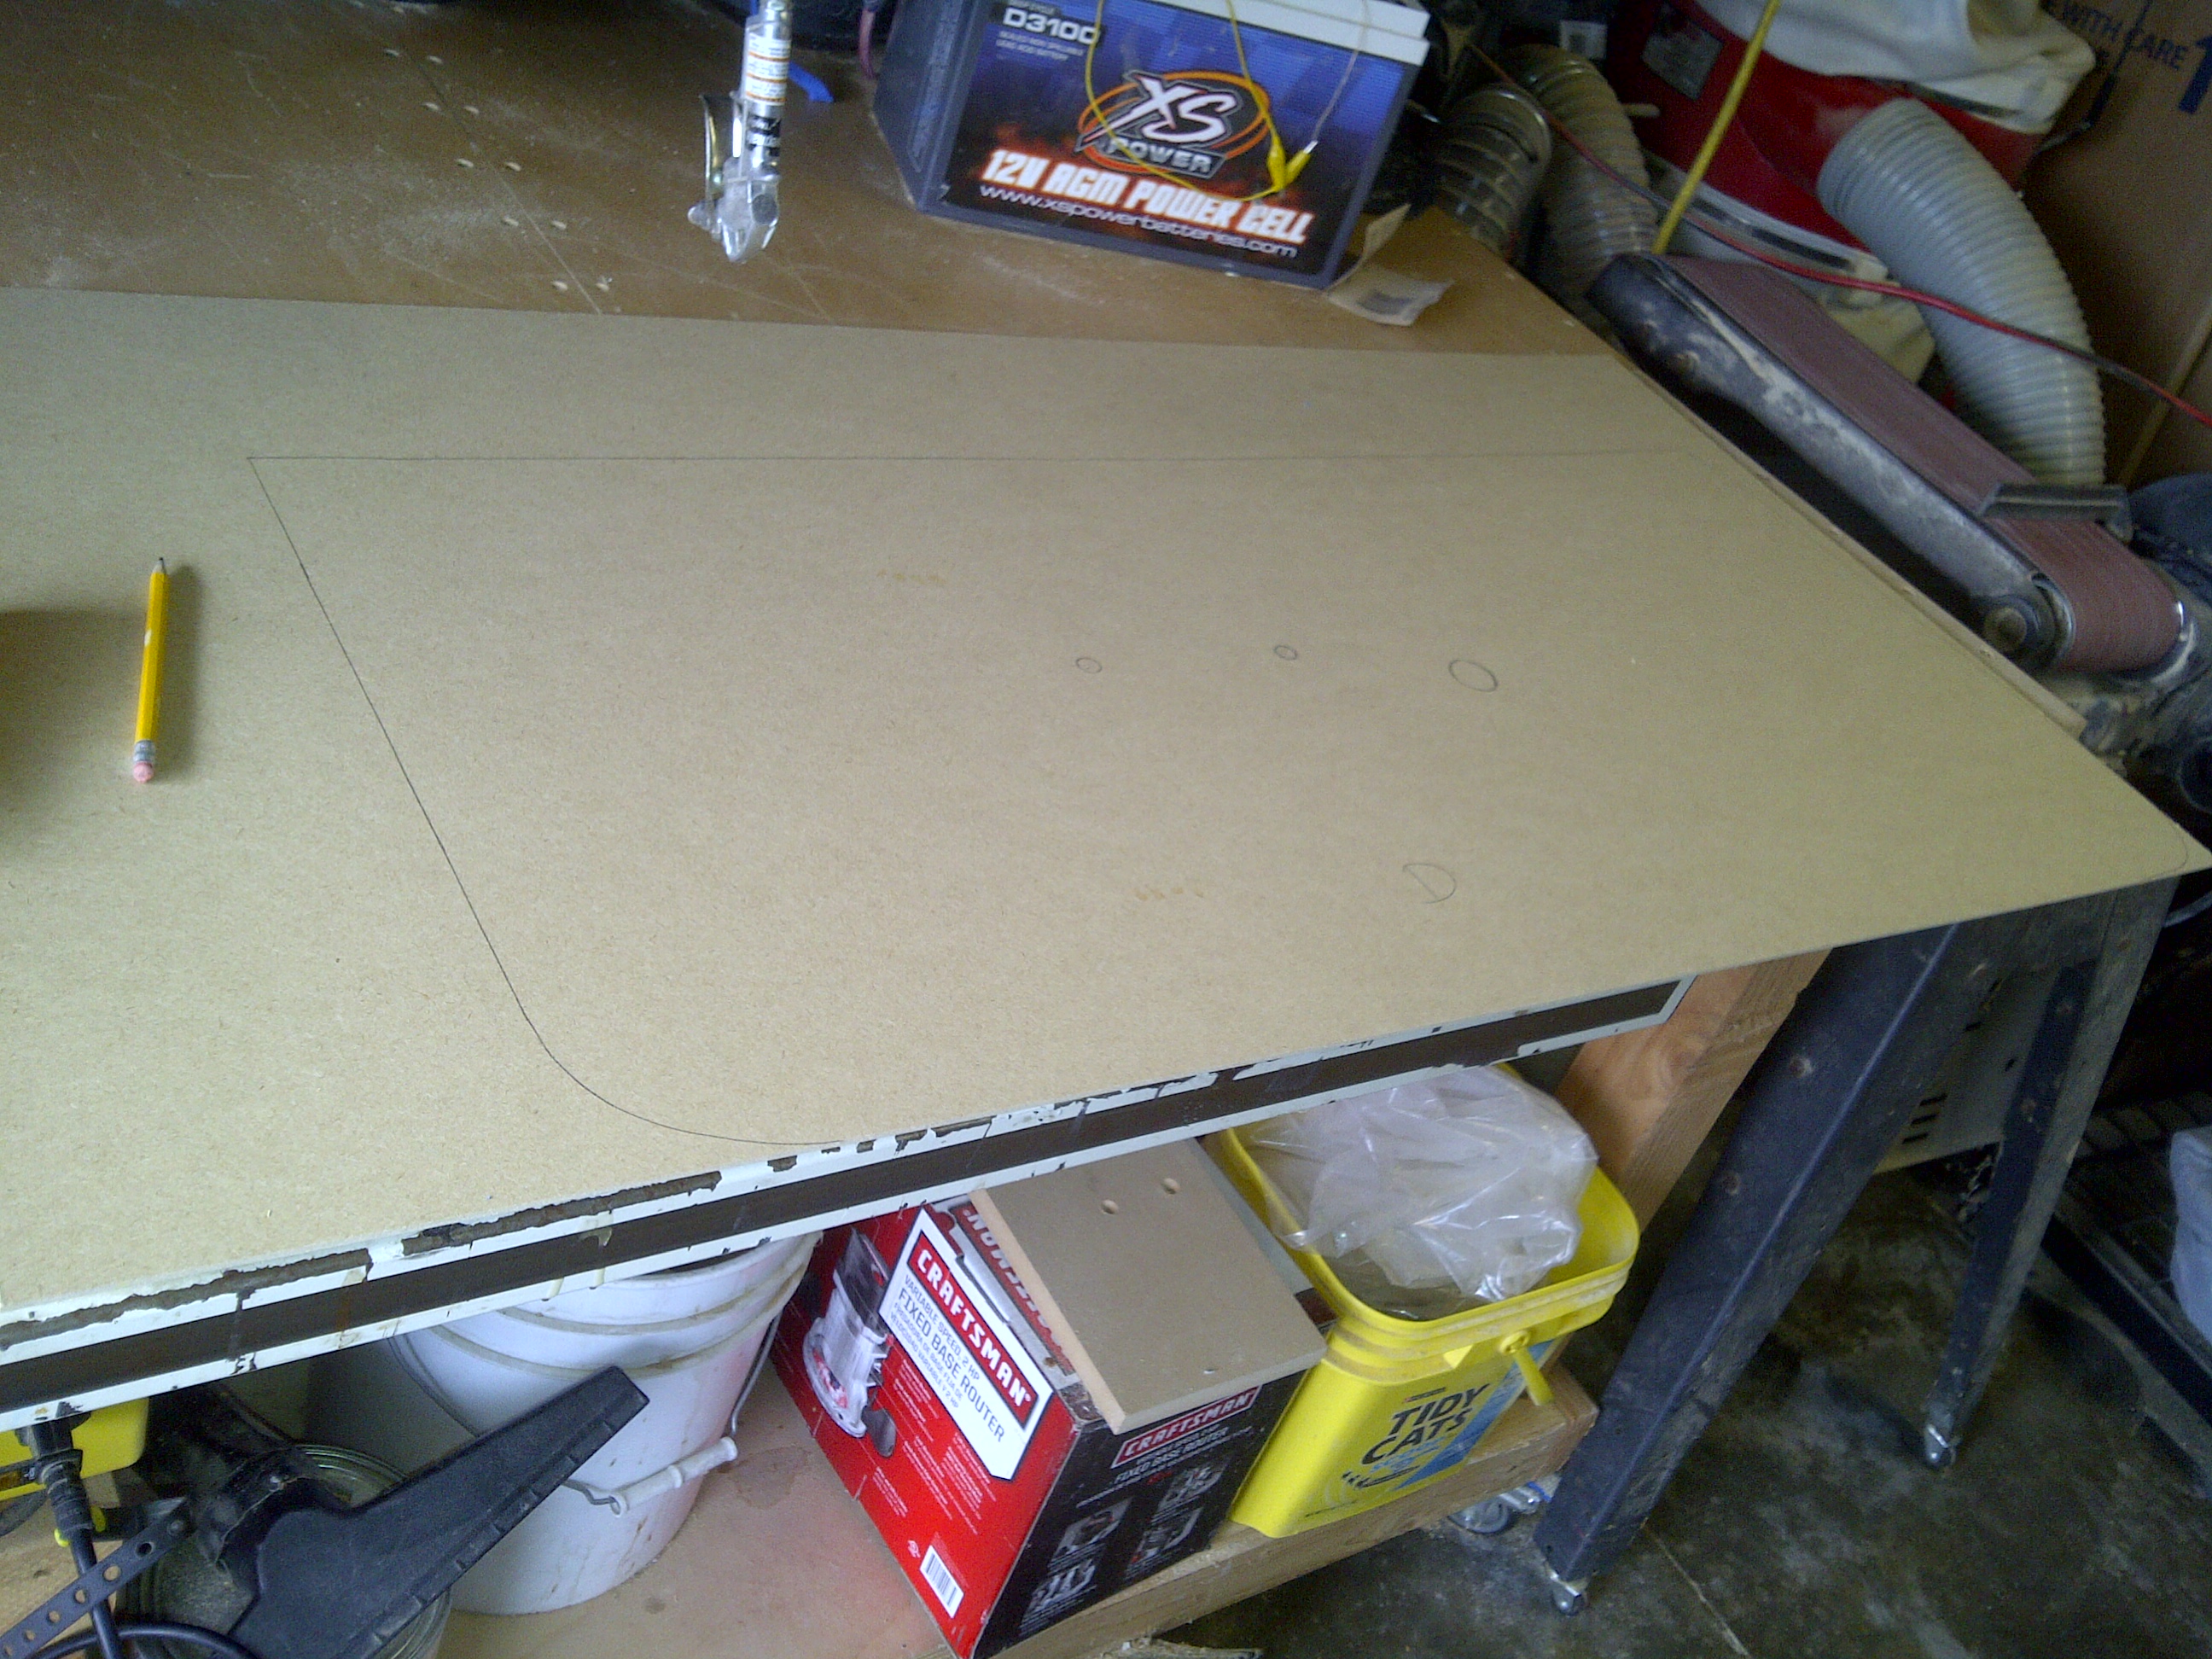
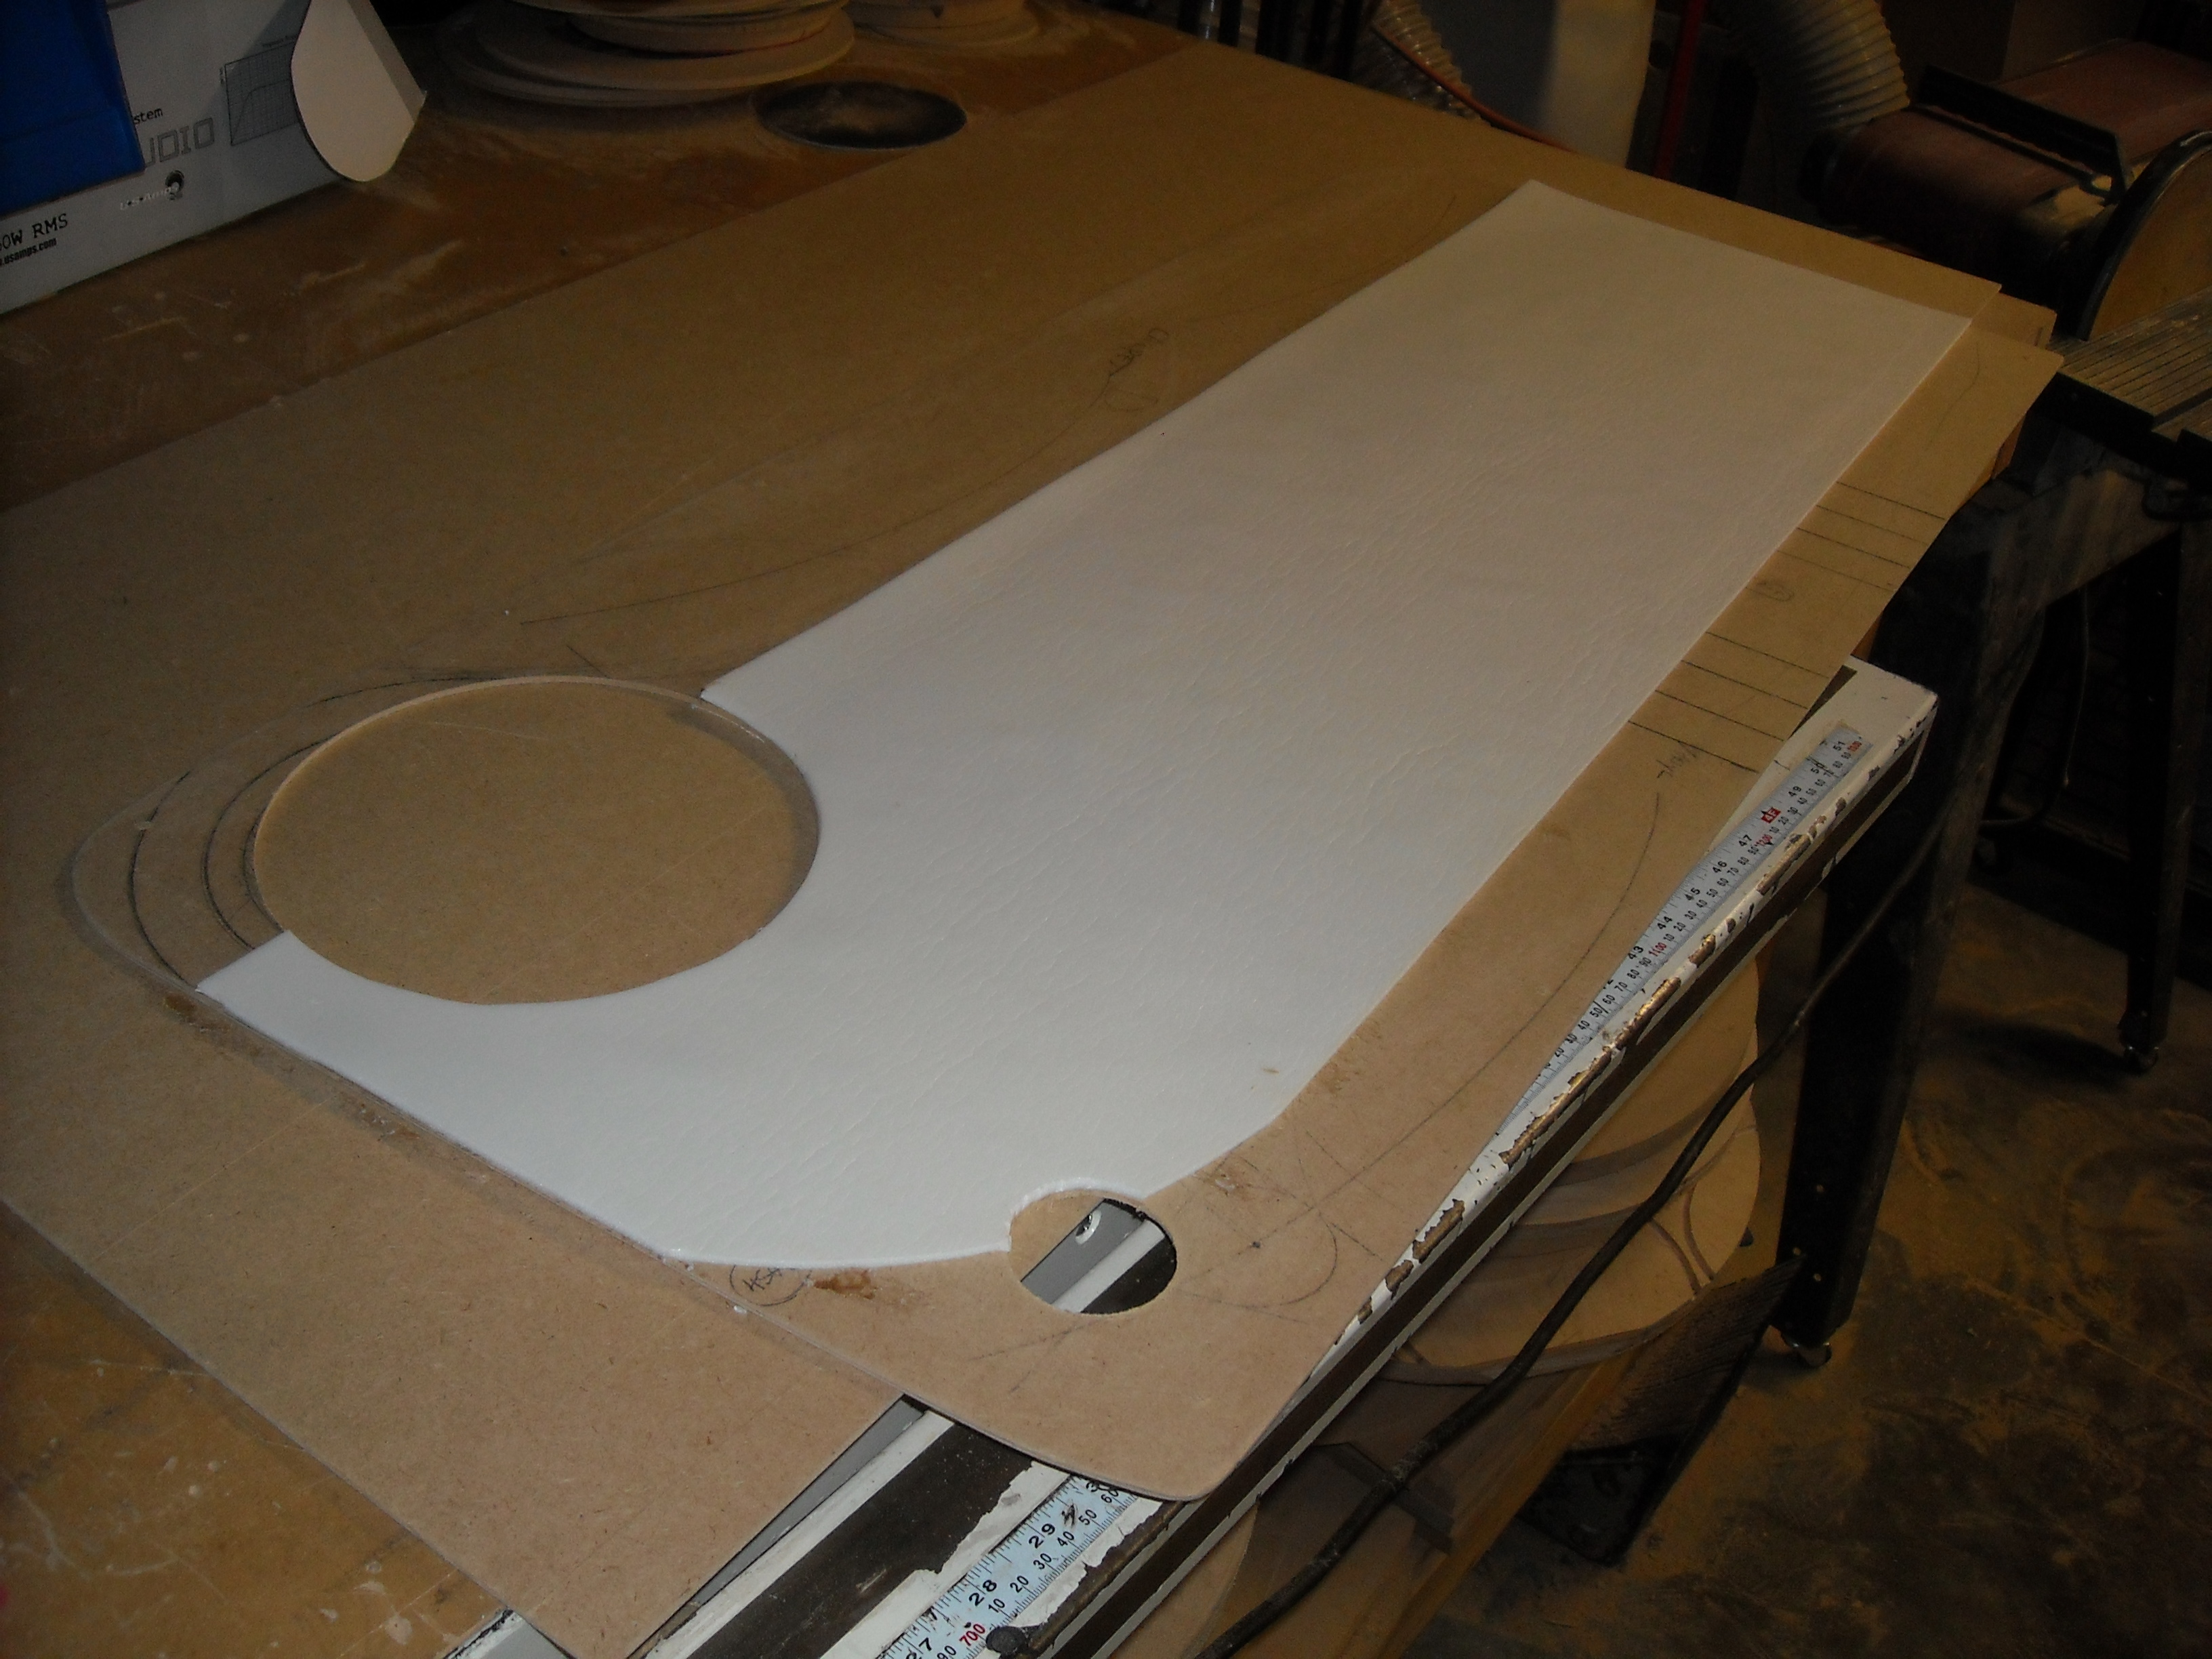
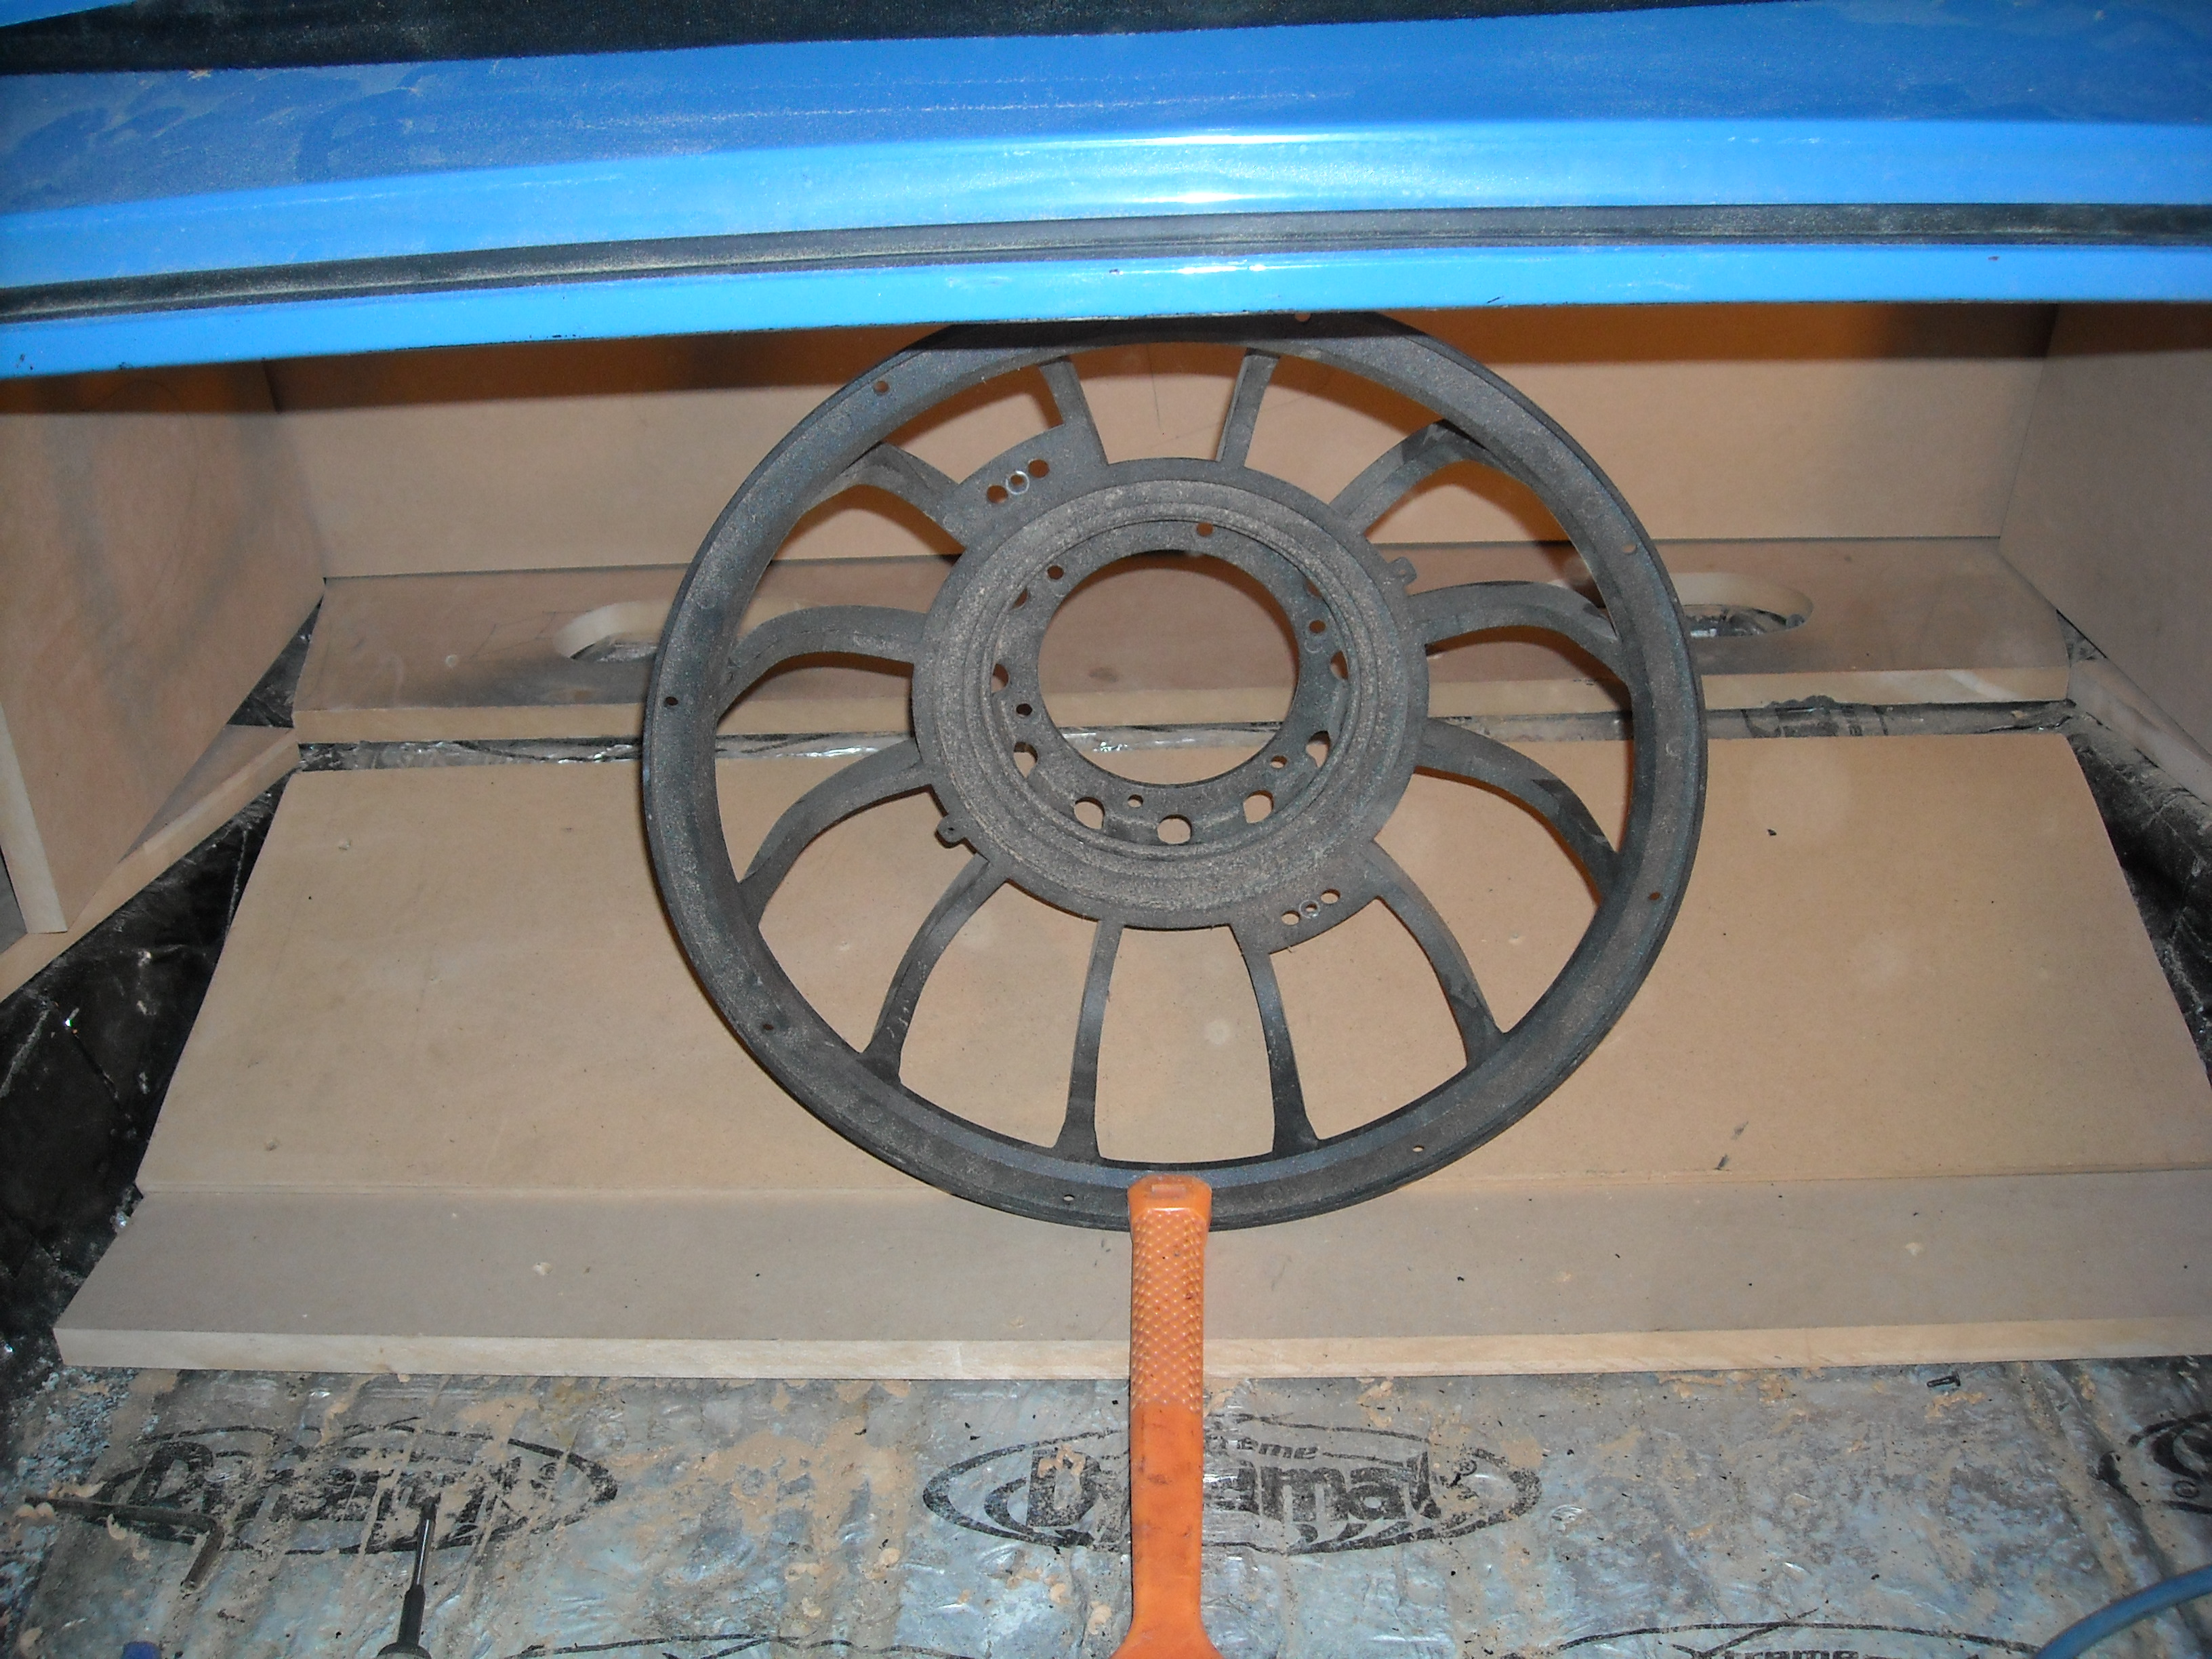
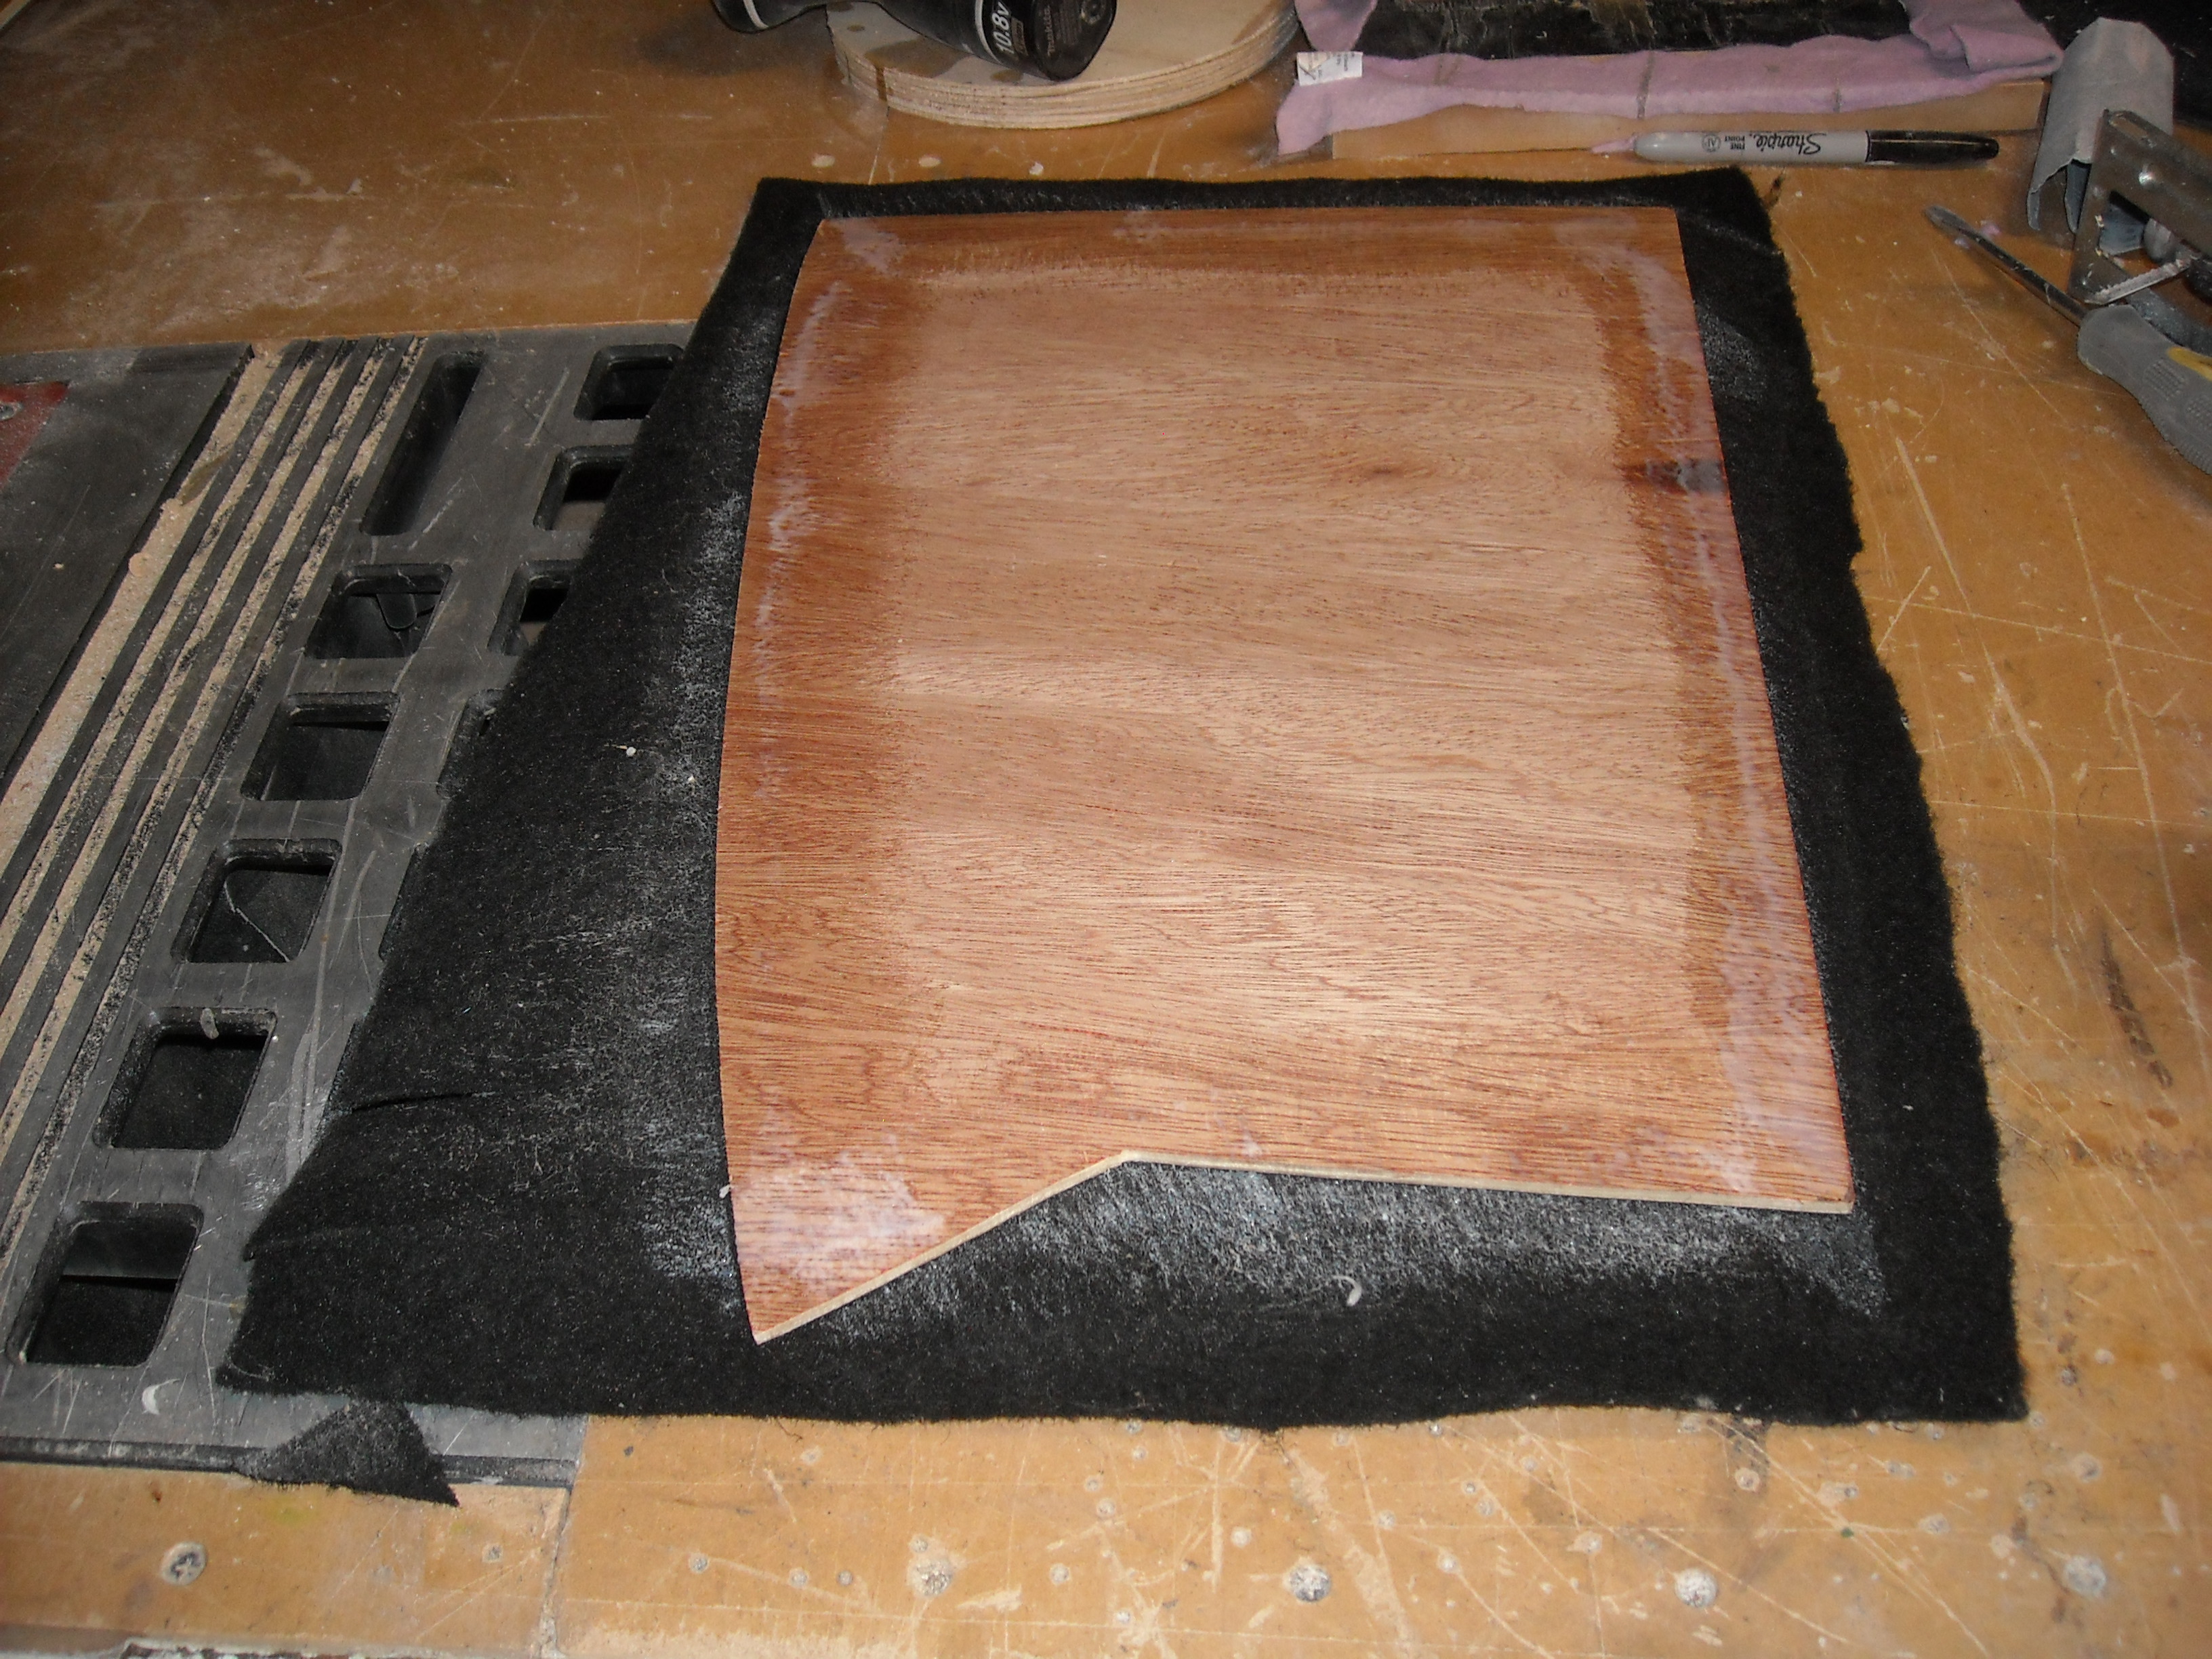
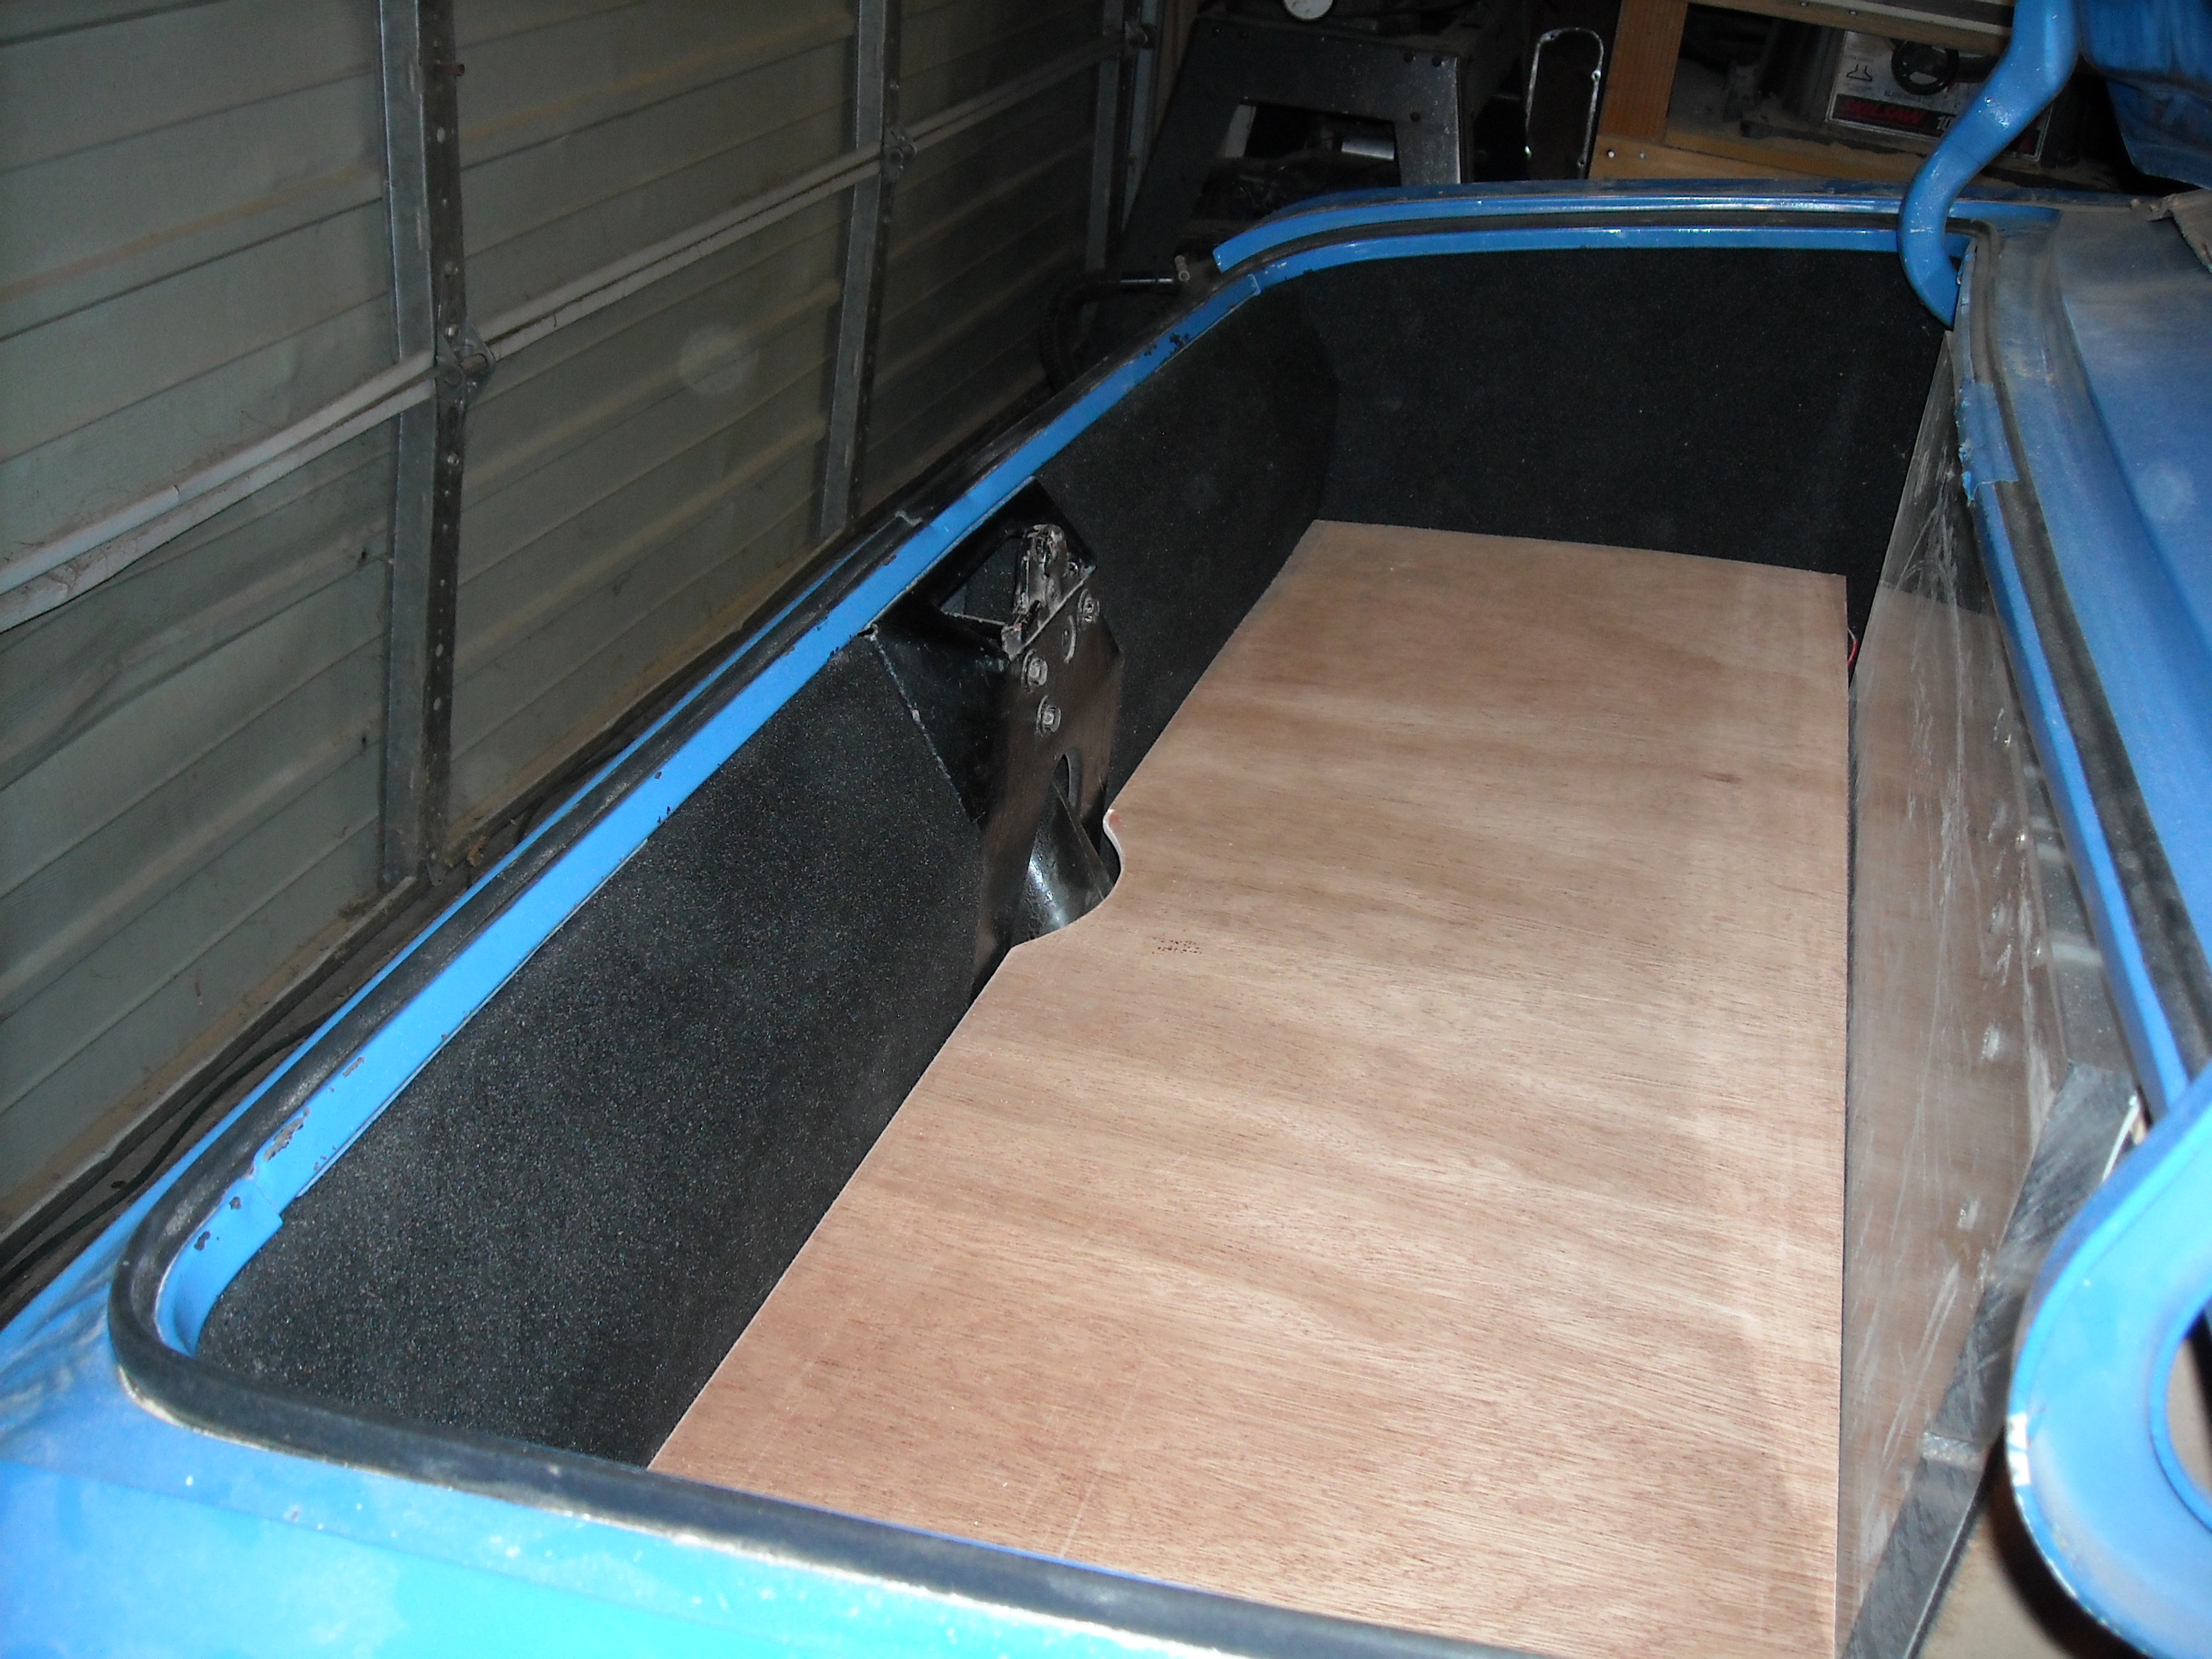
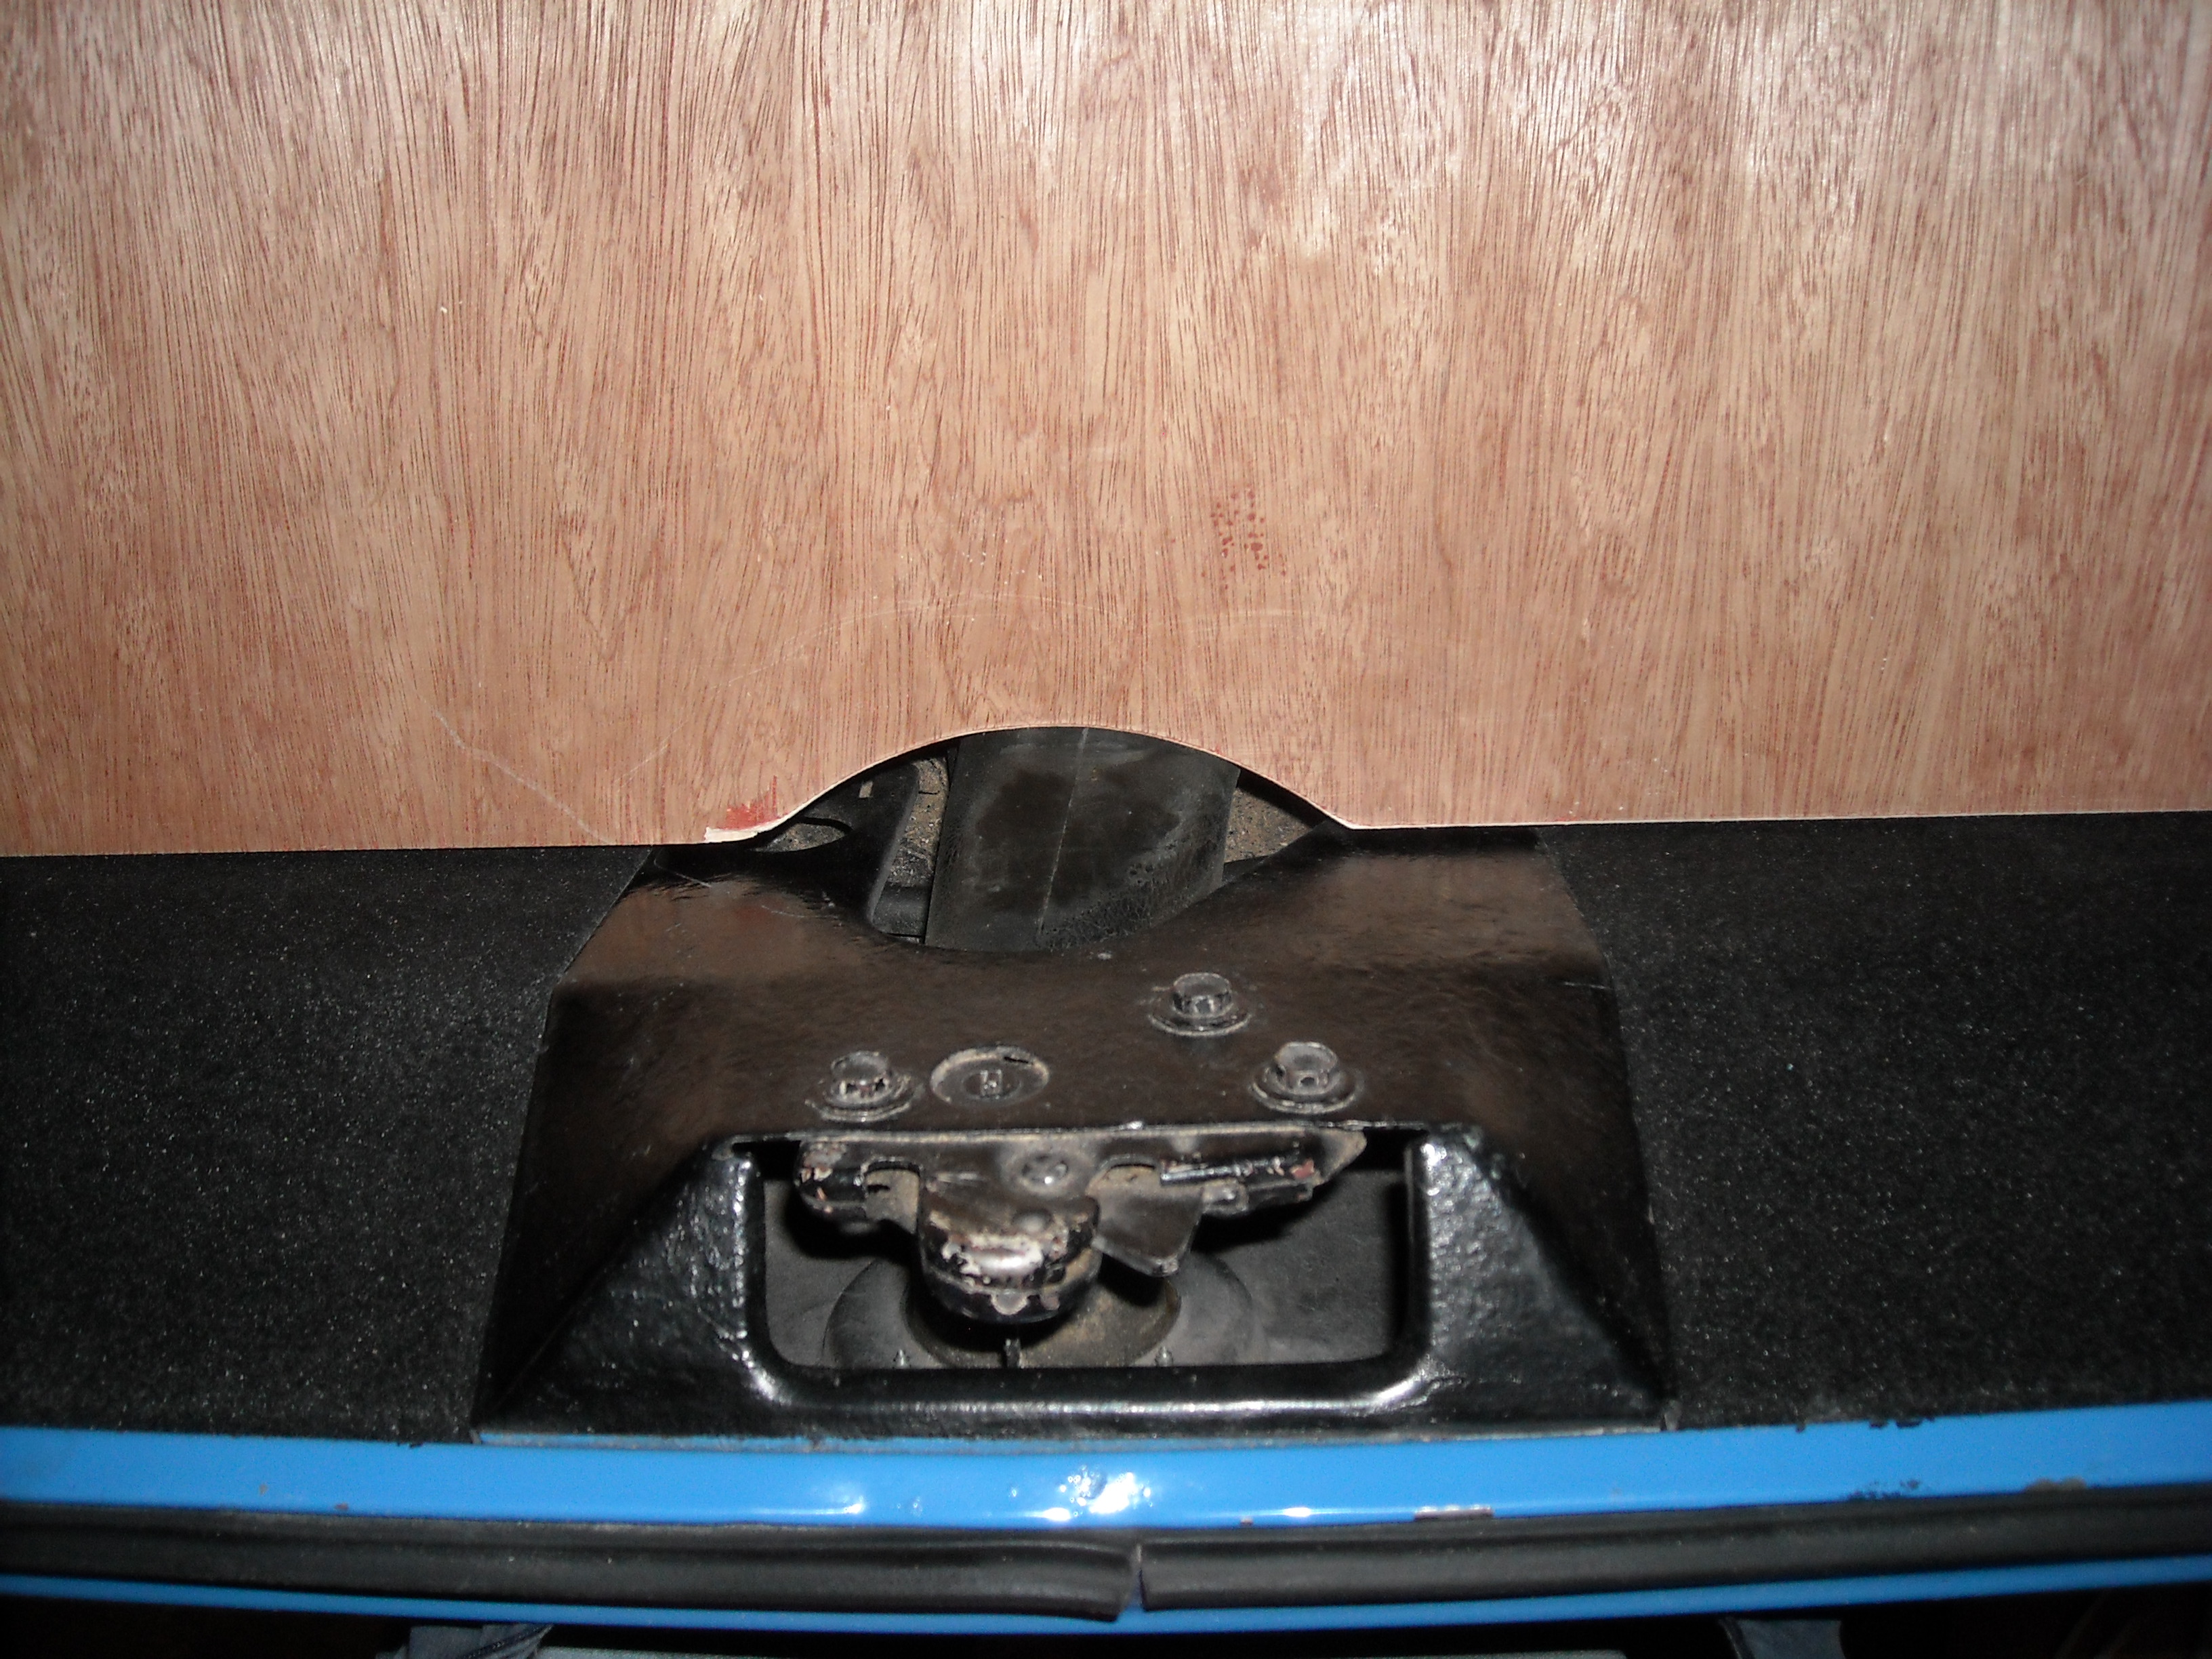
First thing I decided to address was the rear deck. I'm going to use the rear speaker holes for the ports for the sub box. It is a bandpass design, so a pair of 4" ports will do.
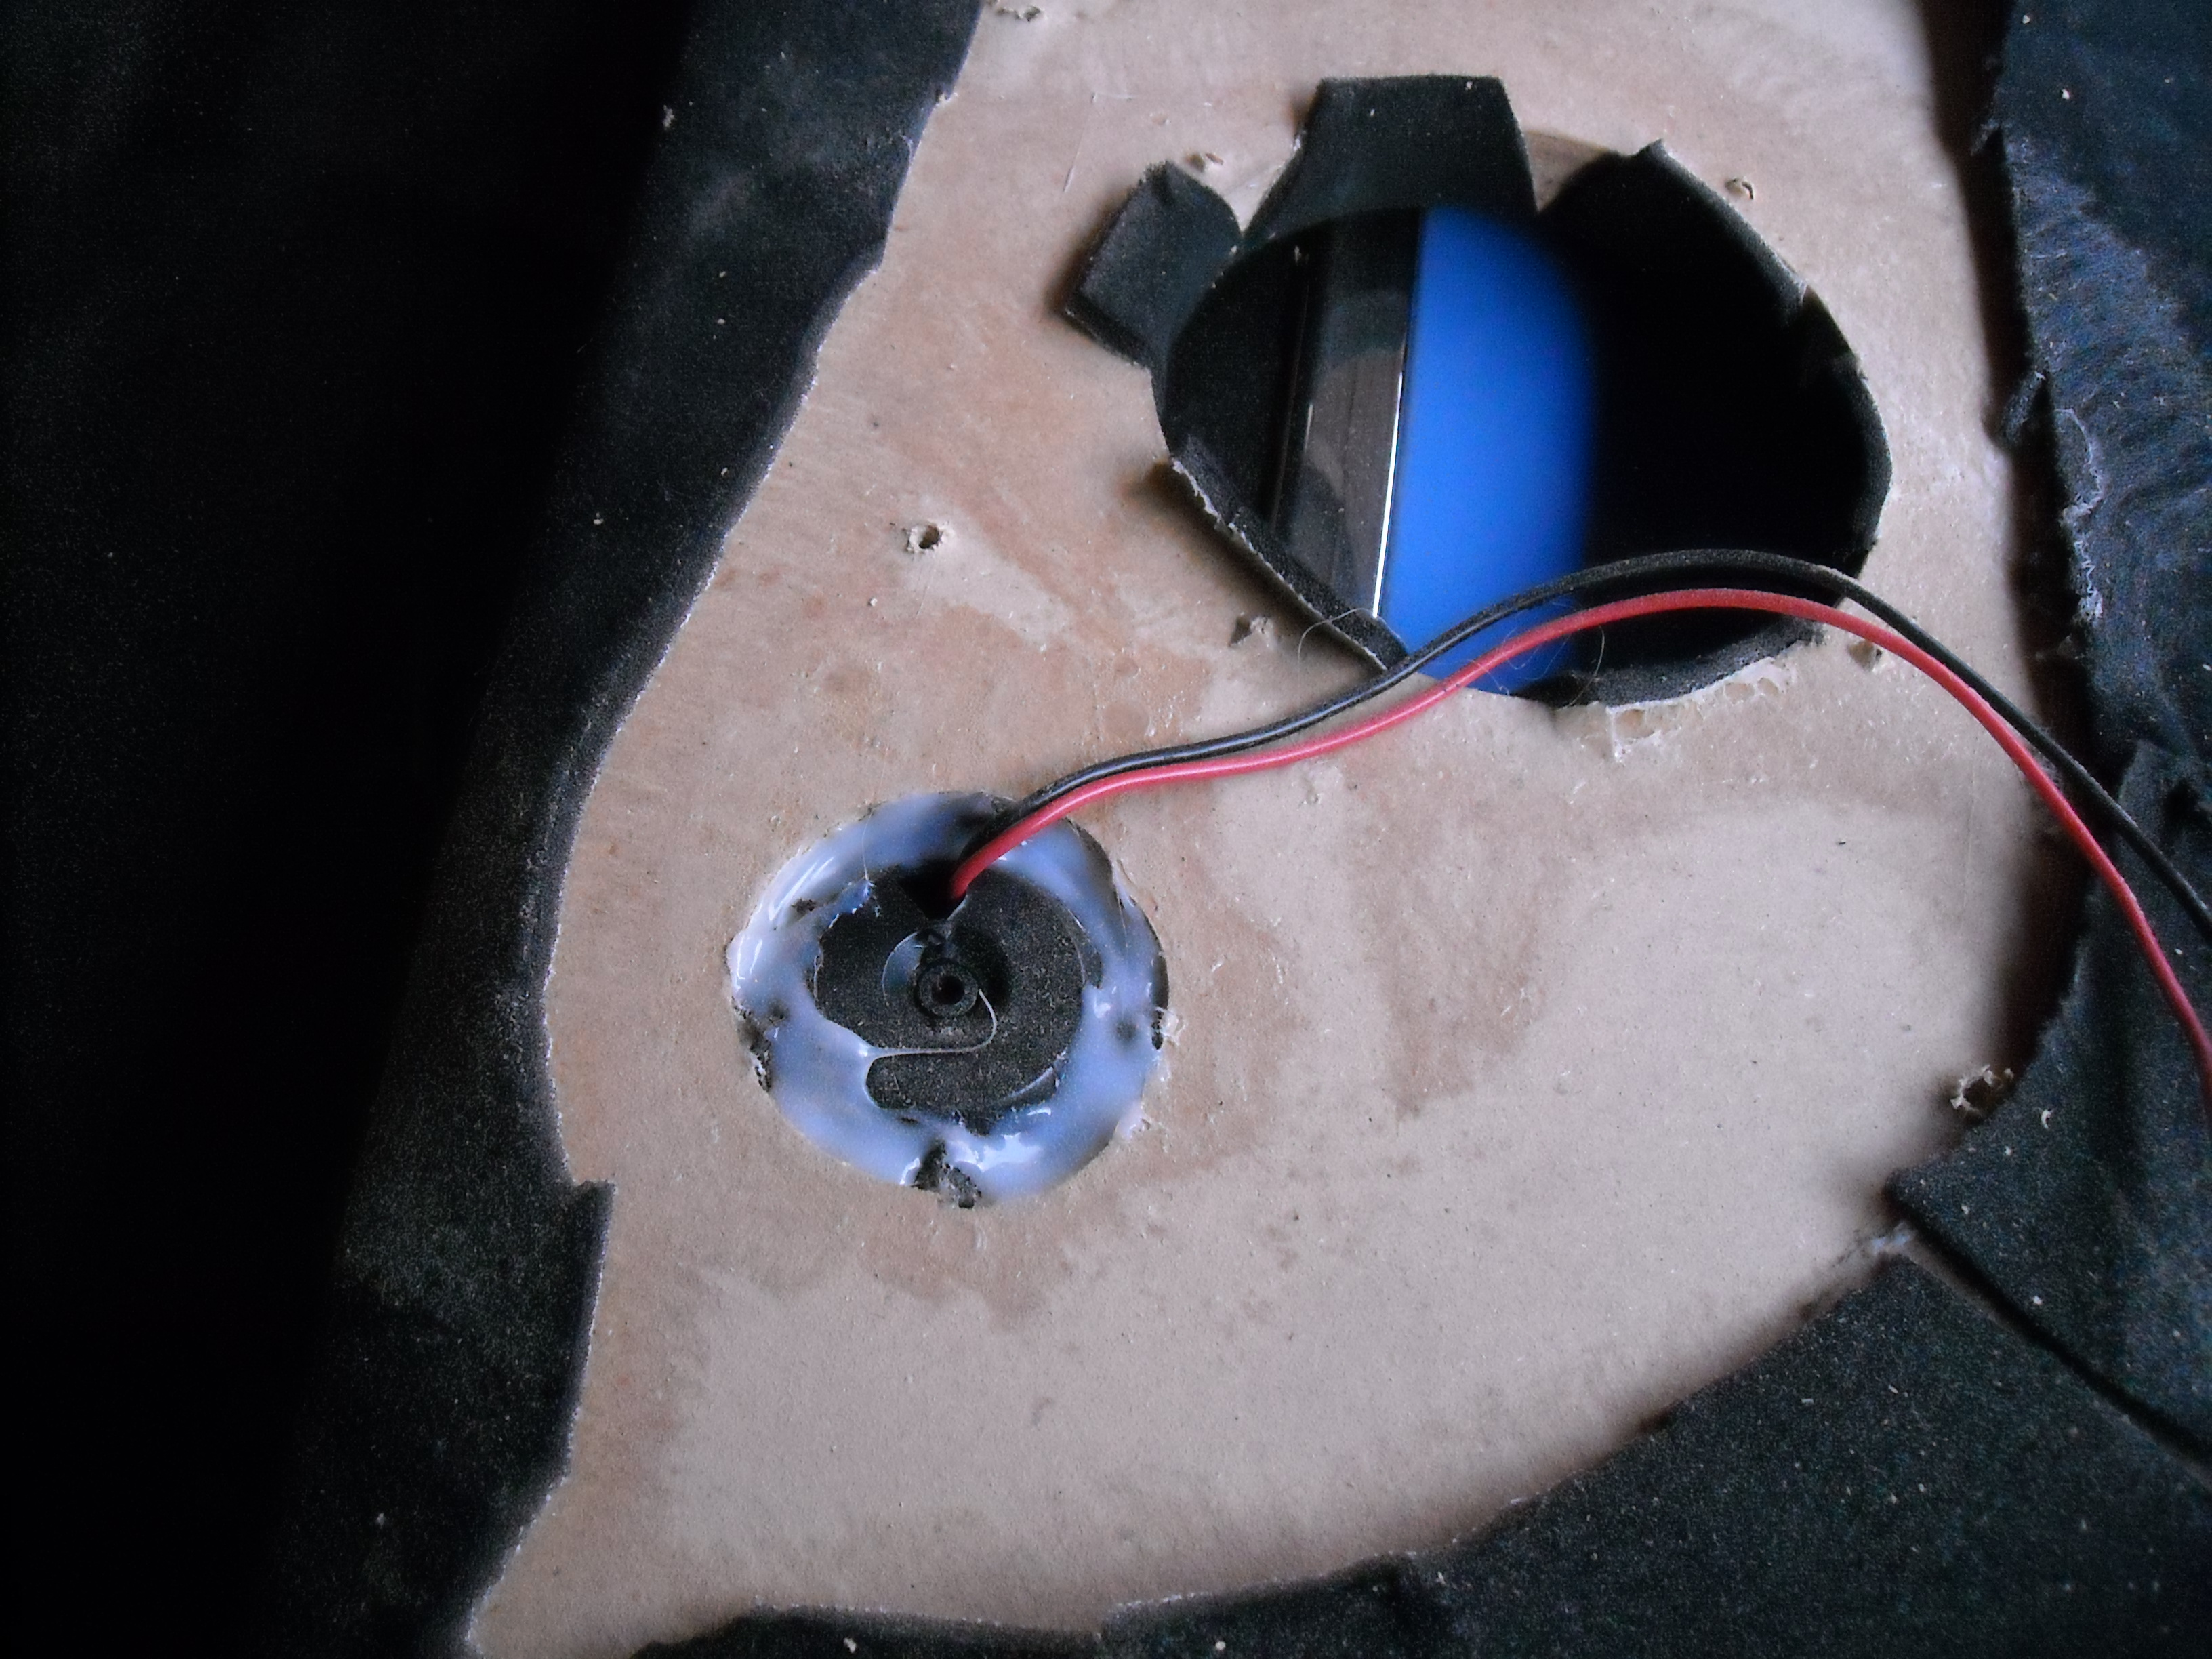
Silicone isn't a bad way to get the tweeter cups to hold in when working with such a thick board.
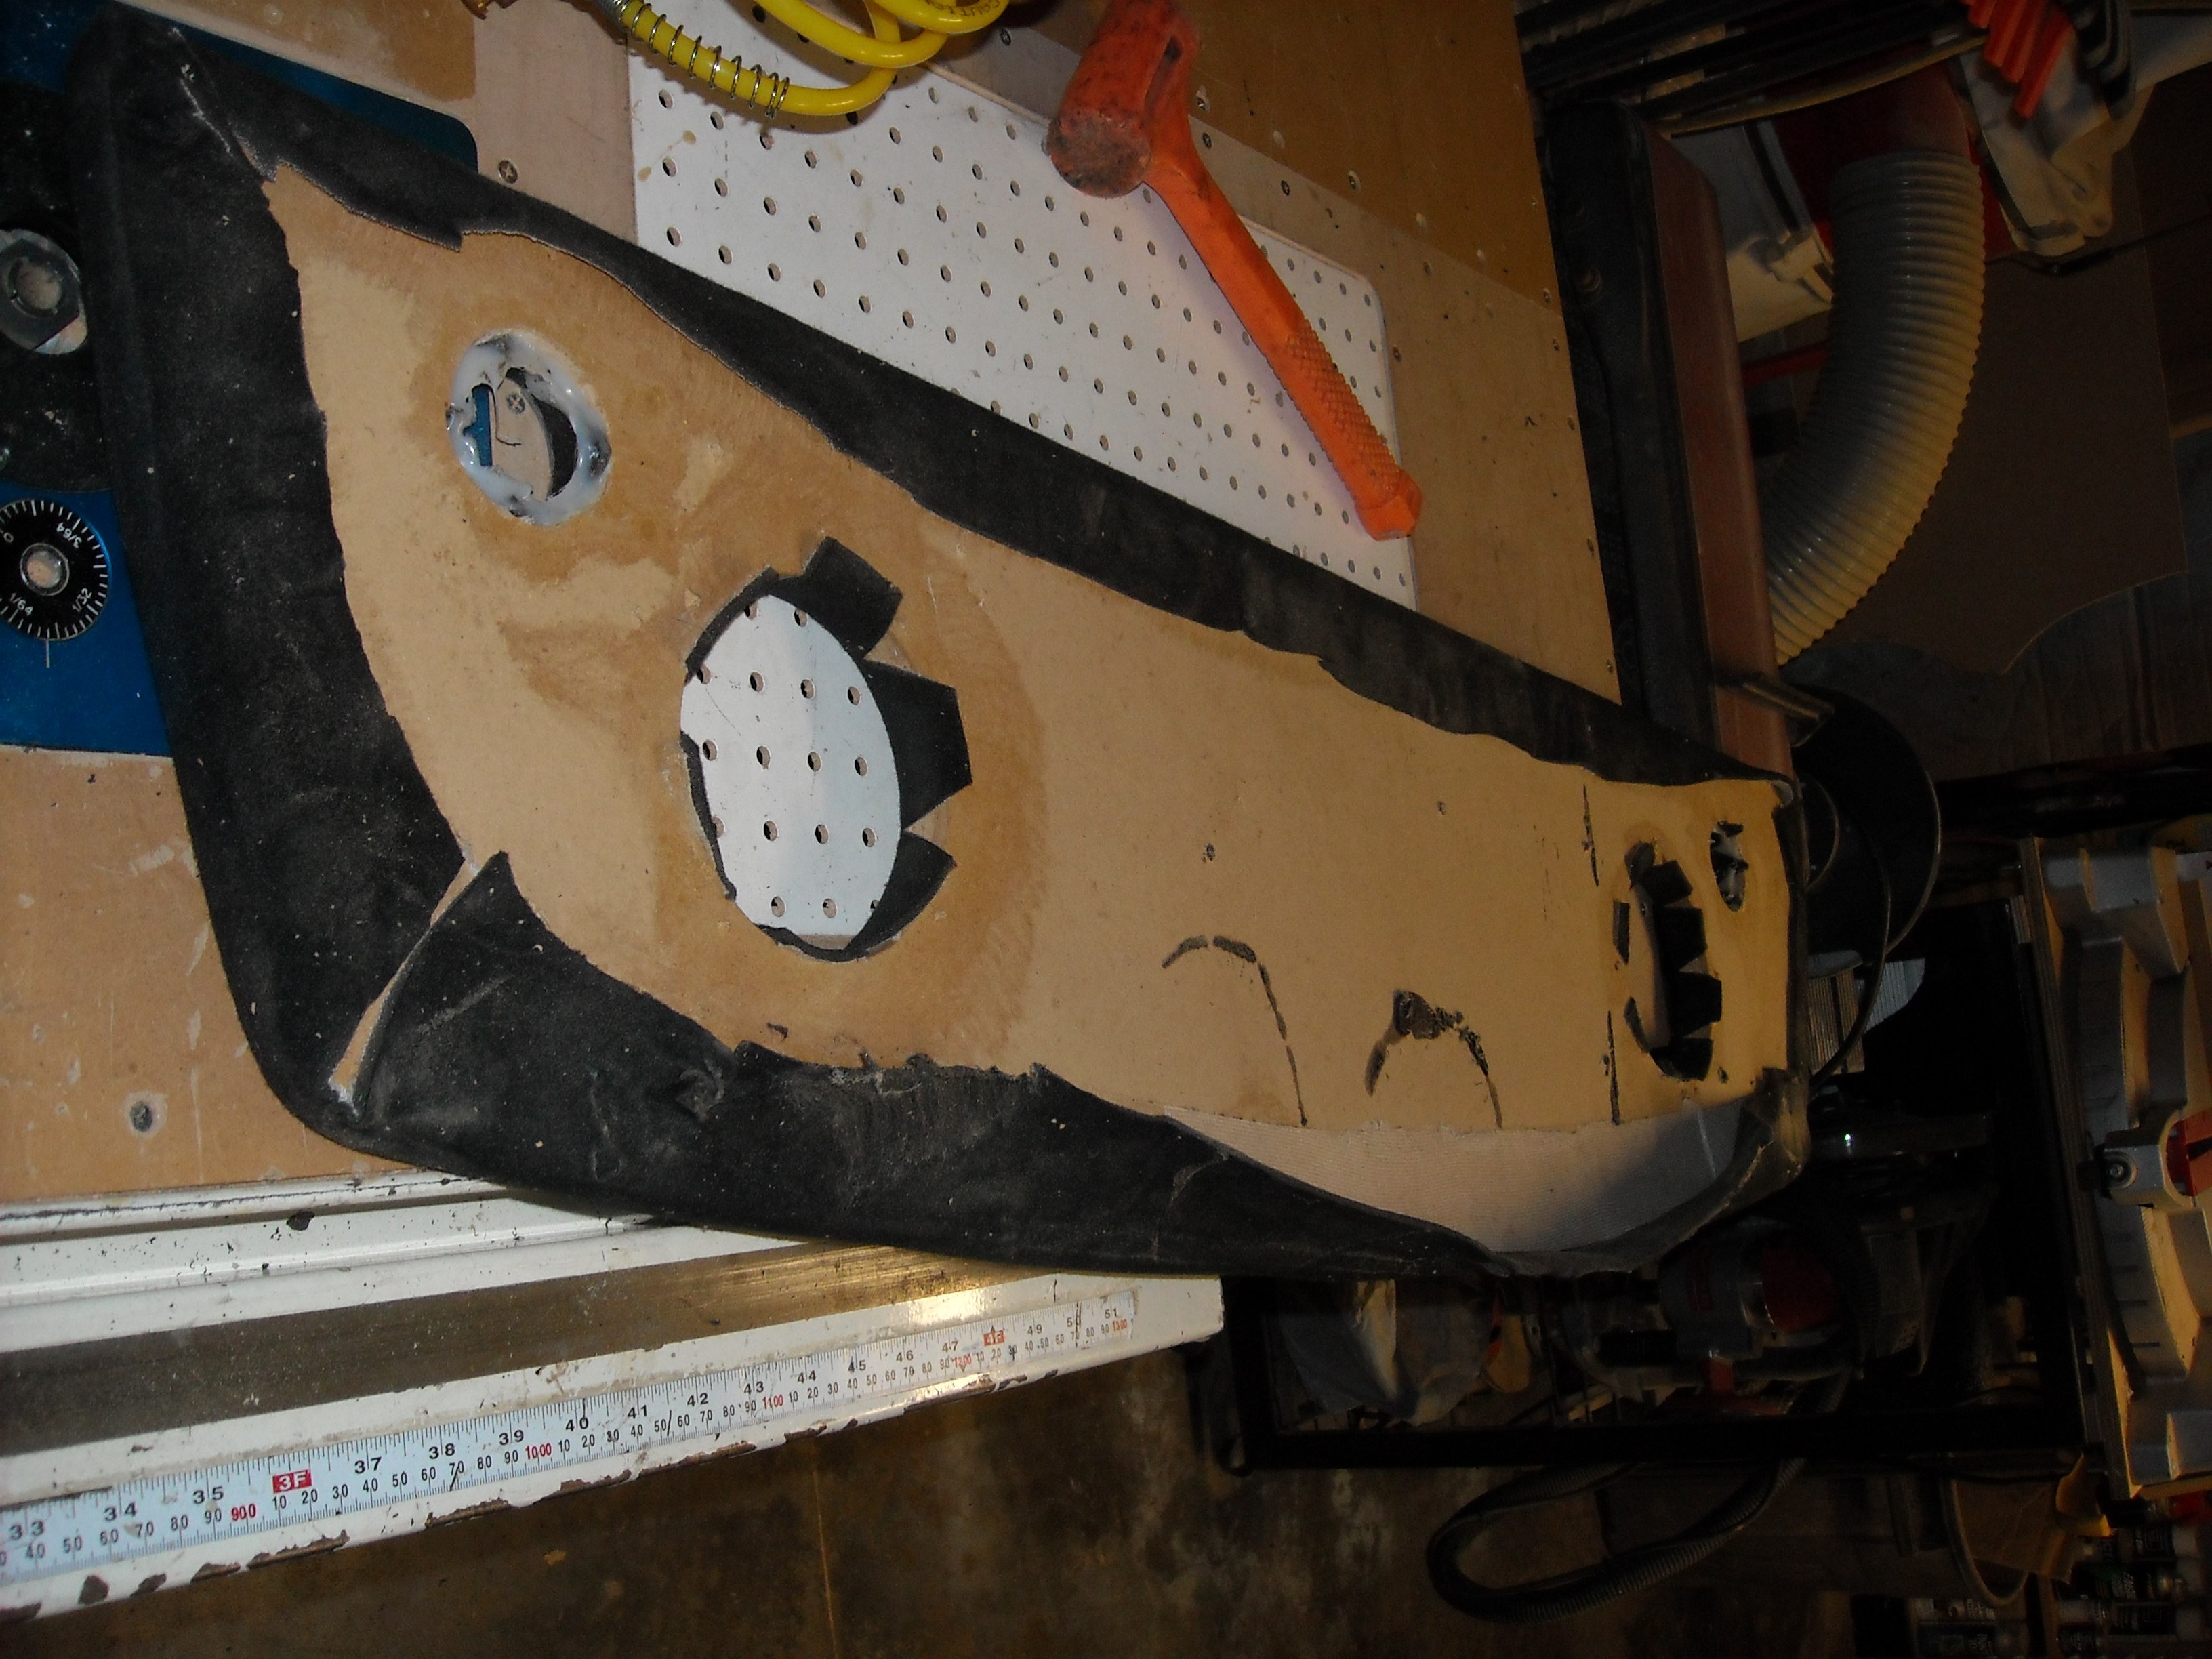
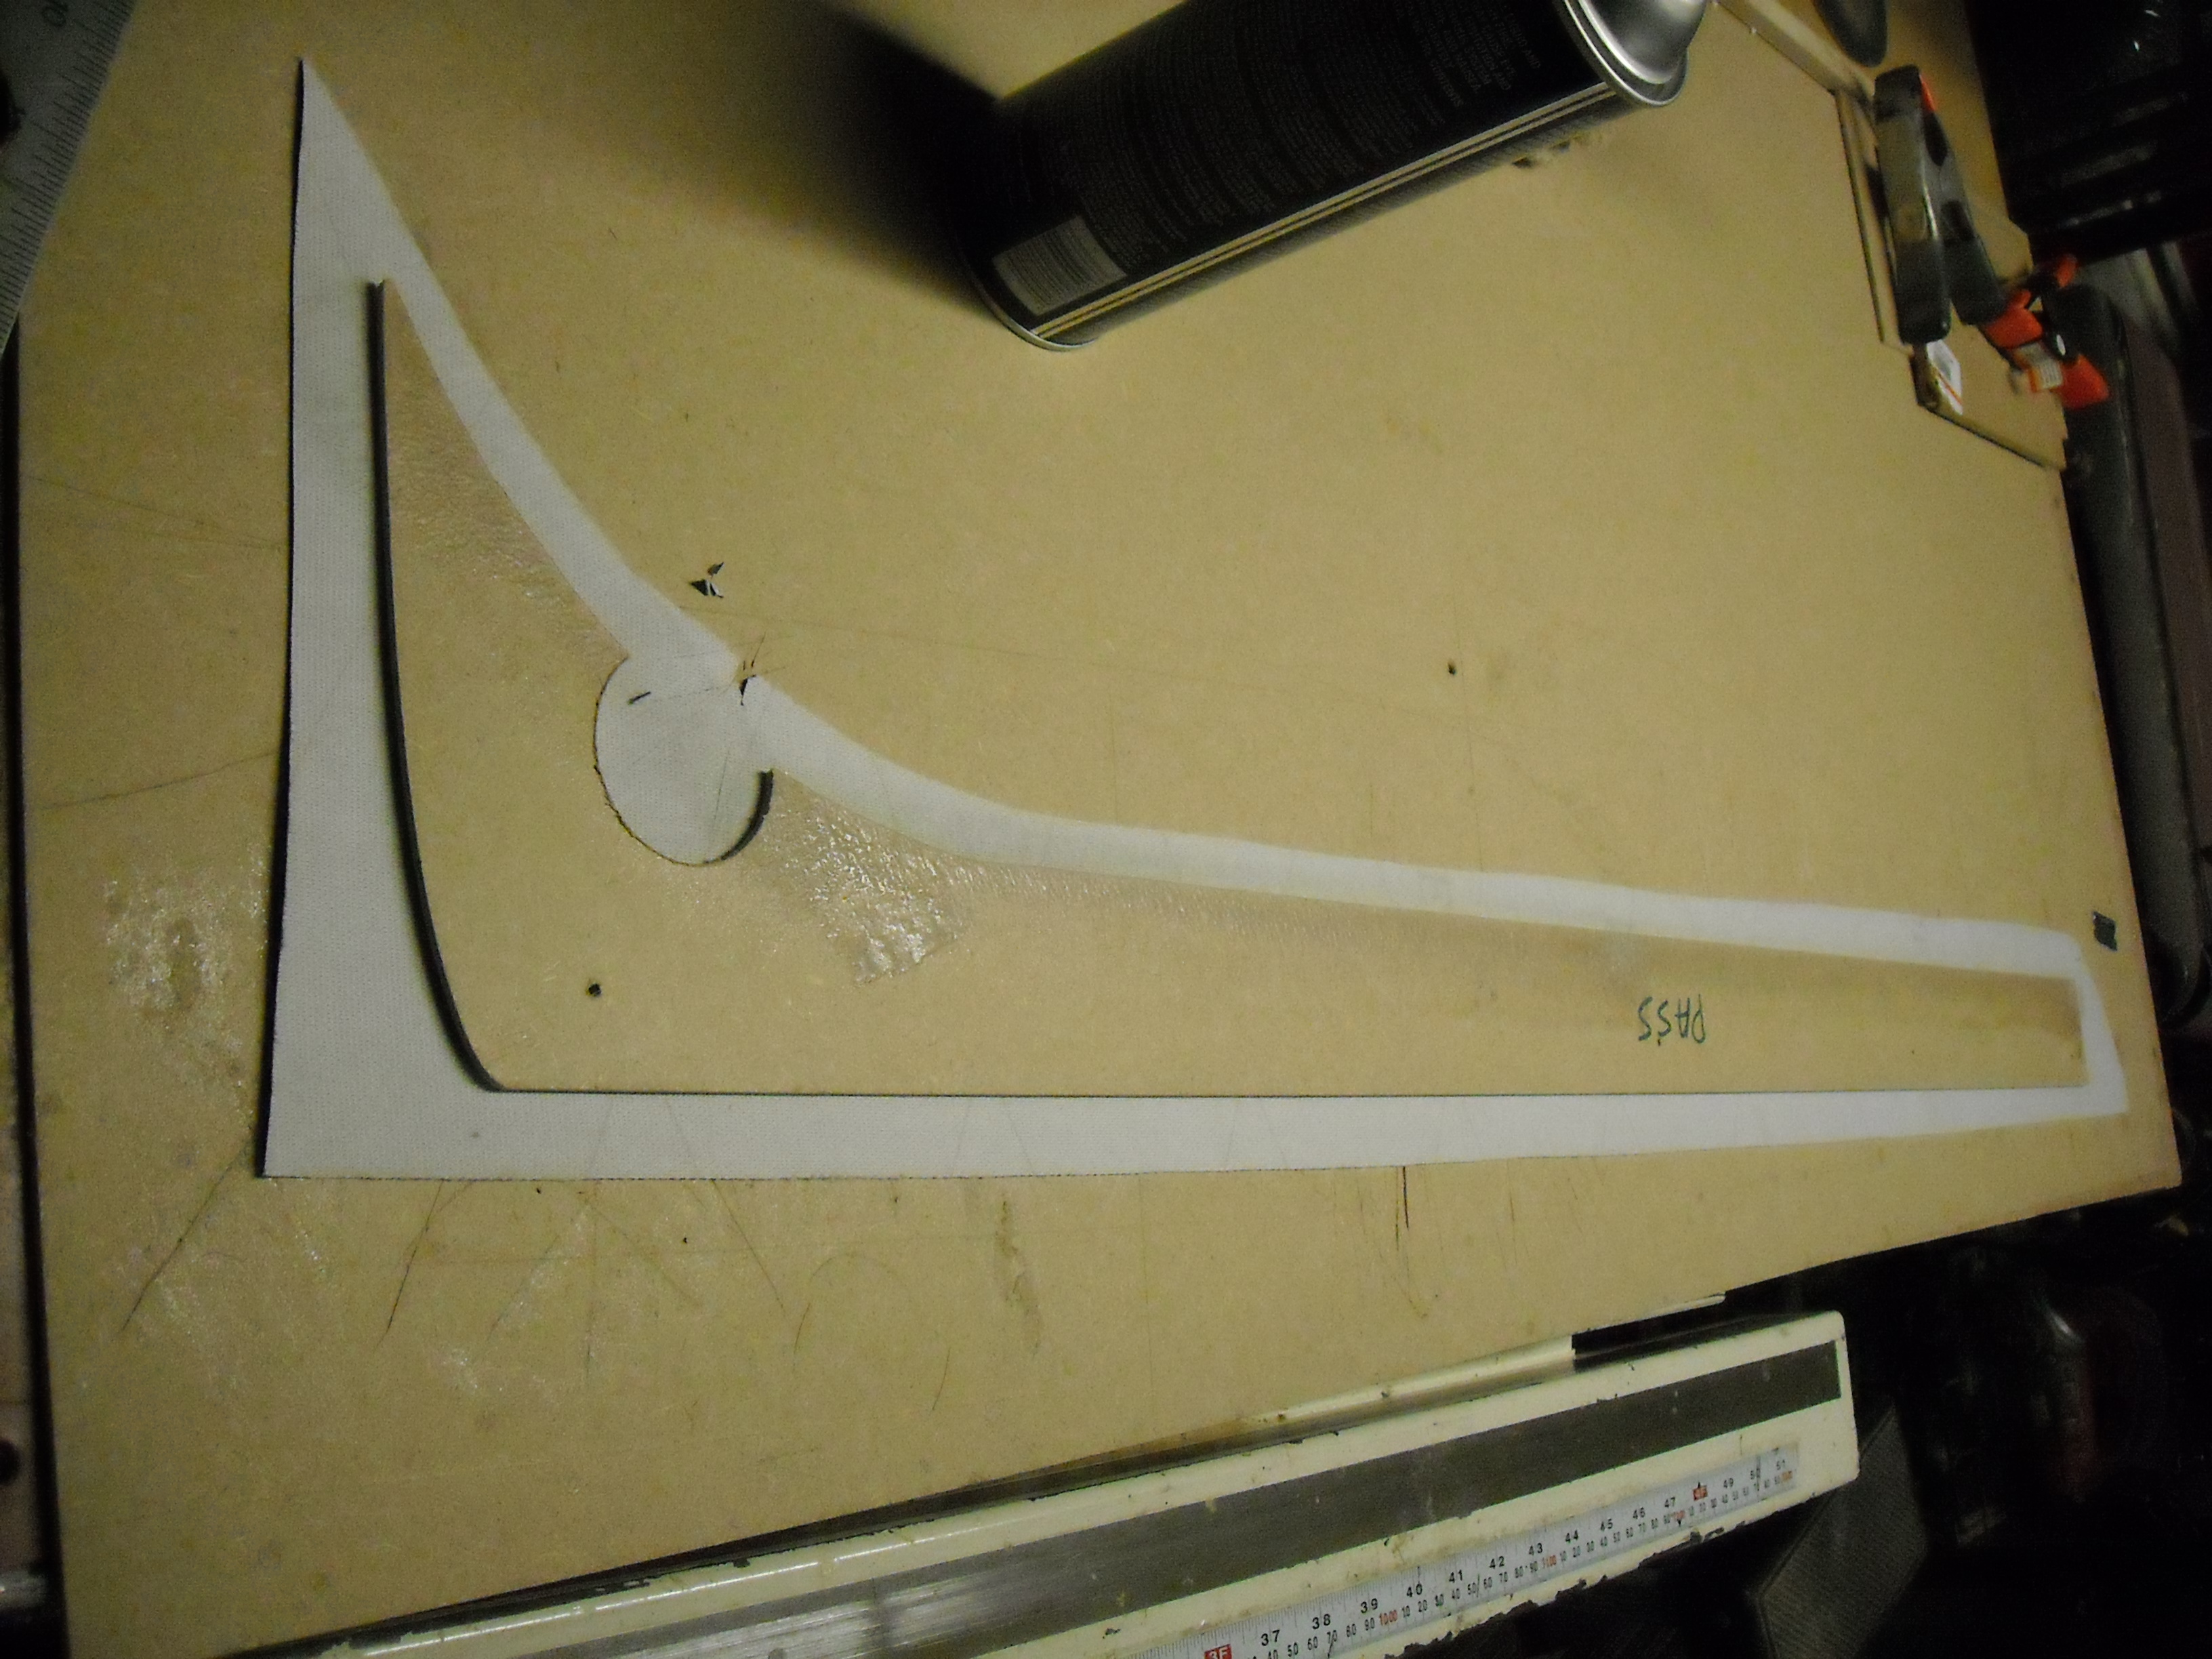
I started out by removing the carpet off the old one so i could use it as a template. Much easier then mocking up a template from scratch.
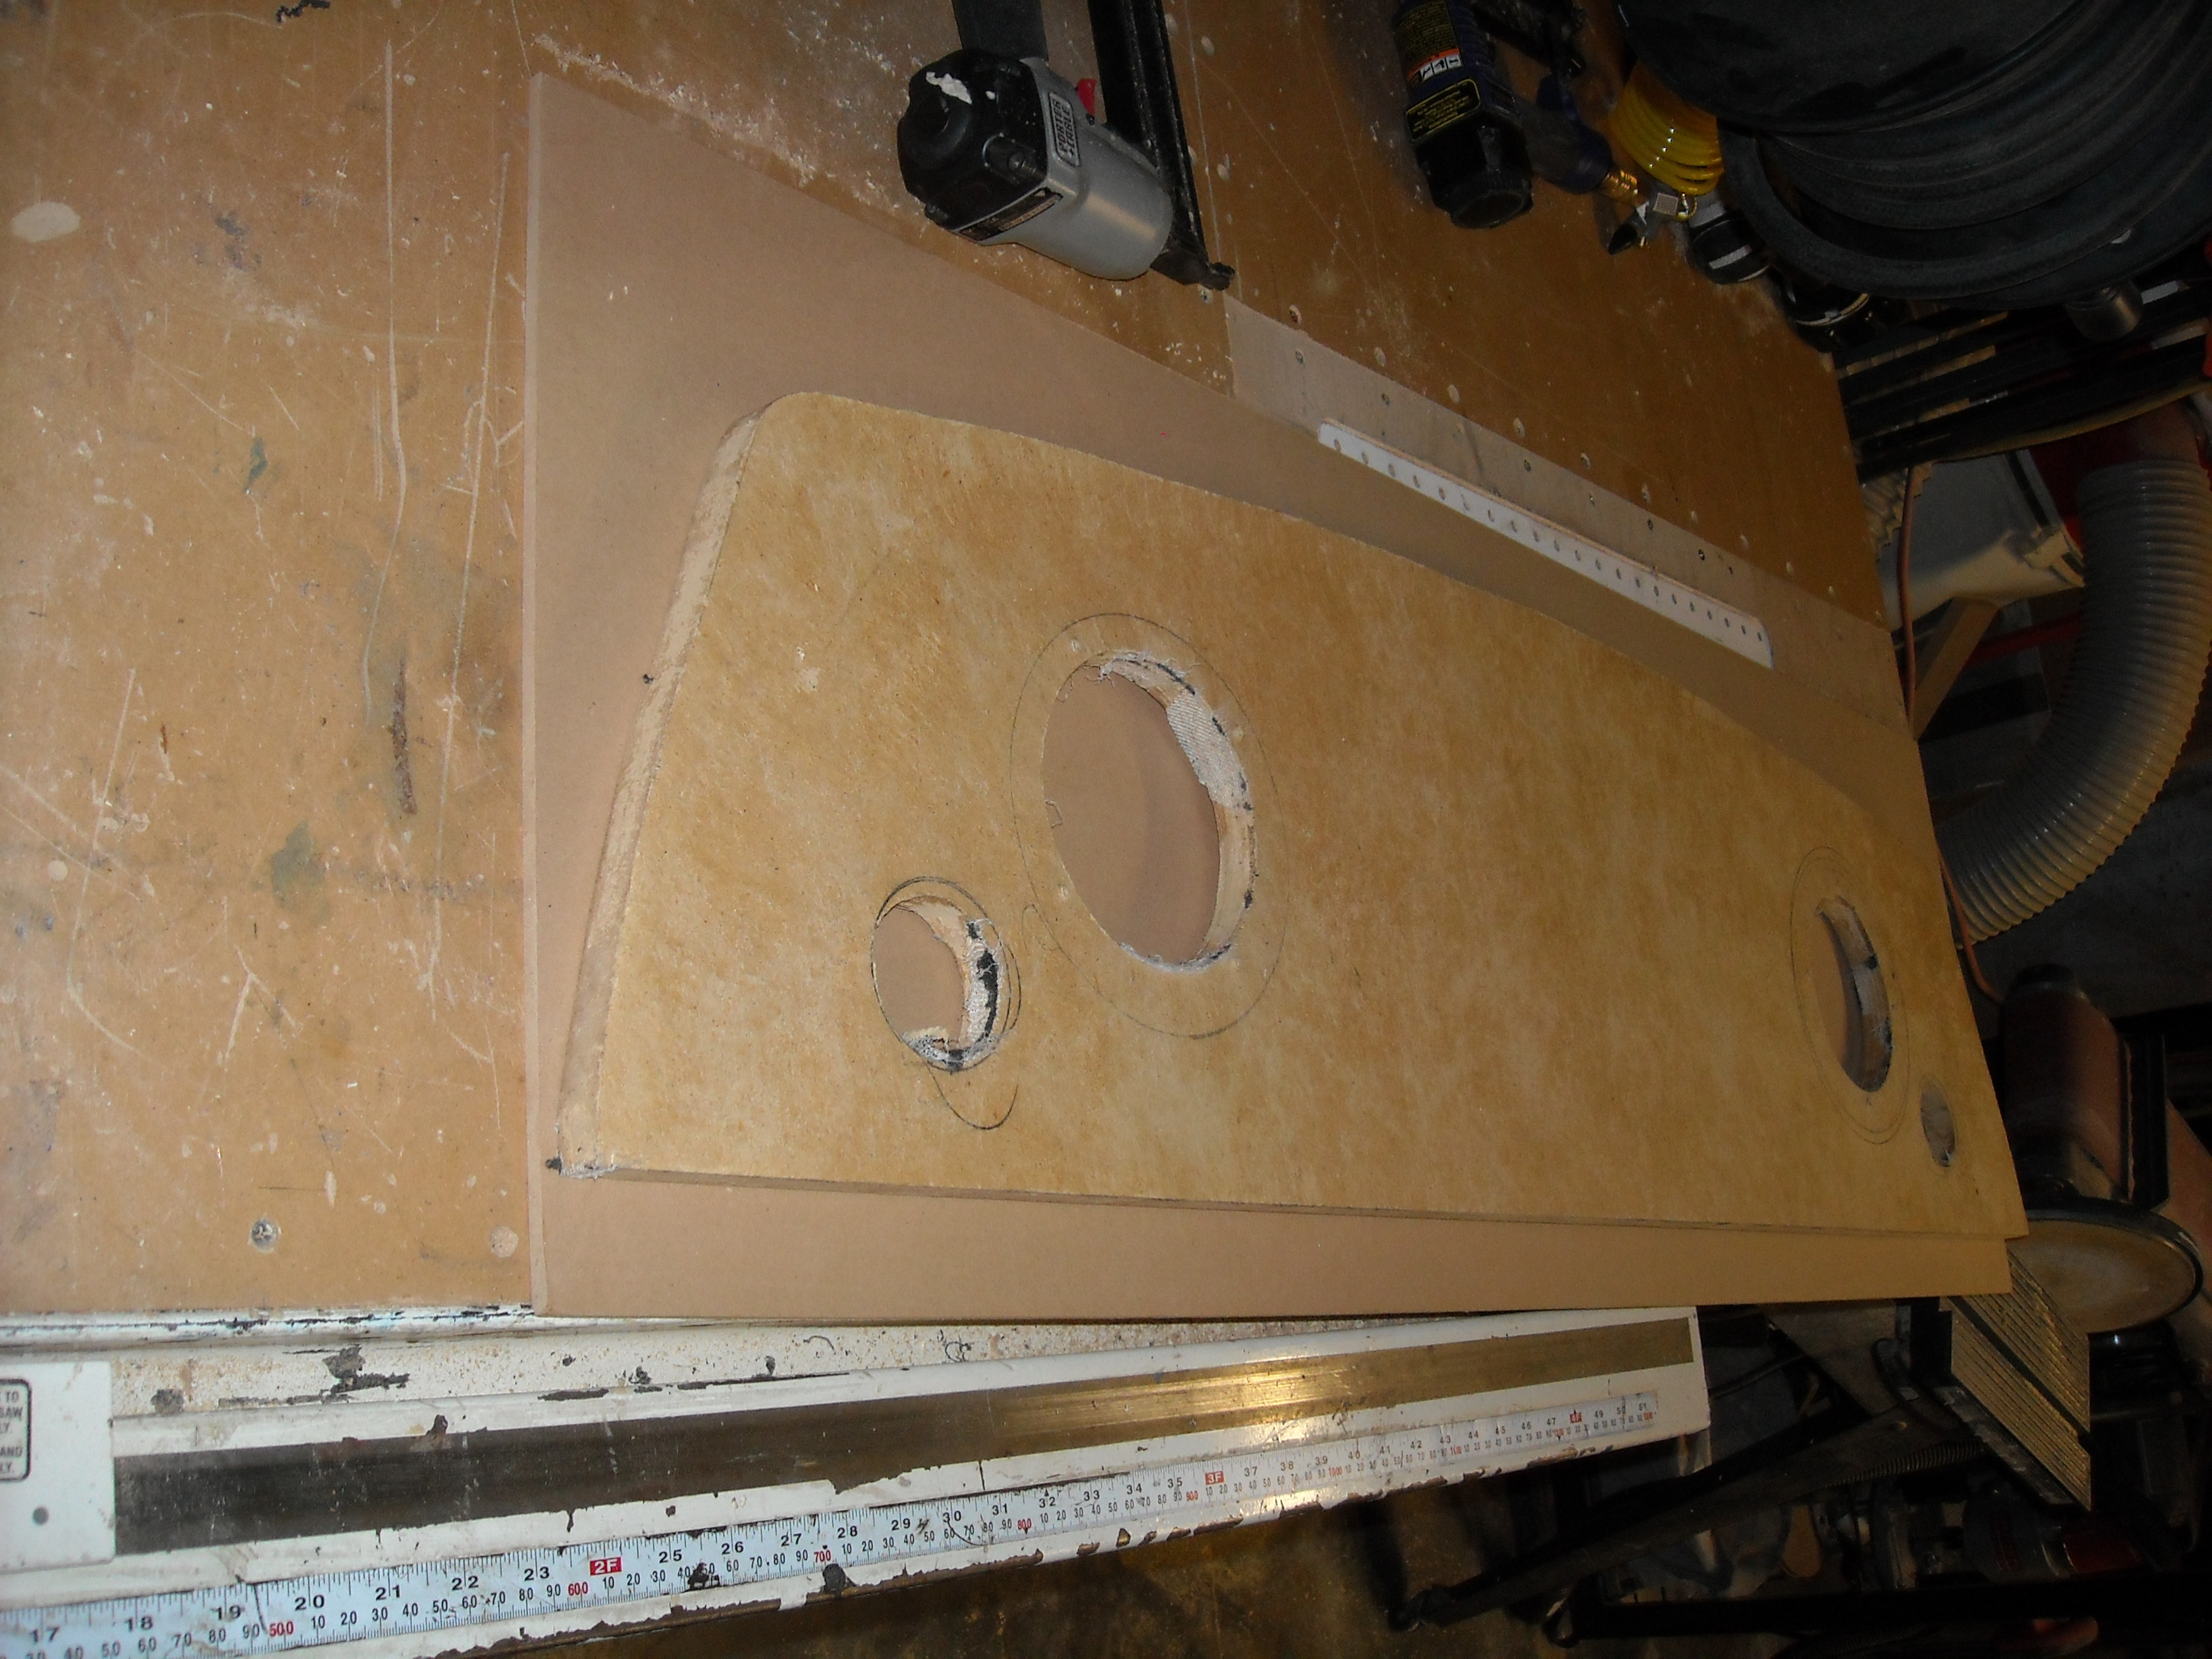
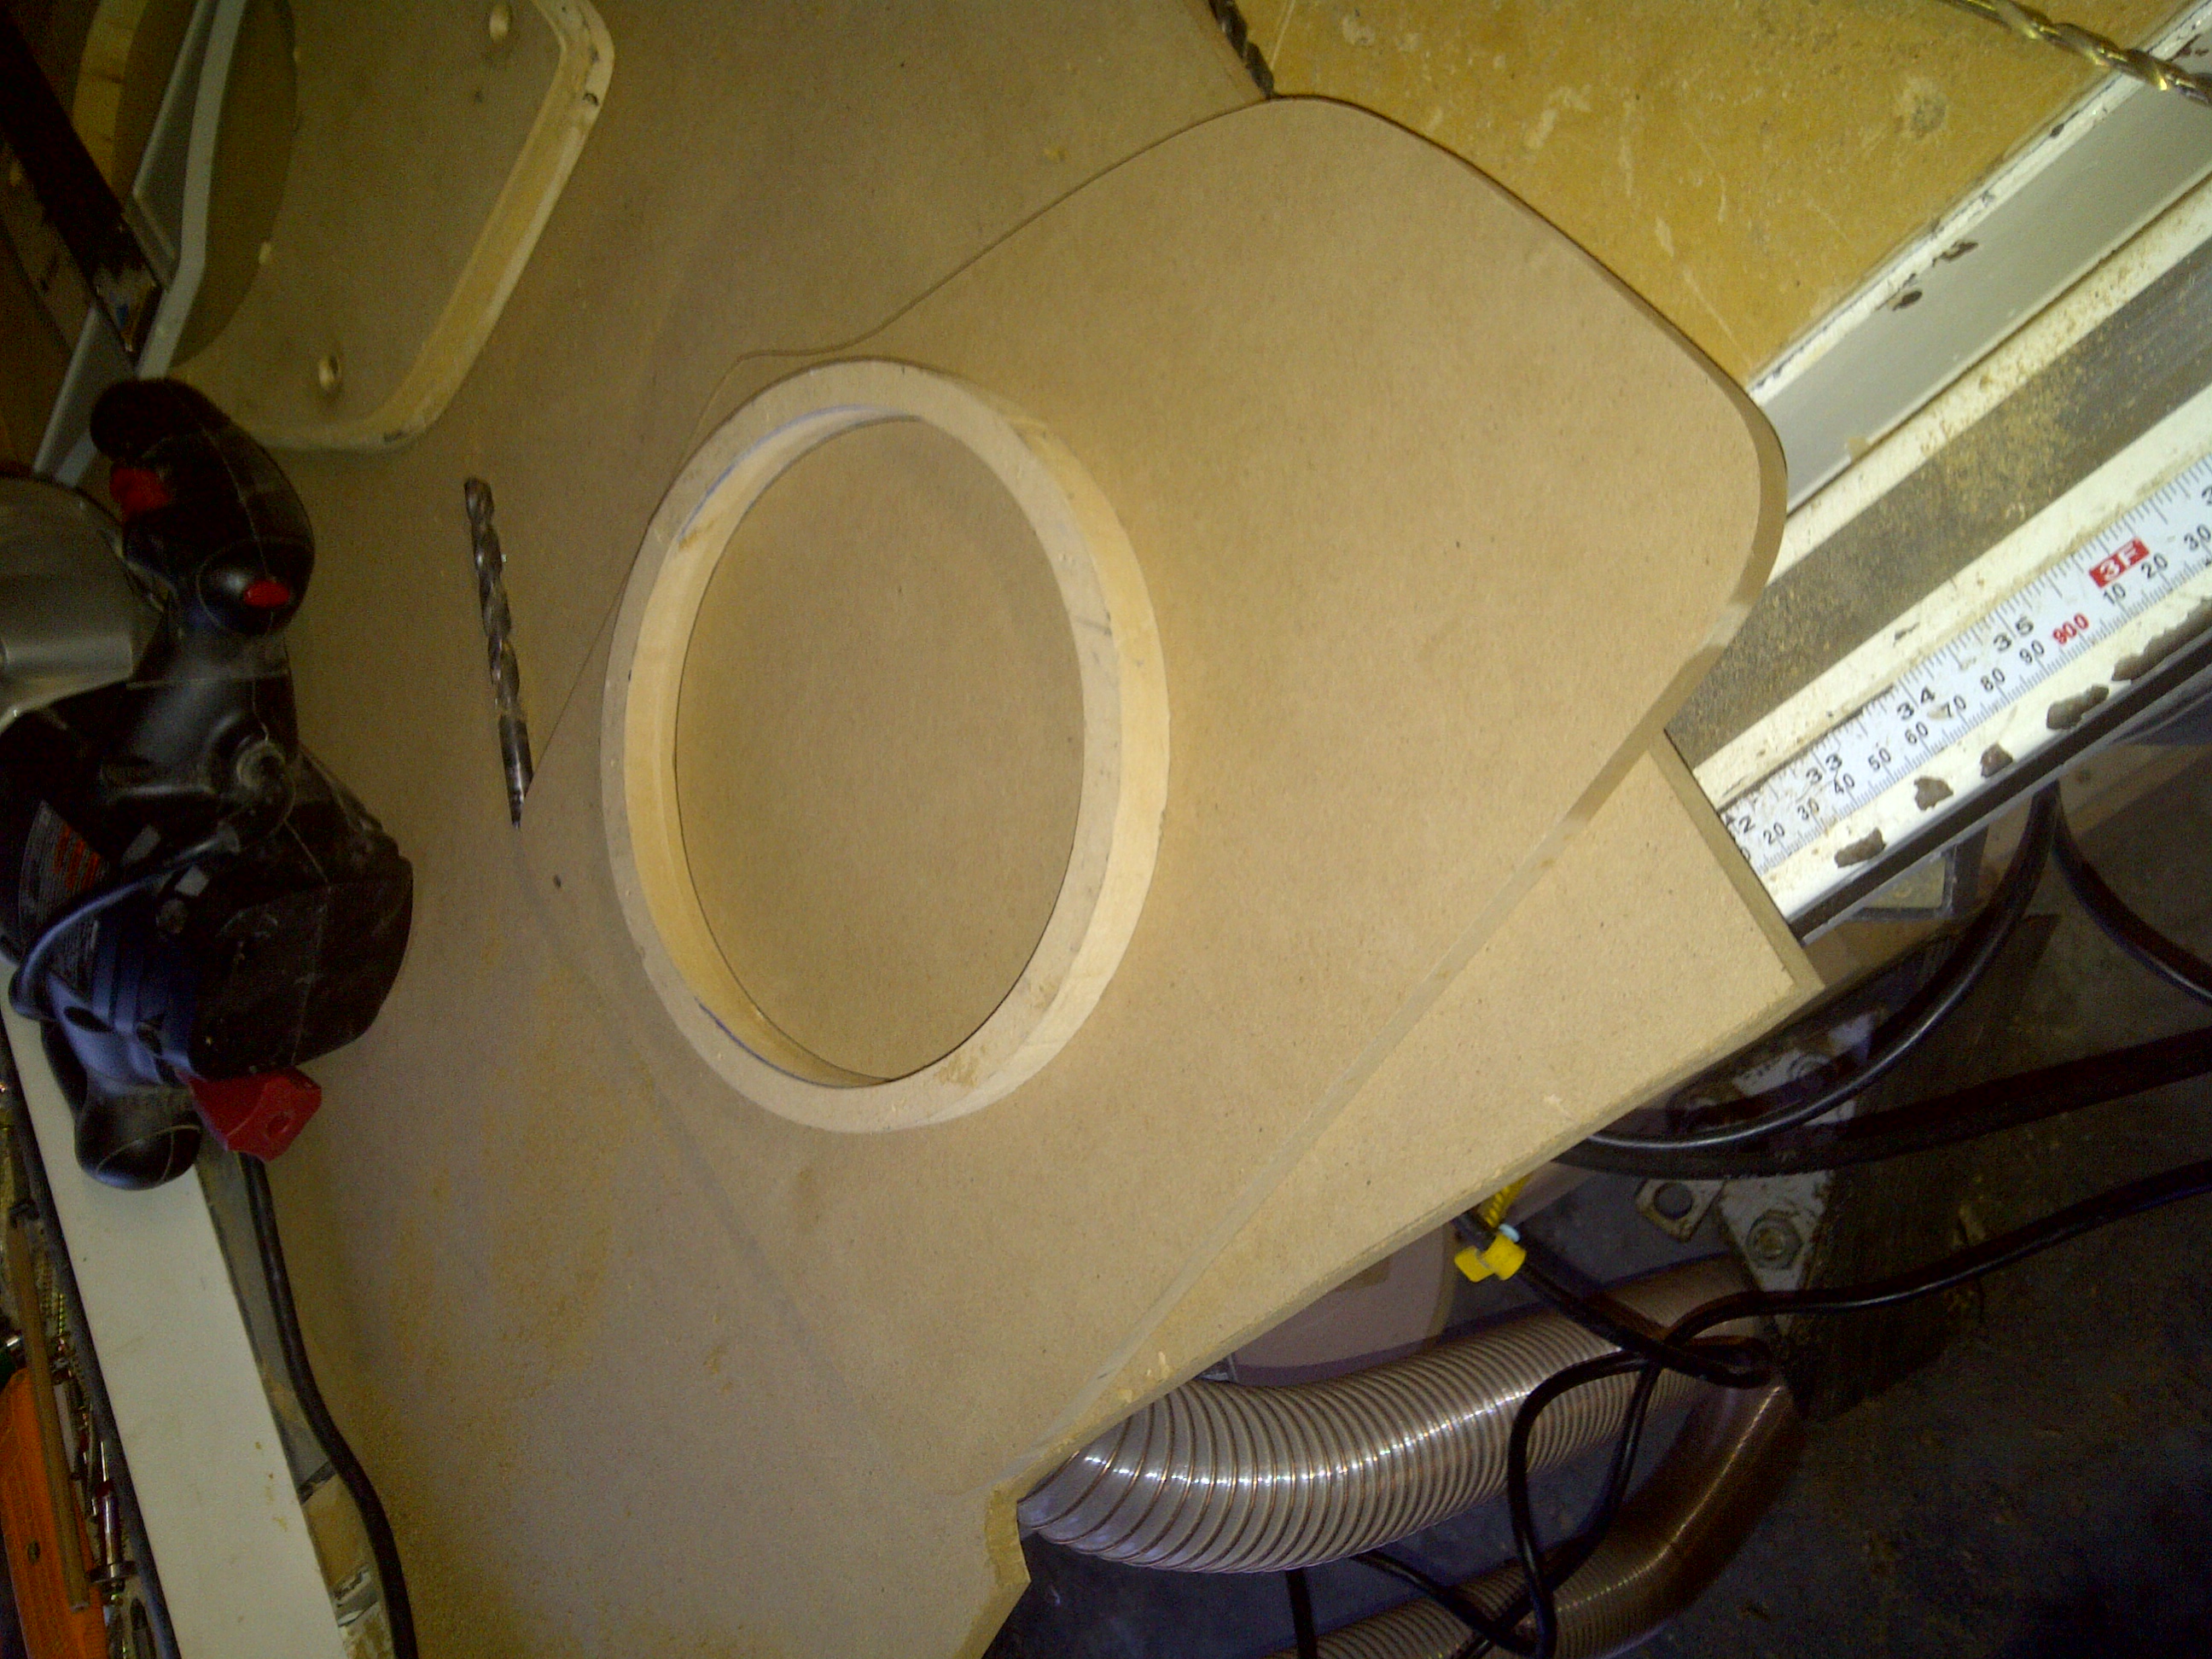
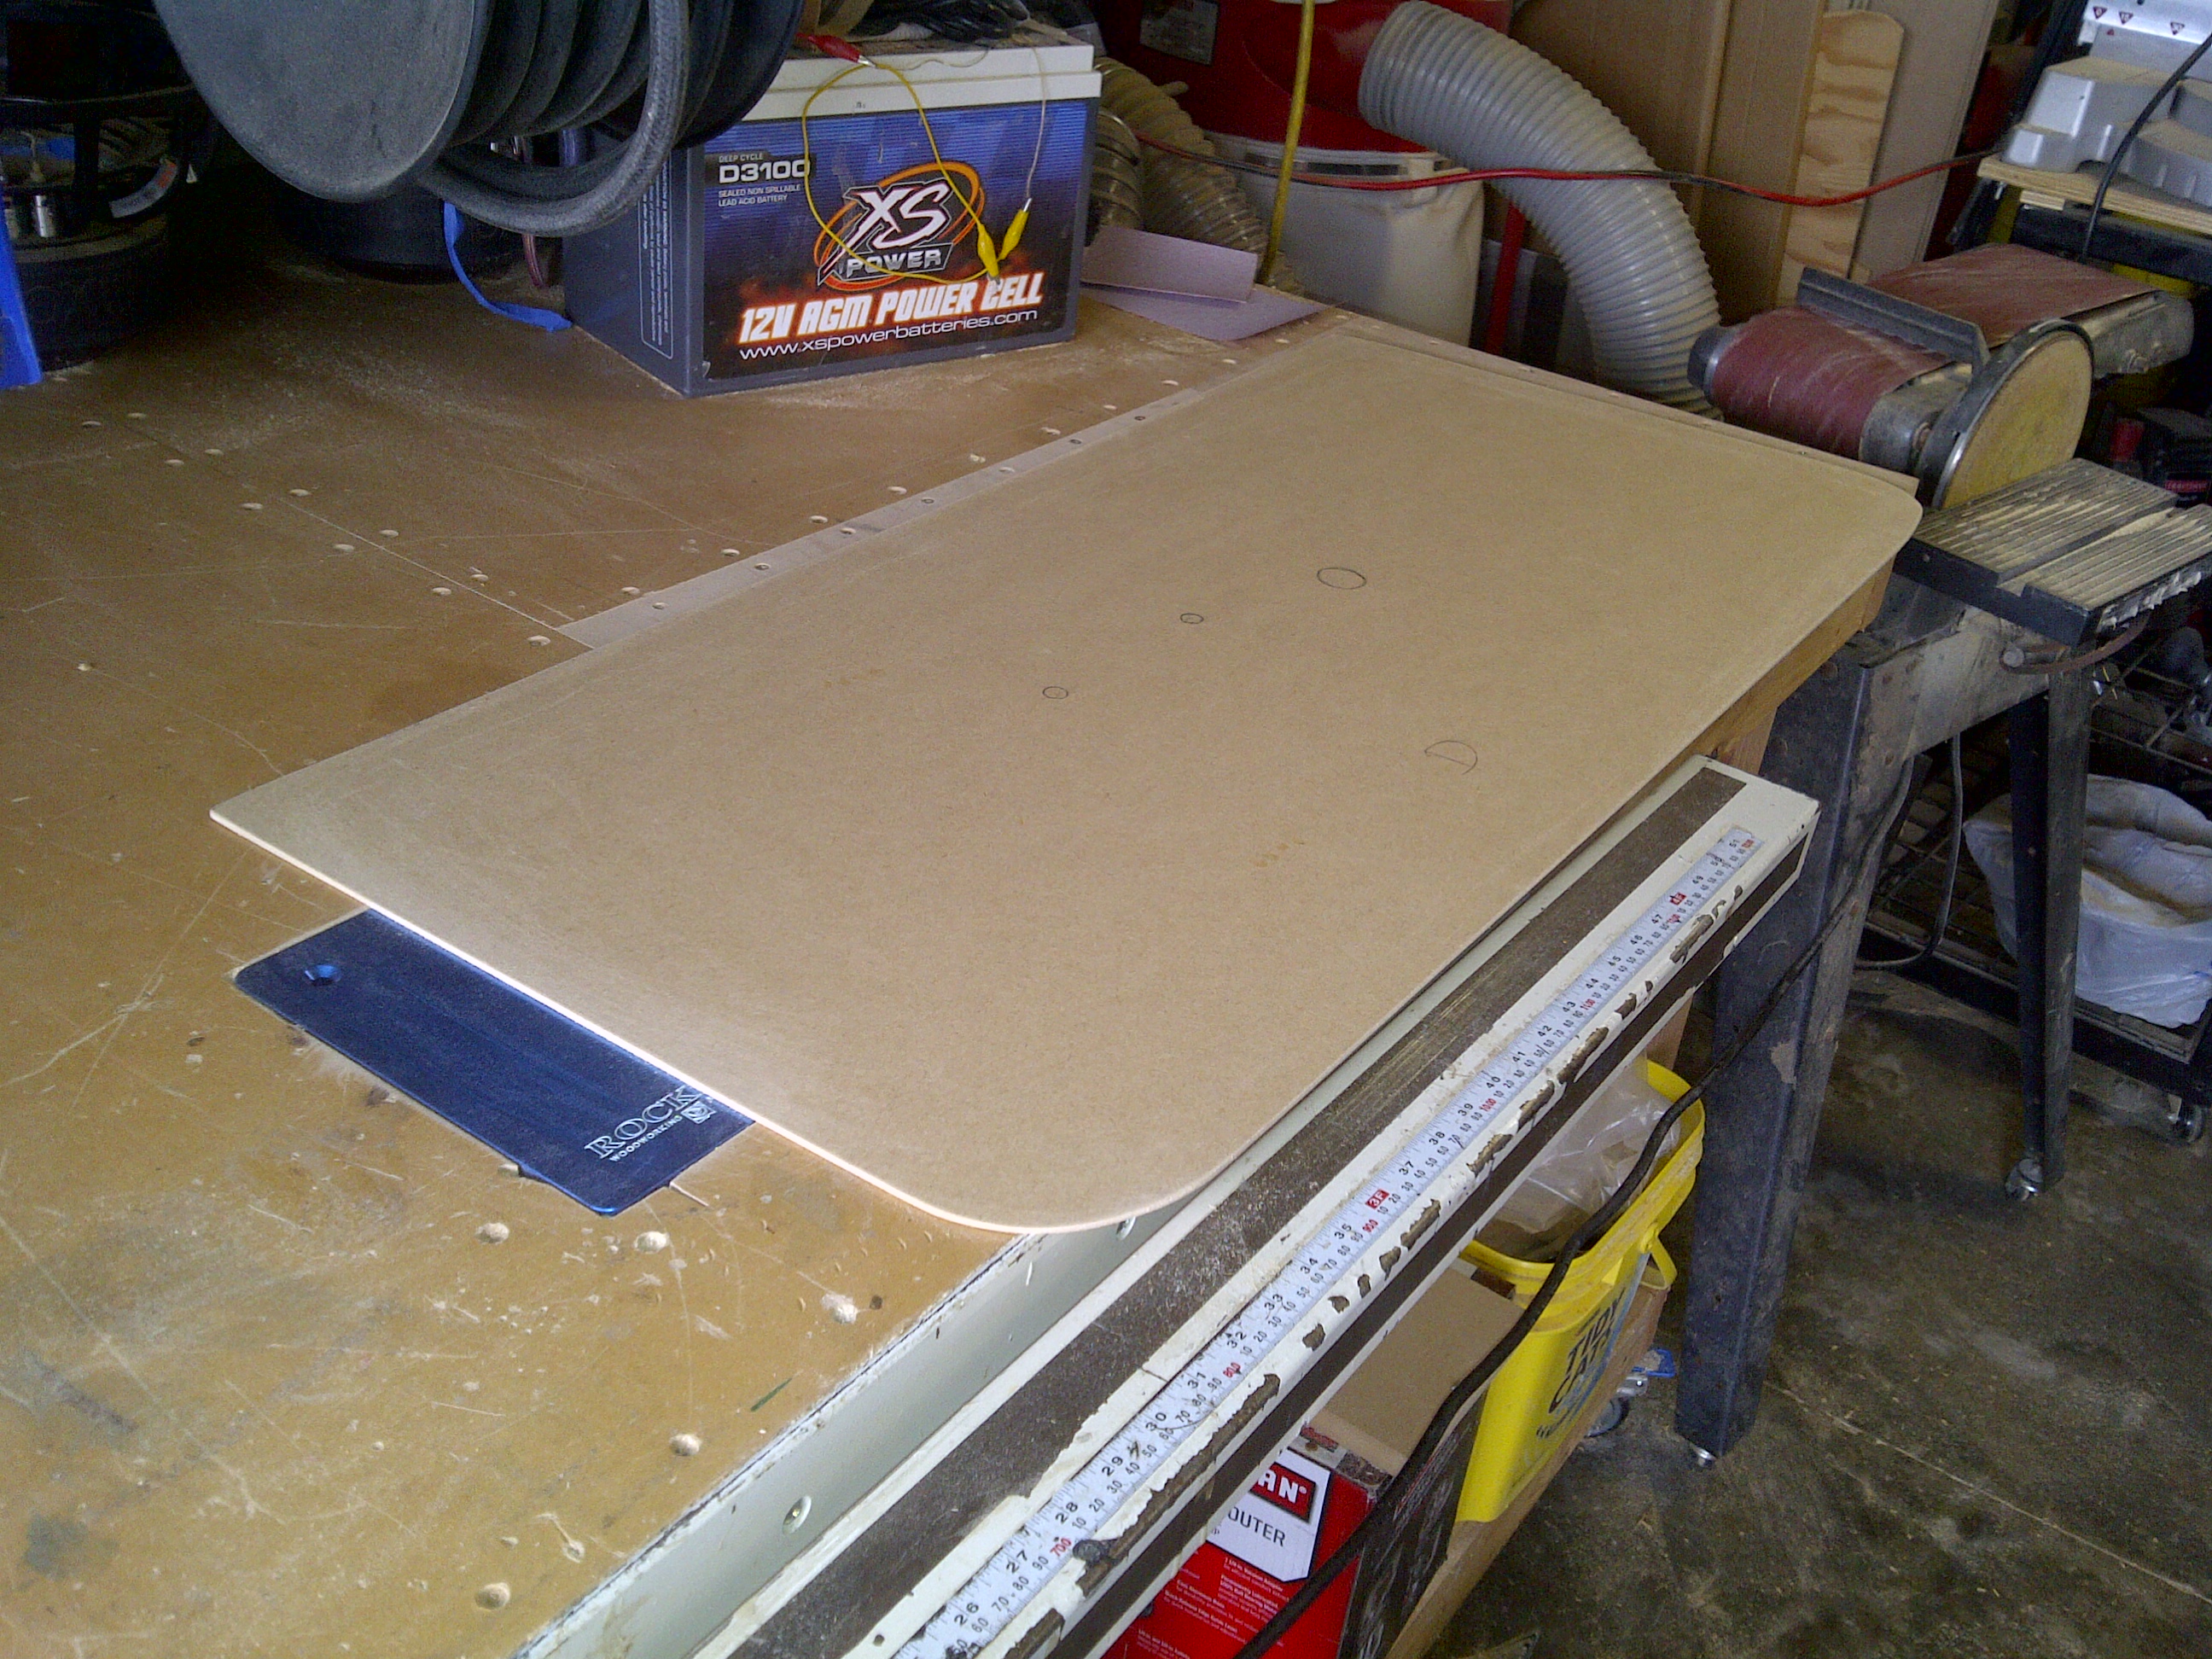
Once i made sure it was a snug fit, I marked out for the port tubes.
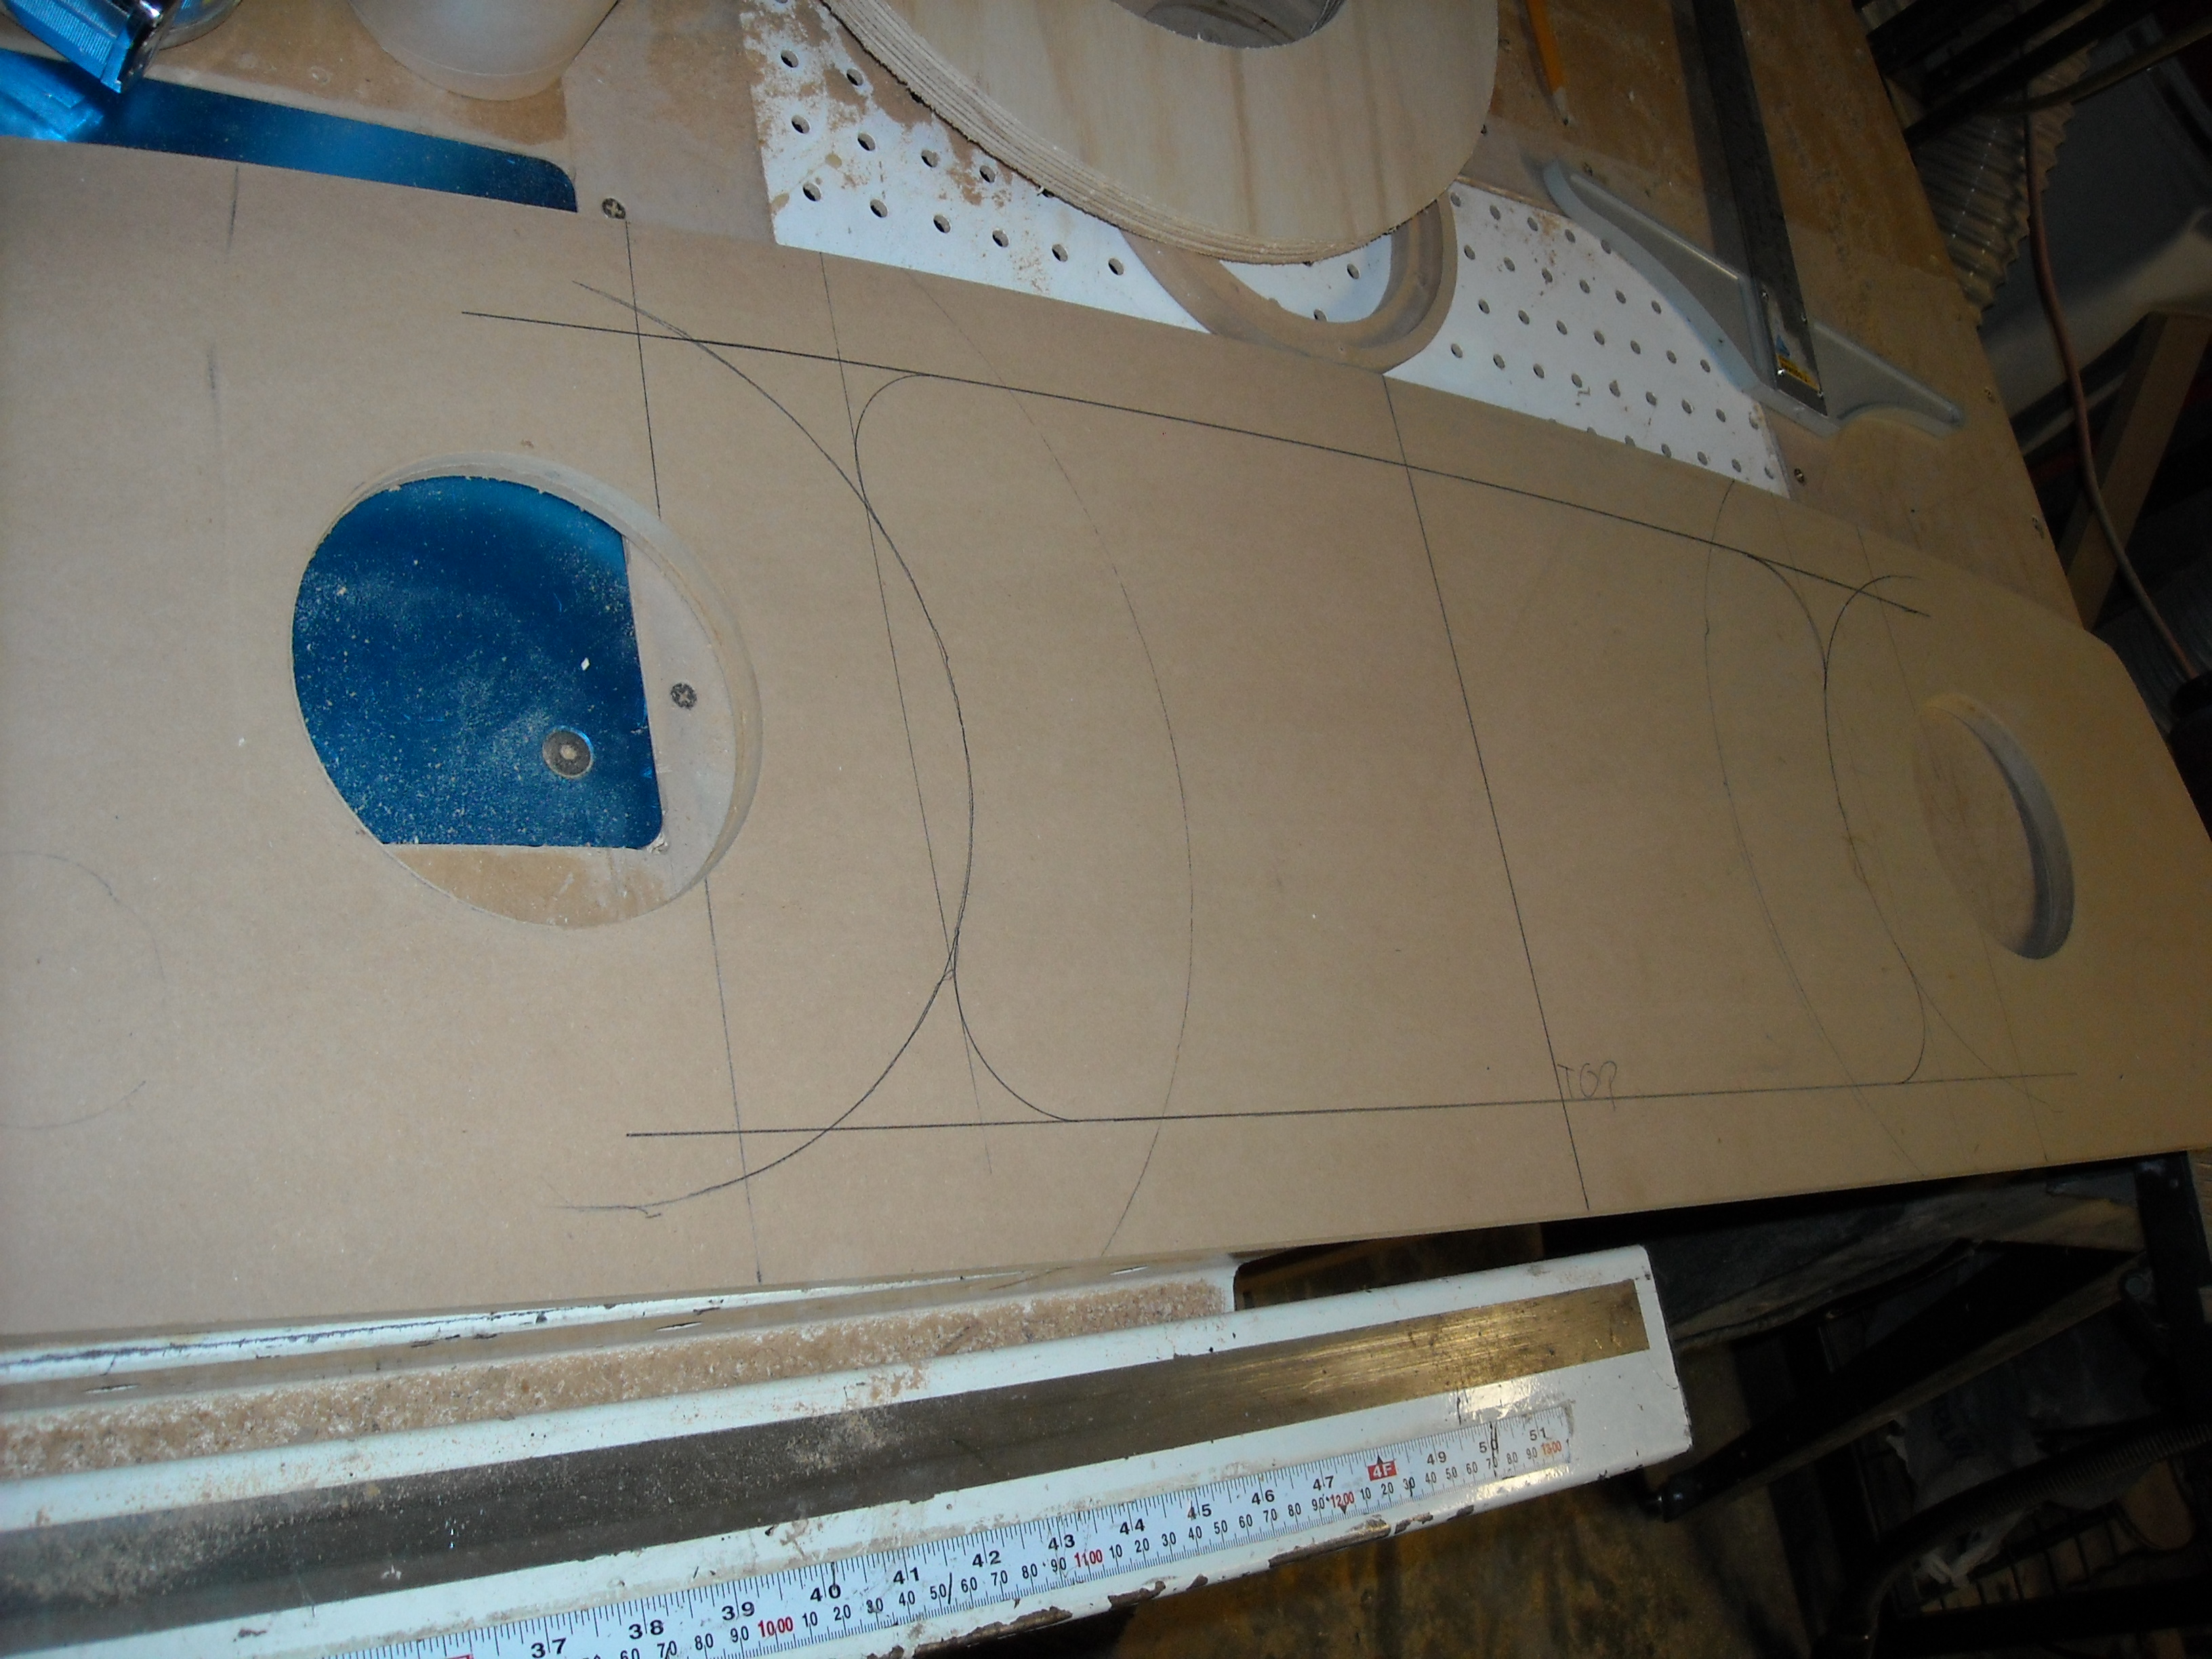
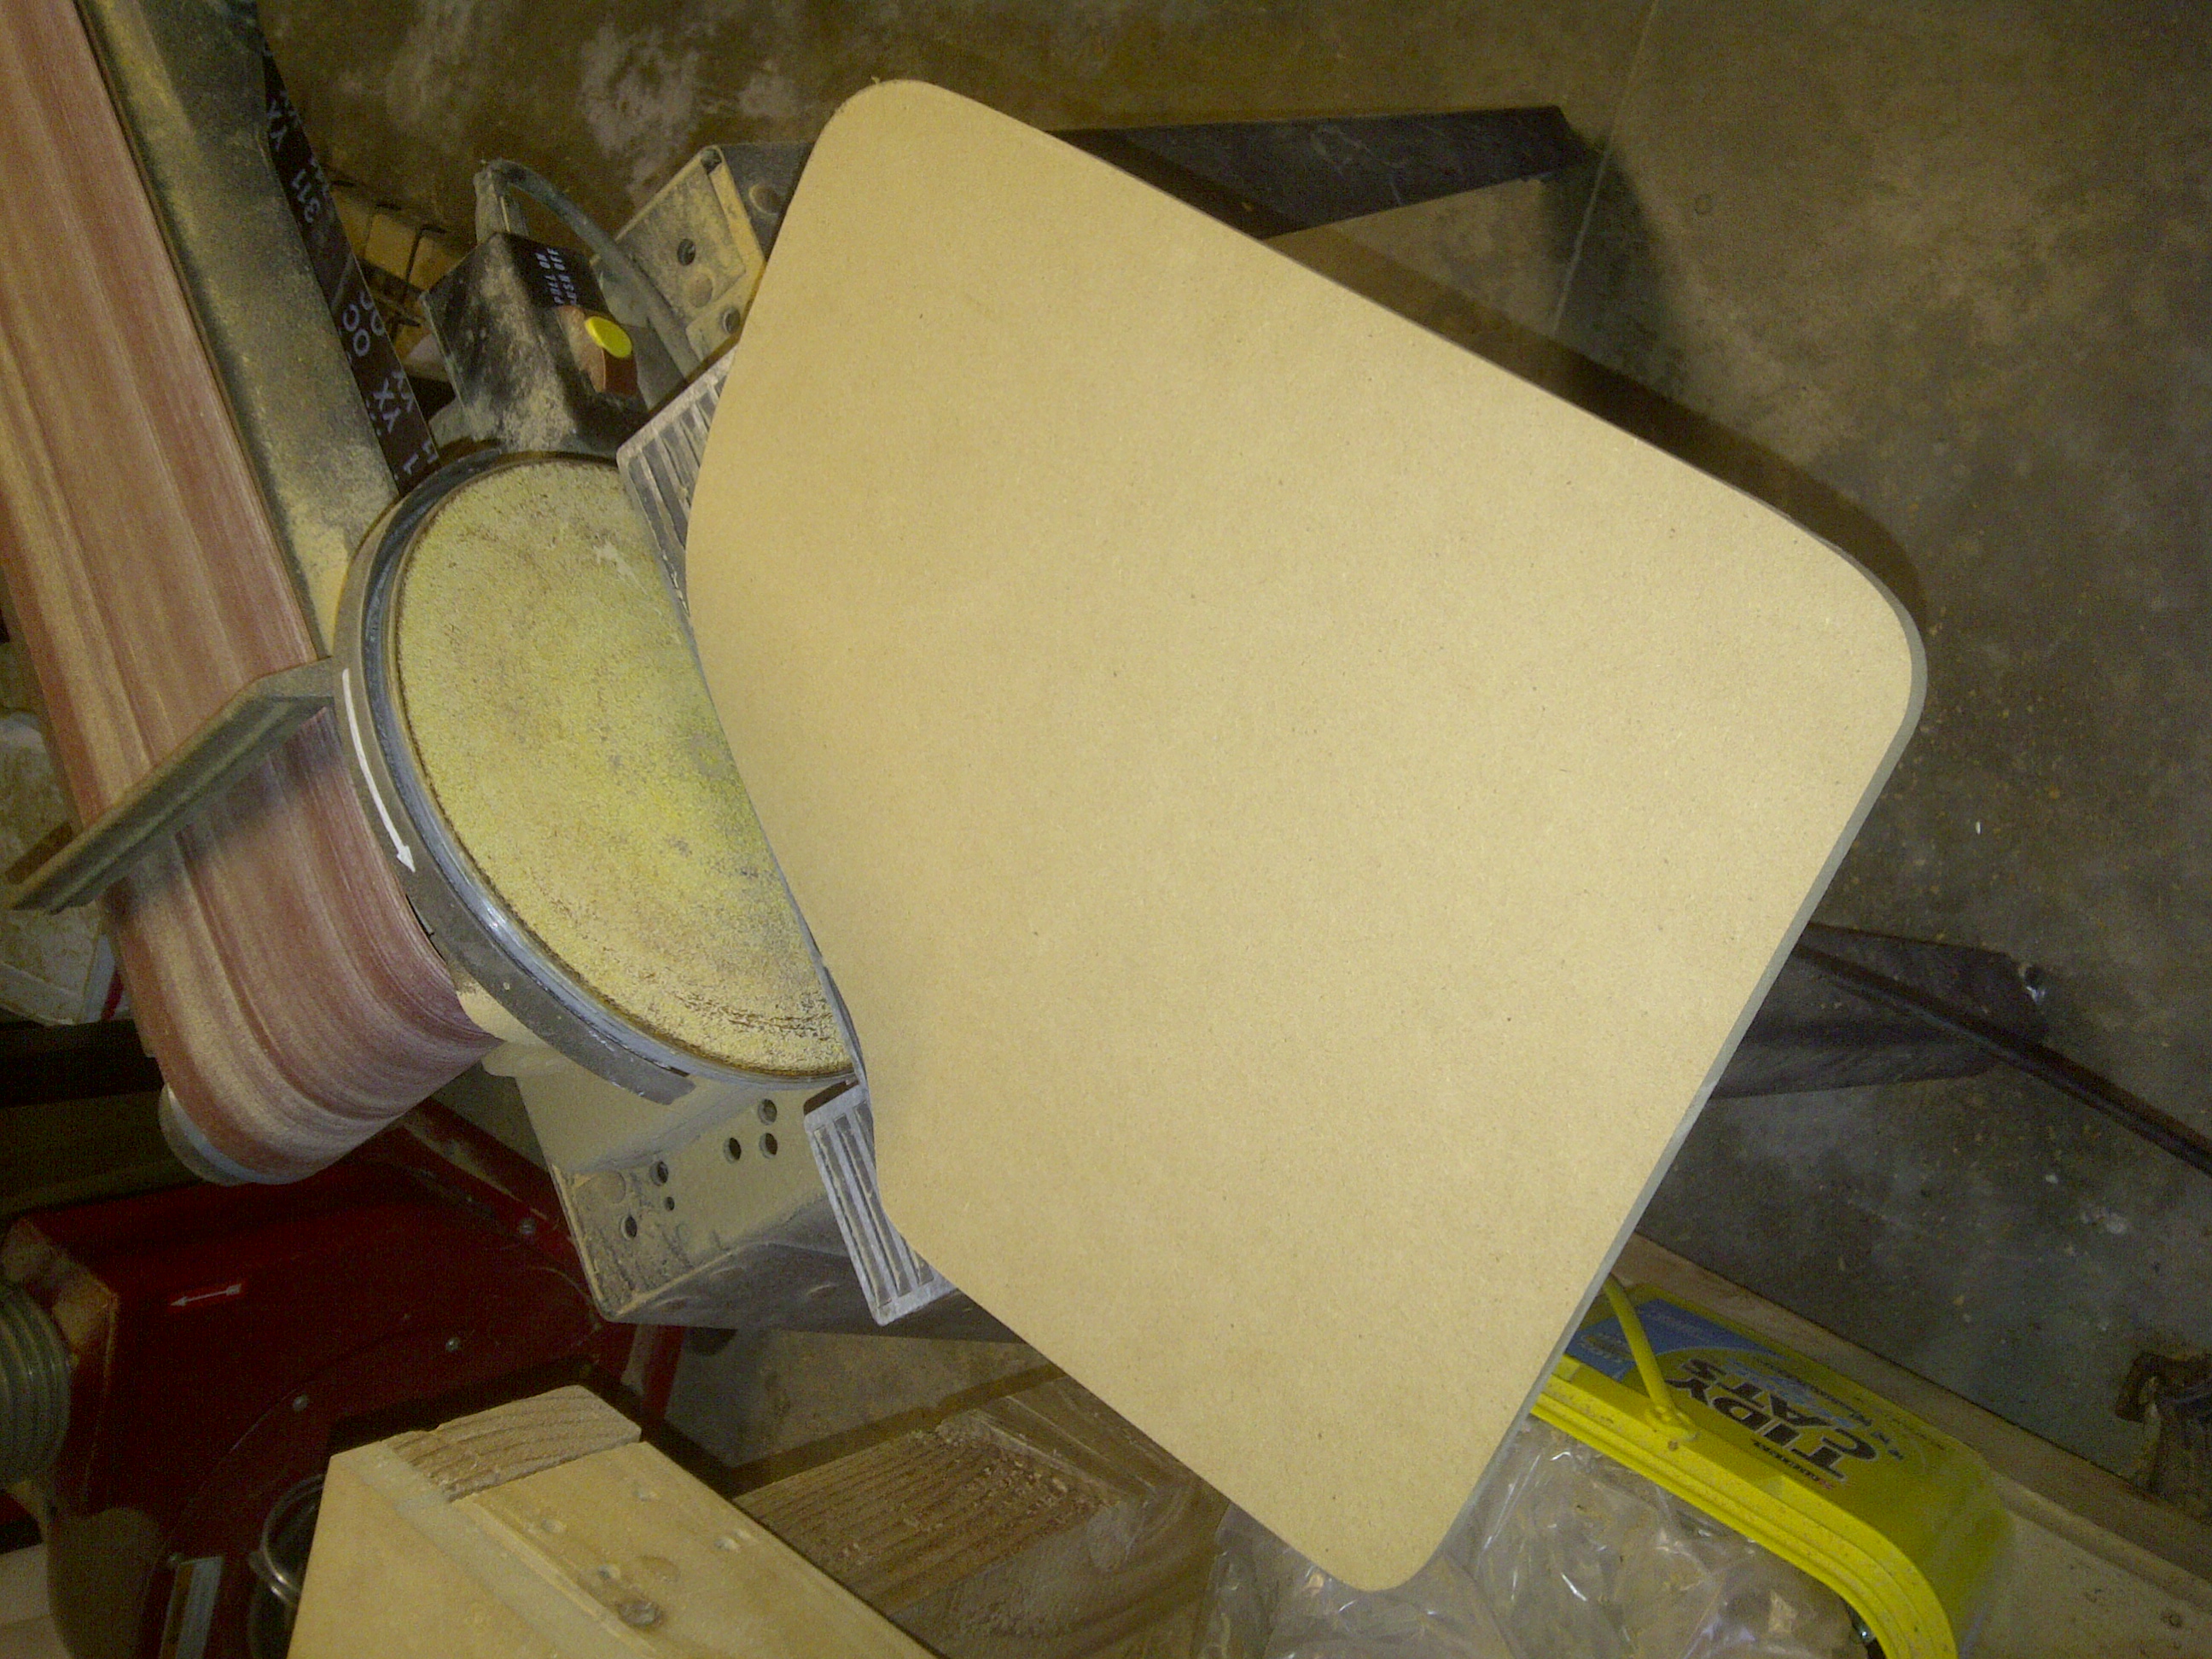
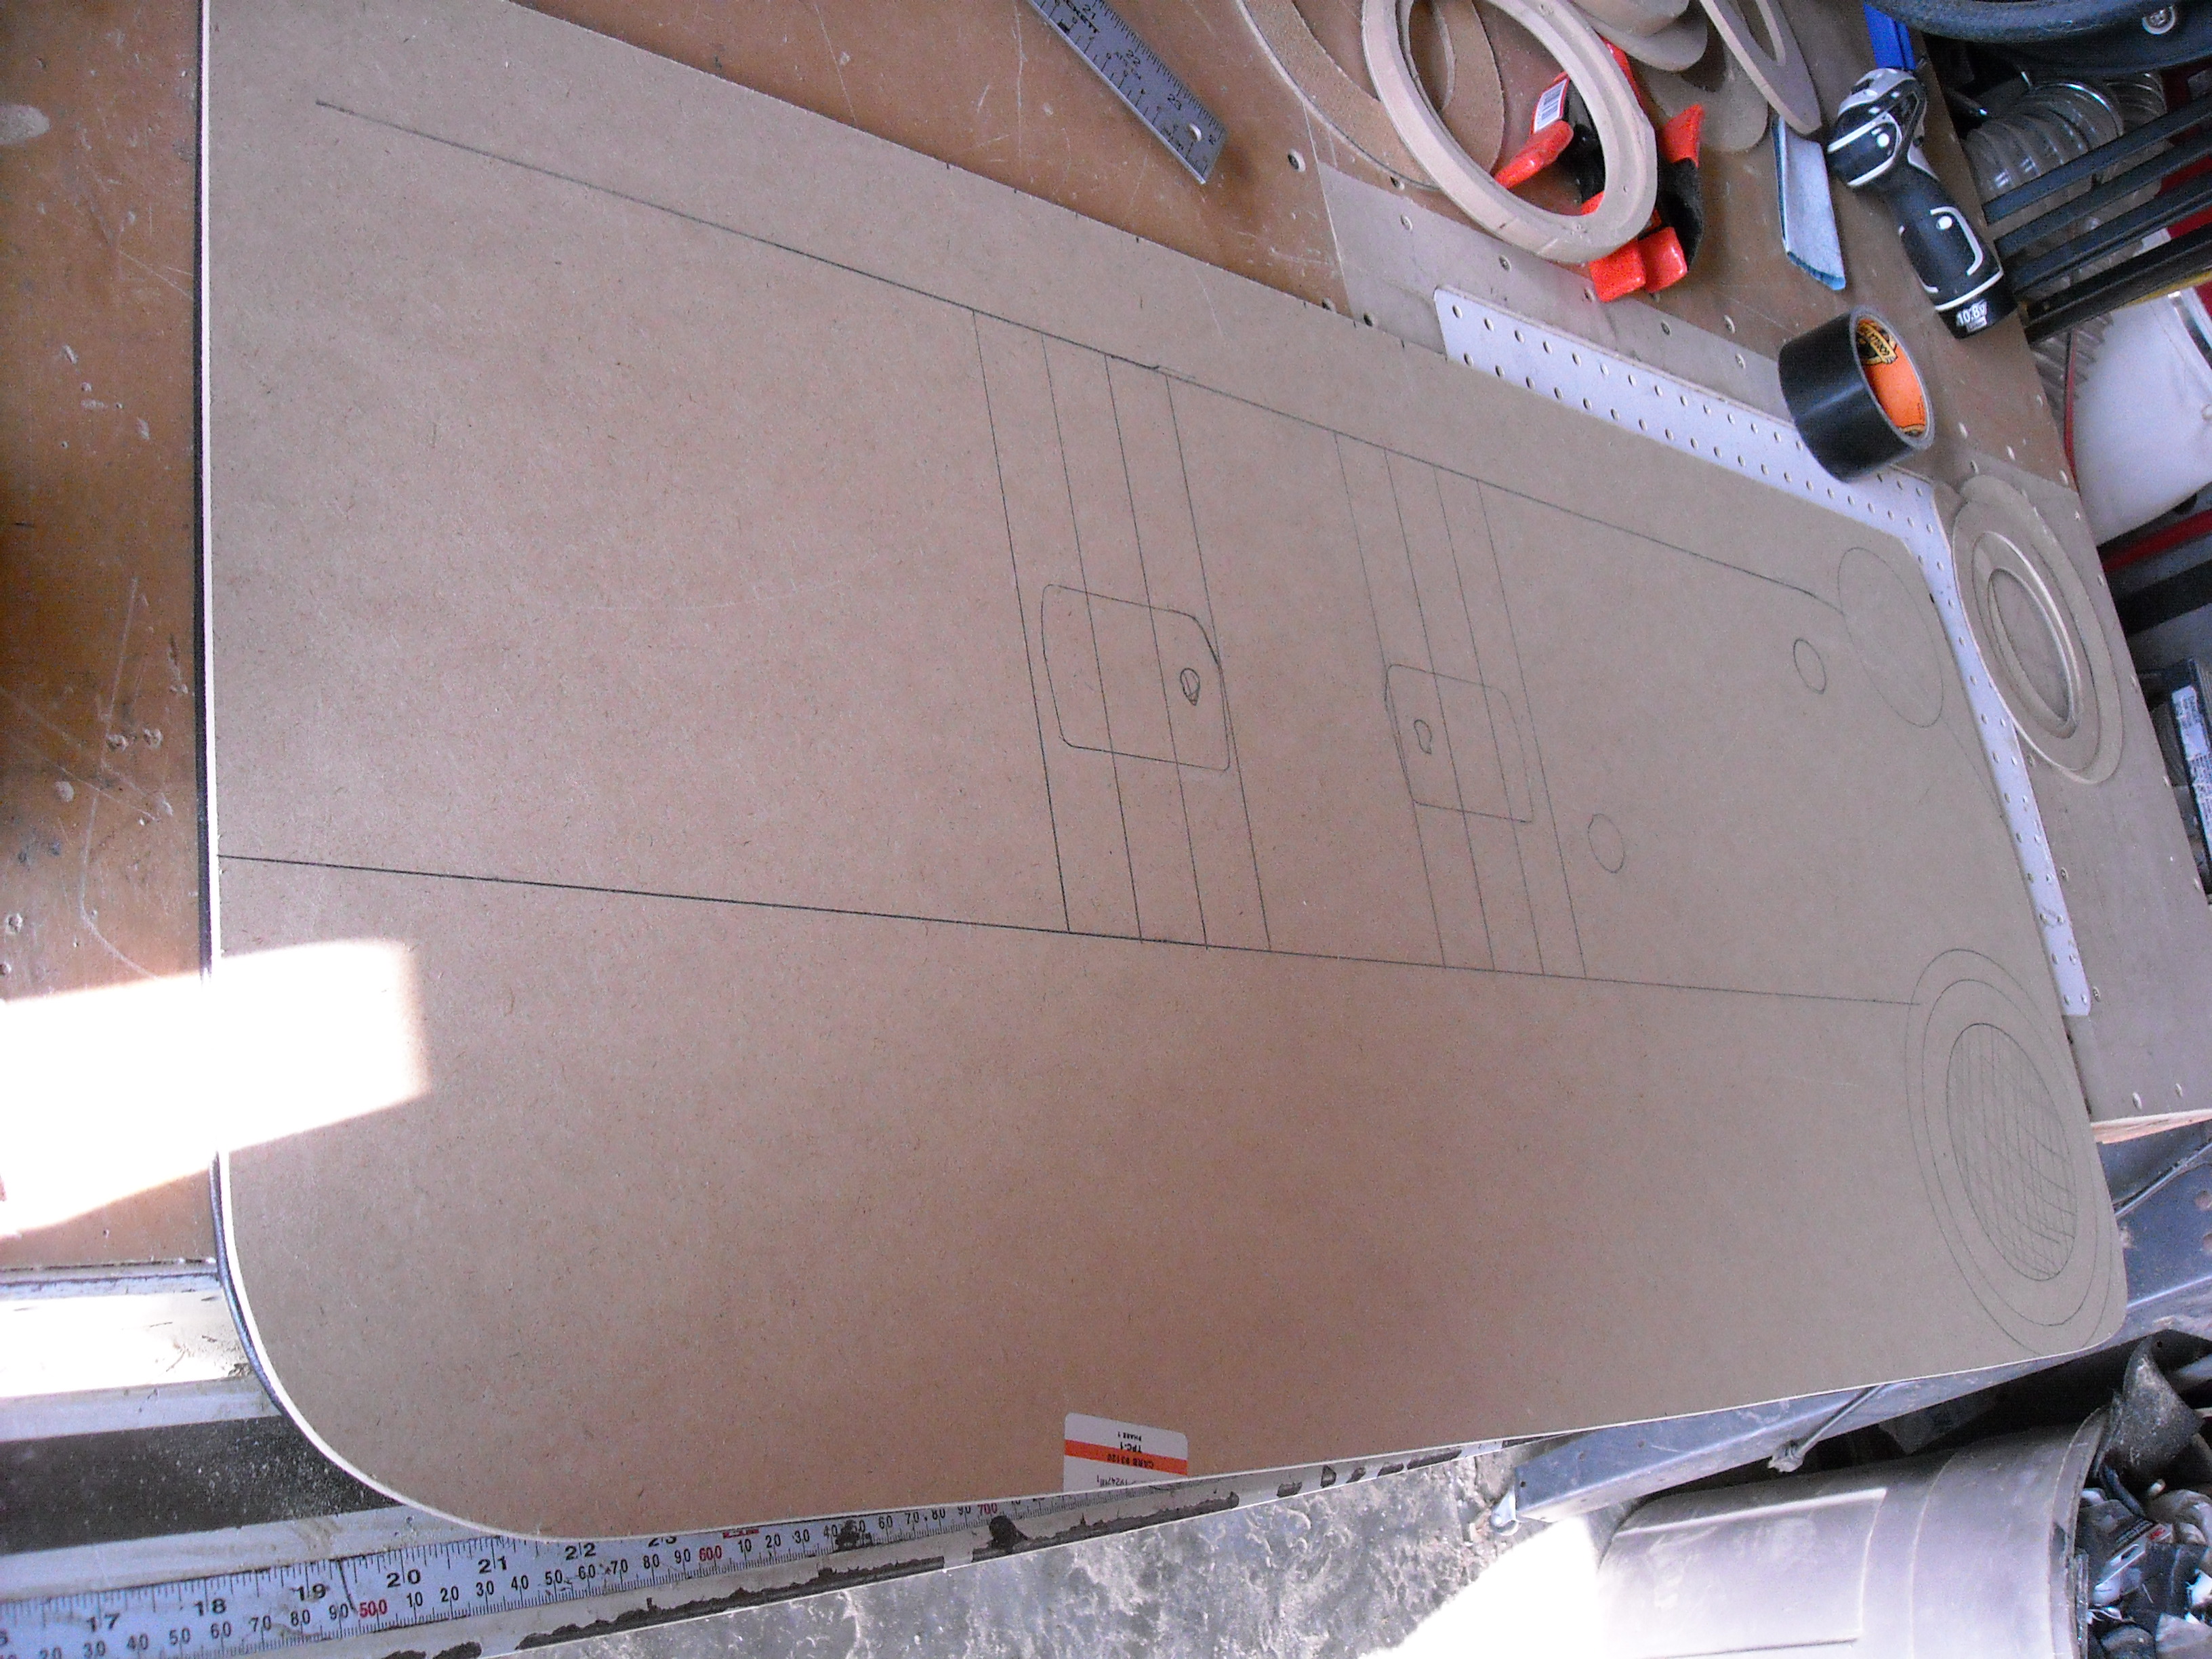
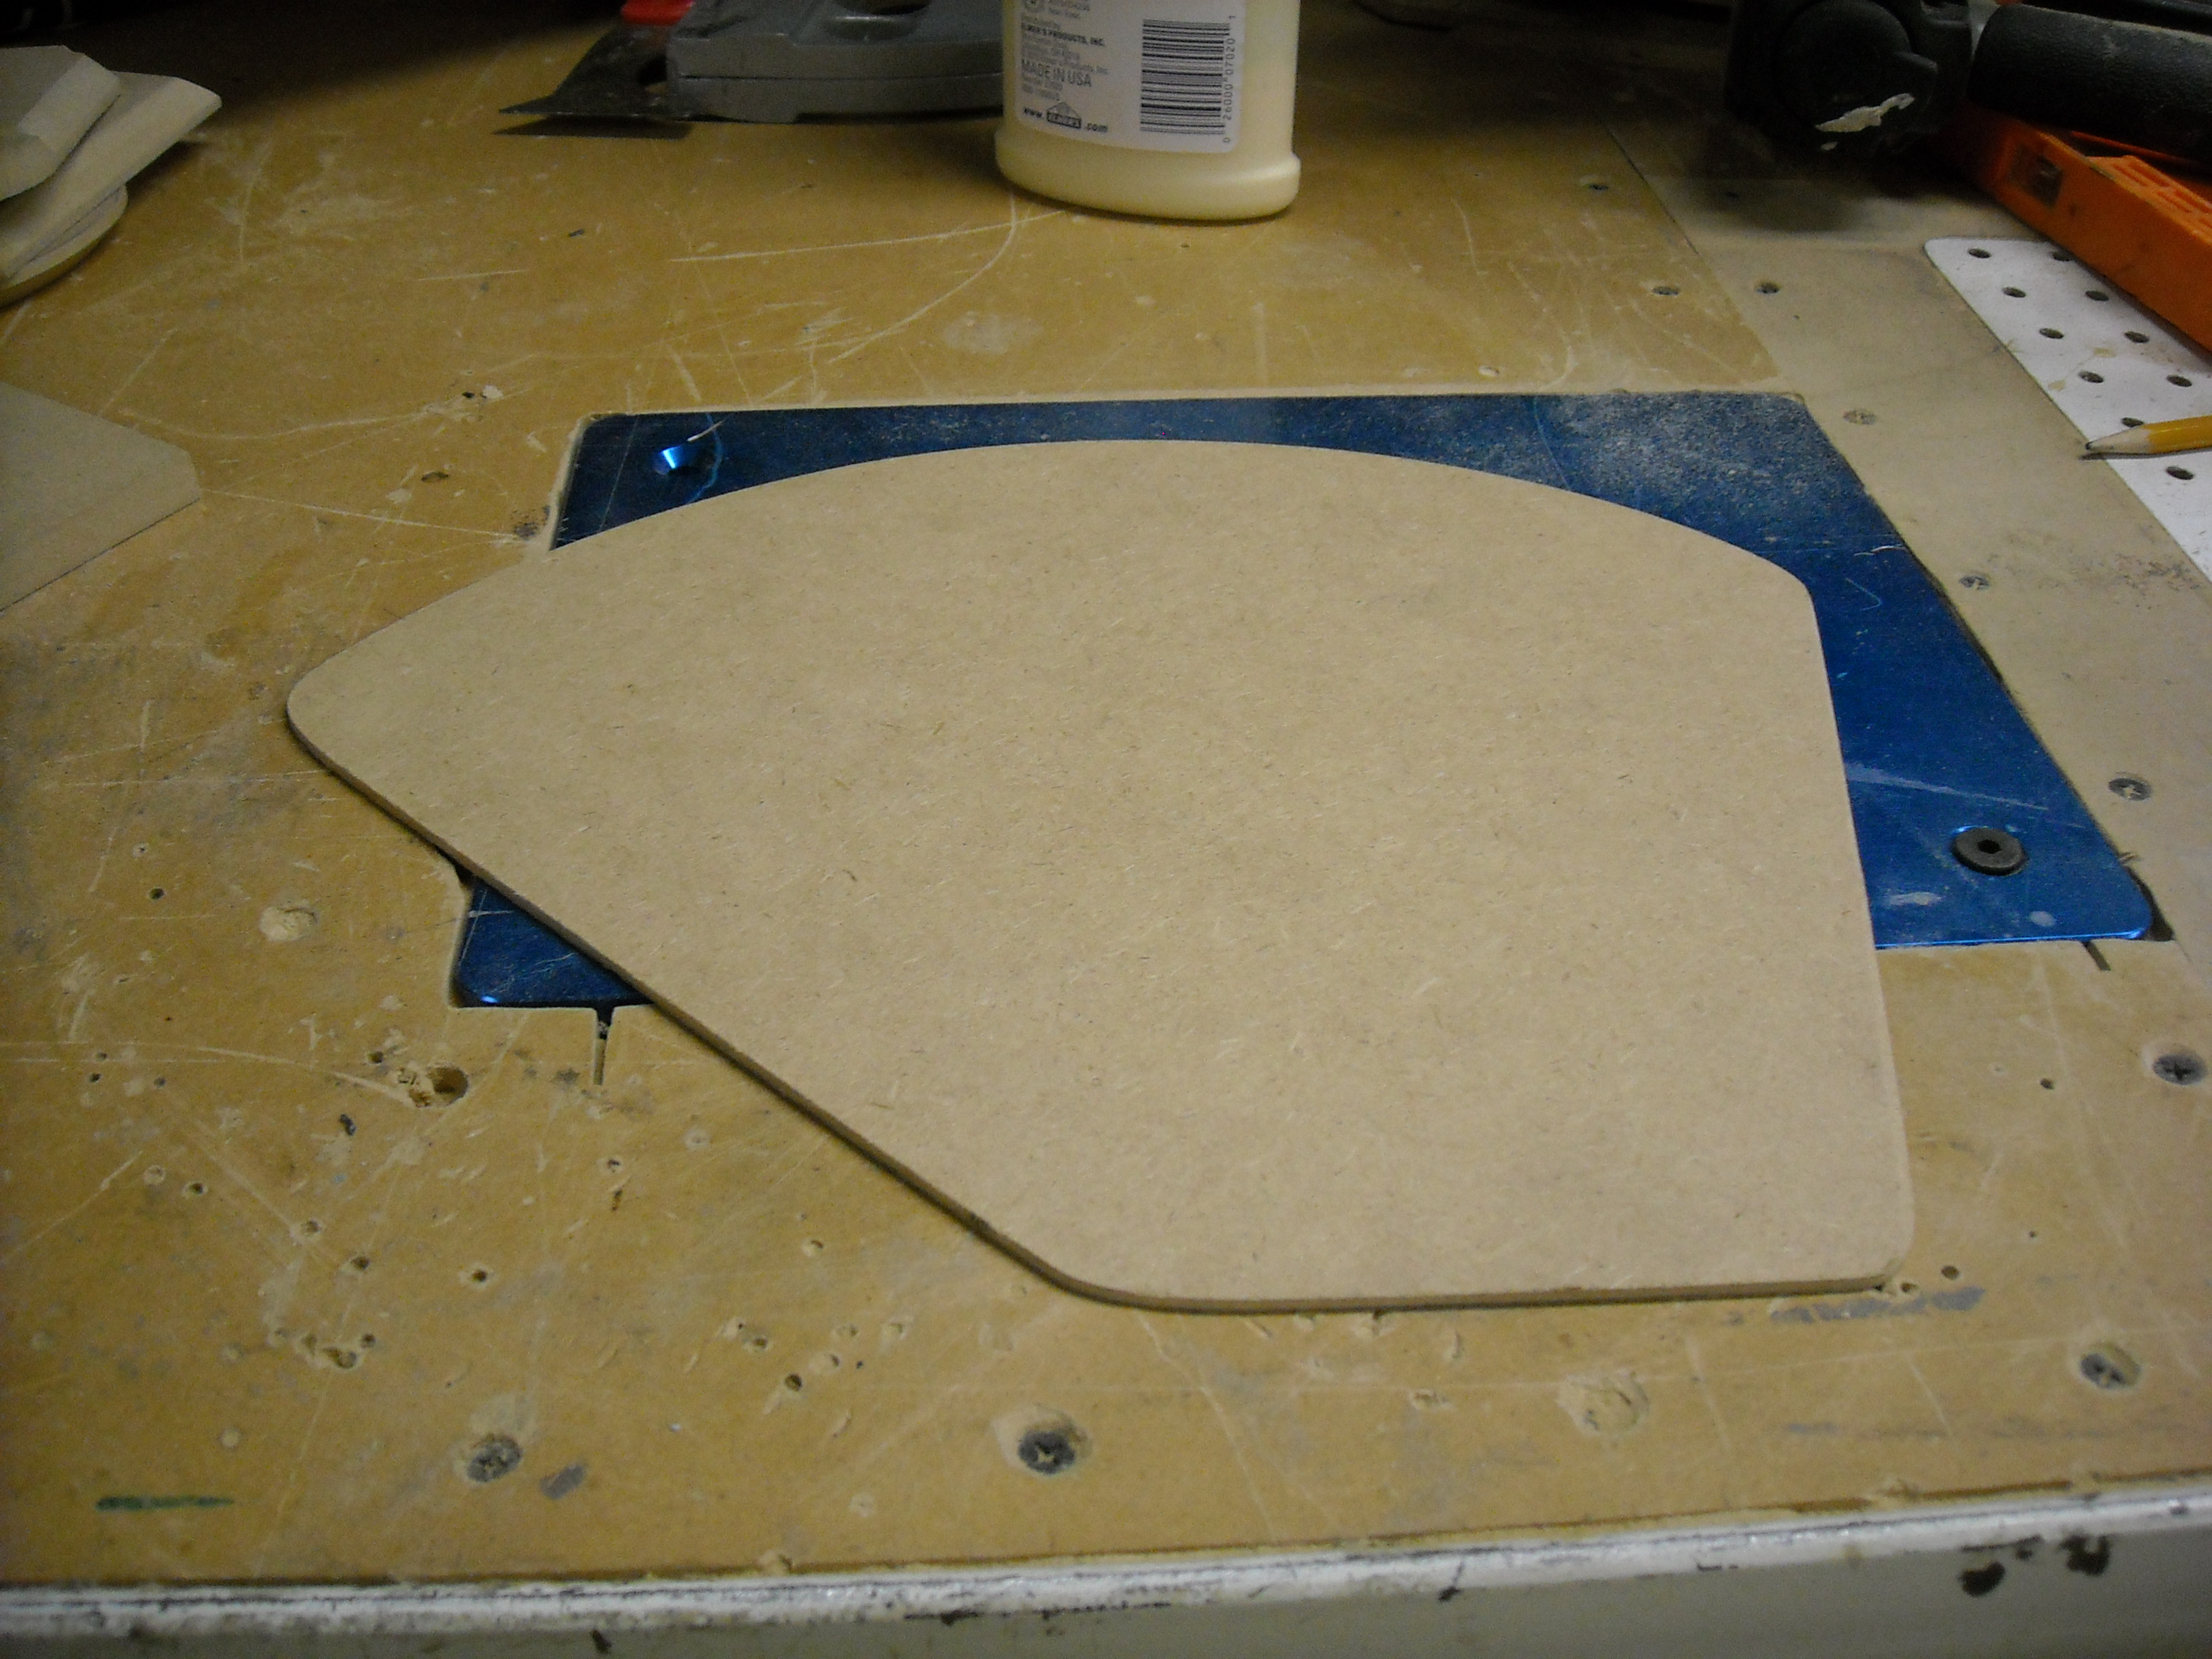
Next step was to add some dimension to the deck. So I worked out a few different designs and came to this one and got to cutting.
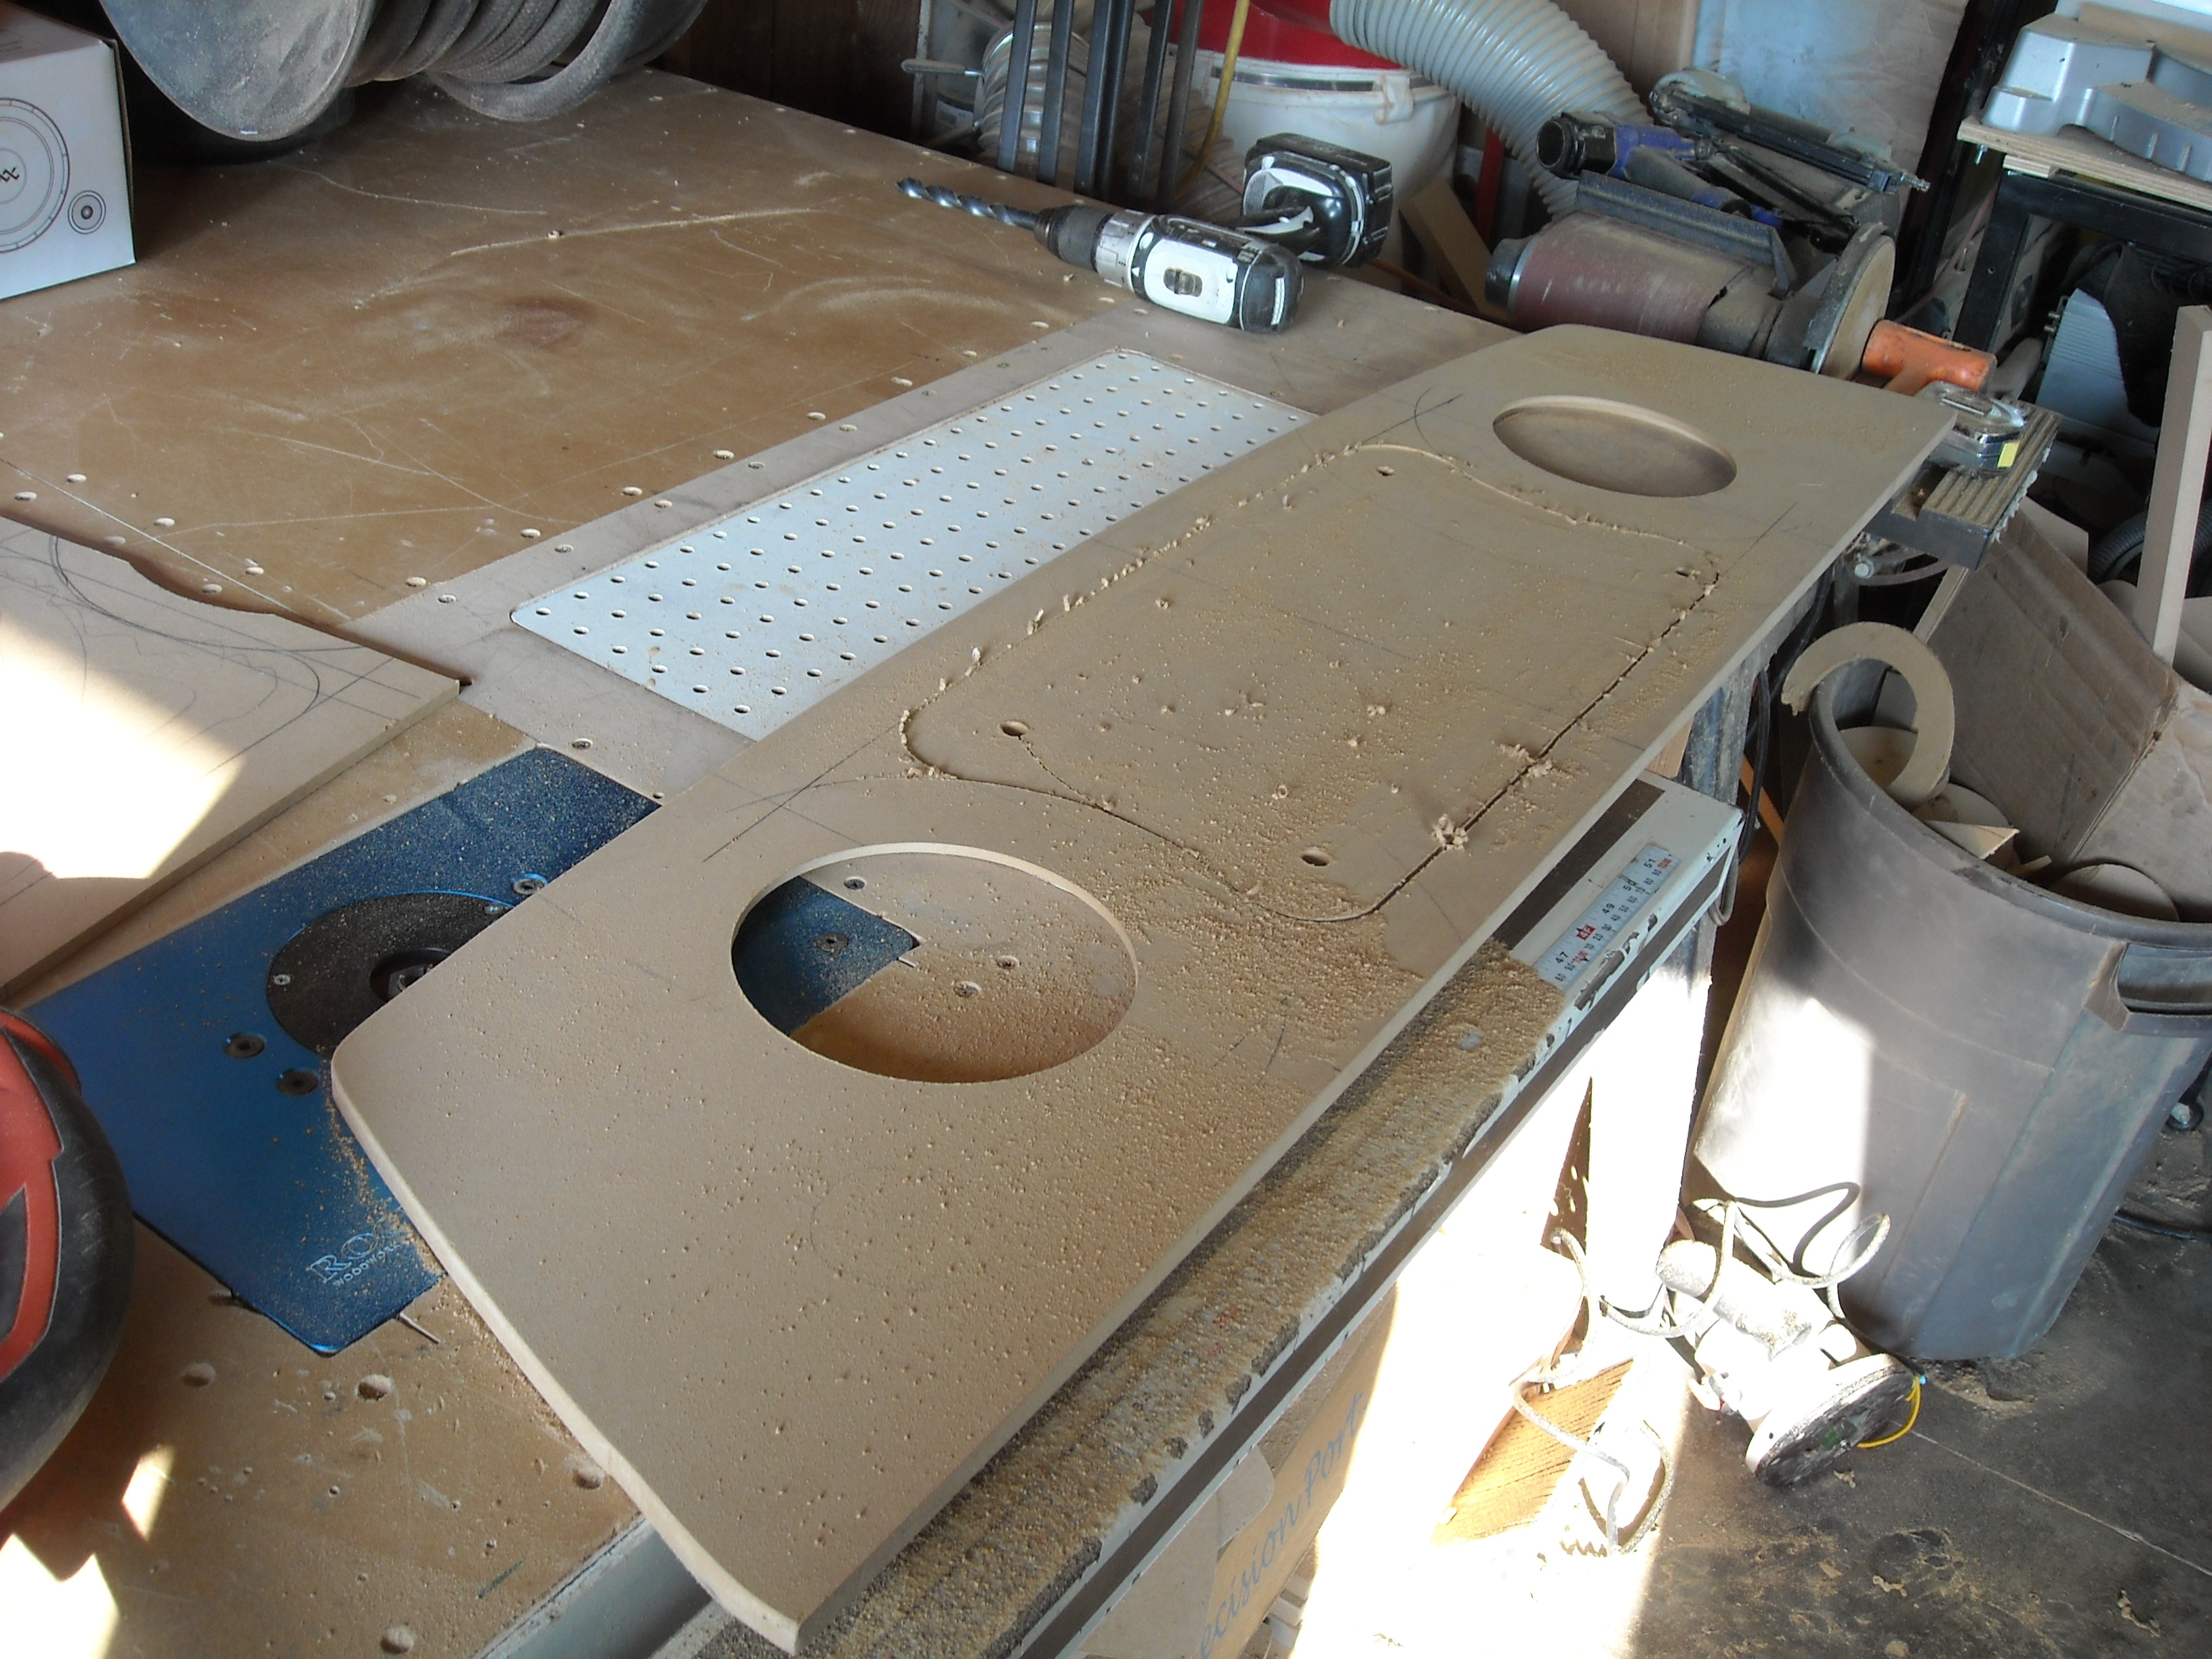
Cleaned up the edges with a quick sand.

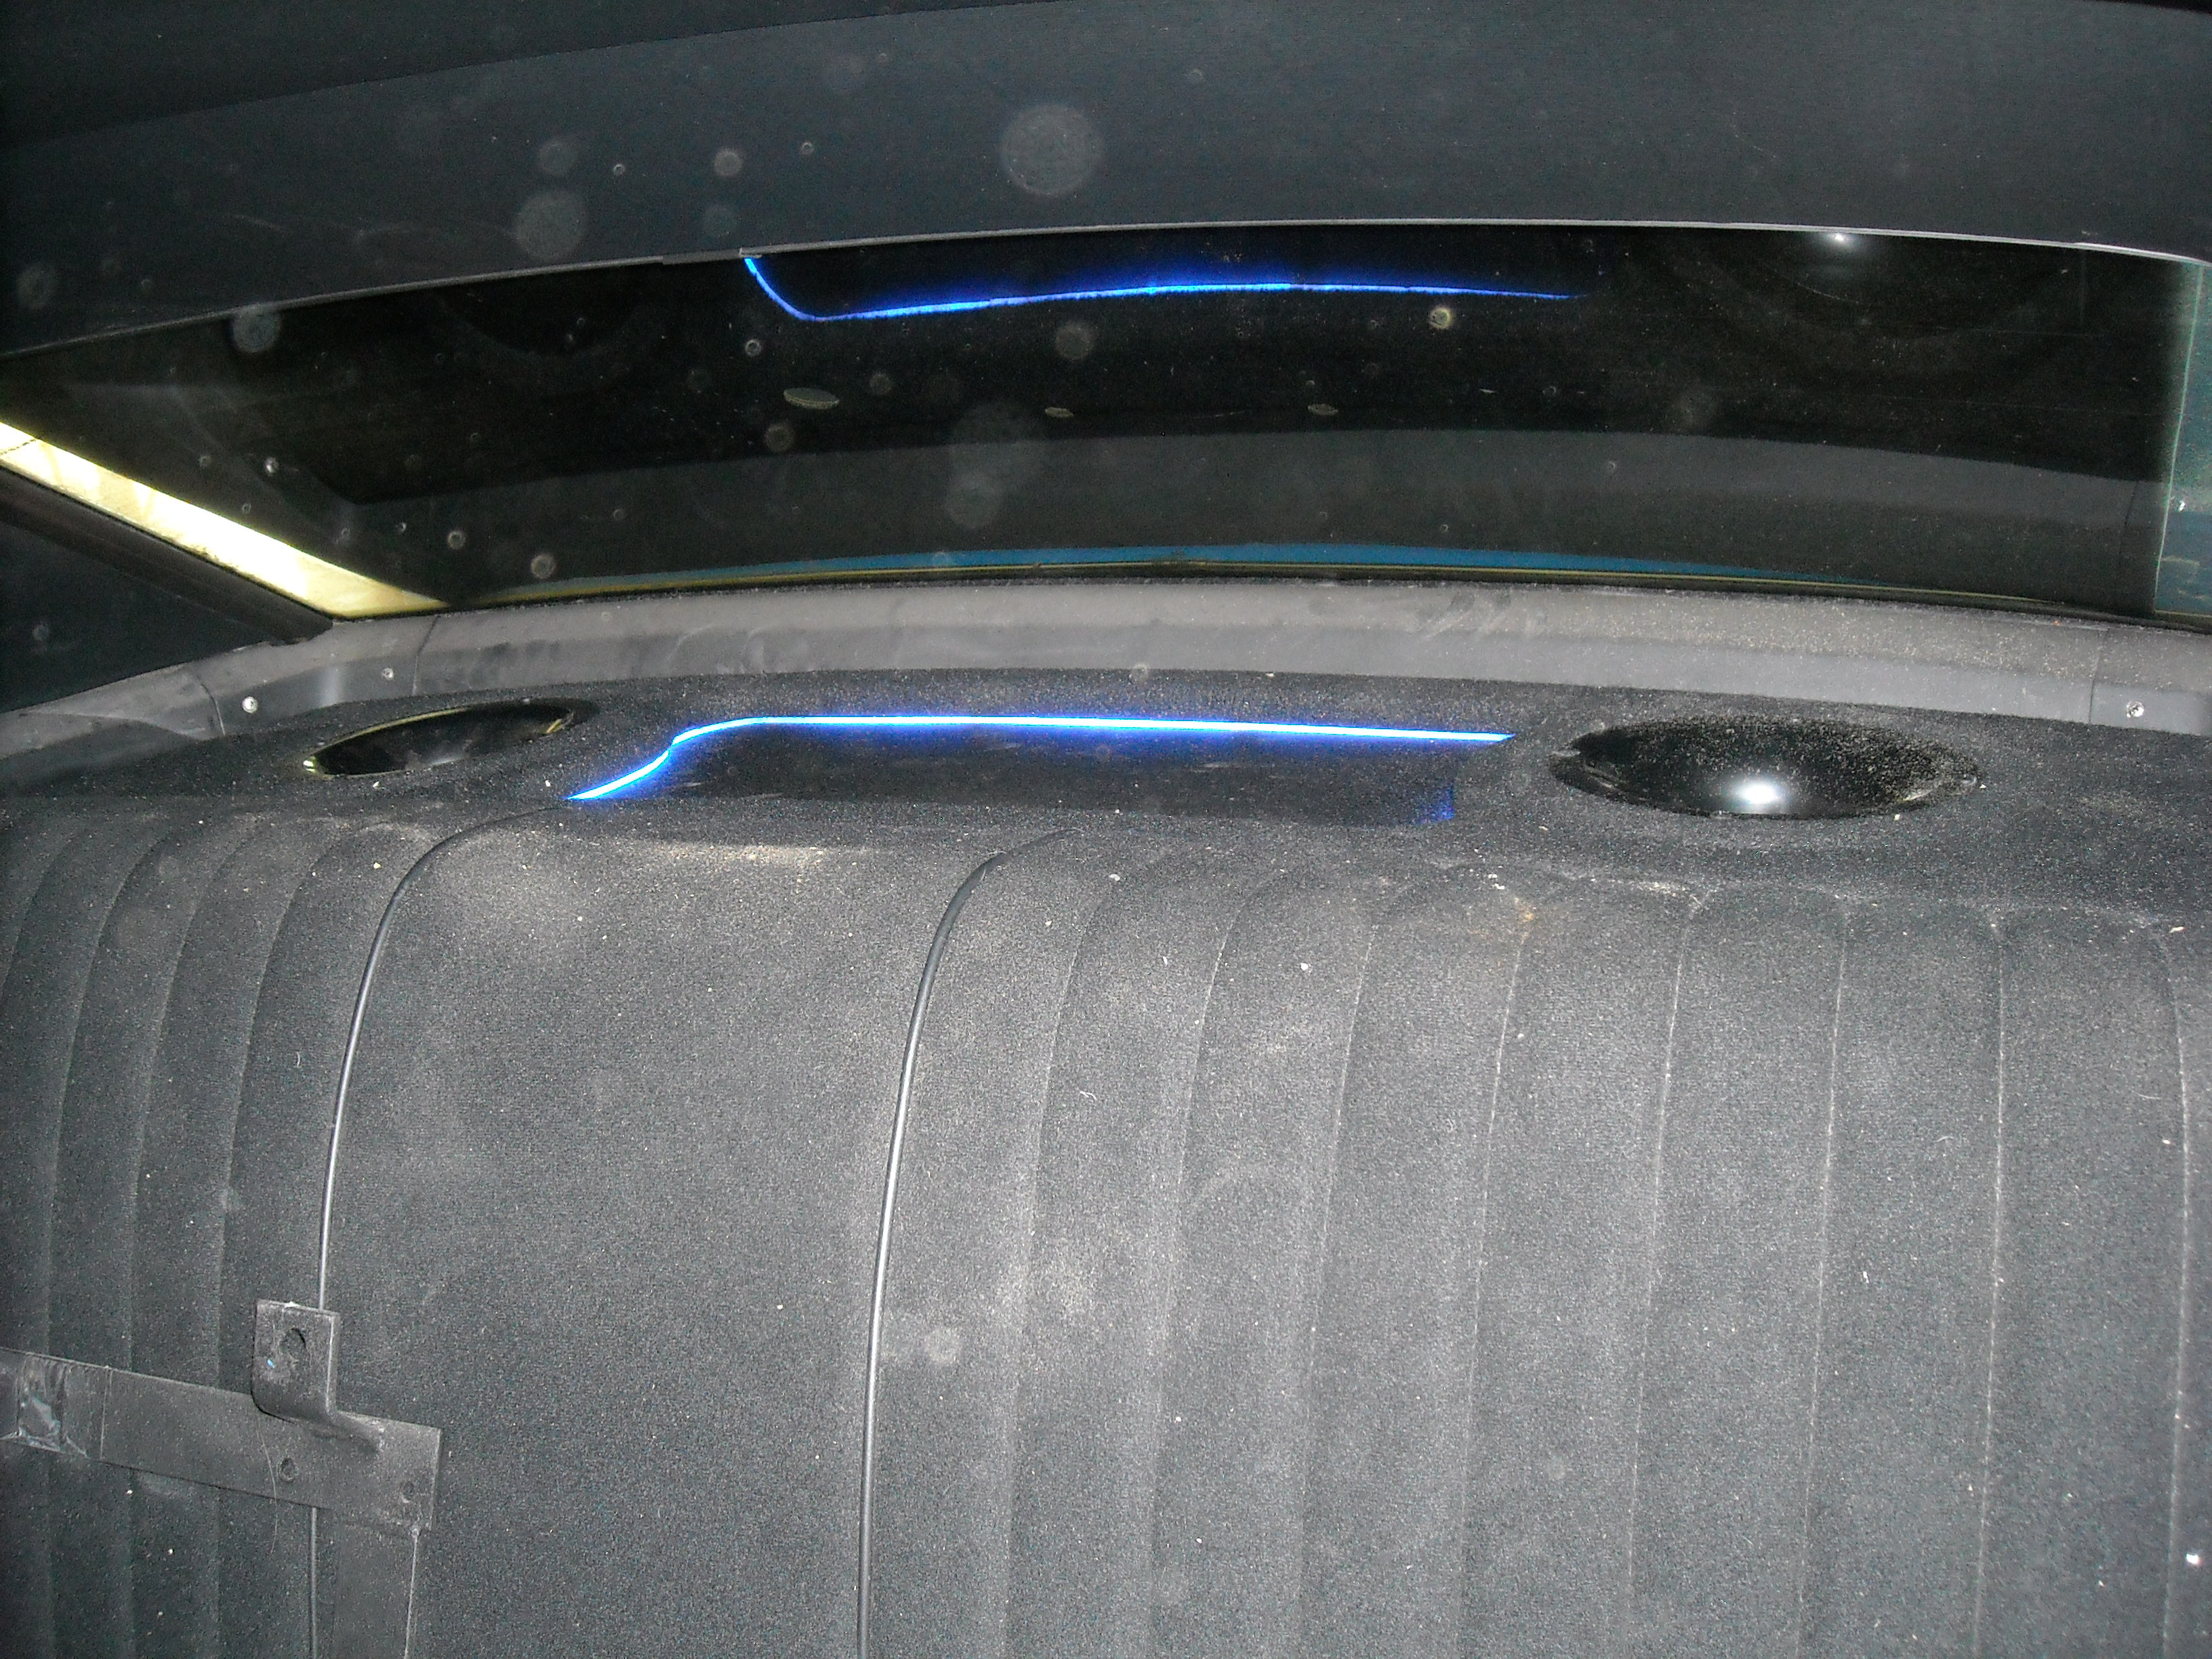
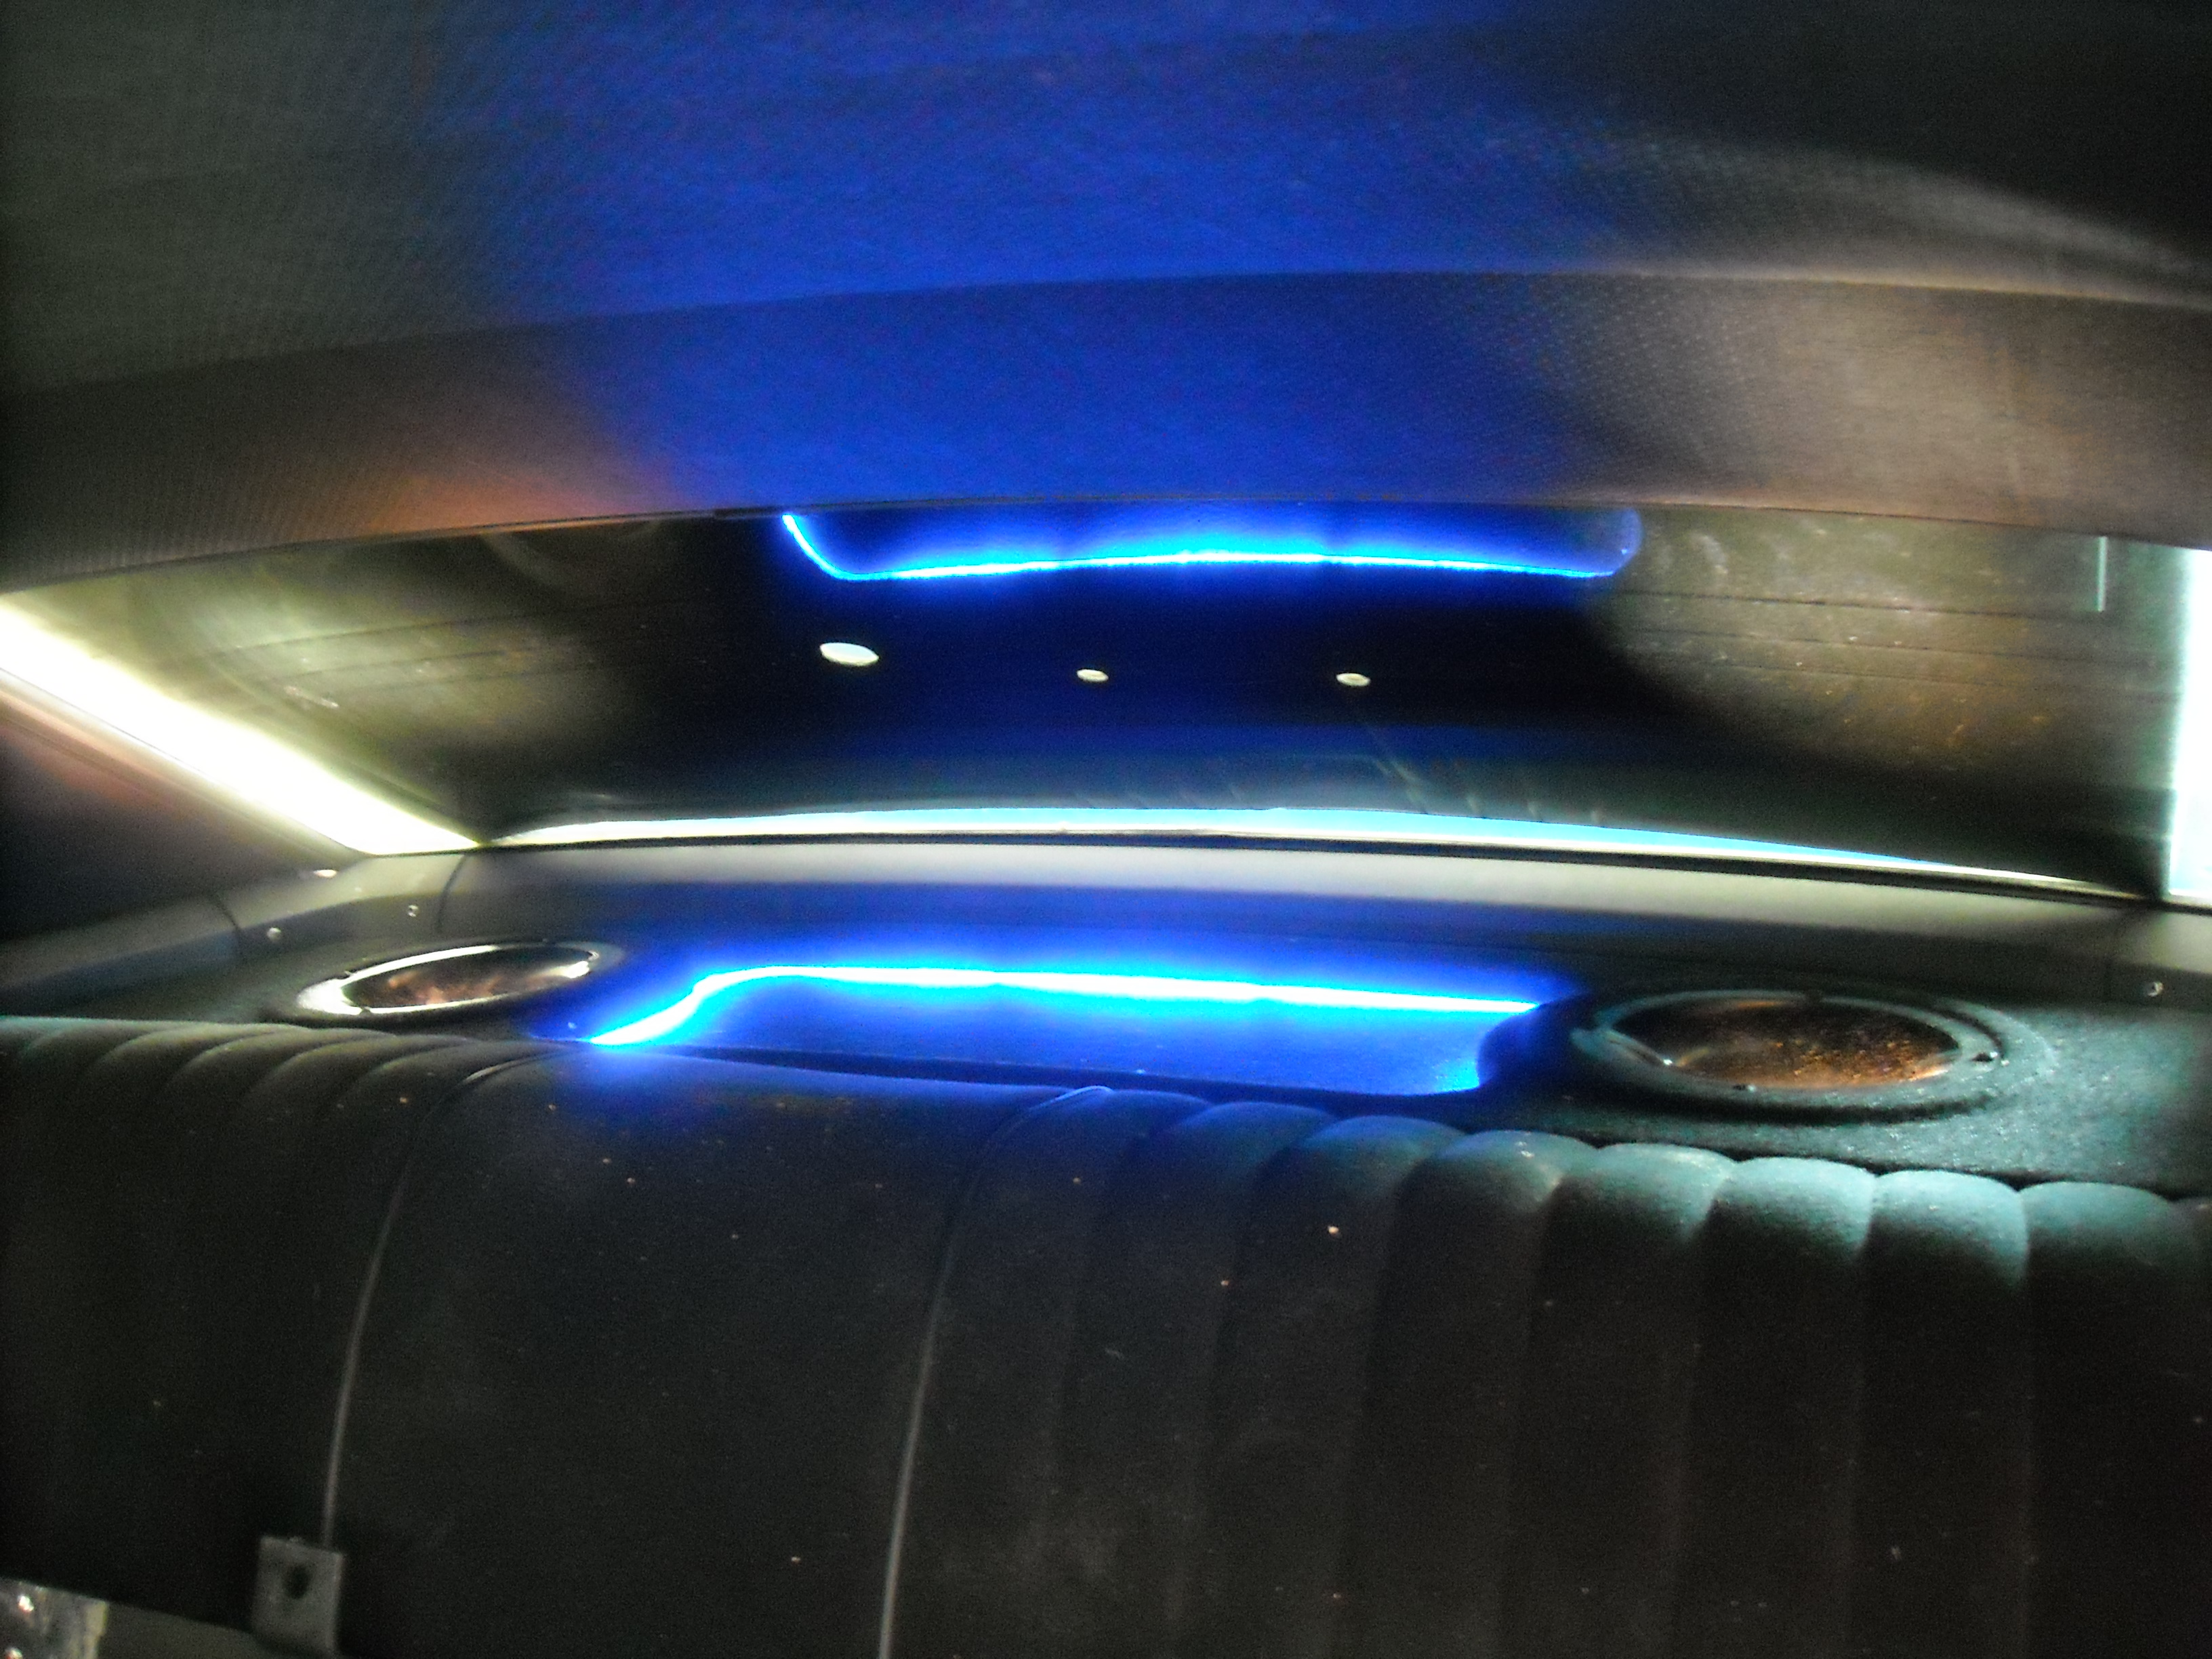
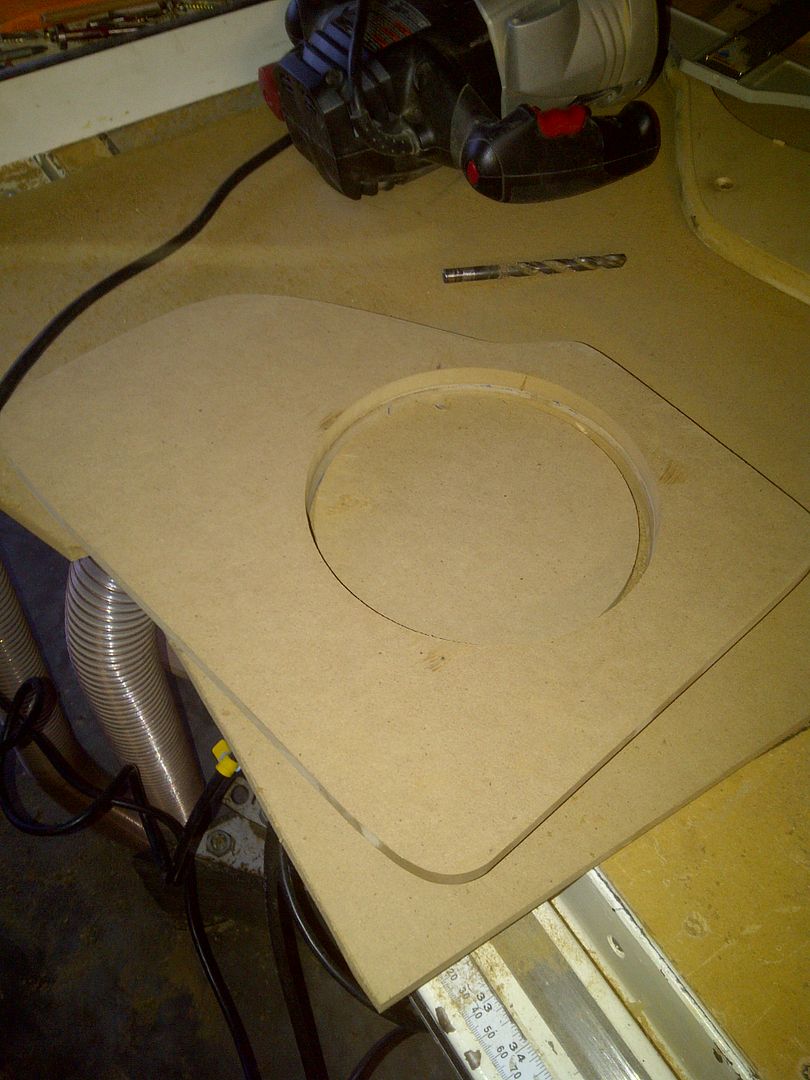
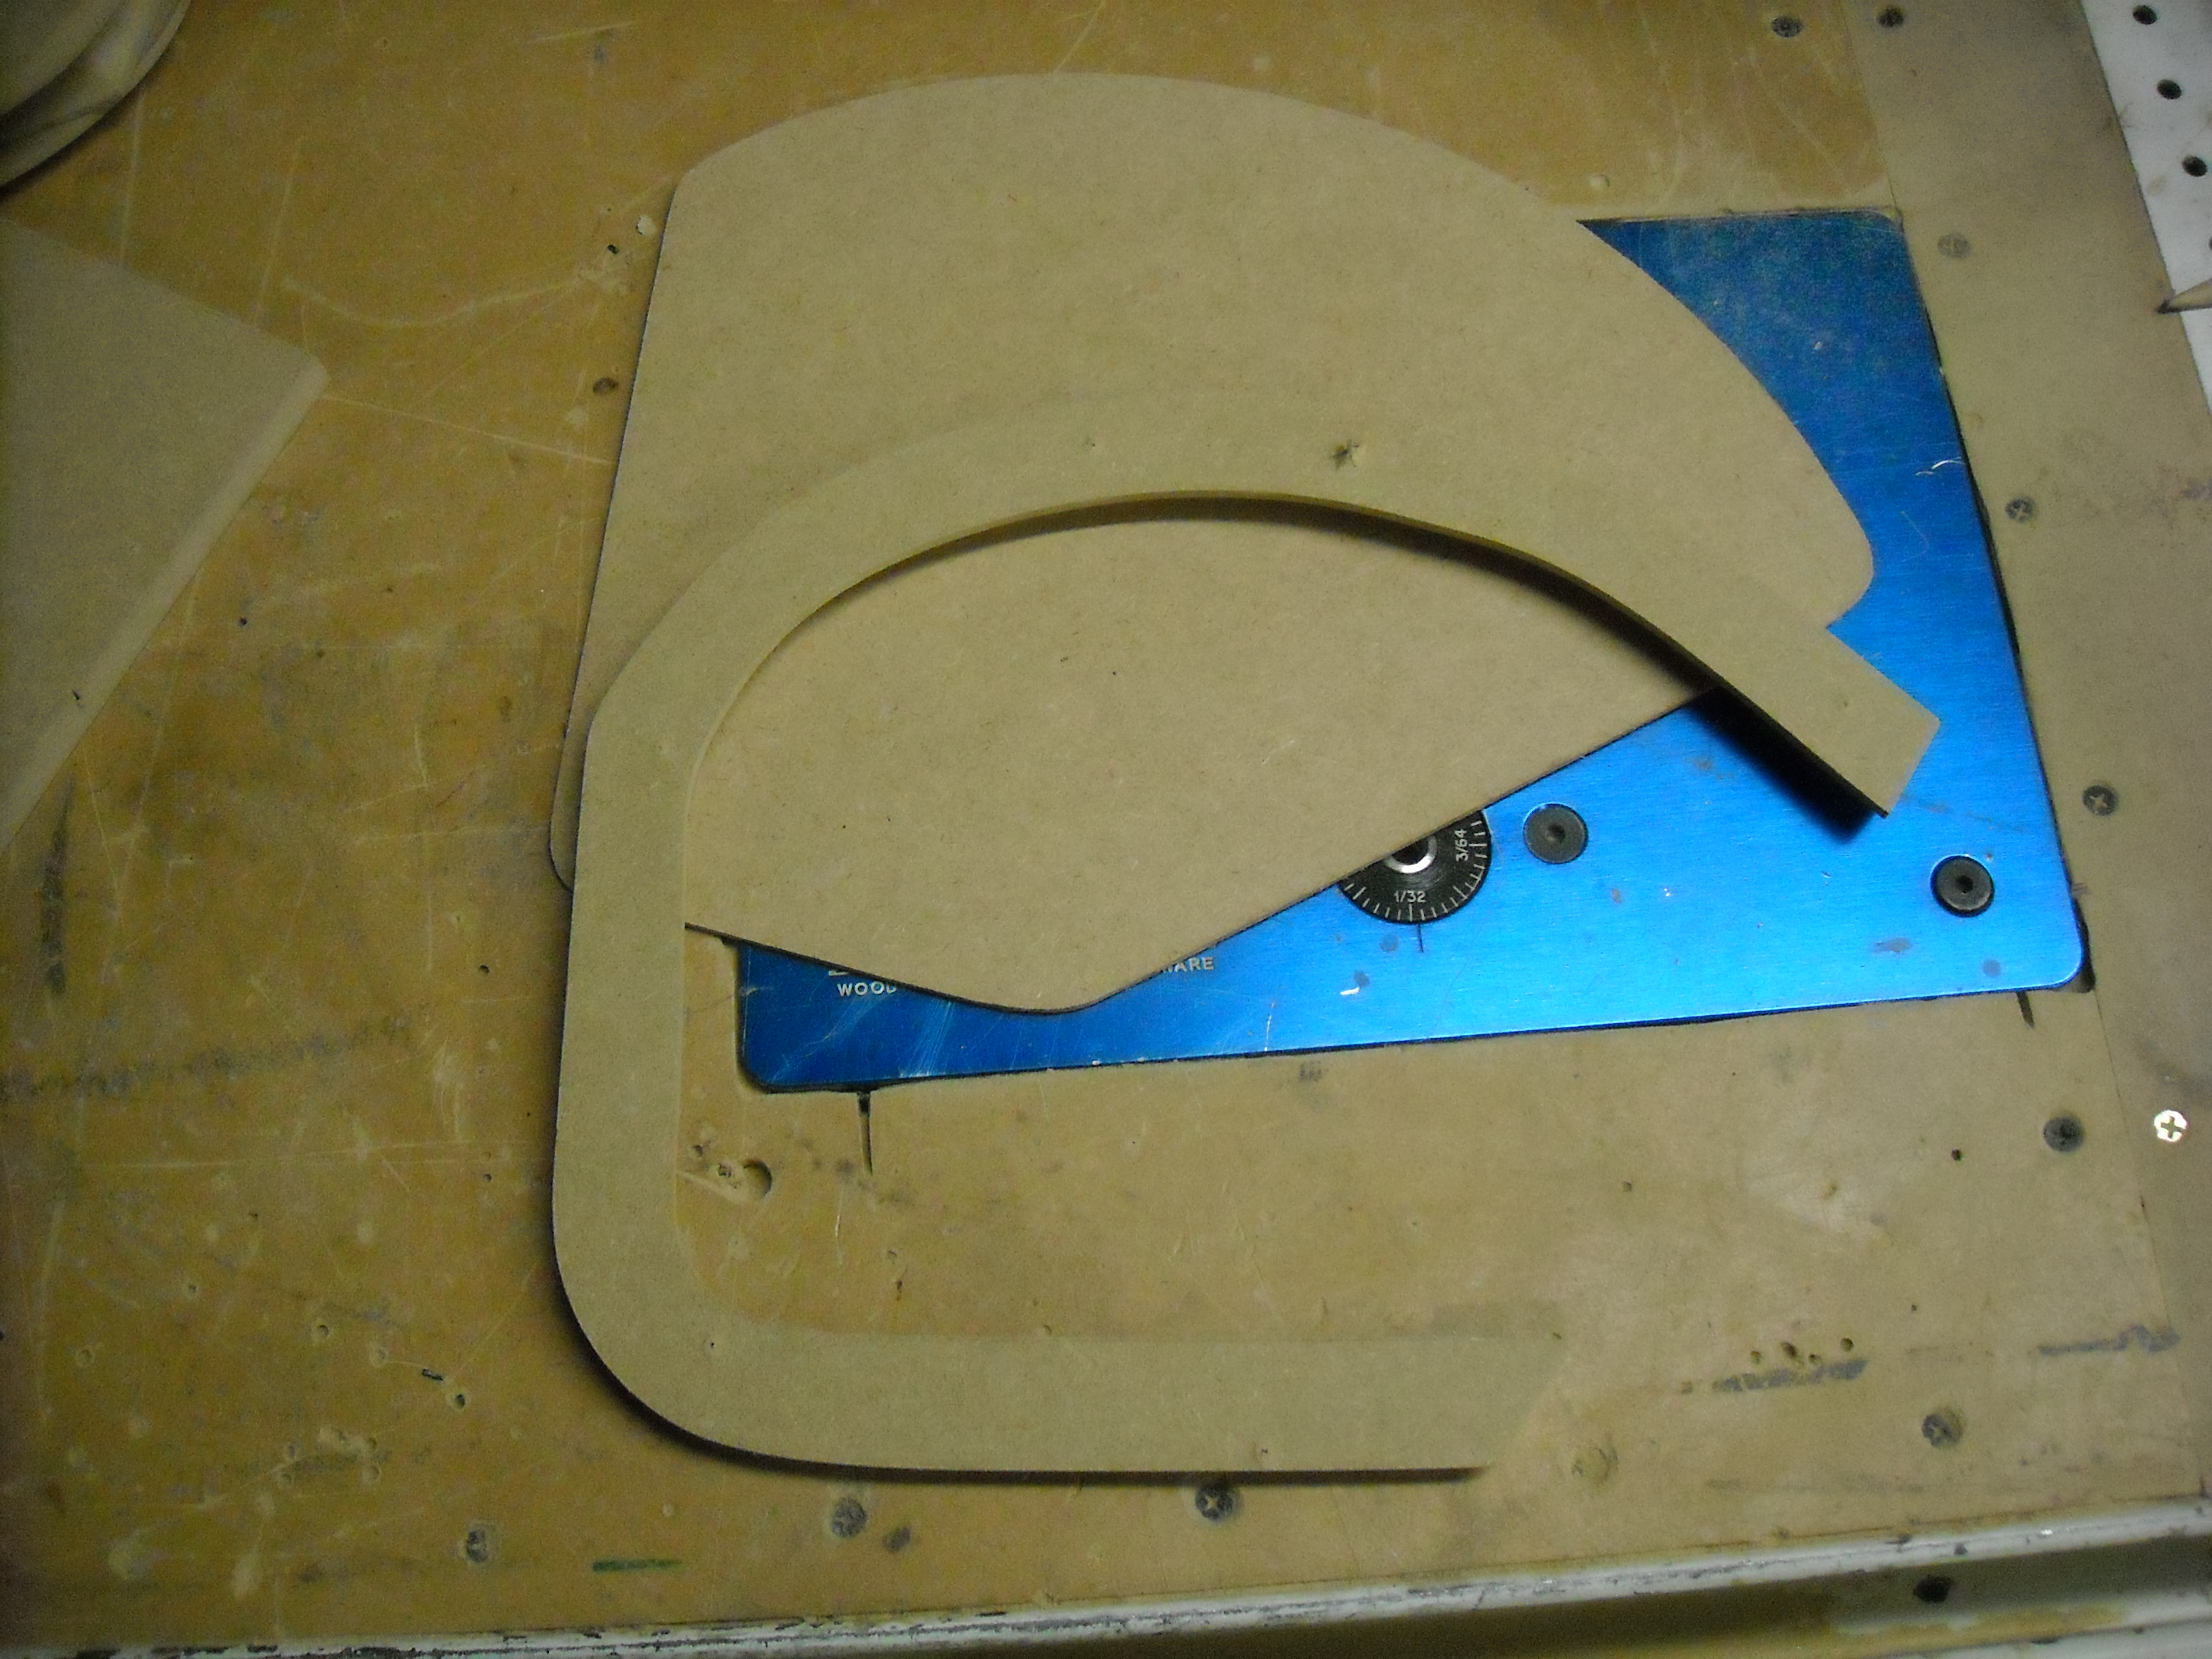
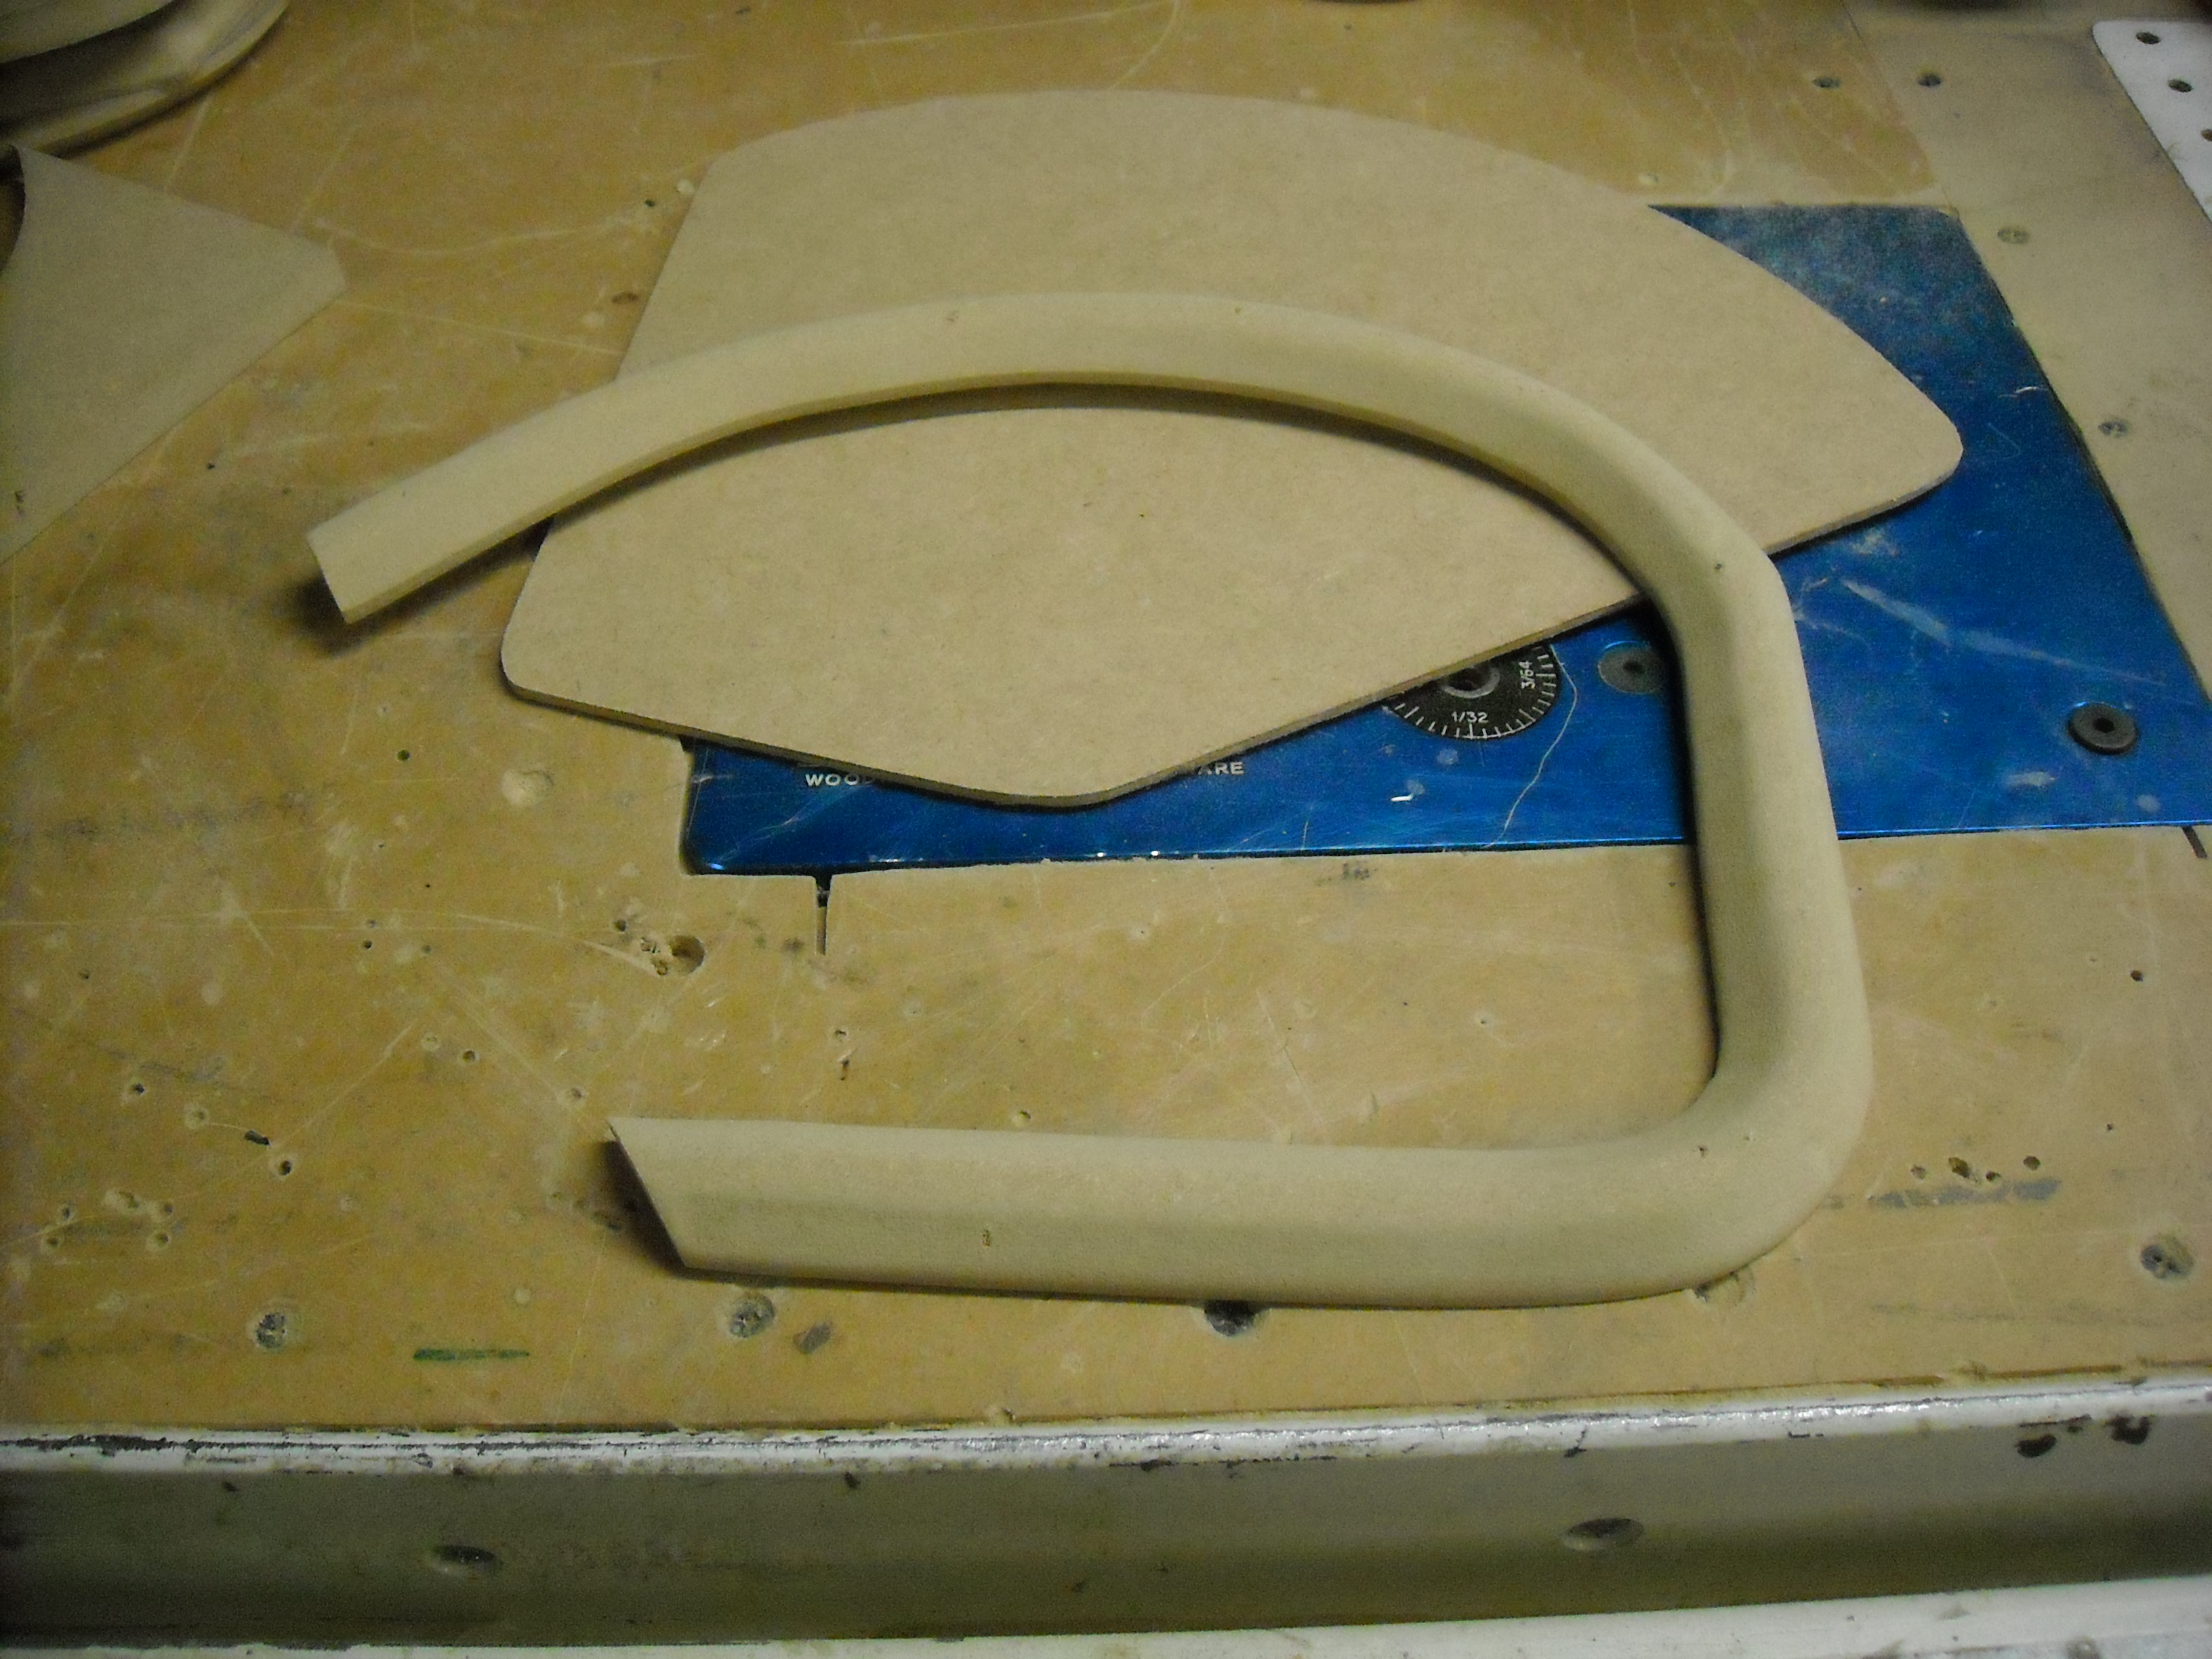
Next worked on a profile for the port tubes. I wanted them to show without sticking out. So I raised them and then flush mounted them
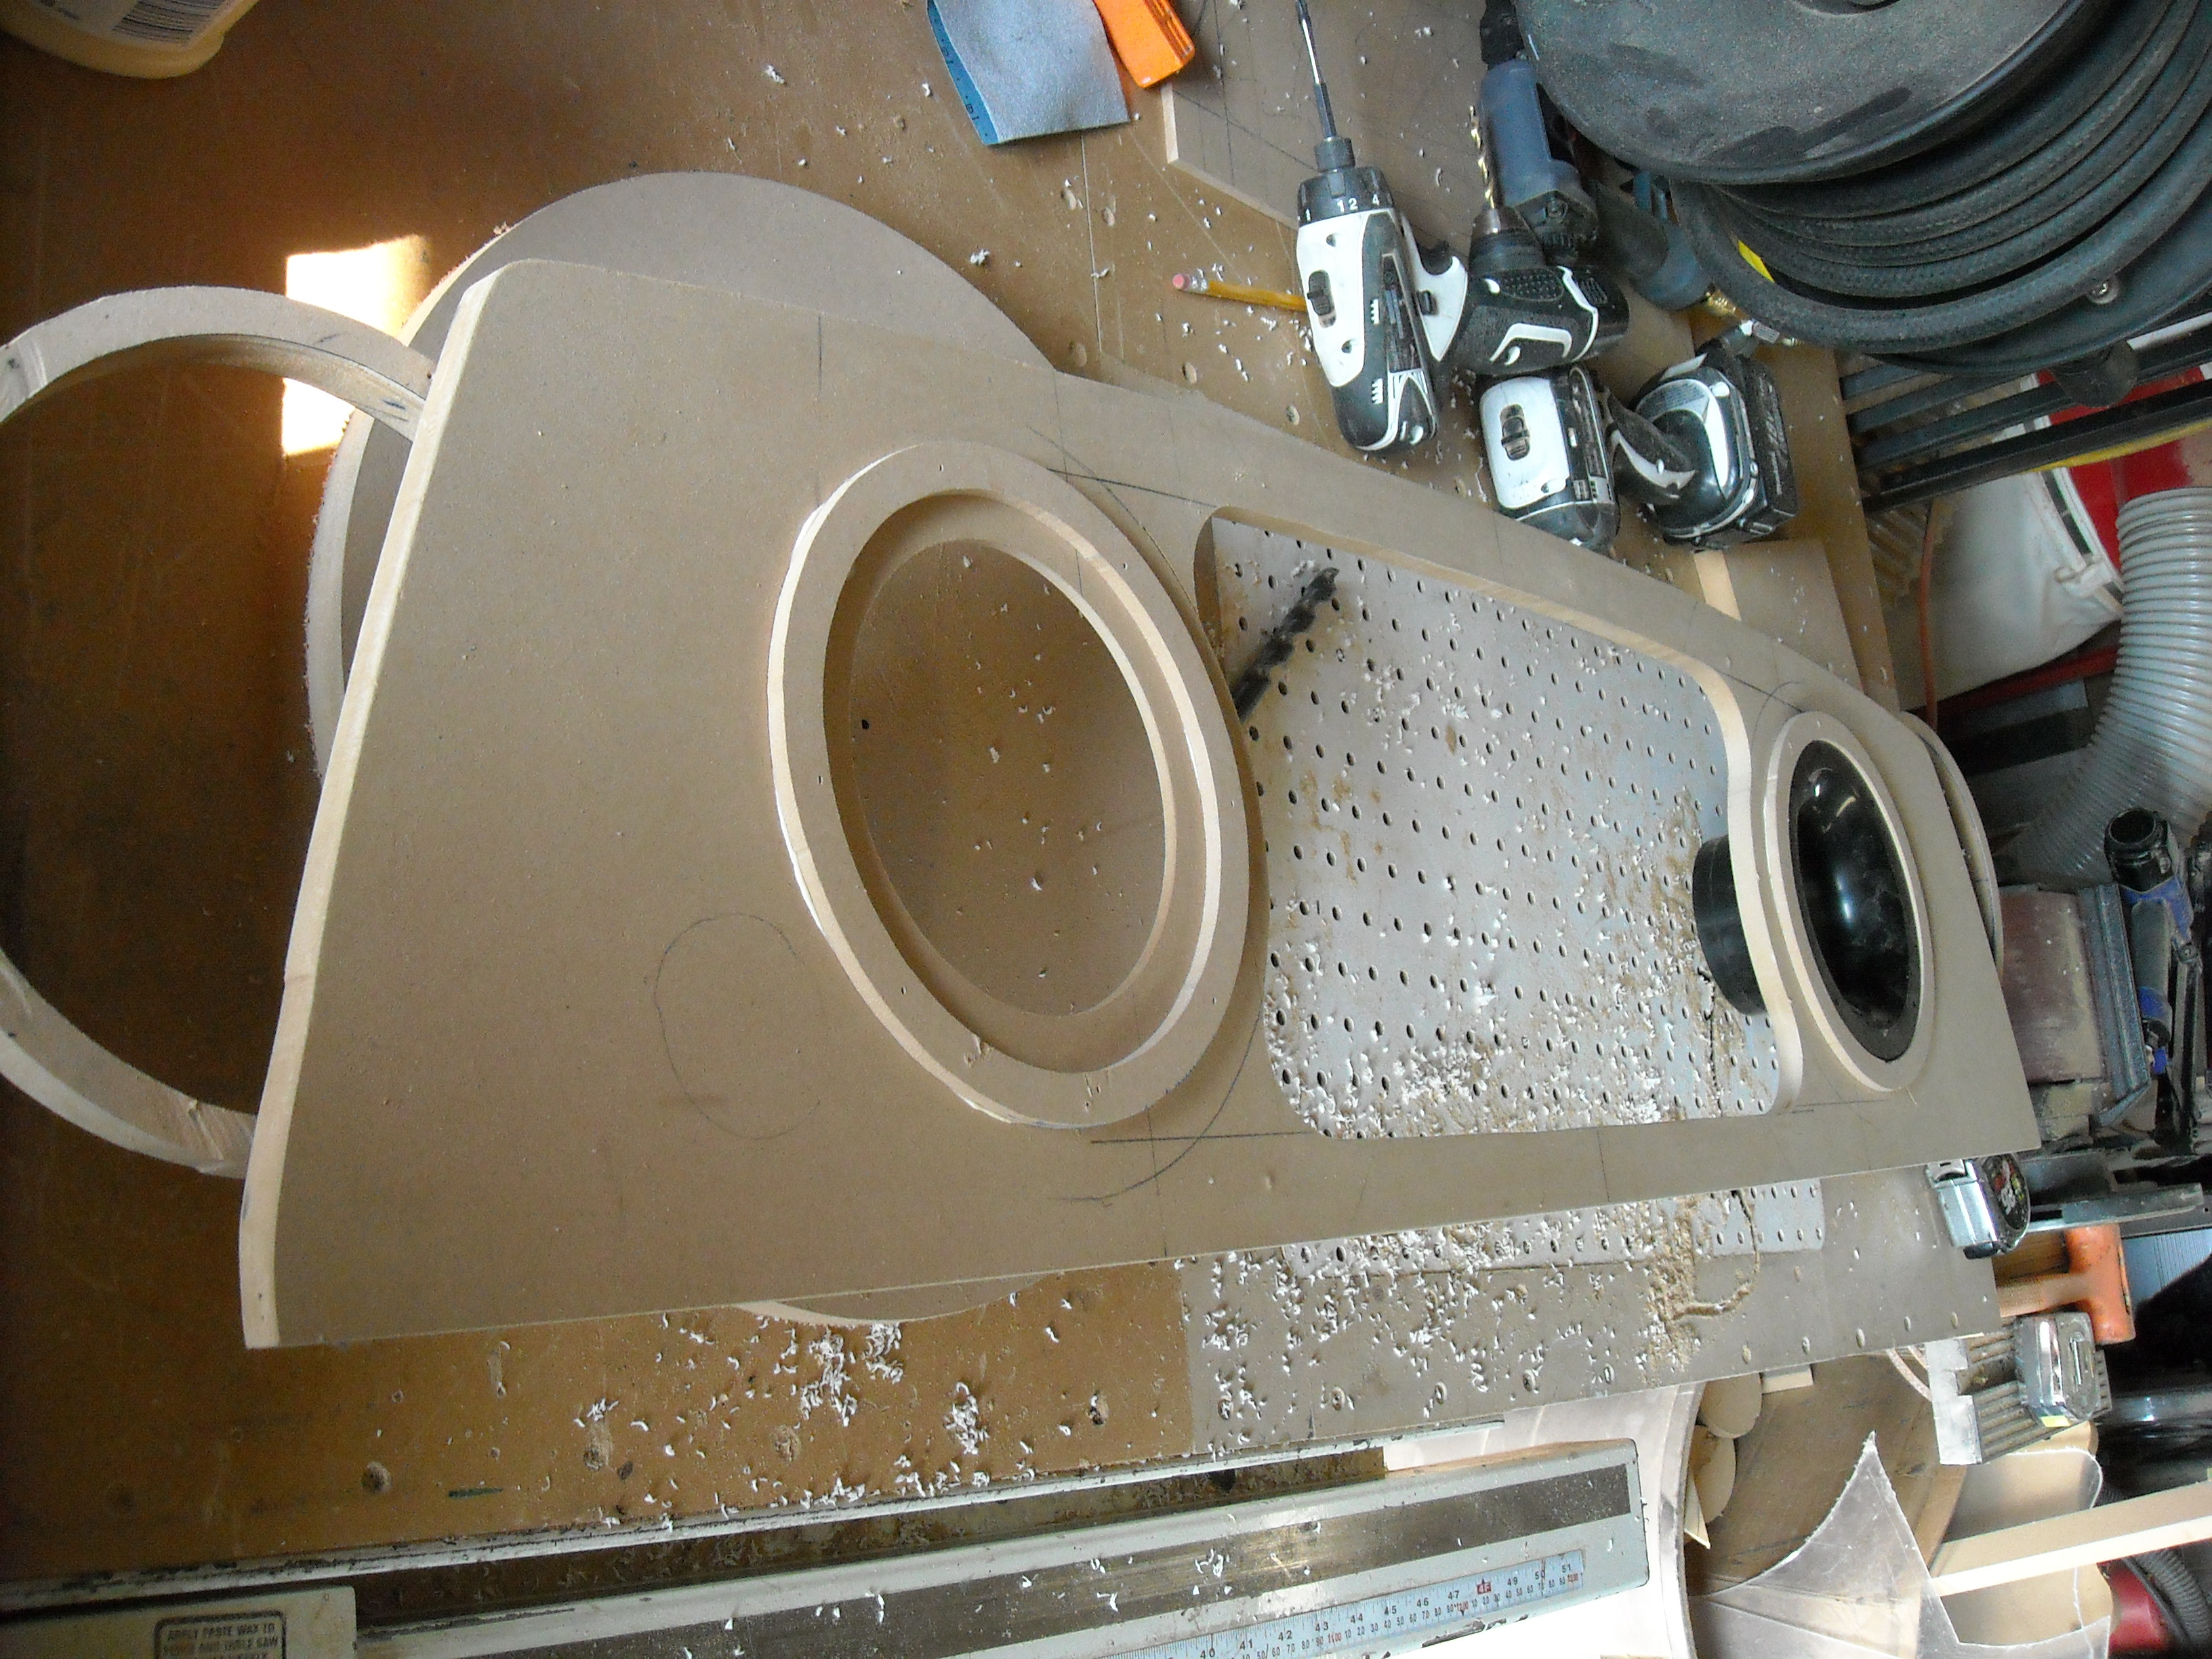
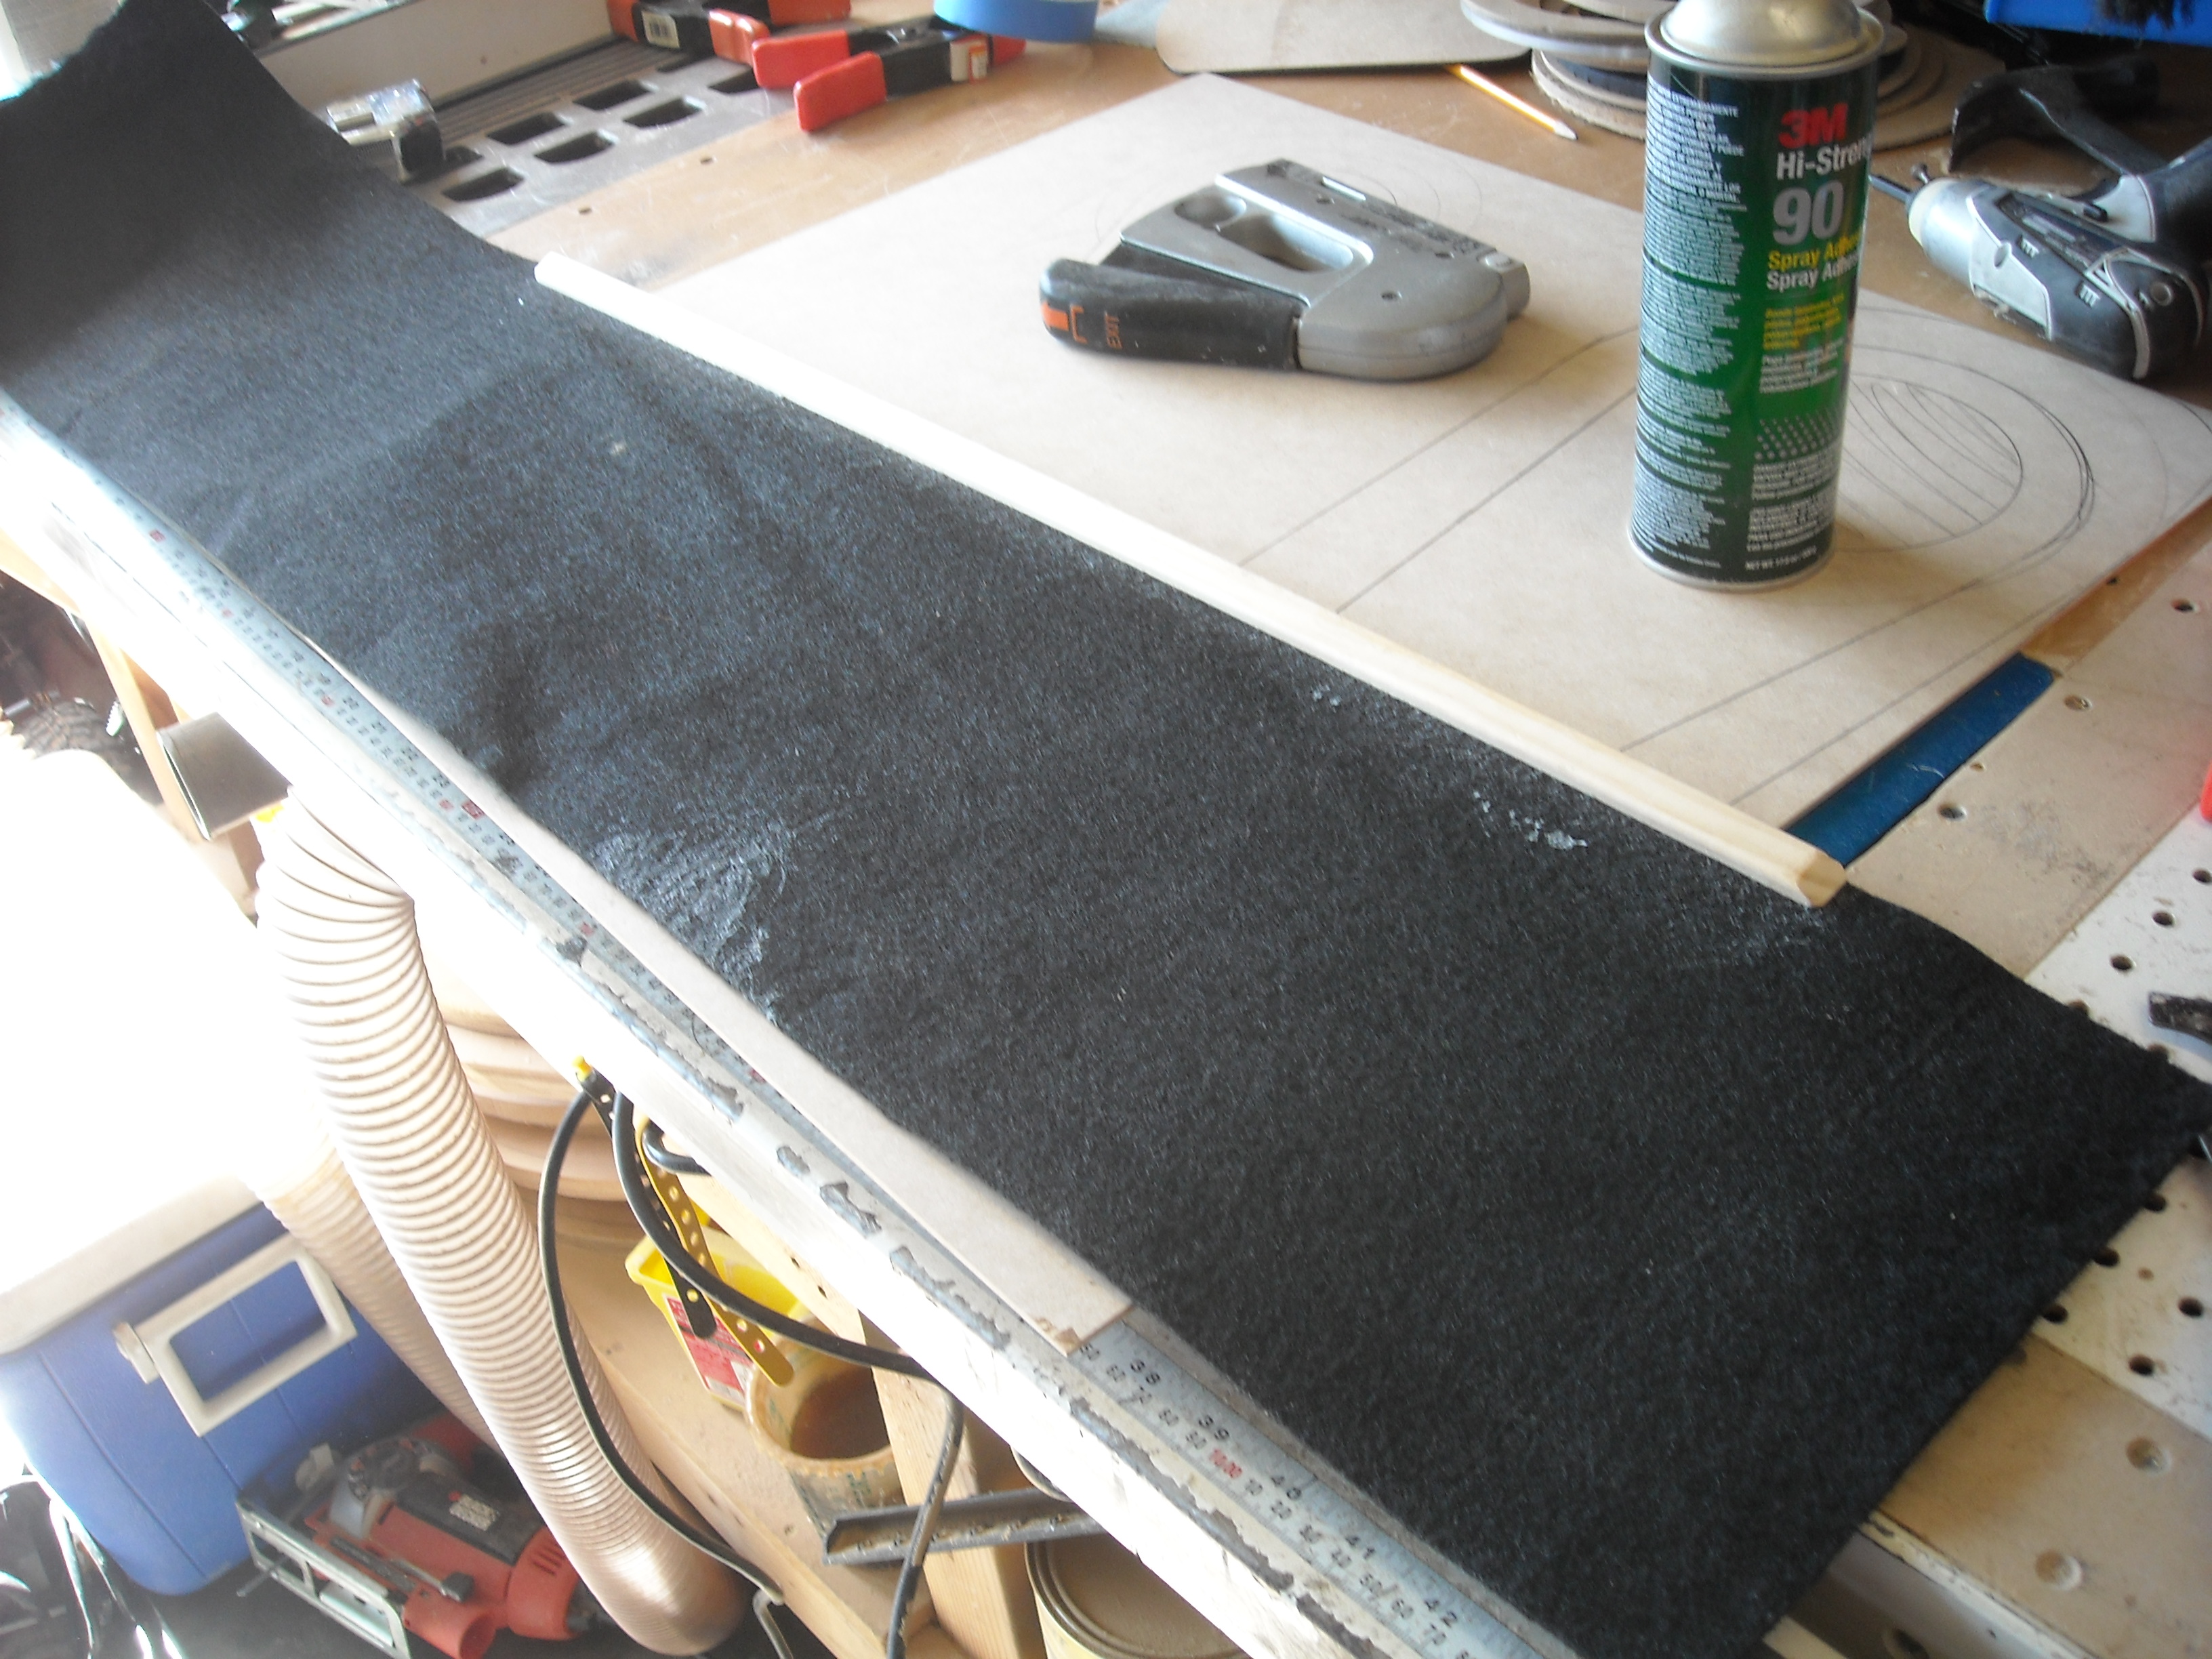
Once thats done, its just a matter of carpet to finish off the top.

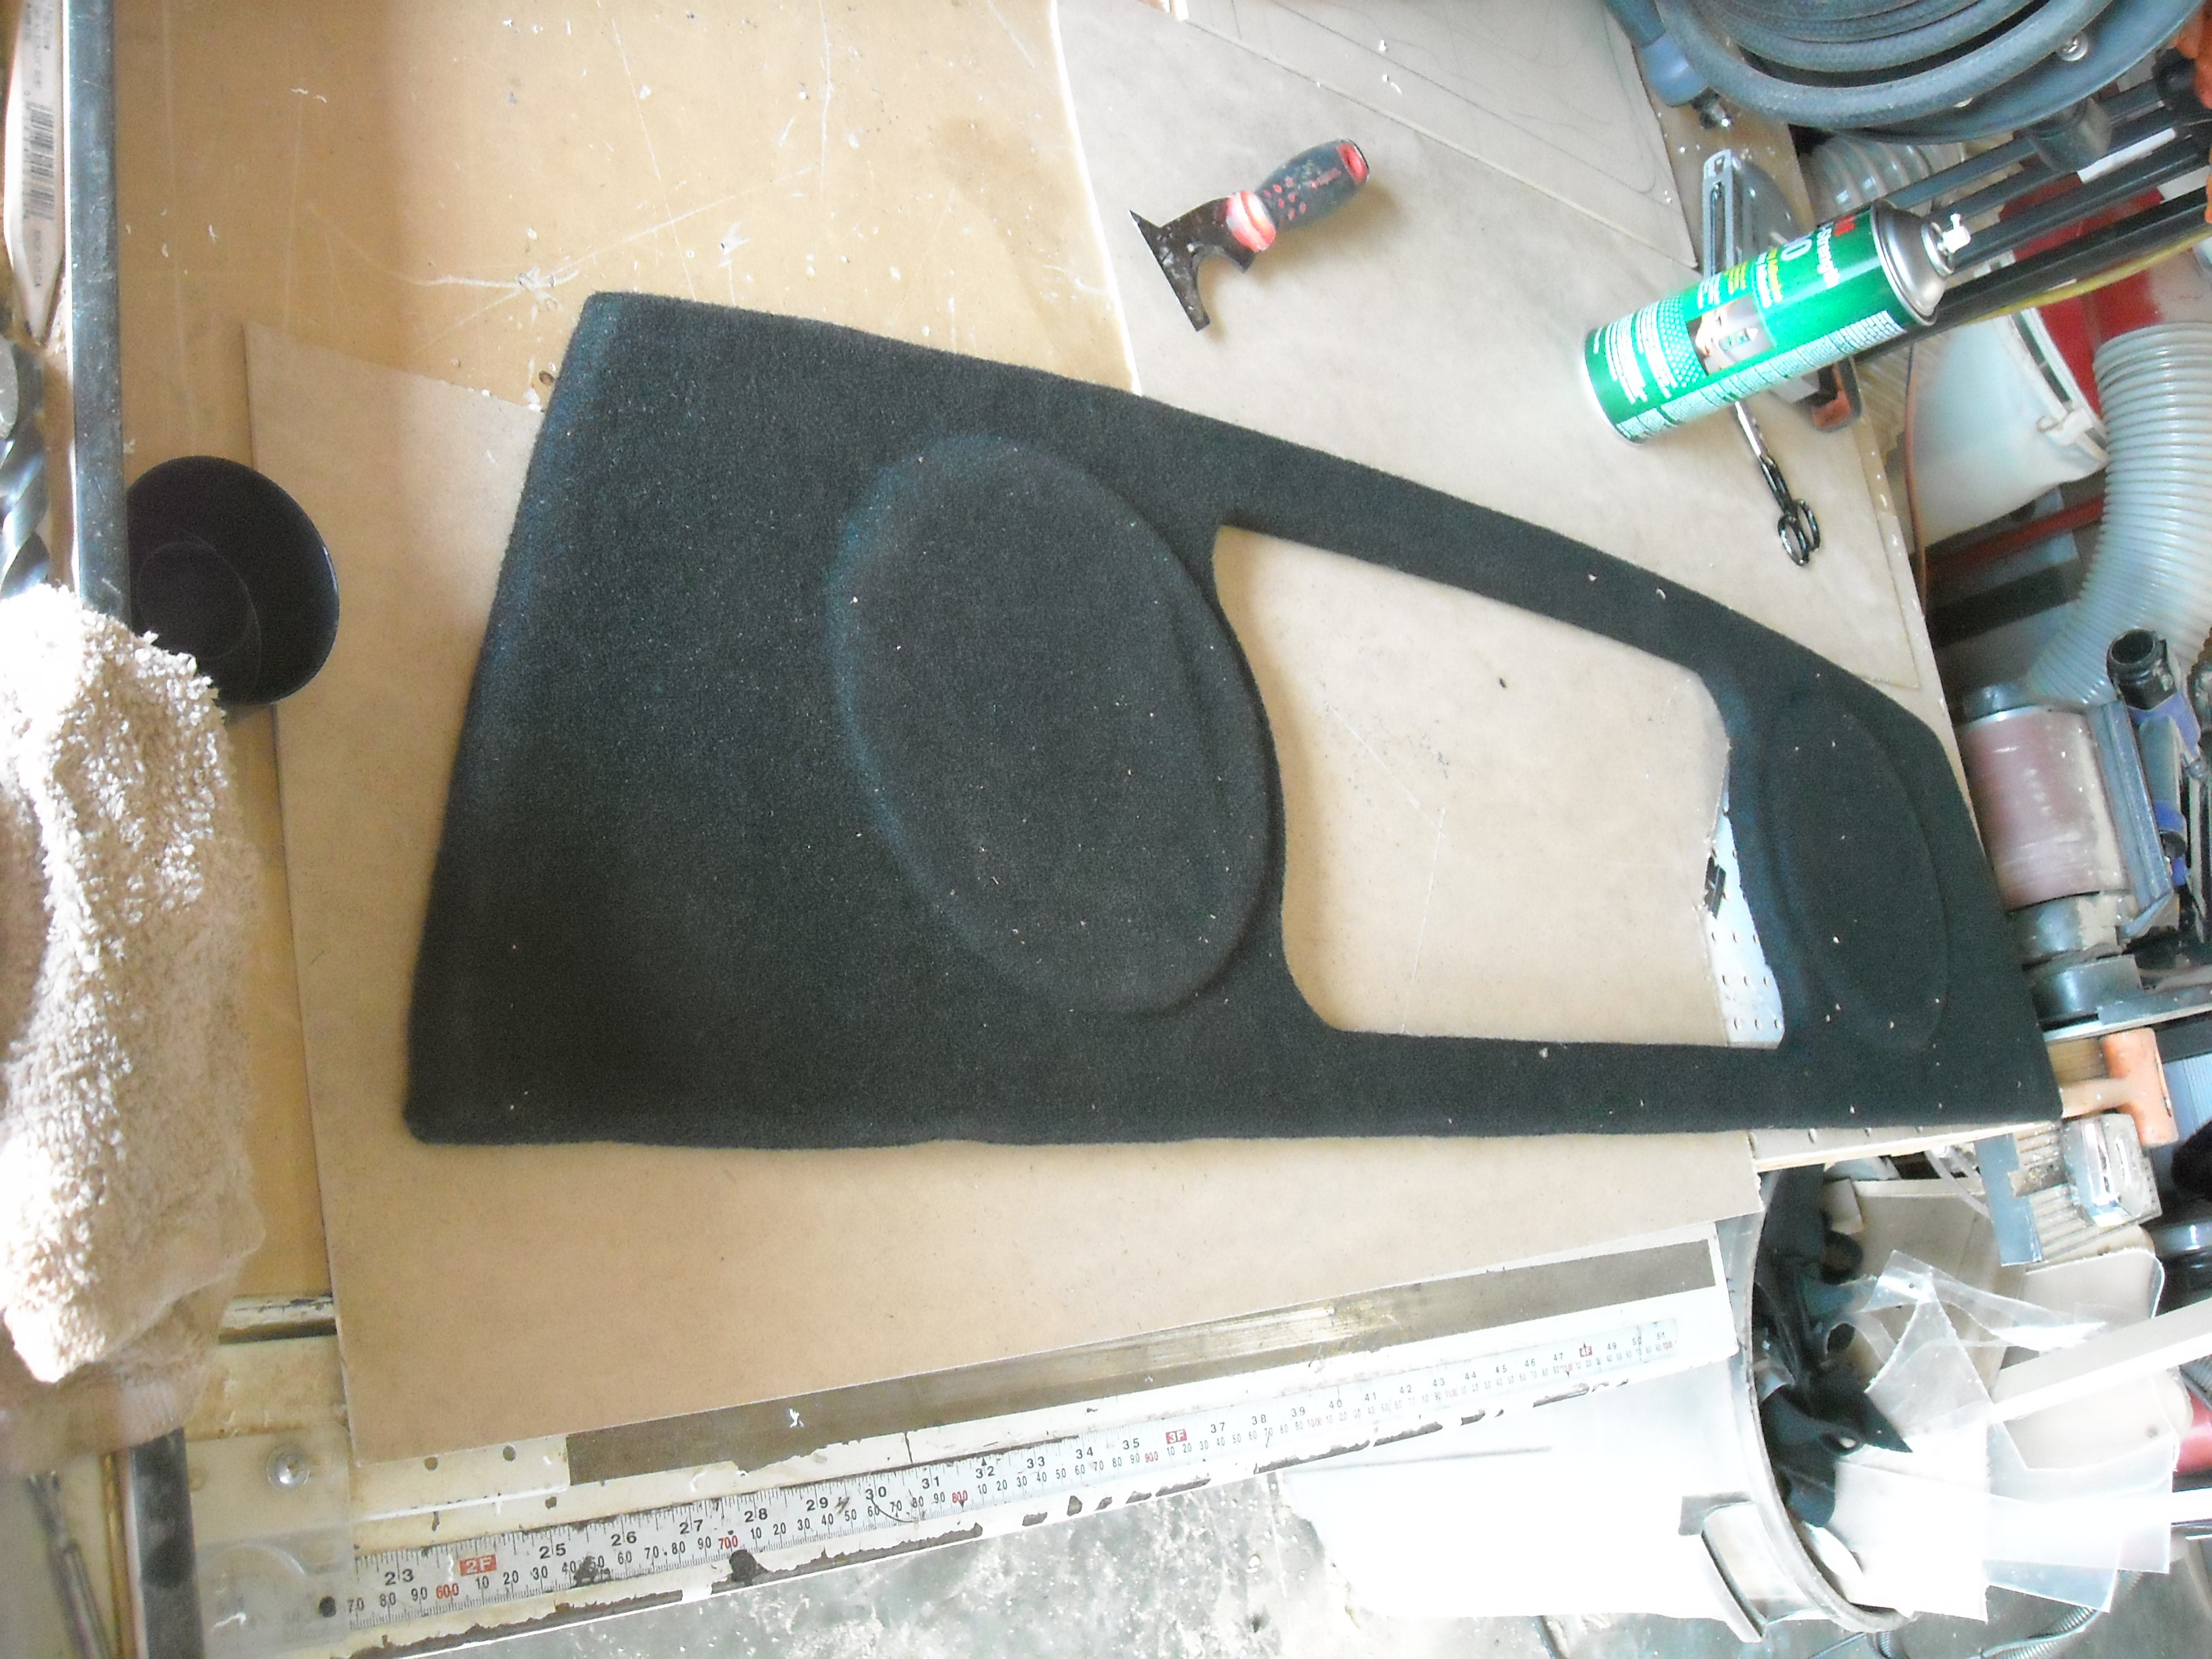
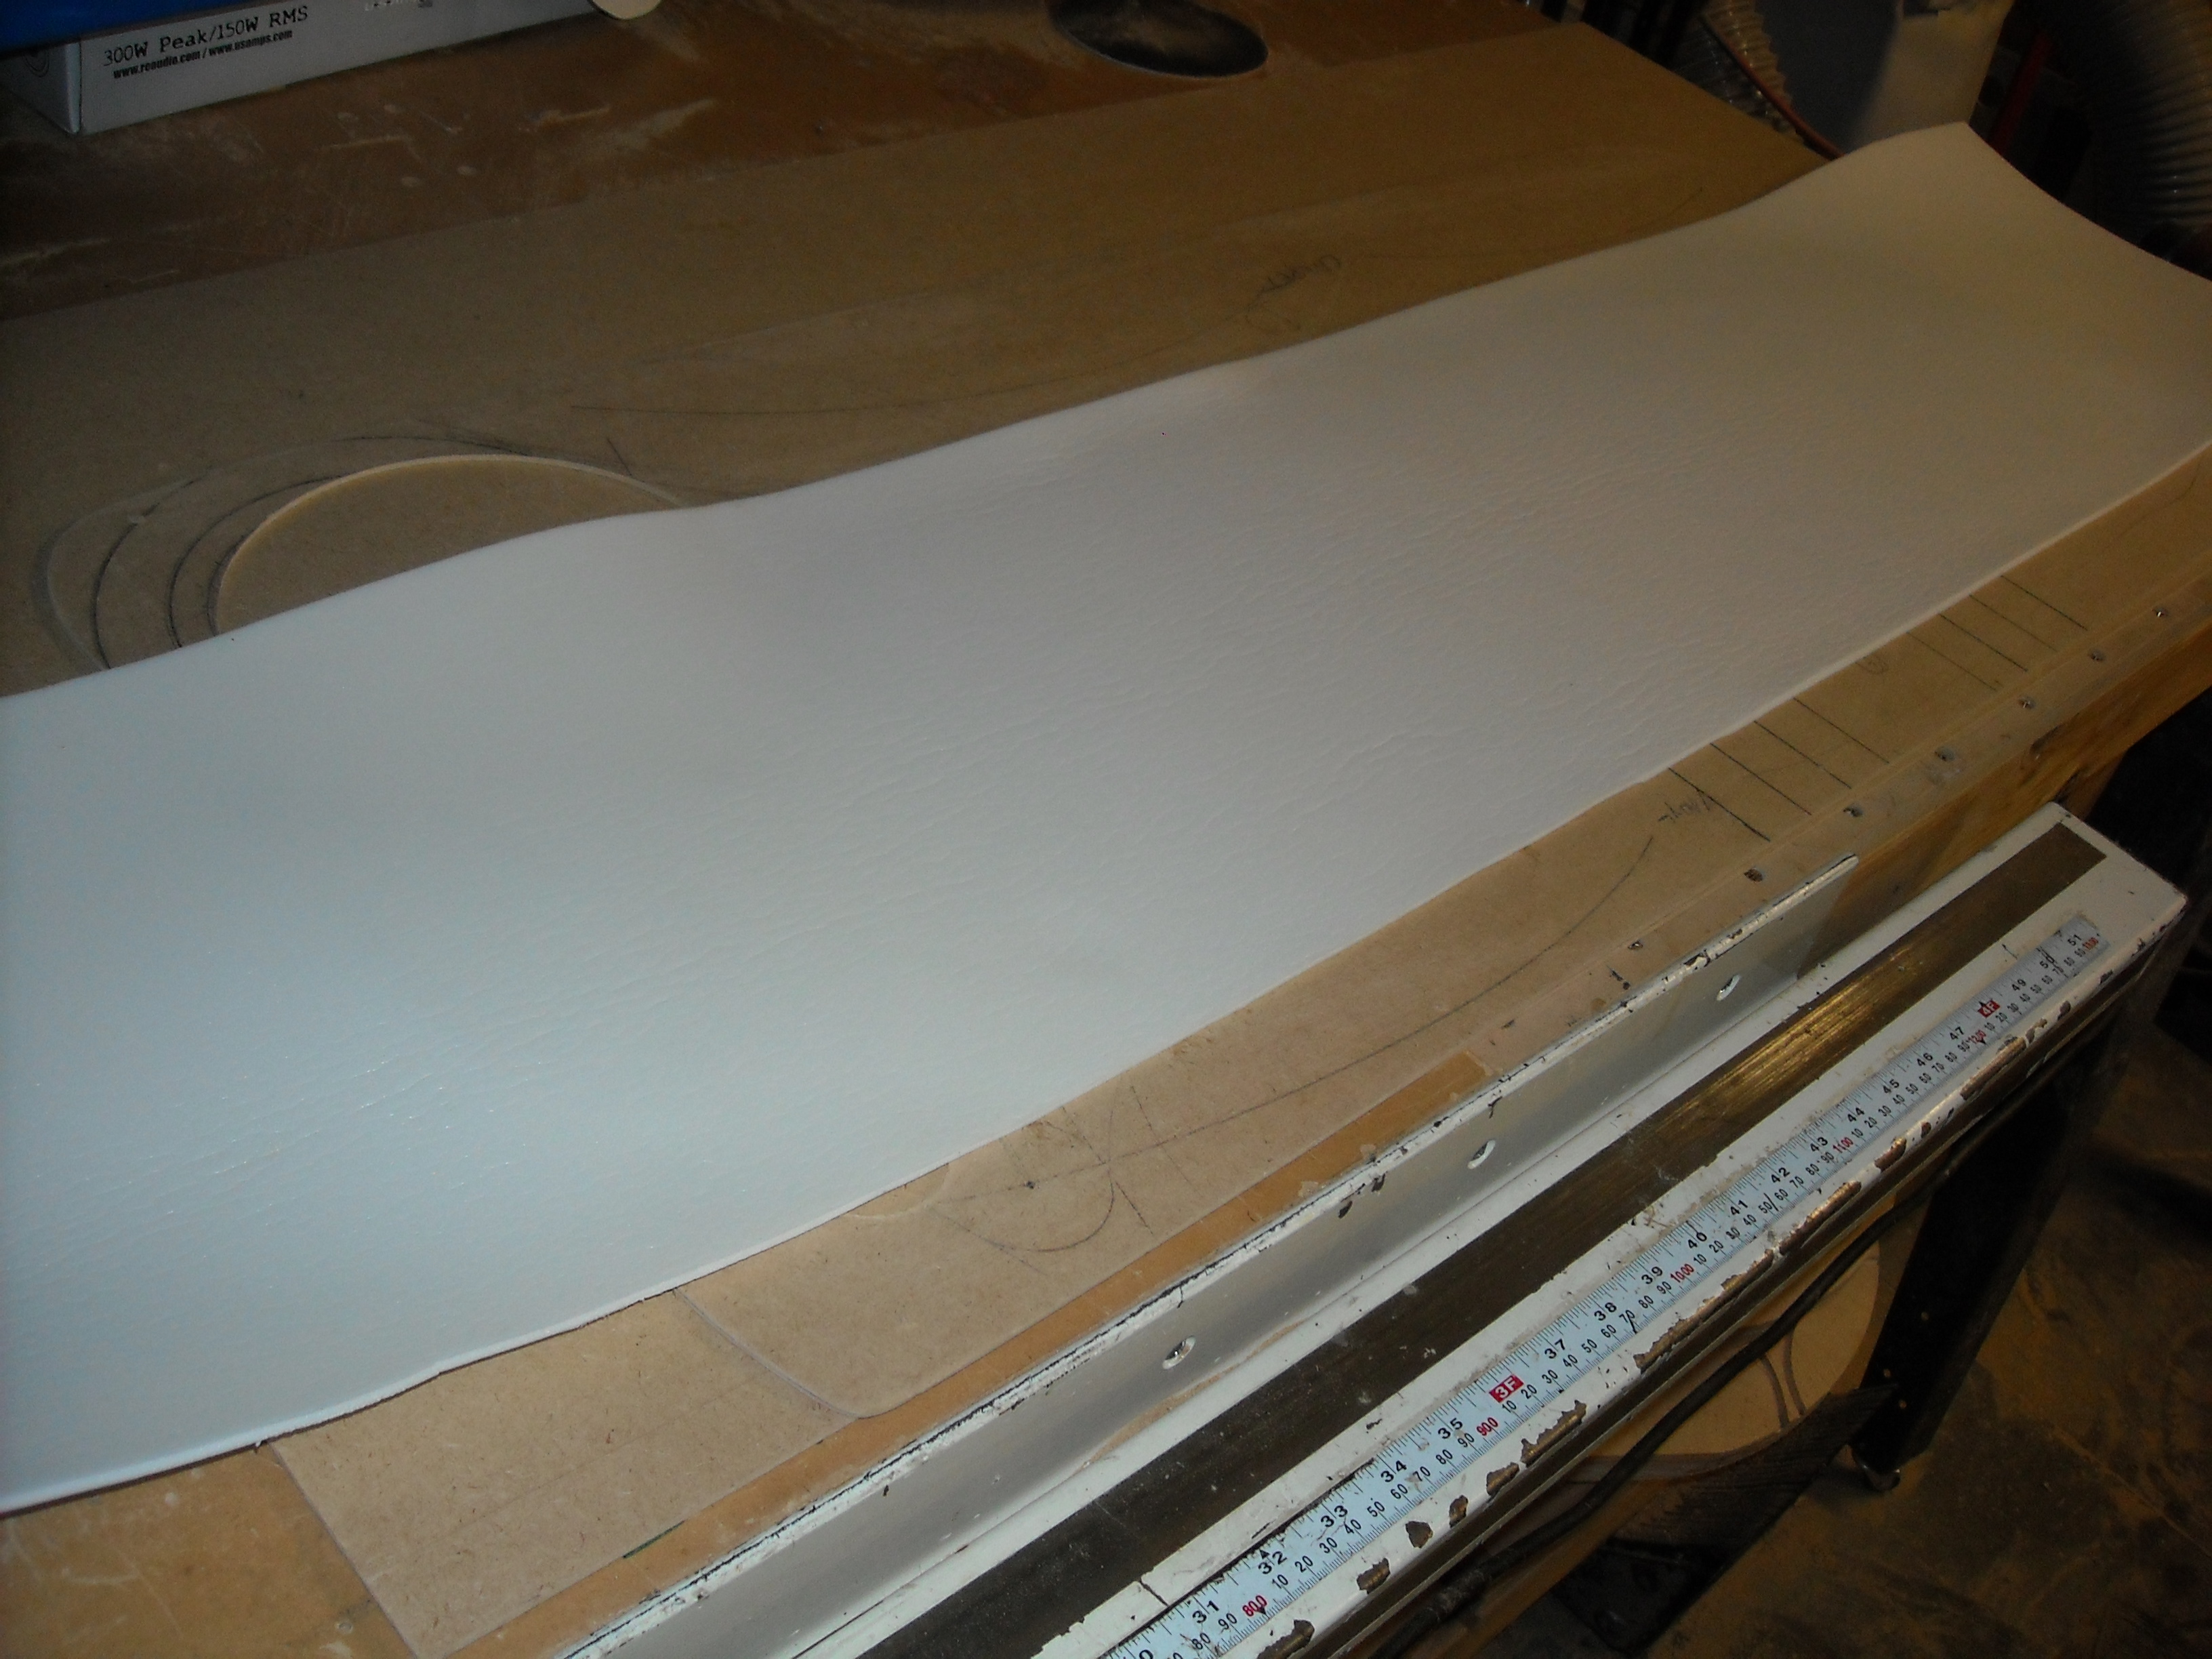
I then took a 1/8' board and wrapped it in vinyl. Between the vinyl and the carpet I added a 1/4" piece of plexi and edge lit it.

its held in place with a few screws from the underside.

And all lit up.
Silicone isn't a bad way to get the tweeter cups to hold in when working with such a thick board.
I started out by removing the carpet off the old one so i could use it as a template. Much easier then mocking up a template from scratch.
Once i made sure it was a snug fit, I marked out for the port tubes.
Next step was to add some dimension to the deck. So I worked out a few different designs and came to this one and got to cutting.
Cleaned up the edges with a quick sand.
Next worked on a profile for the port tubes. I wanted them to show without sticking out. So I raised them and then flush mounted them
Once thats done, its just a matter of carpet to finish off the top.
I then took a 1/8' board and wrapped it in vinyl. Between the vinyl and the carpet I added a 1/4" piece of plexi and edge lit it.
its held in place with a few screws from the underside.
And all lit up.
Thread Starter
Junior Member
Posts like a Ricer Type-R
Joined: Aug 2012
Posts: 18
Likes: 0
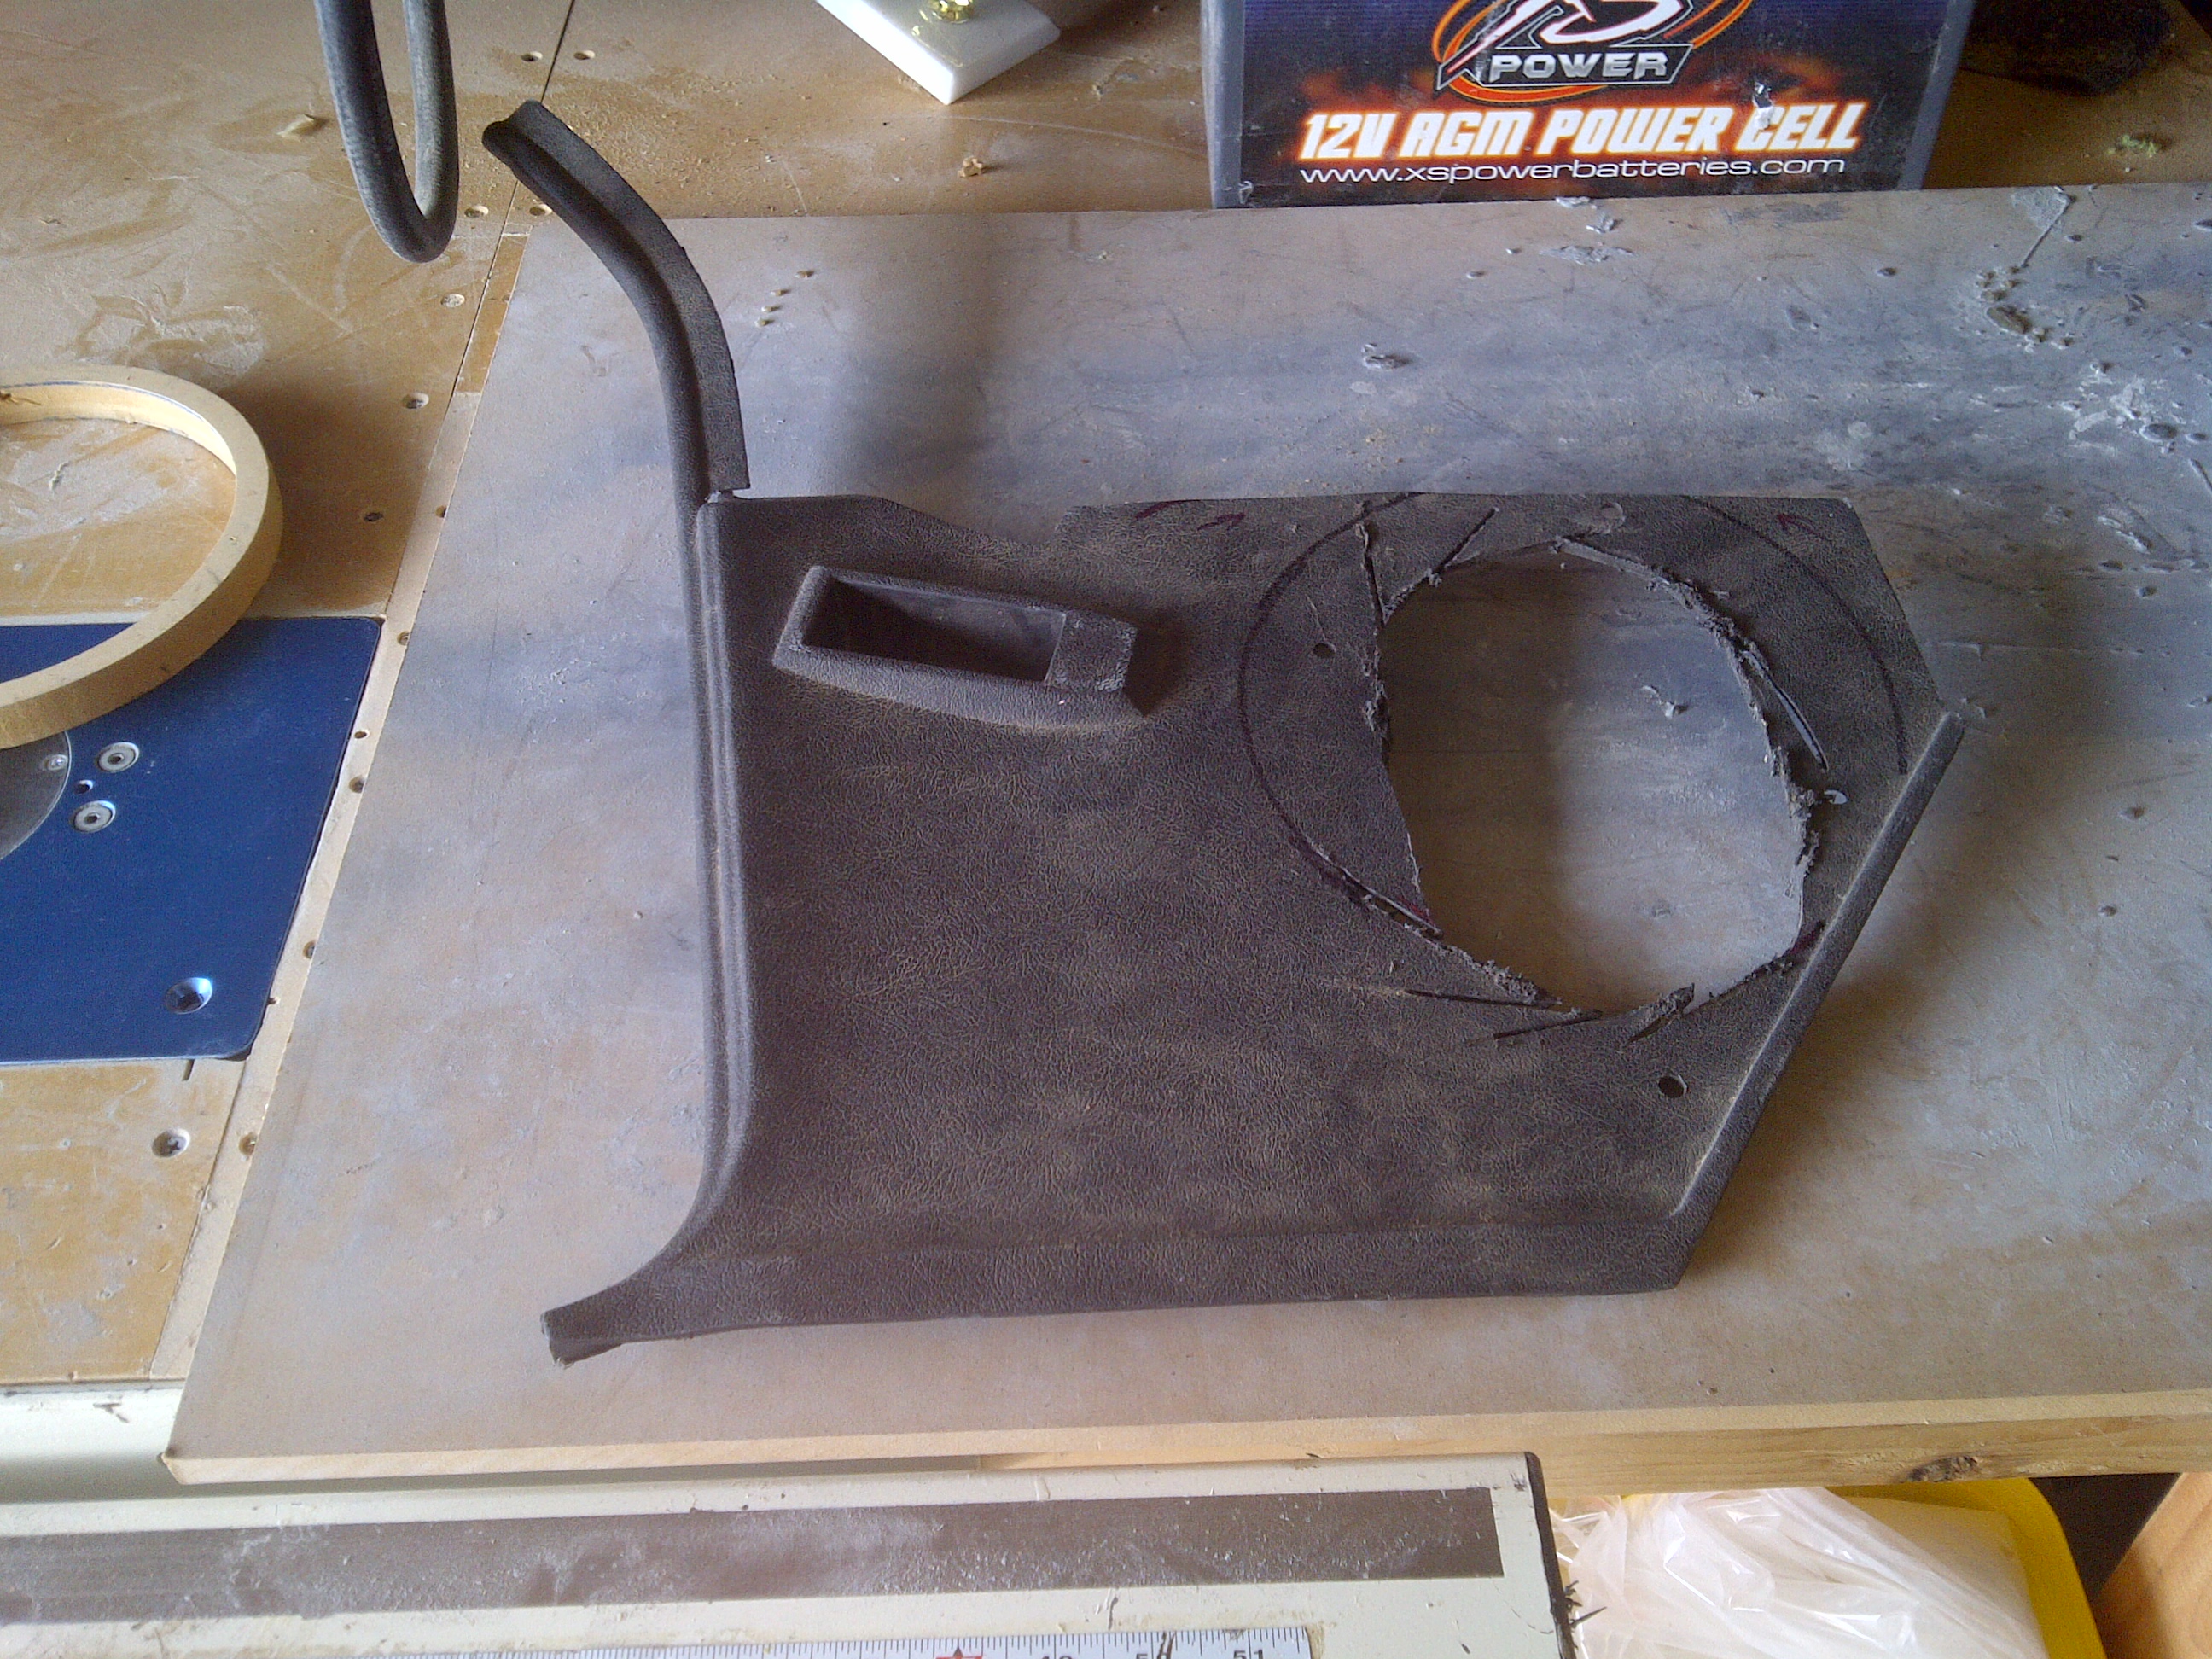
Next thing to address was the kick panels.
The owner had deleated them when installing the motor. So it allowed me a good amout of room to do a little something. So why not put some speakers in there. I started out by removing the cover plates he made.

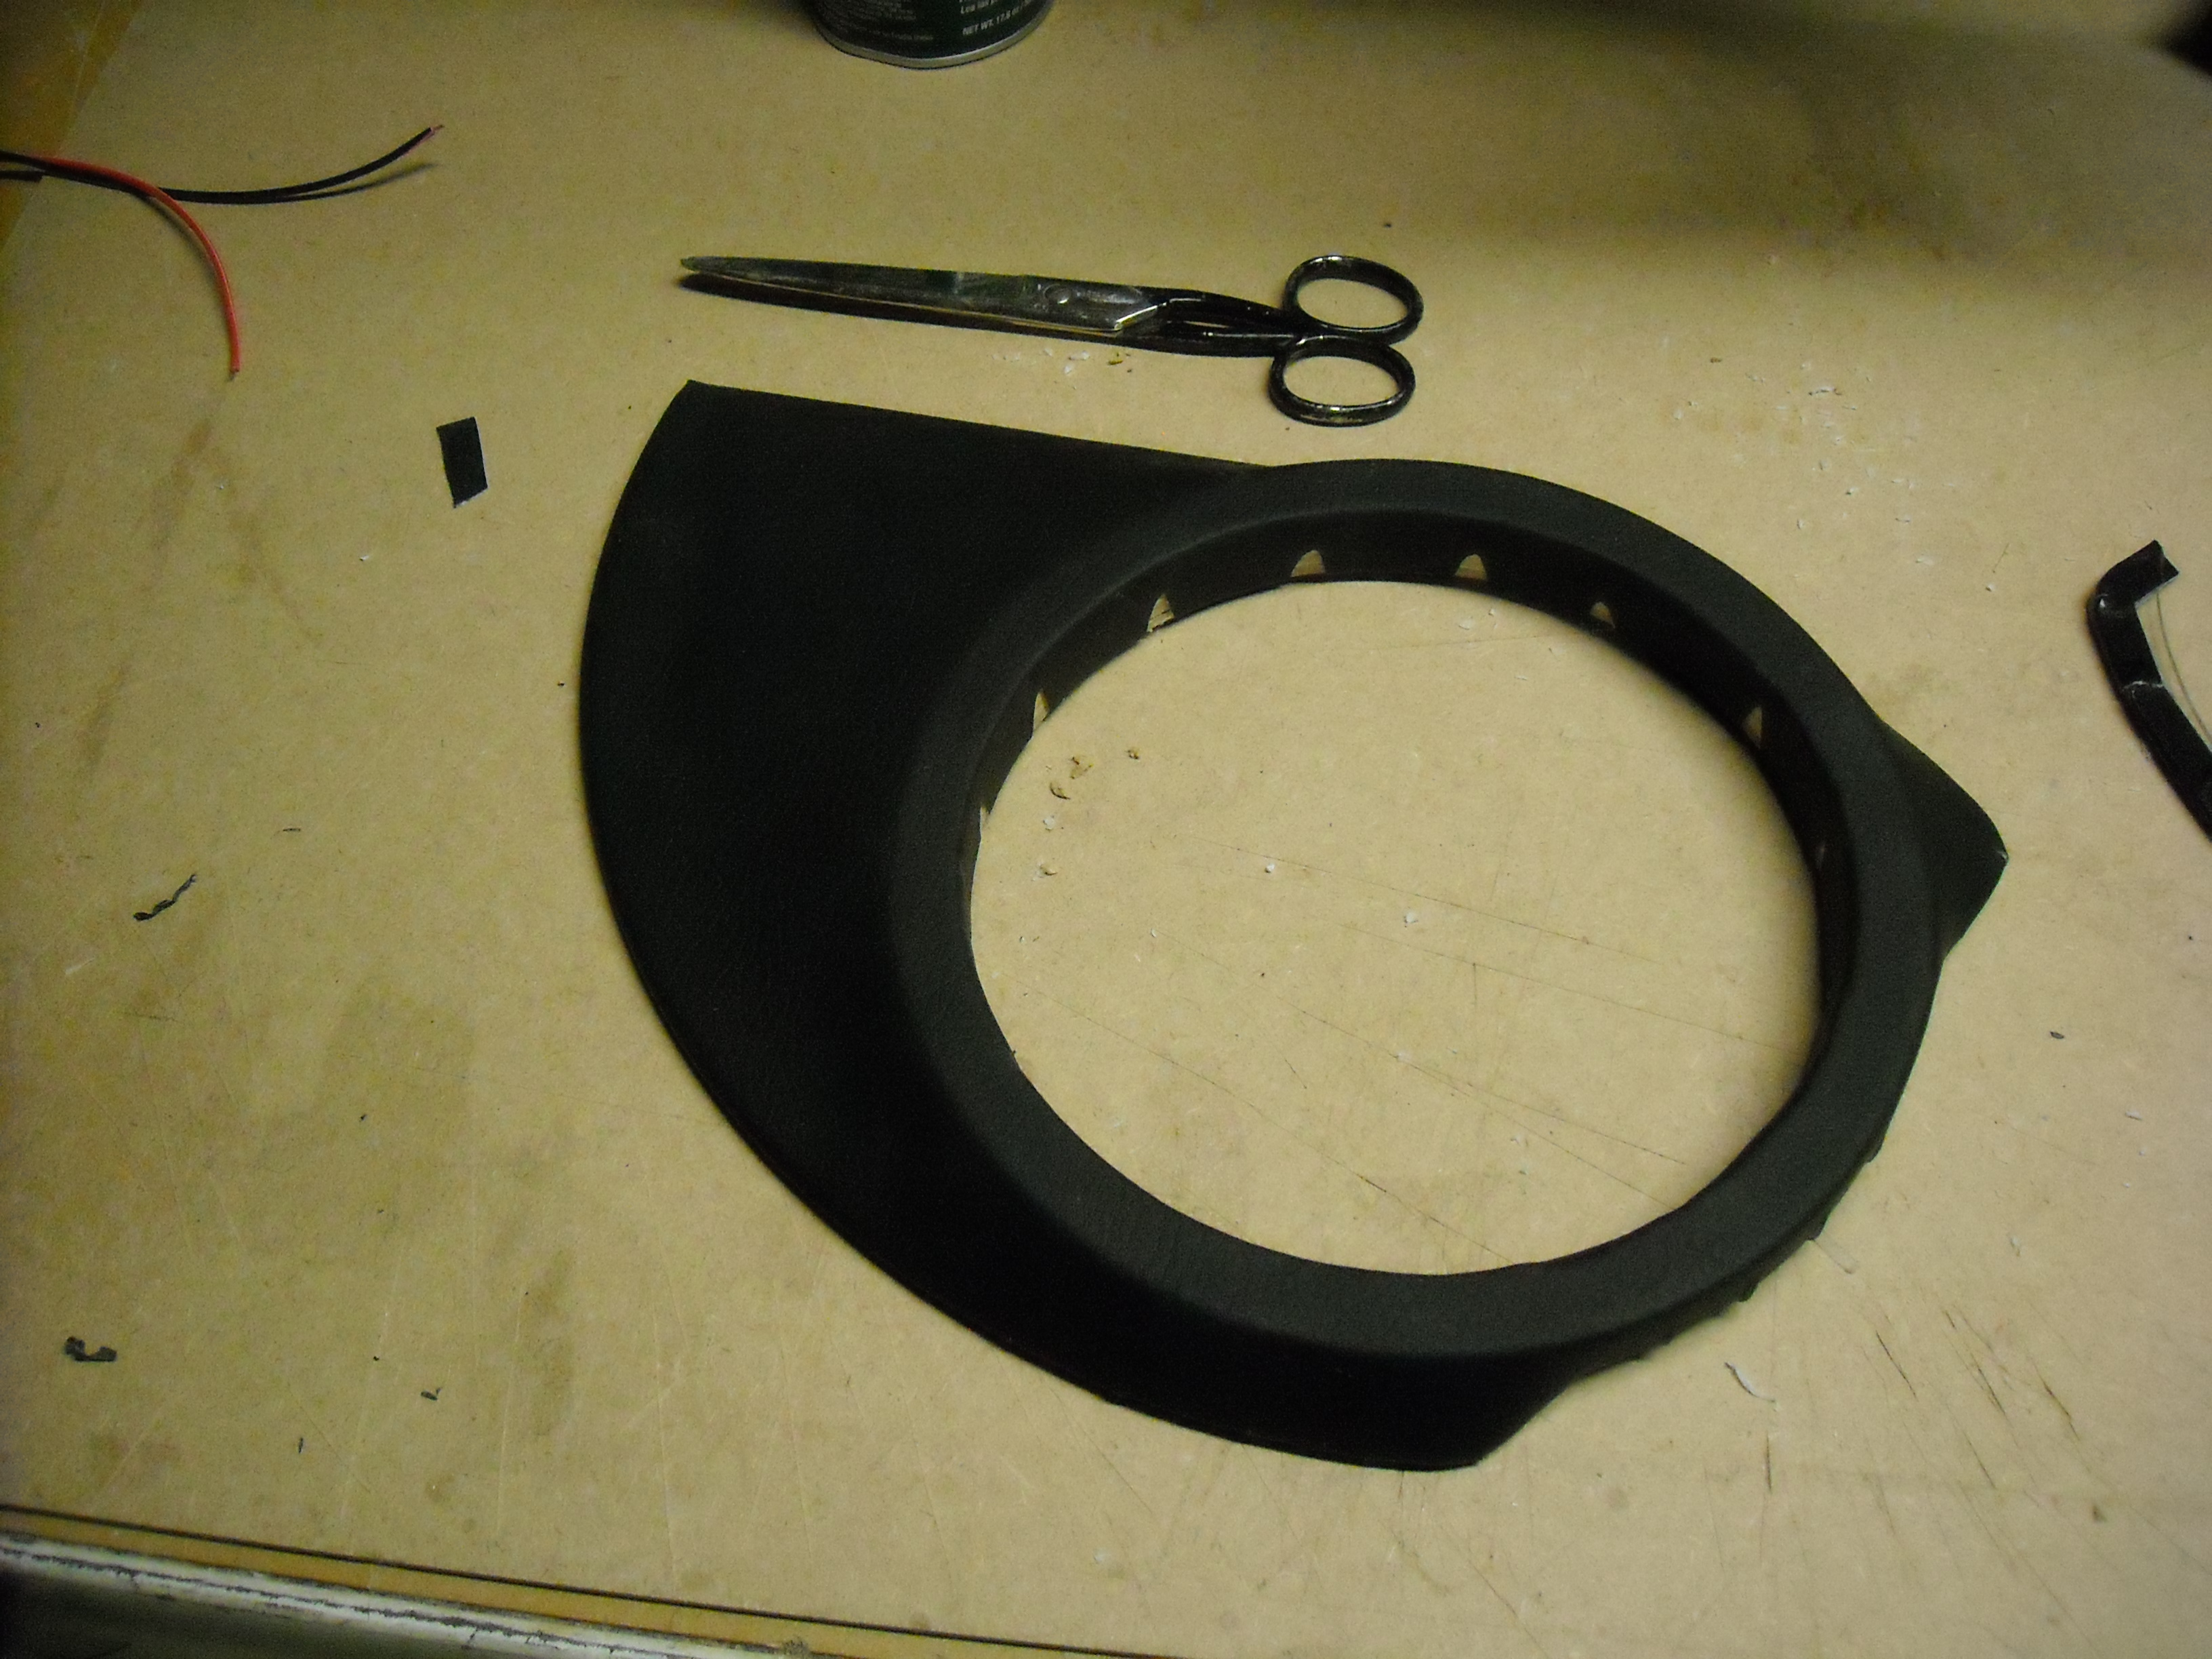
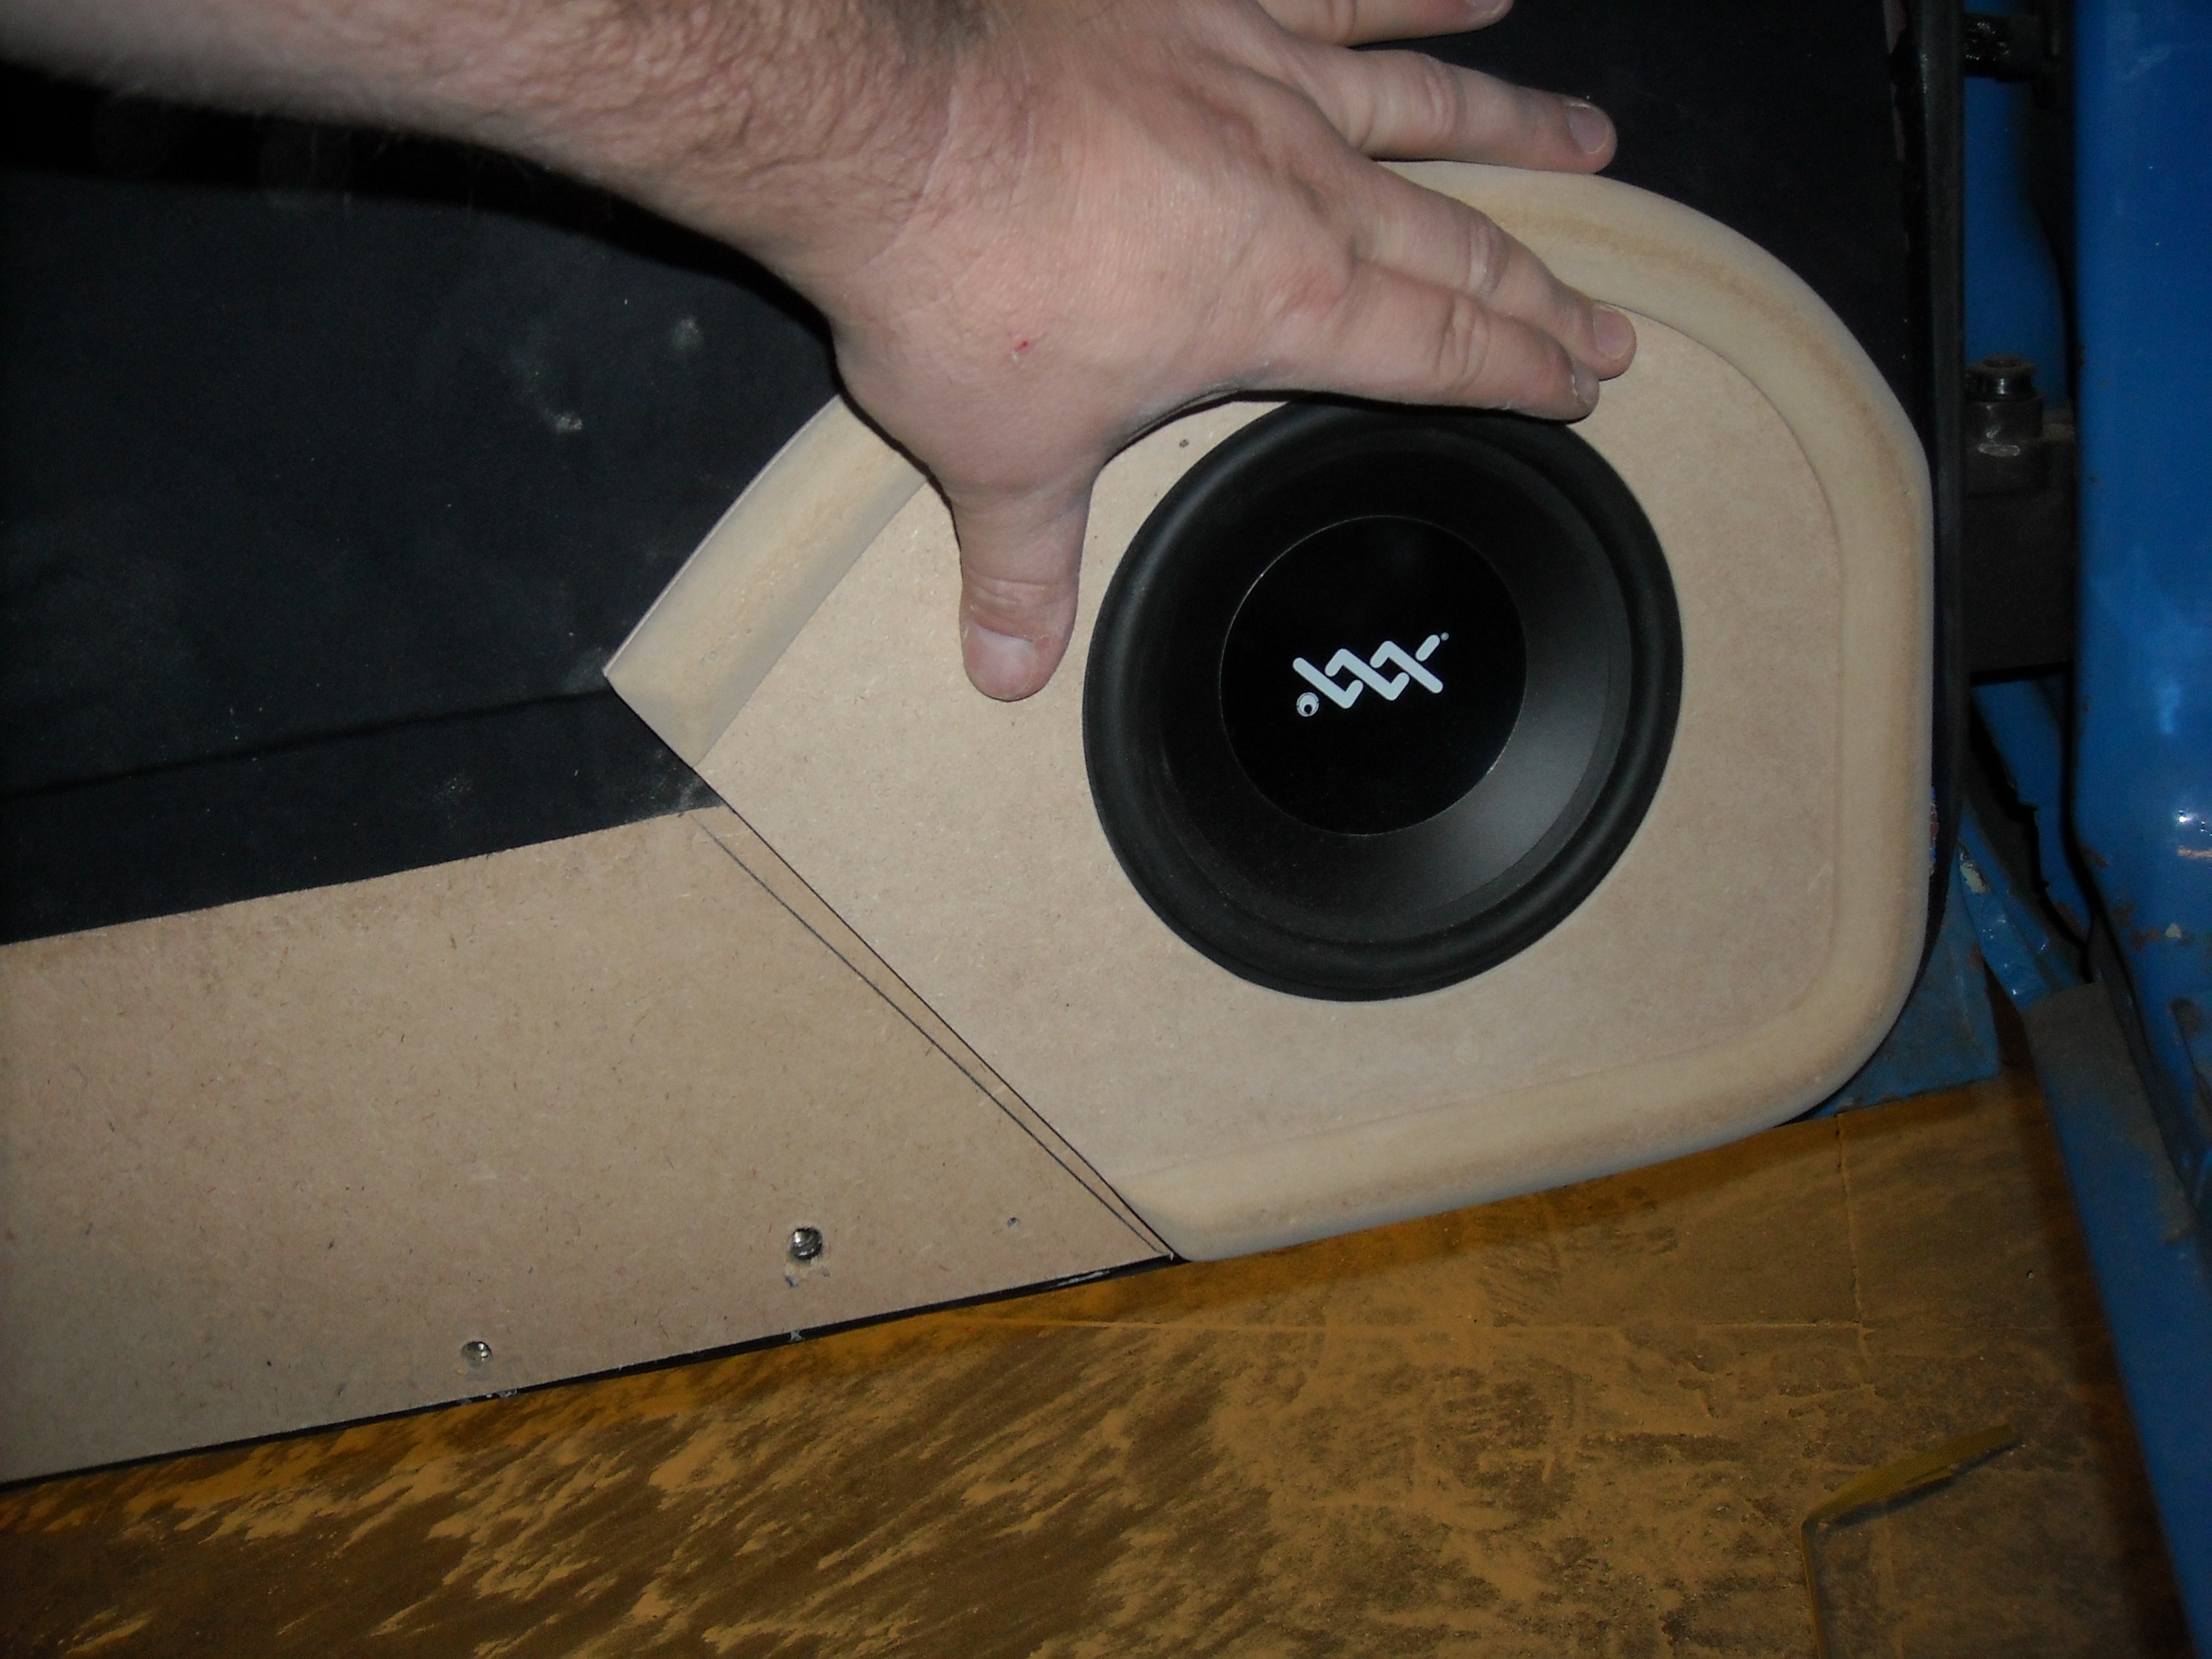
With as much room as I had to work with, I decided am 8" sub would fit in there nicely. Was going to be a tight fit, but it looked like it would work. I started out with a cutout ring to find where I needed to trim the metal.

Once i had my lines, all that was needed was a little snip and bend back of the metal.
Next I made a template of the kick to make sure I had correct placement.
Took a little work to center the hole to where I needed to cut.
I used rivit nuts to hold the template to the car.

And installed

Little test fit, and she works.

The owner had deleated them when installing the motor. So it allowed me a good amout of room to do a little something. So why not put some speakers in there. I started out by removing the cover plates he made.
With as much room as I had to work with, I decided am 8" sub would fit in there nicely. Was going to be a tight fit, but it looked like it would work. I started out with a cutout ring to find where I needed to trim the metal.
Once i had my lines, all that was needed was a little snip and bend back of the metal.
Next I made a template of the kick to make sure I had correct placement.
Took a little work to center the hole to where I needed to cut.
I used rivit nuts to hold the template to the car.
And installed
Little test fit, and she works.
Thread Starter
Junior Member
Posts like a Ricer Type-R
Joined: Aug 2012
Posts: 18
Likes: 0
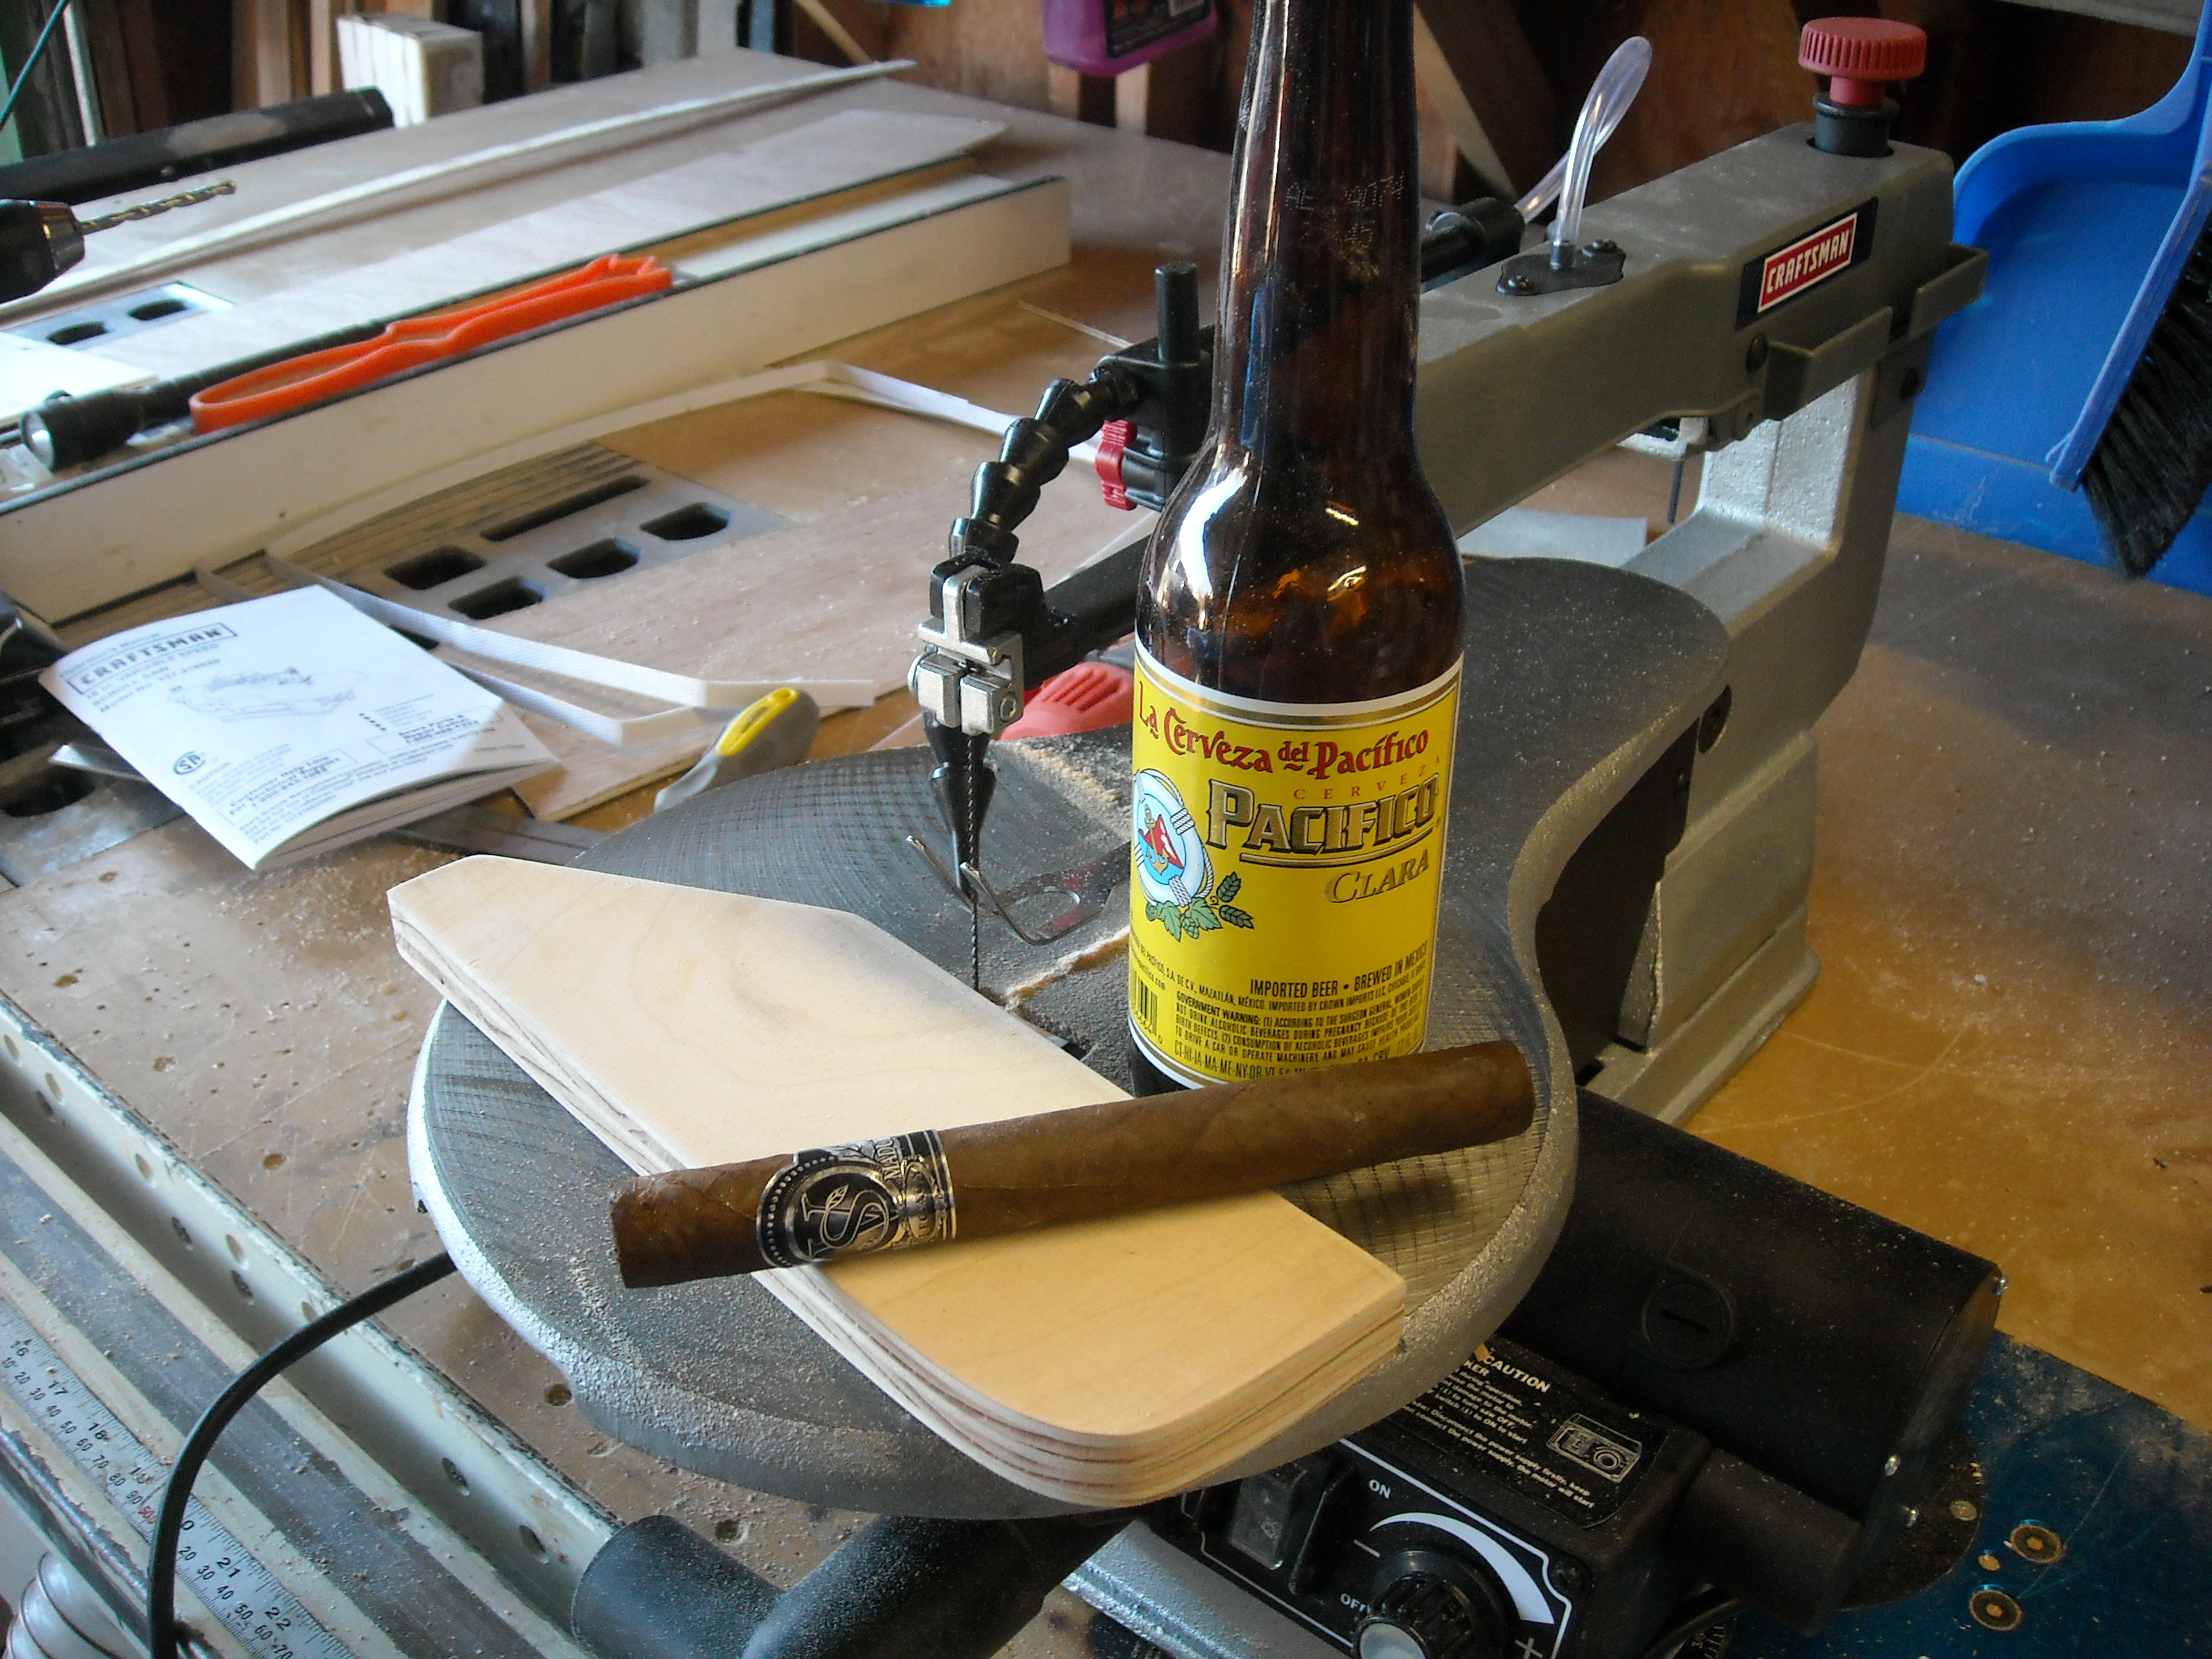
Now it was time to make some fiberglass pods for the subs. As simple as this next shot looks, it took more then a few beers and a cigar to figure exactly how I wanted to do it. I ended up adding a little wood to the bottom of the sub, then wrapping it in plastic. Once It was protected, i then wrapped the fleece and drop them into the template.pulled everything tight and screwed the sub down. Then it was just a little glass on the outside to make the shell, and then a few coats in the inside to add strength.

Once it was dry, I sanded the rough spots smooth, and trimmed the edges. Slid it into place and was ready to glass it in.
I then glassed in more support and made it part of the car.
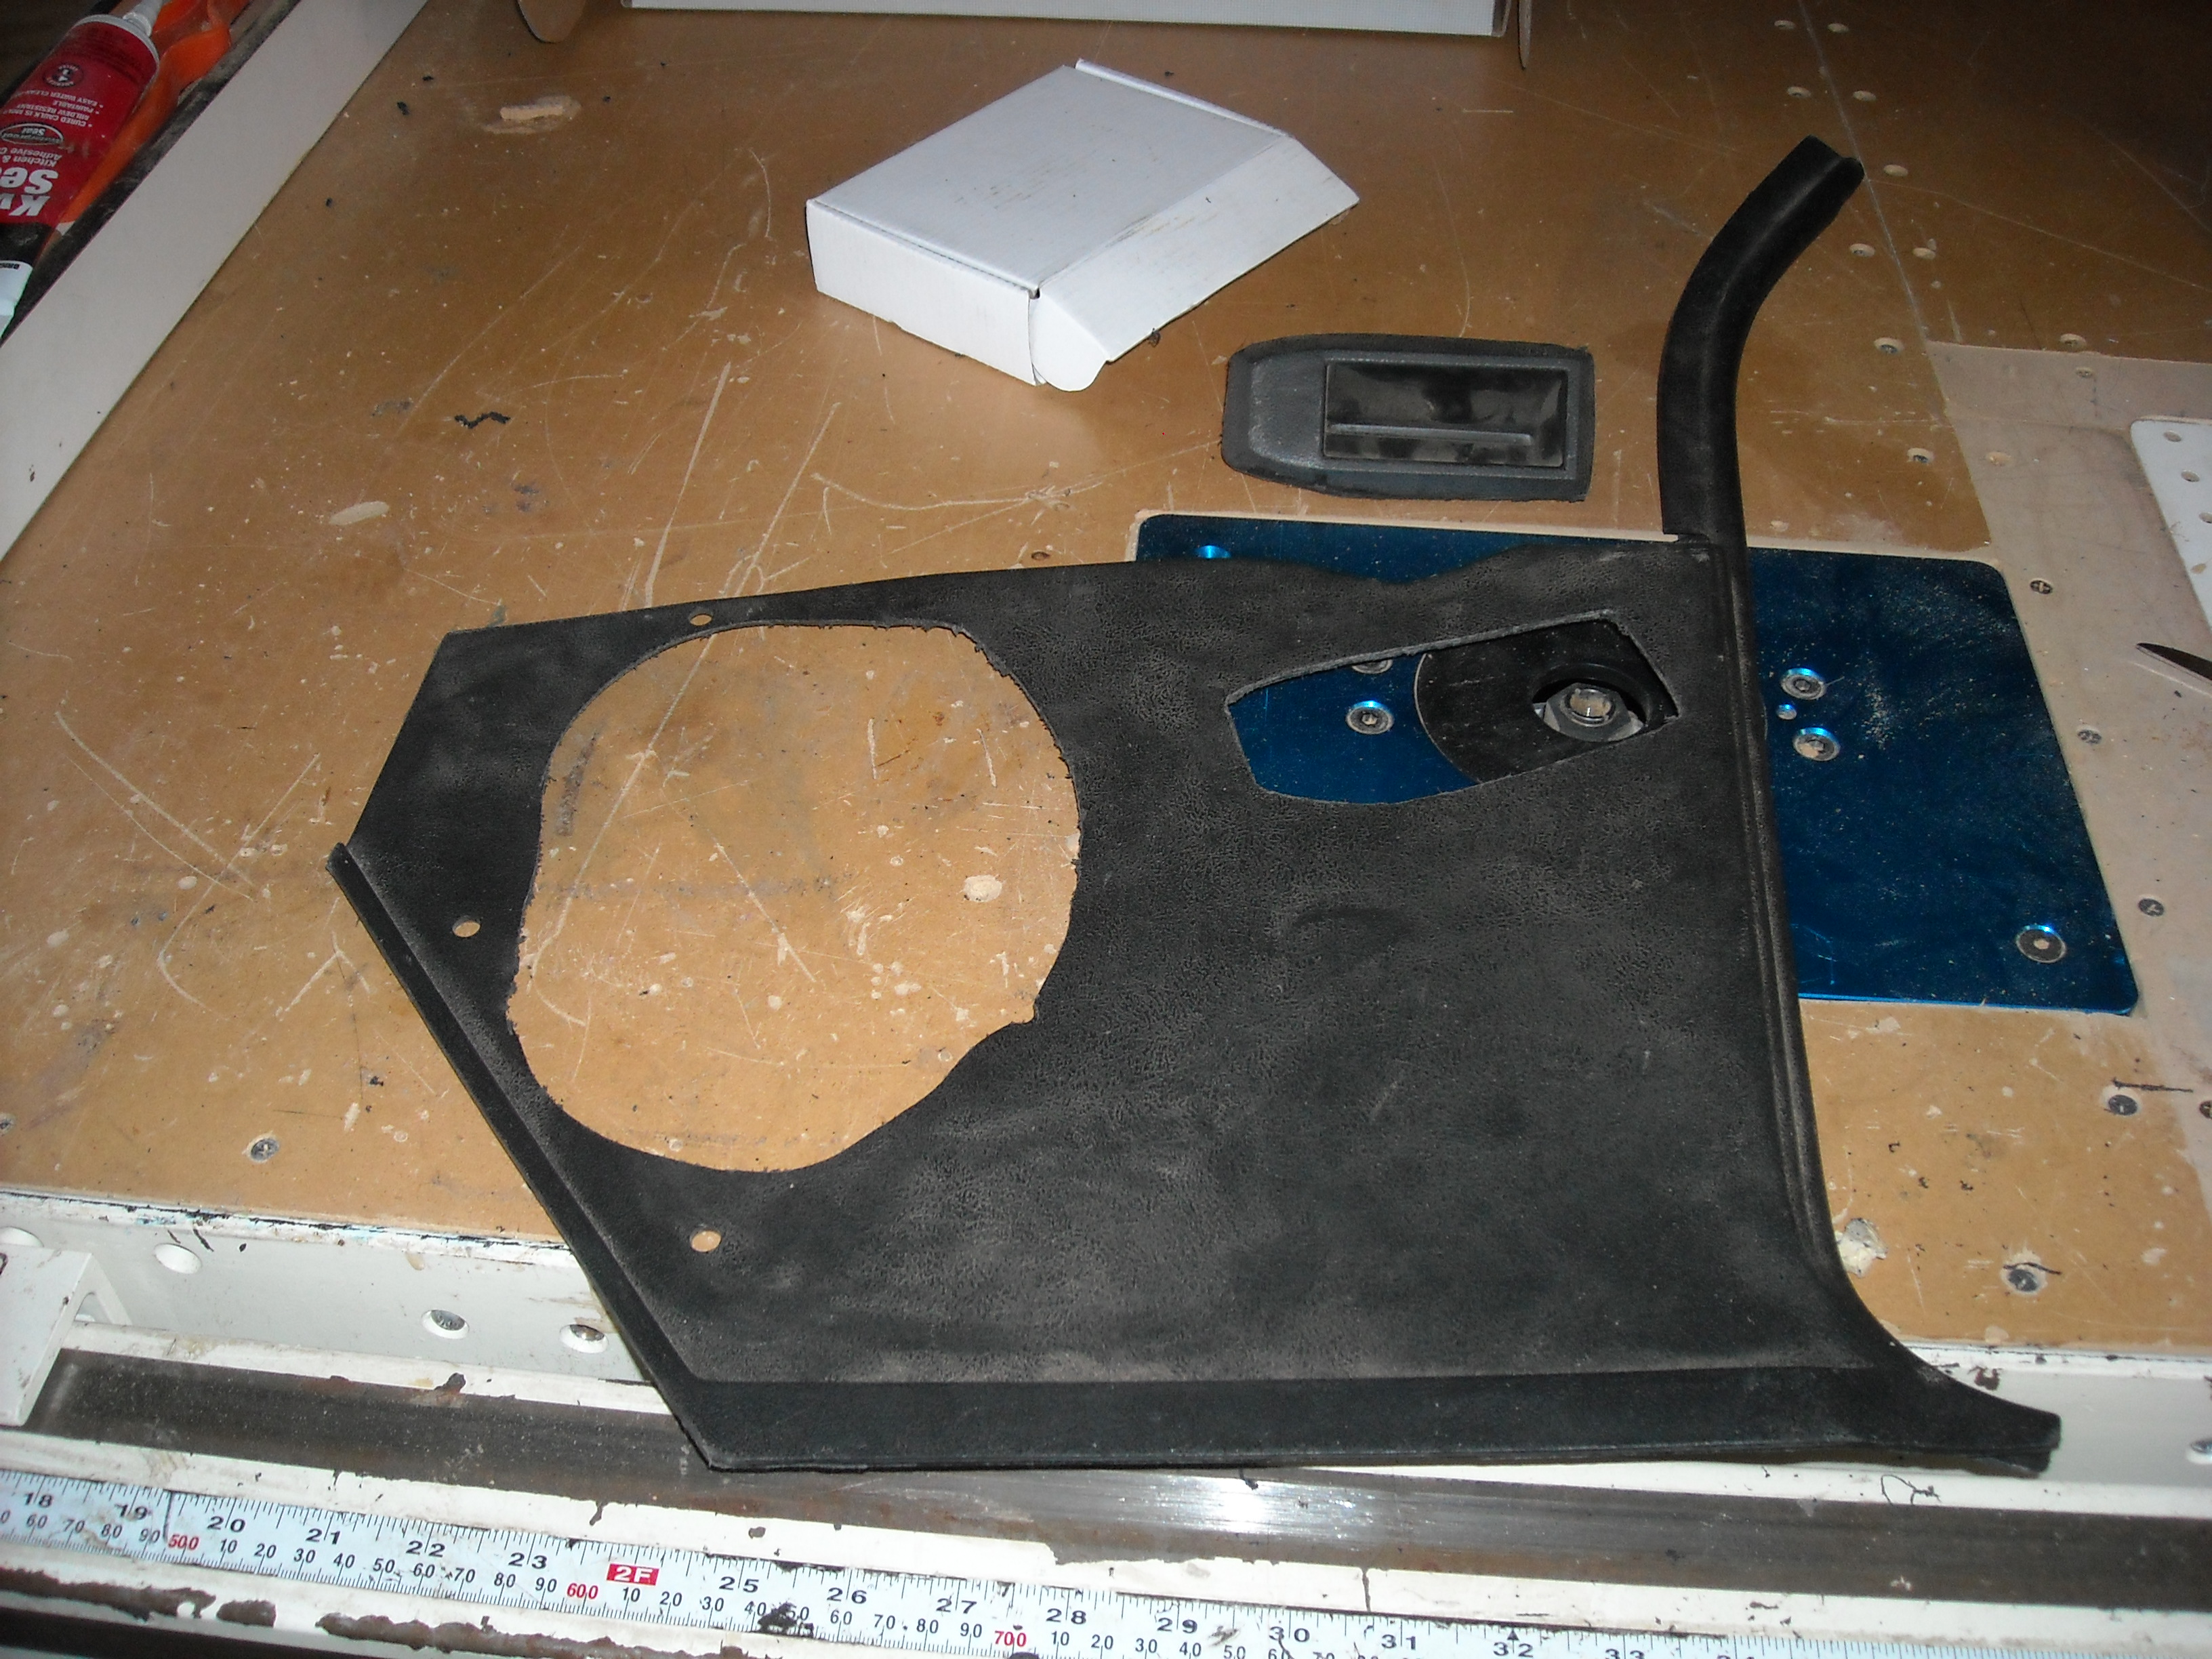
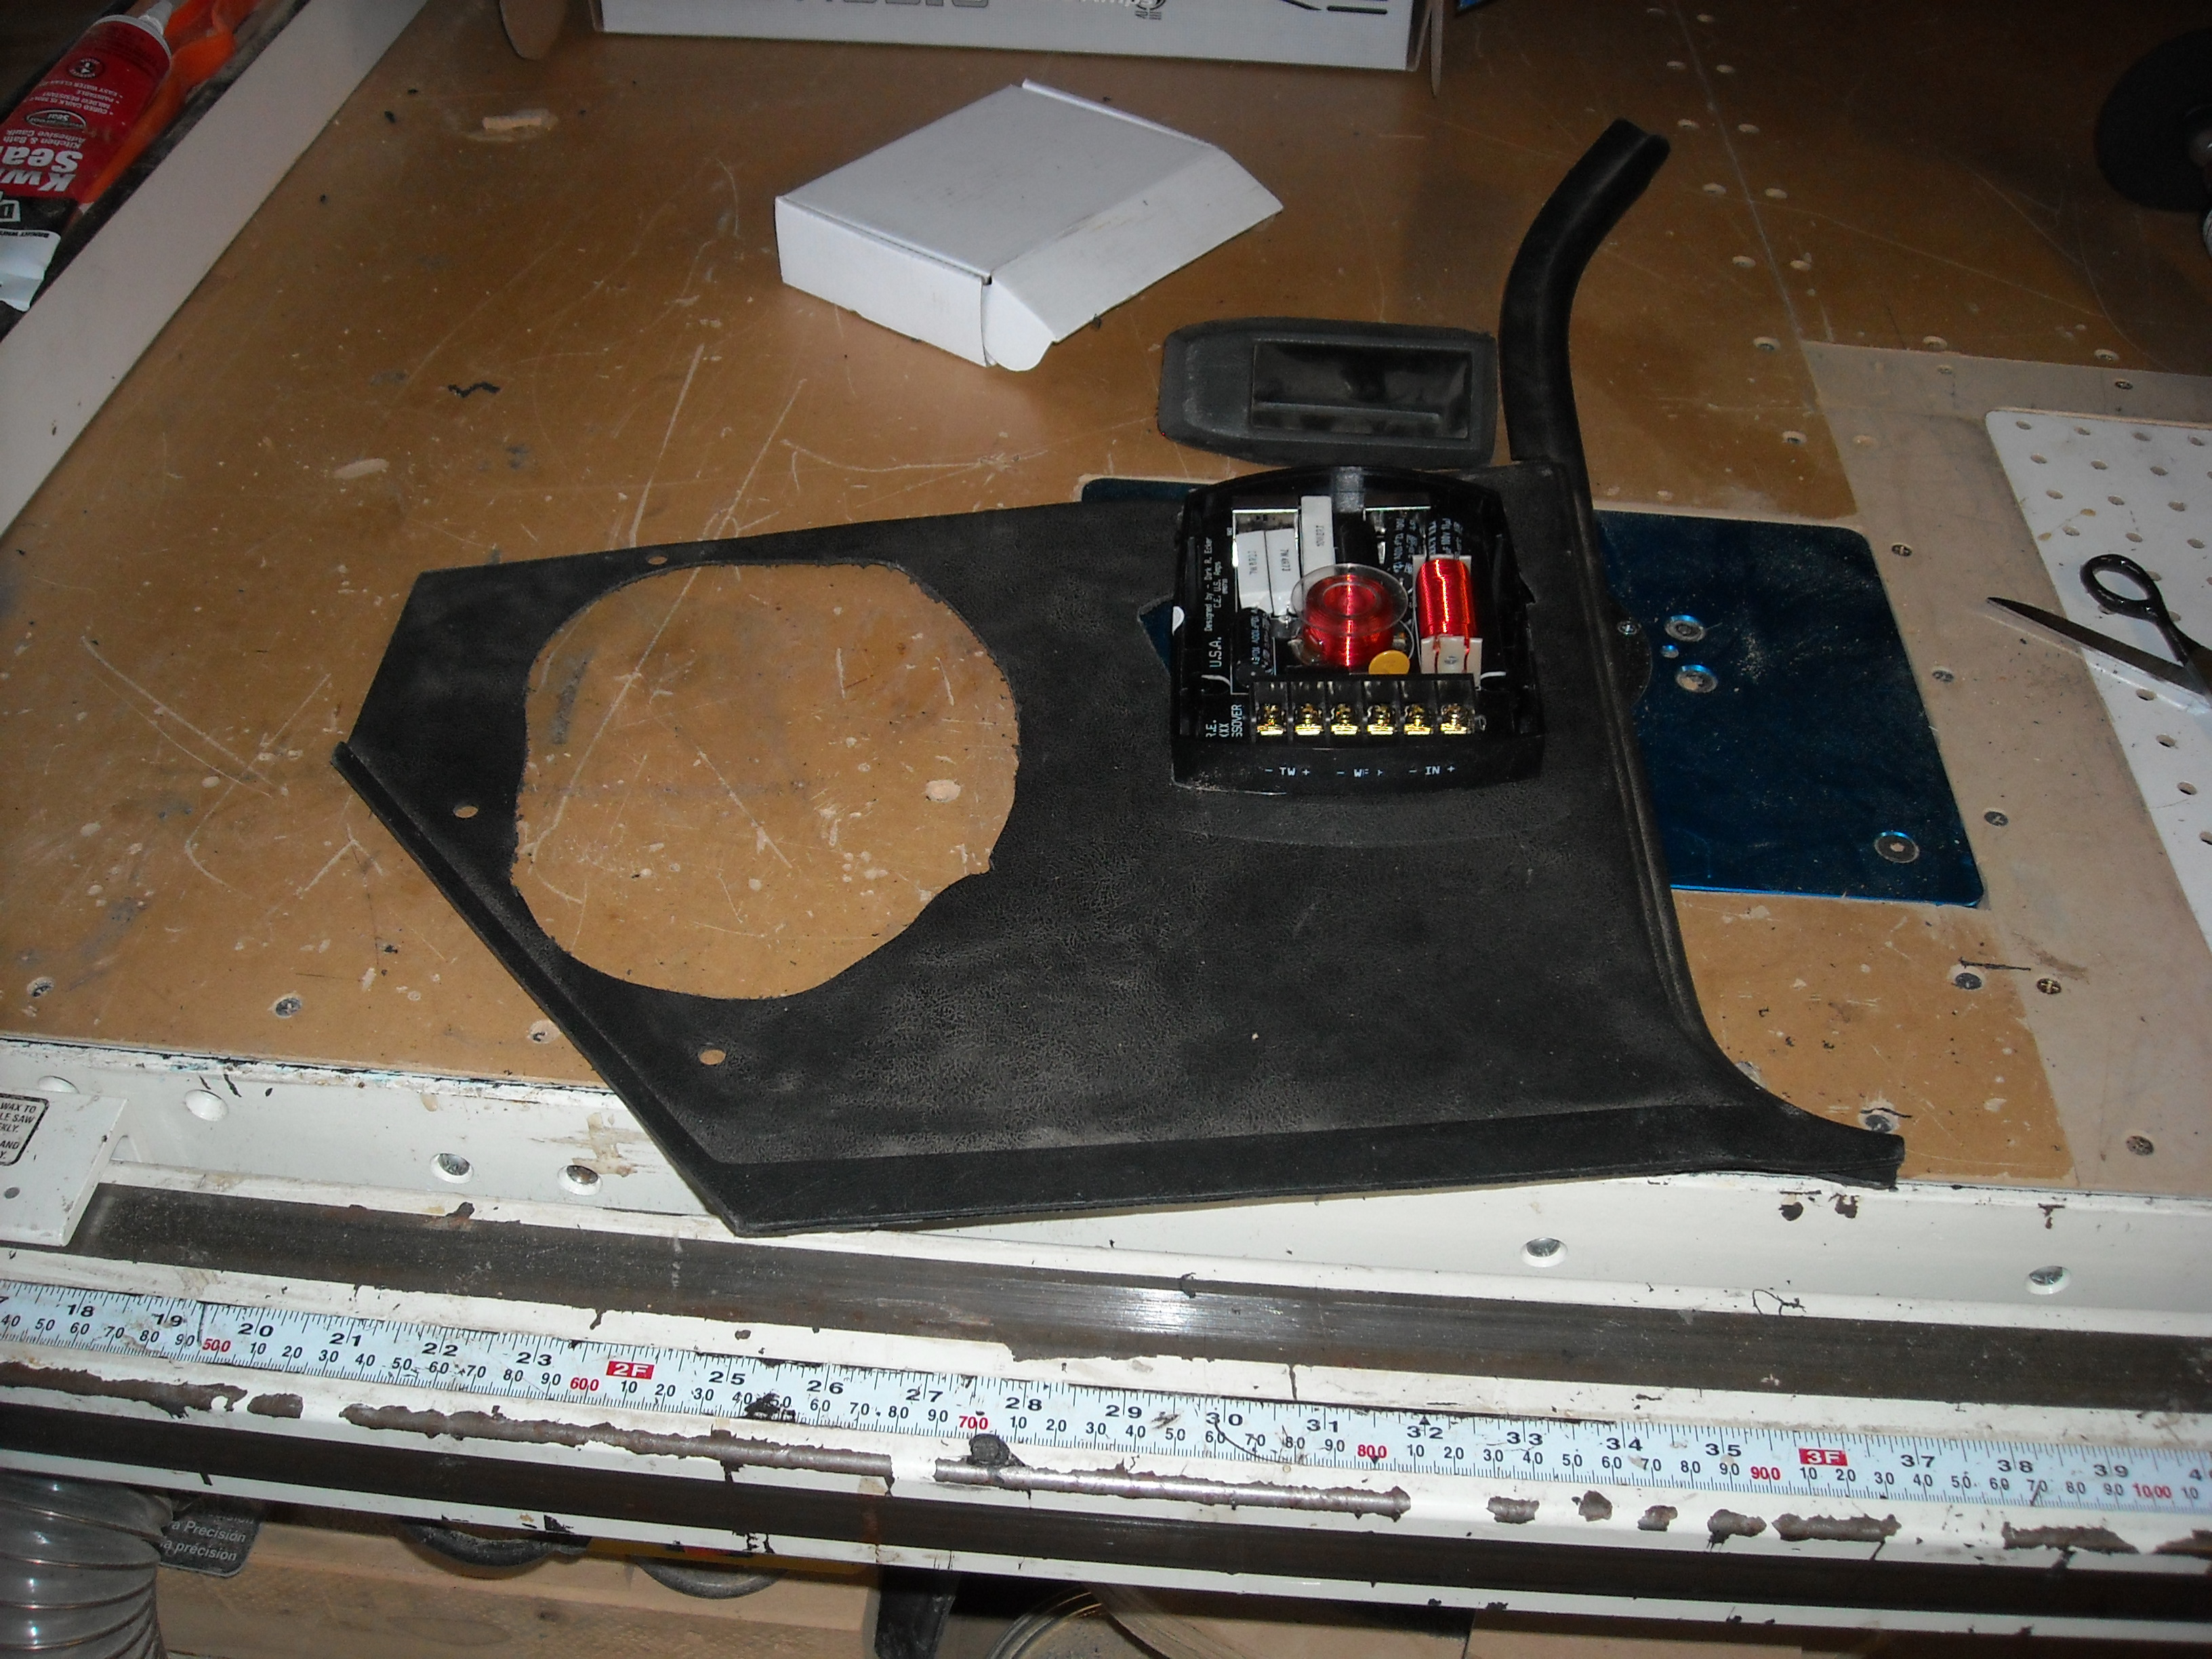
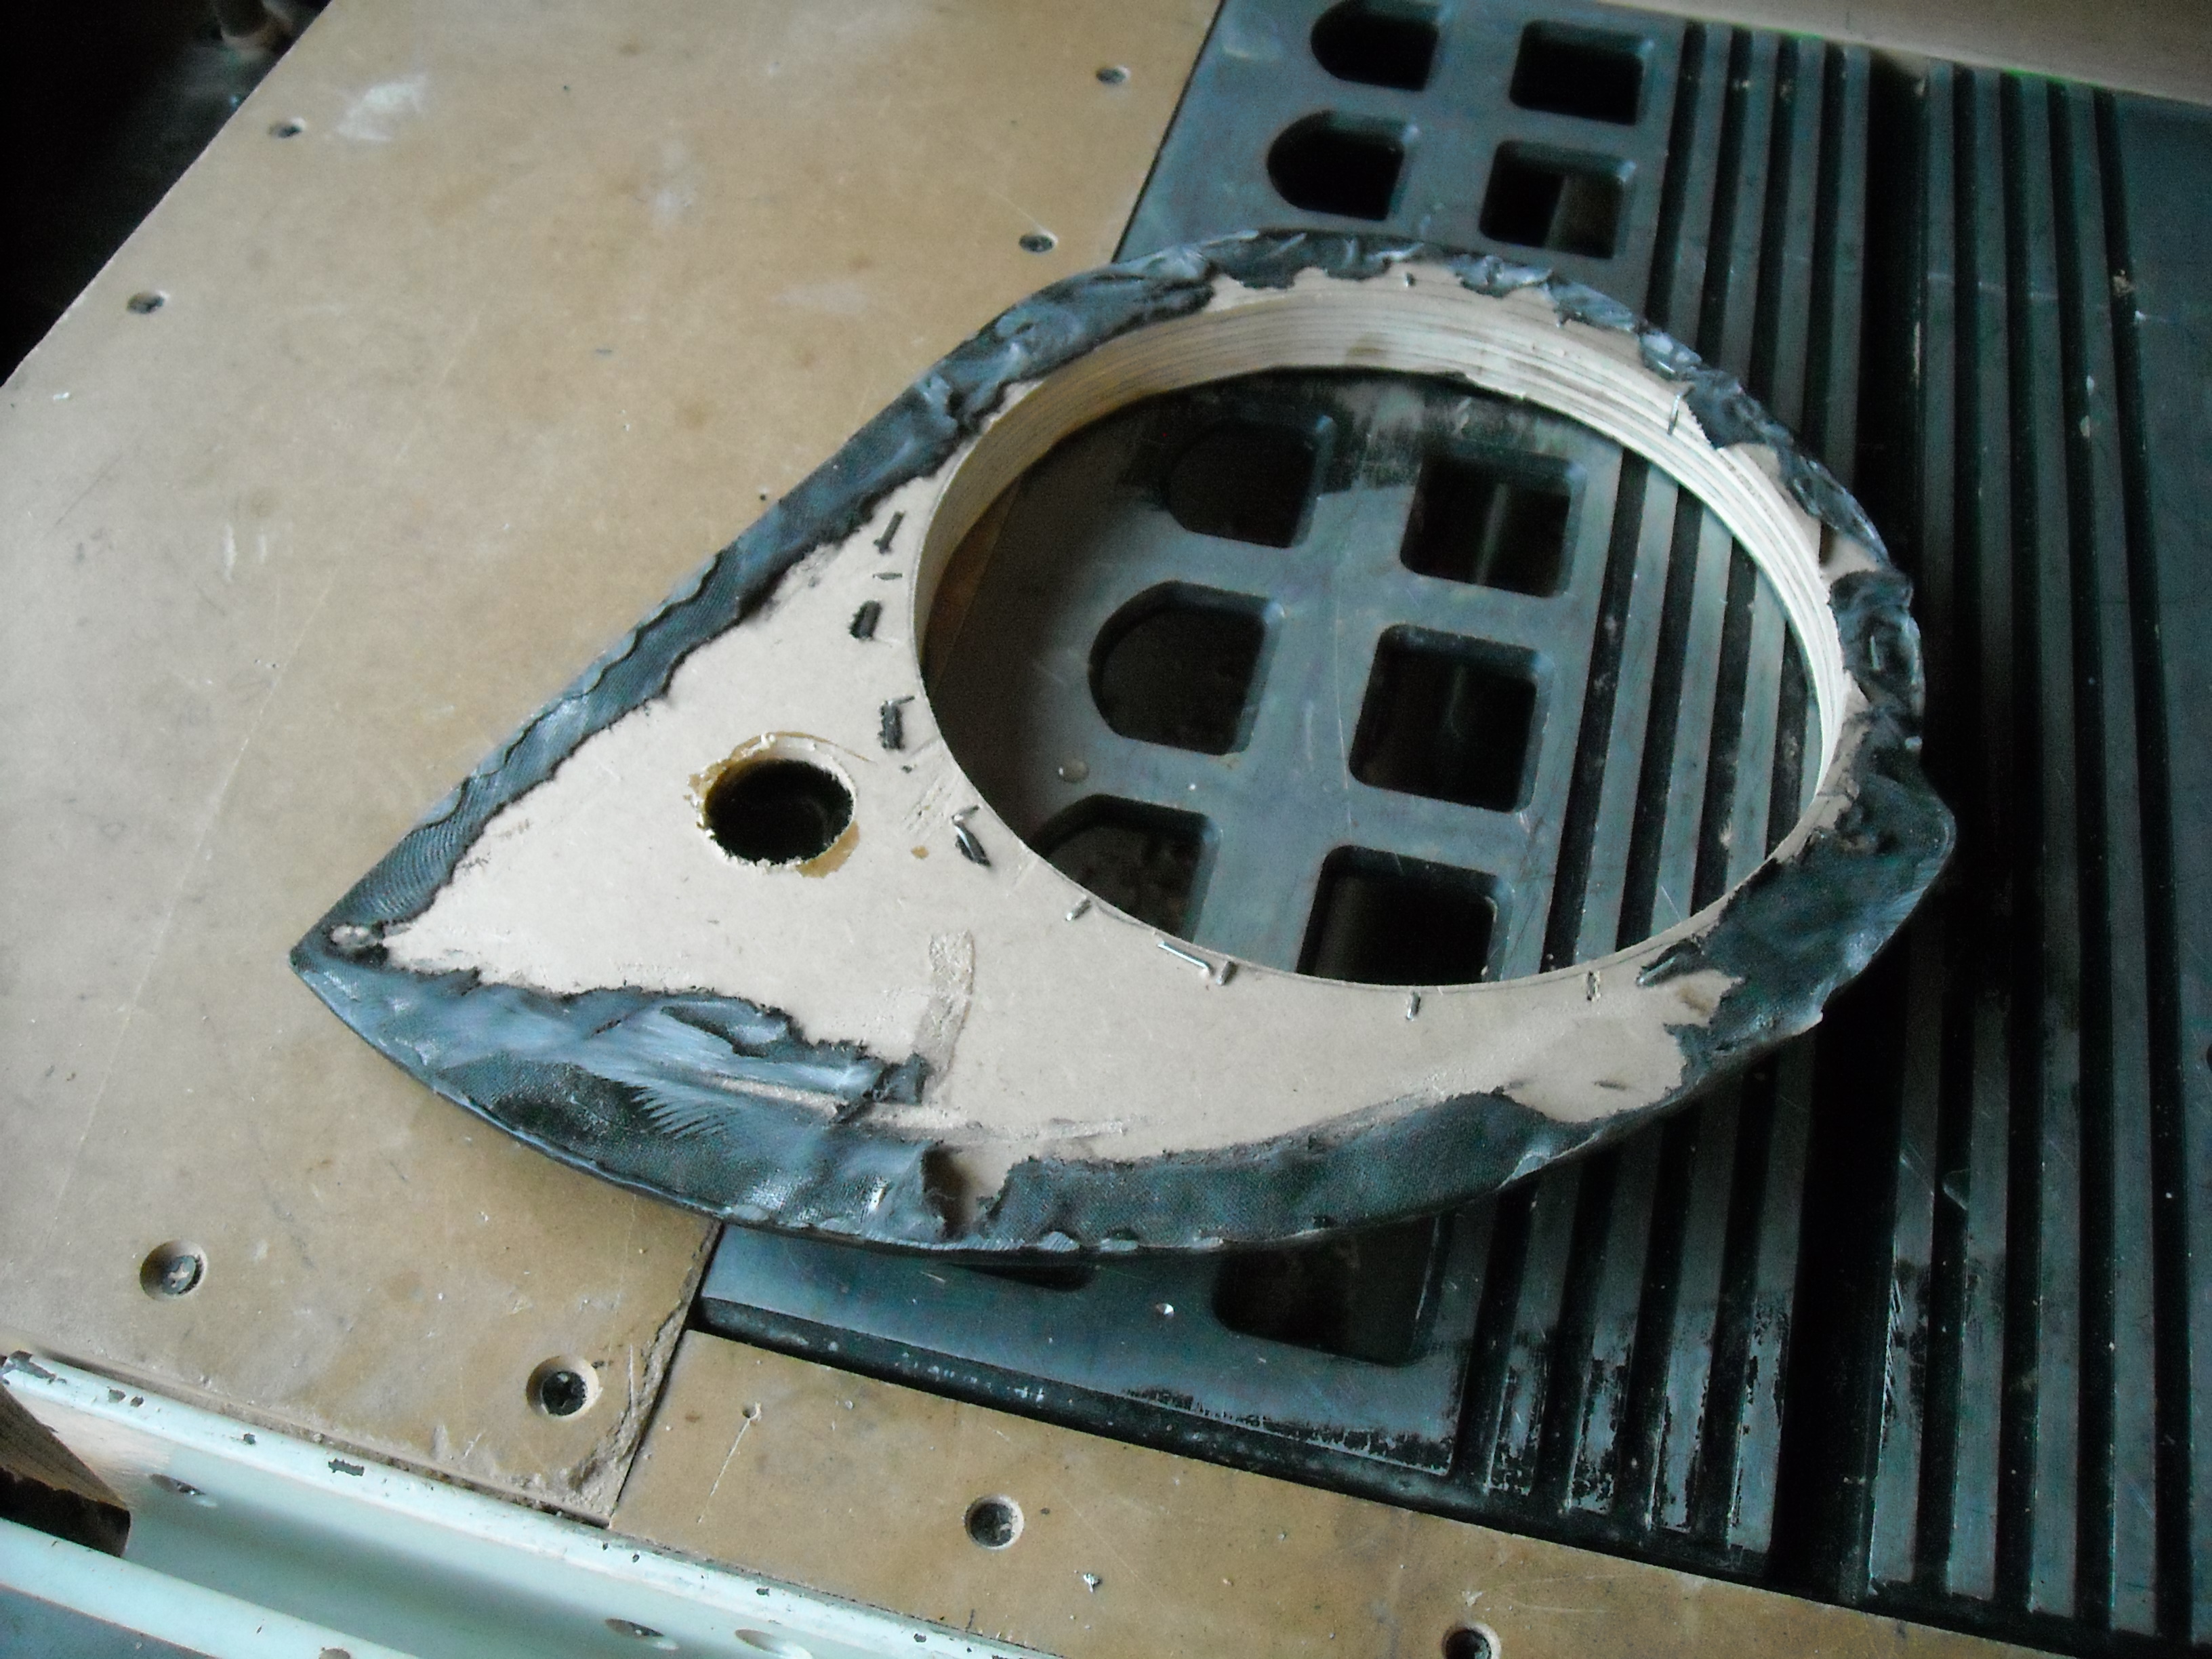
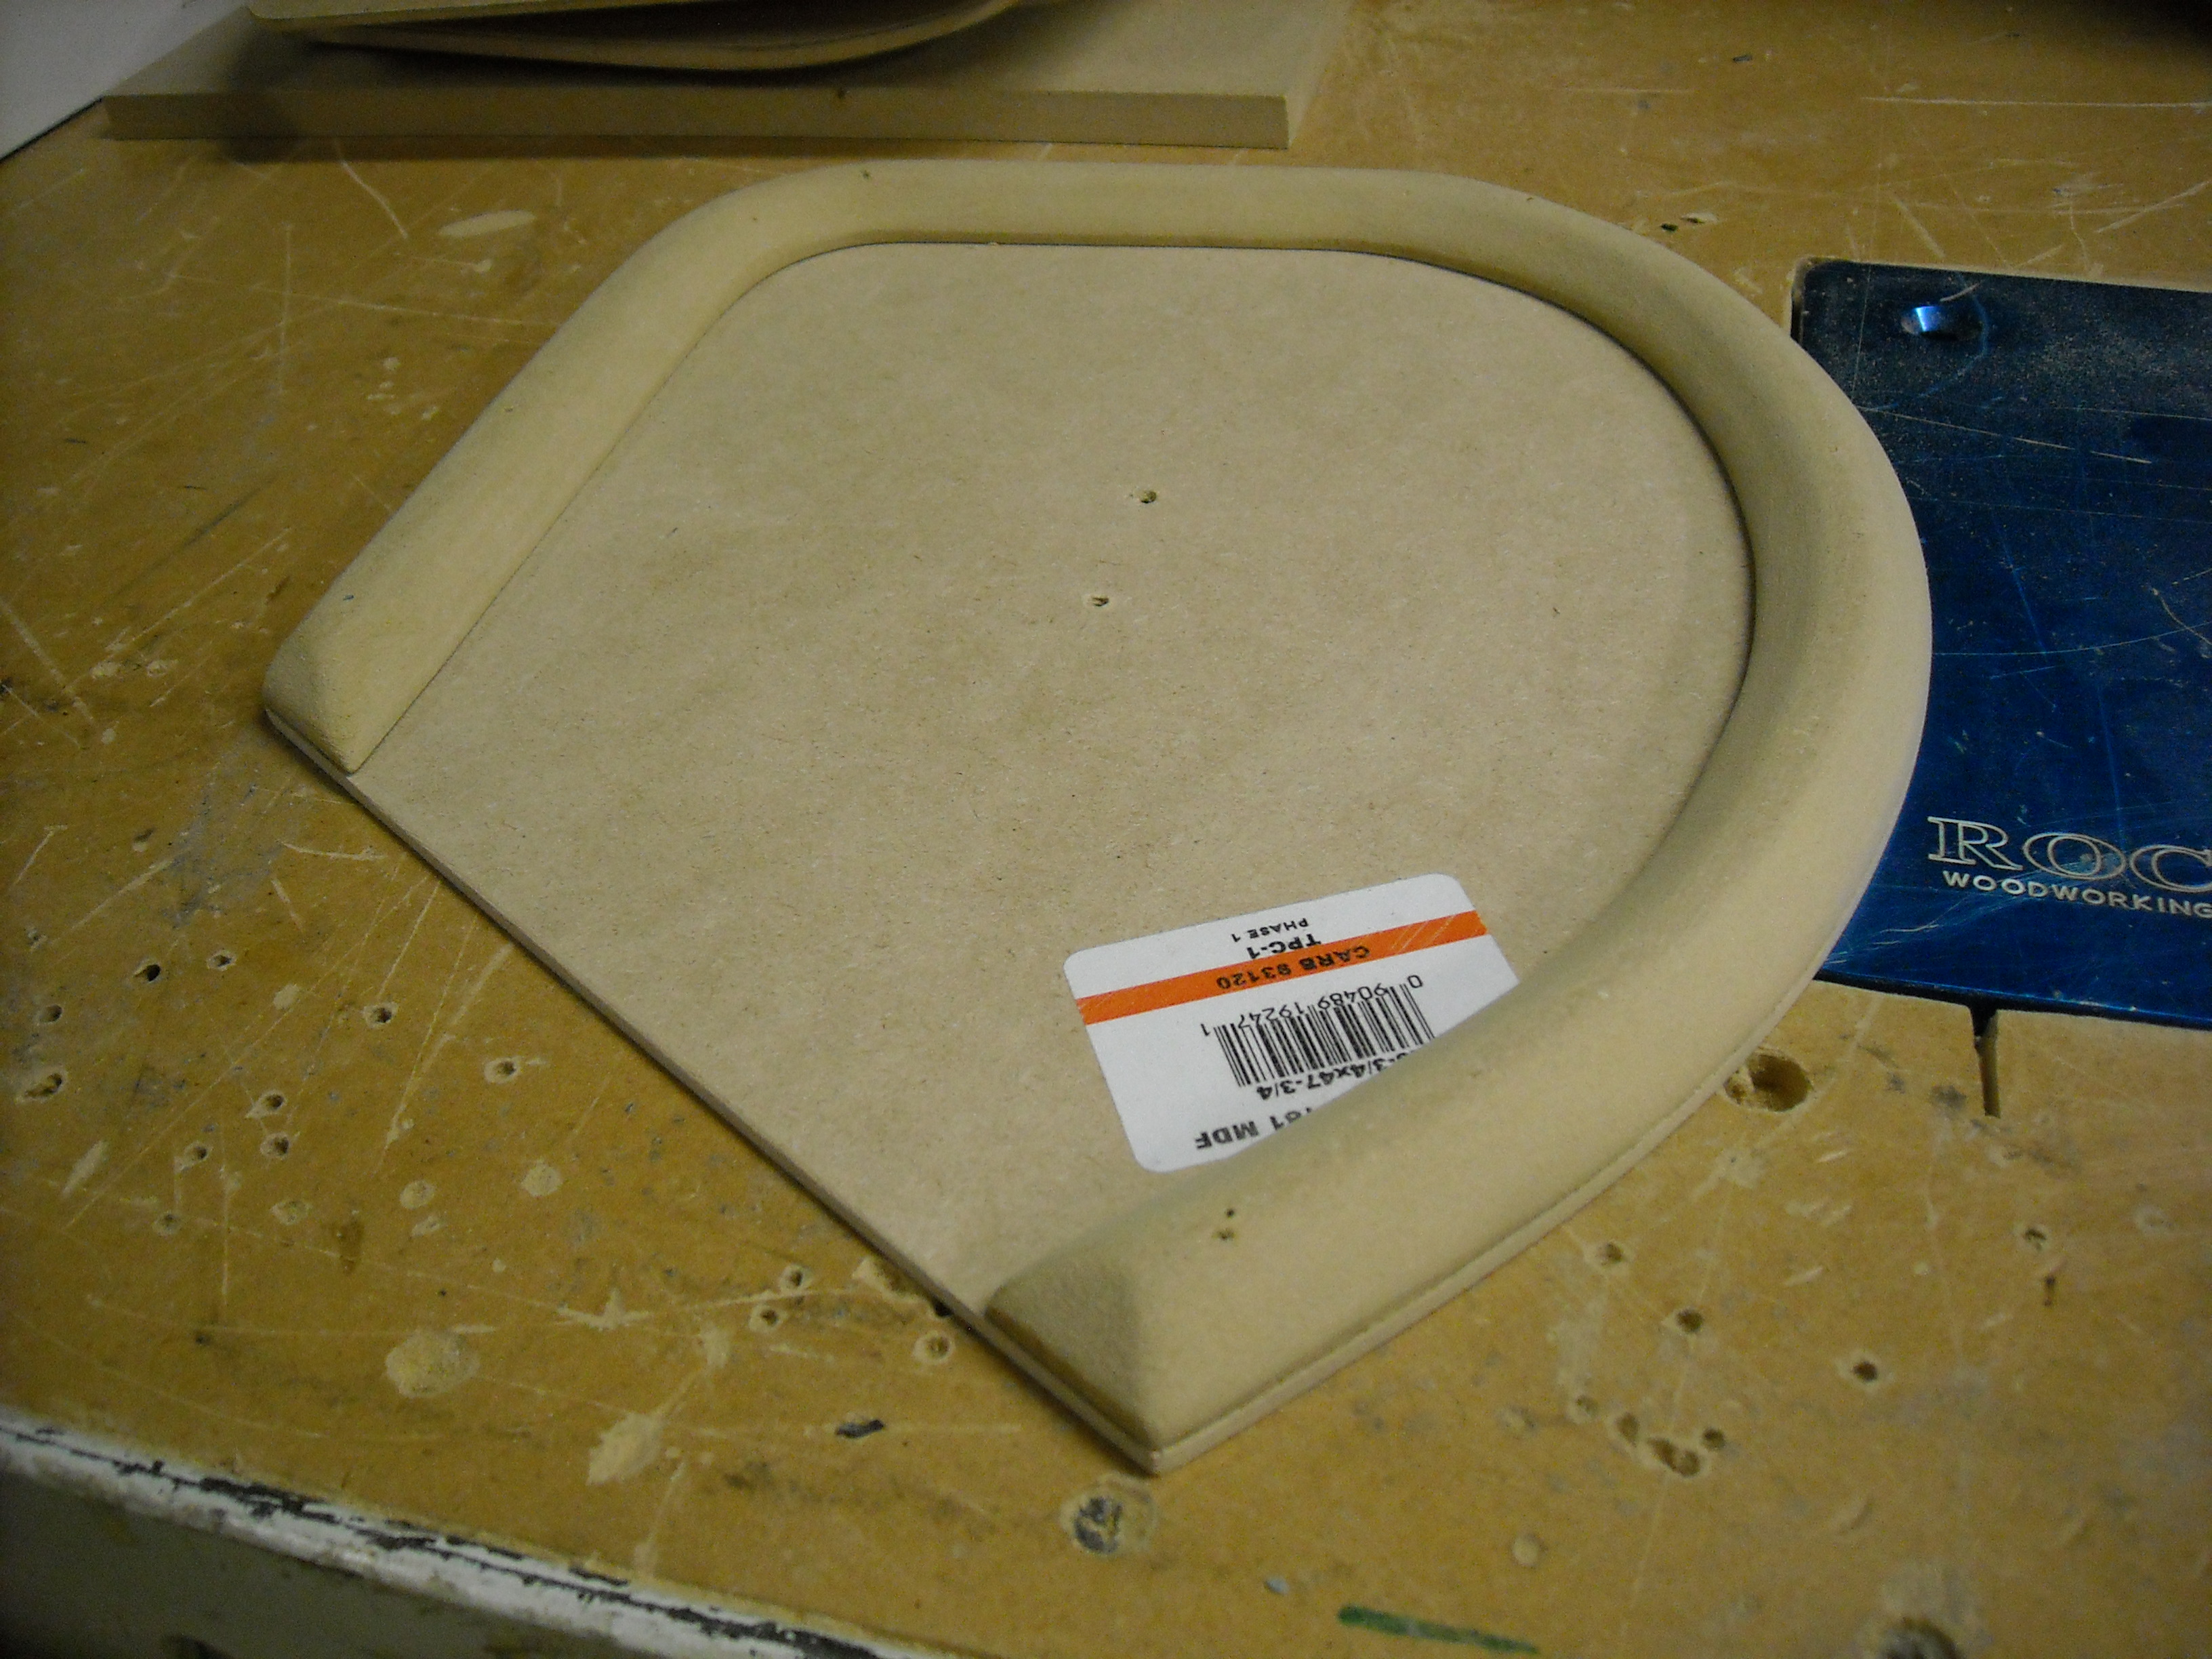
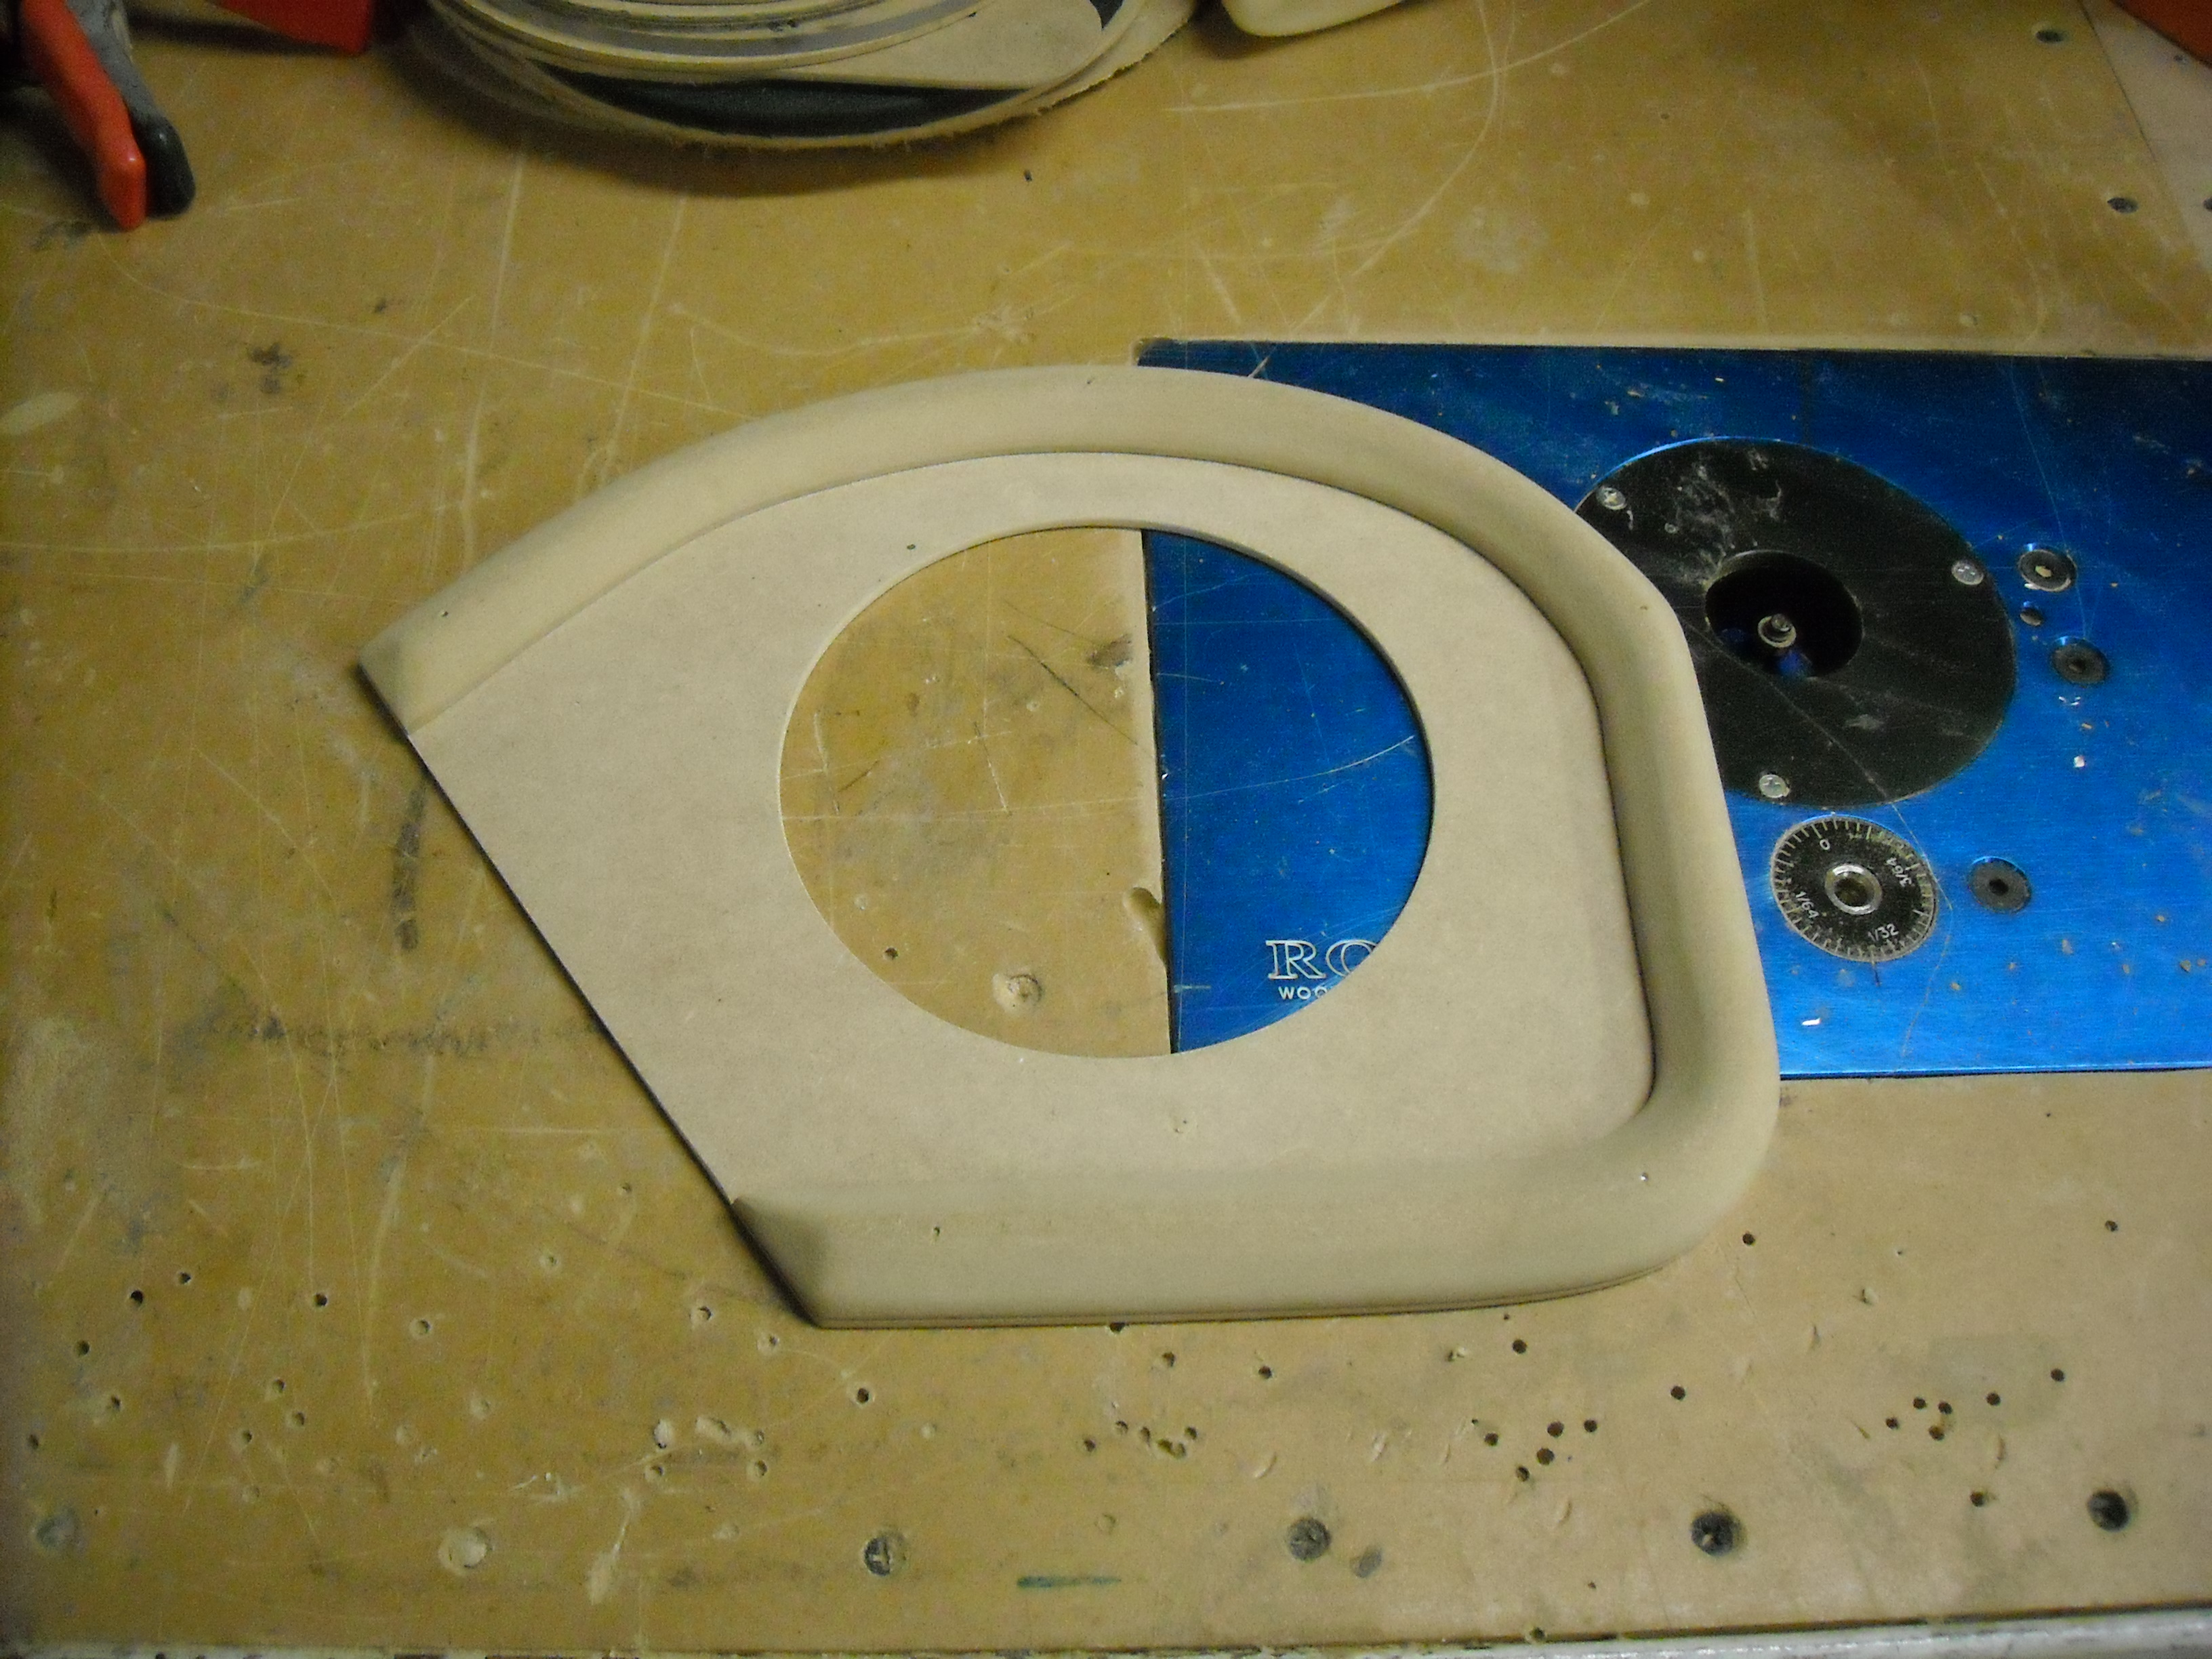
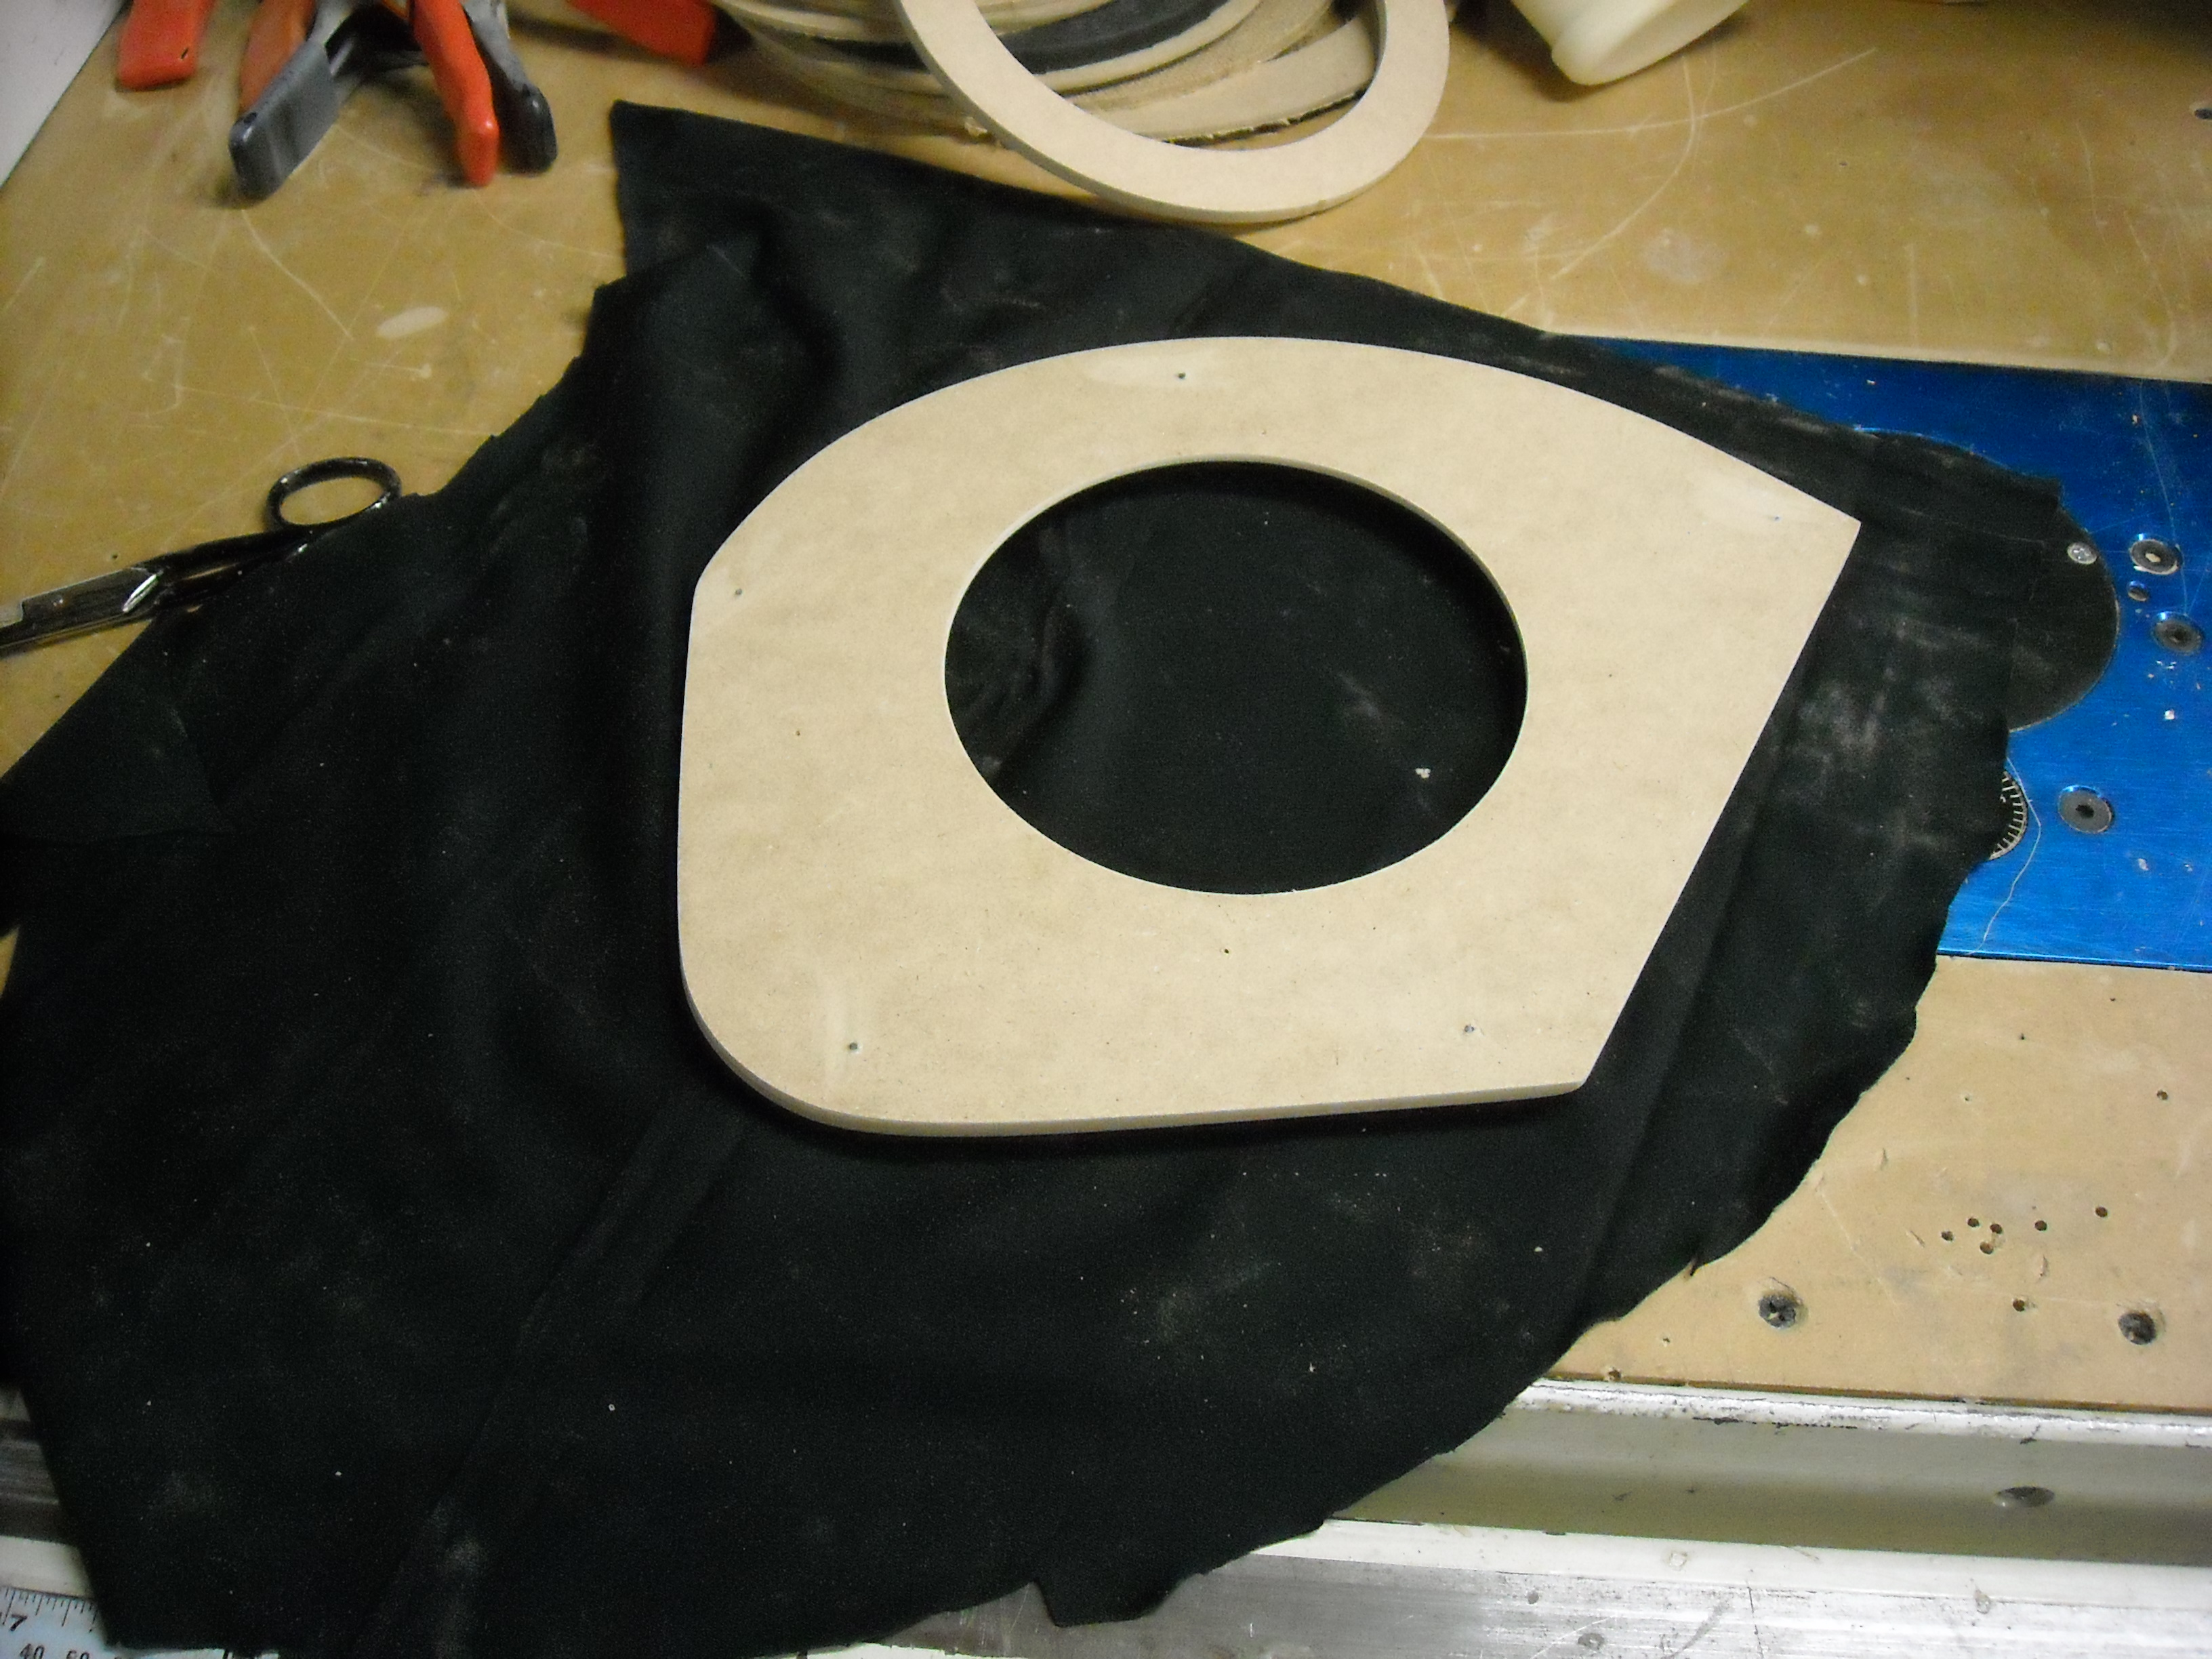
Once the frame work for the subs was set, i could move on to the kick panel covers. These covers came to me already beat up, so it was a trick to still be able to use them. I used the same ring to center the sub hole to the cutout on the kick.

Next was to delete the pull handle for the vents.
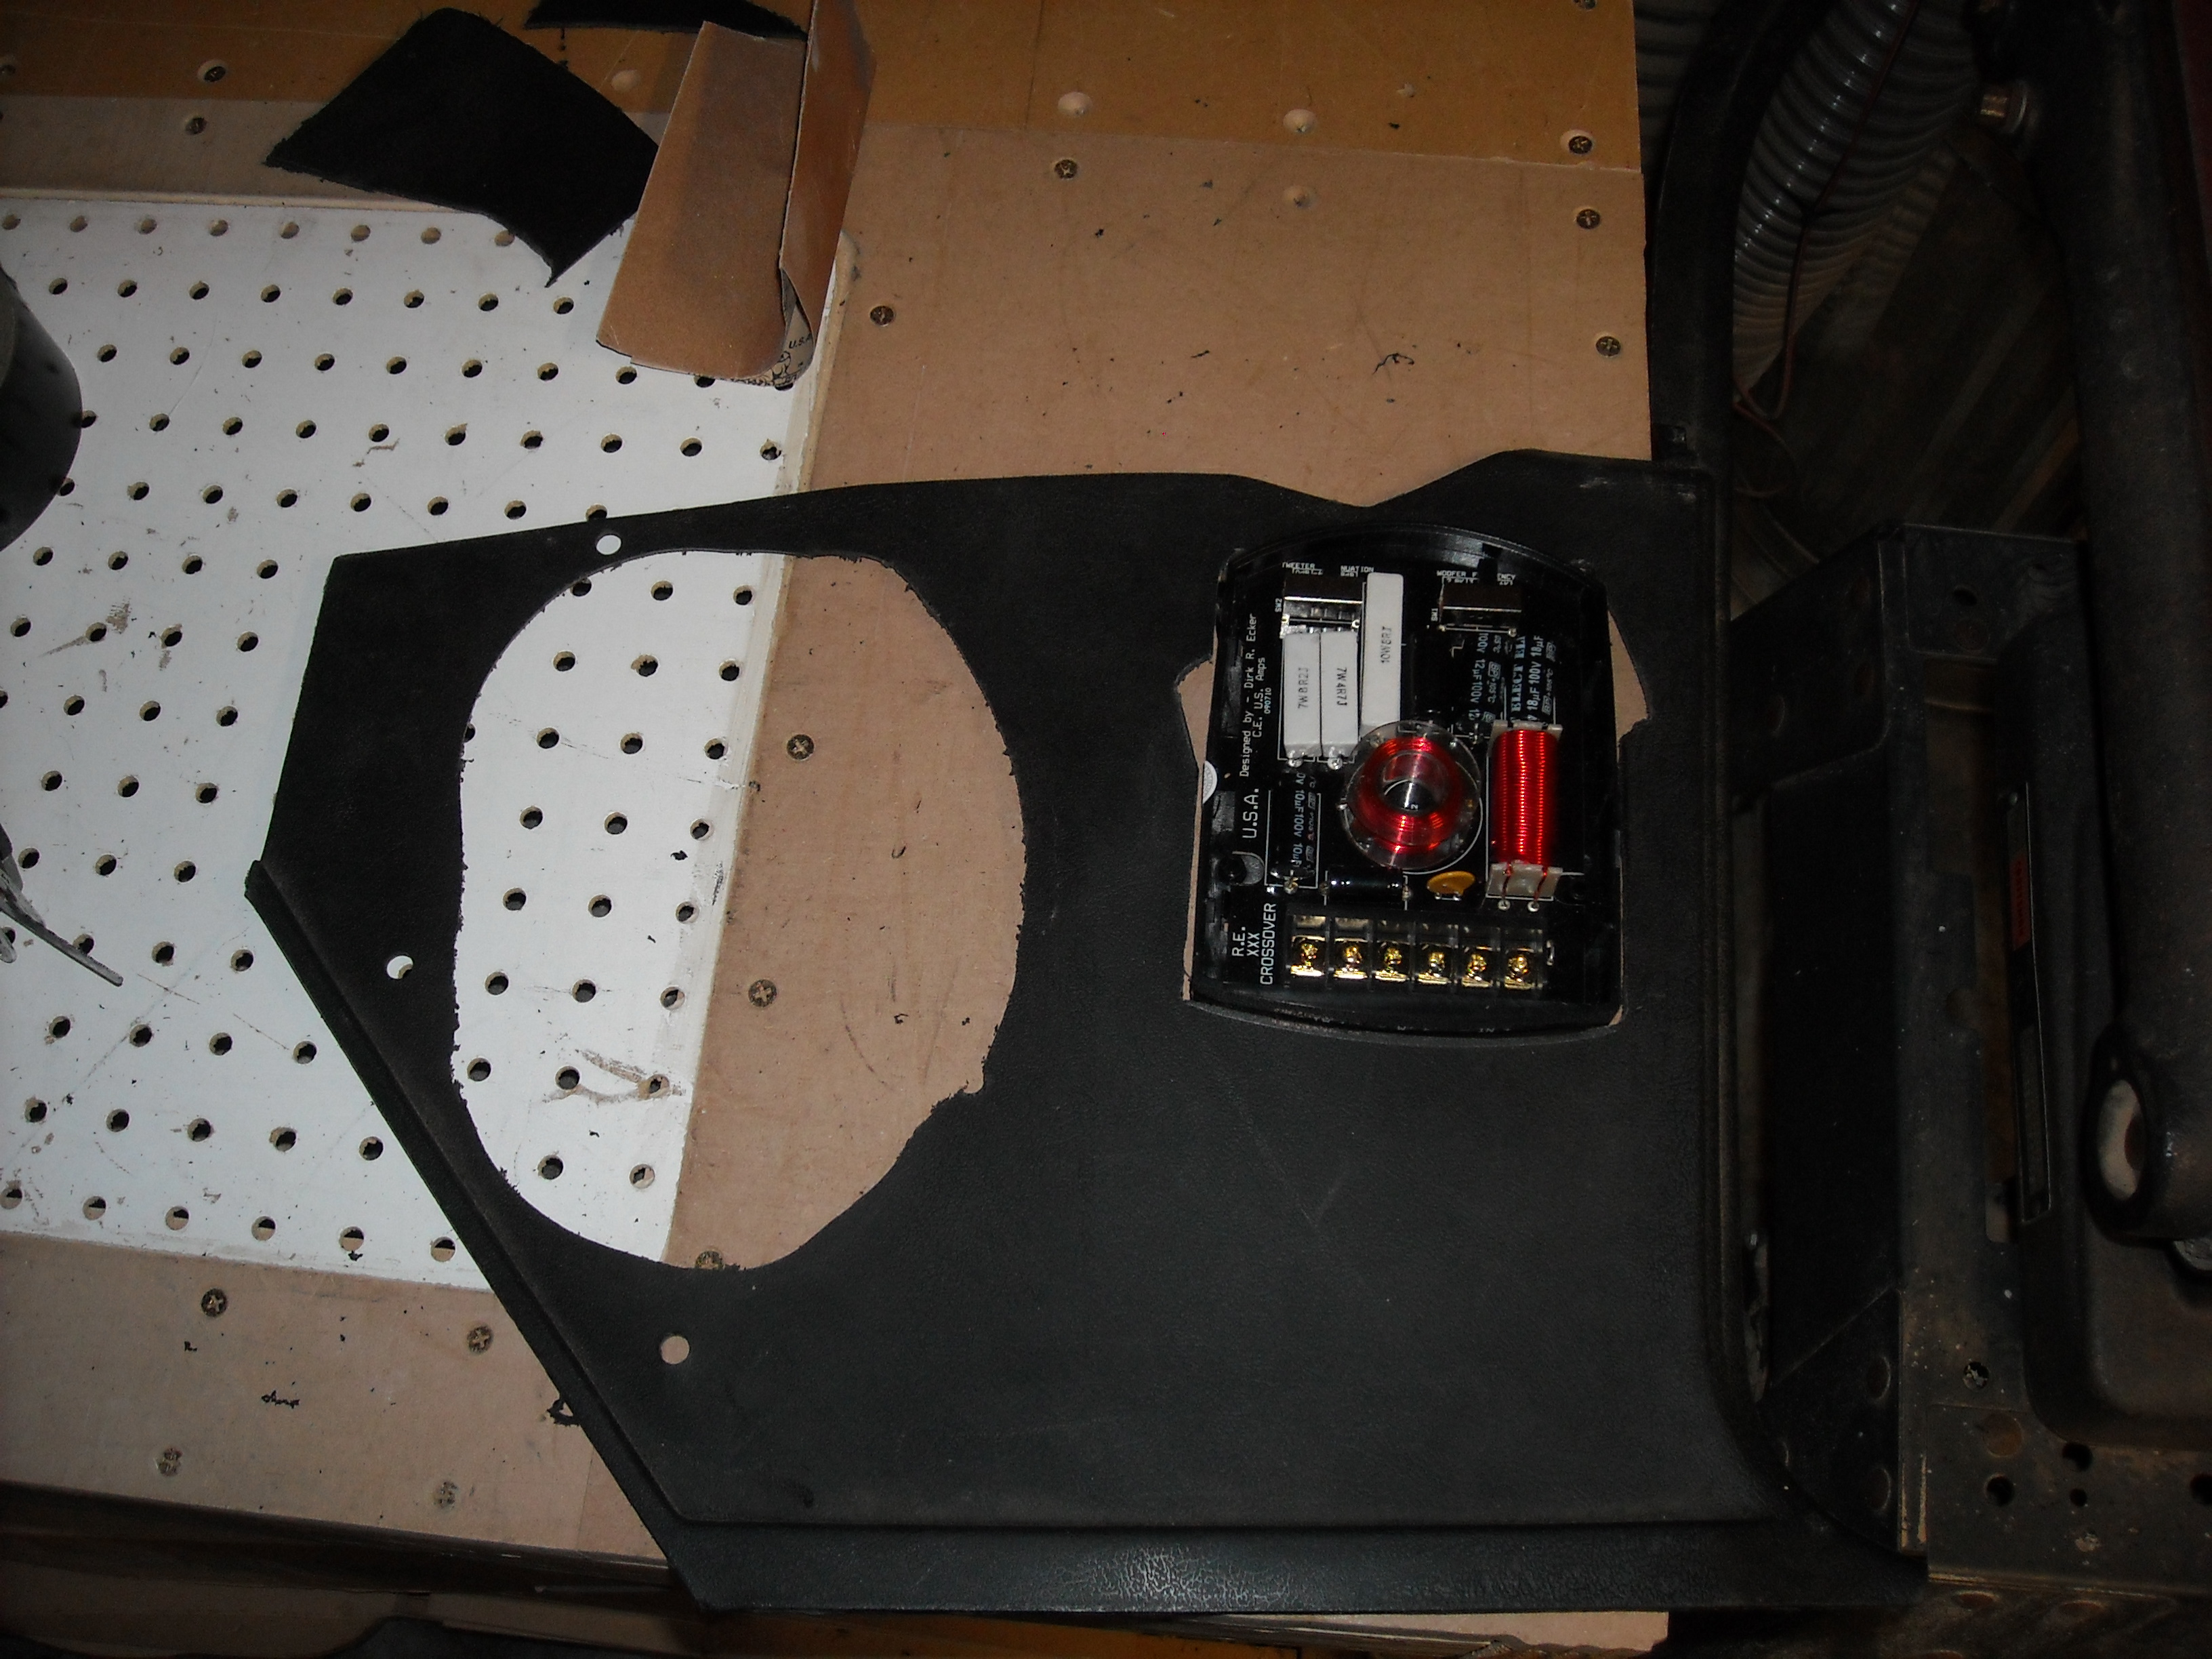
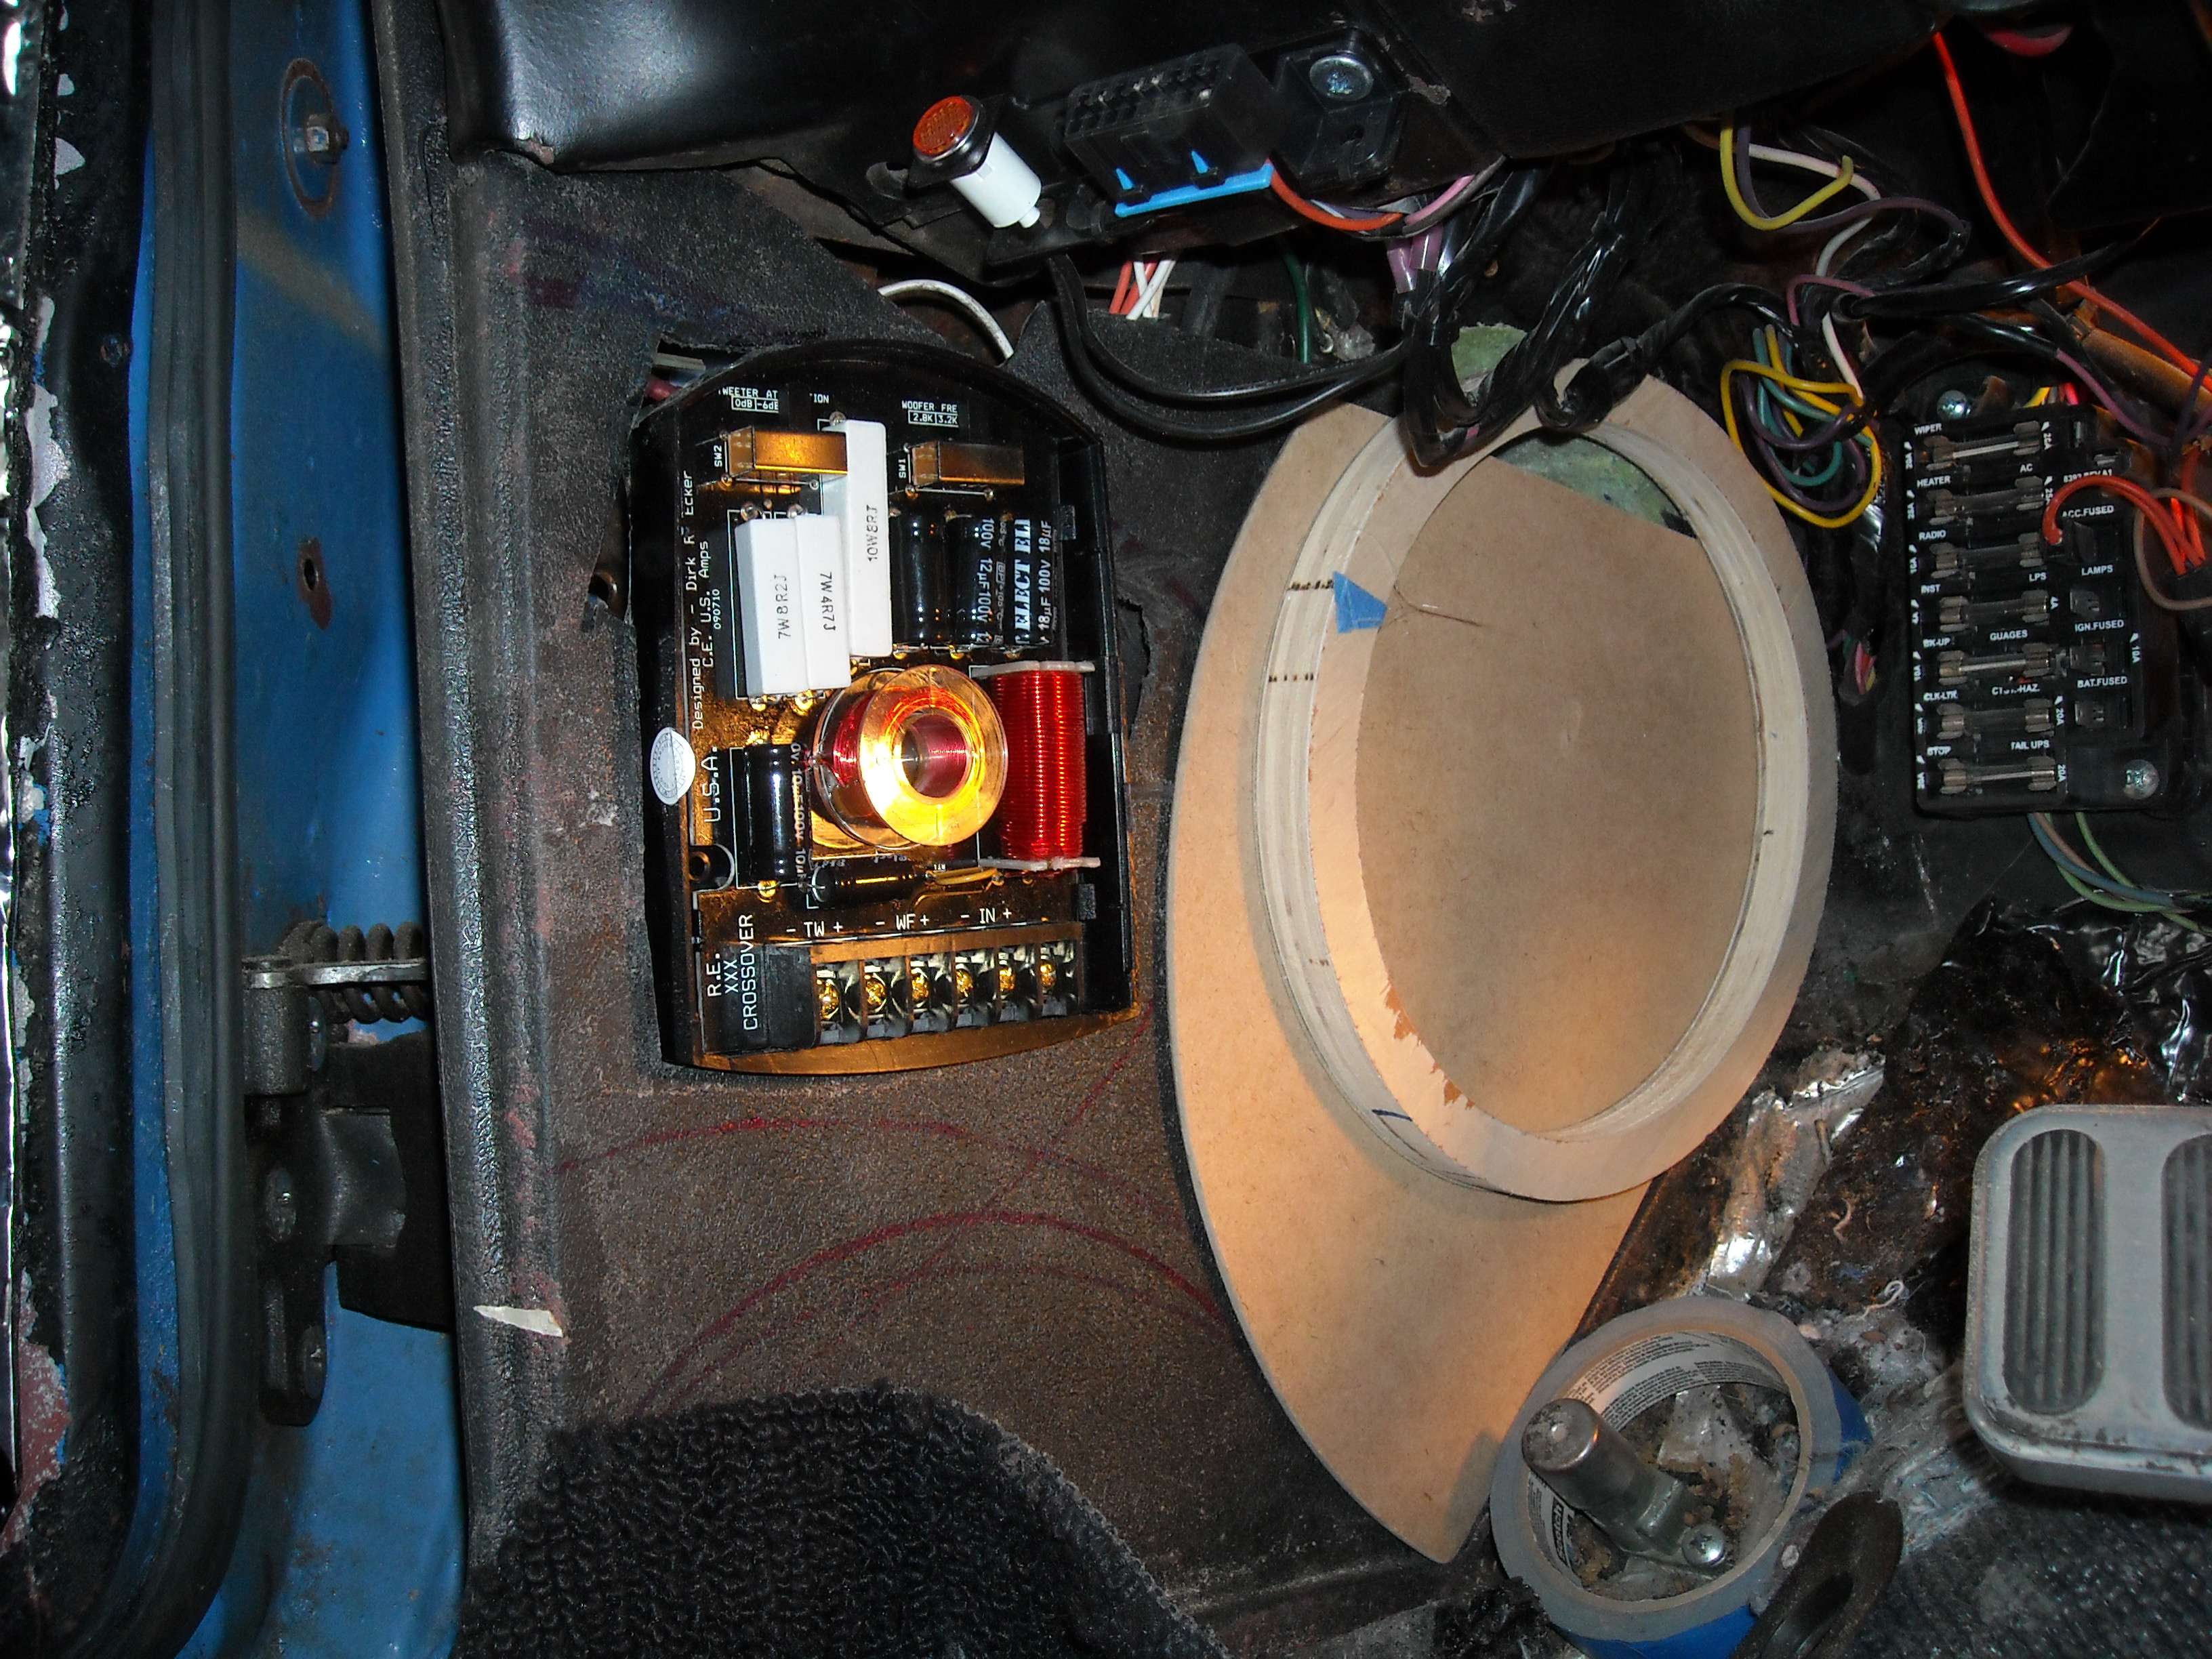
Looks like a good spot to add in the cross over for the comp set.
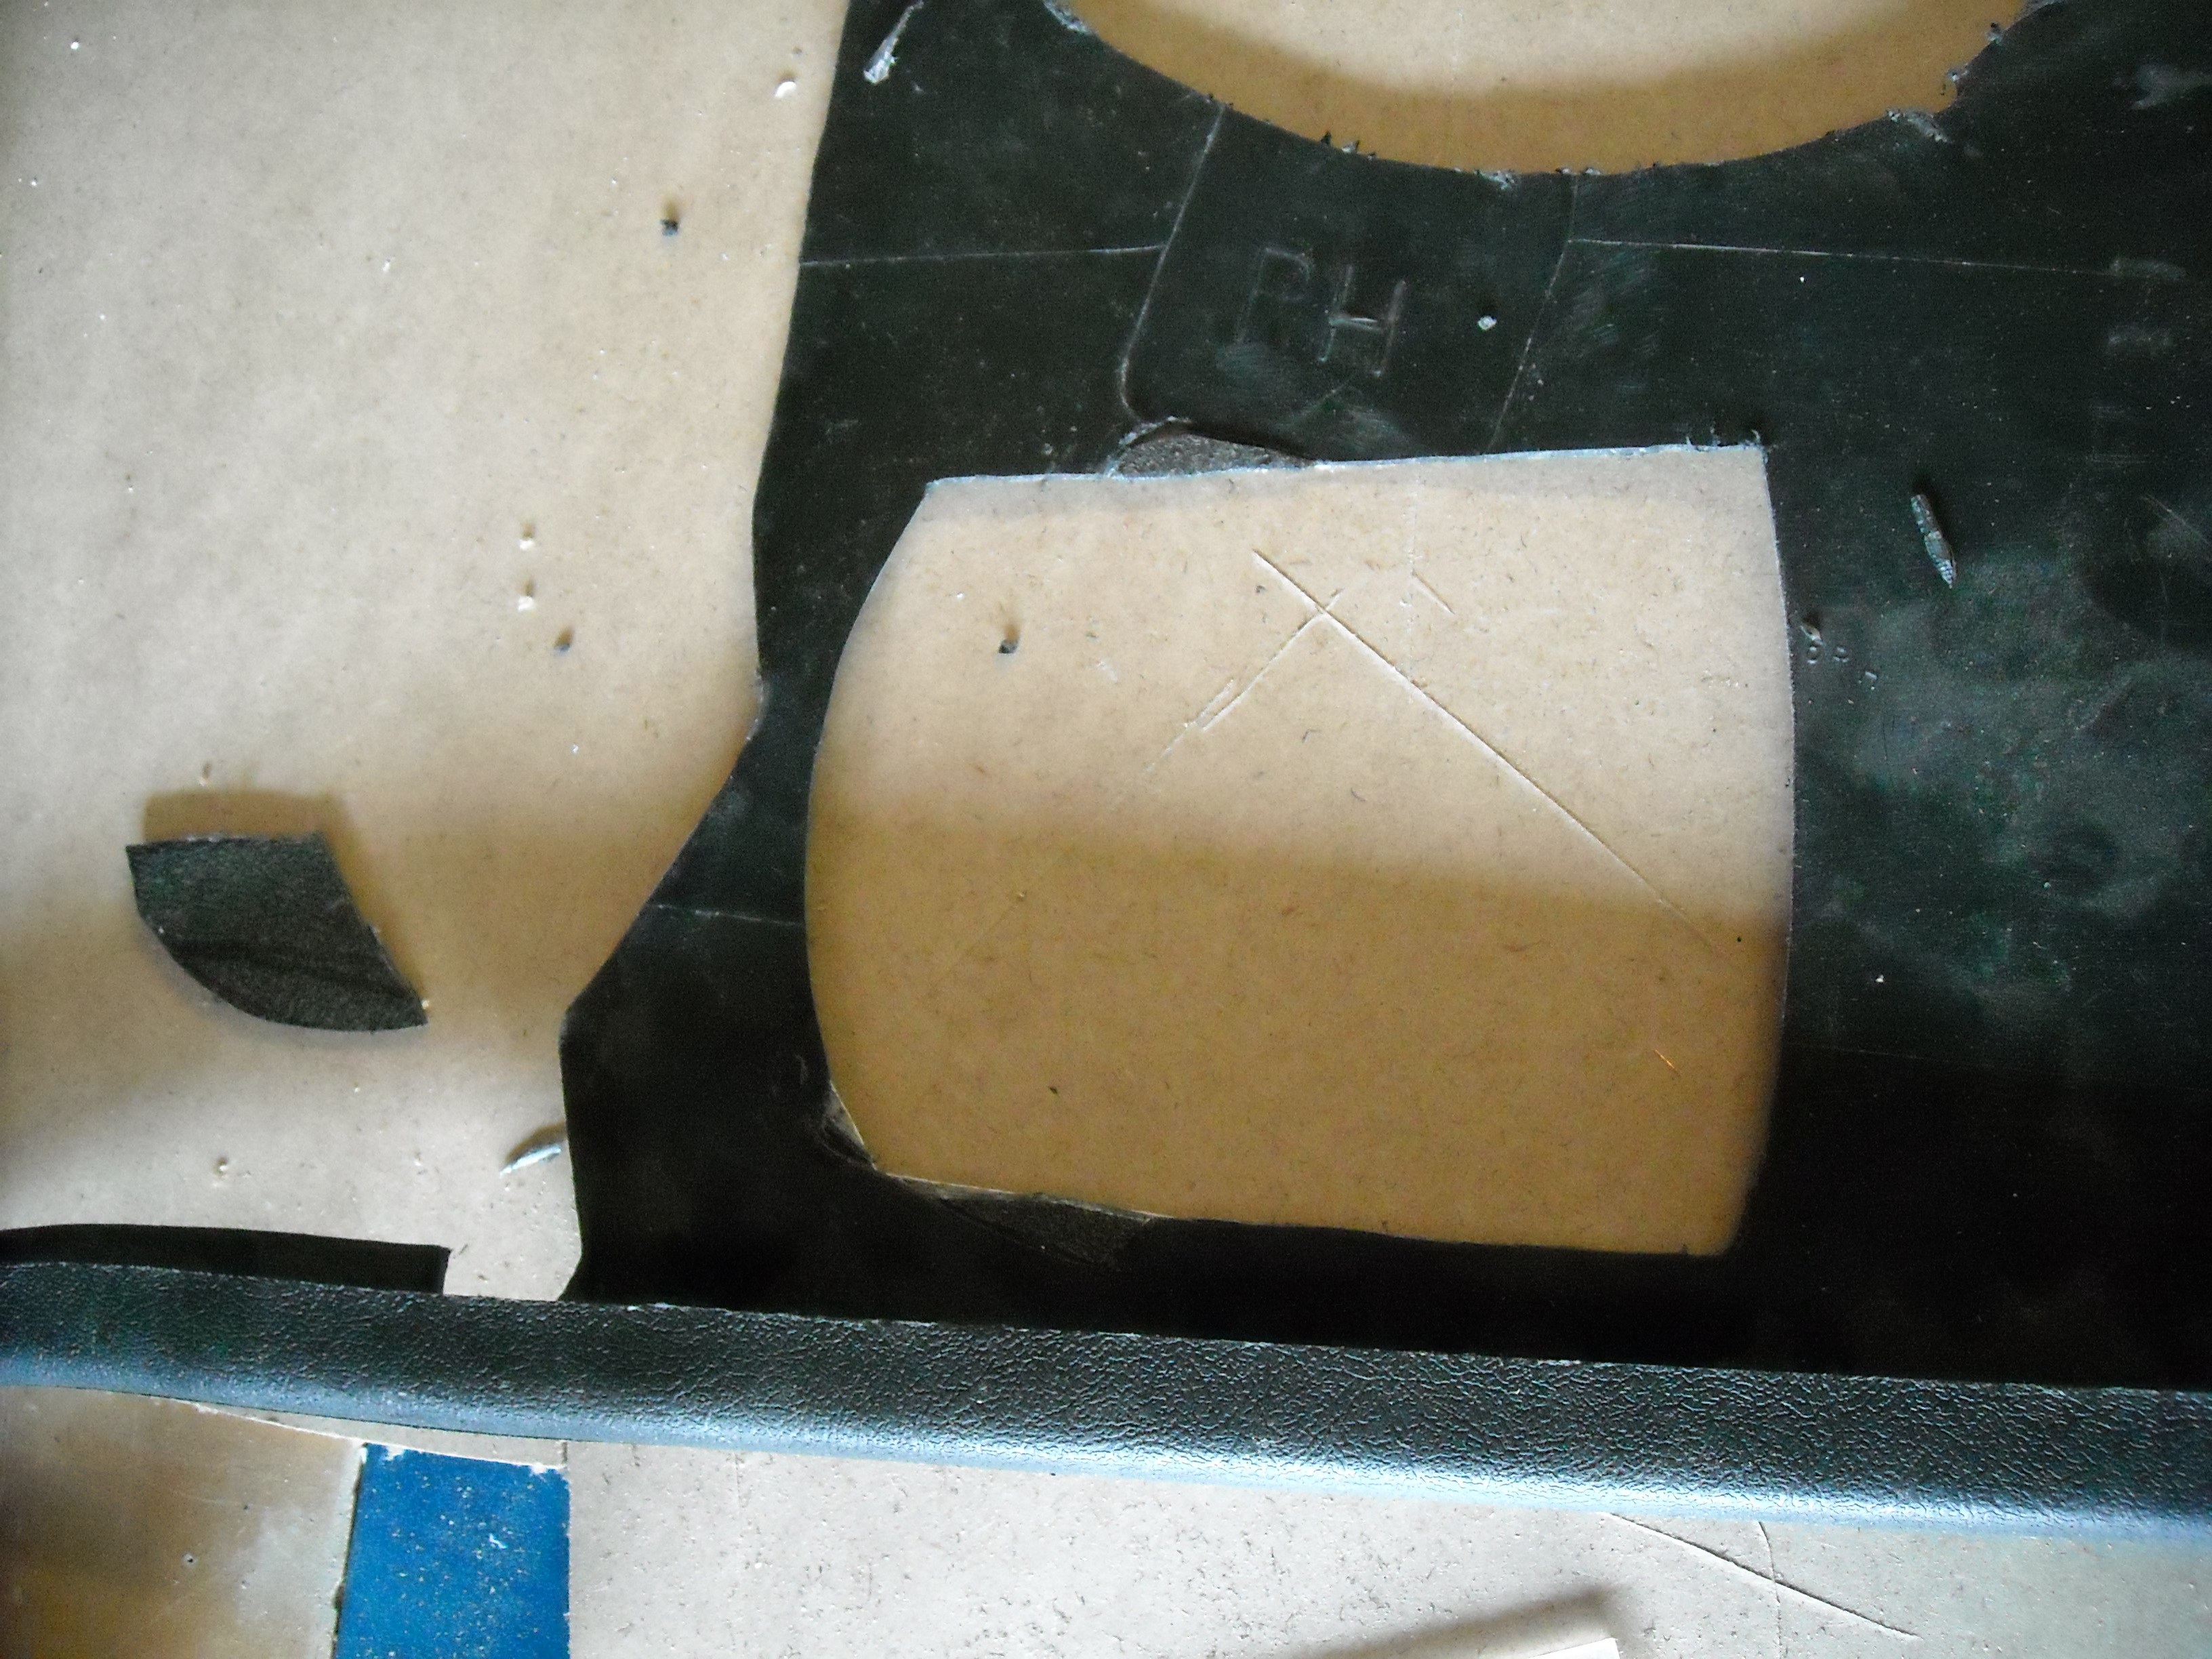
once i had that cut out, I needed to address the gaps on each side.
Little plastic flex filler and olf cut offs from the kick.

Sanded the edges straight.
This is the only and only pic I took of wrapping the kicks in vinyl. I will say that there was no shortage of choice words during this process. Getting the vinyl to wrap all the way to the tip on the trim was not fun.
Once it was dry, I sanded the rough spots smooth, and trimmed the edges. Slid it into place and was ready to glass it in.
I then glassed in more support and made it part of the car.
Once the frame work for the subs was set, i could move on to the kick panel covers. These covers came to me already beat up, so it was a trick to still be able to use them. I used the same ring to center the sub hole to the cutout on the kick.
Next was to delete the pull handle for the vents.
Looks like a good spot to add in the cross over for the comp set.
once i had that cut out, I needed to address the gaps on each side.
Little plastic flex filler and olf cut offs from the kick.
Sanded the edges straight.
This is the only and only pic I took of wrapping the kicks in vinyl. I will say that there was no shortage of choice words during this process. Getting the vinyl to wrap all the way to the tip on the trim was not fun.
Thread Starter
Junior Member
Posts like a Ricer Type-R
Joined: Aug 2012
Posts: 18
Likes: 0
Once the kicks were set and ready to cover, It was time to add a little extra to it.
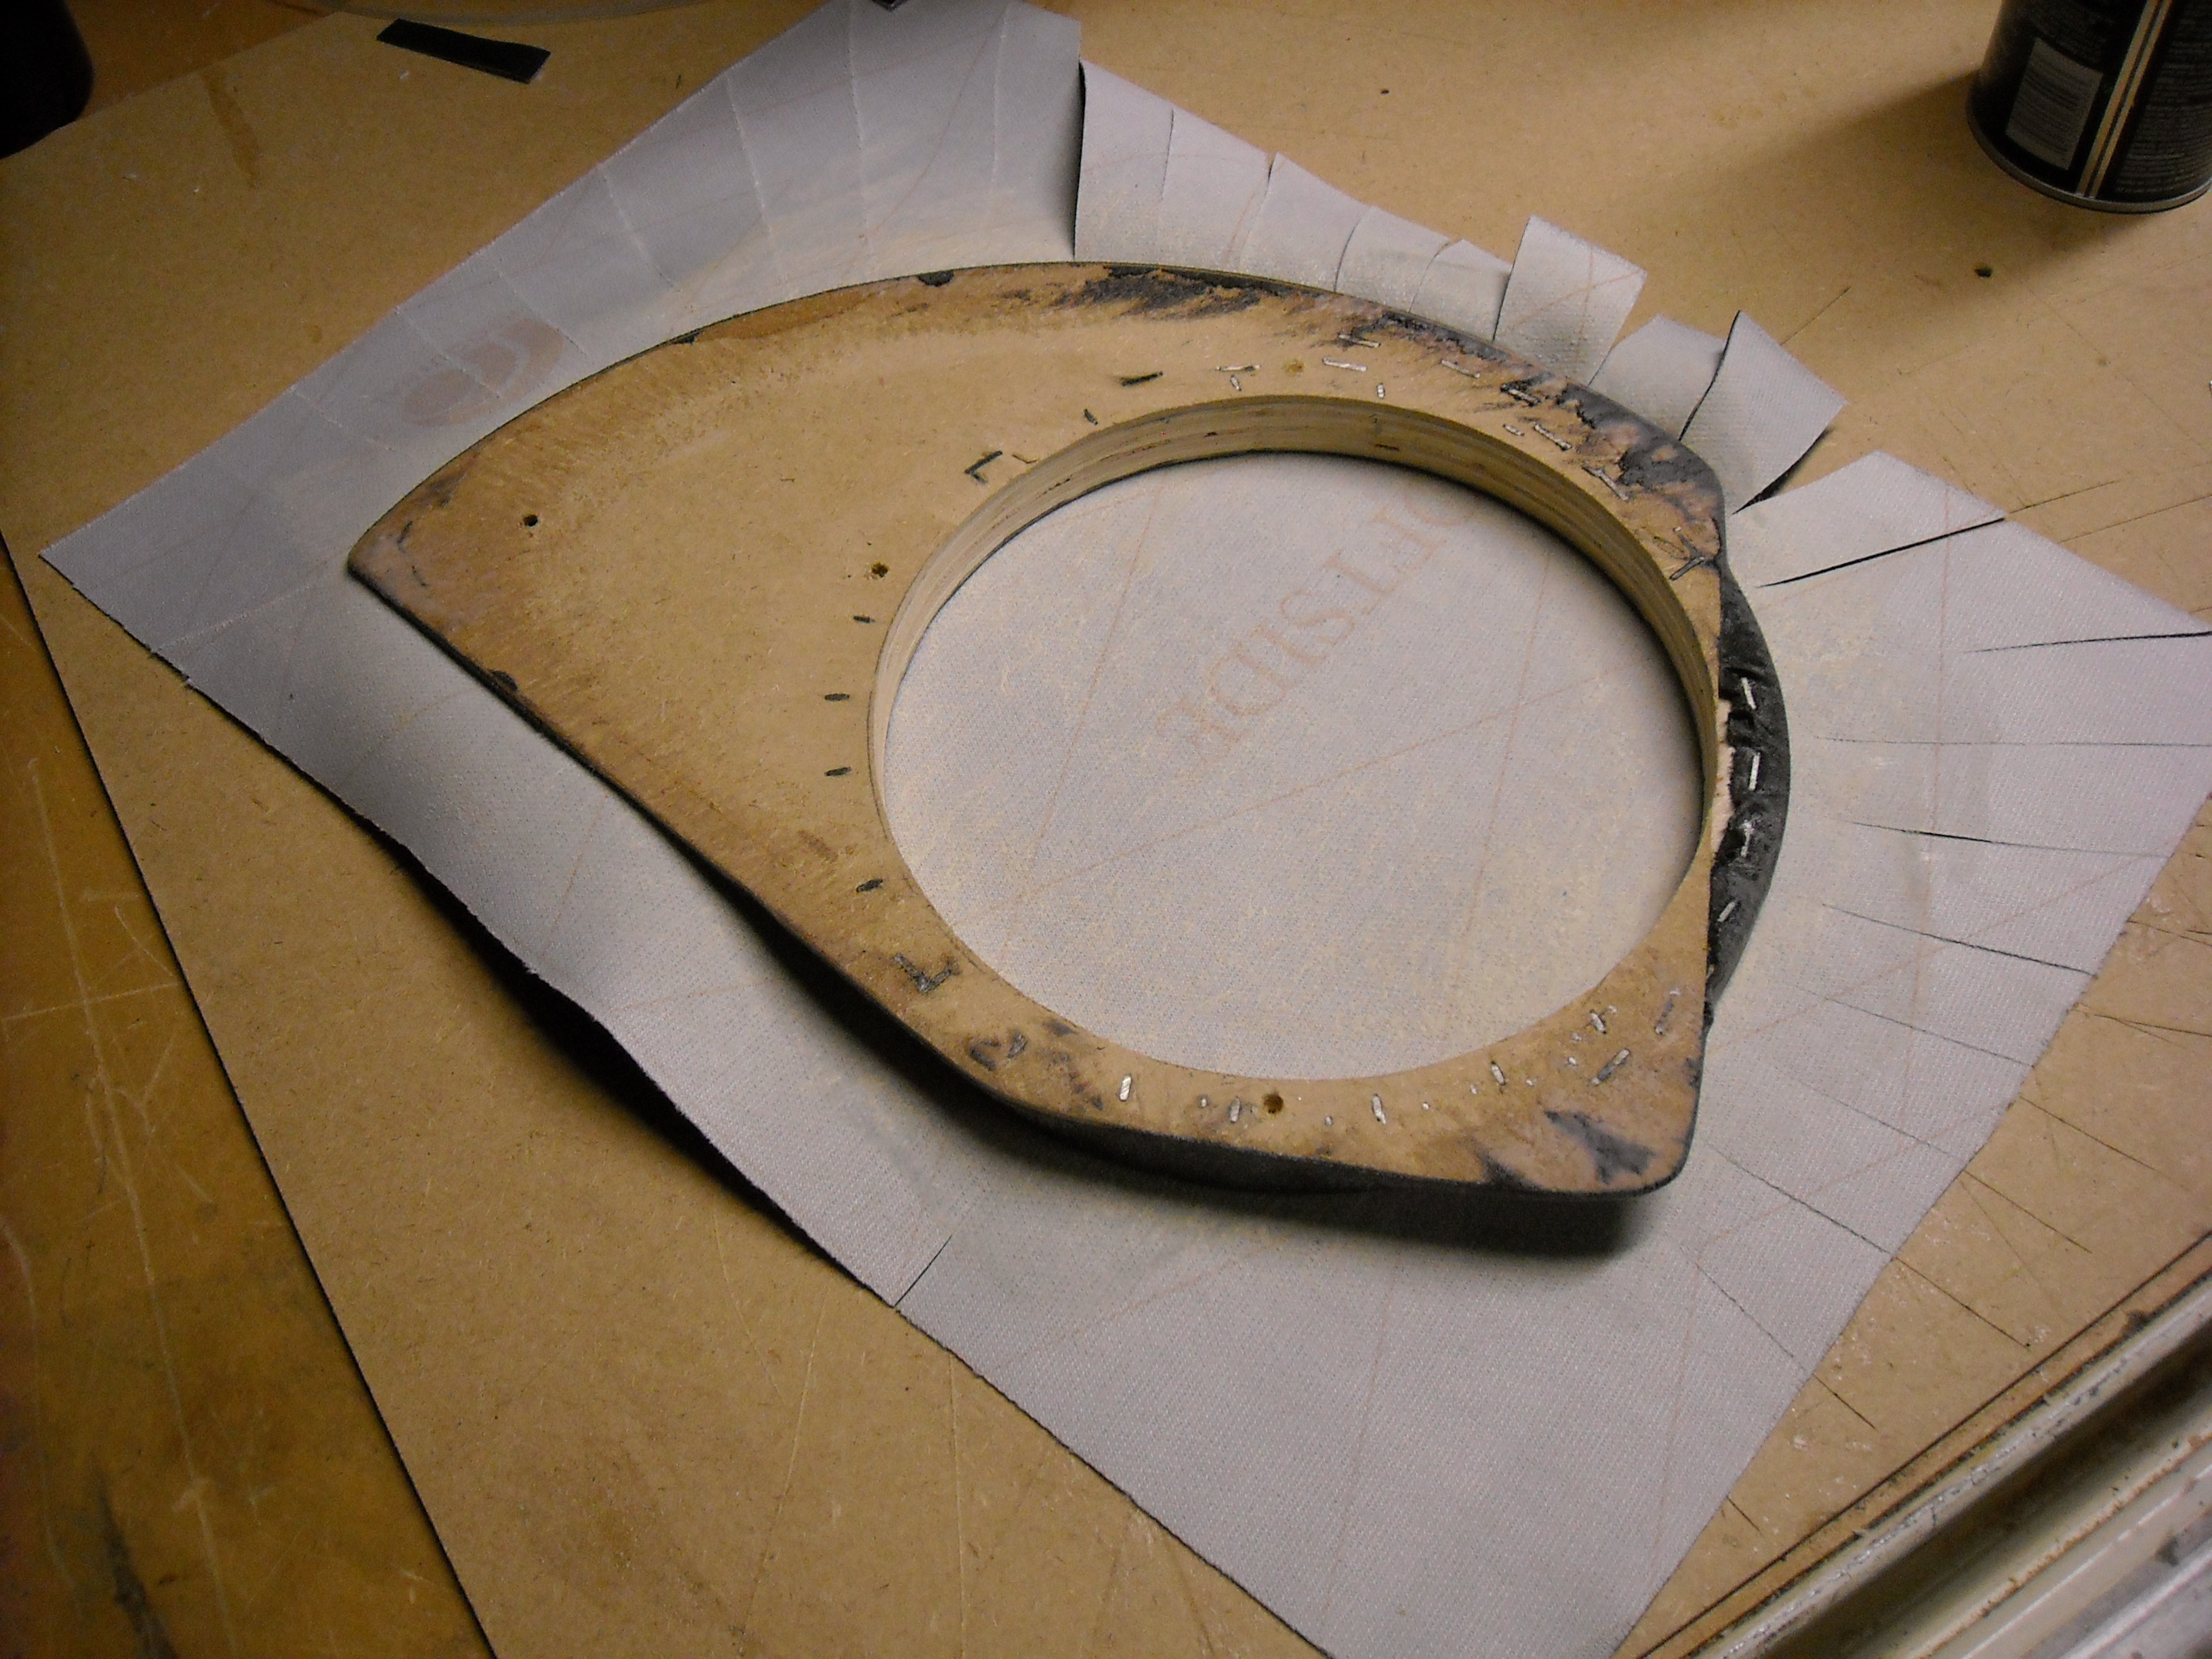
Once again I took my cutout ring and a cutoff ring from another project to come up with the design seen here.
Attached the 2 once I found where they needed to be.

Then I covered them in spandex. It'* super light, but is very easy to work with.
Once streched out, I added a very light coating of resin. Add too much here and the material will sag. Once it'* dry, i cut a little hole on the underside and add a good amount of glass for support. Doing it this way keeps the piece easy to sand smooth.
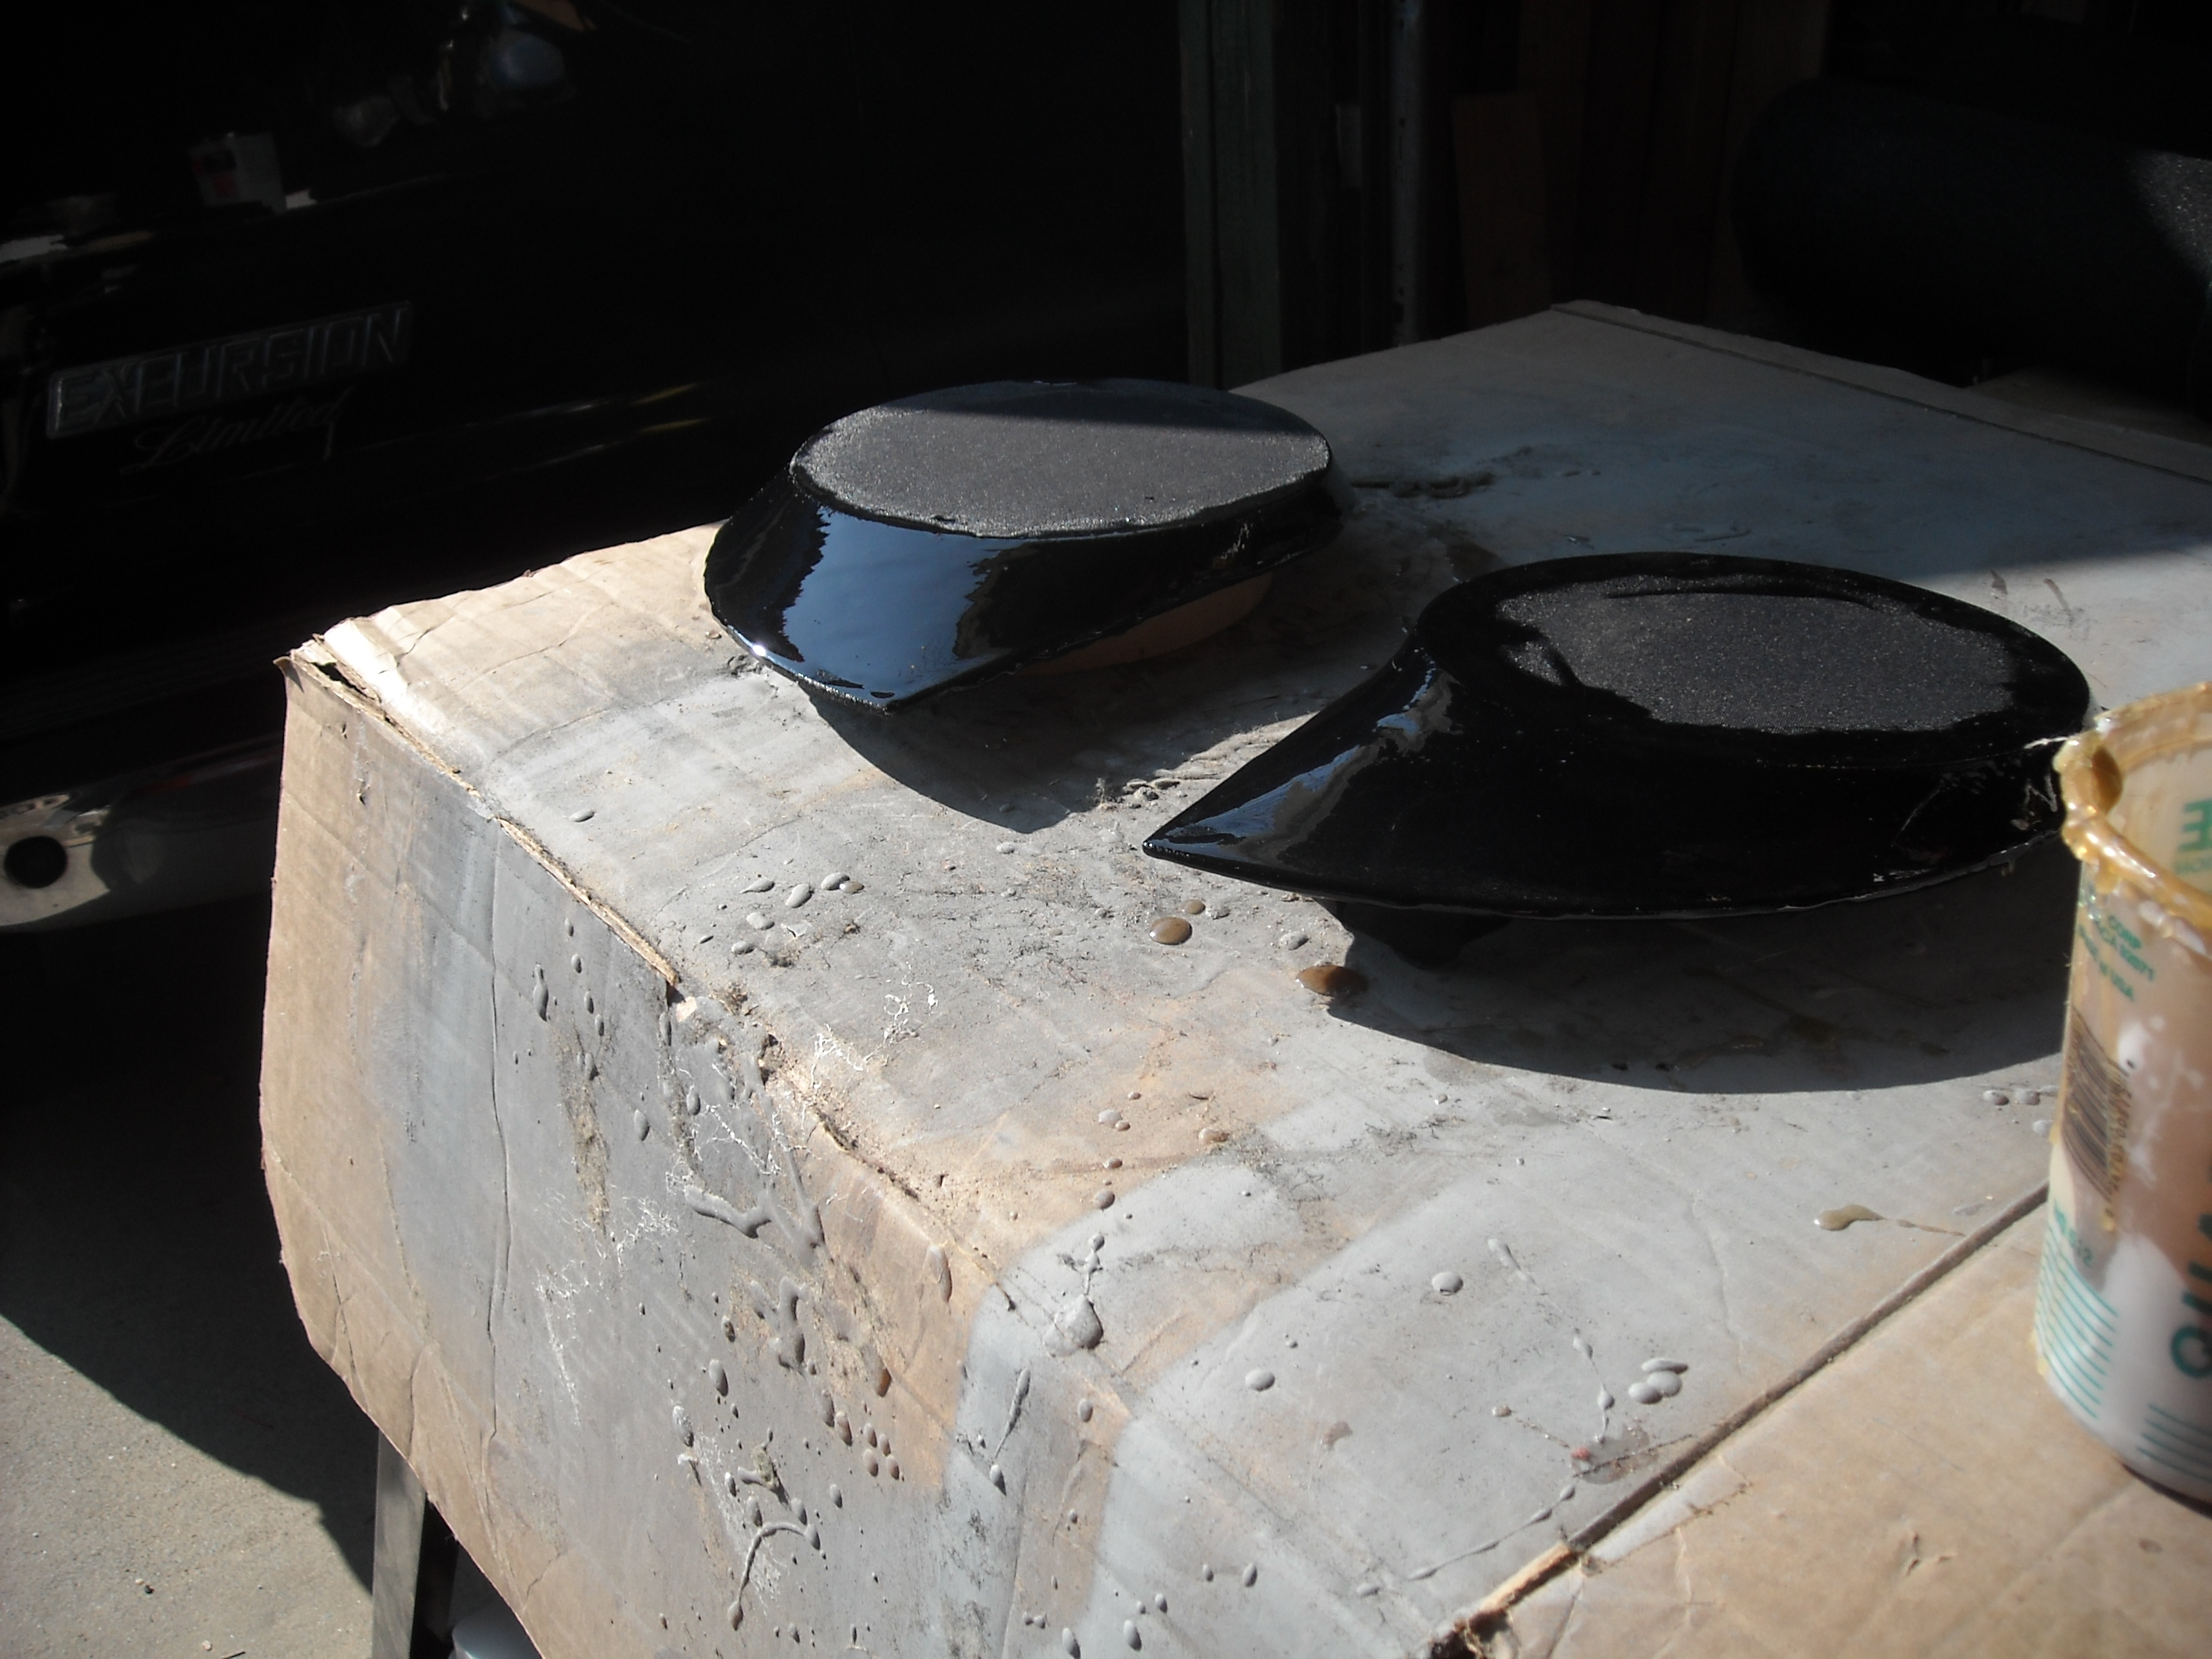
Once dry and sanded, it was time to wrap in vinyl.
I also added a little plexi to edge lite as well.

Little mock up test.


Now that they are in, i can wire up the speakers.
Tech flex and shrink wrap for that clean look.

Of course one must protect the wires going through metal.

Once the wire is set, it is glued in place to make it water tight.

Once again I took my cutout ring and a cutoff ring from another project to come up with the design seen here.
Attached the 2 once I found where they needed to be.
Then I covered them in spandex. It'* super light, but is very easy to work with.
Once streched out, I added a very light coating of resin. Add too much here and the material will sag. Once it'* dry, i cut a little hole on the underside and add a good amount of glass for support. Doing it this way keeps the piece easy to sand smooth.
Once dry and sanded, it was time to wrap in vinyl.
I also added a little plexi to edge lite as well.
Little mock up test.
Now that they are in, i can wire up the speakers.
Tech flex and shrink wrap for that clean look.
Of course one must protect the wires going through metal.
Once the wire is set, it is glued in place to make it water tight.
Thread Starter
Junior Member
Posts like a Ricer Type-R
Joined: Aug 2012
Posts: 18
Likes: 0
Next item to tackle was the door panels. now, I won't lie, what you see here is the 3rd and final version of the doors. Design was was very difficult. I wanted them to be custom, but still retain a stock look. I think they turned out pretty good.
Started with the old panel to use as a template.

Here is a pic of how I wanted the design to layout. I wanted to keep the pleats that the oem door had, as well as the lower pleat
I then took some closed cell foam and glued it to the panel. Do not try this with the open cell foam
Then i trimmed out how I wanted it to look. And also marked out where I wanted the pleats to go.
This process took a few tries to get right and even required me to build a tool to do it.

You might remember this template from the kicks.
Next I made a trim ring, took a roundover bit to it and then hand sanded to finish the profile. then attached the 2 together.

Started with the old panel to use as a template.
Here is a pic of how I wanted the design to layout. I wanted to keep the pleats that the oem door had, as well as the lower pleat
I then took some closed cell foam and glued it to the panel. Do not try this with the open cell foam
Then i trimmed out how I wanted it to look. And also marked out where I wanted the pleats to go.
This process took a few tries to get right and even required me to build a tool to do it.
You might remember this template from the kicks.
Next I made a trim ring, took a roundover bit to it and then hand sanded to finish the profile. then attached the 2 together.
Thread Starter
Junior Member
Posts like a Ricer Type-R
Joined: Aug 2012
Posts: 18
Likes: 0
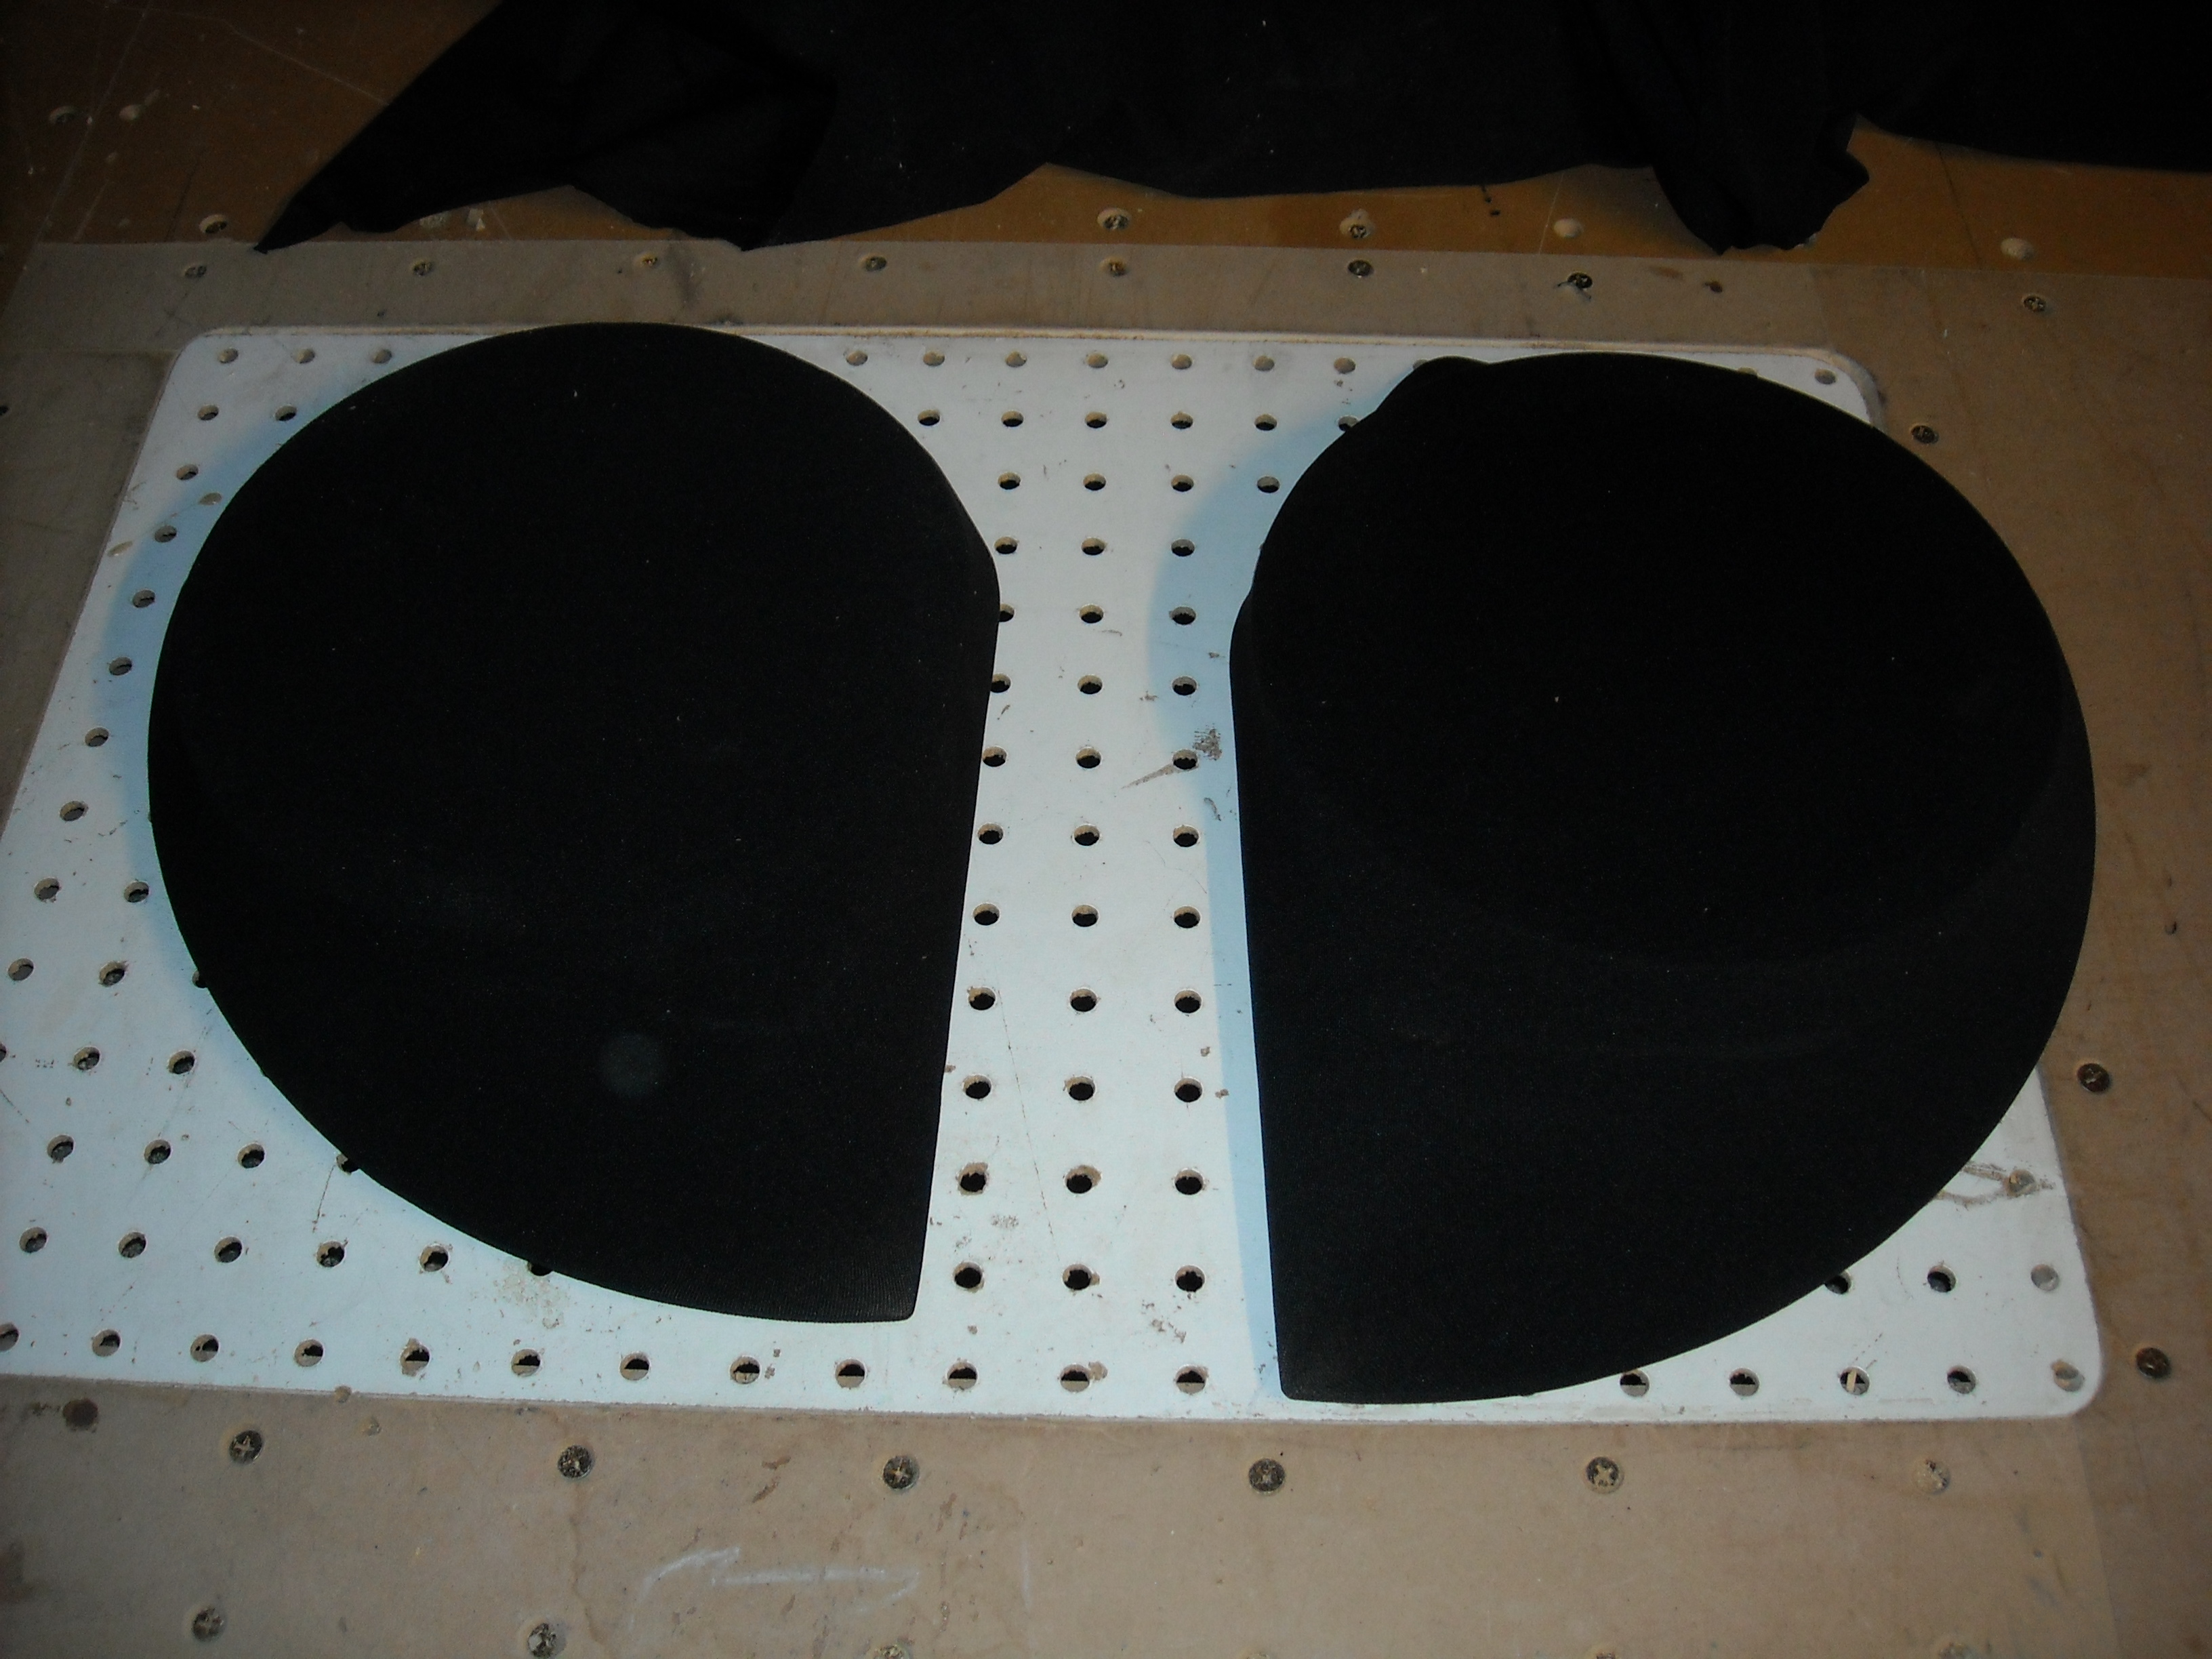
Once i found my center point for the speaker, I cut them out.
Then a test fit
Time to cover them in spandex and glass them up.

Next I took some trim and wrapped it over its self and glued it to the lower half of the door.
Cover the upper half trim panel in vinyl.
Once it was dry on the underside, It was wrapped around then glued to the panel. Then wrapped over both layers and glued to the back
And here it is all finished up. Vinyl on the top, suede middle and floor matching carpet on the bottom.


Then a test fit
Time to cover them in spandex and glass them up.
Next I took some trim and wrapped it over its self and glued it to the lower half of the door.
Cover the upper half trim panel in vinyl.
Once it was dry on the underside, It was wrapped around then glued to the panel. Then wrapped over both layers and glued to the back
And here it is all finished up. Vinyl on the top, suede middle and floor matching carpet on the bottom.
Thread Starter
Junior Member
Posts like a Ricer Type-R
Joined: Aug 2012
Posts: 18
Likes: 0
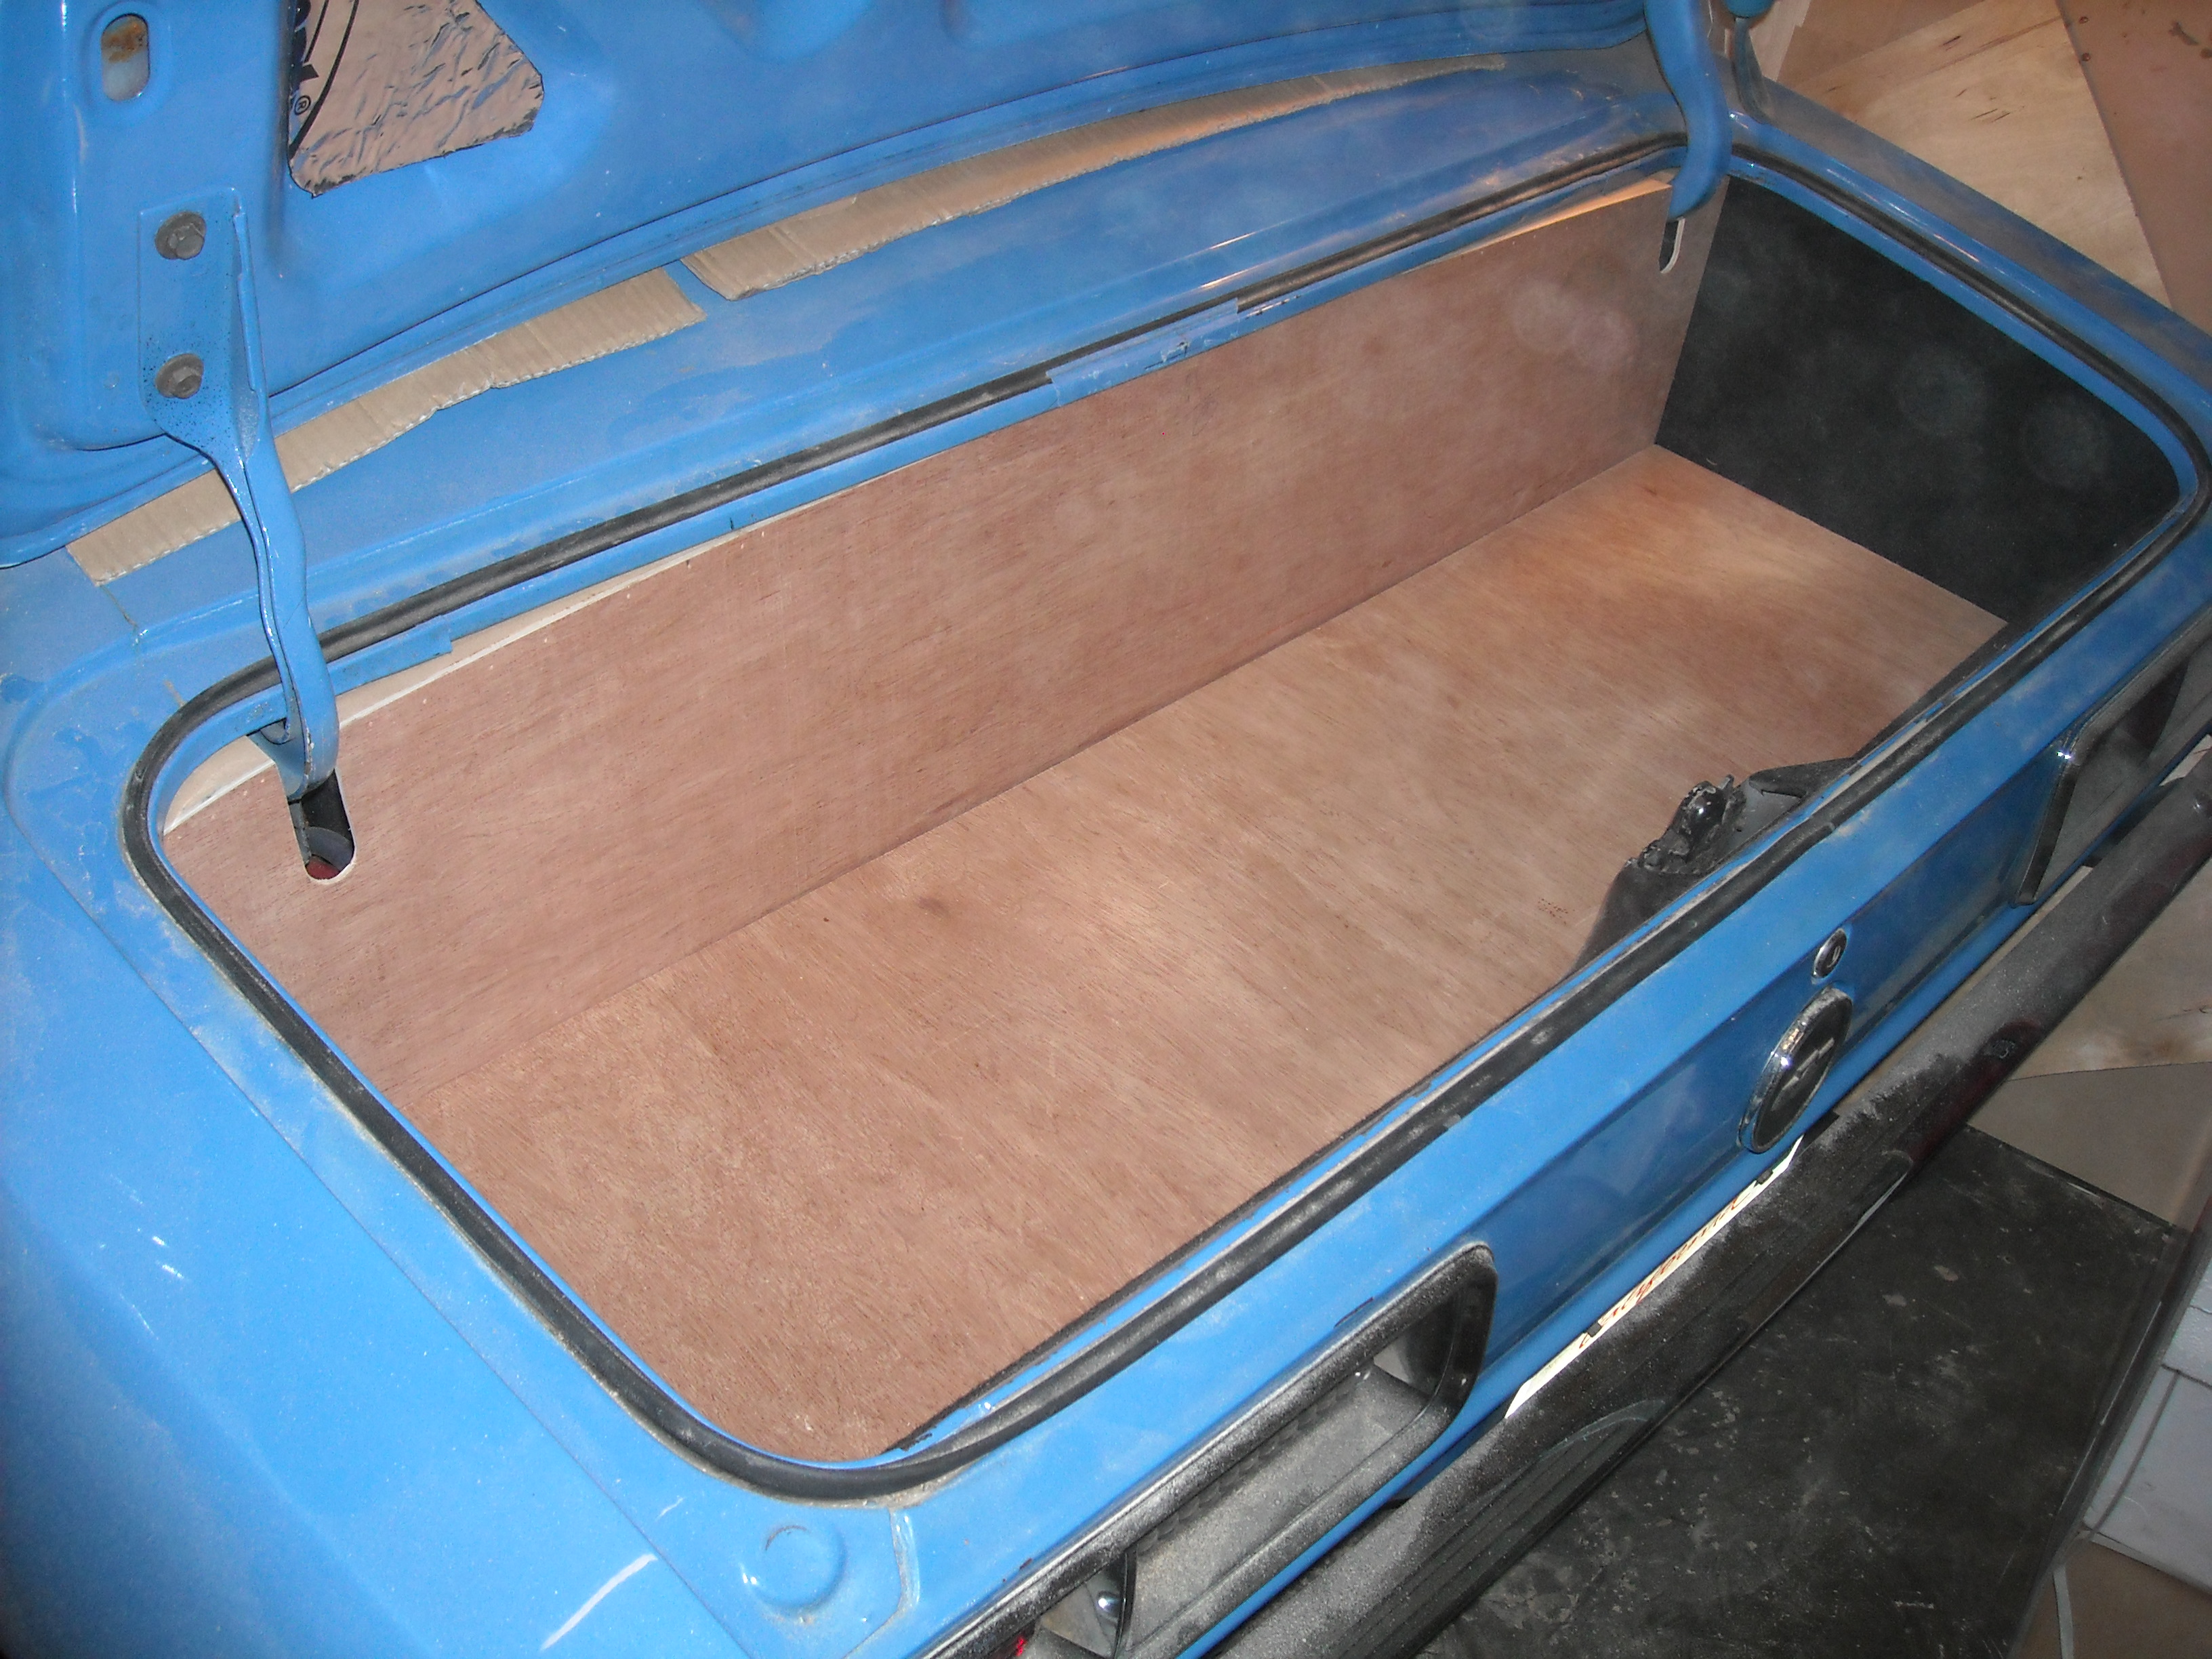
Now we are off to the trunk.
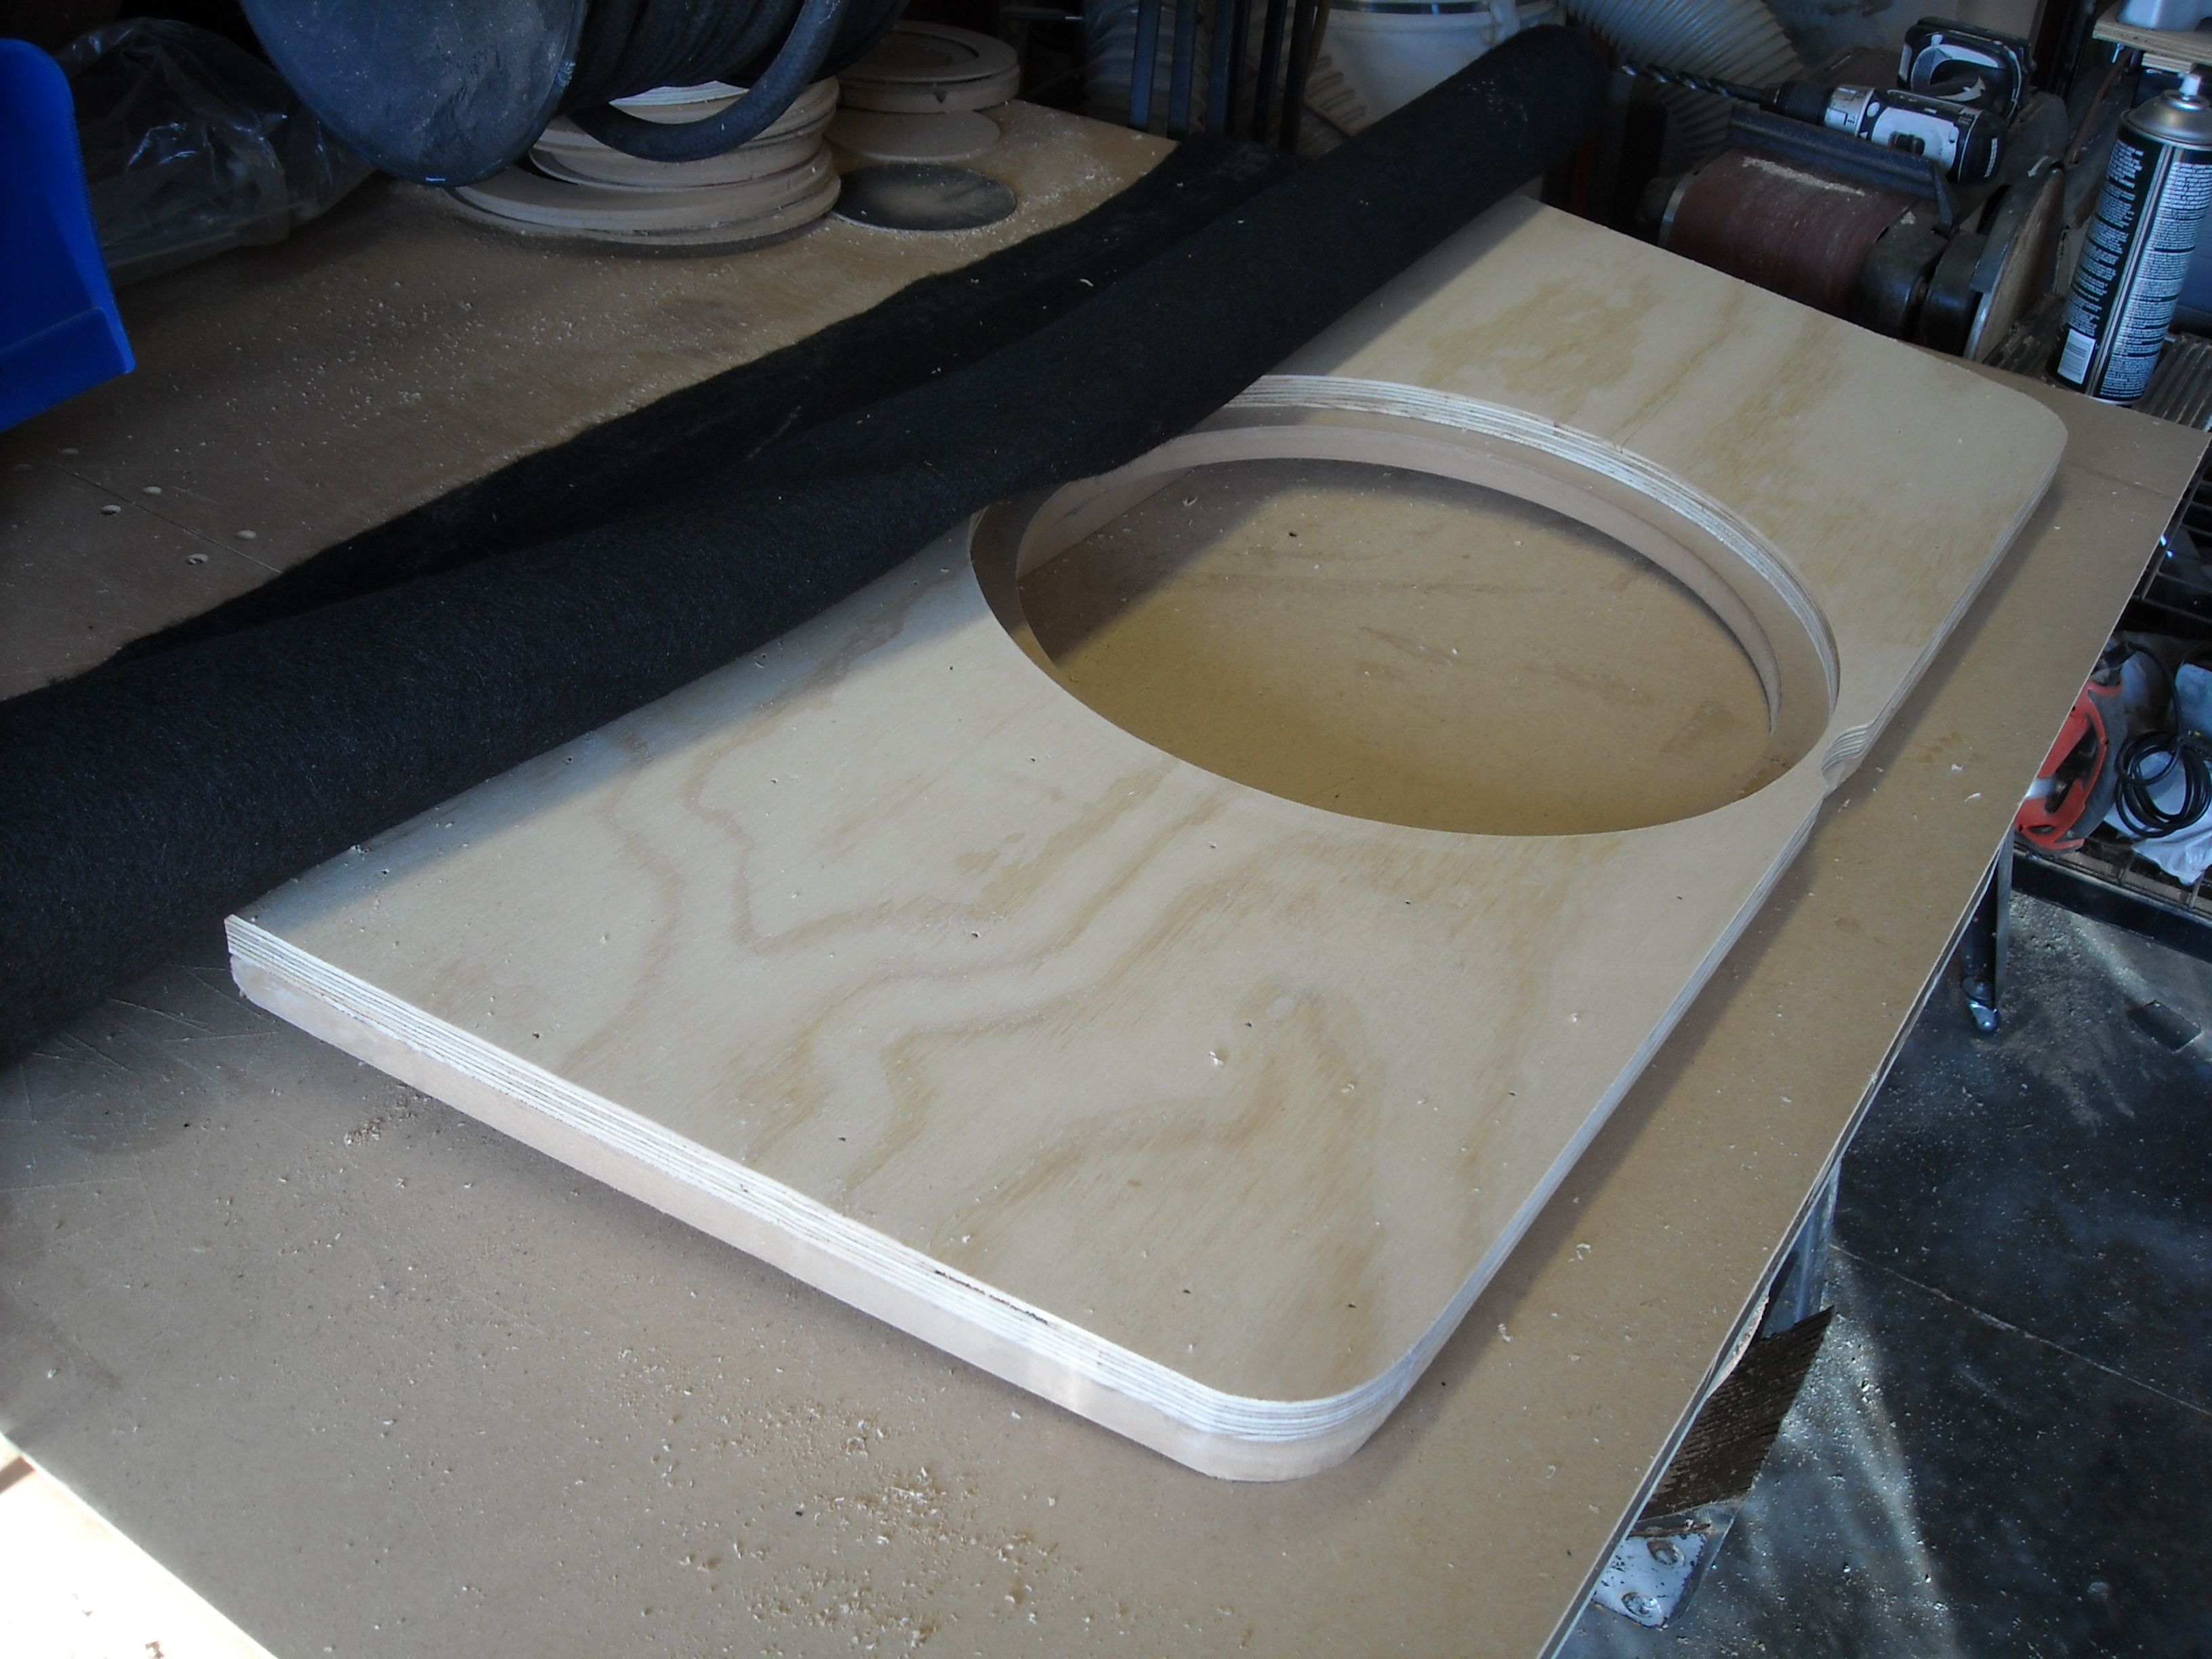
Plan is to have a 15" sub in a 4th order bandpass box.
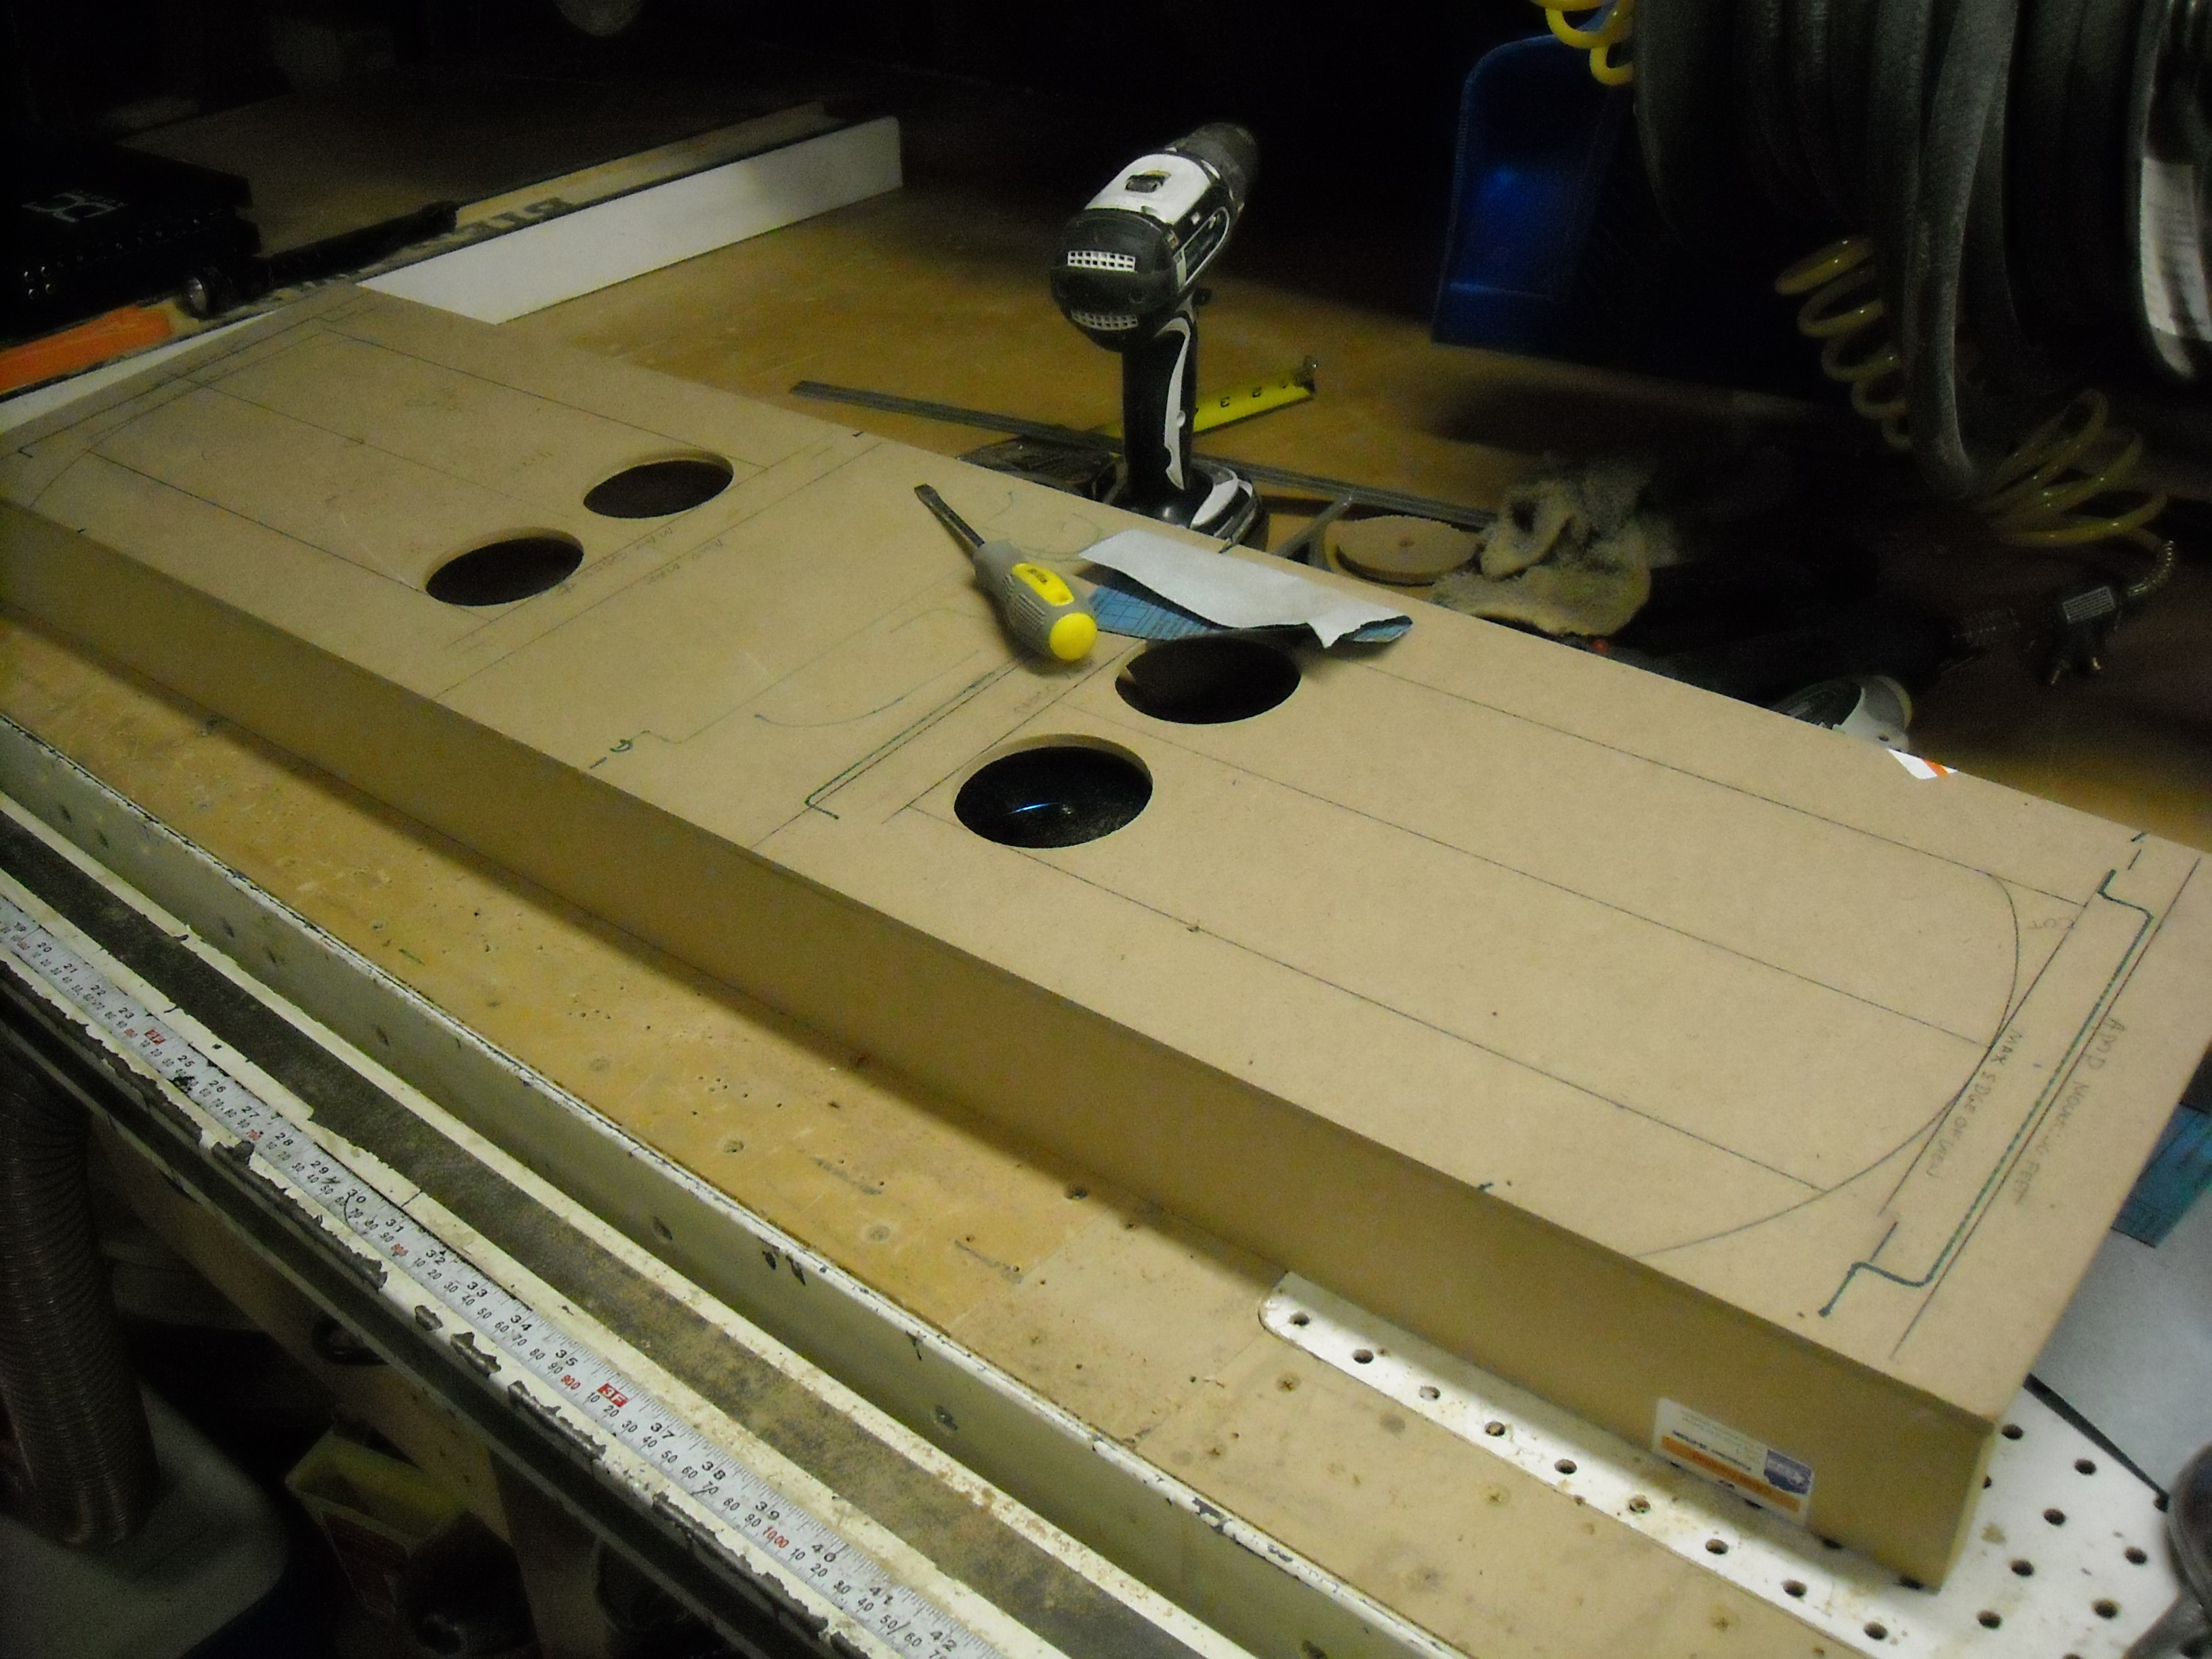
I started out simple enough with making a many pieces as i could without too many gaps to fiberglass
Once I had the back laid out, i could then figure where the sub was going to go.
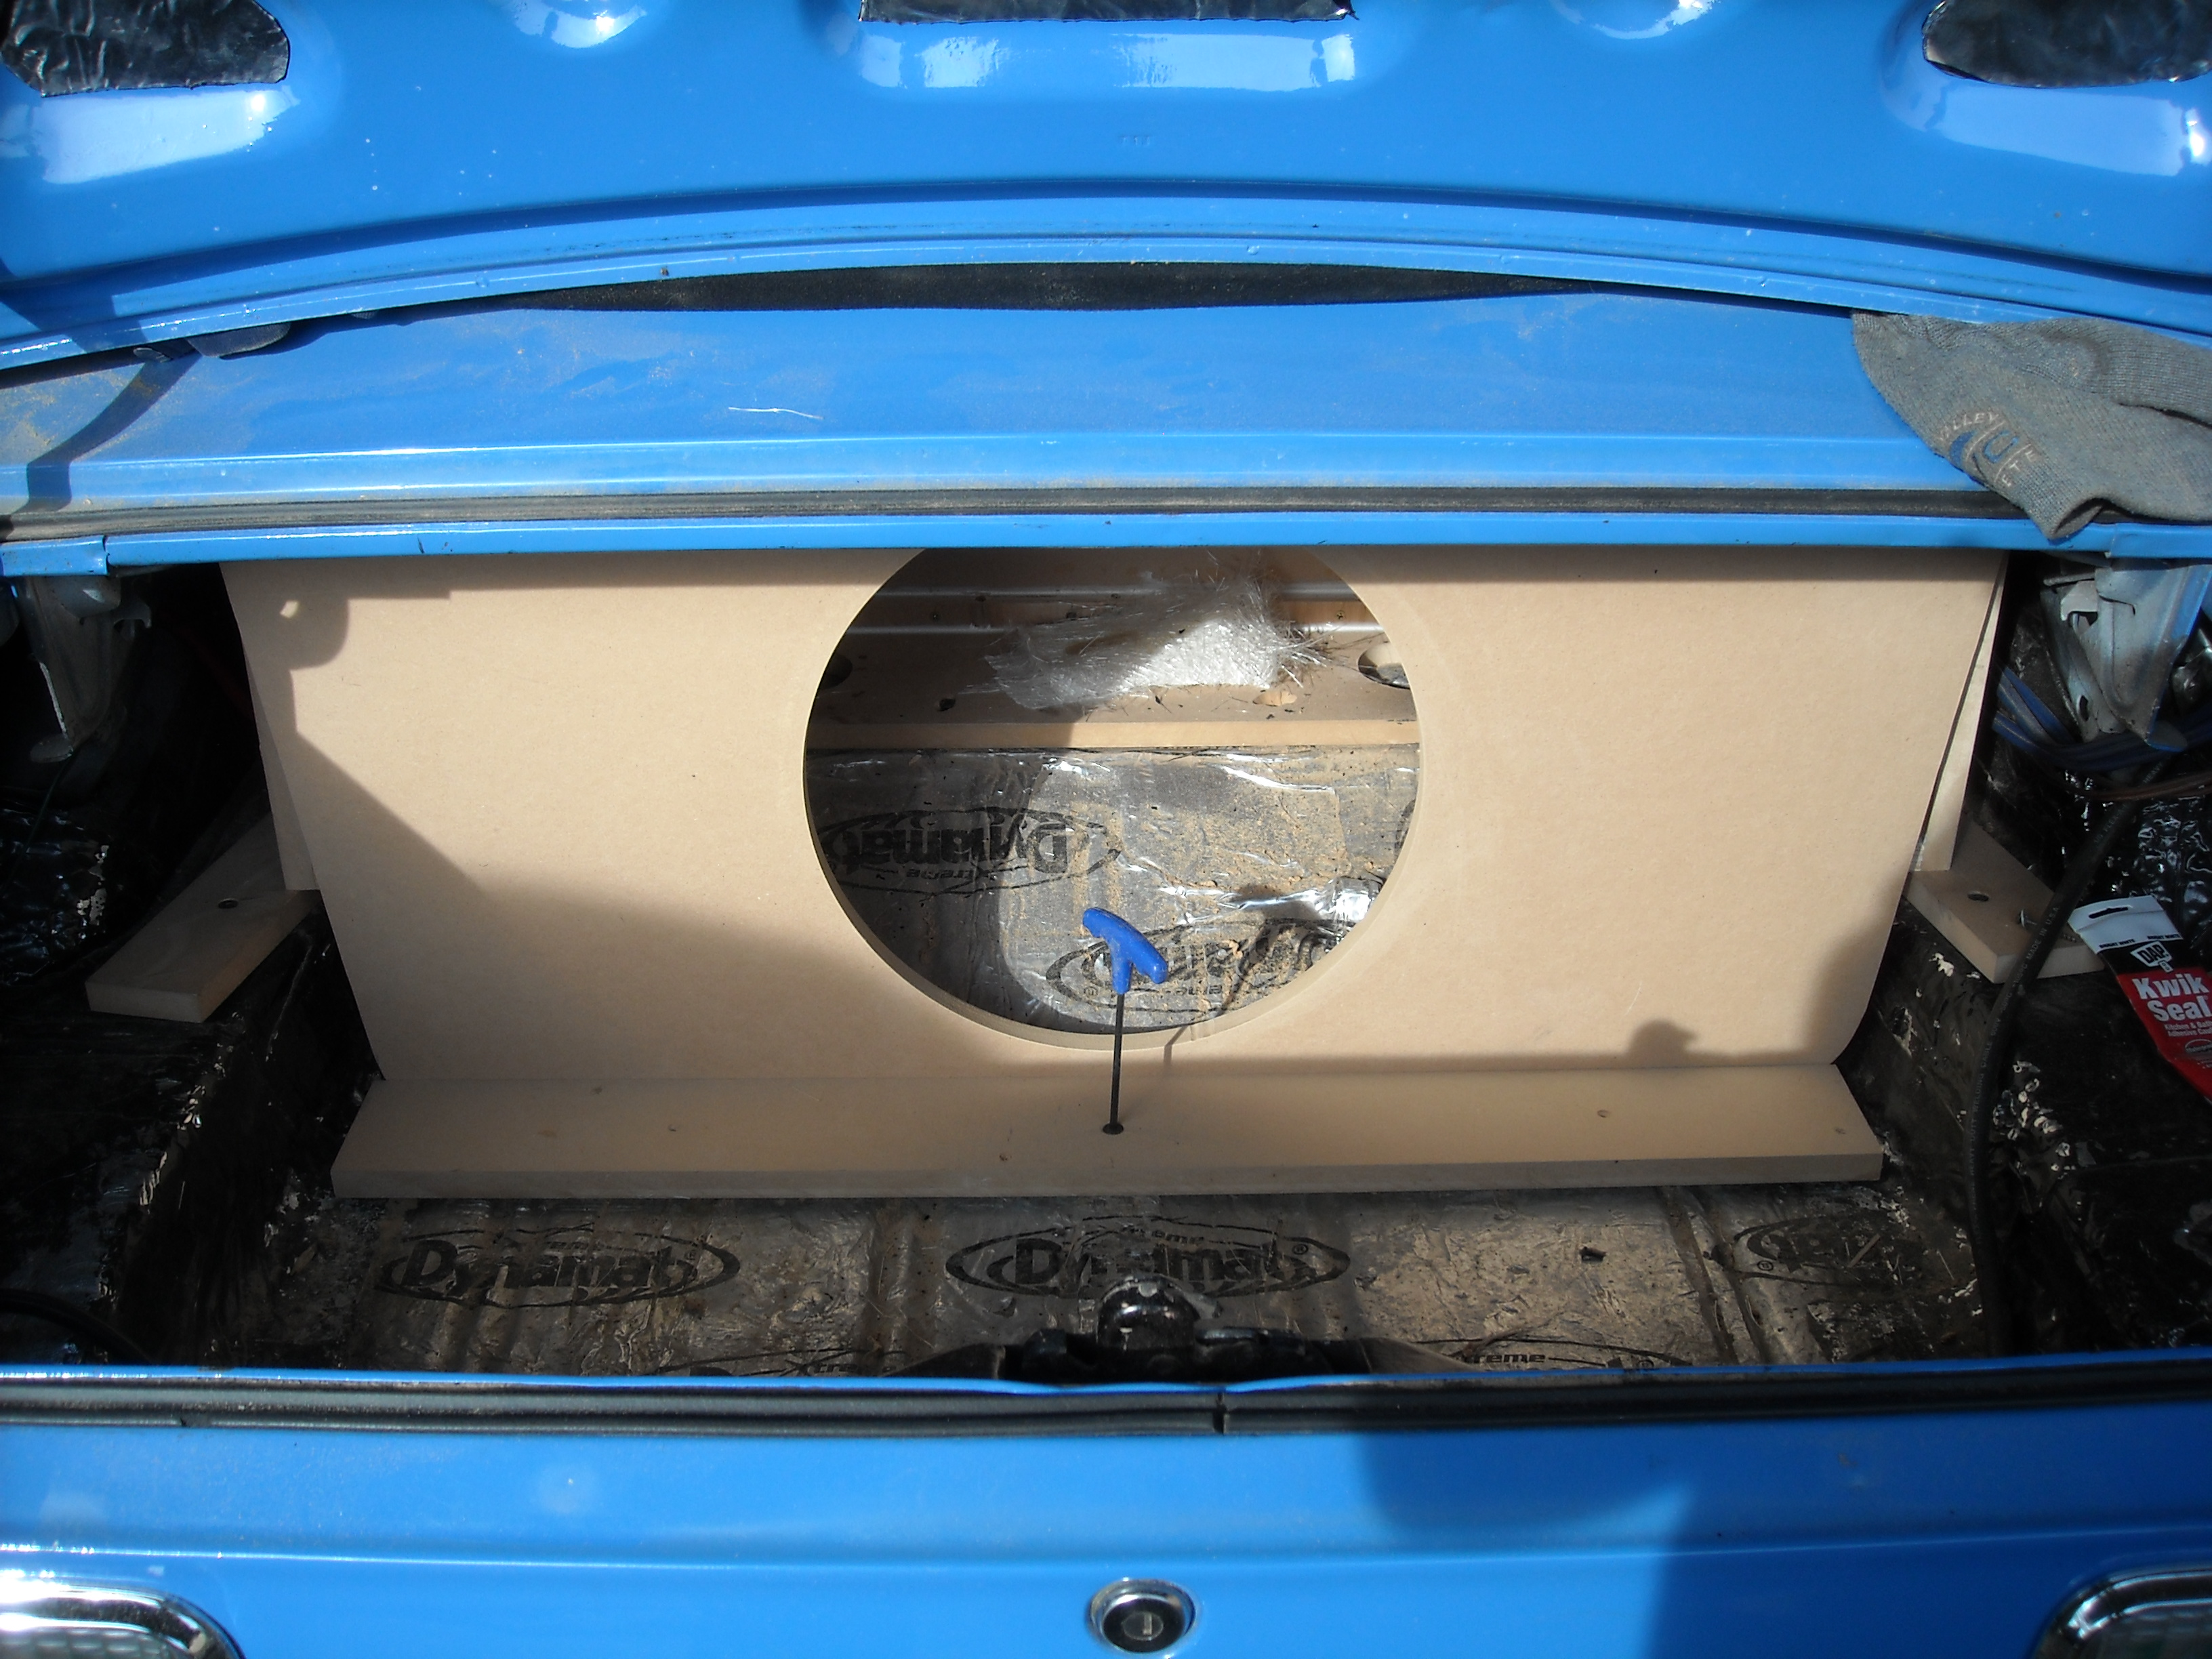
The baffle is set for the ported side.

I sent this pic to the owner. I'm 5-9 and 250. it wasn't anything nice to attach the box together or glass it in.

You can see here where I use cleats to build the box from the inside out. It'* tricky at first, but once you are on a roll, it isn't too bad.
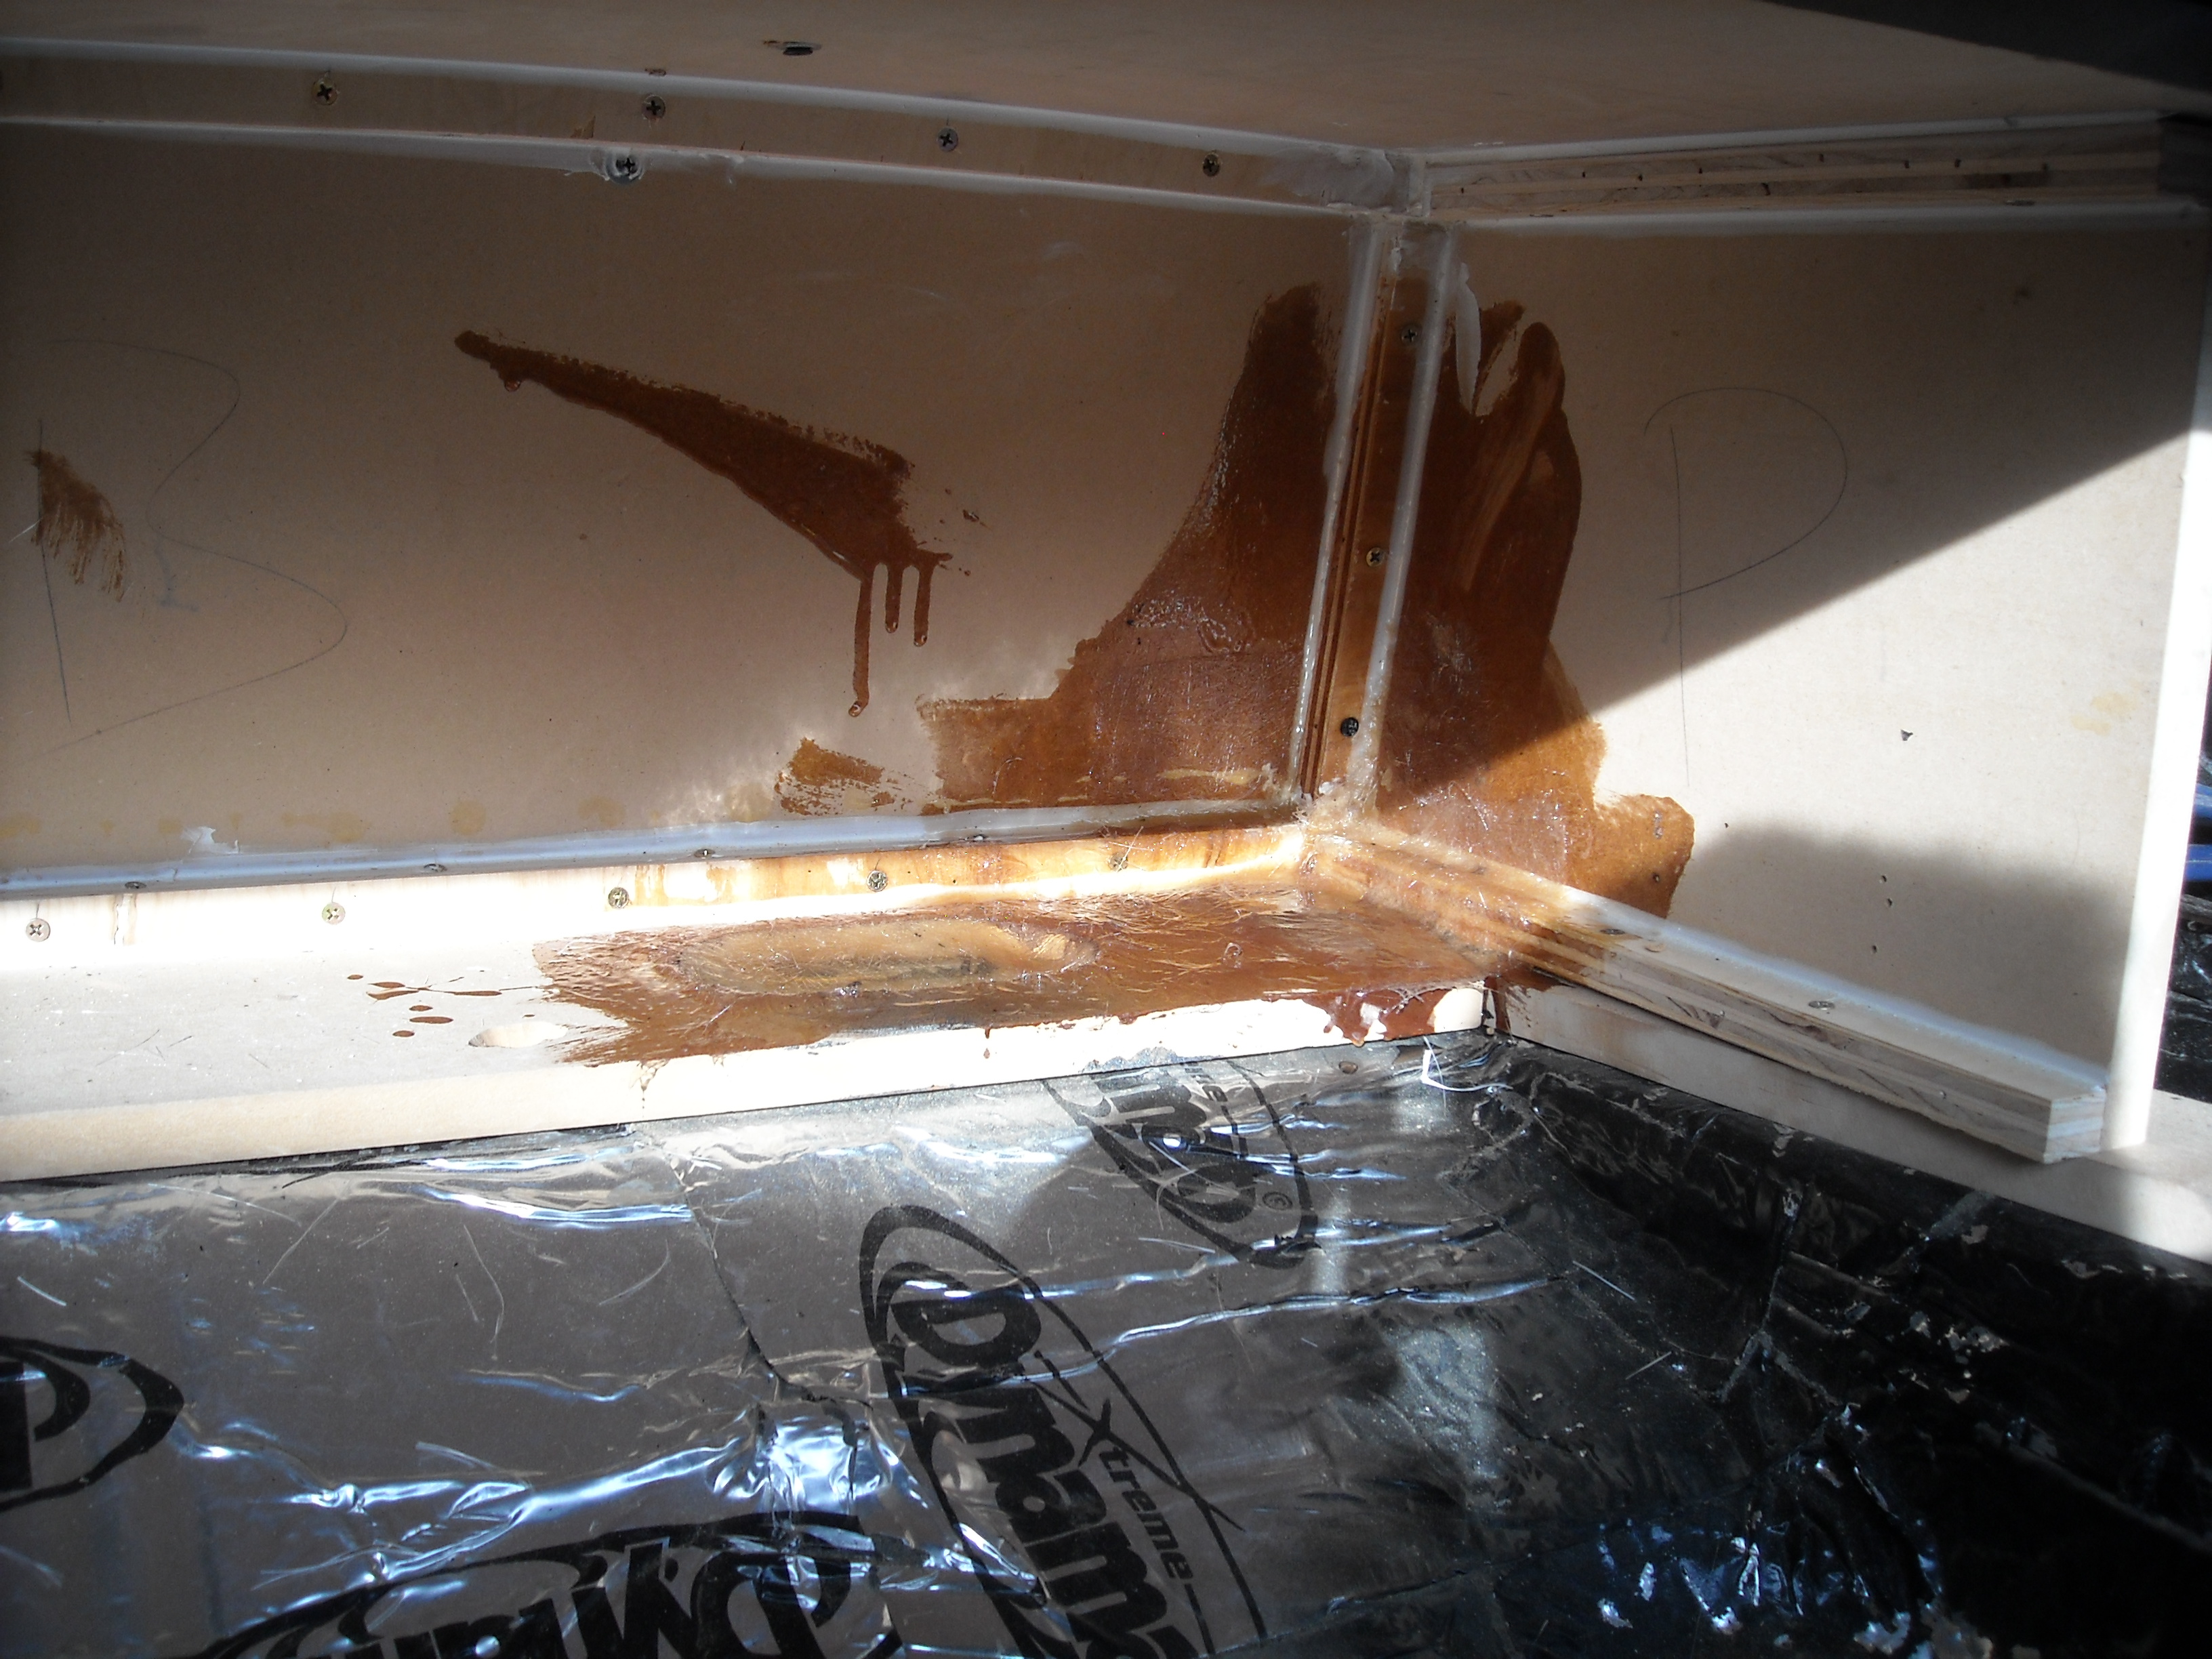
Glassed the faceframe in.
Then the baffle is double thick to add for strength as well as allow the sub to have that flushed finish look
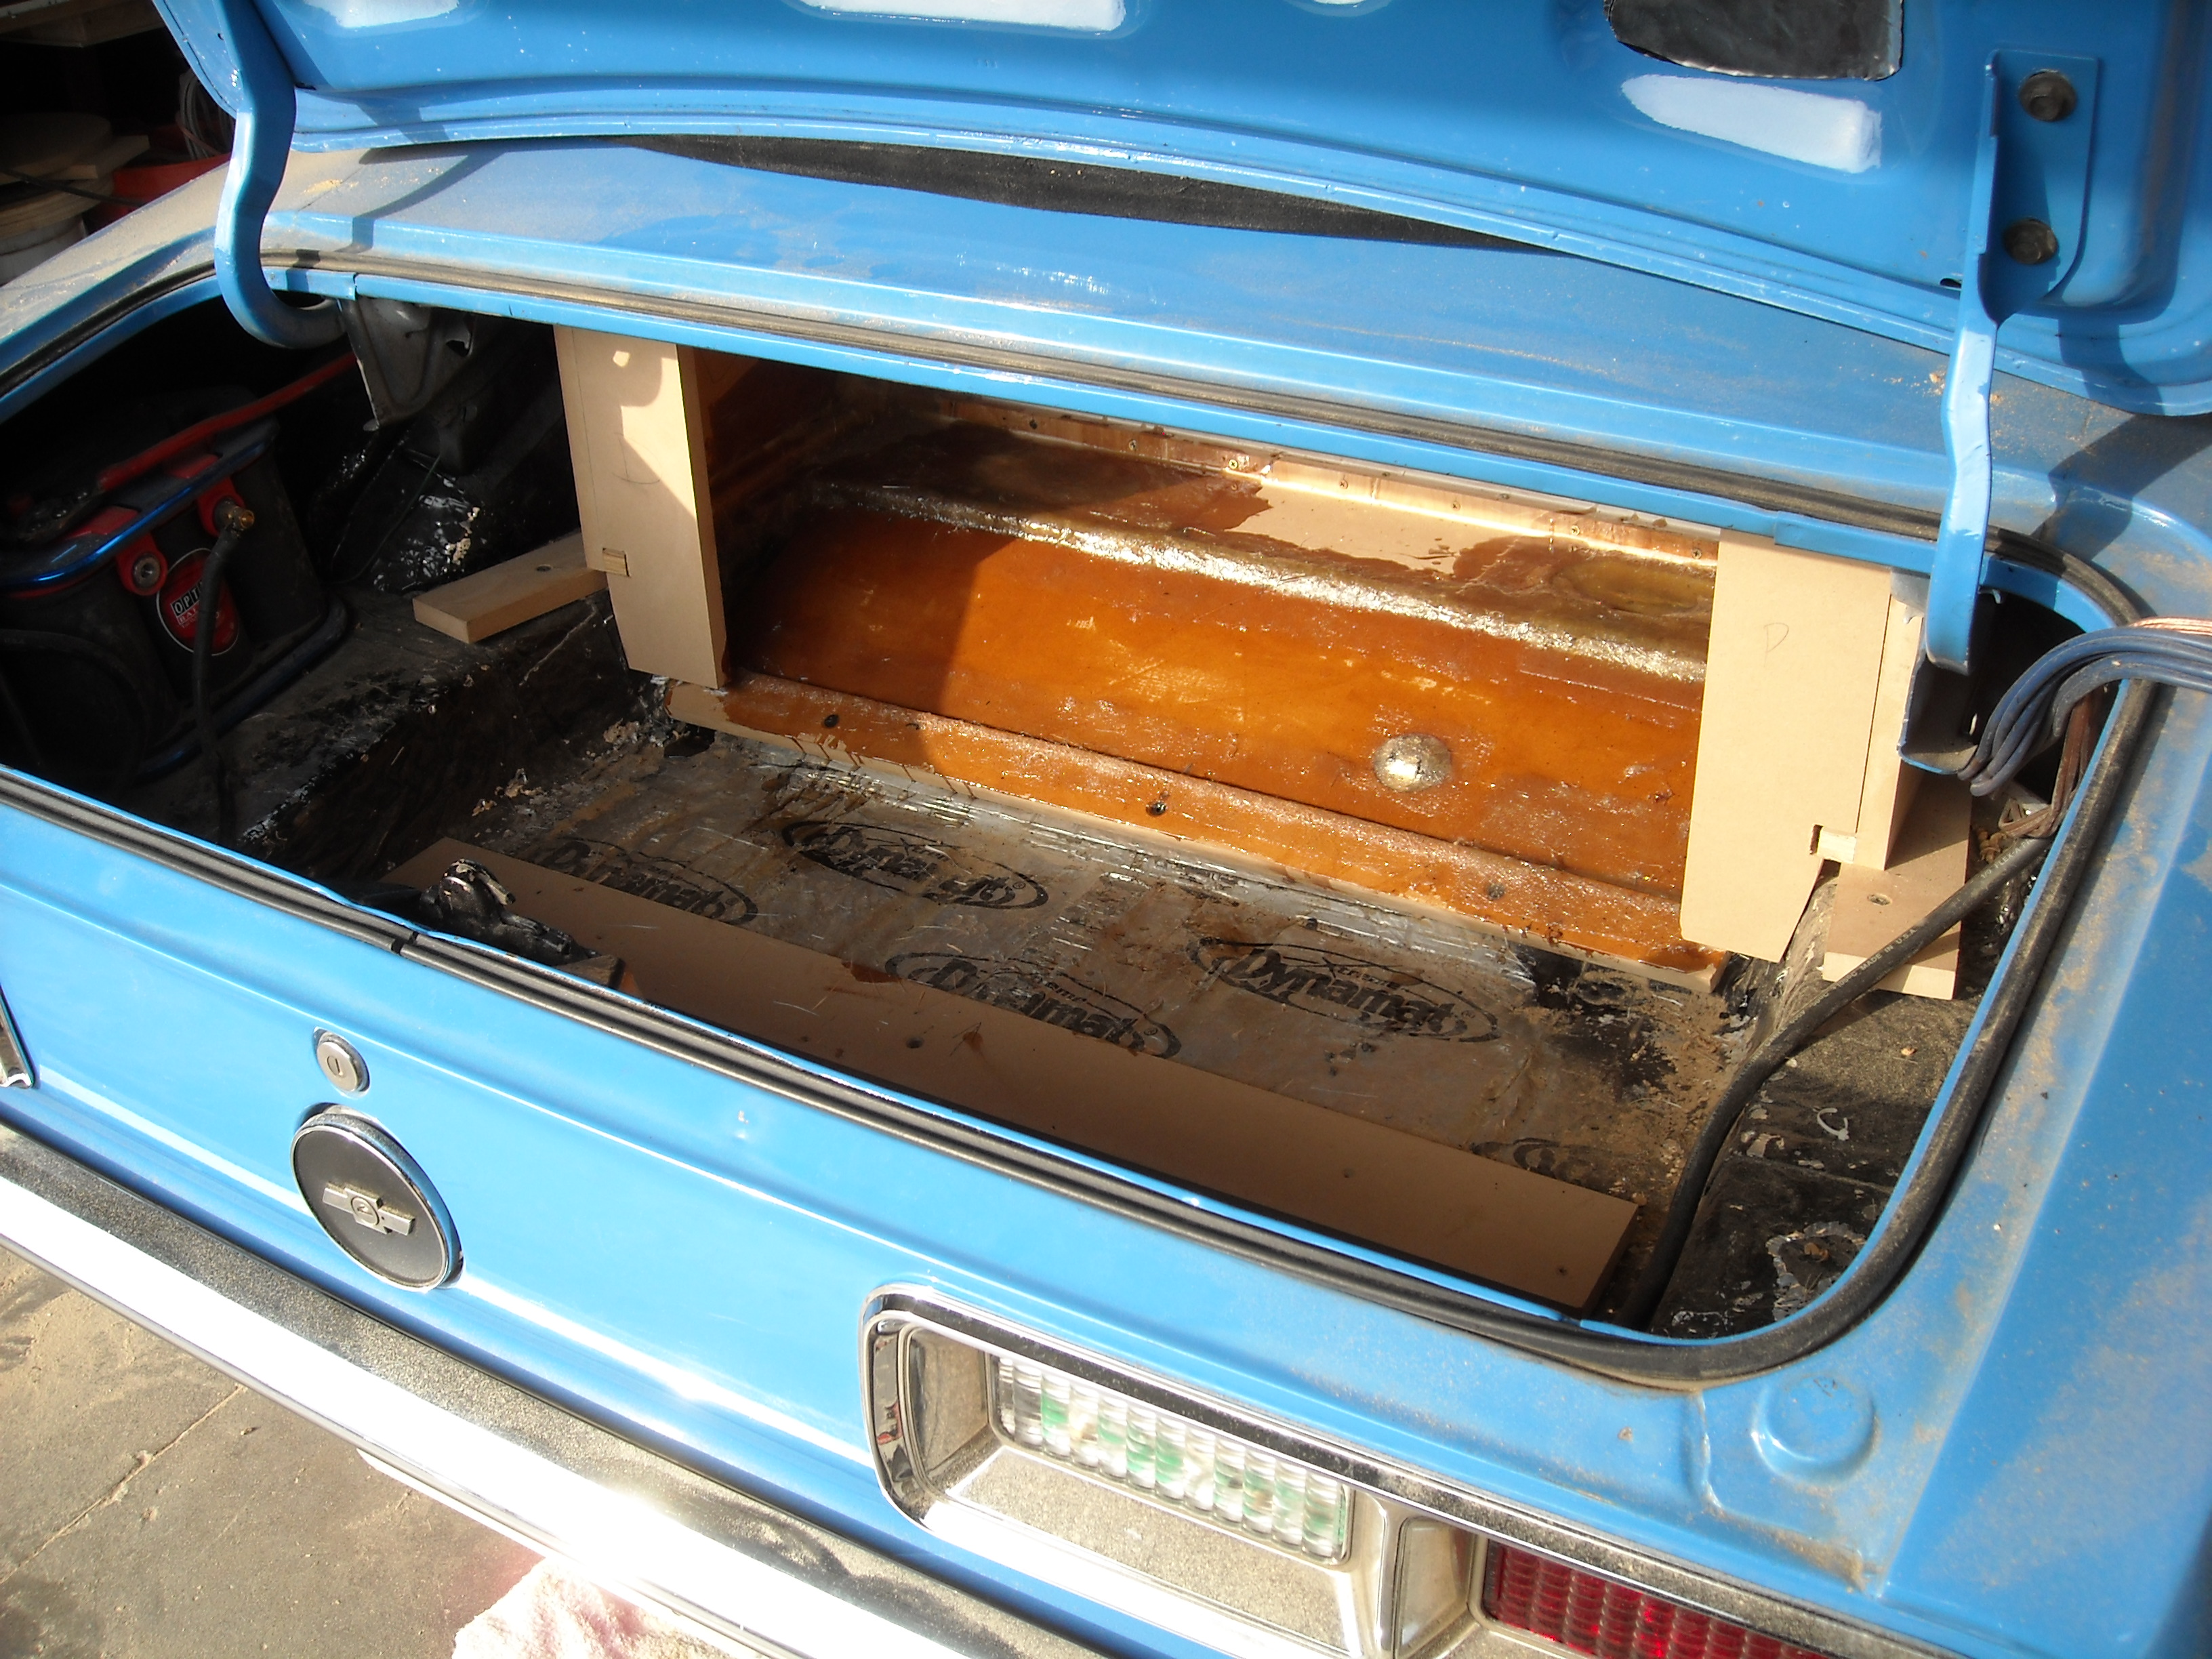
The sealed side of the box gets carpeted not only for a finish, but it'* a tad undersized, and that carpet will trick the sub into thinking the box is bigger then it is.
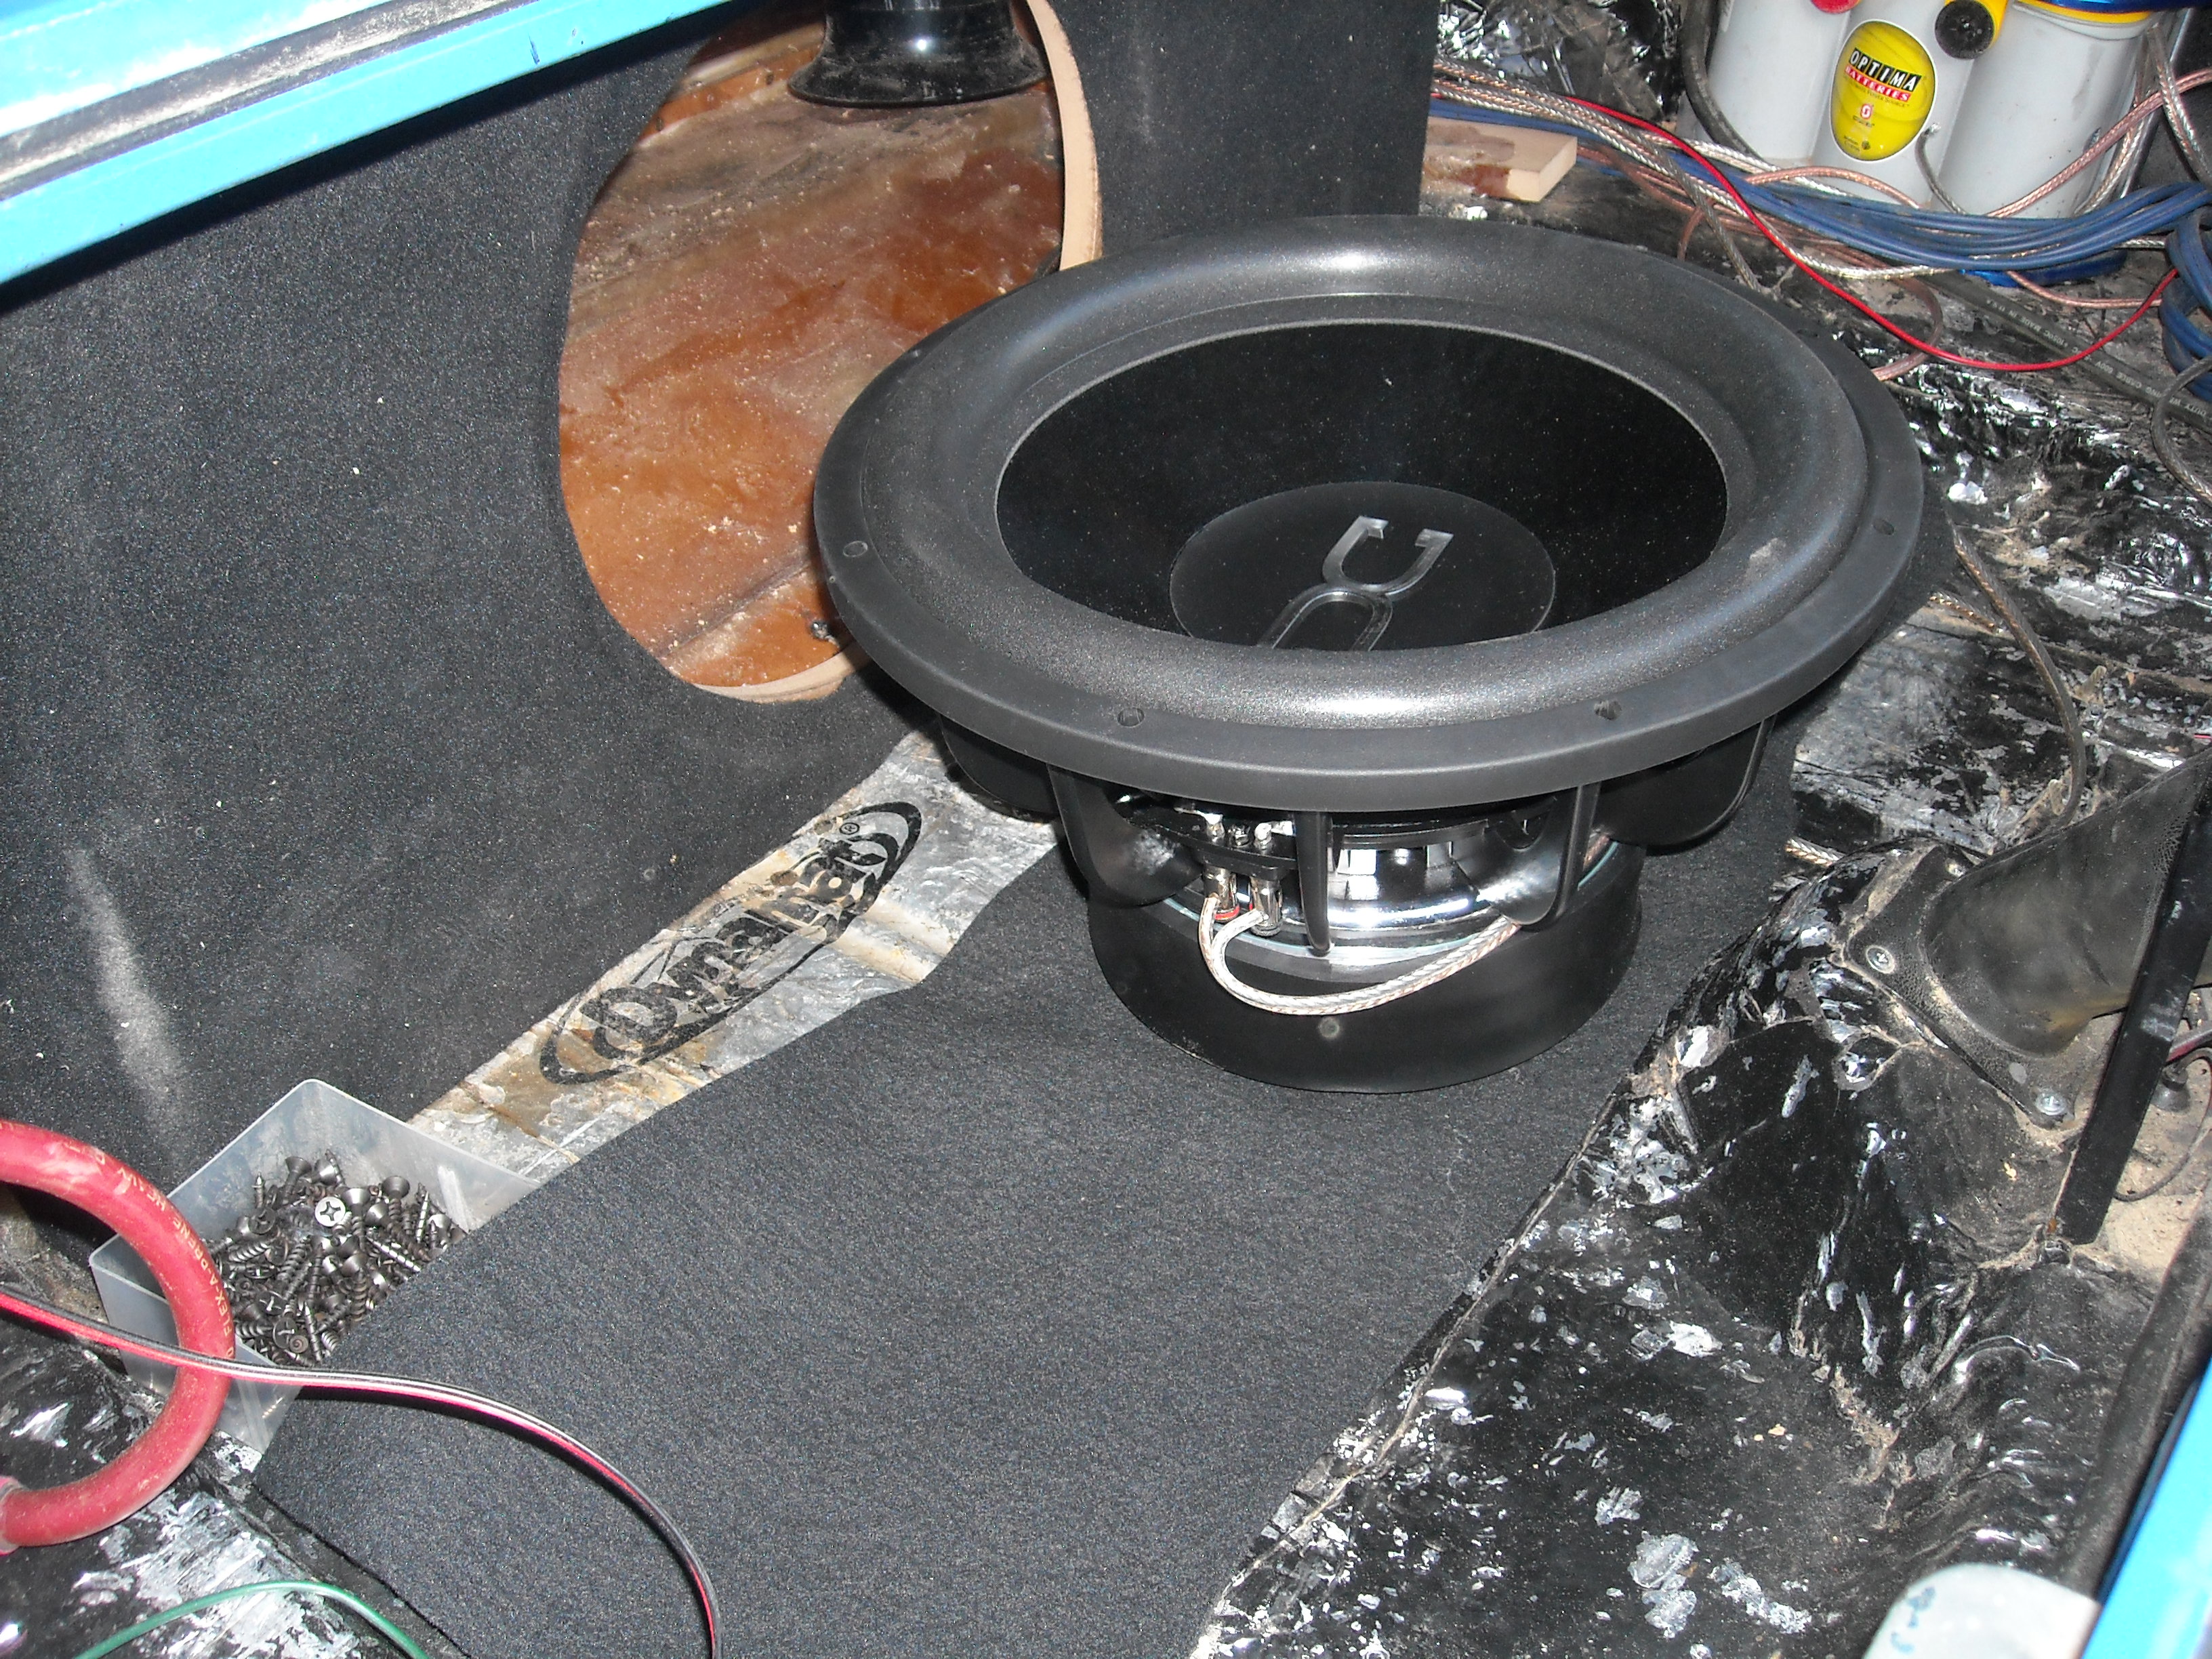
Plan is to have a 15" sub in a 4th order bandpass box.
I started out simple enough with making a many pieces as i could without too many gaps to fiberglass
Once I had the back laid out, i could then figure where the sub was going to go.
The baffle is set for the ported side.
I sent this pic to the owner. I'm 5-9 and 250. it wasn't anything nice to attach the box together or glass it in.
You can see here where I use cleats to build the box from the inside out. It'* tricky at first, but once you are on a roll, it isn't too bad.
Glassed the faceframe in.
Then the baffle is double thick to add for strength as well as allow the sub to have that flushed finish look
The sealed side of the box gets carpeted not only for a finish, but it'* a tad undersized, and that carpet will trick the sub into thinking the box is bigger then it is.
Thread Starter
Junior Member
Posts like a Ricer Type-R
Joined: Aug 2012
Posts: 18
Likes: 0
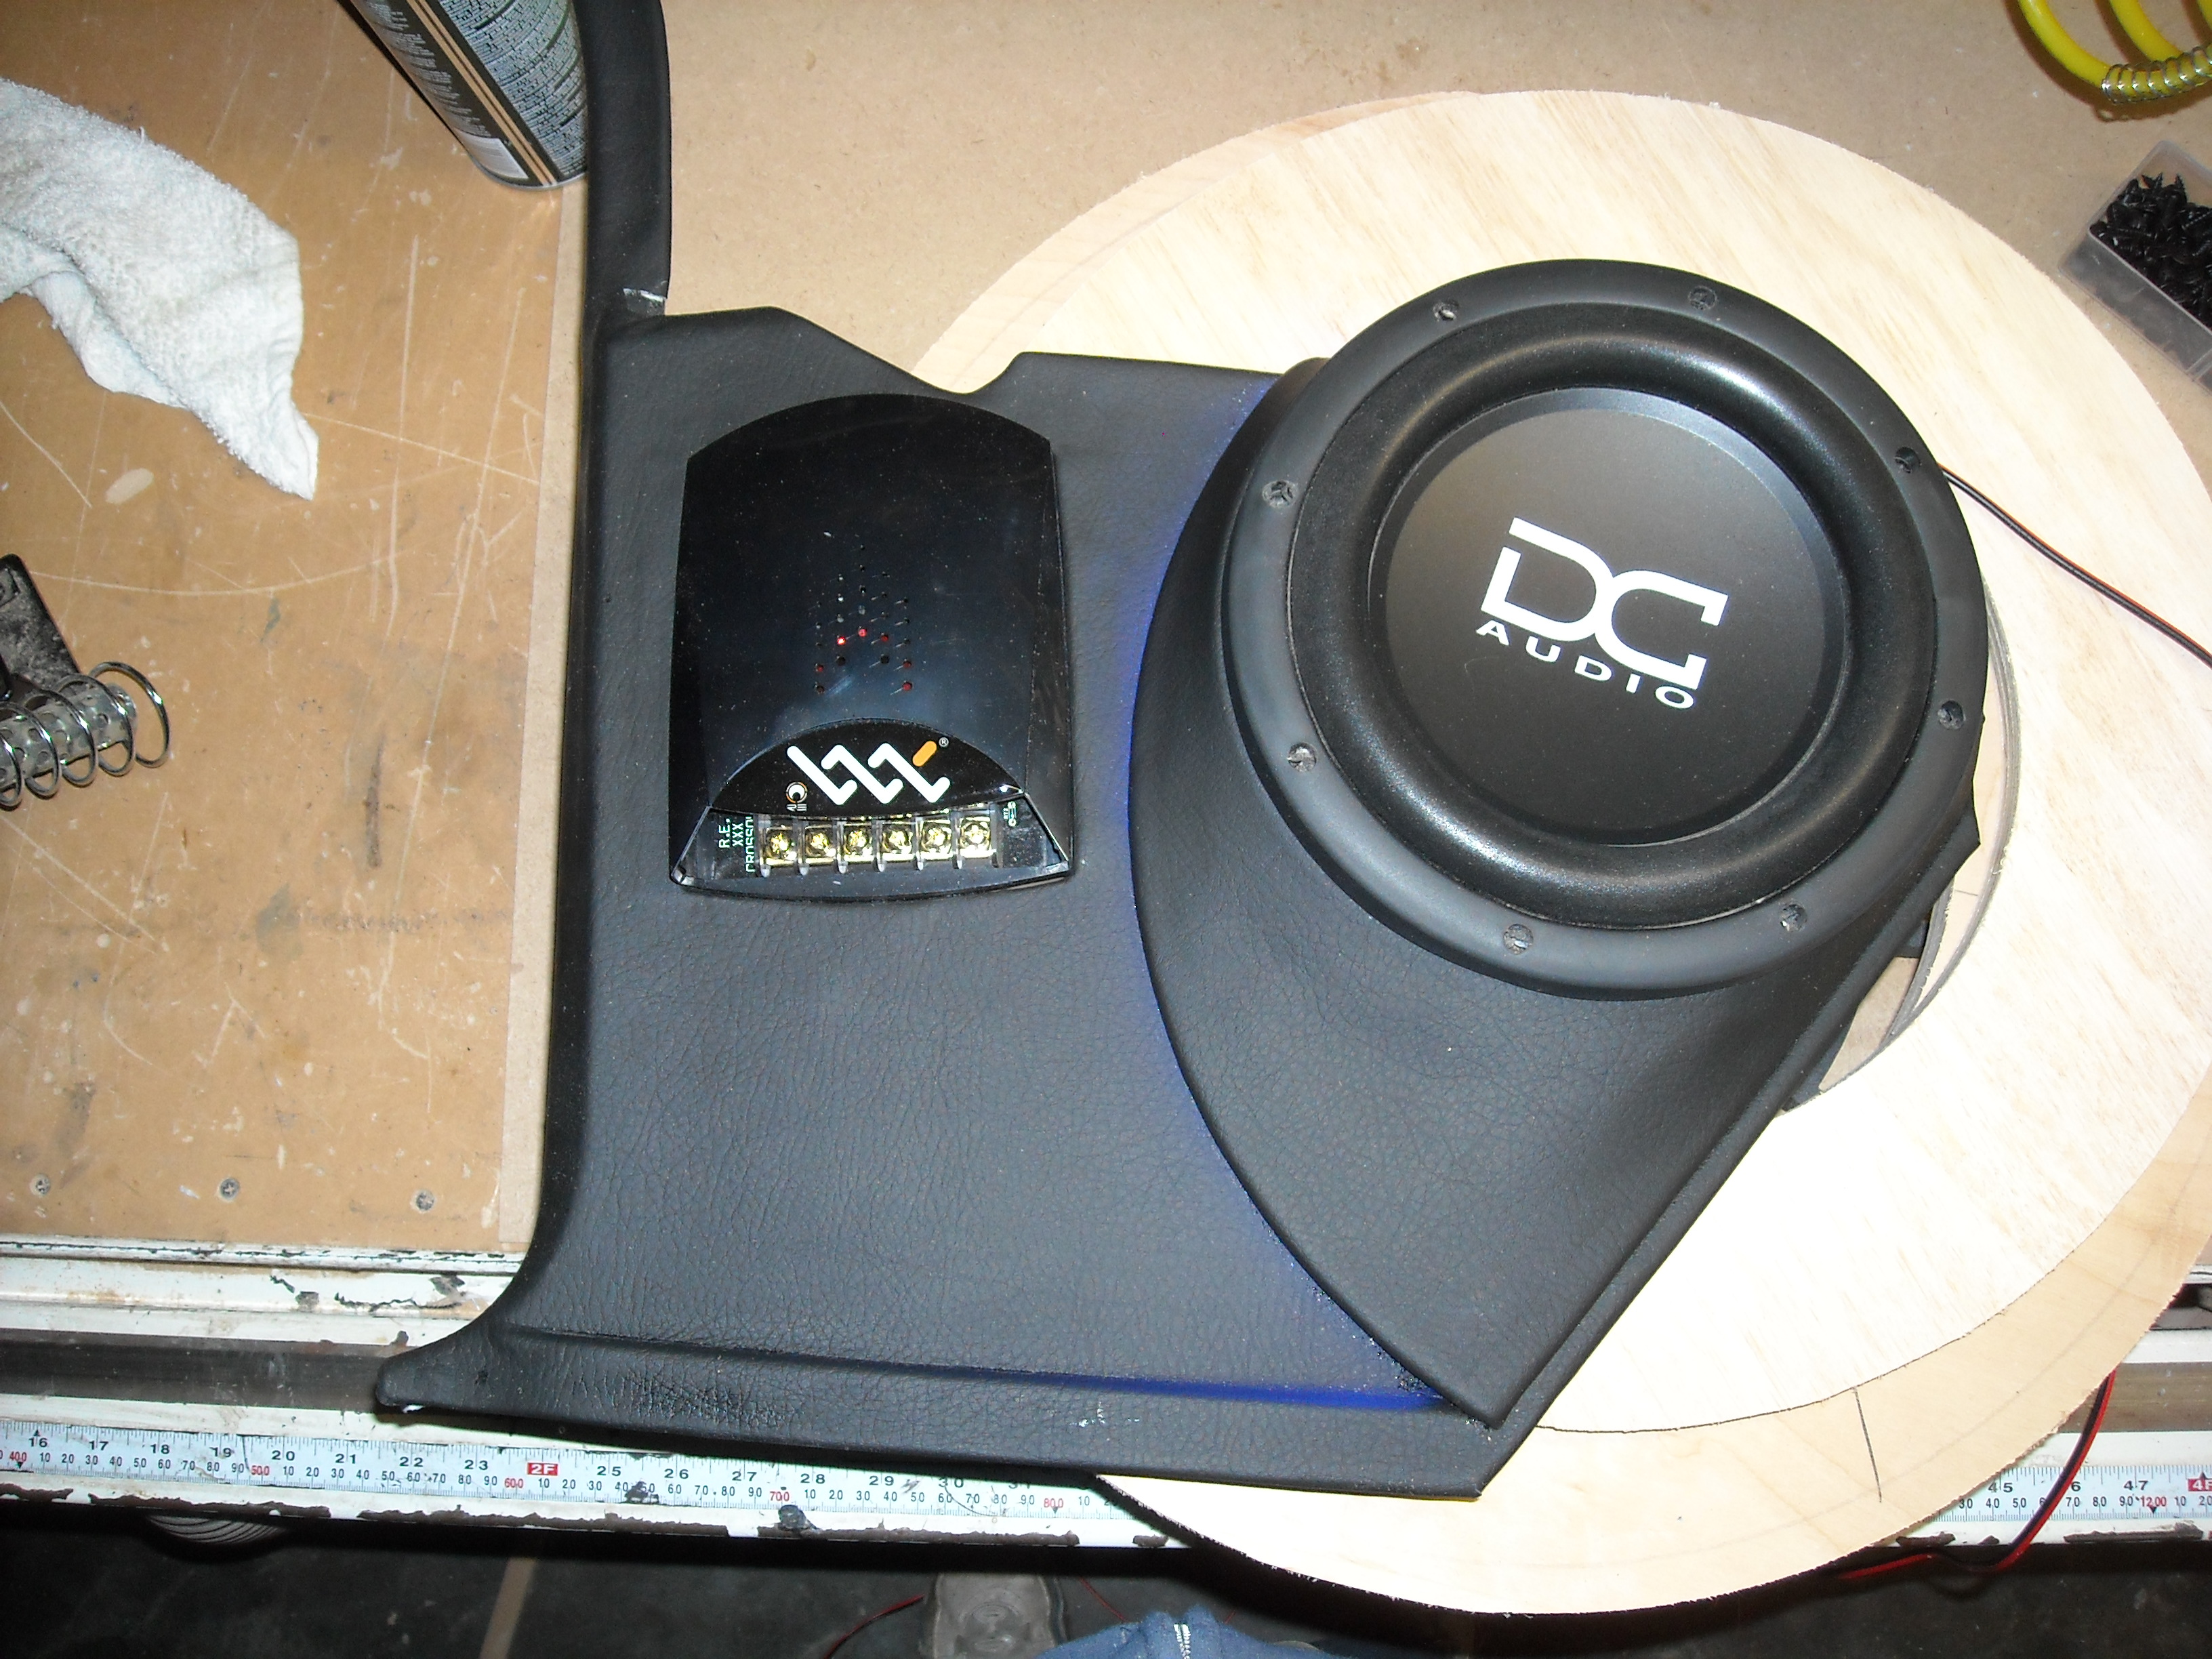
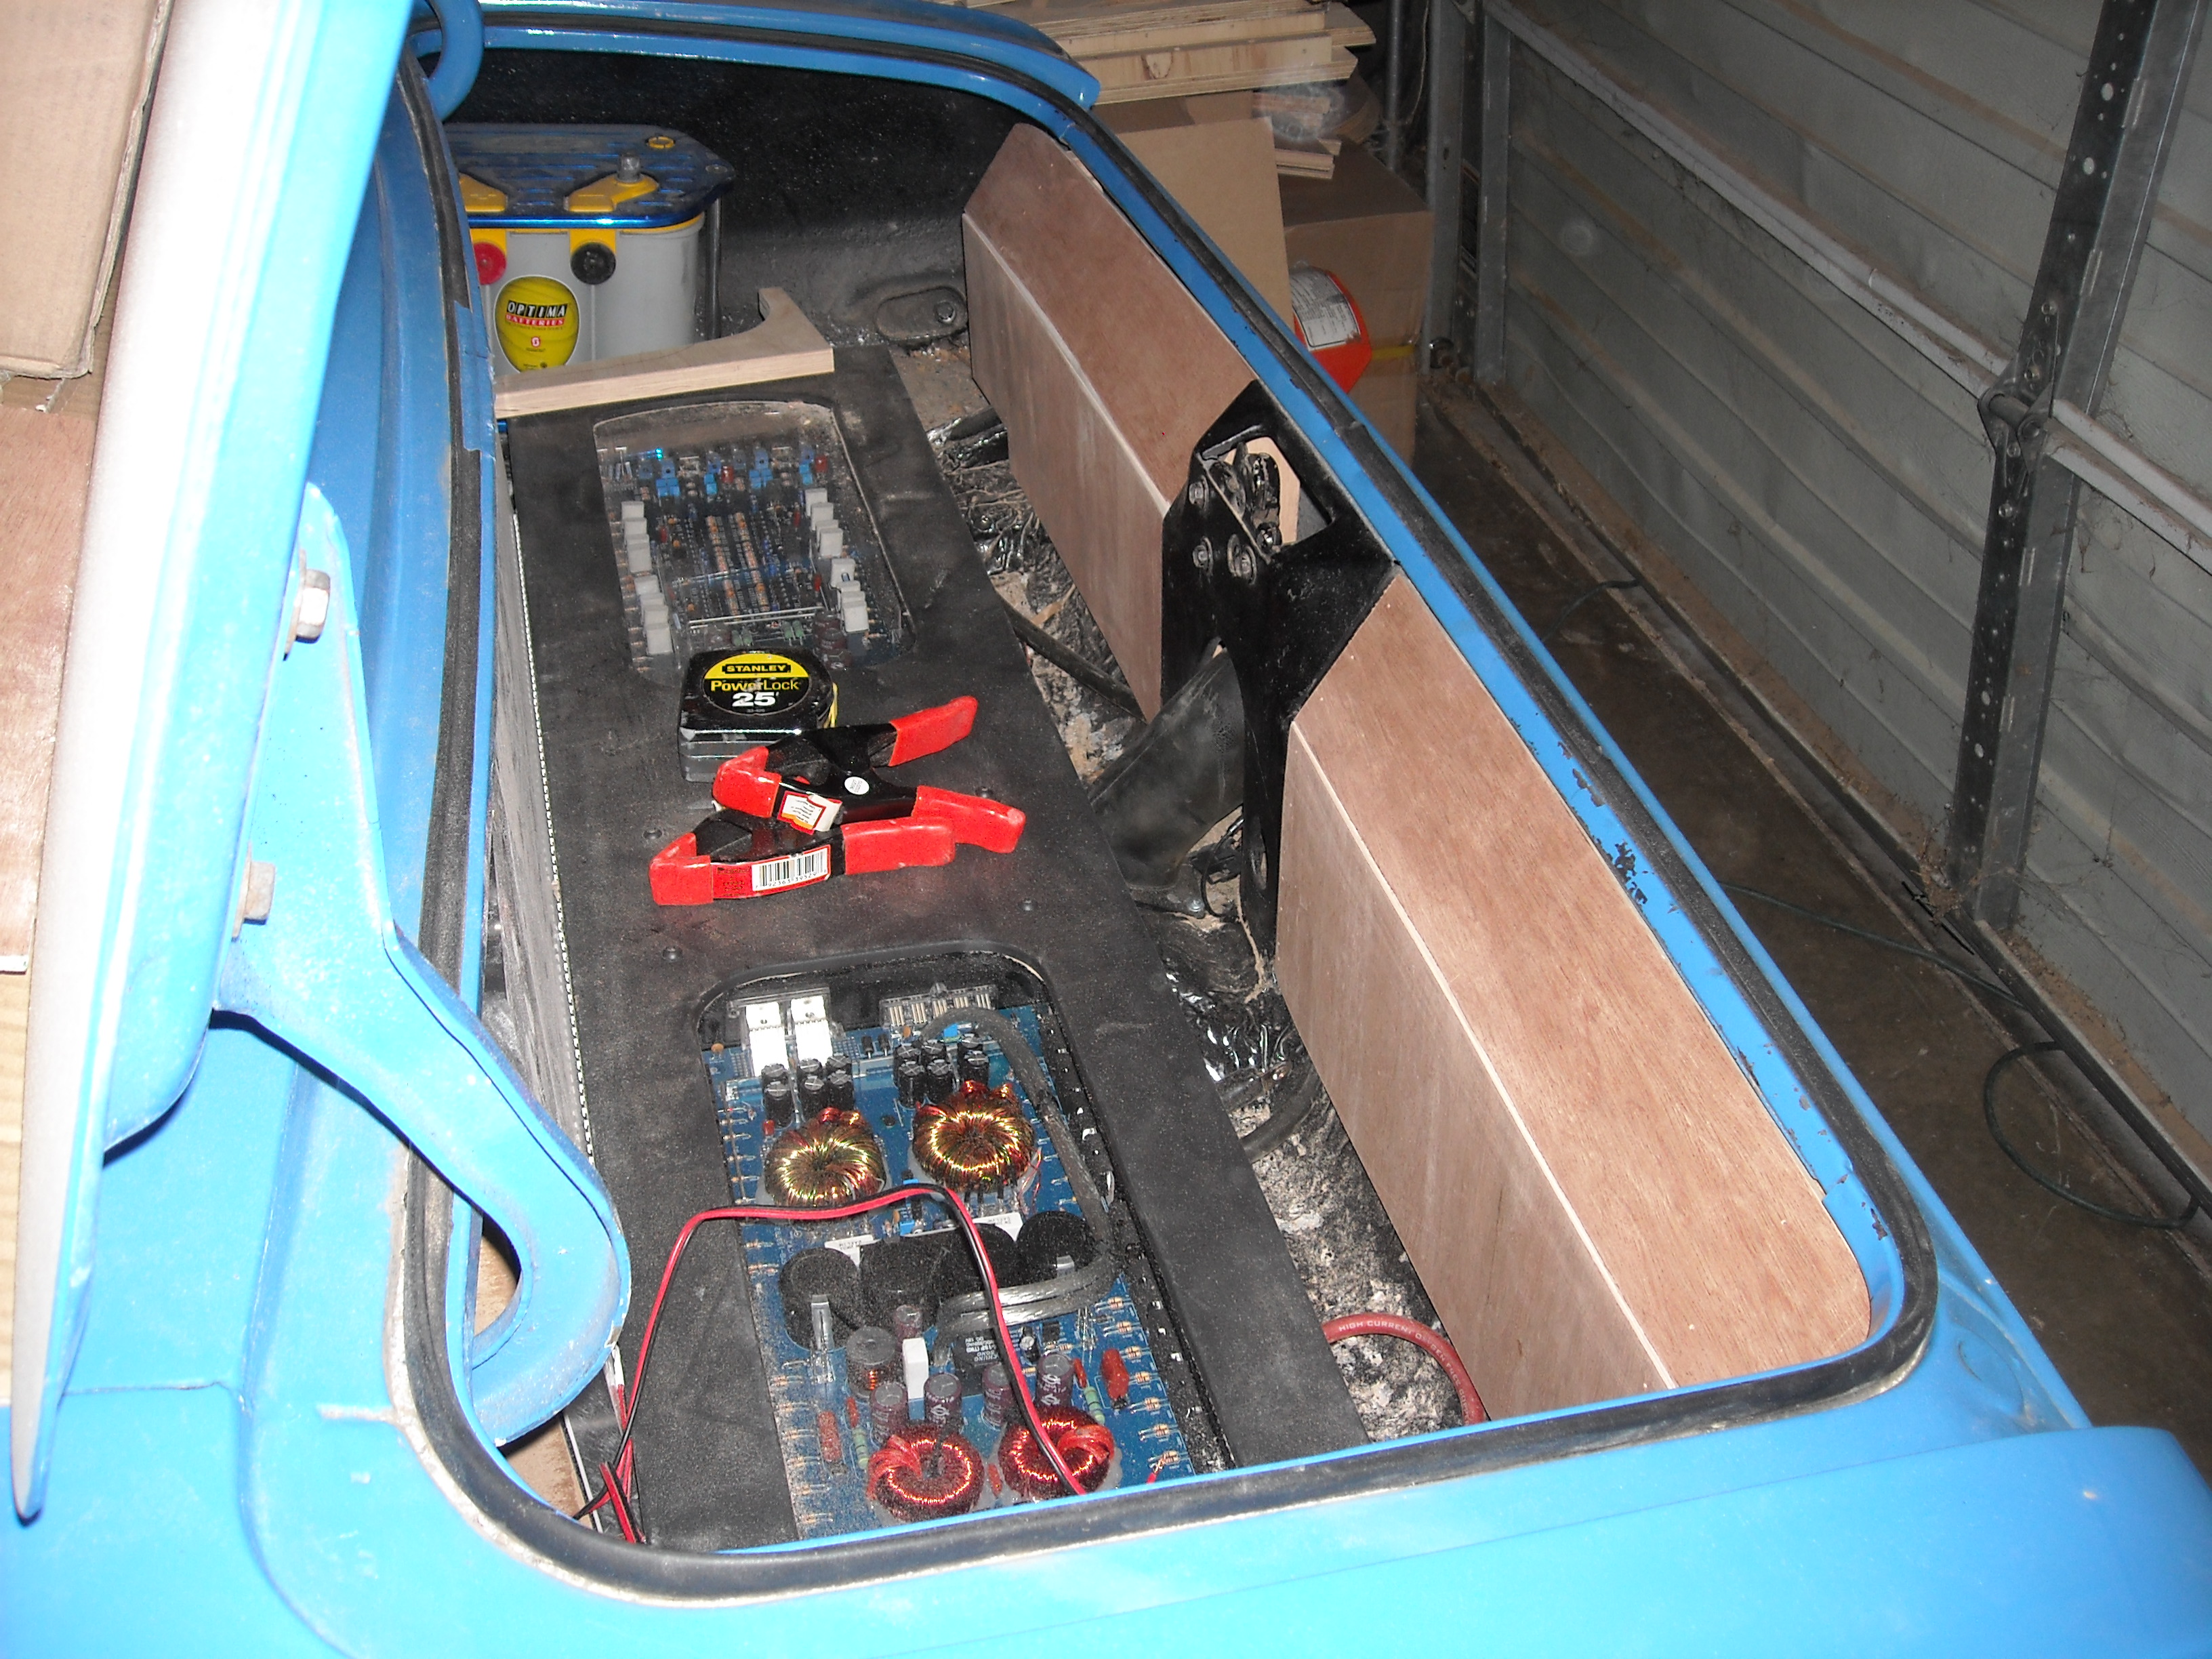
Now on to the amp rack. I wanted something to show some balls like under the hood, so I decided to show off the guts of the amps.

Started off with a simple box frame for the amps. And made a trace of where they would go.
Once cut out, everything is sanded smooth.

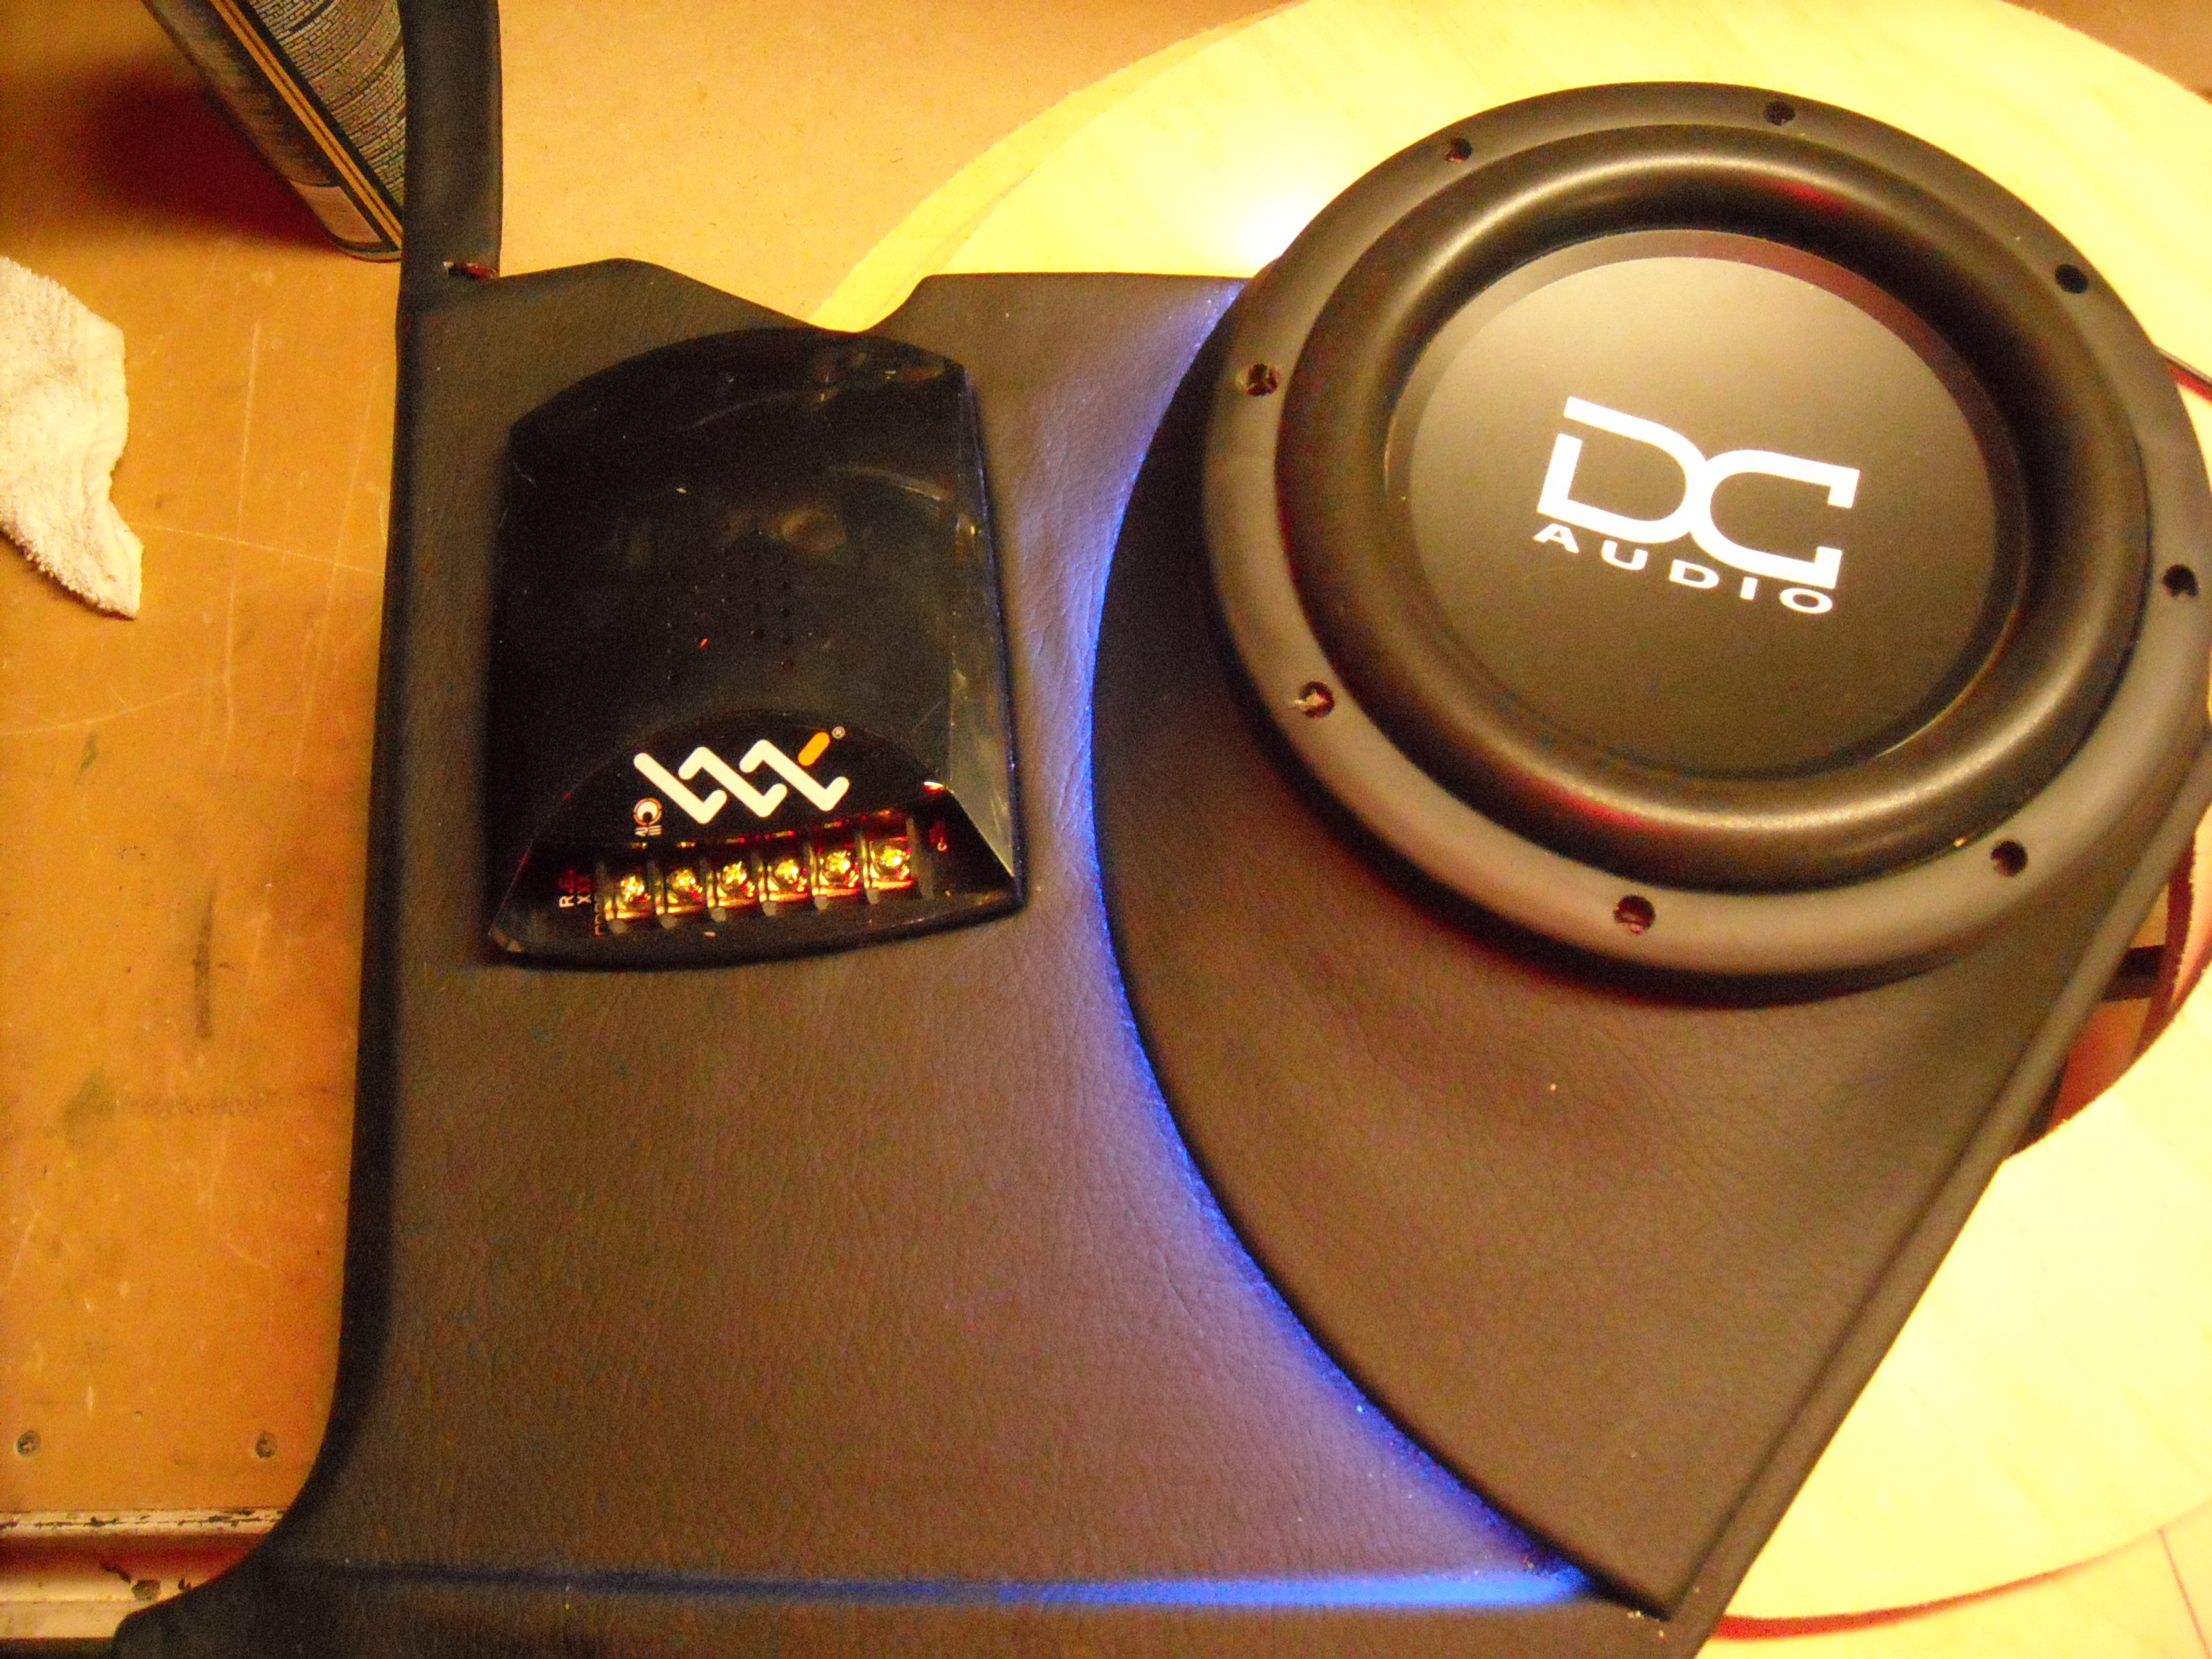
Quick little test fit against the plexi window for the sub.

Amps are then mounted to the board with plexi covers.

Then all wired up.

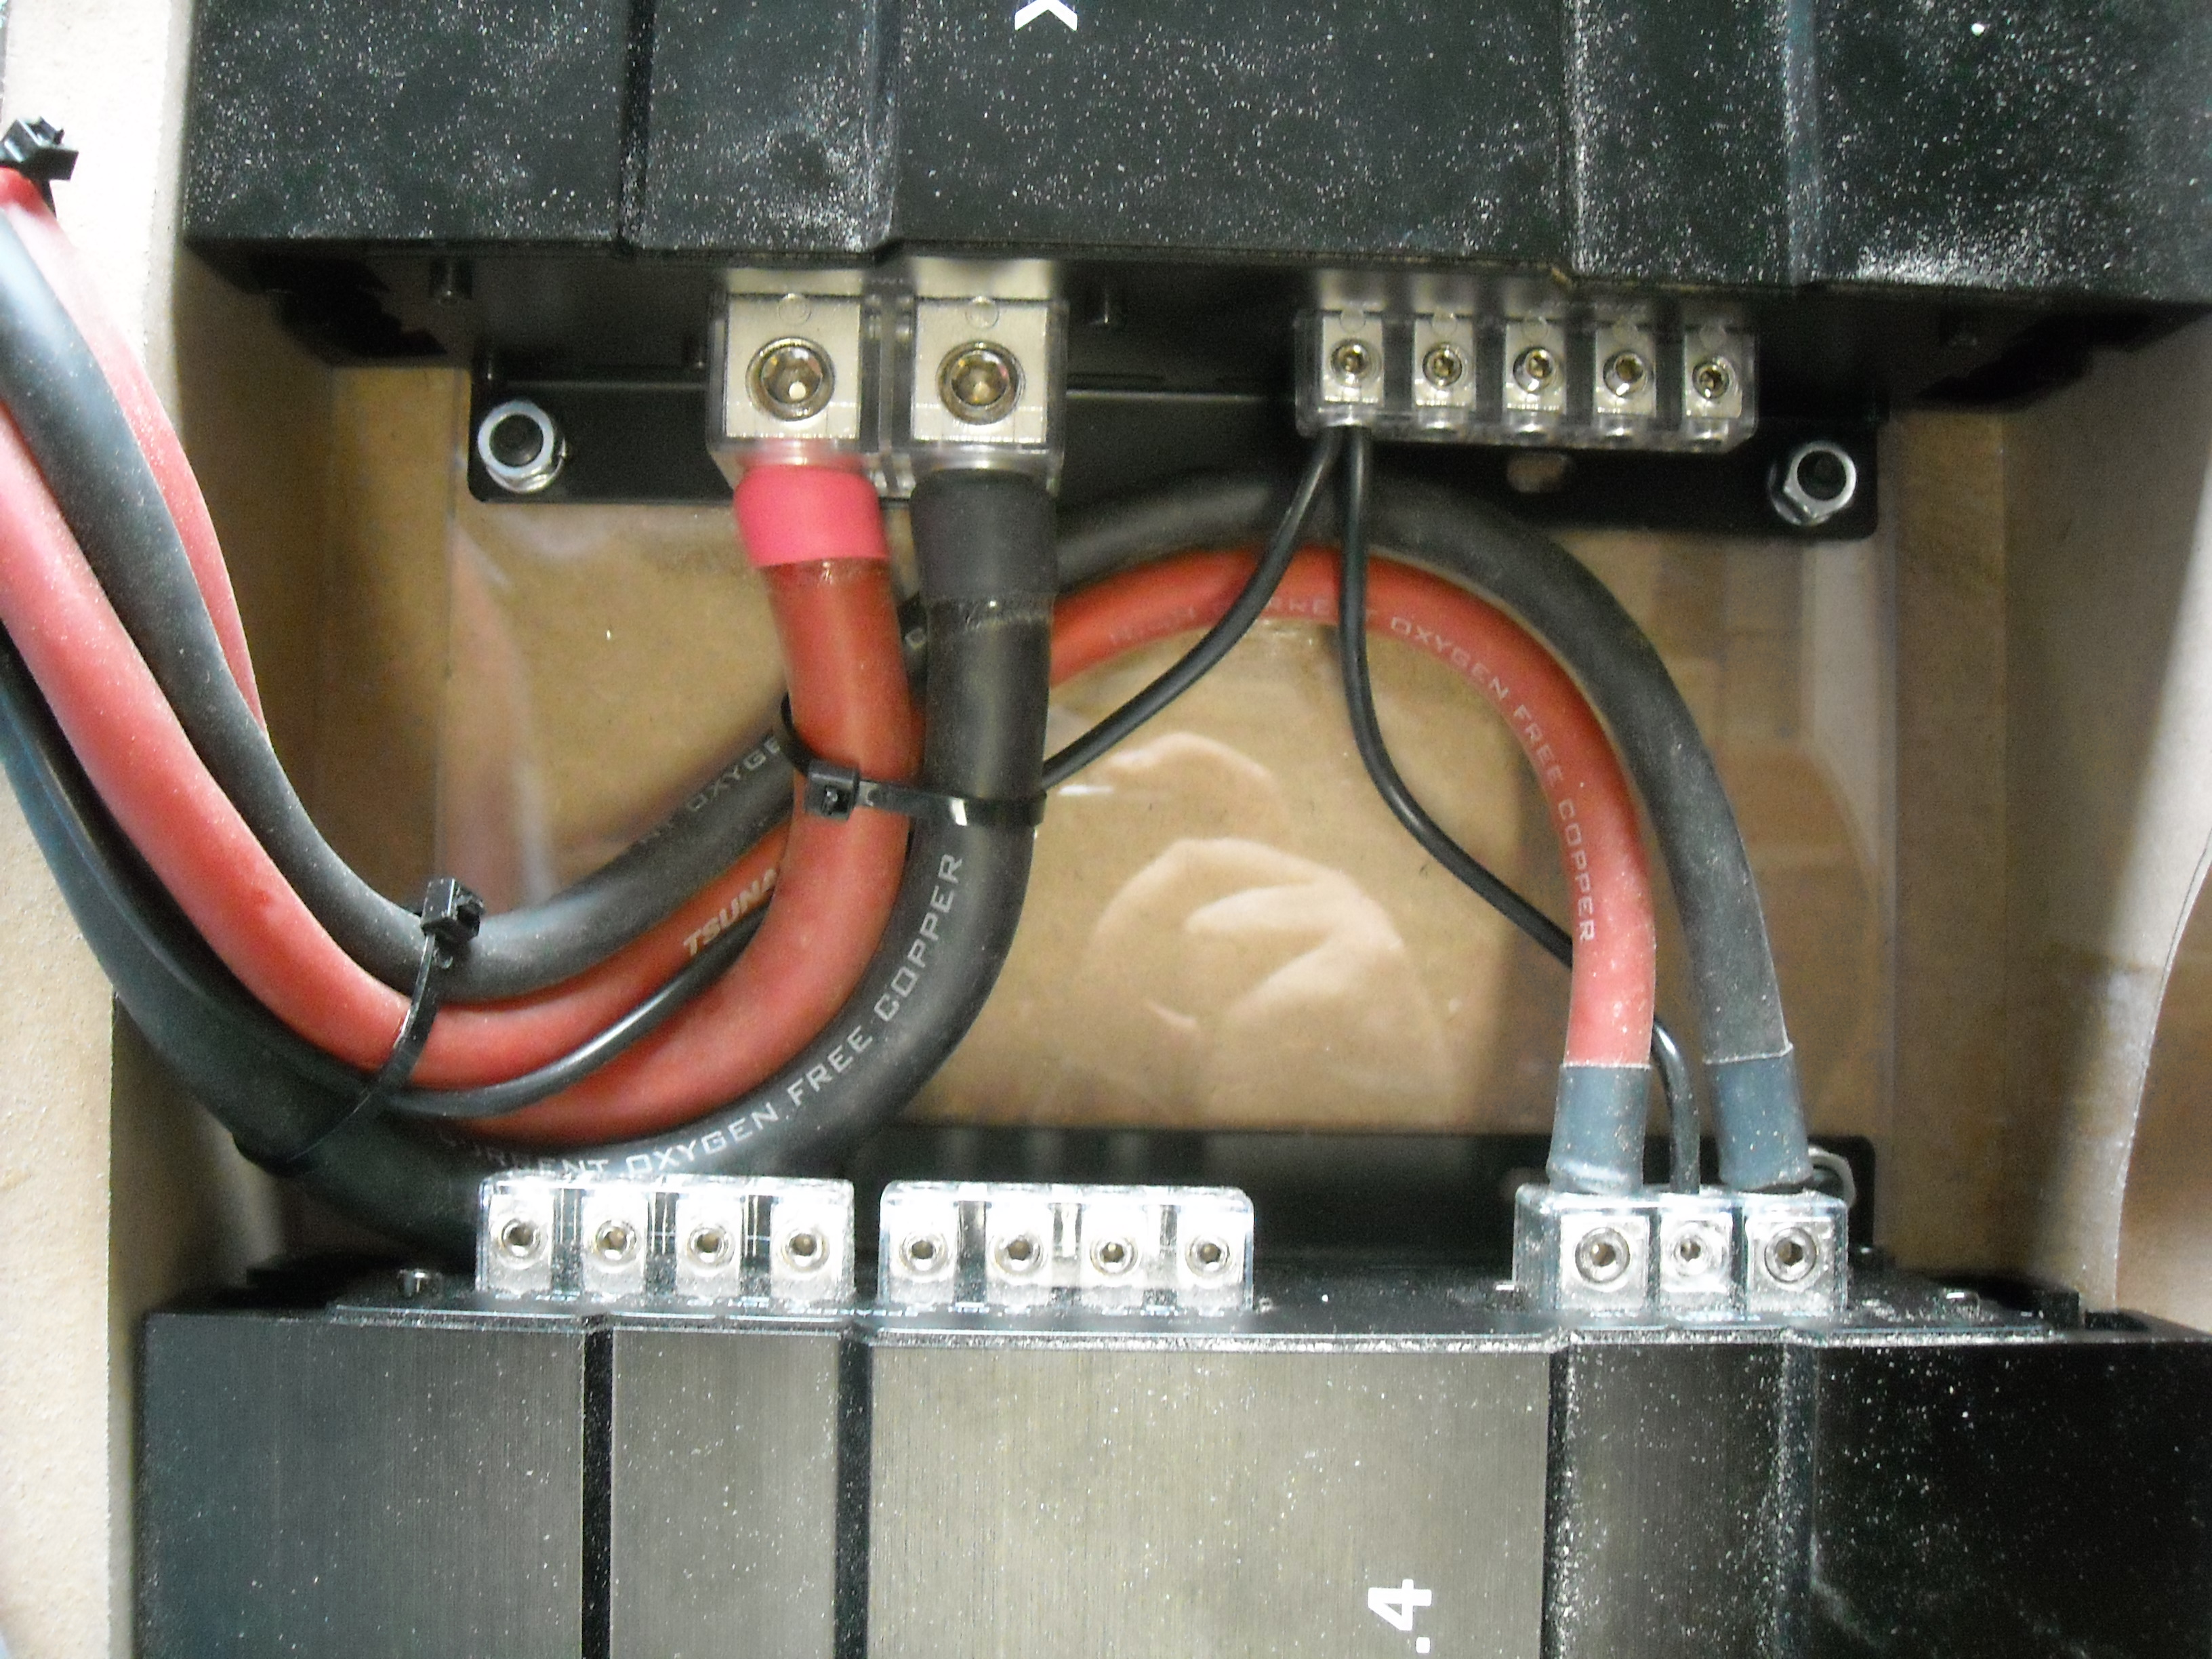
Then set all the gains and crossover slopes with the DD-1 and CC-1

A simple wrap of vinyl finishes off the rack.
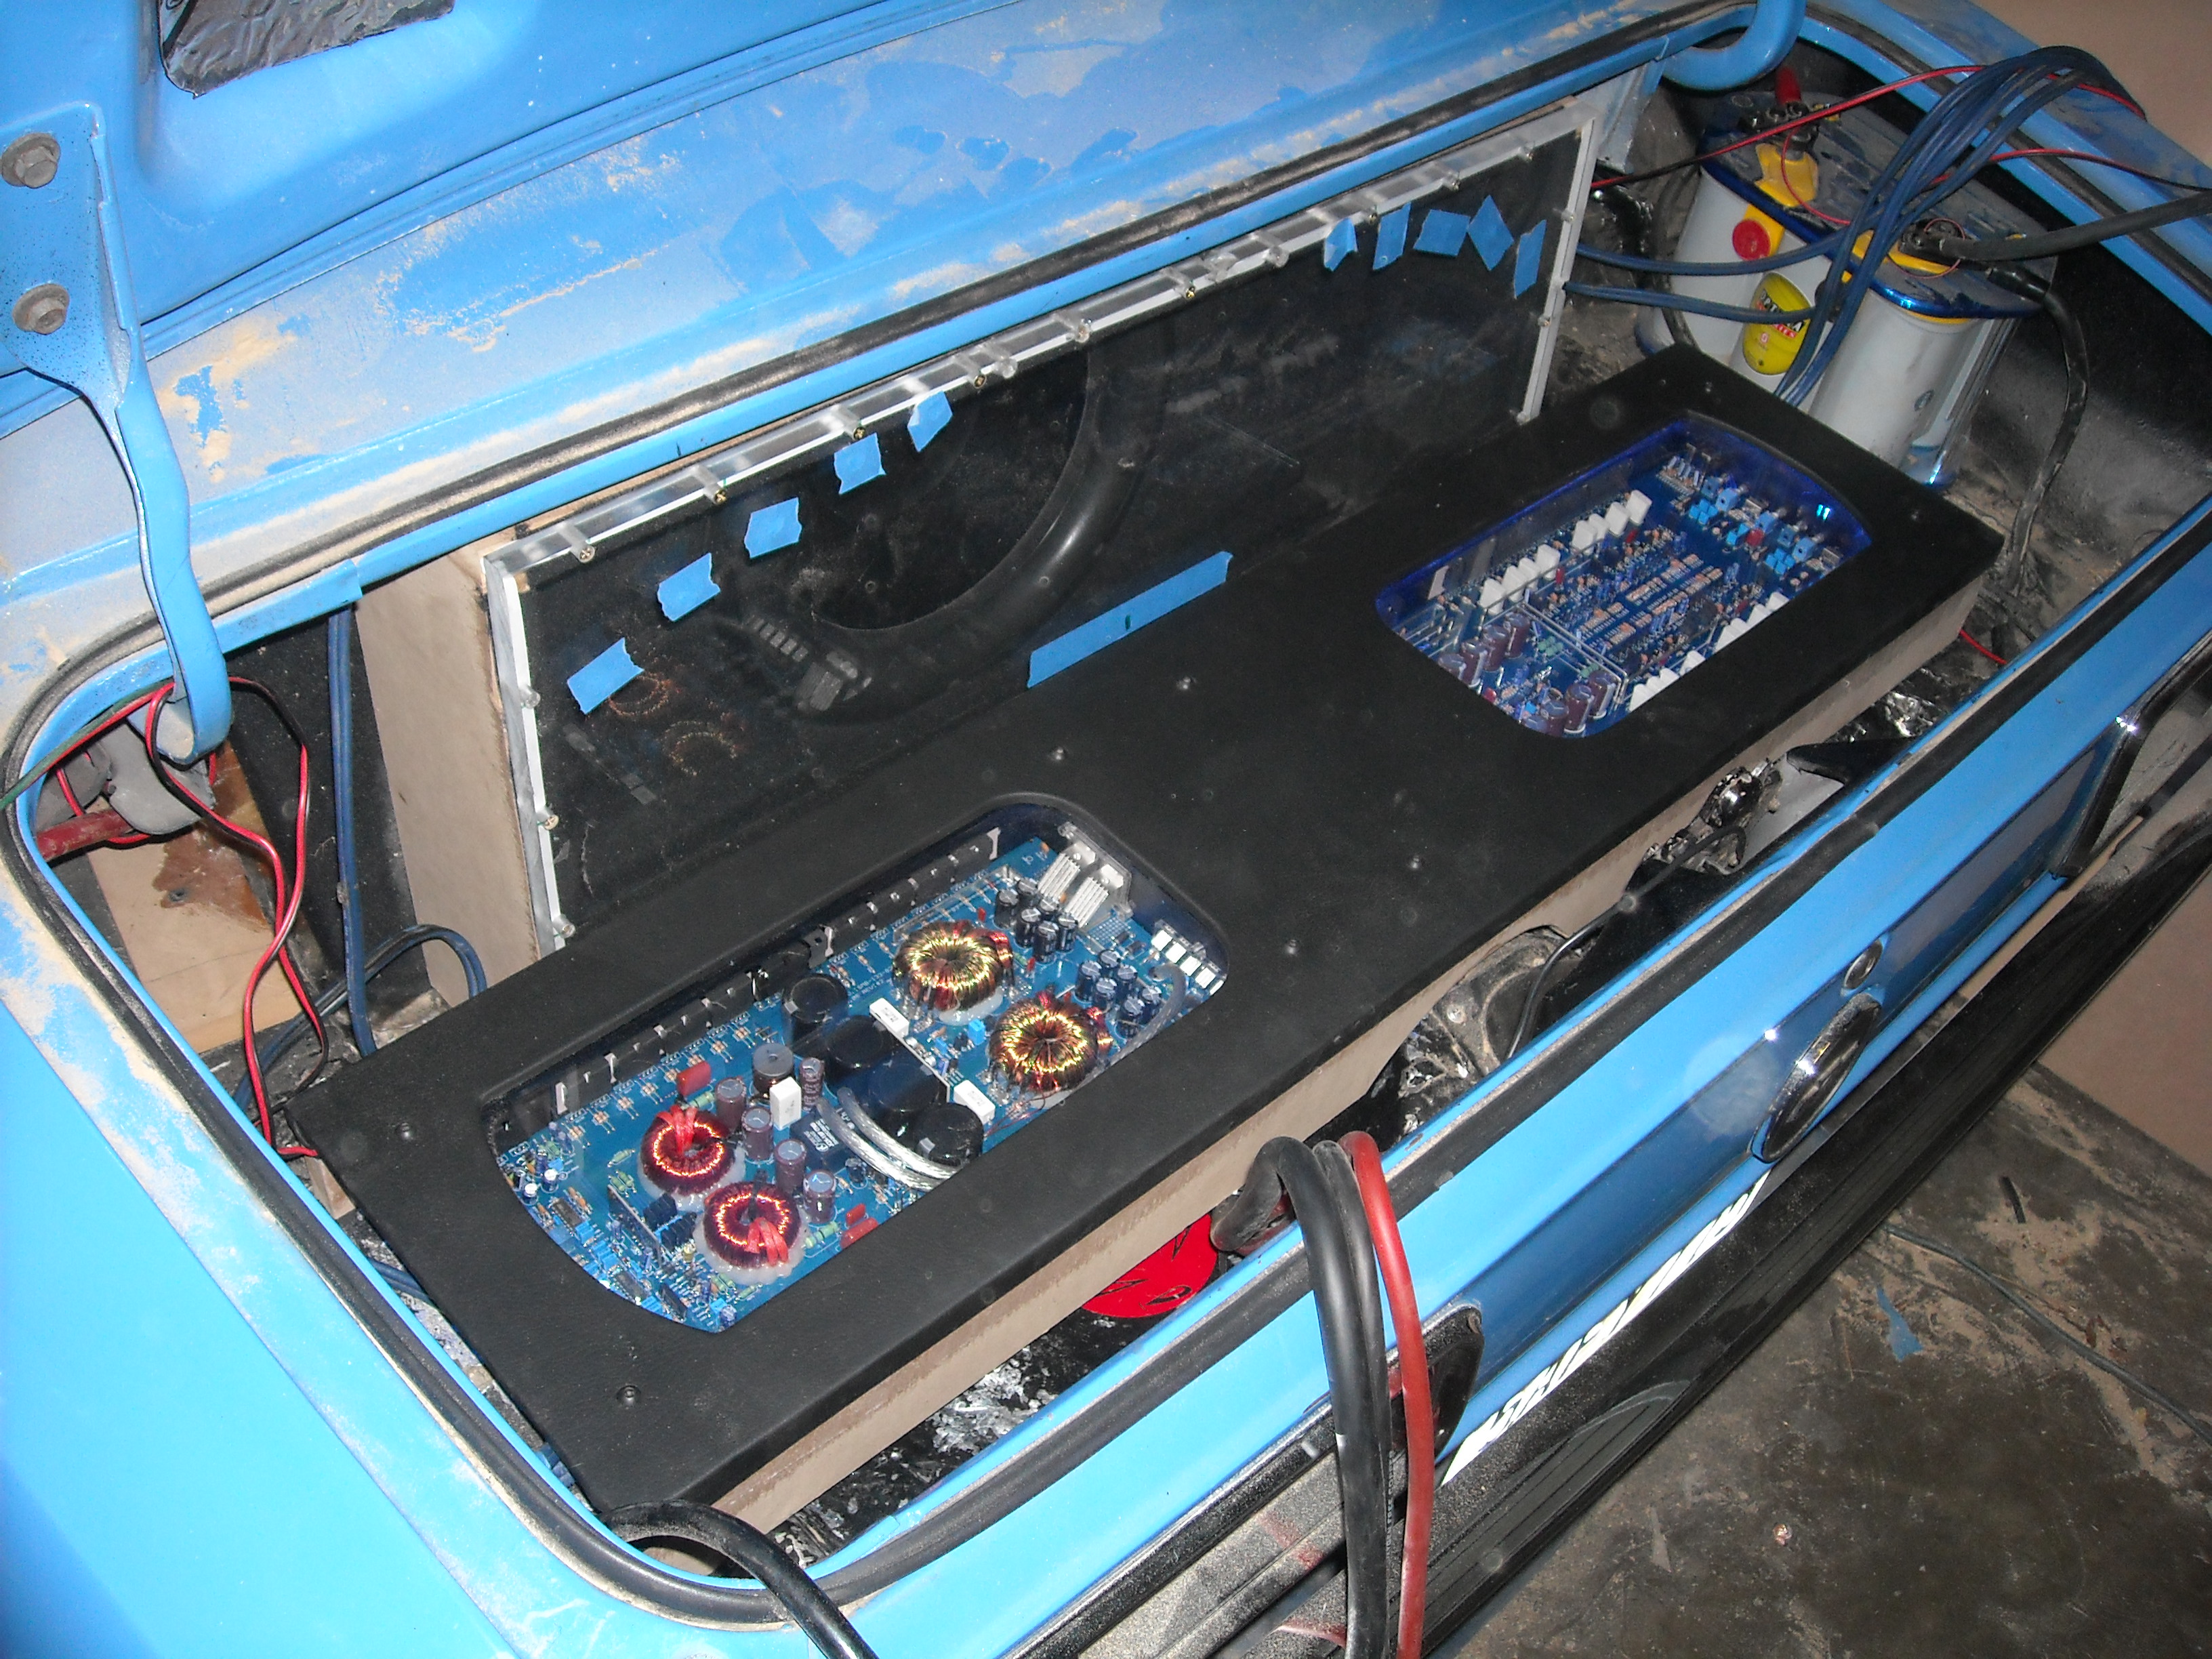
everything lit up.

Started off with a simple box frame for the amps. And made a trace of where they would go.
Once cut out, everything is sanded smooth.
Quick little test fit against the plexi window for the sub.
Amps are then mounted to the board with plexi covers.
Then all wired up.
Then set all the gains and crossover slopes with the DD-1 and CC-1
A simple wrap of vinyl finishes off the rack.
everything lit up.
Thread Starter
Junior Member
Posts like a Ricer Type-R
Joined: Aug 2012
Posts: 18
Likes: 0
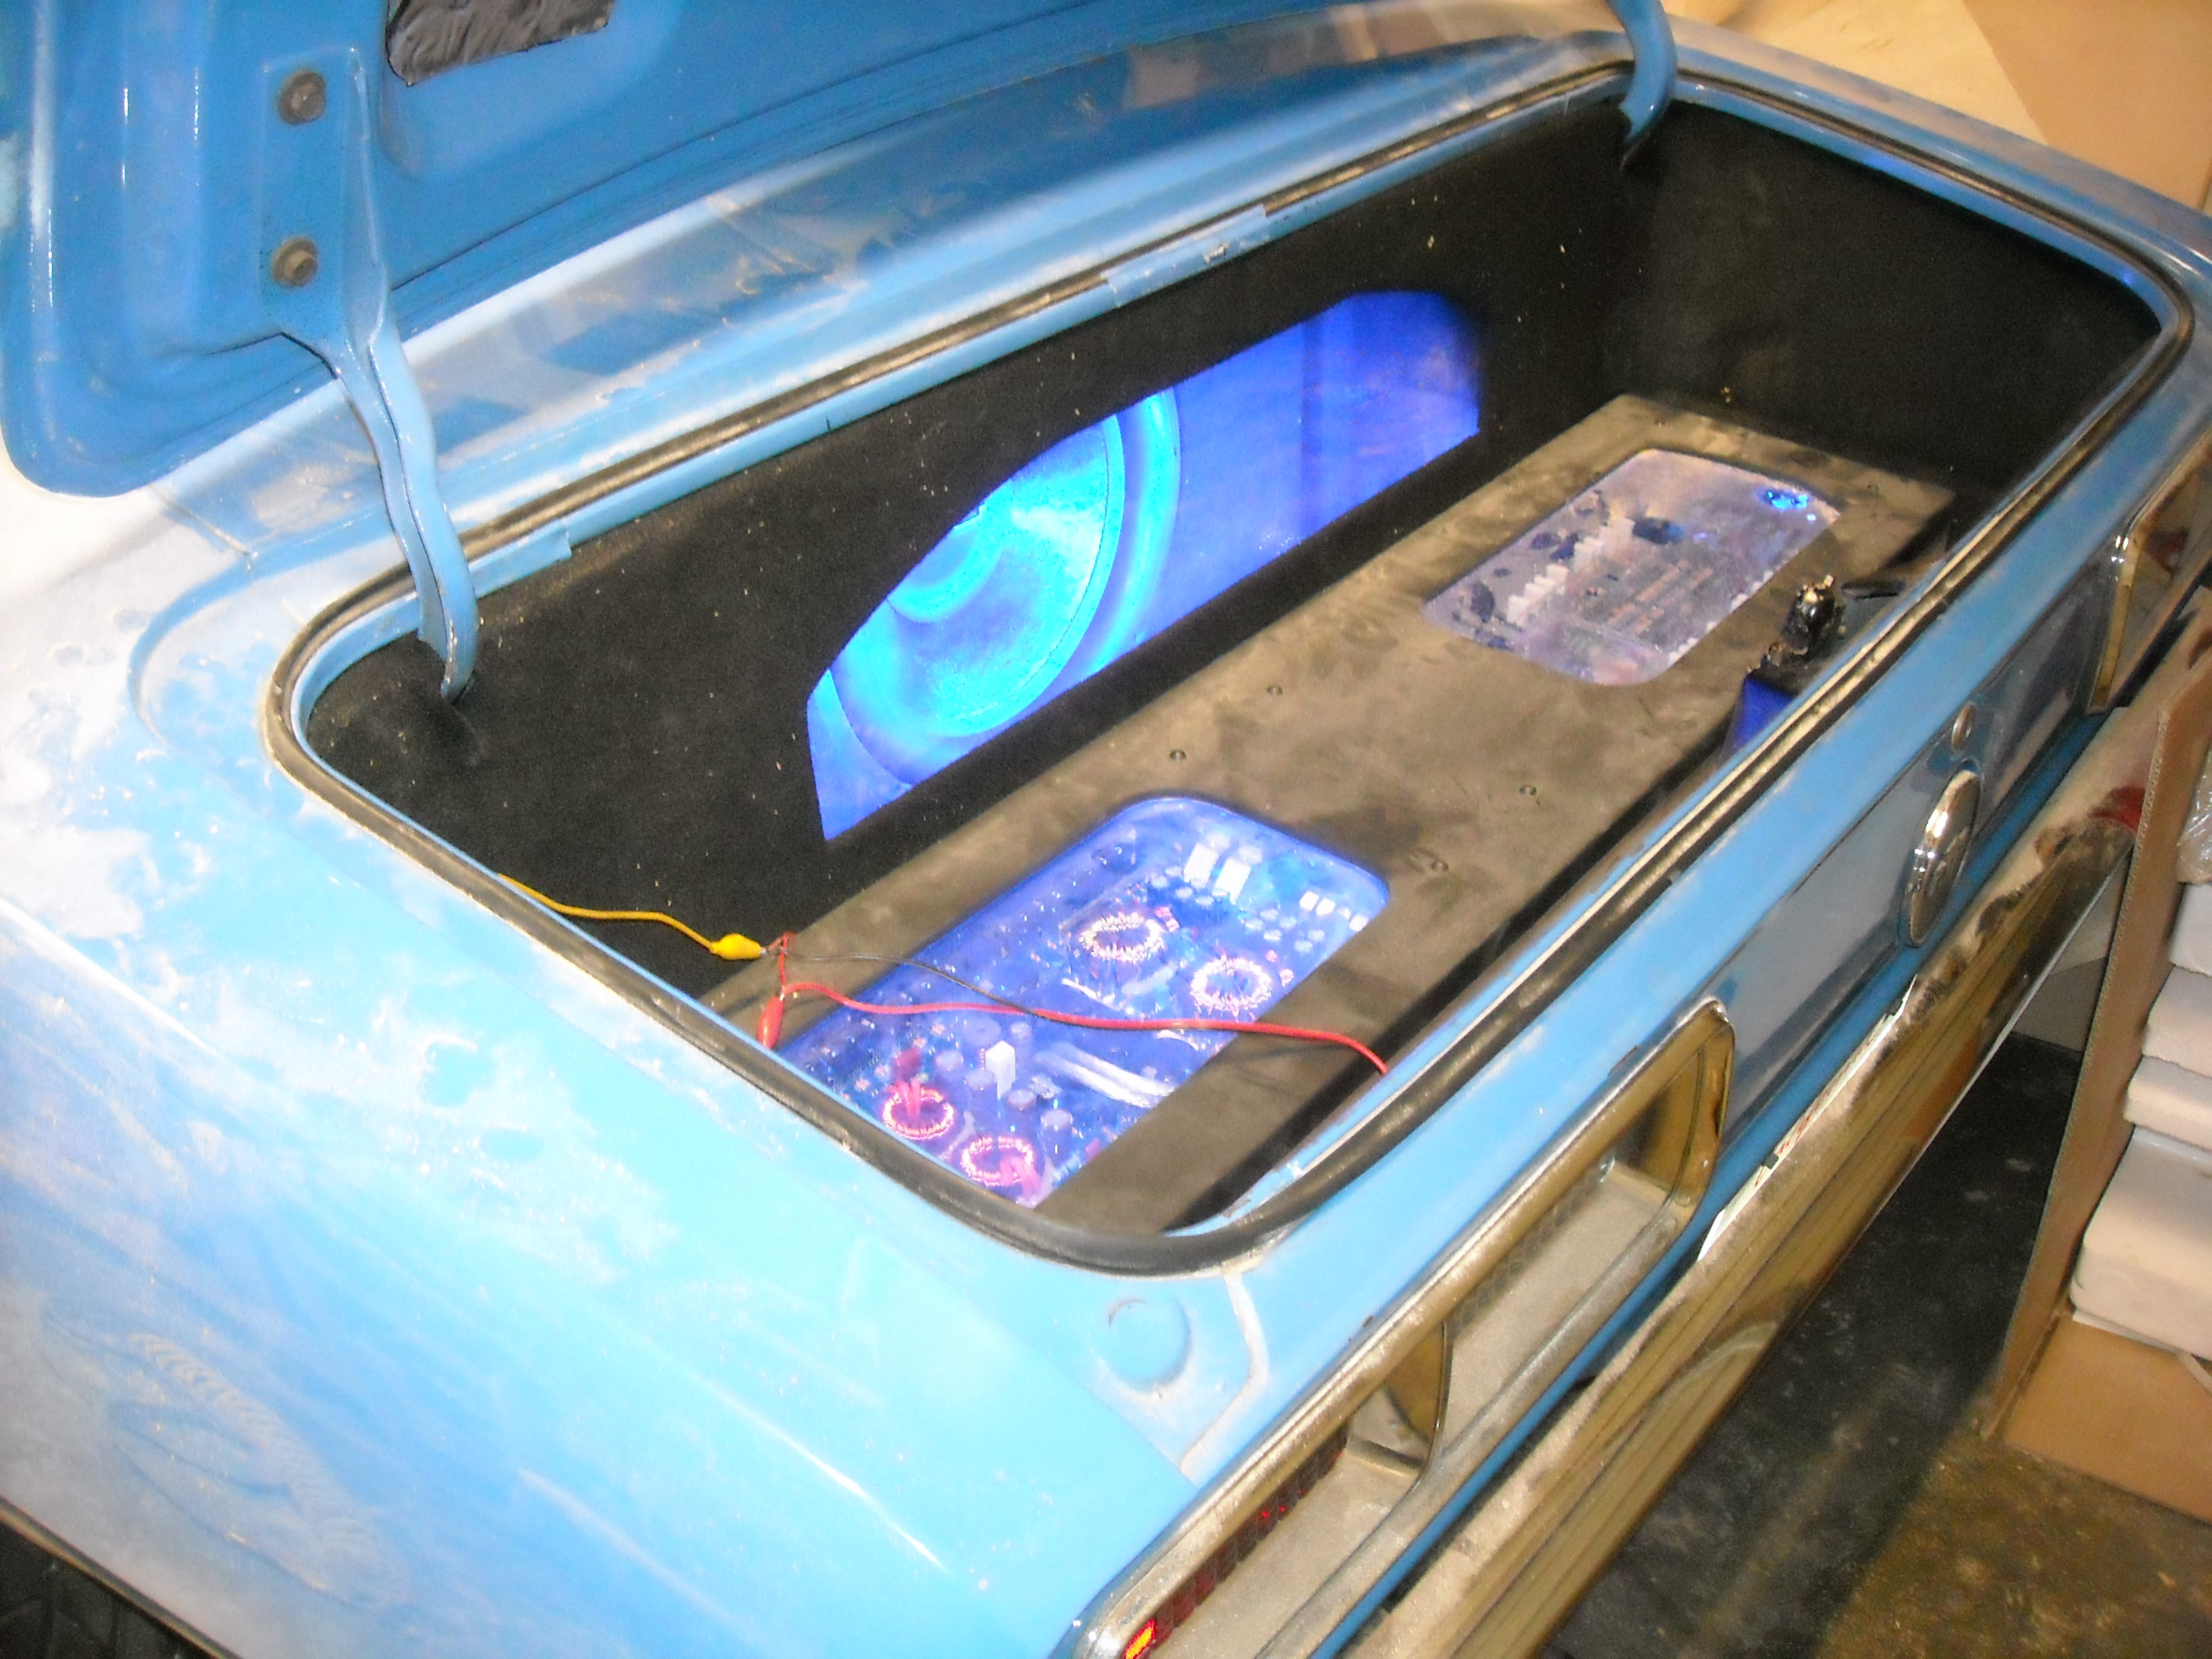
Next it was time to wrap the trunk out. With the flash of the amps, i didn't feel it needed too much more then some clean carpet panels.
Beer cigar and power tools. Does it get any better?
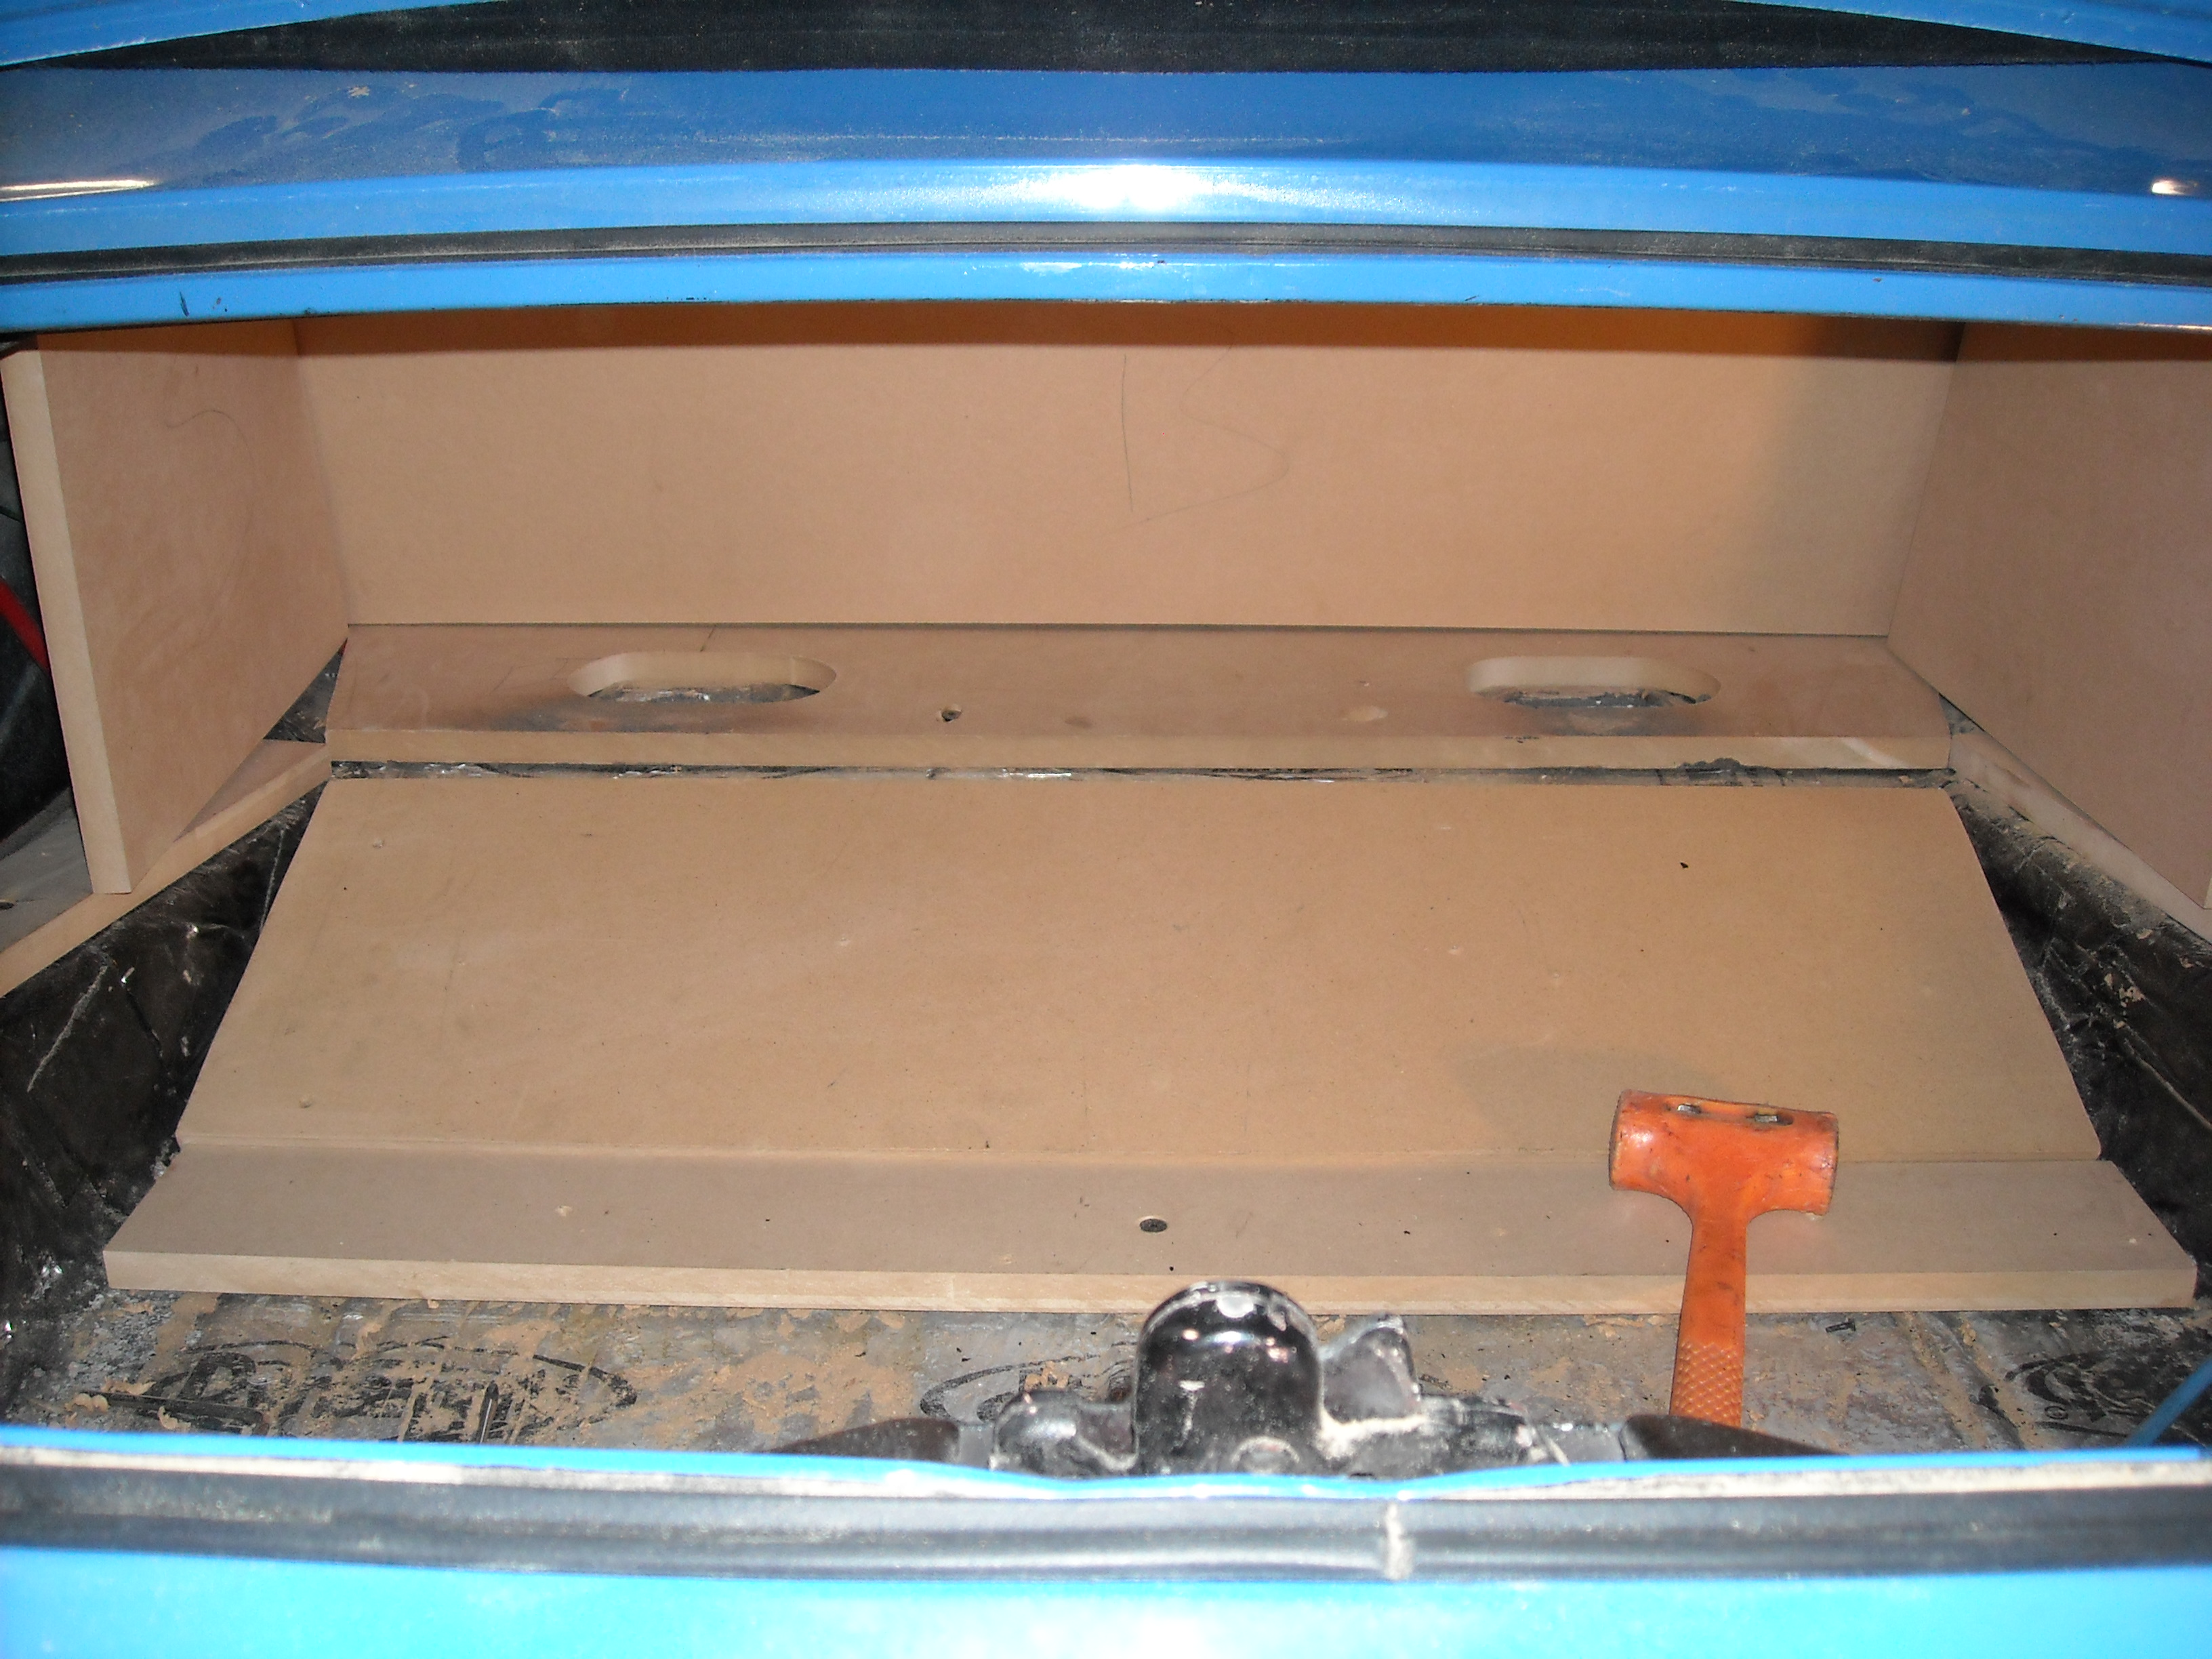
I started out making set blocks for the back panels.
Then used thin board to make the covers.

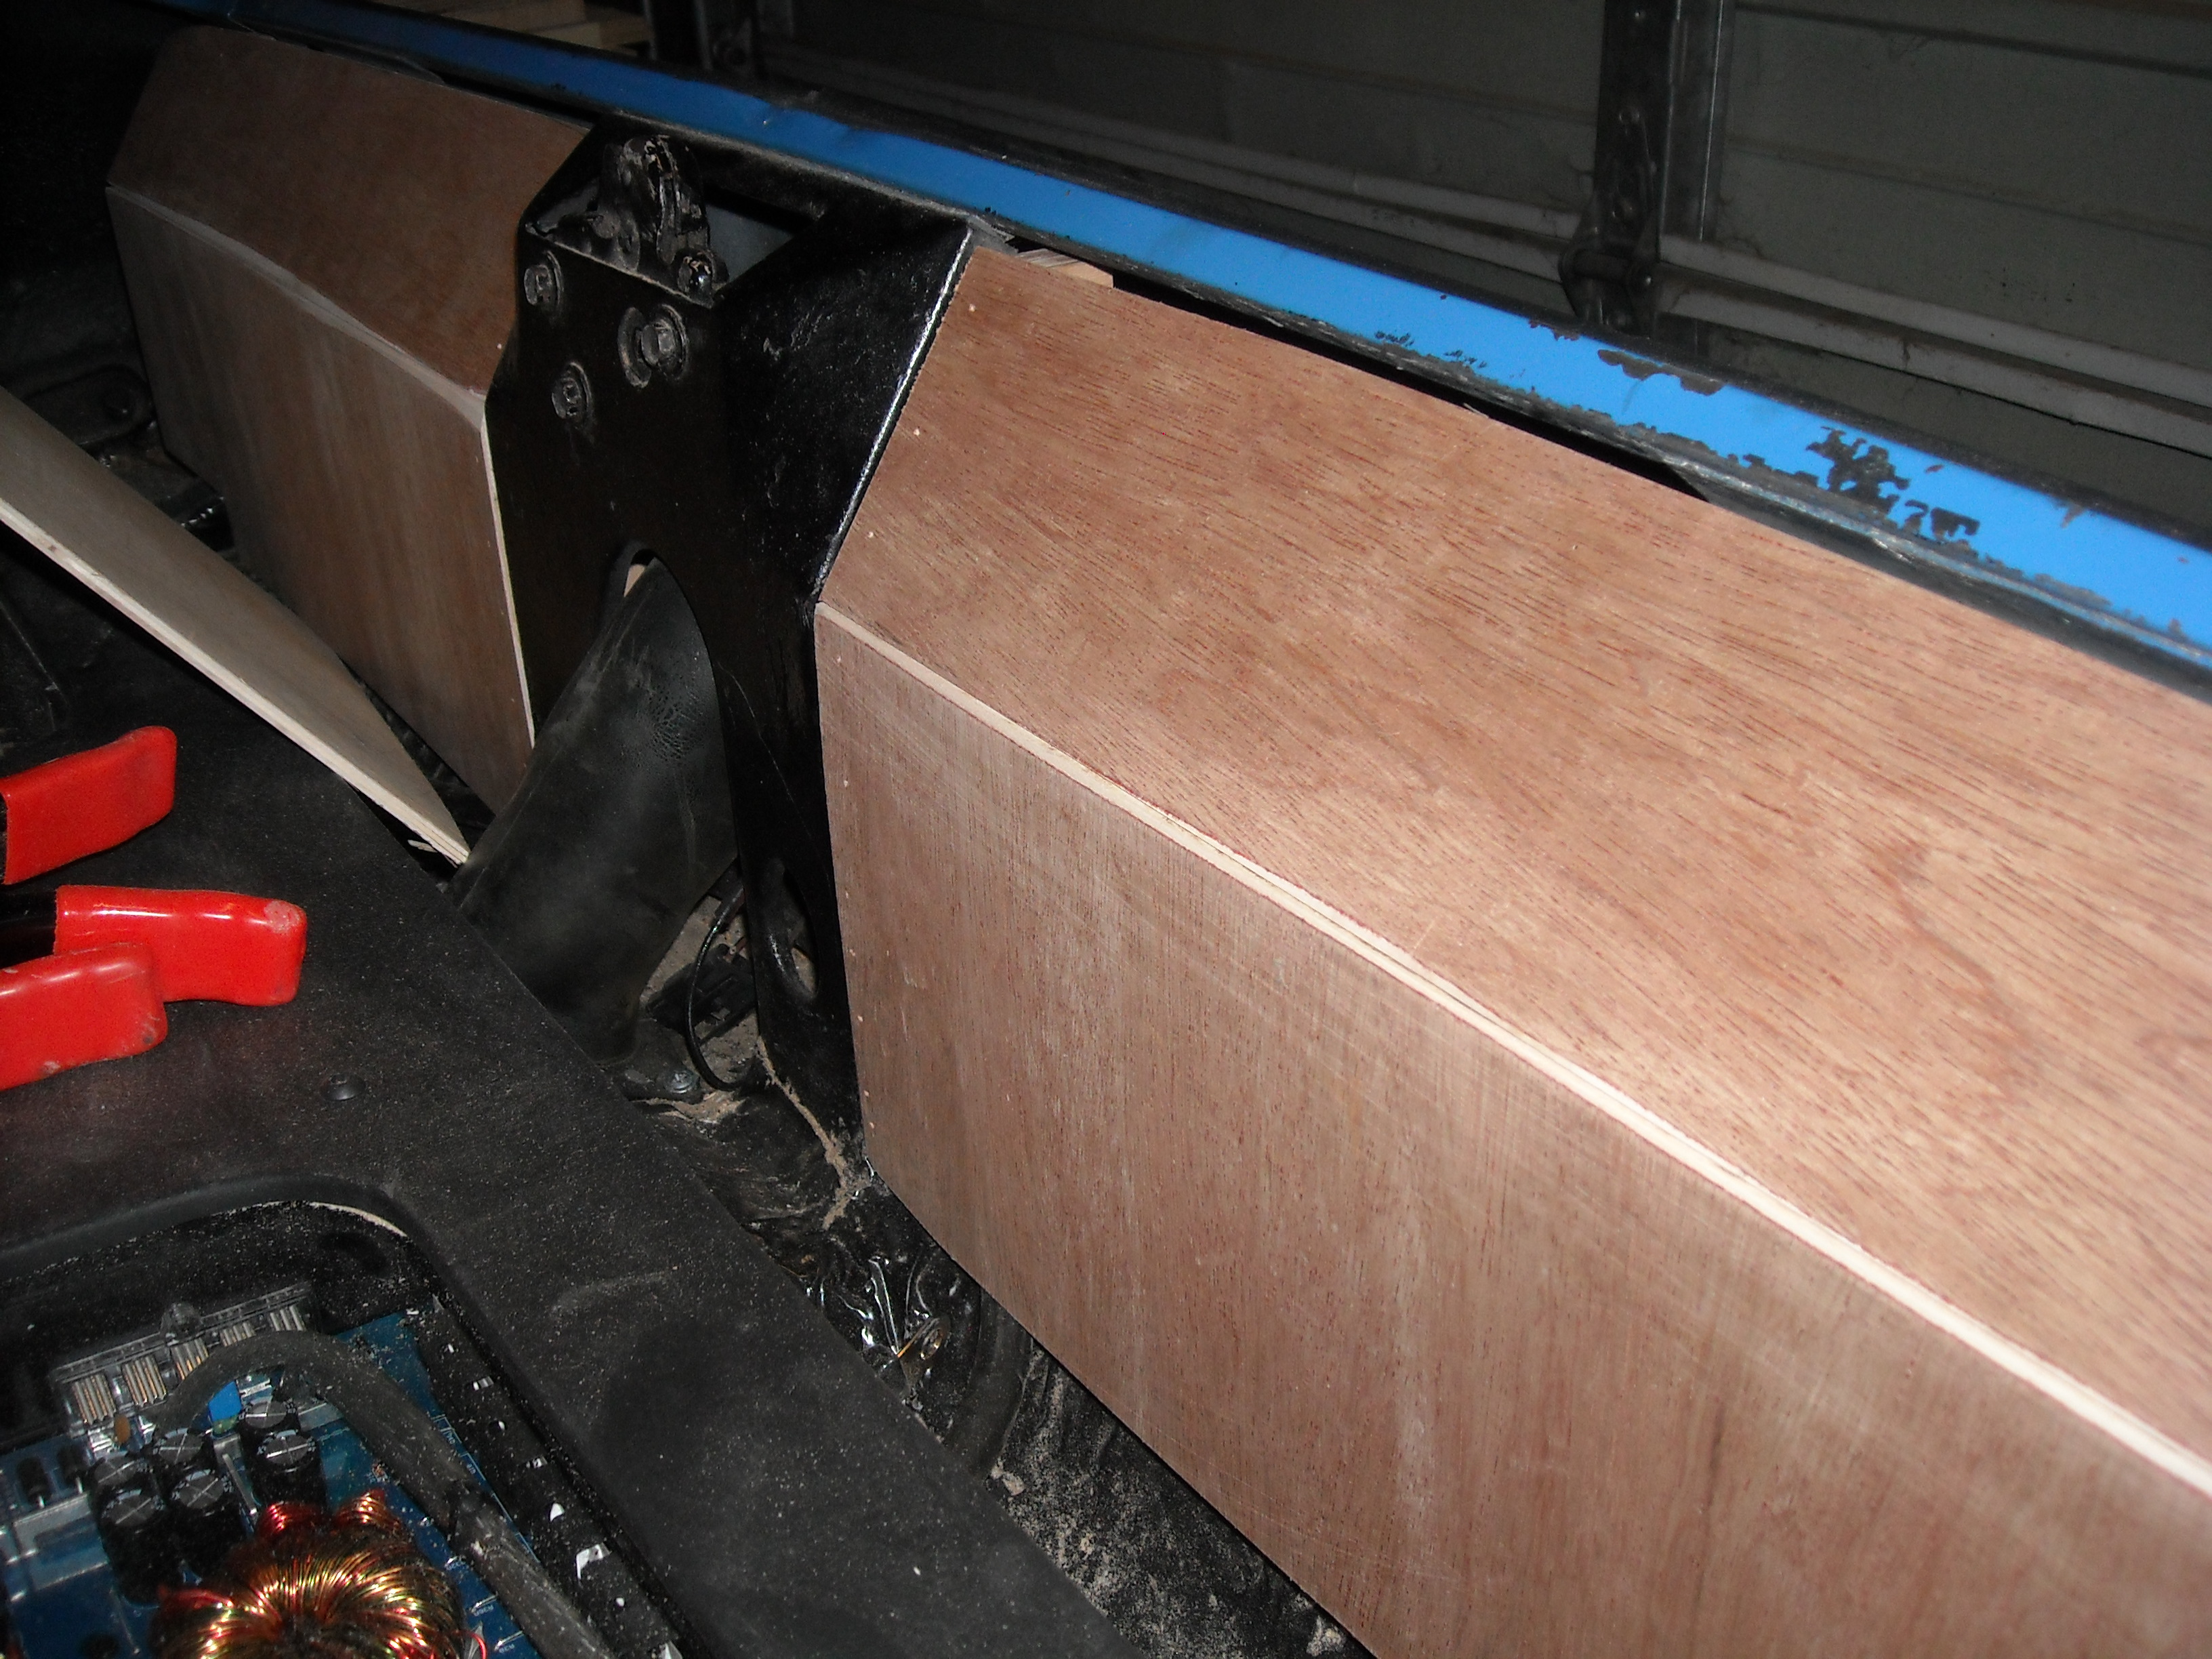
Made sure it matched the profice at the filler neck.

Then made simple covers for the sides to cover the batteries.
Little carpect action.
Bottom cover trimmed around the filler with a little gap for a finger pull.
And the back cover.
opened up the back to see the sub and then covered.

Beer cigar and power tools. Does it get any better?
I started out making set blocks for the back panels.
Then used thin board to make the covers.
Made sure it matched the profice at the filler neck.
Then made simple covers for the sides to cover the batteries.
Little carpect action.
Bottom cover trimmed around the filler with a little gap for a finger pull.
And the back cover.
opened up the back to see the sub and then covered.