
SSEi - Project Restoration - DAY 3 - rust removal part 2


BANNED
Joined: Mar 2004
Posts: 0
Likes: 5
From: Purgatory

i used mine right from the can.. and when i came back the next day to finish it, the paint that was left on the rim completely sealed the lid on the can, i had to cut a hole in the lid to get the remaining paint out, and I had to use it all after that because i didnt have a storage container

Senior Member
Posts like a Turbo
Joined: Sep 2005
Posts: 409
Likes: 0
From: Puerto Rico
Great work, remember that POR-15 fades & looses its shine after a couple of month. So this is a good time to give it a top coat with their black paint wich will look good for years. I lerned this the hard way & then I had to lift the car & clean it again, so that I could fix it.

Thread Starter
Senior Member
Certified Car Nut
Joined: Oct 2002
Posts: 11,308
Likes: 2
As long as the POR-15 works as it should I don't mind if it fades. But IIRC, you only need to topcoat it if the area that it'* applied to is in contact with sunlight. Since mine is underneath the car I shouldn't HAVE to topcoat it, but to keep it looking good, I suppose that wouldn't be a bad idea. 
Thread Starter
Senior Member
Certified Car Nut
Joined: Oct 2002
Posts: 11,308
Likes: 2
Day 2.
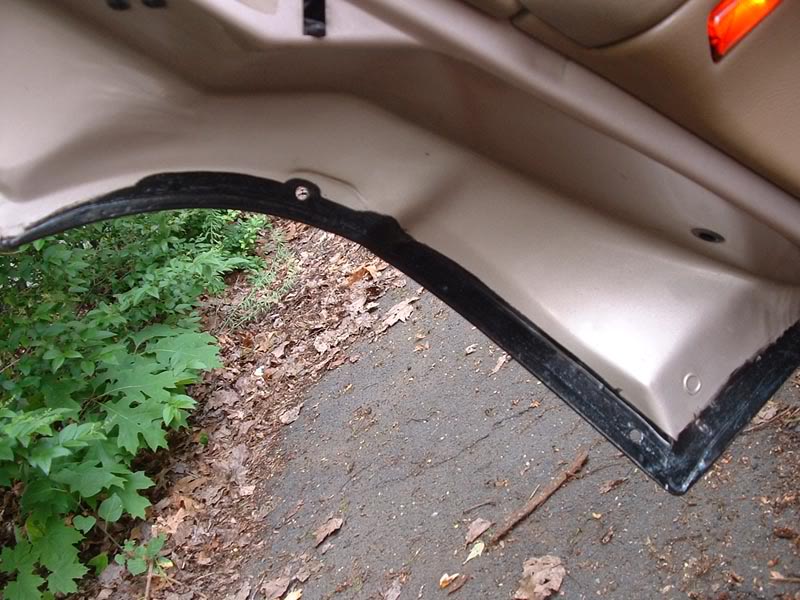
Today on my agenda was the removal of the old rear door weatherstrips - the ones in front of the wheel wells - and the rust that these seals are known to hide. I had a good amount of POR-15 left from the undercarriage job last week, and I used it once I cleaned and sanded the rust off. Good thing POR-15 likes to bond to rust. I have brand new weatherstrips and screws to replace the old rusted ones.
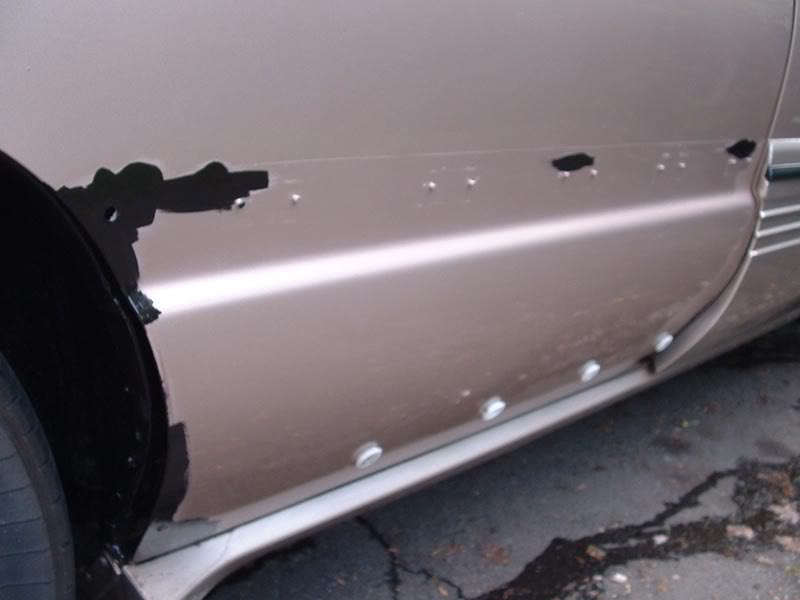
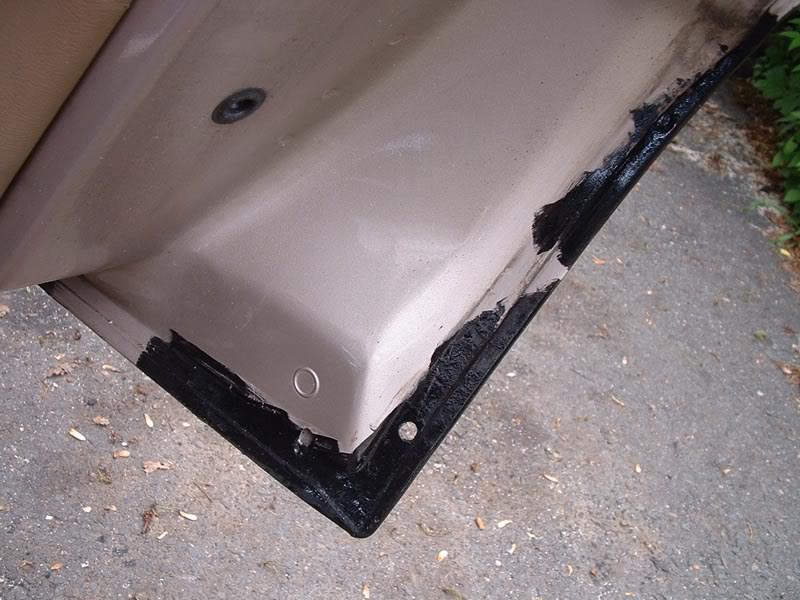
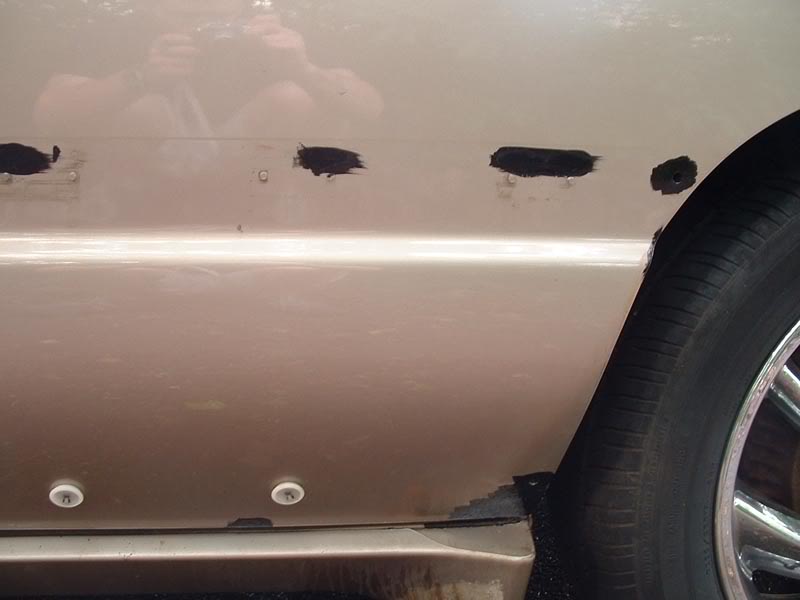
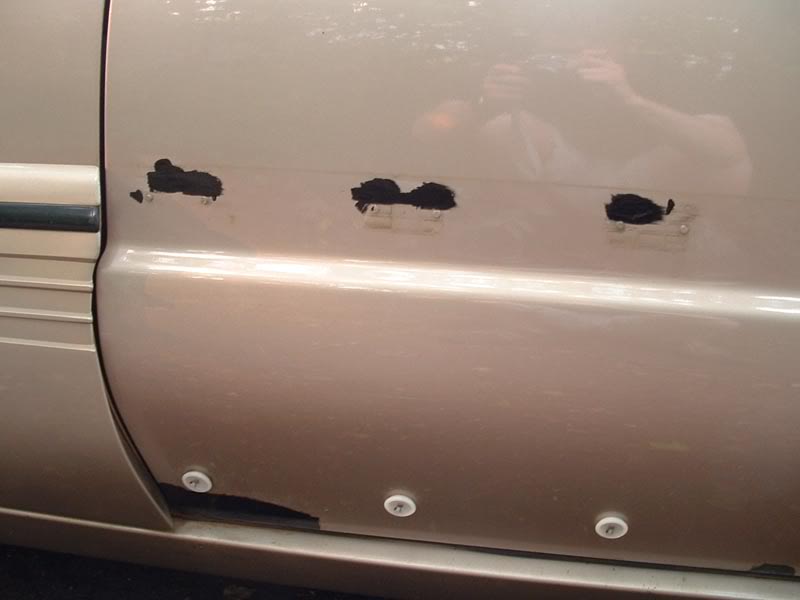
I then decided to be proactive and I removed the body cladding from the doors since I had some rust on the edges of the doors. I had a few tiny bubbles on the top edge of the cladding too so I knew I'd have some rust to take care of.
I snapped a few pics. Those who have removed their cladding before will know that above each clip it'* common for some rust to sprout up. I removed all the little spots of rust that were starting to form with the dremel - got to bare metal pretty quickly - and used the POR-15 to make sure they wouldn't give me problems down the road.
Tomorrow I'll be using my car color to topcoat all the POR-15 I applied in the pics. I'll remove the font door cladding as well.


Today on my agenda was the removal of the old rear door weatherstrips - the ones in front of the wheel wells - and the rust that these seals are known to hide. I had a good amount of POR-15 left from the undercarriage job last week, and I used it once I cleaned and sanded the rust off. Good thing POR-15 likes to bond to rust. I have brand new weatherstrips and screws to replace the old rusted ones.
I then decided to be proactive and I removed the body cladding from the doors since I had some rust on the edges of the doors. I had a few tiny bubbles on the top edge of the cladding too so I knew I'd have some rust to take care of.
I snapped a few pics. Those who have removed their cladding before will know that above each clip it'* common for some rust to sprout up. I removed all the little spots of rust that were starting to form with the dremel - got to bare metal pretty quickly - and used the POR-15 to make sure they wouldn't give me problems down the road.
Tomorrow I'll be using my car color to topcoat all the POR-15 I applied in the pics. I'll remove the font door cladding as well.

Senior Member
True Car Nut
Joined: Jan 2006
Posts: 8,029
Likes: 1
From: NEBF:06,07 | NYBF:06,07 | ONBF:06,07 | CNBF:06 & more............
nice. looks like me and you have almost the same rust spots  :(
:(
Also check your trunk. look under behind the bumper and look Up. see if theres any rust up there
mine has some and on the pass side someone had use a bunch of Fiberglass to fill in a hole.
Also check your trunk. look under behind the bumper and look Up. see if theres any rust up there
mine has some and on the pass side someone had use a bunch of Fiberglass to fill in a hole.
Thread Starter
Senior Member
Certified Car Nut
Joined: Oct 2002
Posts: 11,308
Likes: 2
The rust spots on the doors were very minor. All the spots above the clips were just bubbles of paint that I scraped away. It looks like it was bad because I used so much POR-15, but those kind of spots don't bother me. There'* less rust on this car than there was on the first DrugRunner. Thankfully everything that isn't hidden by cladding is rust-free.
I DO have rust in that trunk area you mentioned. That'* one place DR didn't have rust, but this one does. I'll try to fix it the best I can, but at least it'* not visible with the trunk closed.
I DO have rust in that trunk area you mentioned. That'* one place DR didn't have rust, but this one does. I'll try to fix it the best I can, but at least it'* not visible with the trunk closed.
