
The retrofit begins!

Thread Starter
Senior Member
Posts like a Turbo
Joined: Feb 2007
Posts: 494
Likes: 0
From: Alabama

Thanks, I'm still thinking on that. The shrouds will definitely be silver, but the housing itself I'm not sure of. Silver would give it a nice OE look but black + silver shrouds would keep some of that OE look while making the projectors more noticeable (and hiding my sharpie marks lol) as well as giving it a more aggressive look.
Only concern is that it may stand out too much.
.
.
.
.
.
.
Only concern is that it may stand out too much.
.
.
.
.
.
.
Thread Starter
Senior Member
Posts like a Turbo
Joined: Feb 2007
Posts: 494
Likes: 0
From: Alabama
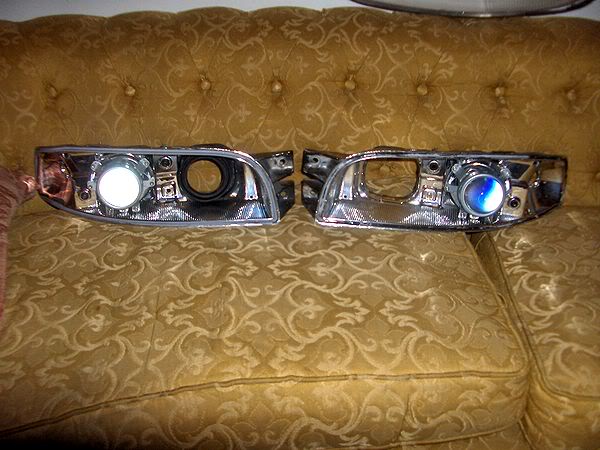
Update. Didn't get much yesterday, just the bulbs. Still waiting on the adapters so I can do the final aiming, should be here either tomorrow or Saturday. Don't know where the high beams are, but I really hope that they get here by Saturday so I can wrap this up by the end of the weekend. I have everything I need to finish this project right now except for the high beams and the adapters.
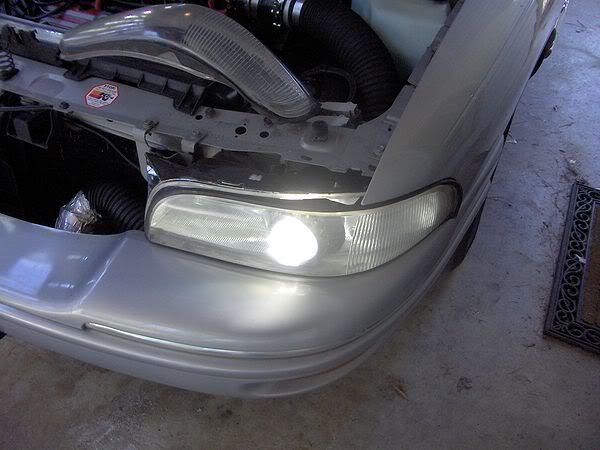
I got my shrouds today and cut them to fit the low beam. They are just stuck on lightly with some tape, which is what you see near the lenses. I'll attach it more permanently near the end.

The top part here used to be round, I had to cut it flat to fit:

Hope my high beams come in soon. They are the only remaining barrier to finishing (other than the adapters, but I know they'll be here before the end of the weekend).
.
.
.
I got my shrouds today and cut them to fit the low beam. They are just stuck on lightly with some tape, which is what you see near the lenses. I'll attach it more permanently near the end.
The top part here used to be round, I had to cut it flat to fit:
Hope my high beams come in soon. They are the only remaining barrier to finishing (other than the adapters, but I know they'll be here before the end of the weekend).
.
.
.

Thread Starter
Senior Member
Posts like a Turbo
Joined: Feb 2007
Posts: 494
Likes: 0
From: Alabama
Thanks!
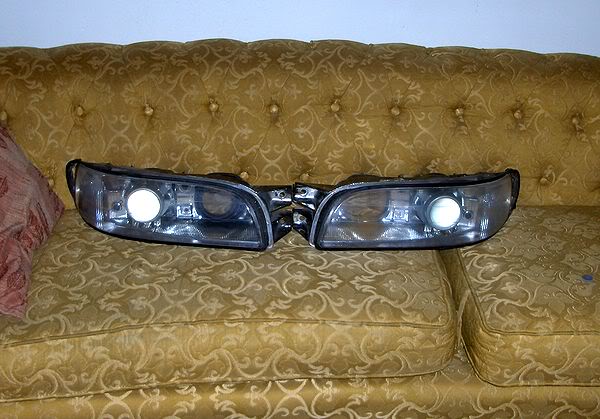
Big updates today. Got my high beams and my adapter cables in the mail today, so I'm set to finish this project today or tomorrow!
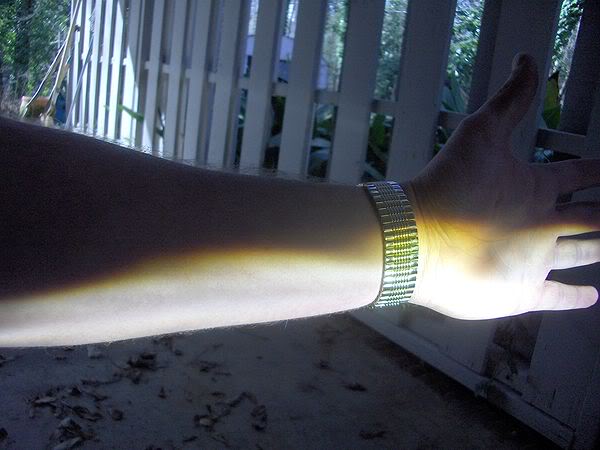
Here'* the first test fit and fire-up:
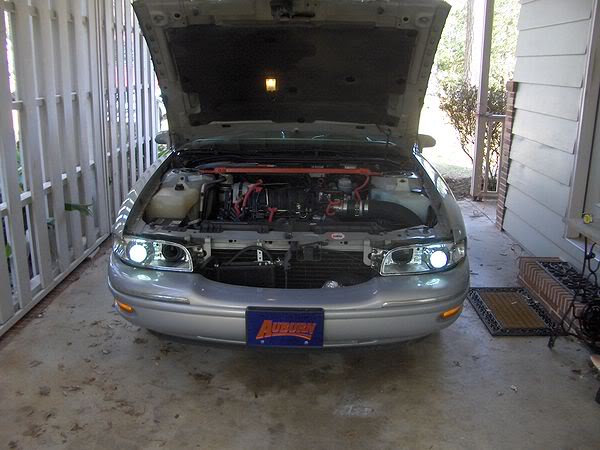
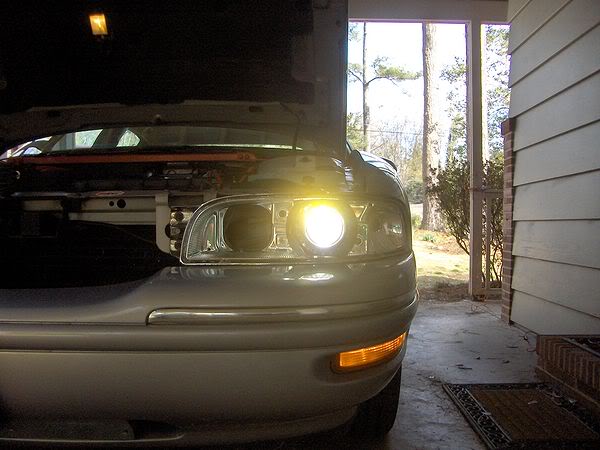
Only cutoff pics I can get for you guys right now.
More updates later, gonna start working on the high beams.
.
.
.
Big updates today. Got my high beams and my adapter cables in the mail today, so I'm set to finish this project today or tomorrow!
Here'* the first test fit and fire-up:
Only cutoff pics I can get for you guys right now.
More updates later, gonna start working on the high beams.
.
.
.
Thread Starter
Senior Member
Posts like a Turbo
Joined: Feb 2007
Posts: 494
Likes: 0
From: Alabama
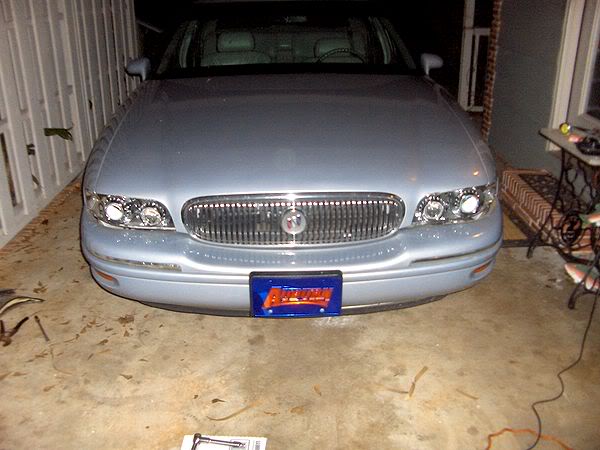
Thanks, and...it'* done!
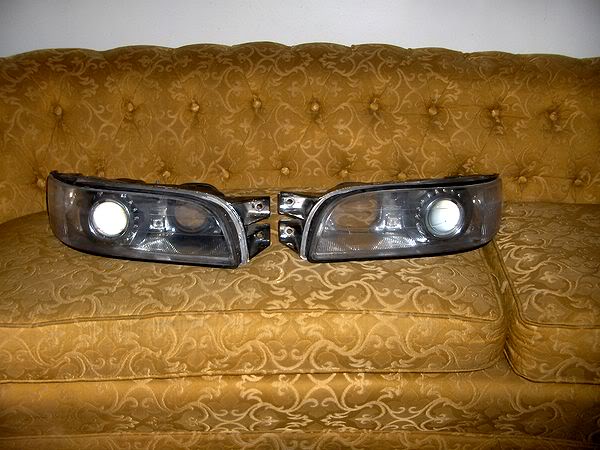
Cut my high beams down to size, used the same sort of mounts as on the low beam, cut my shroud to fit, aimed, etc...
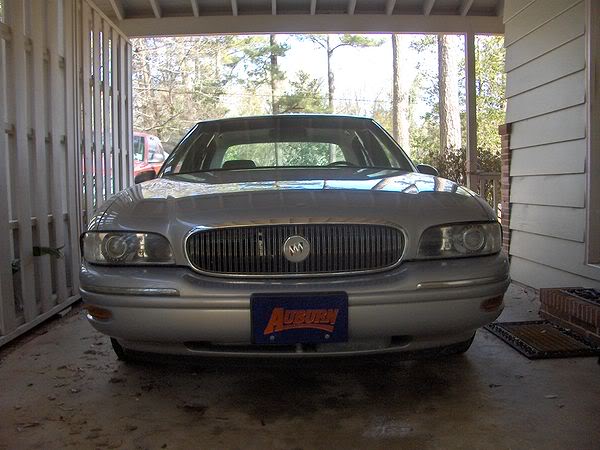
First test fit after high beam install
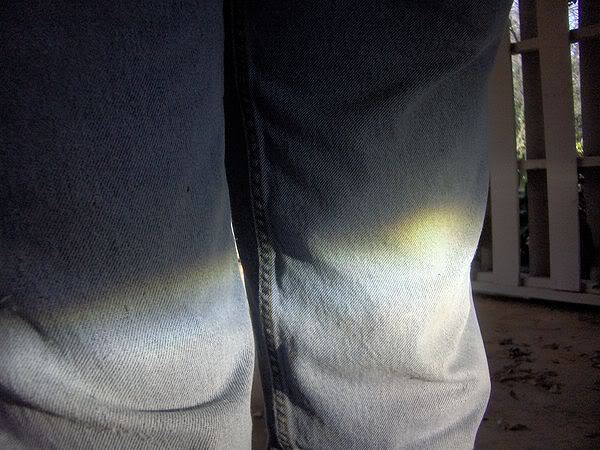
Obligatory cutoff pic! This was before the shrouds were attached, you can see some stray light above the cutoff. All that has been eliminated.

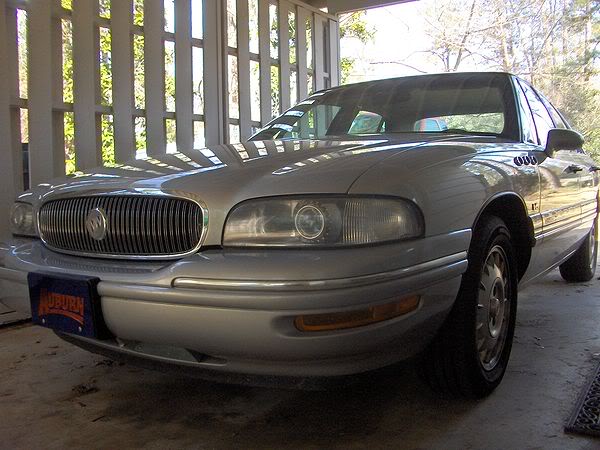
You can't see it here, but the shrouds are attached with the same stuff I used to seal the headlight with later.

Both sides.
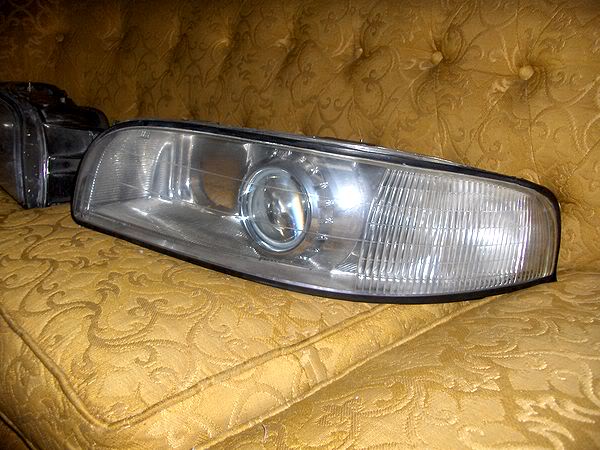
Sealing the lens. I used 3M window sealer or window weld I think it'* called...comes in a 15' roll. Really strong, and airtight.

Both sides.
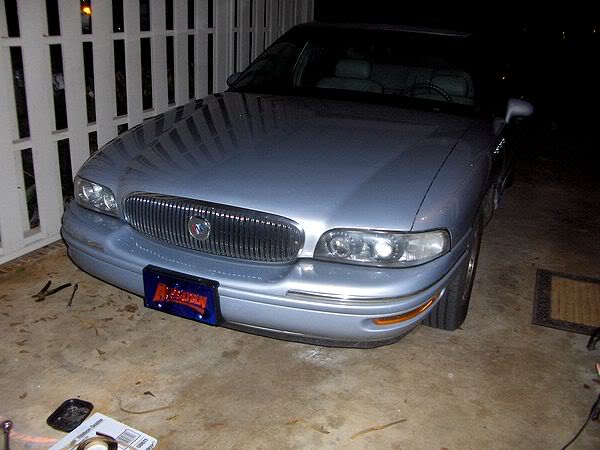

I realize these pictures are awful. I'll try to get some better ones for you guys later.
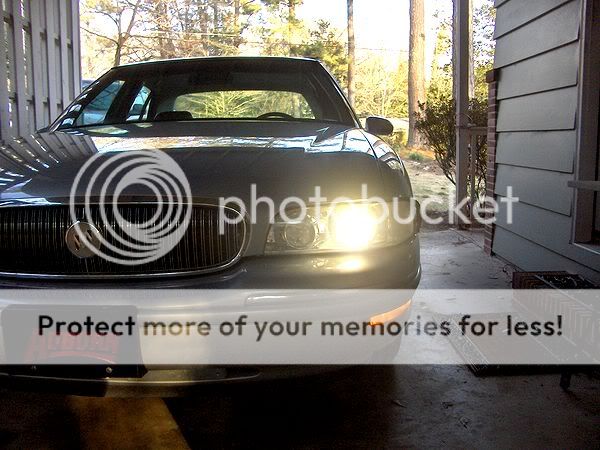
Cutoff is perfectly aimed, too. No one gets blinded, but it extends FAR down the road. I get a very commanding view of everything!
High beams aren't wired up yet. I need to do that, and I also need to seal up the rear of the headlight a little better. But it'* done, and this is SO much better than the plug and play kit I had in there before!
.
.
.
Cut my high beams down to size, used the same sort of mounts as on the low beam, cut my shroud to fit, aimed, etc...
First test fit after high beam install
Obligatory cutoff pic! This was before the shrouds were attached, you can see some stray light above the cutoff. All that has been eliminated.
You can't see it here, but the shrouds are attached with the same stuff I used to seal the headlight with later.
Both sides.
Sealing the lens. I used 3M window sealer or window weld I think it'* called...comes in a 15' roll. Really strong, and airtight.
Both sides.
I realize these pictures are awful. I'll try to get some better ones for you guys later.
Cutoff is perfectly aimed, too. No one gets blinded, but it extends FAR down the road. I get a very commanding view of everything!
High beams aren't wired up yet. I need to do that, and I also need to seal up the rear of the headlight a little better. But it'* done, and this is SO much better than the plug and play kit I had in there before!
.
.
.
