
Gauge pod project (Done for now)

Thread Starter
DINOSAURUS BOOSTUS


Expert Gearhead
Joined: Mar 2005
Posts: 41,391
Likes: 30
From: Enfield, CT


Not sure how it fits the A pillar yet. It'll fit perfectly when I'm done. 
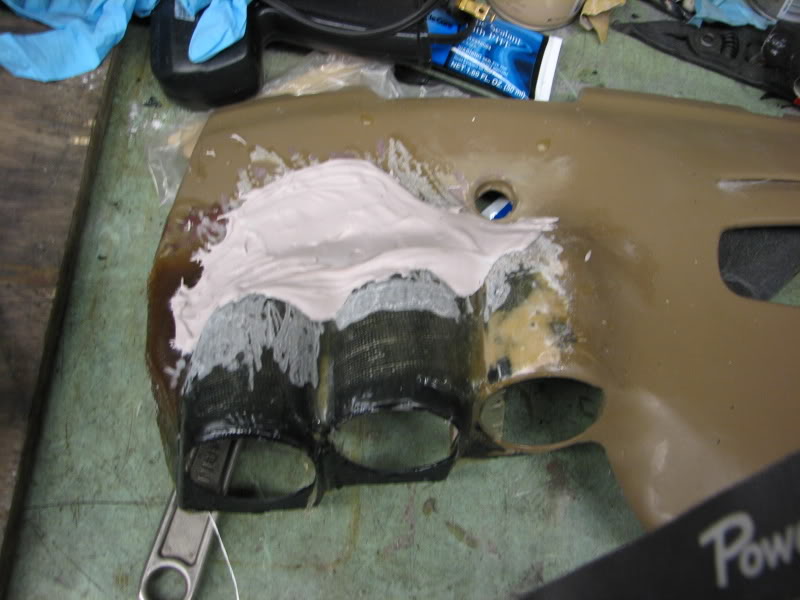
Bondo might be cheaper..it'* not any easier than pouring in the resin. I am aiming for strength and rigidity. My experience with bondo so far is that it was designed for a thin layer situation. The resin is a tough sanding job though.
Bondo might be cheaper..it'* not any easier than pouring in the resin. I am aiming for strength and rigidity. My experience with bondo so far is that it was designed for a thin layer situation. The resin is a tough sanding job though.


Senior Member
True Car Nut
Joined: Feb 2006
Posts: 4,596
Likes: 0
From: Melrose

Senior Member
True Car Nut
Joined: Sep 2006
Posts: 3,277
Likes: 0
From: Somewhere south of Ottawa with your girlfriend driving faster then you.
Originally Posted by corvettecrazy
you know, most people would fll that with bondo. cheaper and easier to sand down later if needed.
Looks good though.
Looks good though.
BTW that looks mean i like it forget about usin the Heater Vents lol


Thread Starter
DINOSAURUS BOOSTUS
Expert Gearhead
Joined: Mar 2005
Posts: 41,391
Likes: 30
From: Enfield, CT
Originally Posted by GoldenBullet
with all that resin that thing could survive a nuclear blast 
Thoughts on where it meets the dash are also key. Planning on adding a decent thickness of material at the bottom lip inside to add support for the dash. Don't want to have the gauges bounce a little during semi normal driving and dig into or break up the dash.
Wiring will be another fun item (luckily the HUD is easily removed for wiring/routing. The Timing Commander has about 18" of ribbon cabling from the control box. Boost gauge will be easily mobile with only a hard line restricting it and I've already got the Aeroforce in place (currently zip tied to the HUD bracket.) and looking quite ghetto.
Redwings.. When you ask how hard it is.. I'll tell you this is my second attempt at fiberglassing. First was the single pod that I started this project from. Read the can the next time you are at an autoparts store or Walmart etc. Cut pieces of glass, soak in resin..coat area and lay glass in smoothing air bubbles. Cures in about 1.5-2 hours. As for how difficult it is for each person... depends on each person. When Silverbullet started to build a gauge pod, the best two pieces of advice we could give him were... it will look very ugly before it looks good and sand until it'* perfect. If you sand too far..add more material. Right now..I've got a ton of material on there and I will be adding more before sanding and smoothing. Surely I'll have plenty of time to sand and smooth. Current state has about broken up hours into it.
Thread Starter
DINOSAURUS BOOSTUS
Expert Gearhead
Joined: Mar 2005
Posts: 41,391
Likes: 30
From: Enfield, CT
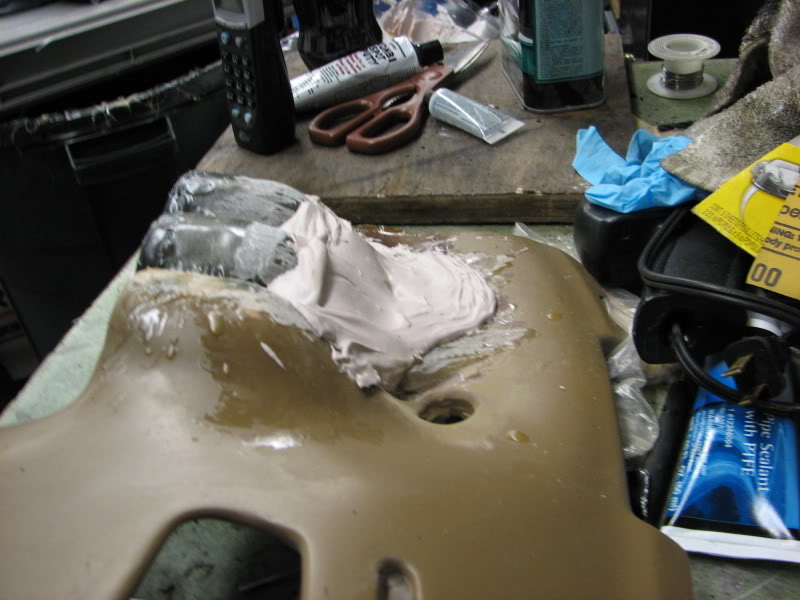
The Bondo is getting pretty thick. Glad I have that super deluxe layer of resin/fiberglass underneath.
A little more

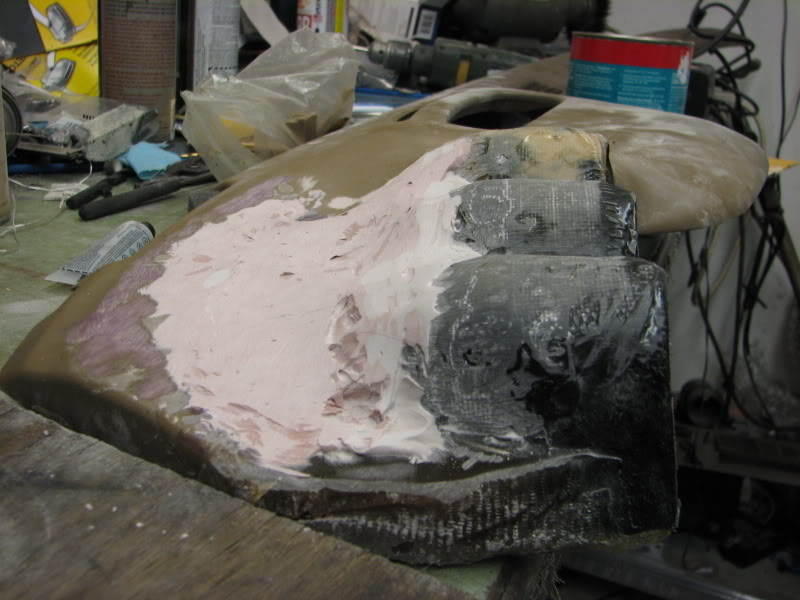
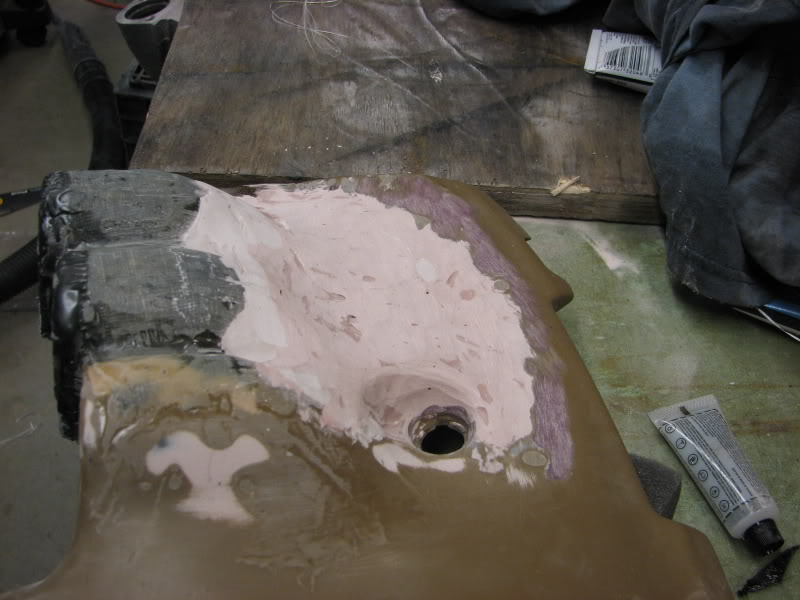
Some sanding to shape it a bit
Blobbed it on there

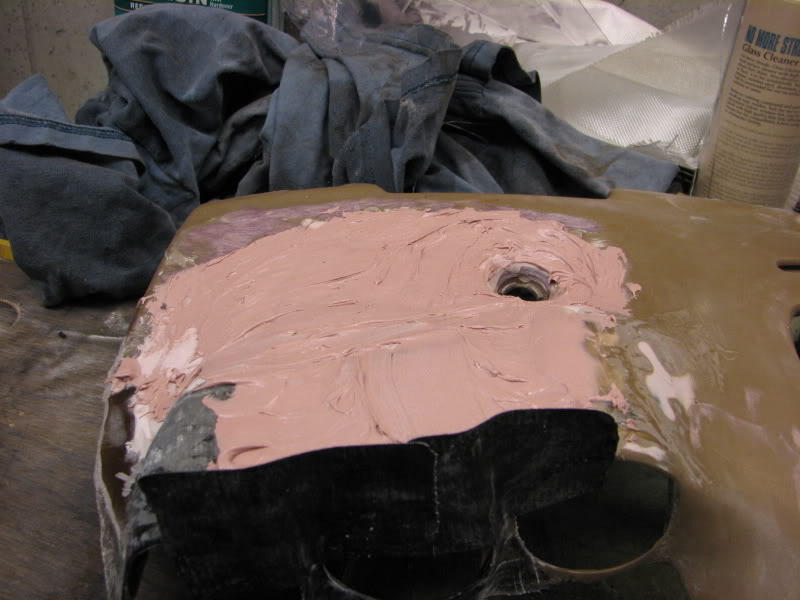

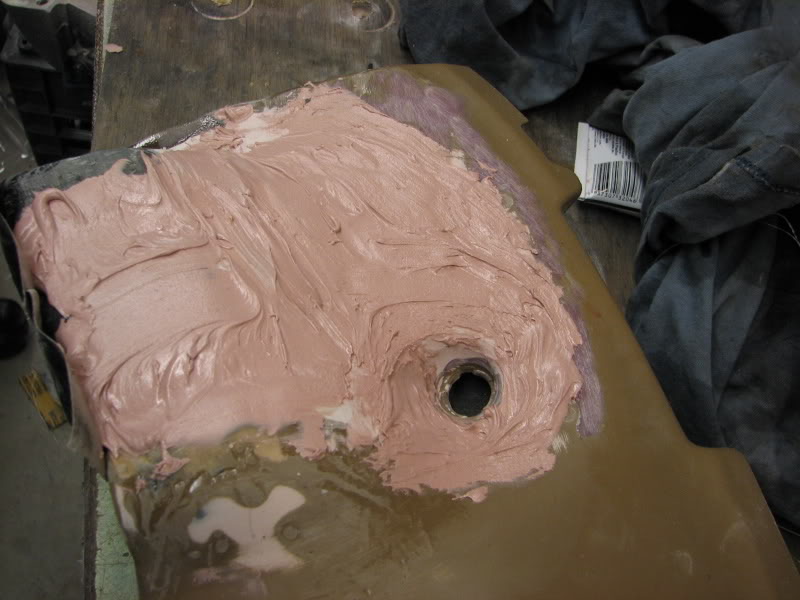
After all that I'm starting to think maybe the quart wasn't the right size to buy.
A little more
Some sanding to shape it a bit
Blobbed it on there
After all that I'm starting to think maybe the quart wasn't the right size to buy.

Senior Member
True Car Nut
Joined: Jan 2006
Posts: 8,029
Likes: 1
From: NEBF:06,07 | NYBF:06,07 | ONBF:06,07 | CNBF:06 & more............
You have a Anus, i mean a umm pinky.. ummm no, a whirlpool 
Sorry mind was in a bad place right there
looking good though, one step closer to being done
Sorry mind was in a bad place right there
looking good though, one step closer to being done