When you click on links to various merchants on this site and make a purchase, this can result in this site earning a commission. Affiliate programs and affiliations include, but are not limited to, the eBay Partner Network.
Detailing & AppearanceDiscuss washing, waxing and detailing information as well as interior/exterior cosmetic modifications. This includes neons, body, cosmetic wheels, etc. Even under the hood detailing.
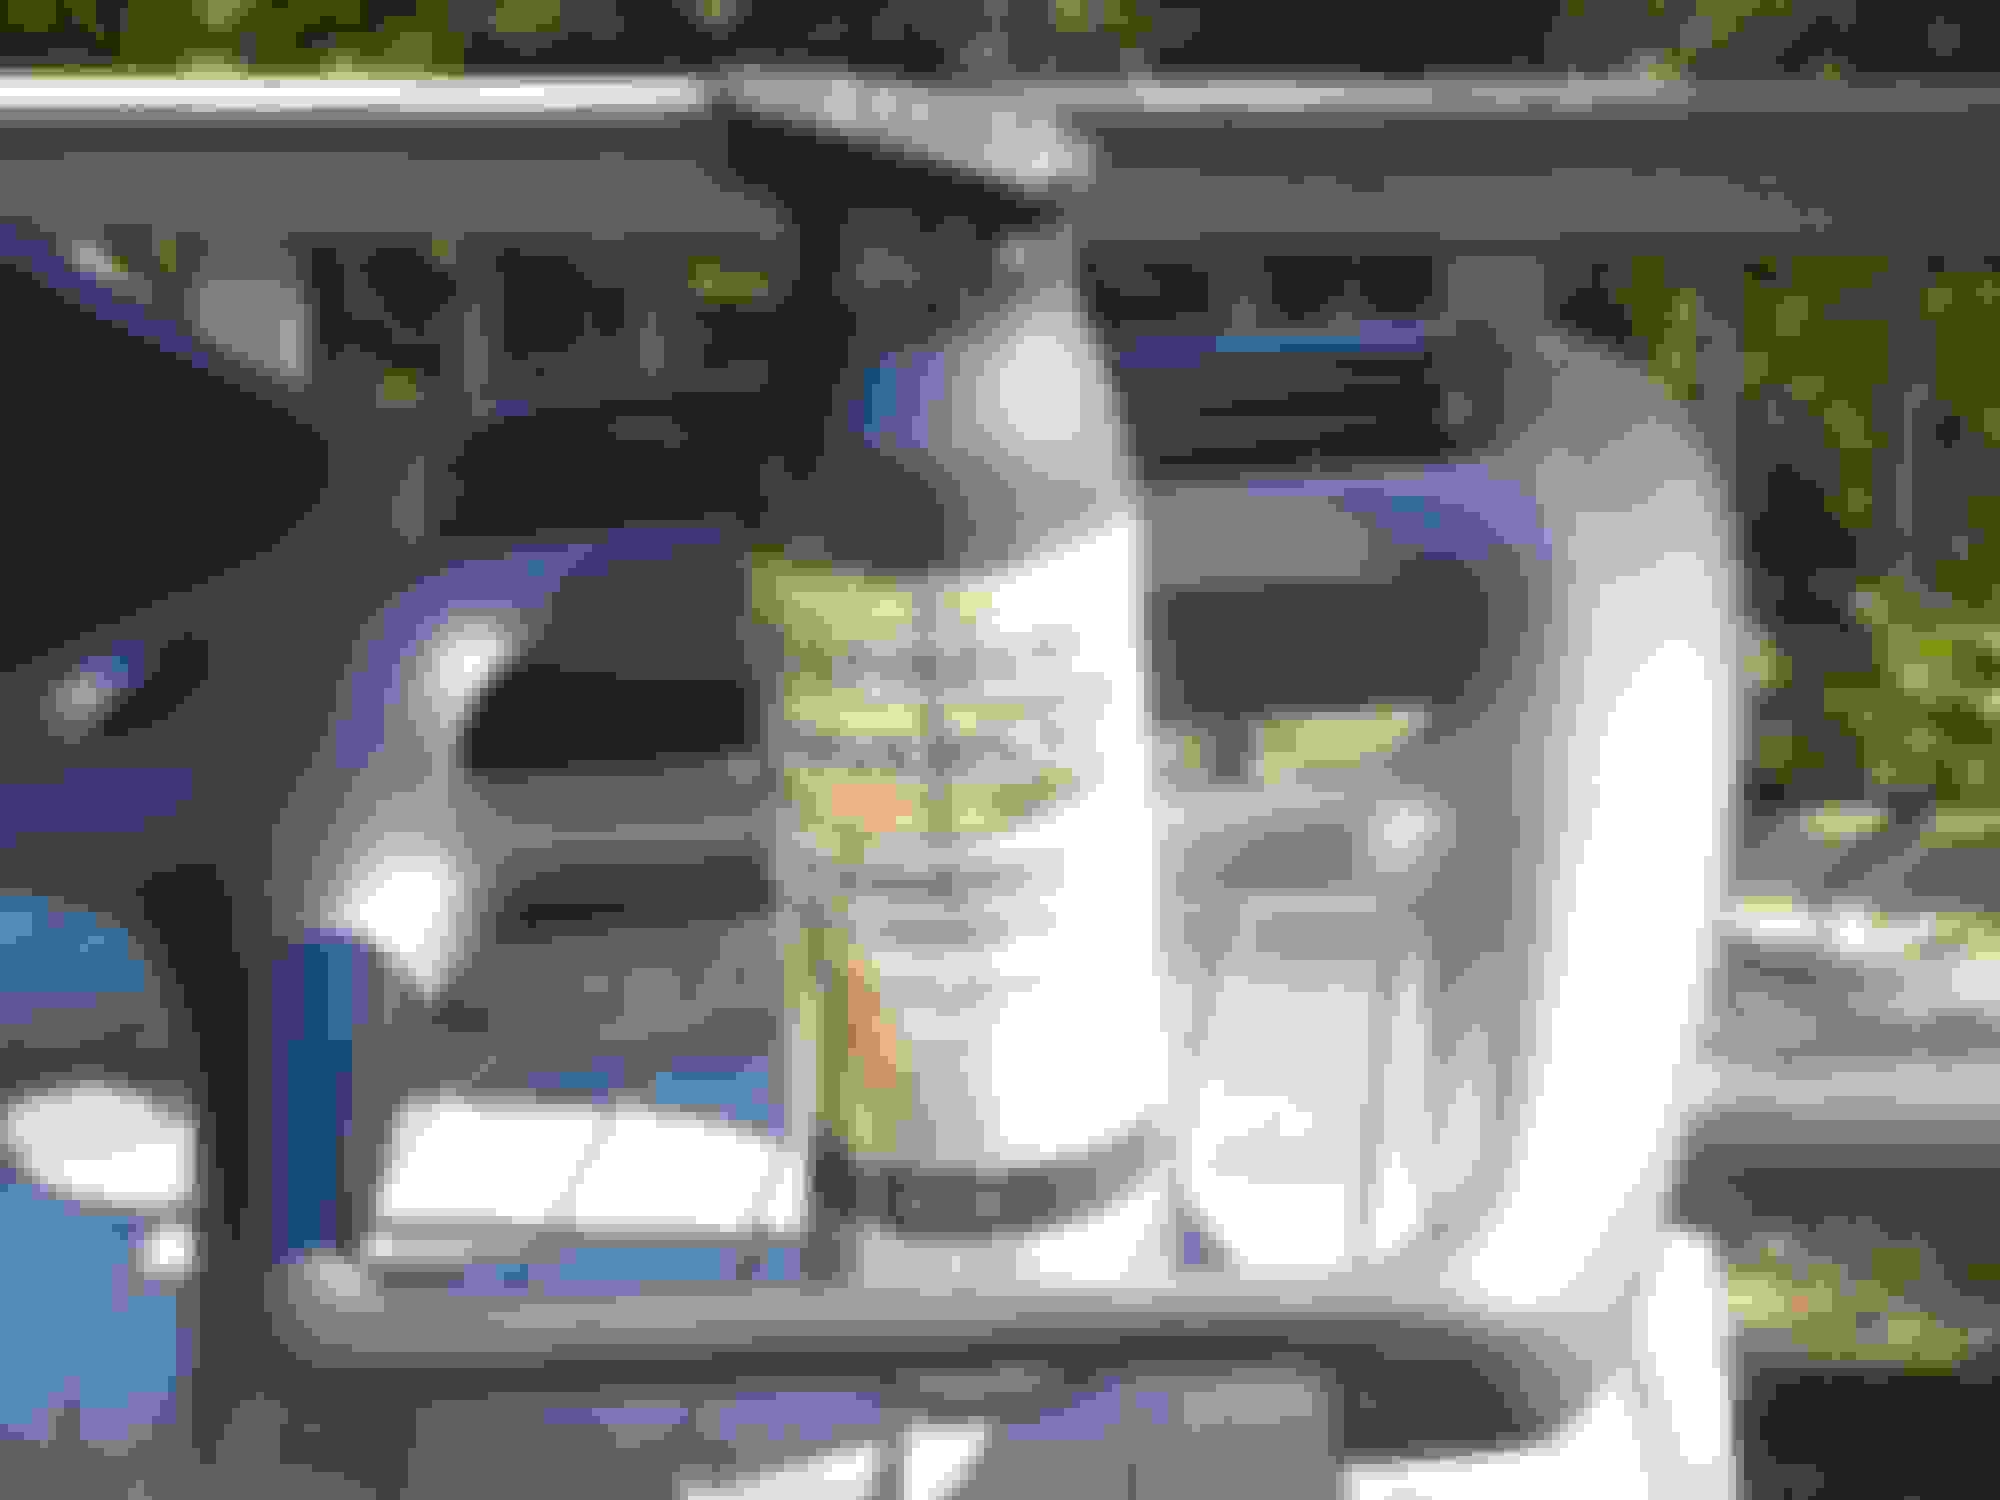
As I mentioned in another thread, I went to a junkyard a few days ago and harvested a few parts off of a '95 Cutlass Supreme coupe to go onto my '95 CS convertible. One of the pieces I picked up was the instrument panel bezel. I have an FM modulator that will allow me to play music from my phone or my iPod through the FM antenna of the car'* radio but I need to mount a power switch for it, which entails drilling a 16mm hole. I'd rather not butcher up the original dash bezel, which is in pristine condition, so I wanted a second one for this project. The one at the yard was in good condition except for where somebody had glued on some sort of a clip, perhaps to hang their cell phone. The clip was easy enough to pull off, but it left an awful mess of crusty glue residue. Goo-Gone wouldn't touch it, so I decided to try acetone. Amazingly, Walmart doesn't sell acetone in the paint department. I had to get a little bottle of it in the cosmetics department, where it'* sold as nail polish remover. Long story short, the acetone didn't remove the glue but it took the paint off that corner of the bezel. Who knew those things were painted? The paint is almost the same color as the plastic, except for a slight texture and the barest little hint of metallic flake. At that point, I just gave up and got out a detail sander and smoothed that corner up without much regard for appearance. I remembered I had a rattle can of black Rustoleum Universal Hammered Paint and Primer in One that I had used to repaint the power nozzle for an Electrolux vacuum cleaner last year. The nice part about this stuff is it'* got a textured finish that hides a world of sins. After masking off the vents, I gave it a spritz and am very pleased with the results. The color is a spot on match for the original but the finish is a little glossier. It really shows up in direct sunlight but I think it'll be more subdued inside the car. I was briefly tempted to paint the whole thing but for once, overspray worked to my advantage as it created a natural fade from one into the other. I wish I had taken some 'before' pictures, but I was more interested in painting the thing, so there you have it.
It was a little higher on the right side, up by the vents. The difference in finish is a little more apparent when seen in the flesh, but I won't be ashamed to have it in the car. I am not a talented spray painter at all, but that stuff is is extremely forgiving.