
BIG score = lots of work **Complete** with More pics


Thread Starter
Senior Member
True Car Nut
Joined: Feb 2004
Posts: 2,708
Likes: 2
From: Western MA

It is your everyday Bondo-Glass. It contains small fiberglass fibers in a jelly-like resin. I bought it from the local Advance Auto but you can probably find it at hardware stores and maybe Lowes and the Depot.
Thanks for the encouragement. I'll need it when it comes to the paint. I'm not much of a paint guy but since it will have a texture, it will hide the few imperfections.
So far, this has been a fun project. I've farted around with fiberglass in the past but nothing as detailed as this. That'* how I came to use the Carnuba wax as a release agent. A lot of homework and some experimenting came in hand too.
Thread Starter
Senior Member
True Car Nut
Joined: Feb 2004
Posts: 2,708
Likes: 2
From: Western MA

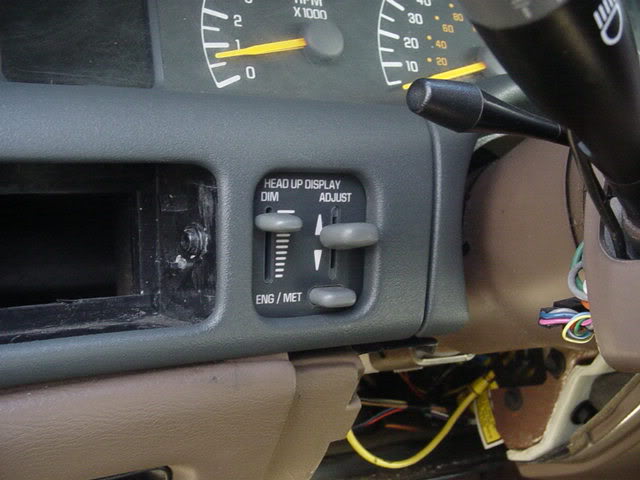
Here'* the completed project... well, almost. The dash came out so good that I decided to paint the vents. They are drying now. I found a store that had the texture in stock so I didn't have to wait until tomorrow. The texture stuff is really neat. The area around the radio was very smooth after the mods but the rest of the trim wasn't nearly as smooth. I really didn't know how the stuff would work and how it would end up looking because of the different textures. It is very uniform now and would be very difficult to tell from OEM.


These two areas are typical of the whole piece. I'm very pleased with the outcome. I only spent about $60 in materials and I have plenty left.

Thread Starter
Senior Member
True Car Nut
Joined: Feb 2004
Posts: 2,708
Likes: 2
From: Western MA

All SEM products. Product numbers can be seen on the can or lid.
The order of application:
1) Sandable primer (not shown)
2) Texture coating
3) Adhesion promoter
4) Color coat


Senior Member
True Car Nut
Joined: Dec 2002
Posts: 5,459
Likes: 2
From: Sauk Centre, MN
Stunning!  That car is definitely becoming very good material for a Custom'* auto show.
You should consider doing custom work, even if it is a just a little business for us BC members. Your work is A-1 perfect.
You should consider doing custom work, even if it is a just a little business for us BC members. Your work is A-1 perfect.
Thread Starter
Senior Member
True Car Nut
Joined: Feb 2004
Posts: 2,708
Likes: 2
From: Western MA
Thanks for all of the compliments, guys.
The curved edges on the left, right and bottom of the radio opening were all hand shaped. The top was largely untouched. A plug was used to keep the opening accurate, It'* made from 1 x 12 material (3/4" thick) and 1/2" plywood. Essentially, the edges were square when it was released from the plug. I used a Dremmel with the larger sanding wheel with 80 grit to rough shape. Then 120 sandpaper, 220 and finally 320. The corners were a little difficult but I found by wrapping sandpaper around drill bits of varying diameters, I was able to make nice transitions. The HUD switch opening was shaped from the reverse mold of the original. I was pretty impressed with how that came out. My first time with reverse molds.

I'd like to do some custom work but I don't even have a garage to work in. Next year we plan on a 26 x 30 garage plus a kitchen addition but this was planned for 2004. Needless to say, it didn't happen.
Originally Posted by jachin
How did u make the edges roll in around the HU. was it all hand sanded that way or was it routed or what
I'd like to do some custom work but I don't even have a garage to work in. Next year we plan on a 26 x 30 garage plus a kitchen addition but this was planned for 2004. Needless to say, it didn't happen.

