
UIM/LIM gasket questions (yes, I have searched and read some)

Thread Starter
Member
Posts like a V-Tak
Joined: Apr 2009
Posts: 59
Likes: 0
From: Virginia

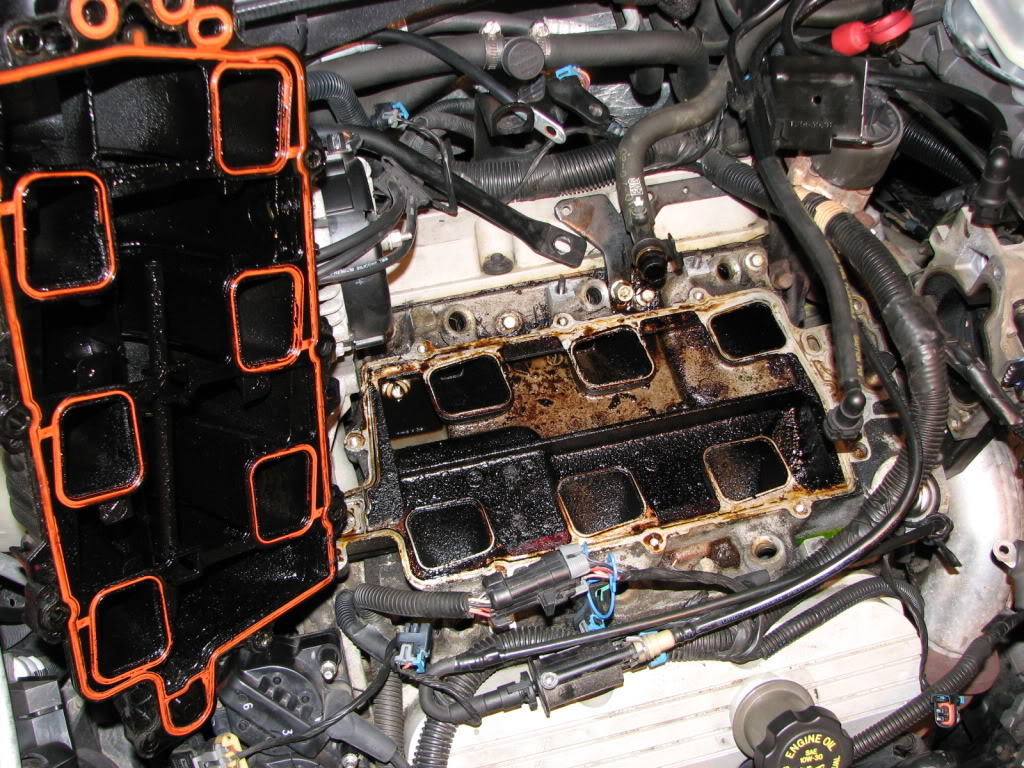
Well, looks like I missed you. Got all the bolts out of the LIM, EGR tube disconnected, I can't see anything else to hold it in place. It'* very loose, I can move it all around, but it just will not come out! It moves an inch or so in any direct then won;t go any farther. Is there some trick to getting this thing free?
Hopefully have some help coming later, maybe they can figure it out.
Hopefully have some help coming later, maybe they can figure it out.
Thread Starter
Member
Posts like a V-Tak
Joined: Apr 2009
Posts: 59
Likes: 0
From: Virginia
omg, it'* the coolant elbow, I just looked through the how-to and caught it.
Guess I either bend the copper part of the EGR tube out of the way to make room to pull the LIM off the elbow at the other end, or remove the EGR tube completely from the EGR itself. That bolt holding it on looks really solid and rusted over.
Guess I either bend the copper part of the EGR tube out of the way to make room to pull the LIM off the elbow at the other end, or remove the EGR tube completely from the EGR itself. That bolt holding it on looks really solid and rusted over.
Thread Starter
Member
Posts like a V-Tak
Joined: Apr 2009
Posts: 59
Likes: 0
From: Virginia
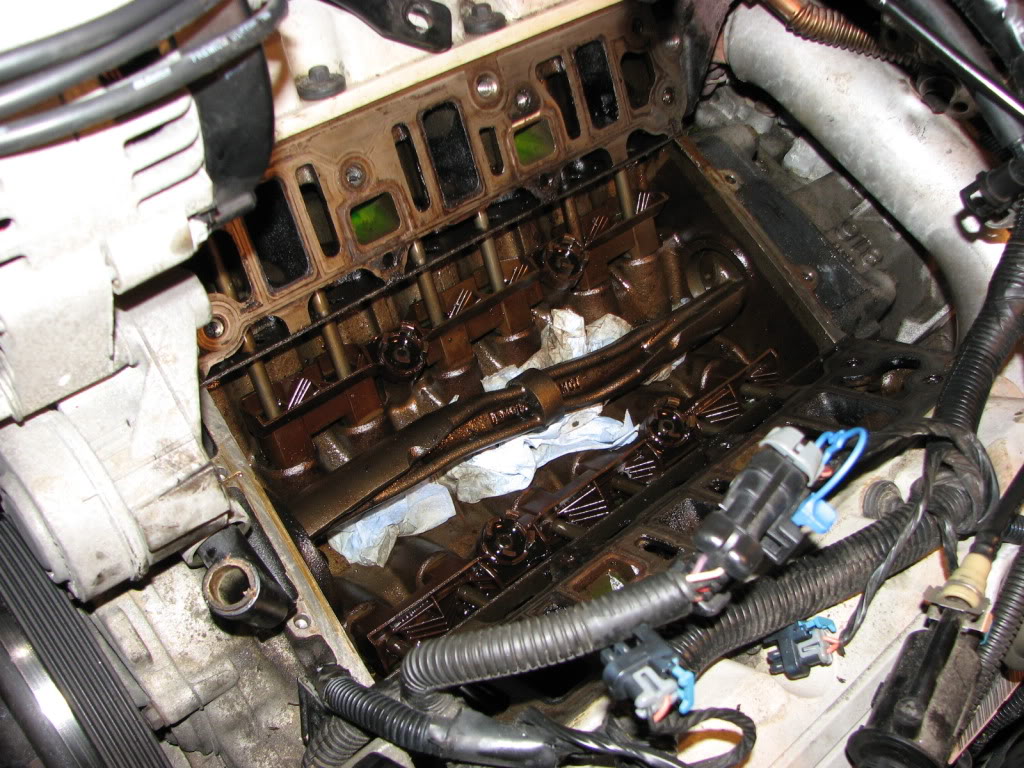
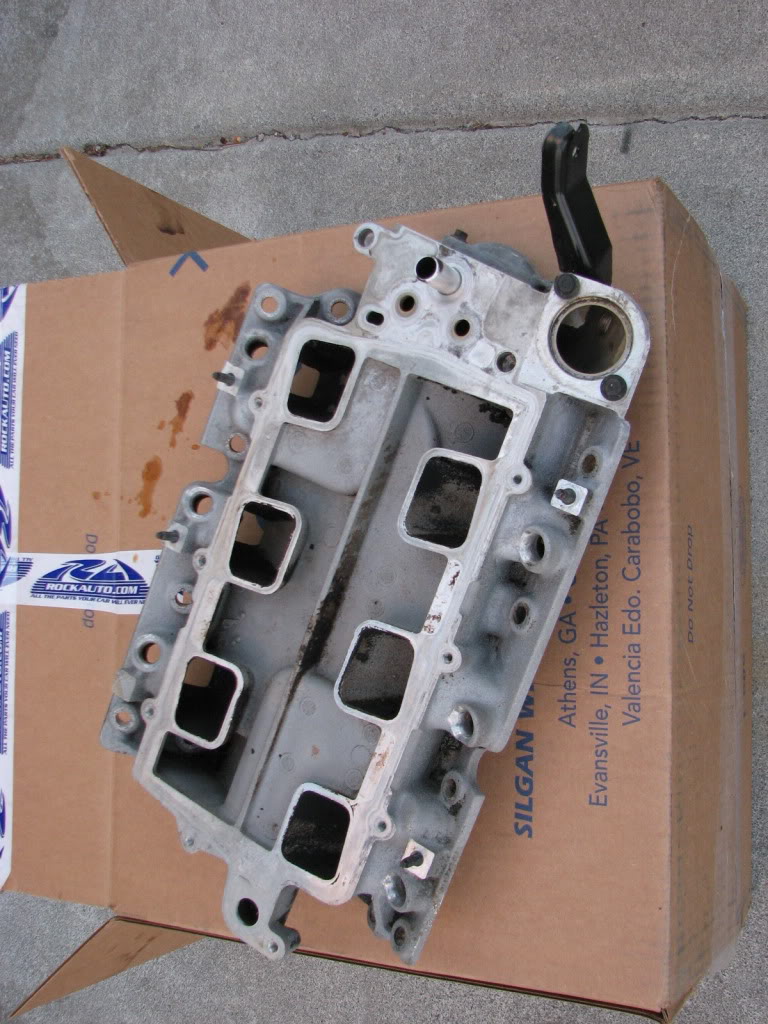
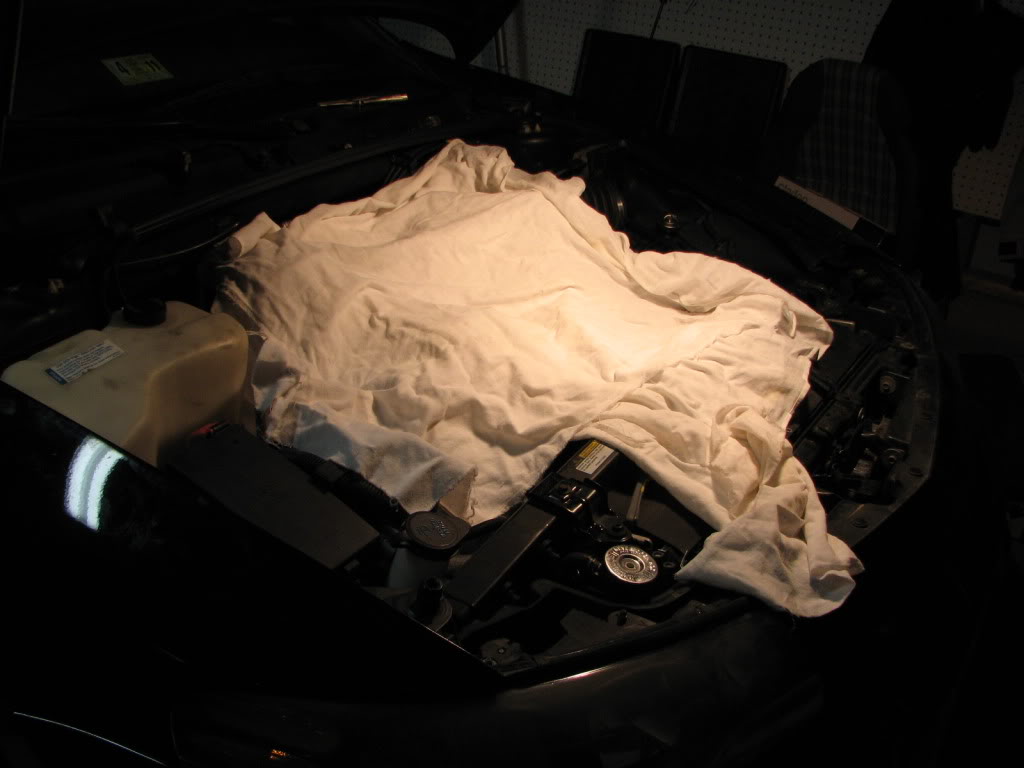
Had to grab some coolant elbows from the local Advance... $3.50. Got it all apart, LIM cleaned up, then put it her to bed. Will reassemble tomorrow. My knees are killing me (they are bad, paying the price for an athletic youth) from leaning over the engine all day.
Just for the hell of it, and because I take pics to help put things back right...
1
2
3
4
5
6
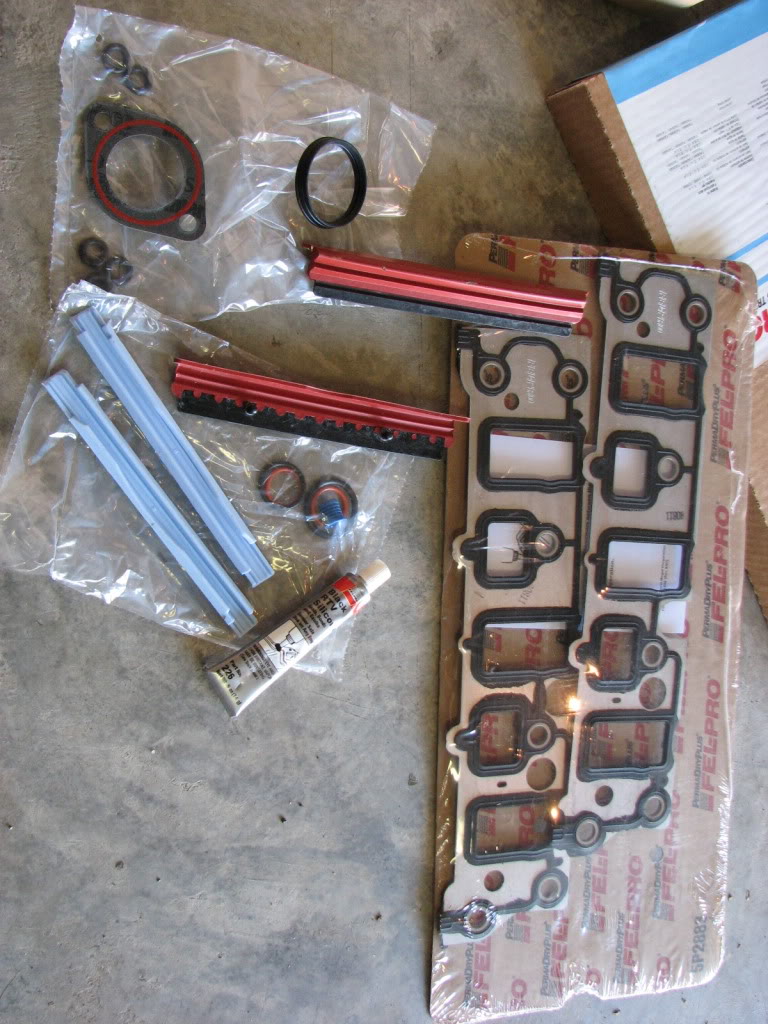
the new stuff...

if anyone knows what the heck the light blue gaskets are for, please speak up!
Just for the hell of it, and because I take pics to help put things back right...
1
2
3
4
5
6
the new stuff...
if anyone knows what the heck the light blue gaskets are for, please speak up!
Retired Senior Admin


Expert Gearhead
Joined: May 2006
Posts: 29,661
Likes: 43
From: Sheboygan Wisconsin

Remember when you torque everything down to half torque, then work up to full torque. The UIM is really important to do that. Don't go bolt to bolt, you need to cross over to keep it as even * possible.
Thread Starter
Member
Posts like a V-Tak
Joined: Apr 2009
Posts: 59
Likes: 0
From: Virginia
Thanks for all the help. She'* all finished. The work itself is, as you guys have said, not too hard and really not too long. For a first run through, it did take a lot longer as I was figuring it out along the way. Little things like how to get those dang injector plugs off! And cleaning things up took a lot of time, too. I wound up taking the LIM to the carwash and hitting it with the degreaser then power rinse, followed by an overnight air dry.
Now the bad part. The f'ing coolant elbow leaks.I used some vaseline lightly on the o-rings and was very careful, but there was a small stream coming from where the elbow goes into the LIM. I'll drive it around some more and see if some magic happens and it stops, otherwise I'll be tackling that issue soon. Guess I'll go through the tensioner if I have to.
Thanks again for the help! thumbup2
Now the bad part. The f'ing coolant elbow leaks.I used some vaseline lightly on the o-rings and was very careful, but there was a small stream coming from where the elbow goes into the LIM. I'll drive it around some more and see if some magic happens and it stops, otherwise I'll be tackling that issue soon. Guess I'll go through the tensioner if I have to.
Thanks again for the help!
thumbup2
Retired Senior Admin
Expert Gearhead
Joined: May 2006
Posts: 29,661
Likes: 43
From: Sheboygan Wisconsin
Try to wiggle the elbow a bit, that might seat the O ring. If not, like you said, go at it from the tensioner, less work.
On the plus side, you learned a lot. If you ever need to do it again for you or a friend, it will be a breeze. I've got it down to just over 2 hours.
On the plus side, you learned a lot. If you ever need to do it again for you or a friend, it will be a breeze. I've got it down to just over 2 hours.
Thread Starter
Member
Posts like a V-Tak
Joined: Apr 2009
Posts: 59
Likes: 0
From: Virginia
If you've got it down to 2 hours, I hate to think of how many times you've done it!
The elbow going into the LIM was still leaking a stream. Pulled the alternator and tensioner, wiggled the tensioner to the left a little until it slipped off both elbows. Pulled the leaker elbow out of the LIM and found a small section of the o-ring had come out of it'* retaining groove and been smashed. Must have happened when I was jiggling the LIM into place, was hoping the vaseline would have prevented that. New o-rings dabbed with some RTV on both elbows and I do believe it'* sealed properly now. That job only took 30 minutes!
Changed the oil, she'* purring nicely. Only issue is the damn SES light came on again, P0404 and sometimes P1404. EGR circuit. Was hoping the manifold/gasket job would have fixed that.
Retired Senior Admin
Expert Gearhead
Joined: May 2006
Posts: 29,661
Likes: 43
From: Sheboygan Wisconsin
I don't even count anymore, that'* how many times. I use a bit of red RTV on the O rings, works well for me. Reset the light and see if it comes back. If it does then you will have to start looking over the EGR.
DINOSAURUS BOOSTUS
Expert Gearhead
Joined: Mar 2005
Posts: 41,391
Likes: 30
From: Enfield, CT
I tend not to use the RTV on the rings and have good luck with them. But hey...whatever works is what we do, right?
2 hours? I can do it in 13 minutes...lol...yeah I wish. My best/average is 2 hours as well. Seems that'* about the cap for how quick we can get these cranked out.
2 hours? I can do it in 13 minutes...lol...yeah I wish. My best/average is 2 hours as well. Seems that'* about the cap for how quick we can get these cranked out.