Lots of work on the SLO at a race shop
 12-10-2010, 02:40 AM
#1
Senior Member
True Car Nut
Thread Starter
Join Date: Sep 2006
Location: Indianapolis, IN
Posts: 4,606
Likes: 0
Received 0 Likes
on
0 Posts

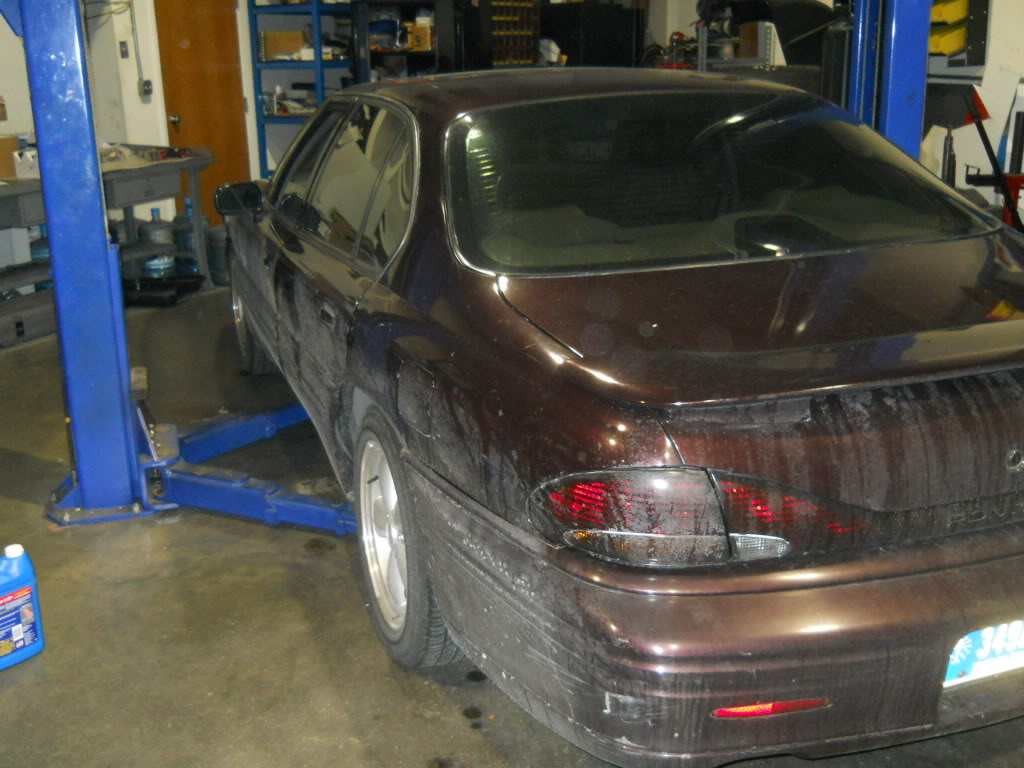
The SLO has become a driveway queen while the Alero does some winter driving business. However, maintenance must not be disregarded for too long! I took my SLO to a race shop, promotion pending, and we worked on it for about 6 hours. Here are pictures and some text.
I arrived in a salty SLO.
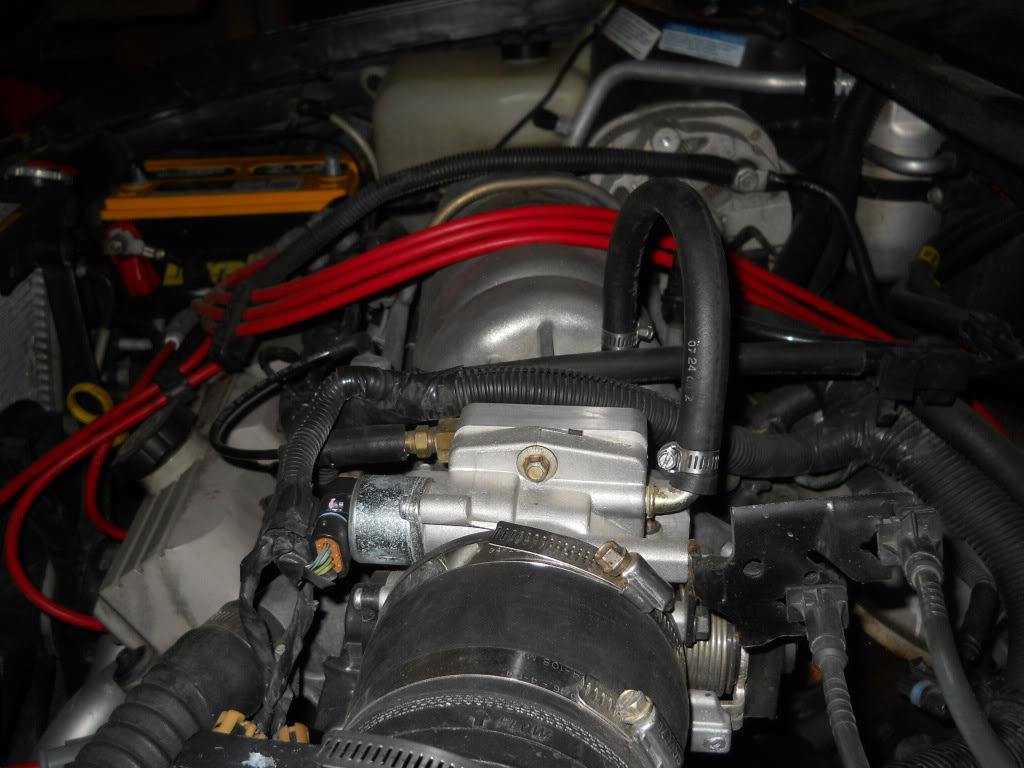
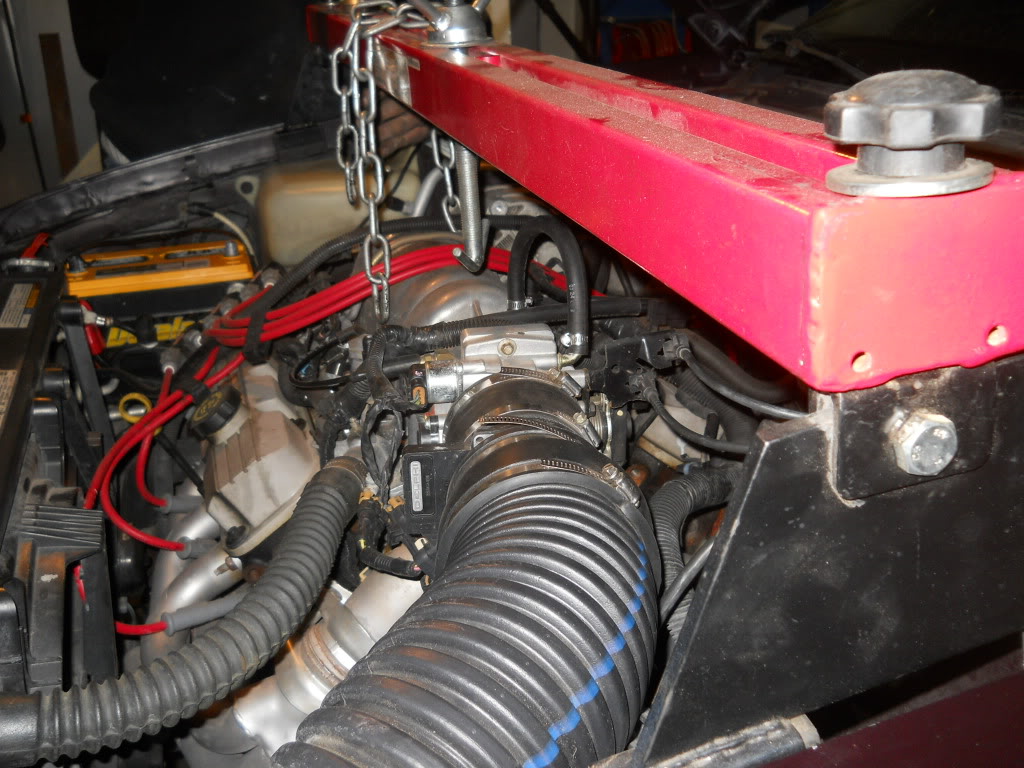
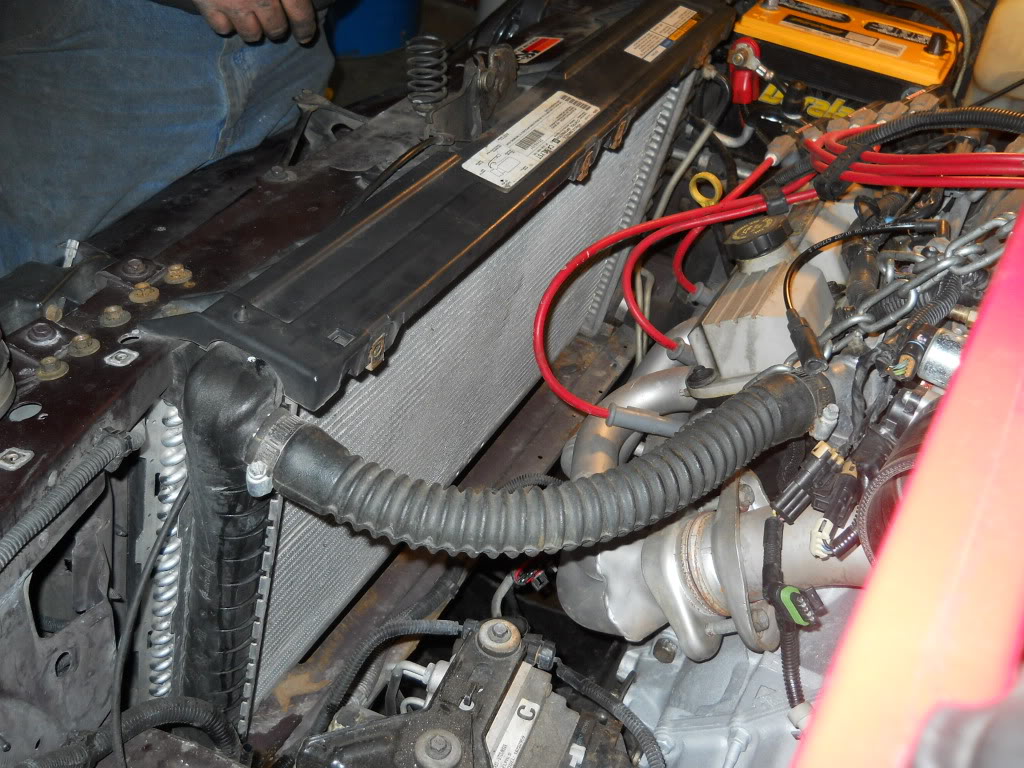
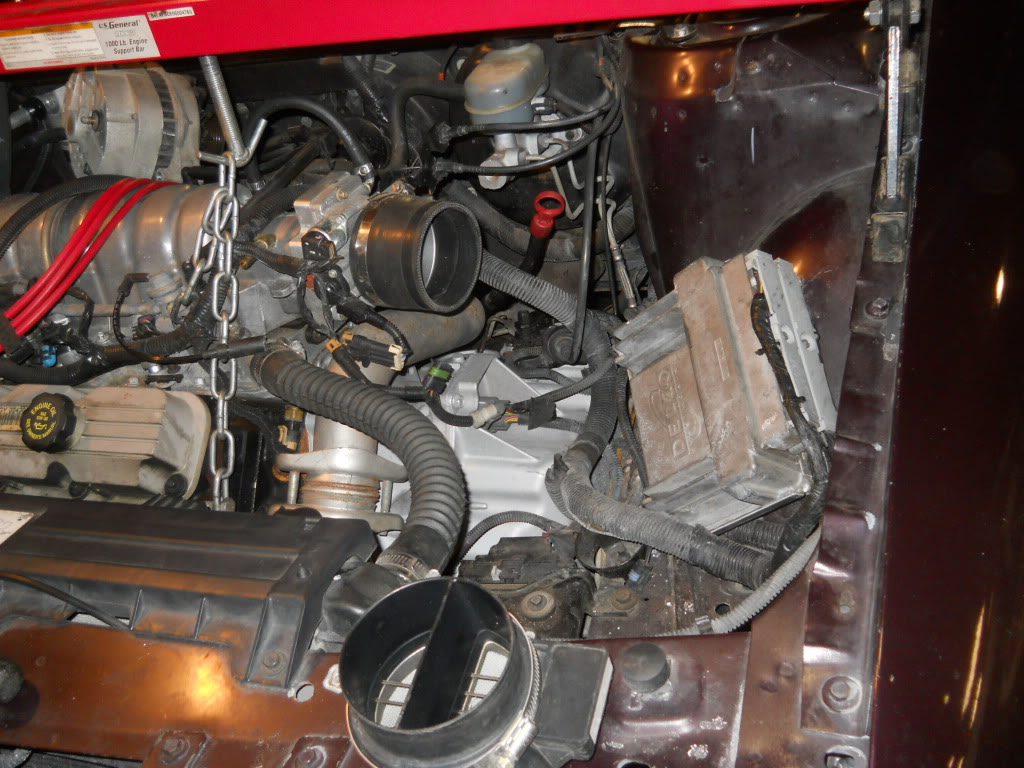
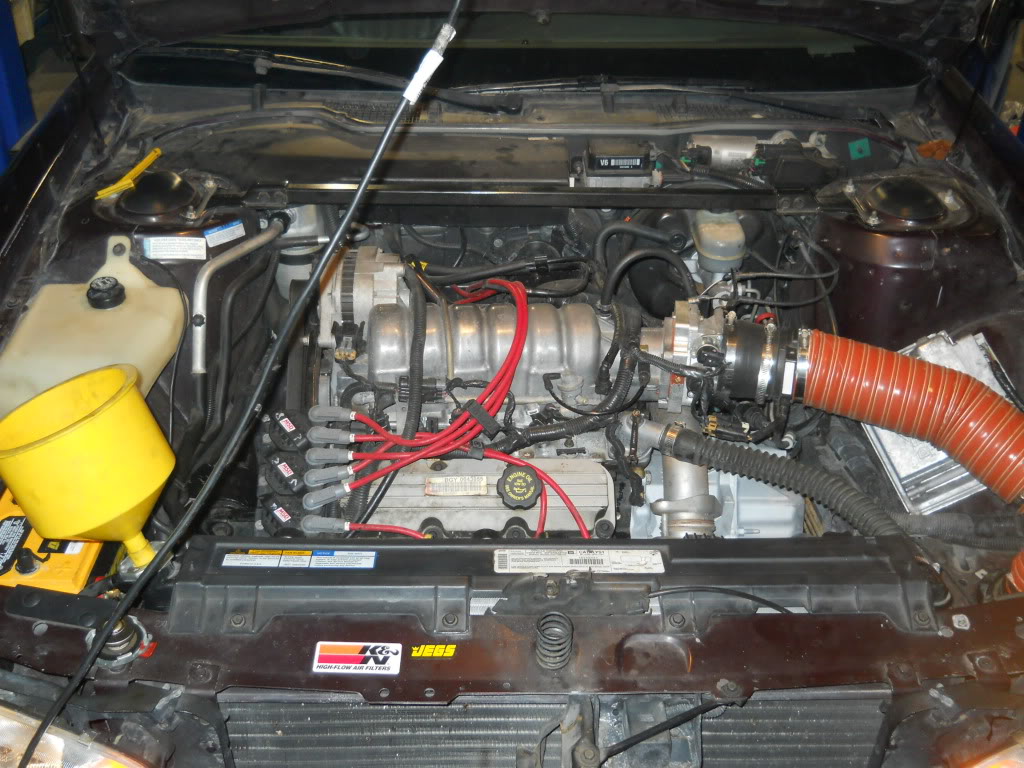
The engine bay was fairly clean! I had noticed I had a coolant leak, so I tried looking for it. We found out the radiator had cracked. A couple months before I parked the STEi and started tearing it apart, I got a brand new radiator for it because the old one exploded while i was driving to work. Now, the SLO has the STEi radiator, and the STEi is waiting for further developments.
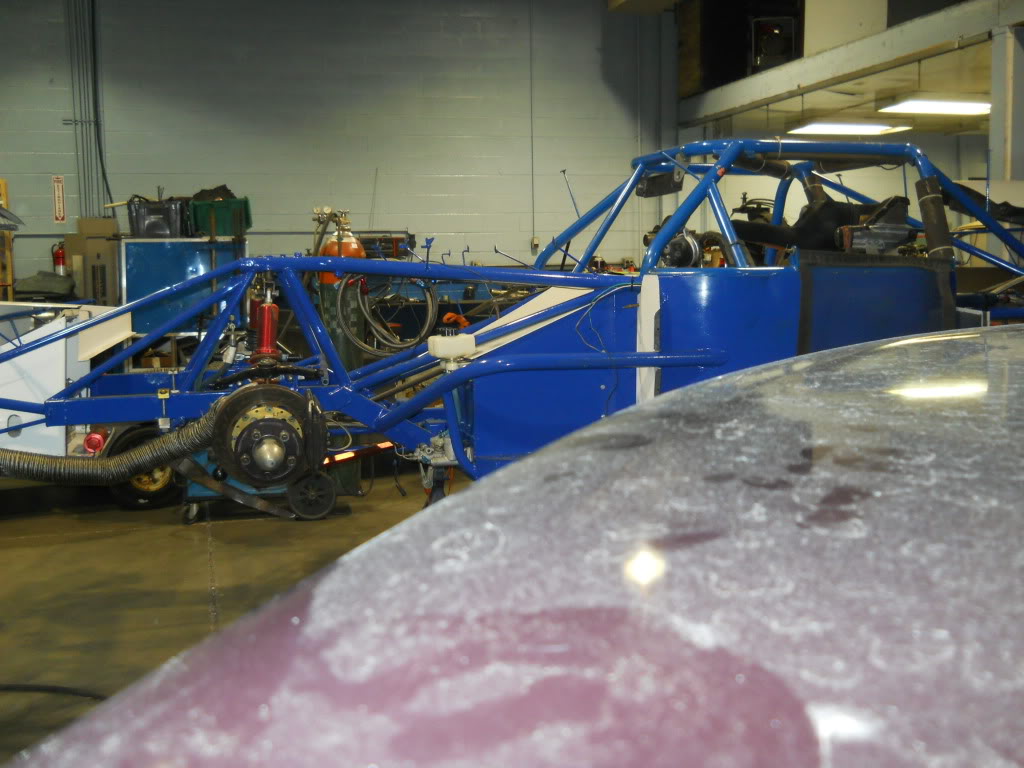
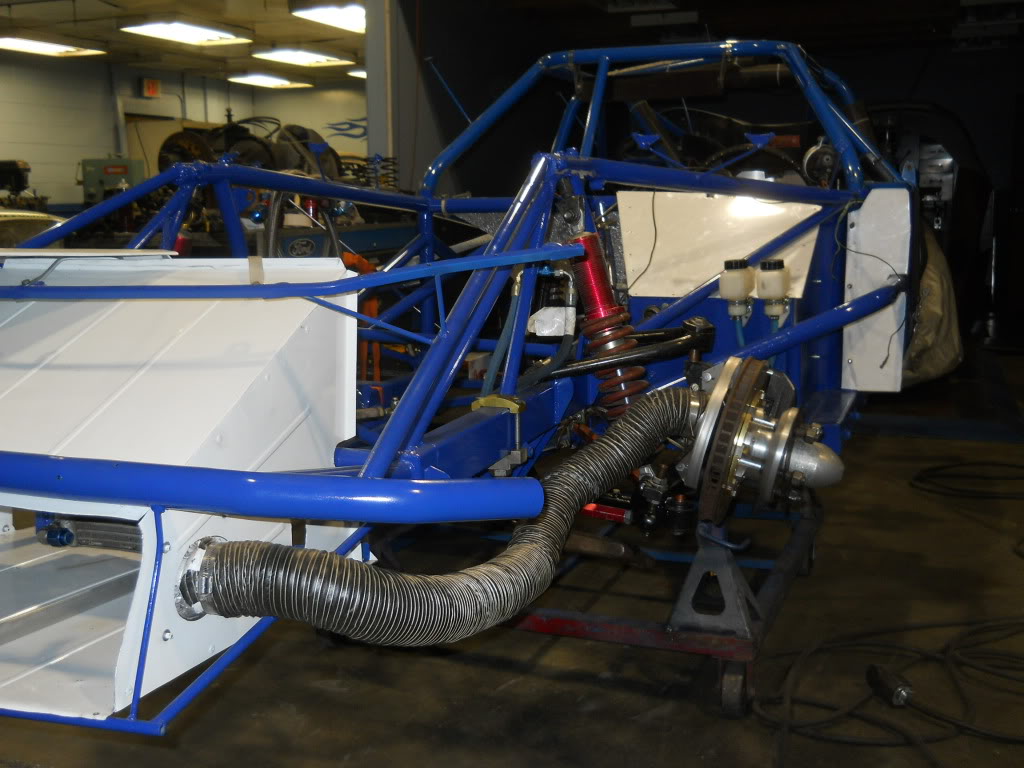
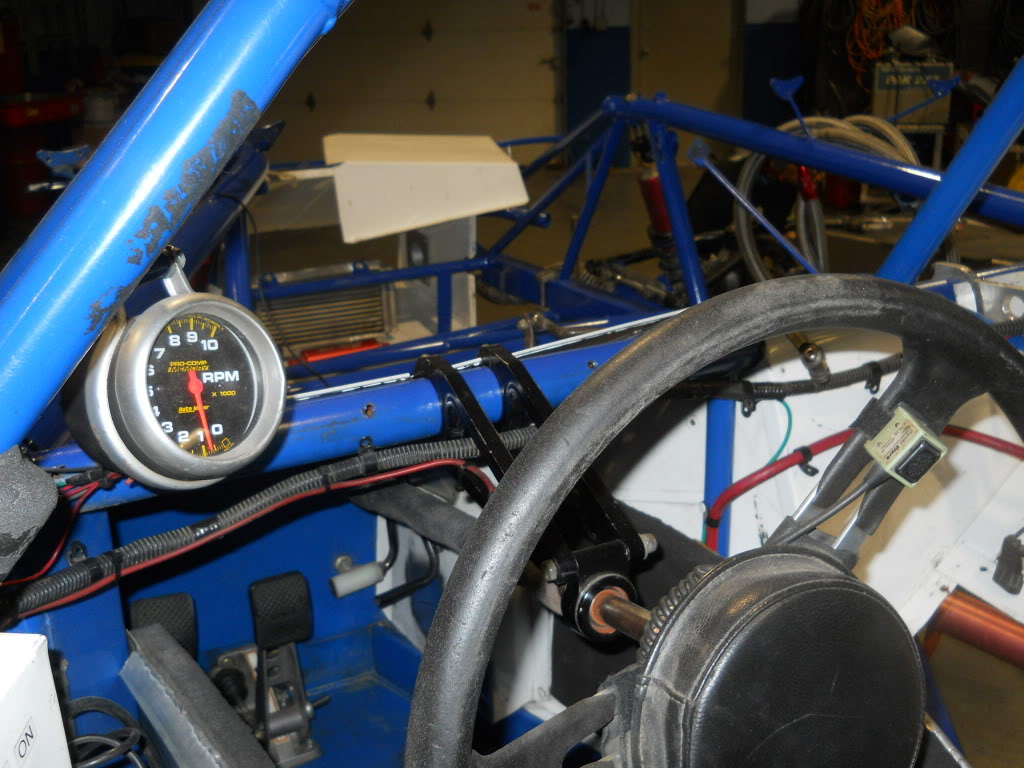
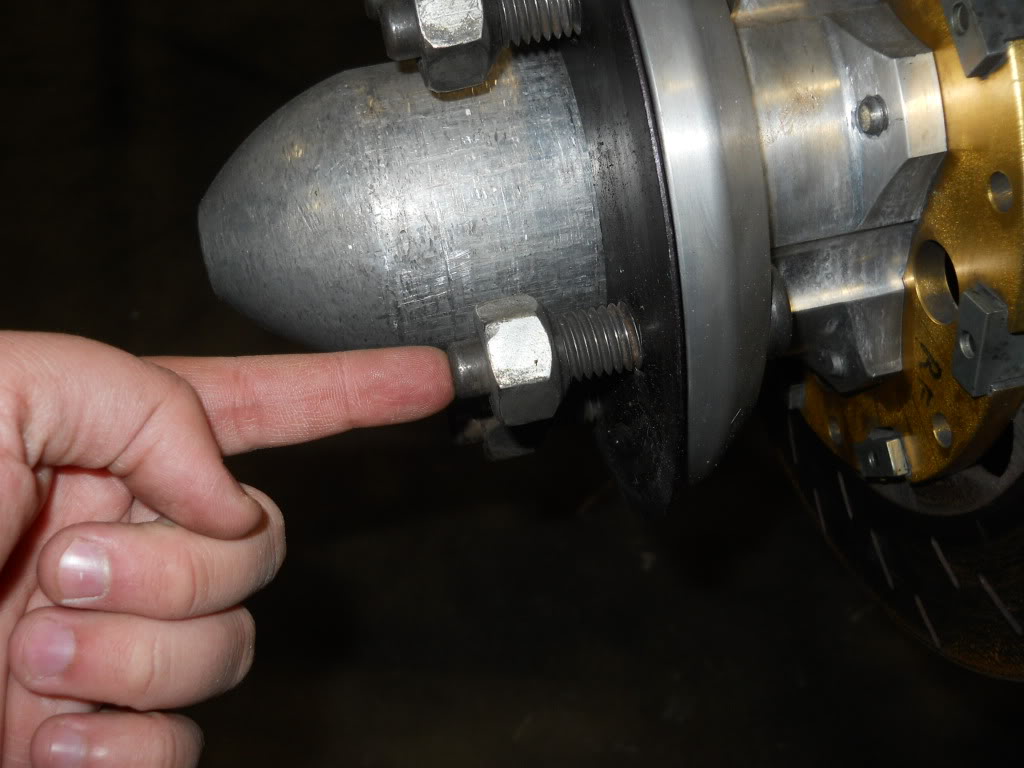
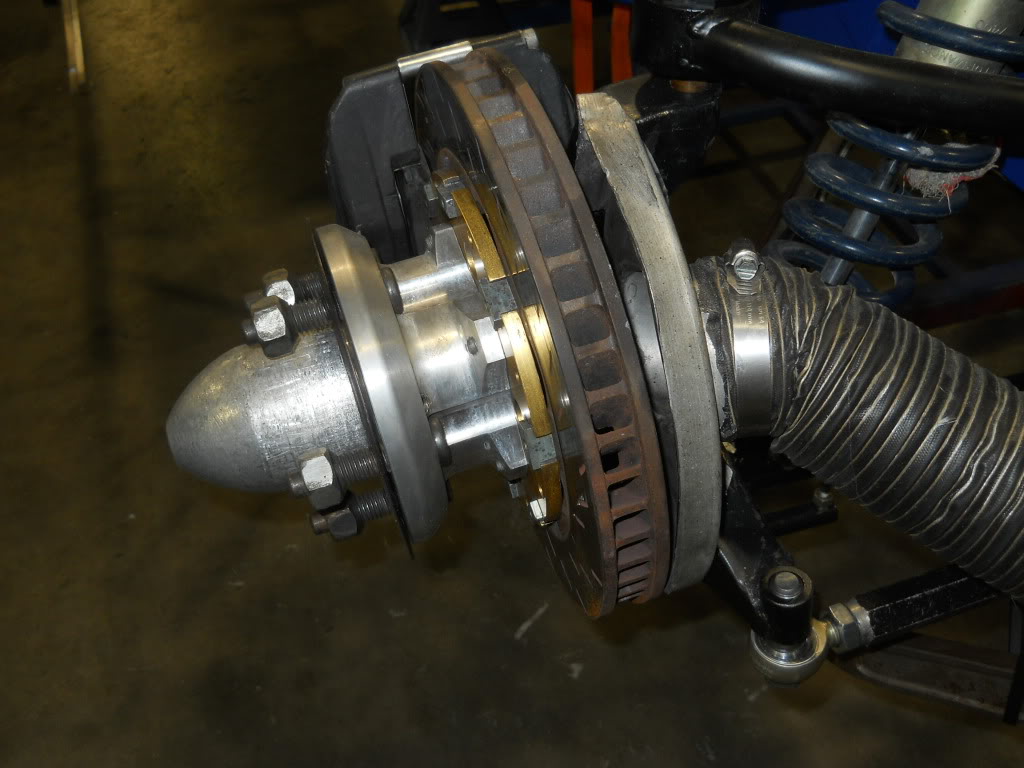
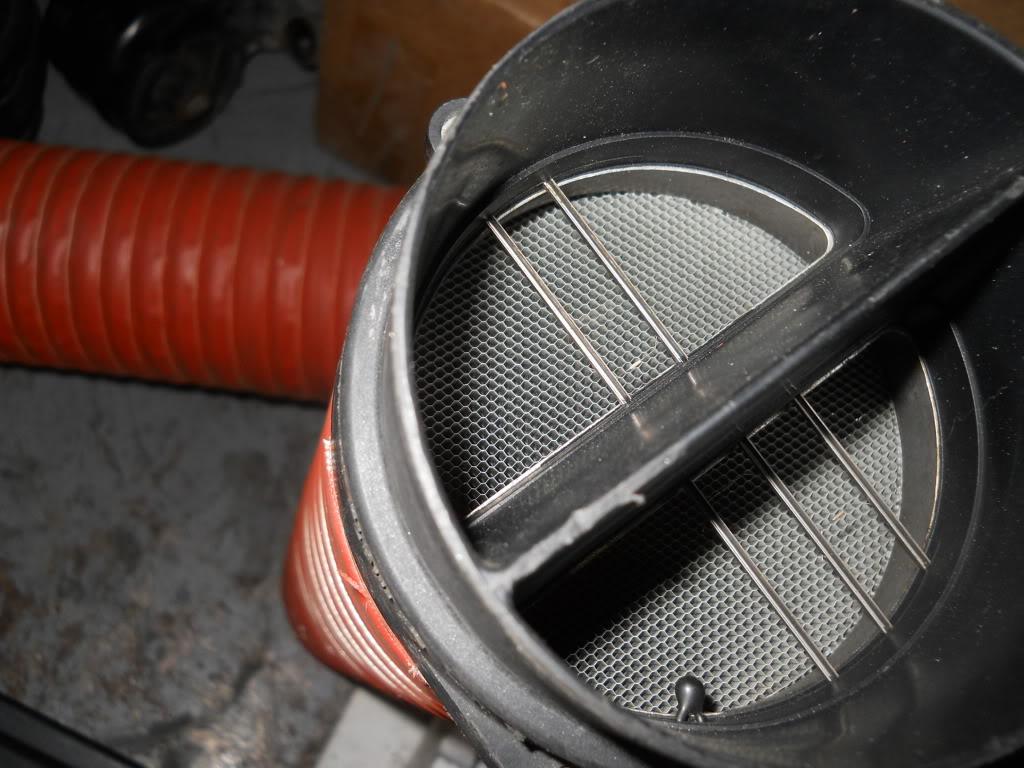
This is a racecar they were putting together. I had a few days earlier noticed the brake ducts, and they said they have some 4" available in case I wanted to change from my 4" drain pipe intake. More on this soon.
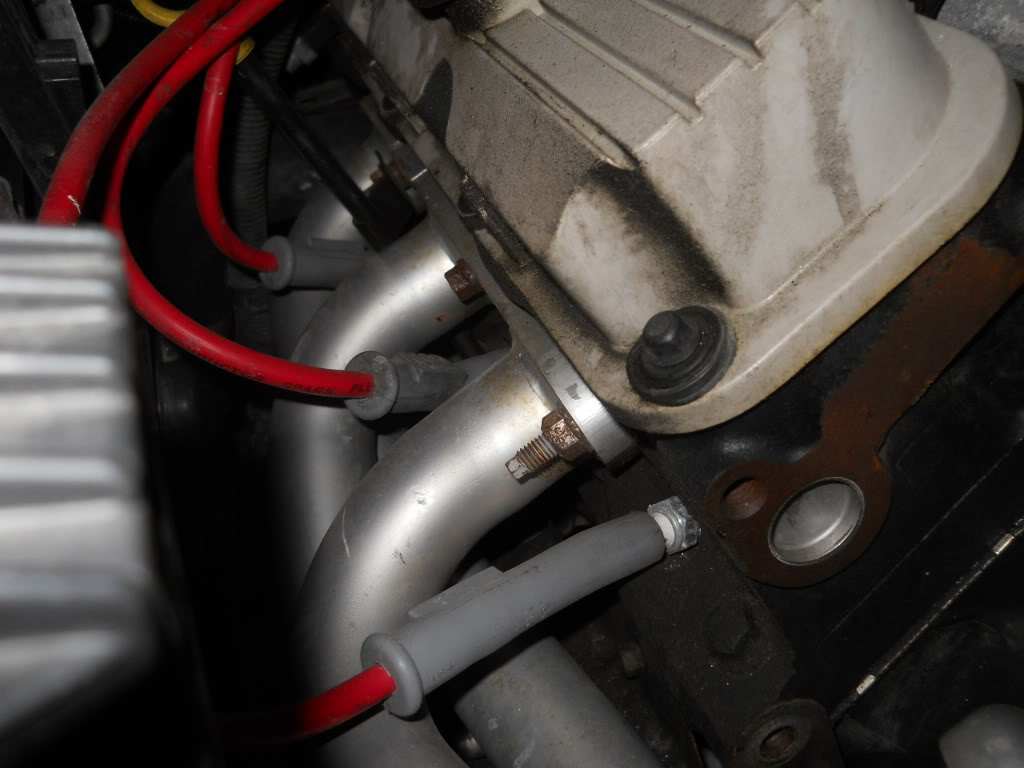
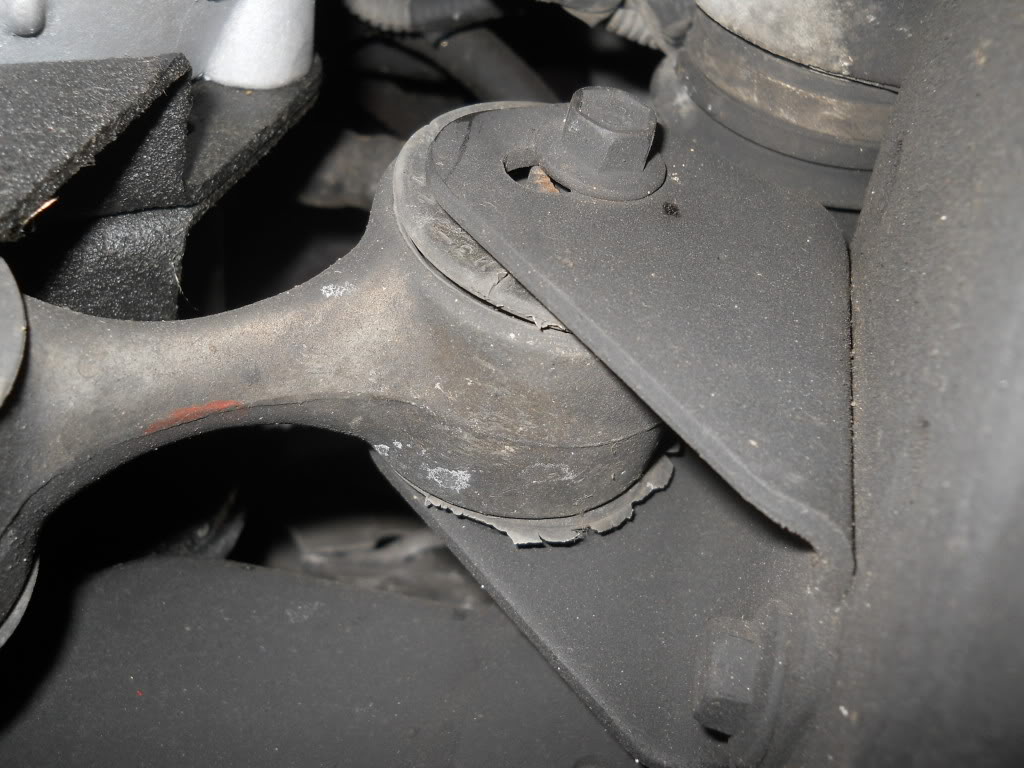
The primary issue was that the motor and trans mounts were all really aged. We changed the torque axis mount and the passenger-side rear dogbone mount to new OE replacements, and we're working on the front and rear driver'* side mounts. That will be shown soon after it'* worked out.
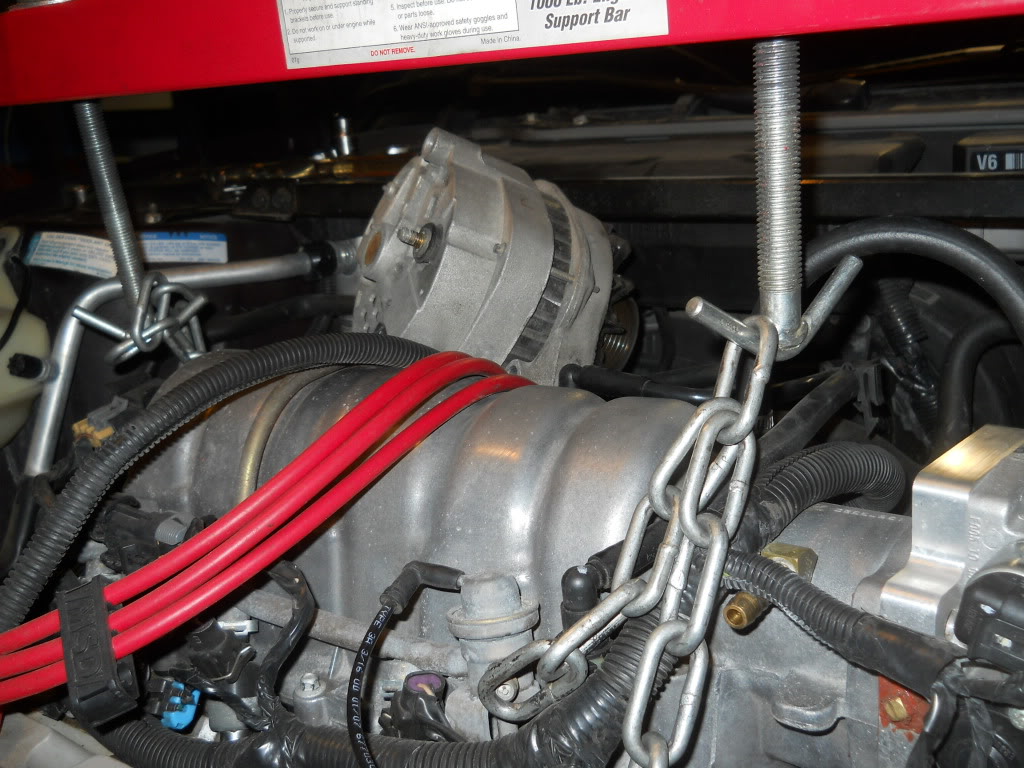

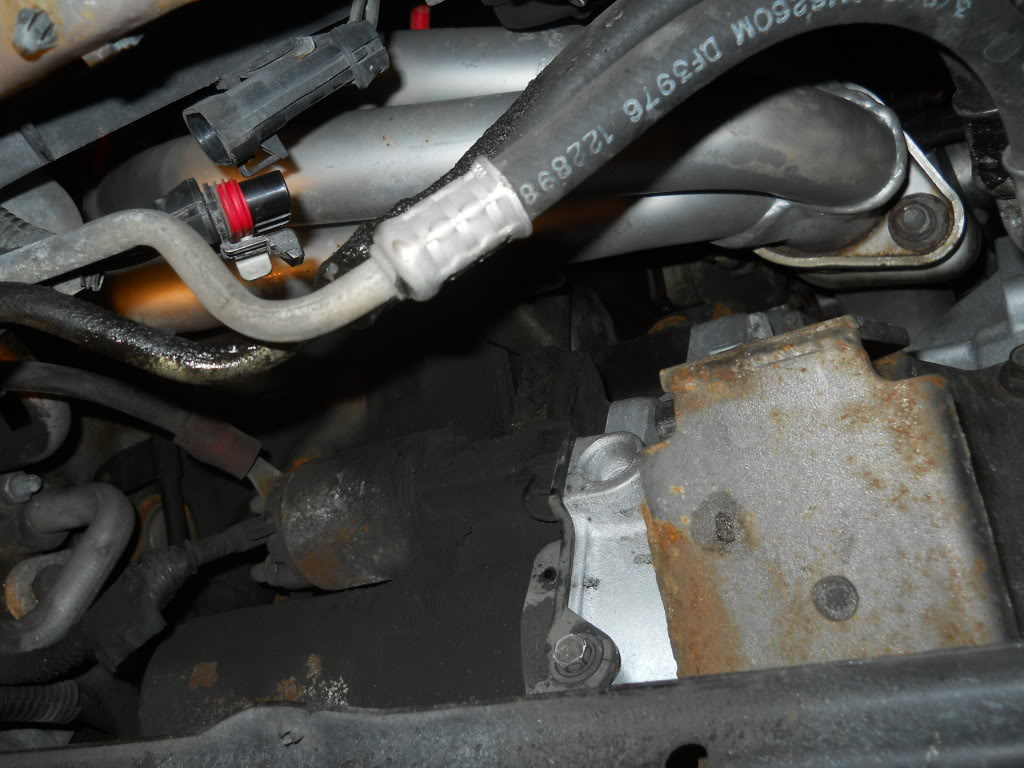
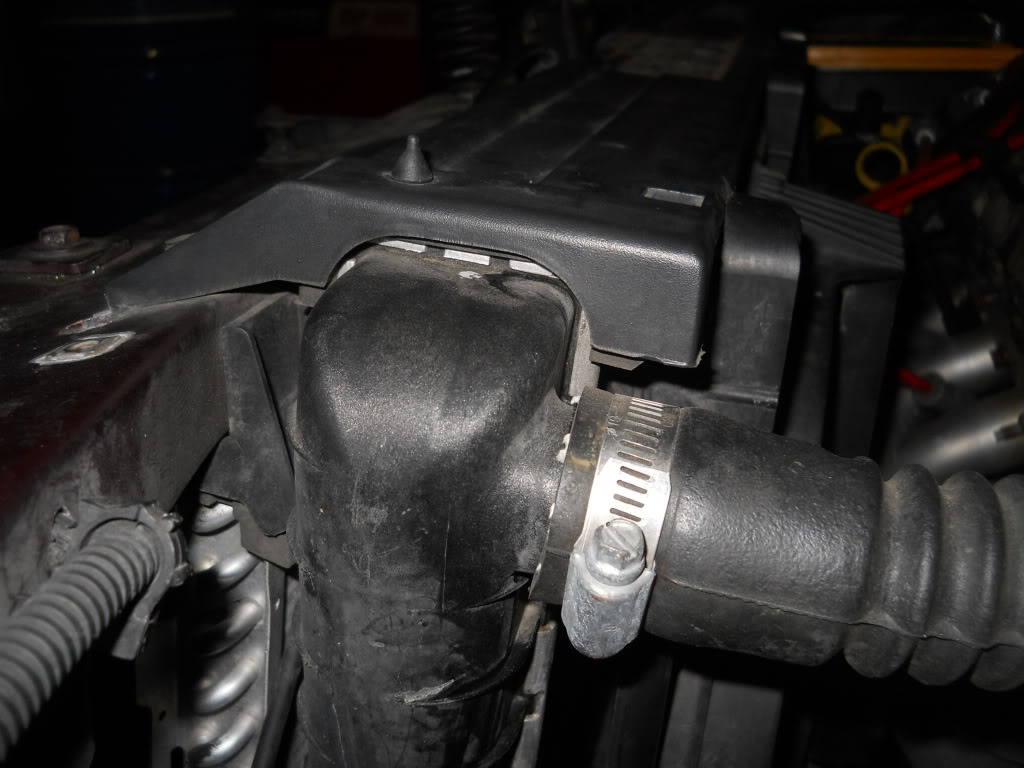
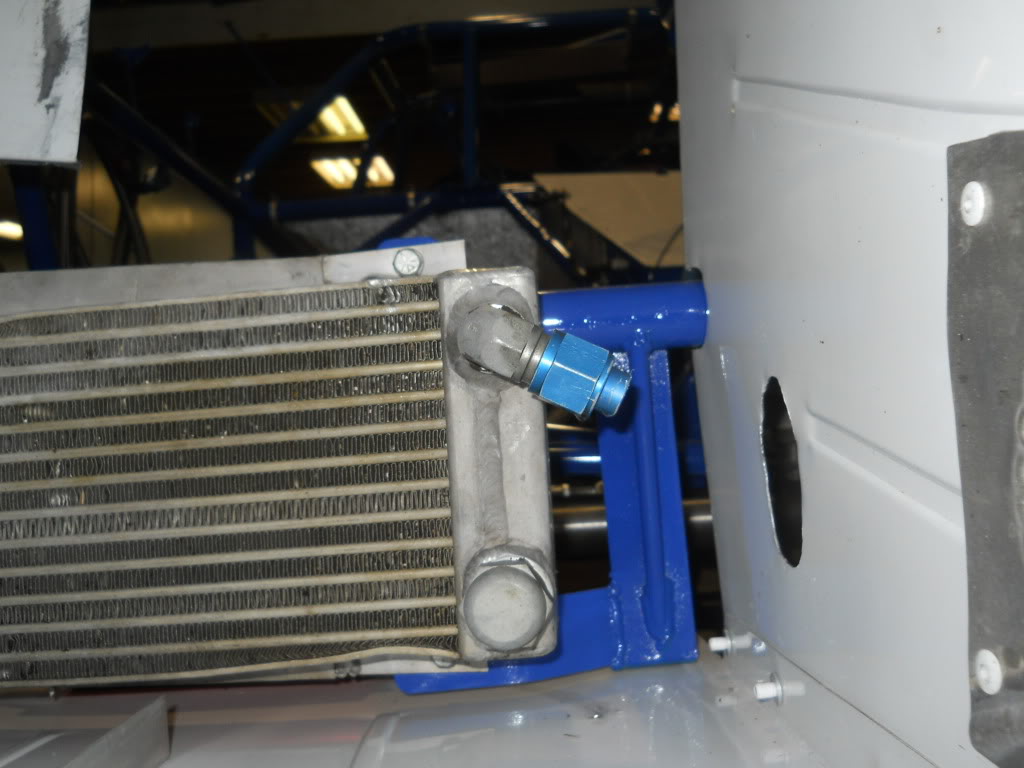
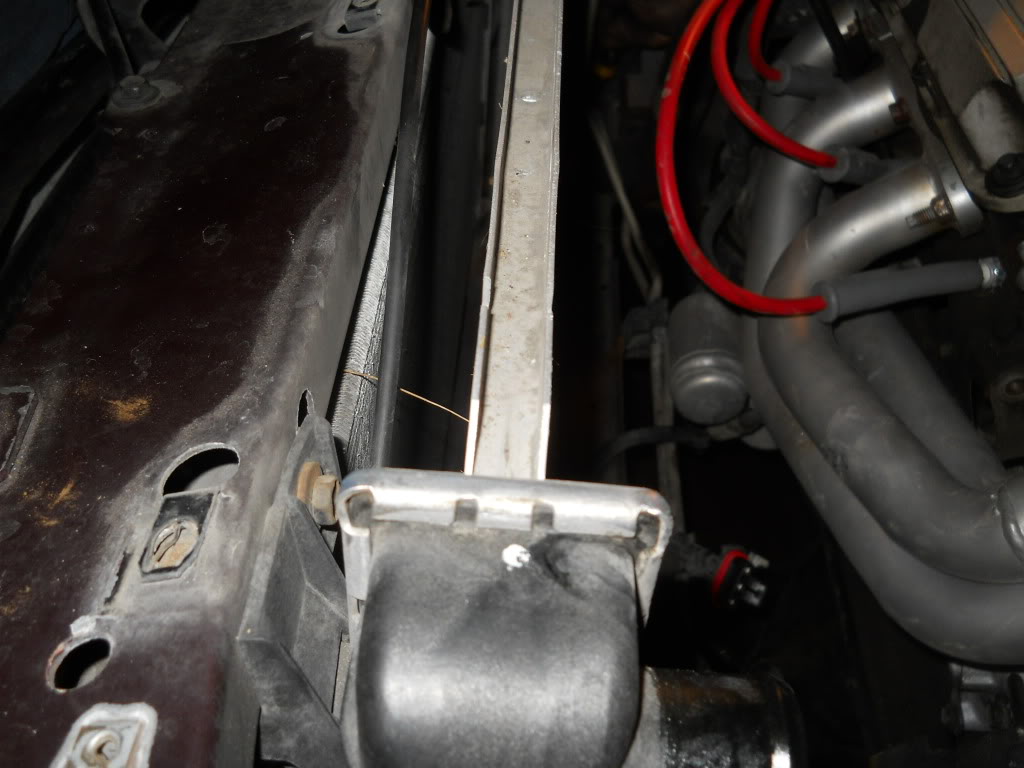
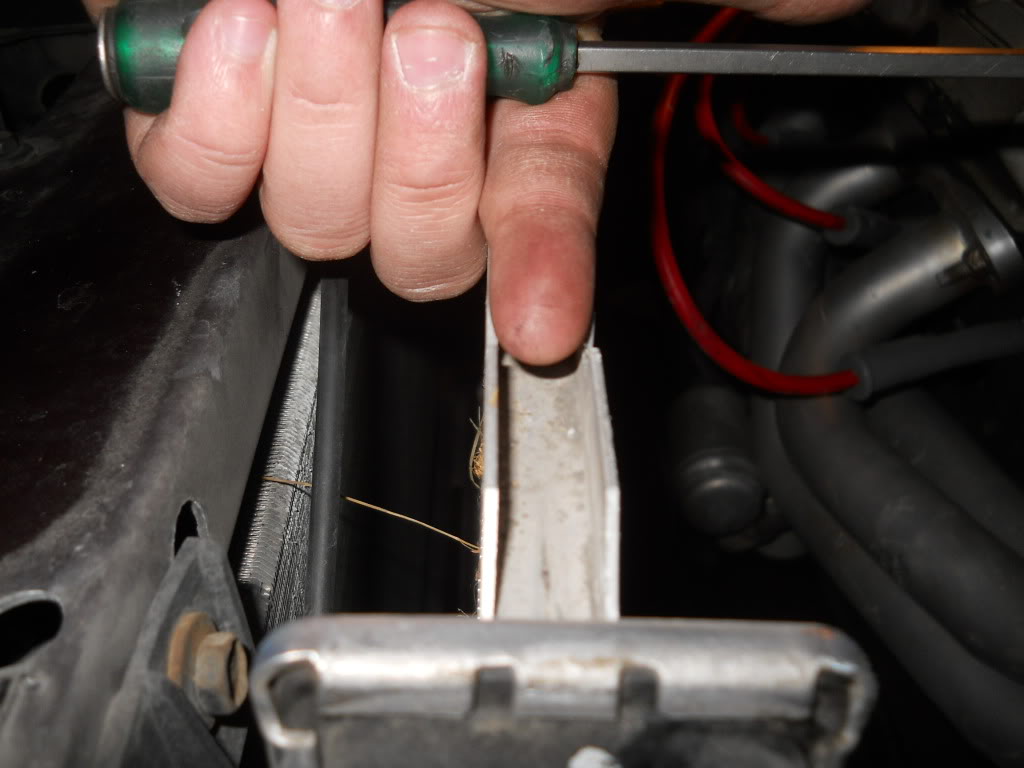
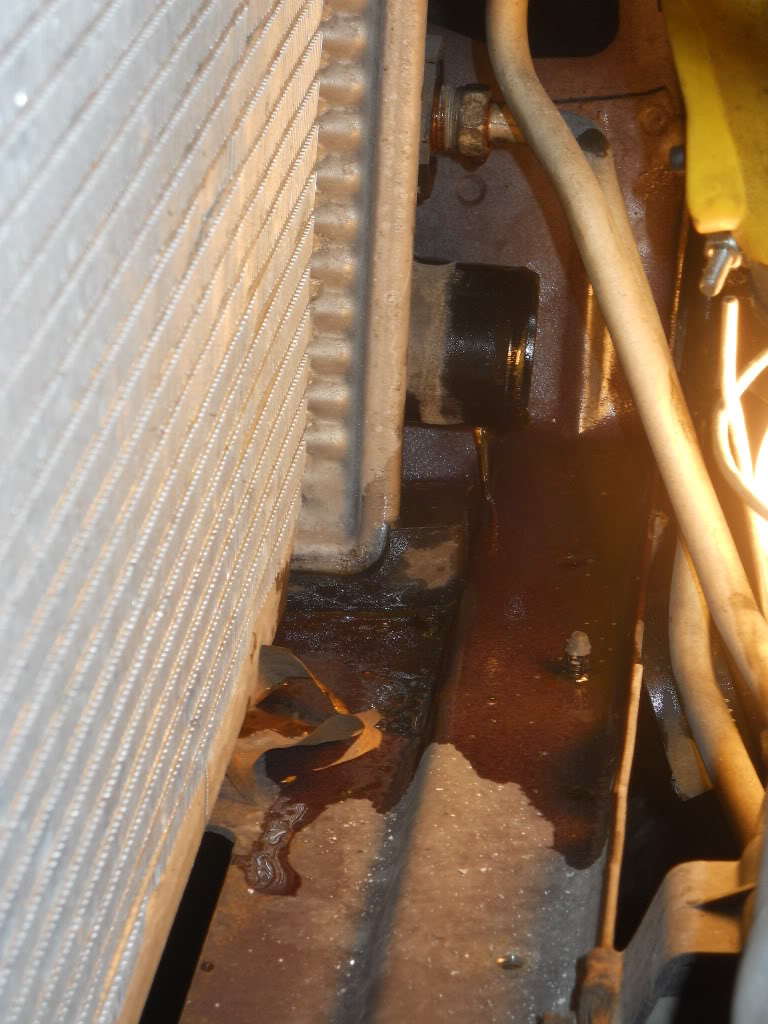
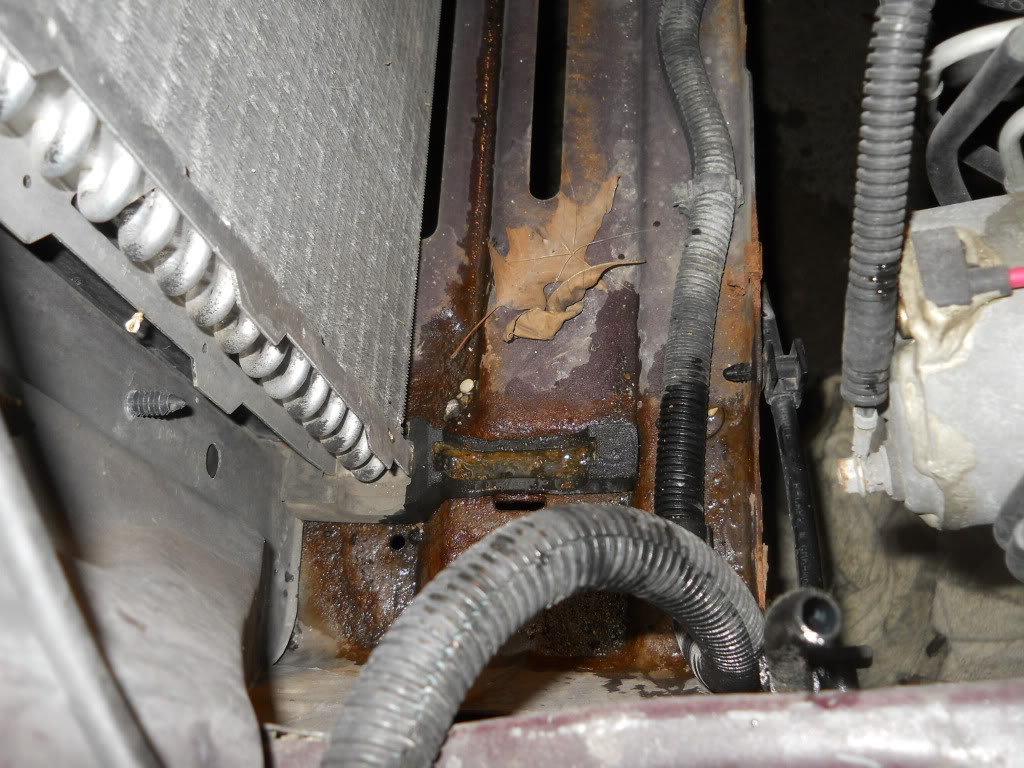
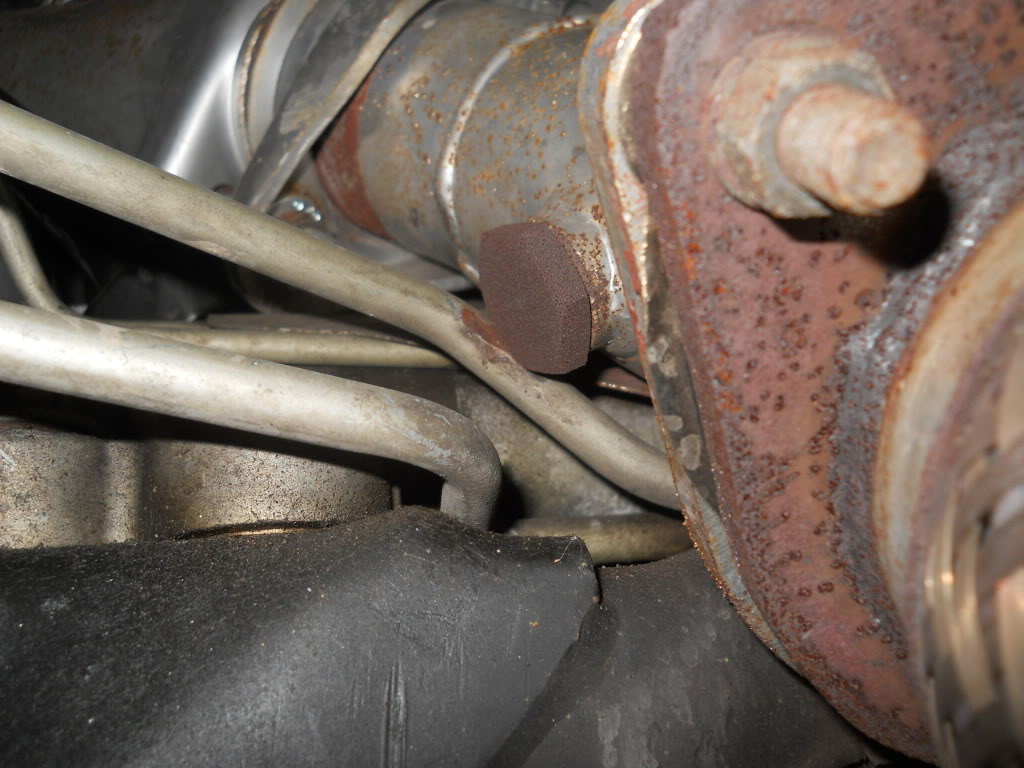
Under the plastic radiator cover, the radiator showed its girth. It'* so tiny! The one from the STEi that I brought in is thick and meaty compared to this. And you can see that where it leaked, over time the chassis beneath started developing rust. I'm going to strip that down soon and paint it with POR-15.

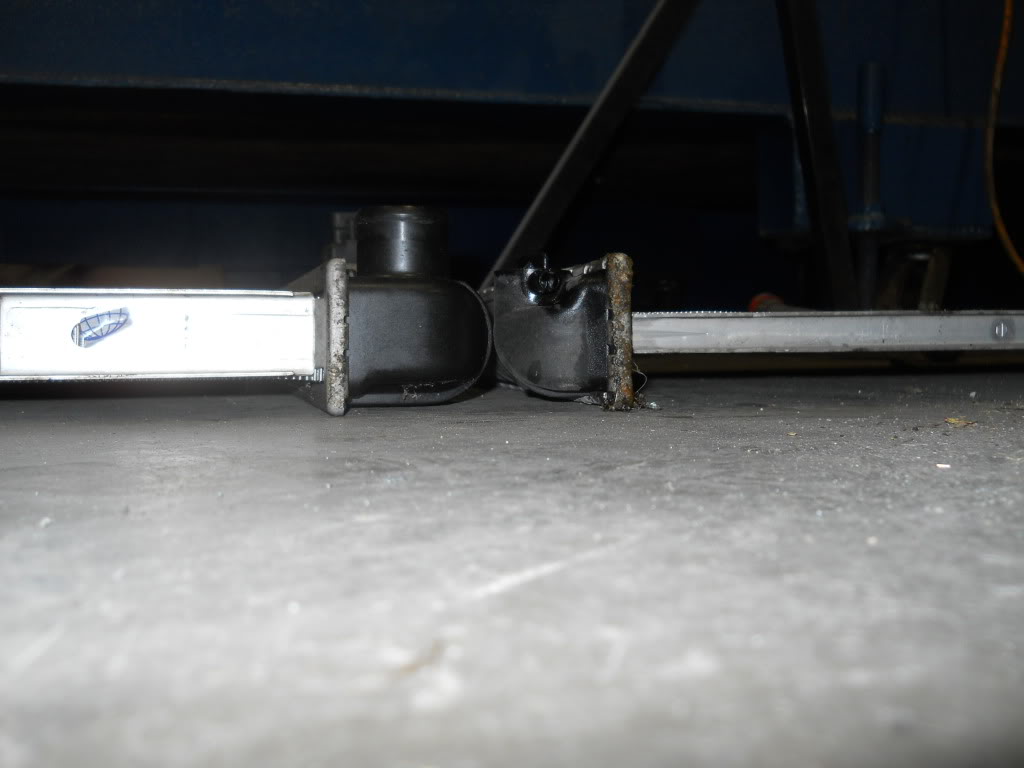
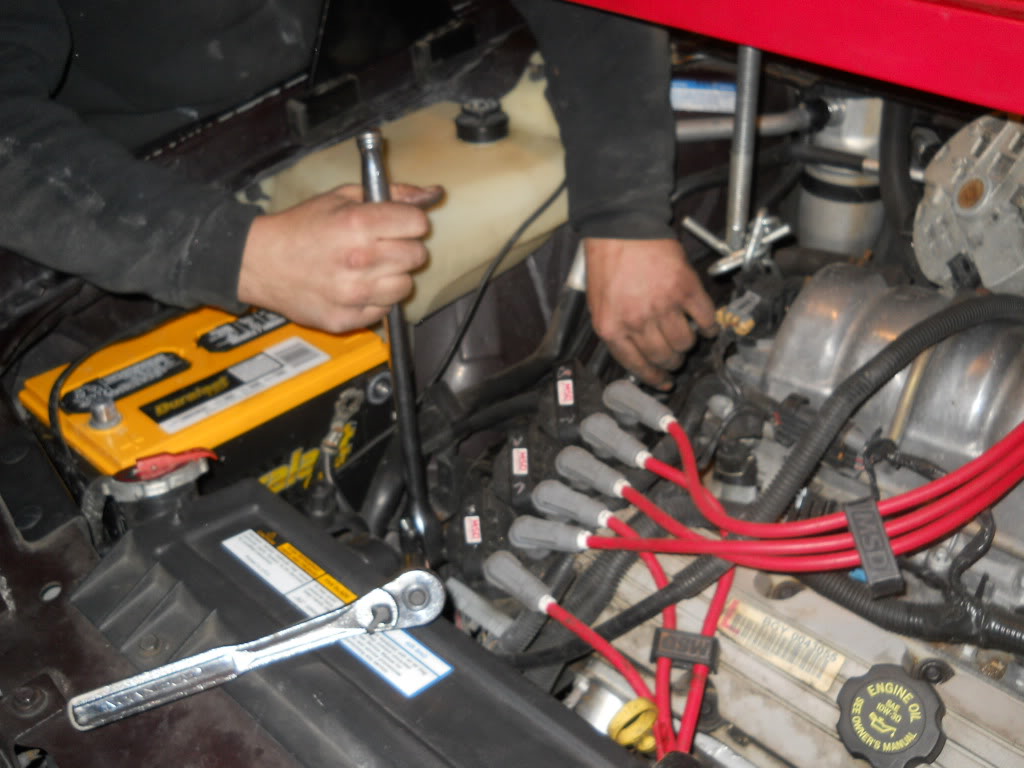
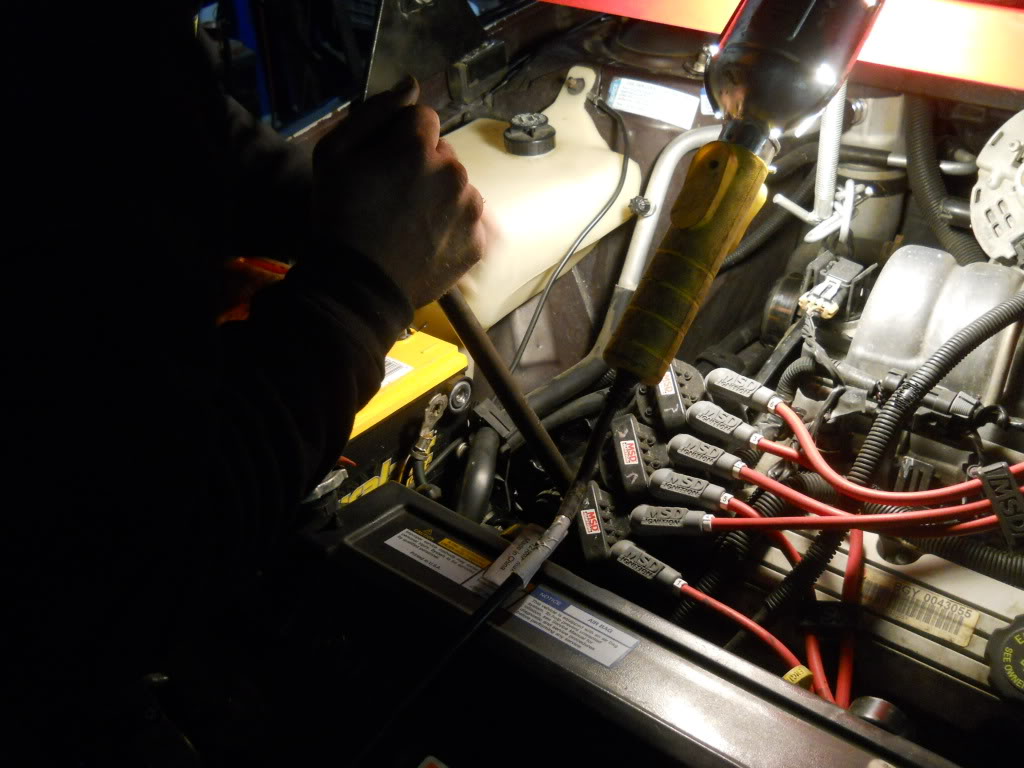
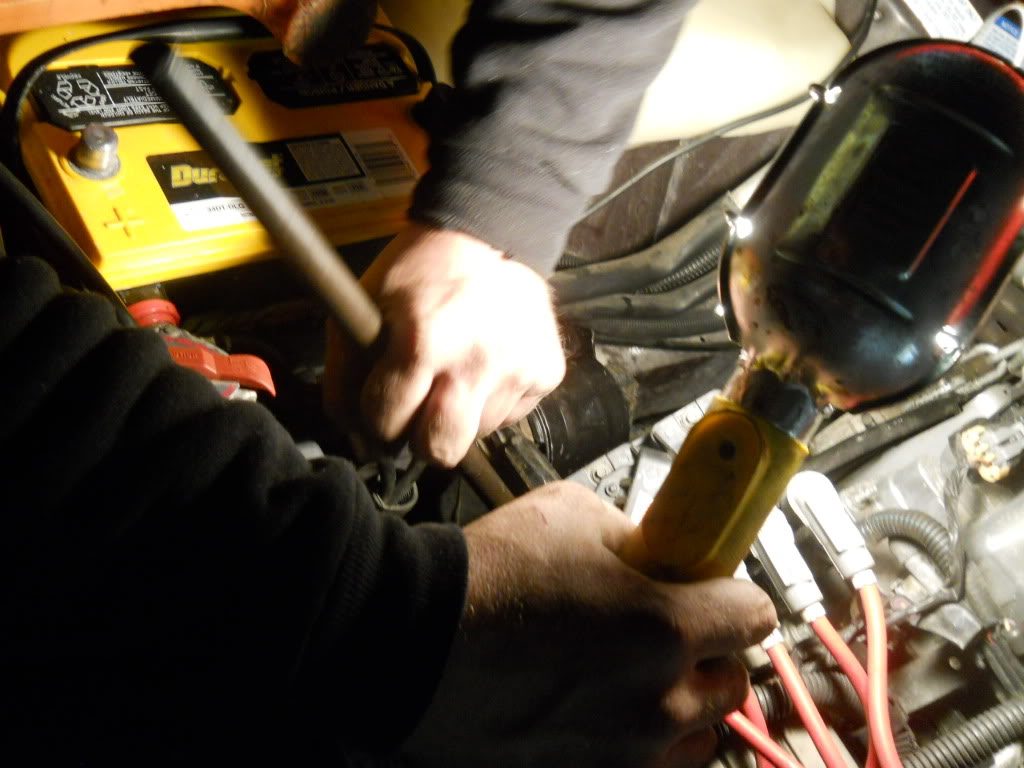
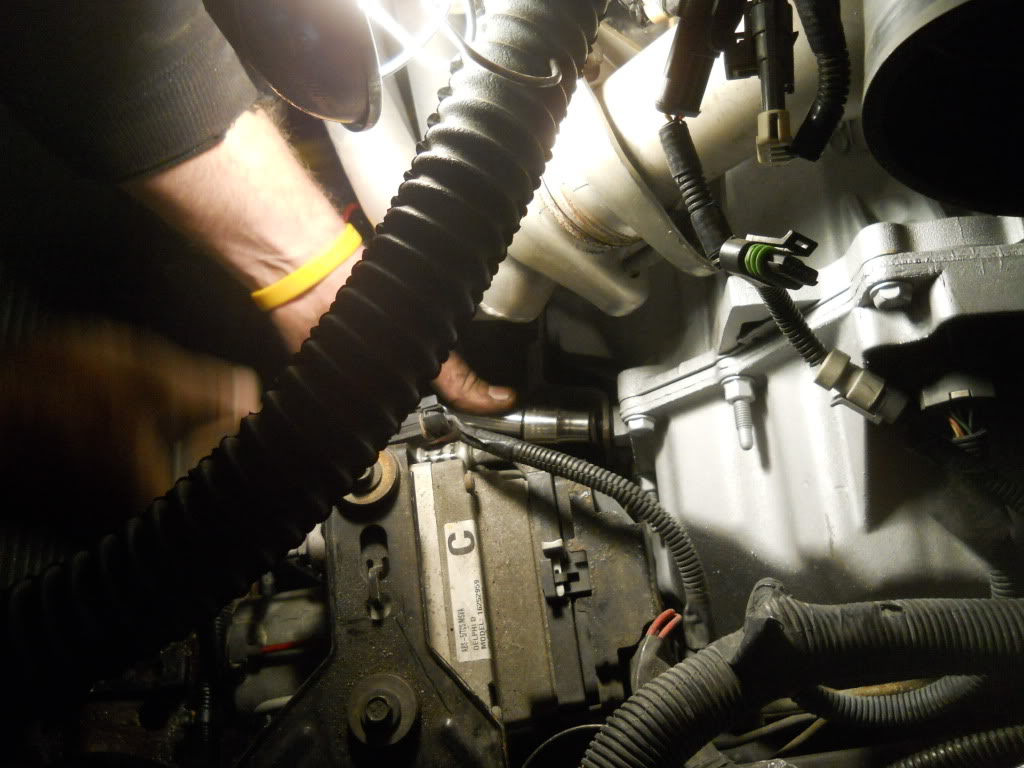
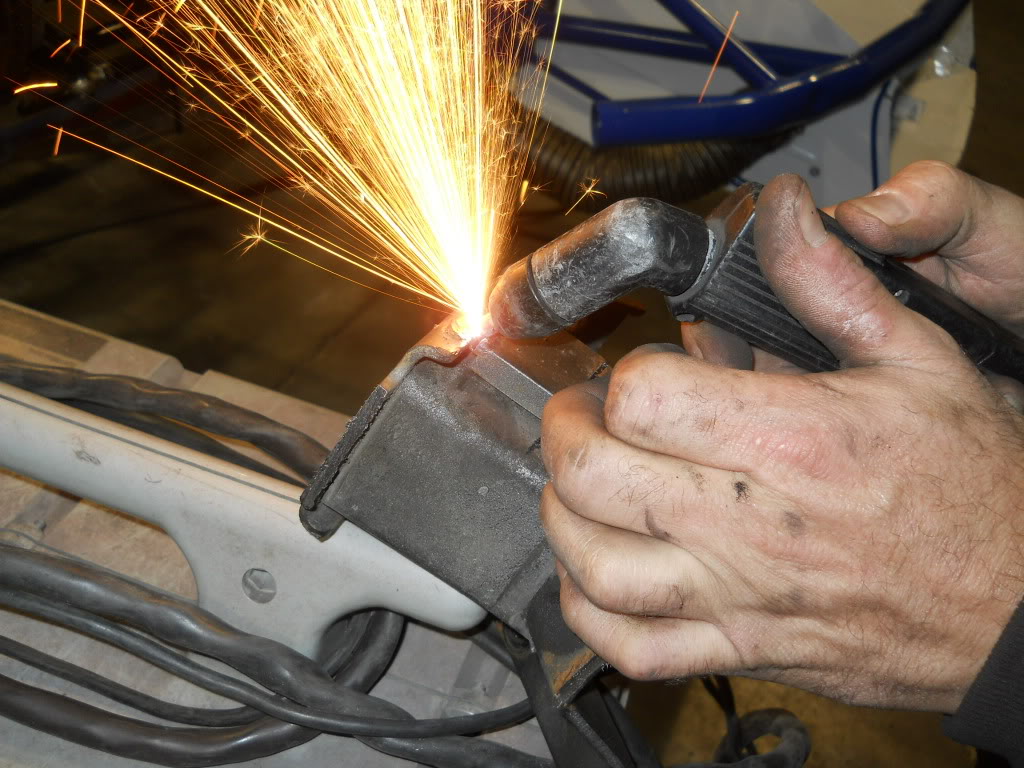
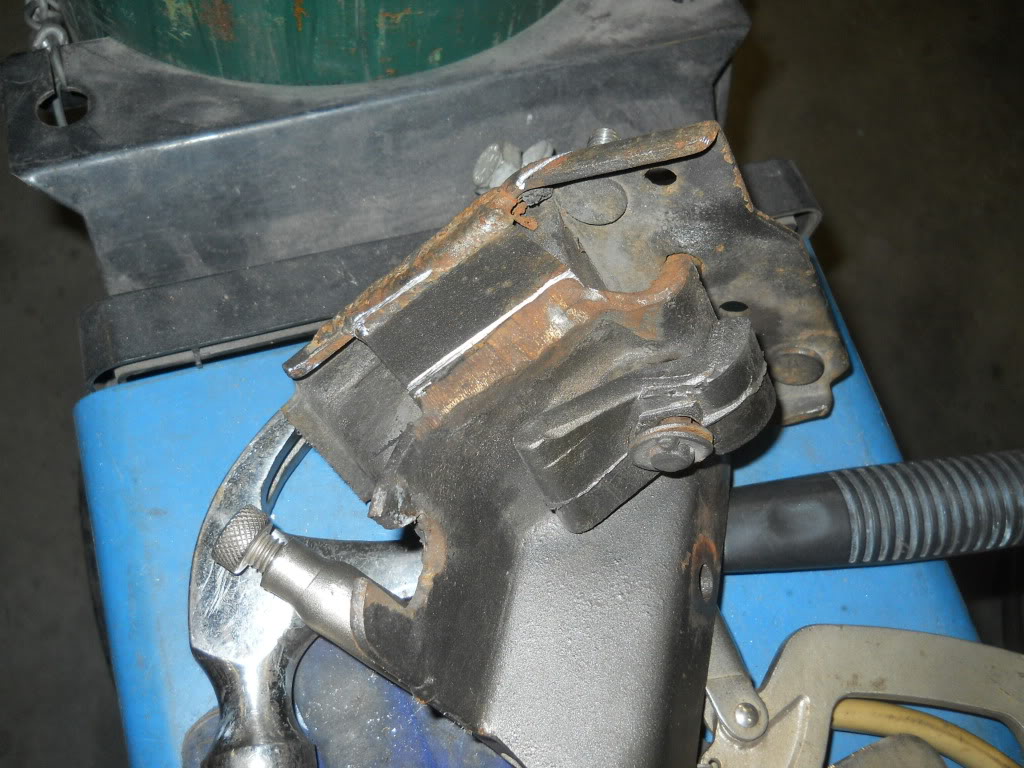
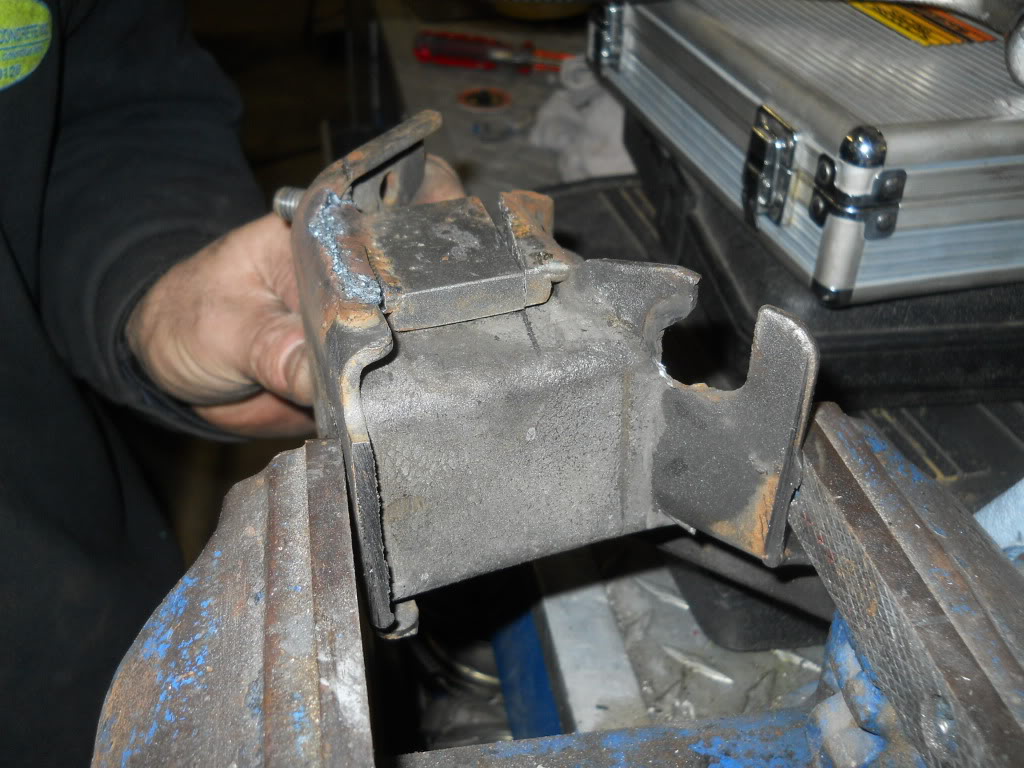
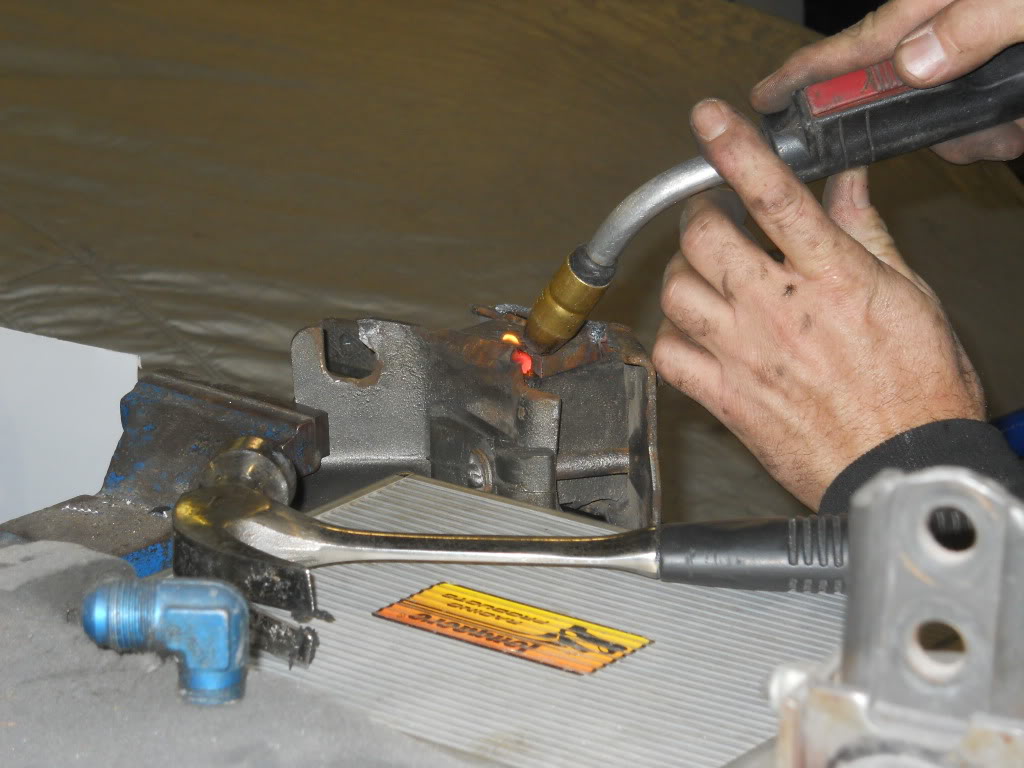
We started work on the front trans mount. It'* too tall for my setup, so we used a plasma cutter to take out its welded-on plates that made it a solid mount, and we squished and re-welded it. It'* not as solid anymore, and we're about to do some more work on it.
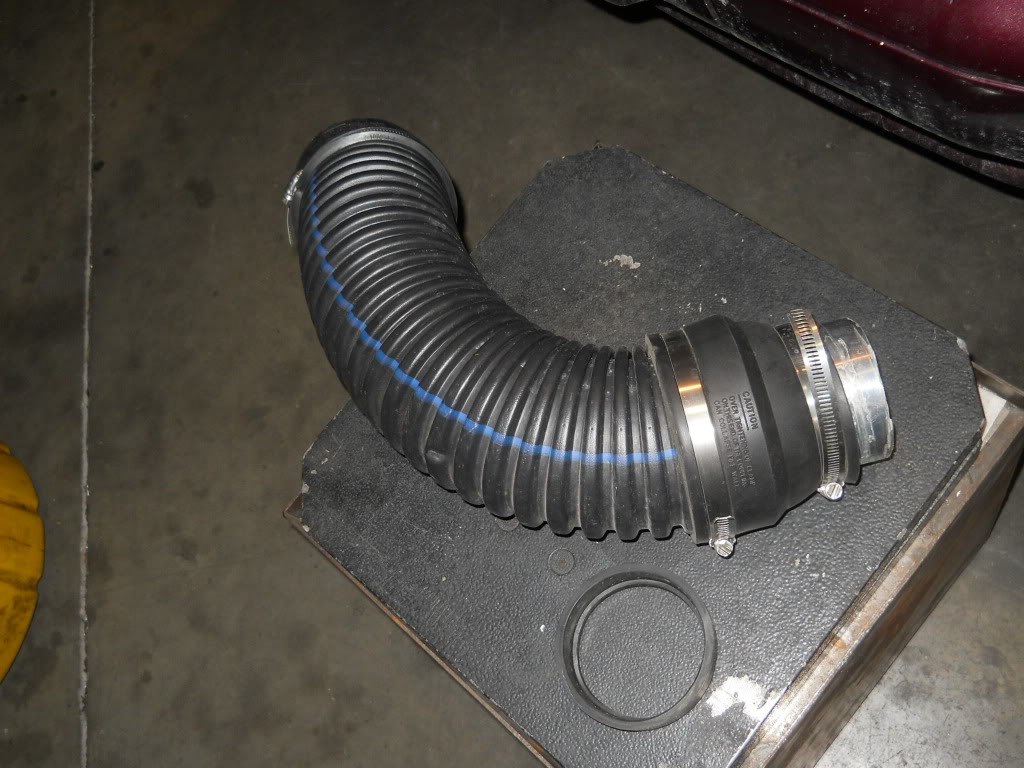
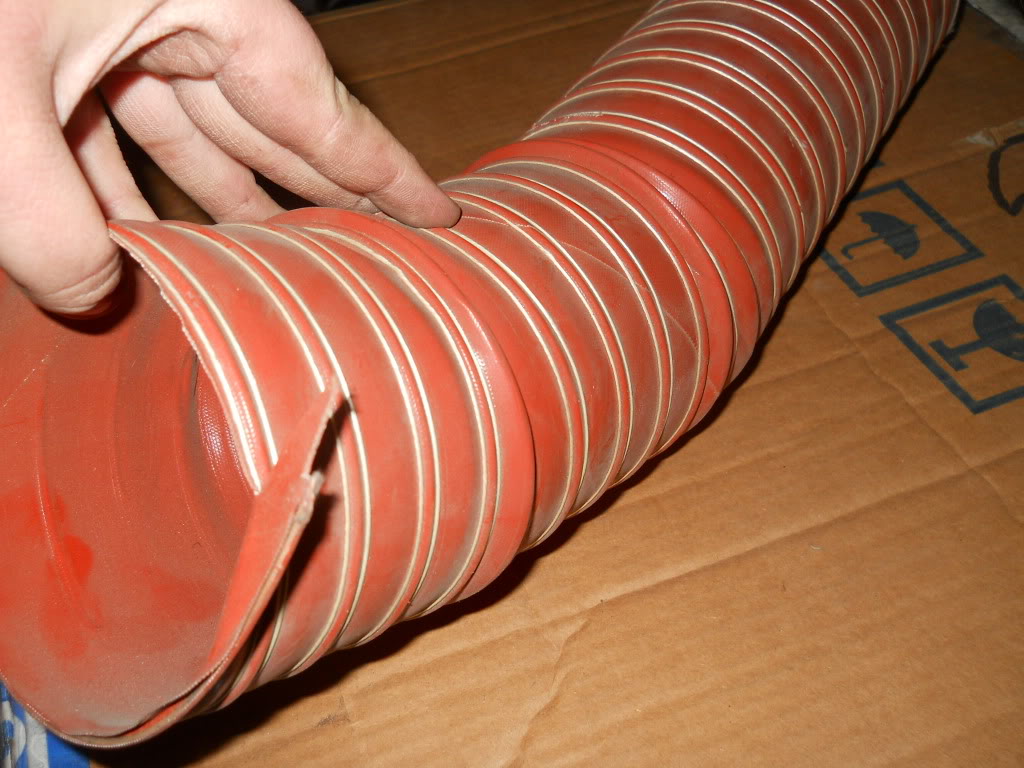
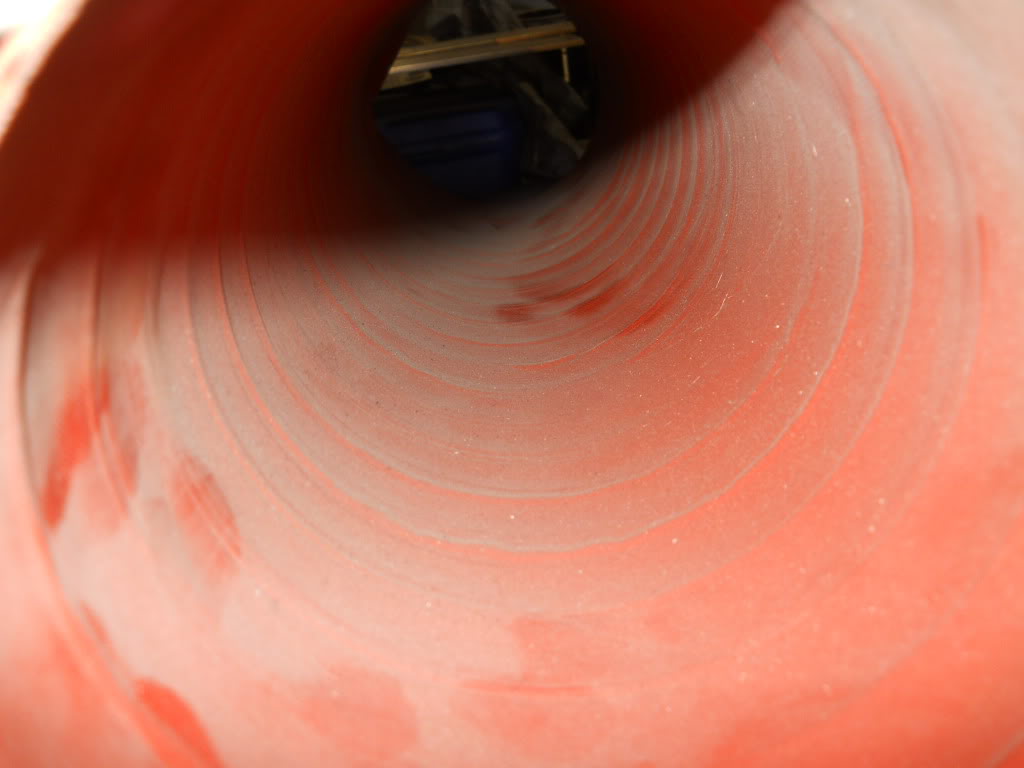
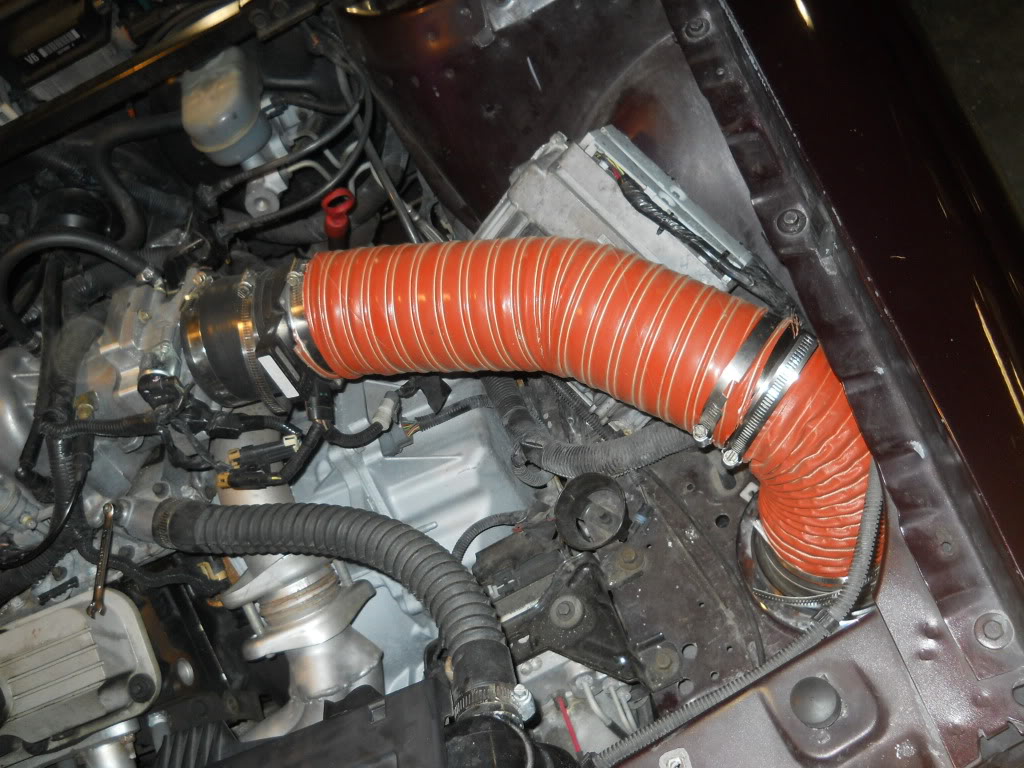
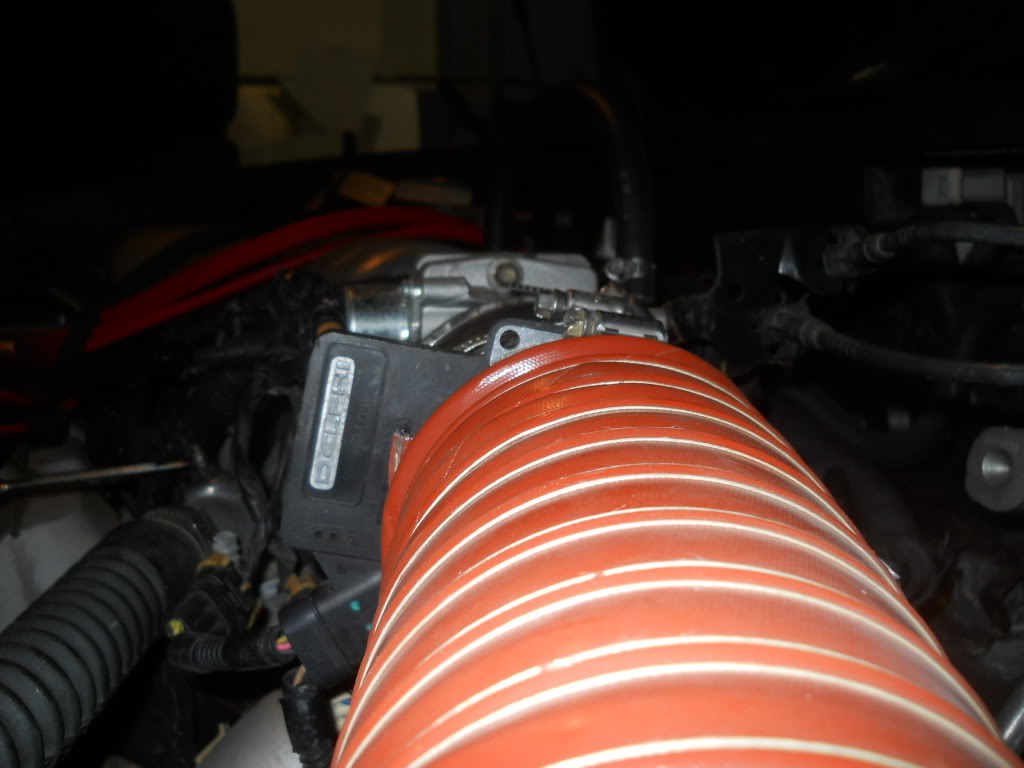
Now, the intake. You may have noticed already the Home Depot $10 drain tube intake, and now it'* time for a set of pictures showing the process of putting on NASCAR-oriented, aircraft grade brake duct tubing into the engine bay to act as an intake.

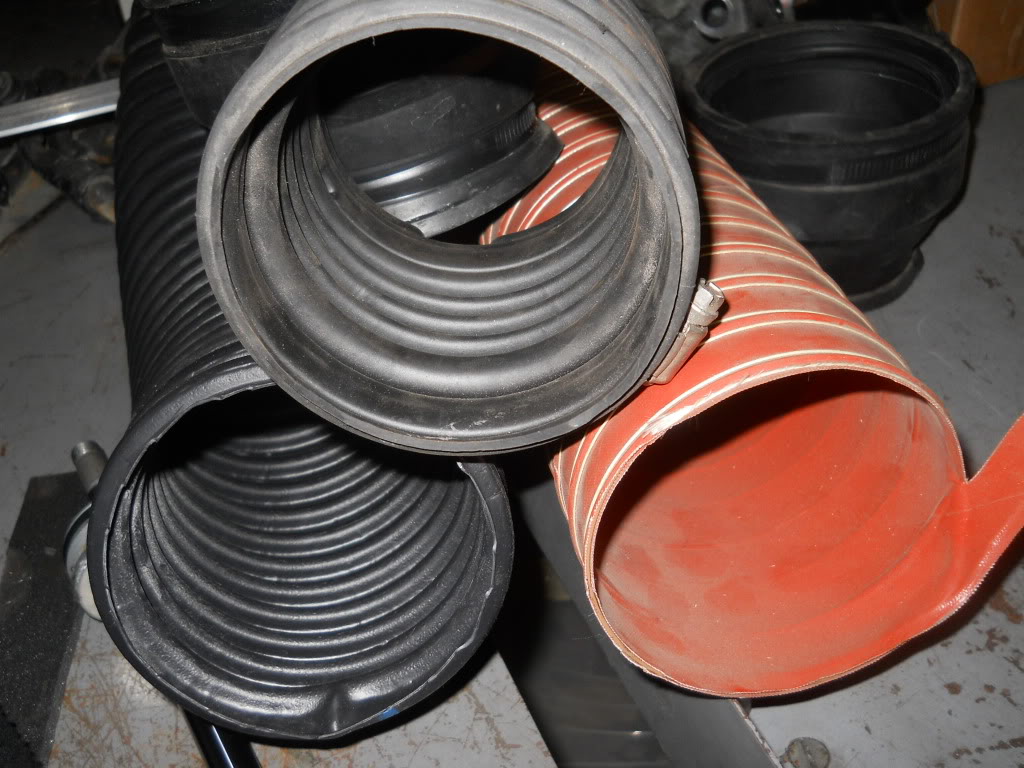
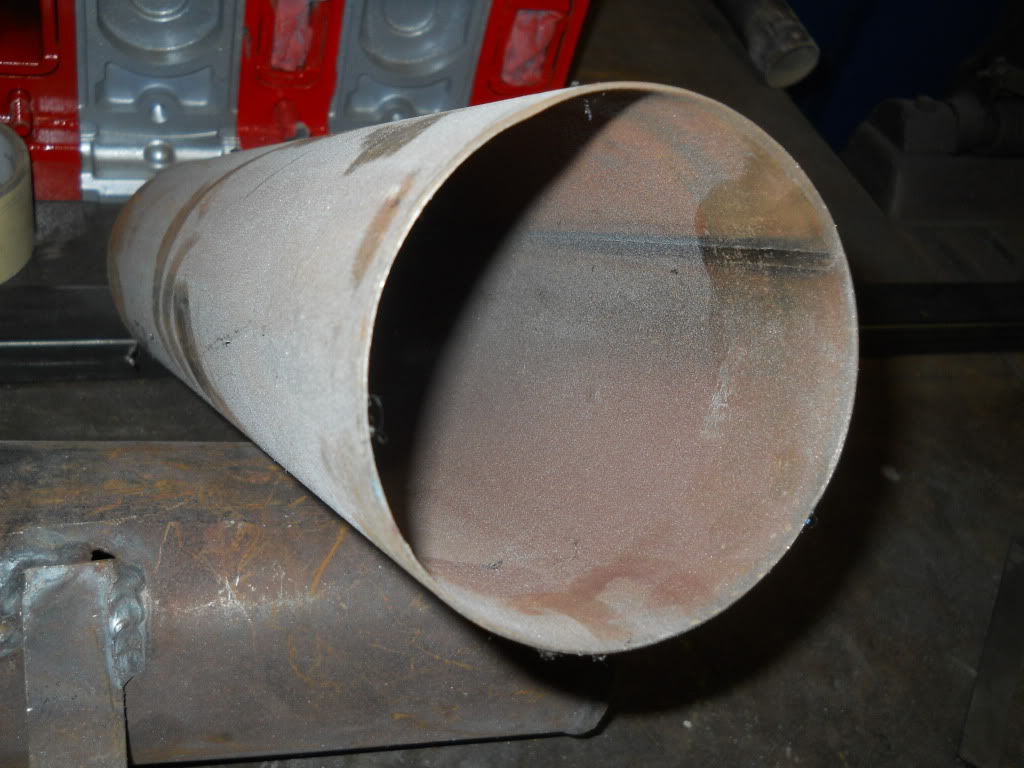
Top: LS1 F-body stock TB-to-MAF tube
Bottom-left: 4" drain pipe
Bottom-right: Awesome hose
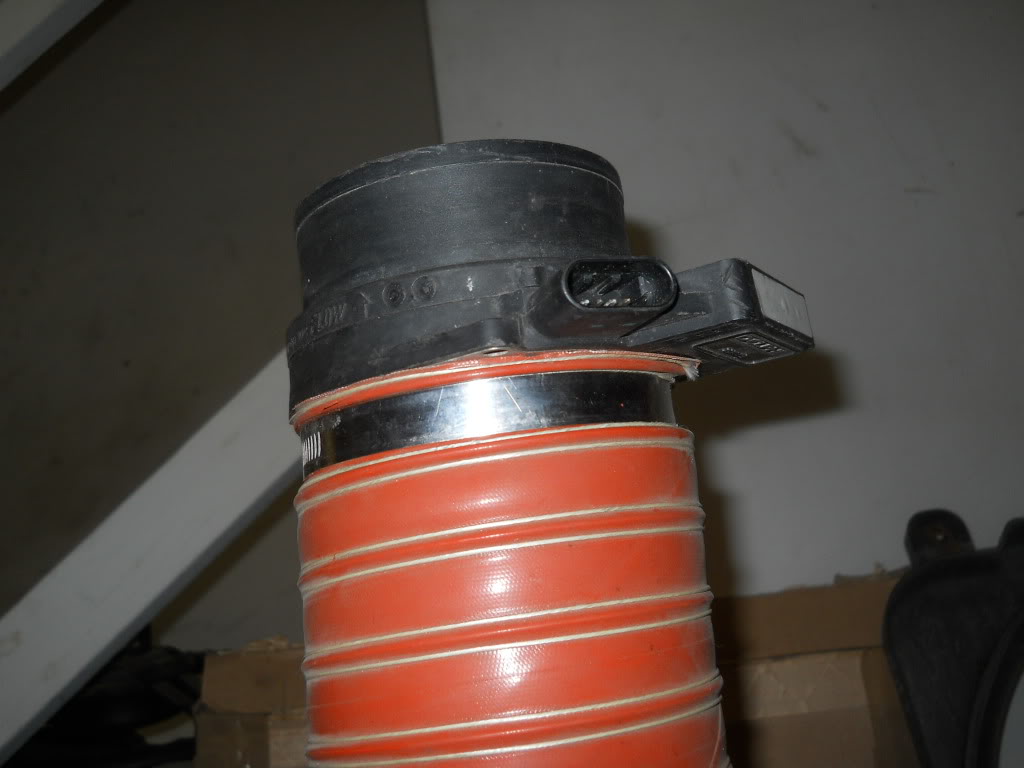
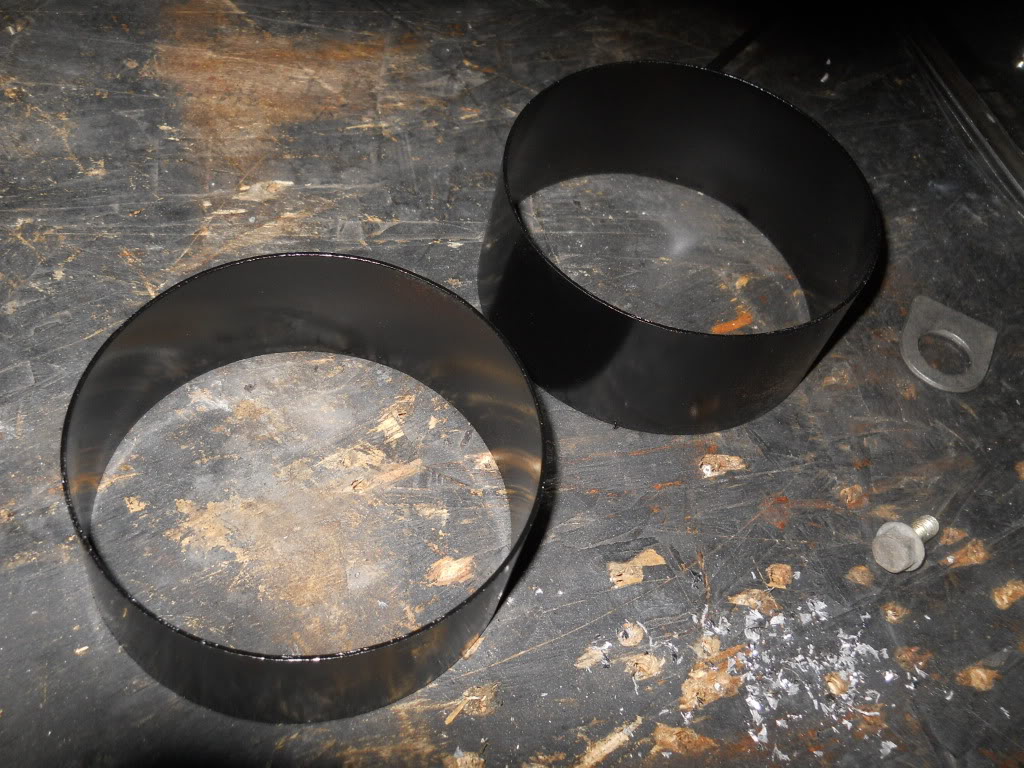
Then, I took some of this 4" steel pipe and cut it up with an electric bandsaw. I painted it black, and I'm only using two small sections. Can you see it in the intake?
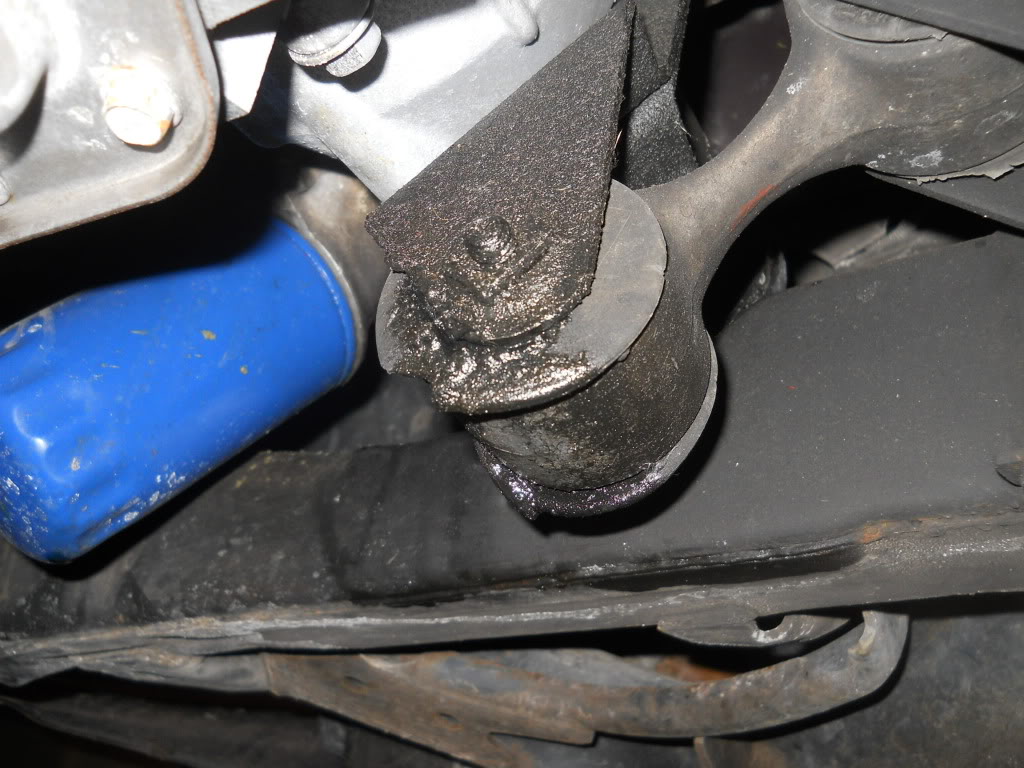
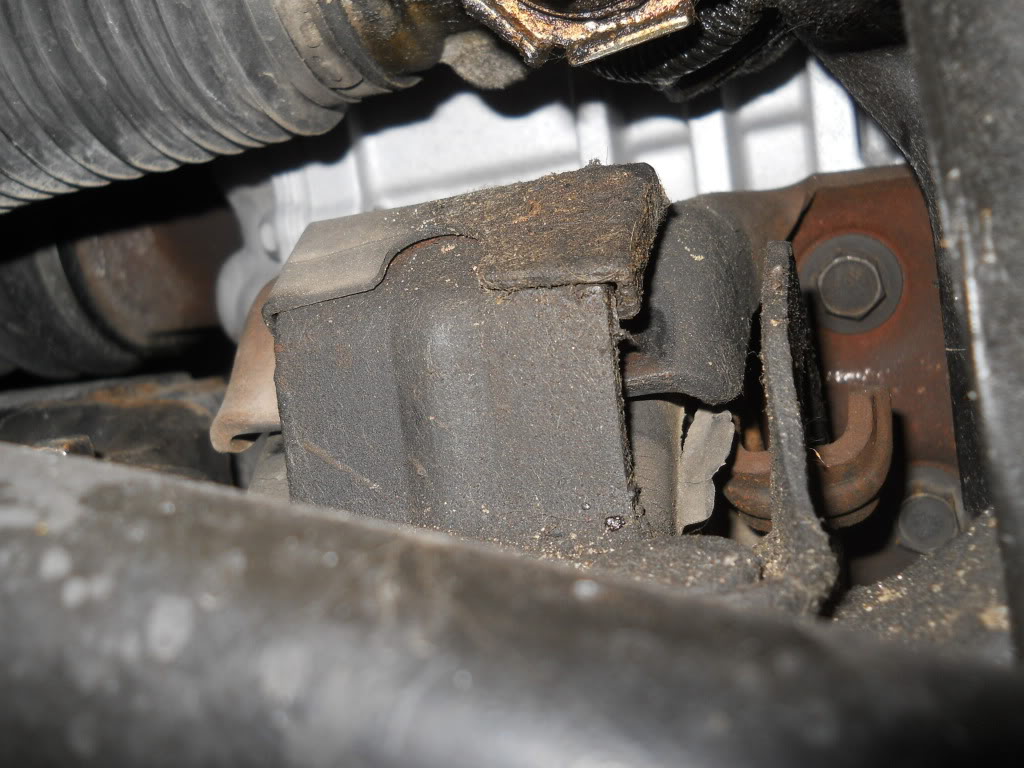
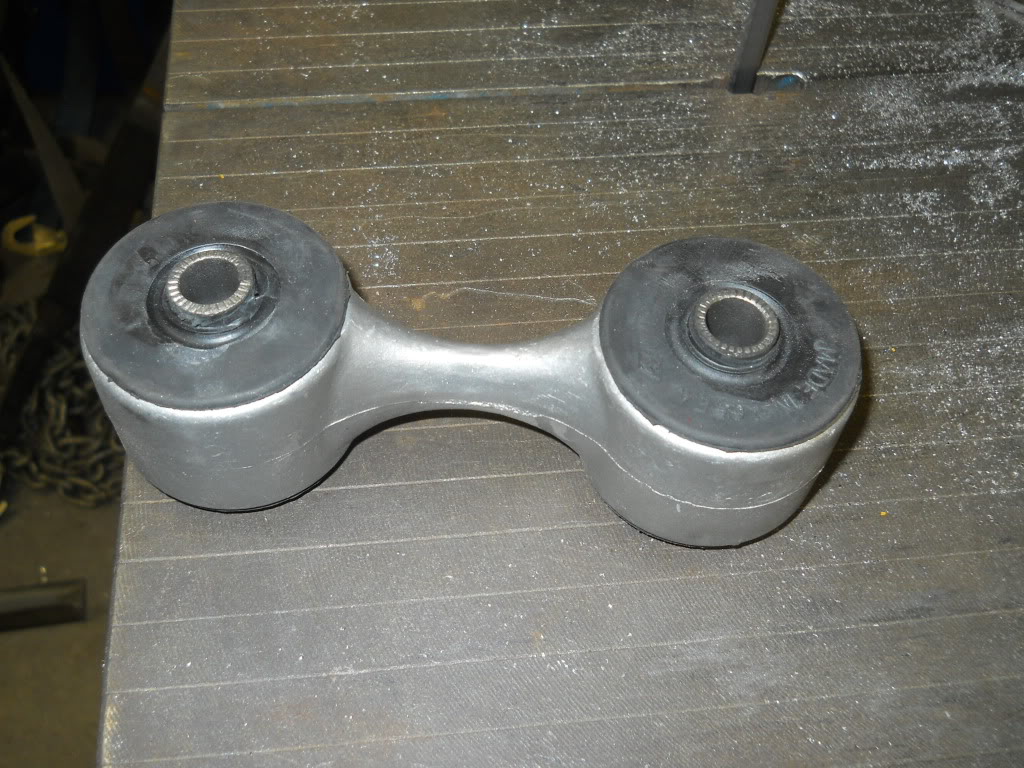
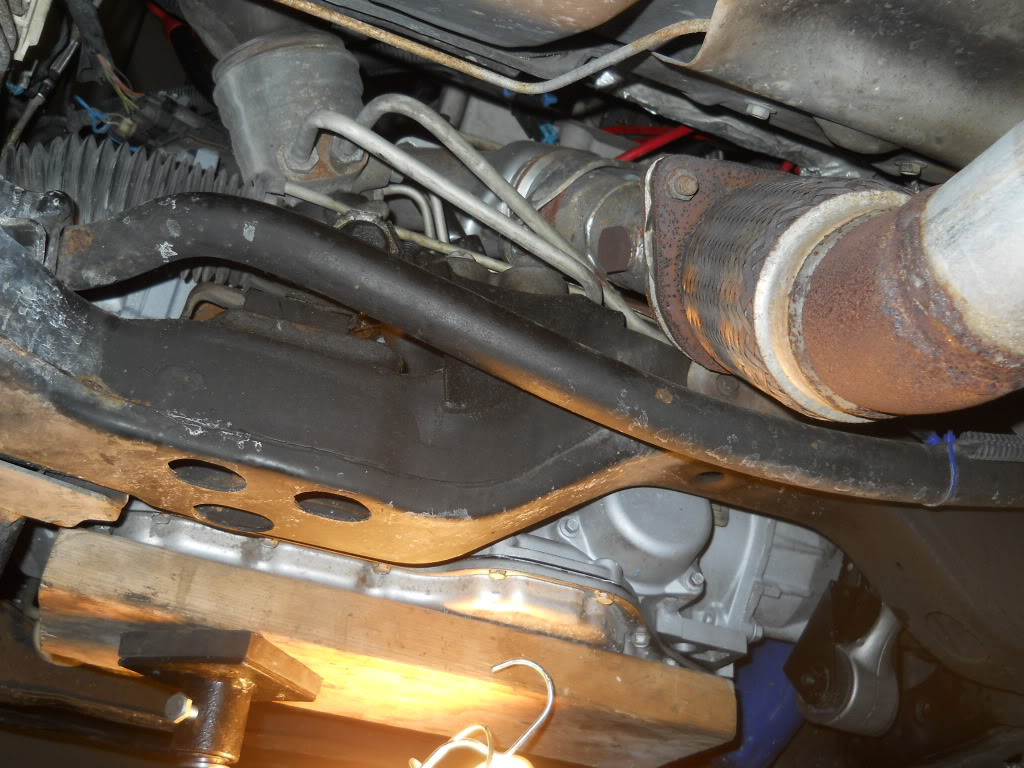
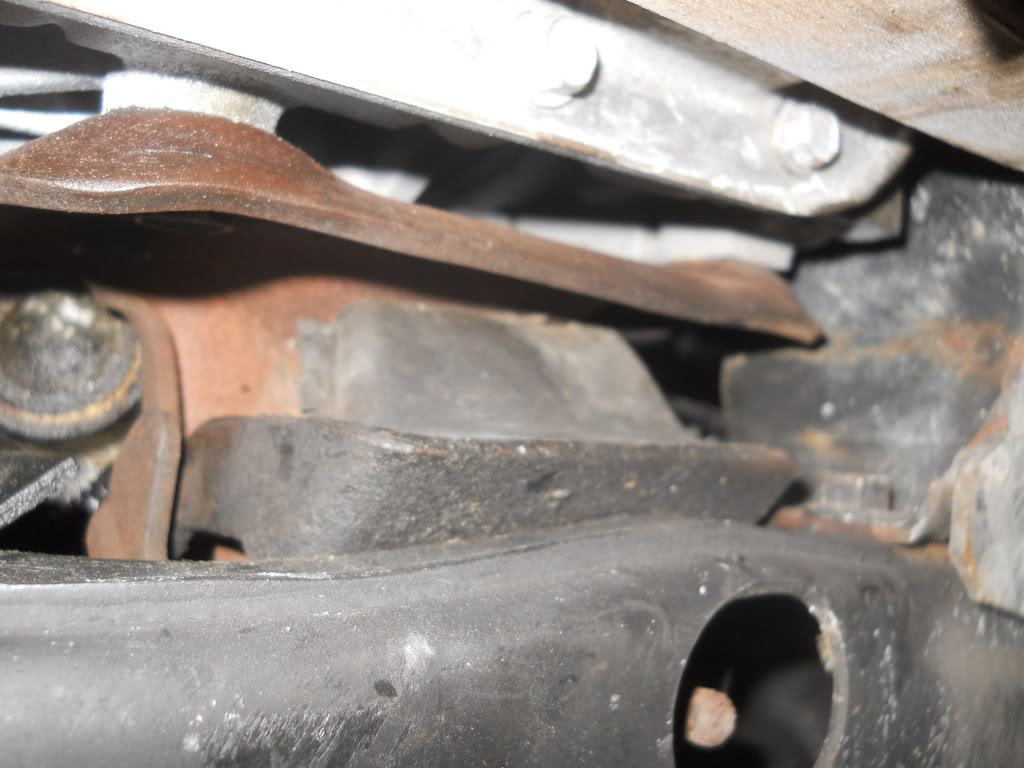
The dogbone mount was one of the last things to be worked on. We looked for reasons why the TOG downpipe rests very, very close to the rear subframe, and it looks like a 187K-mile rear trans mount is to blame. Lifting up the engine/trans setup just slightly, we immediately saw the benefits of a new or reworked mount.
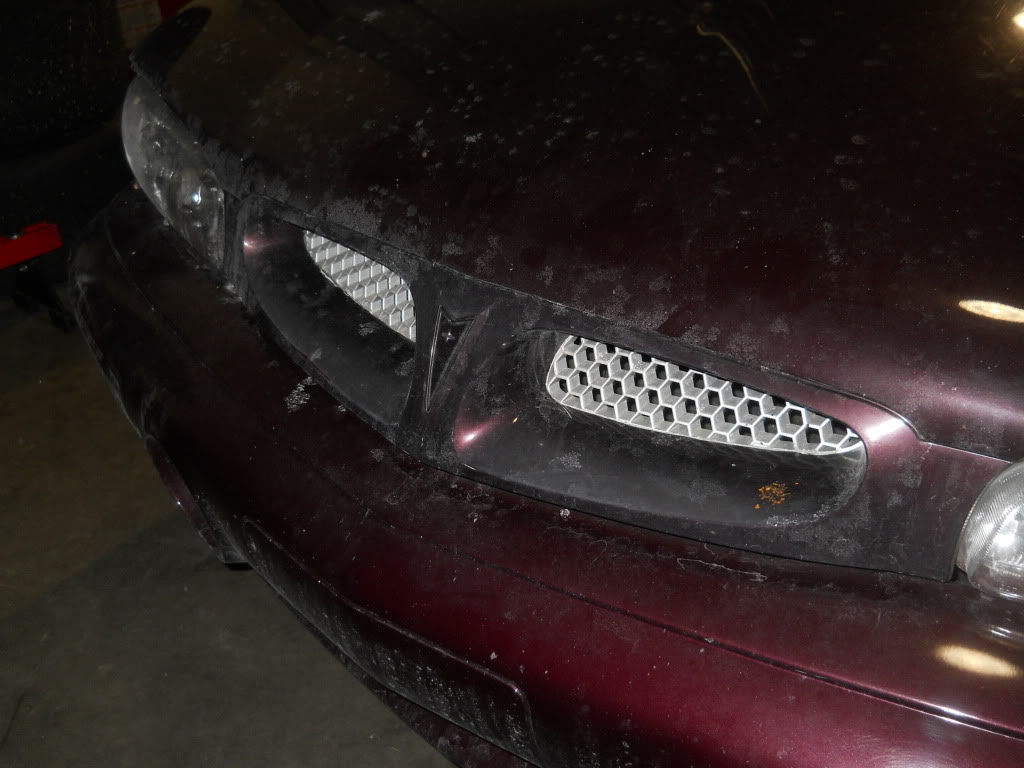
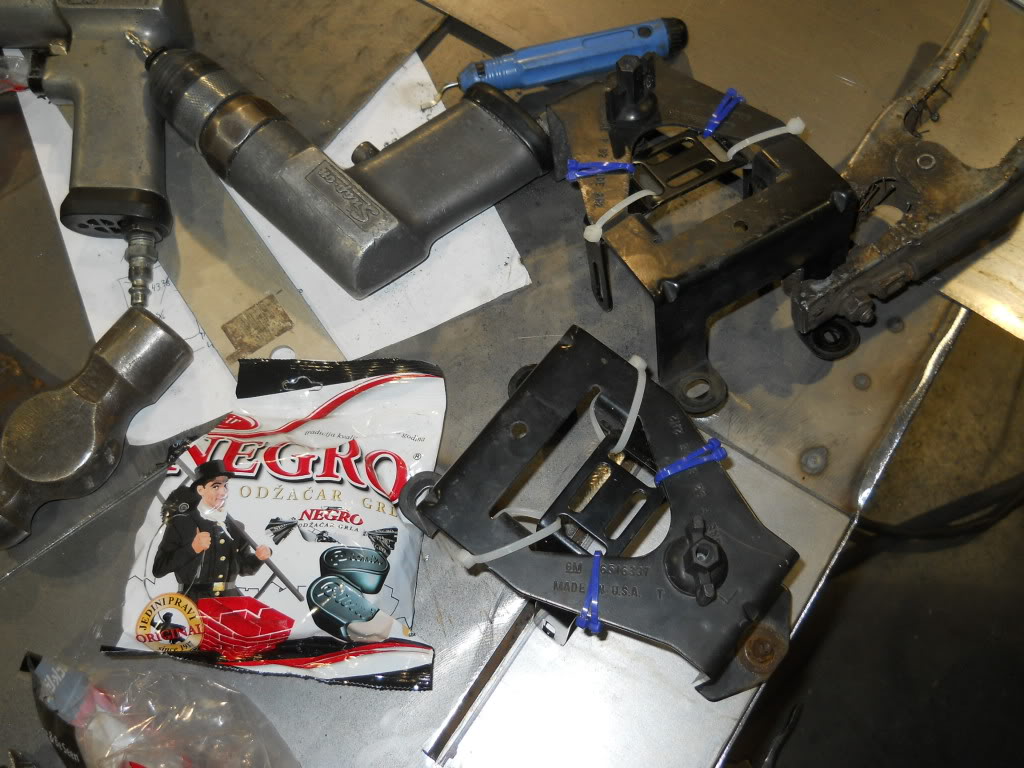
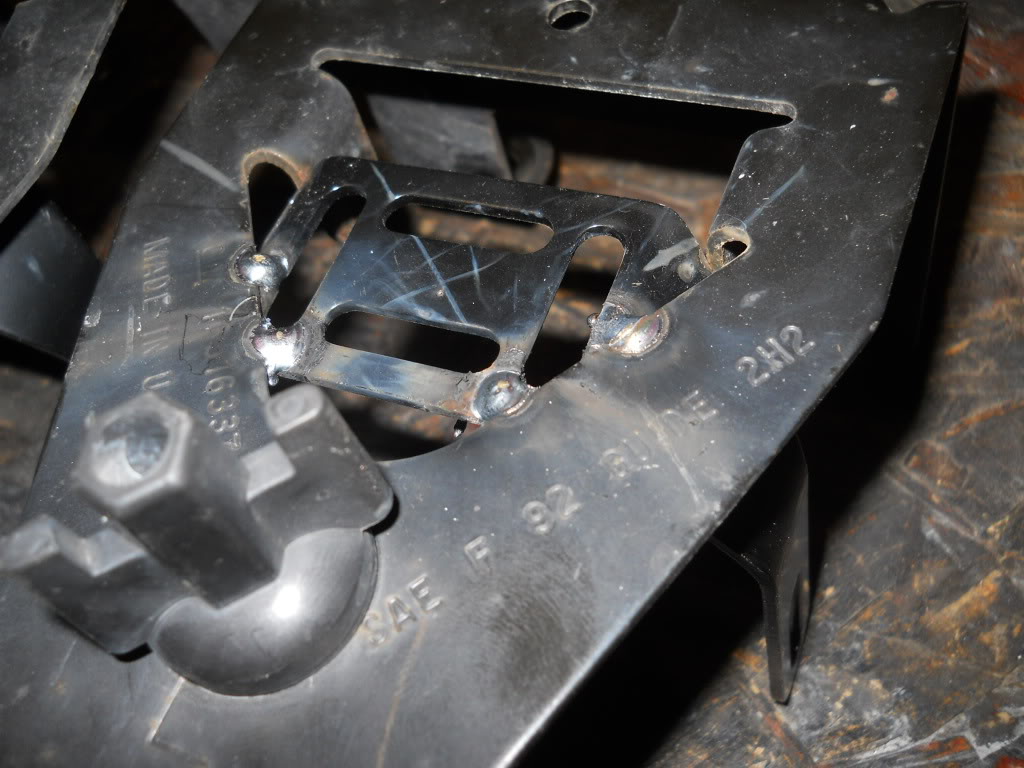
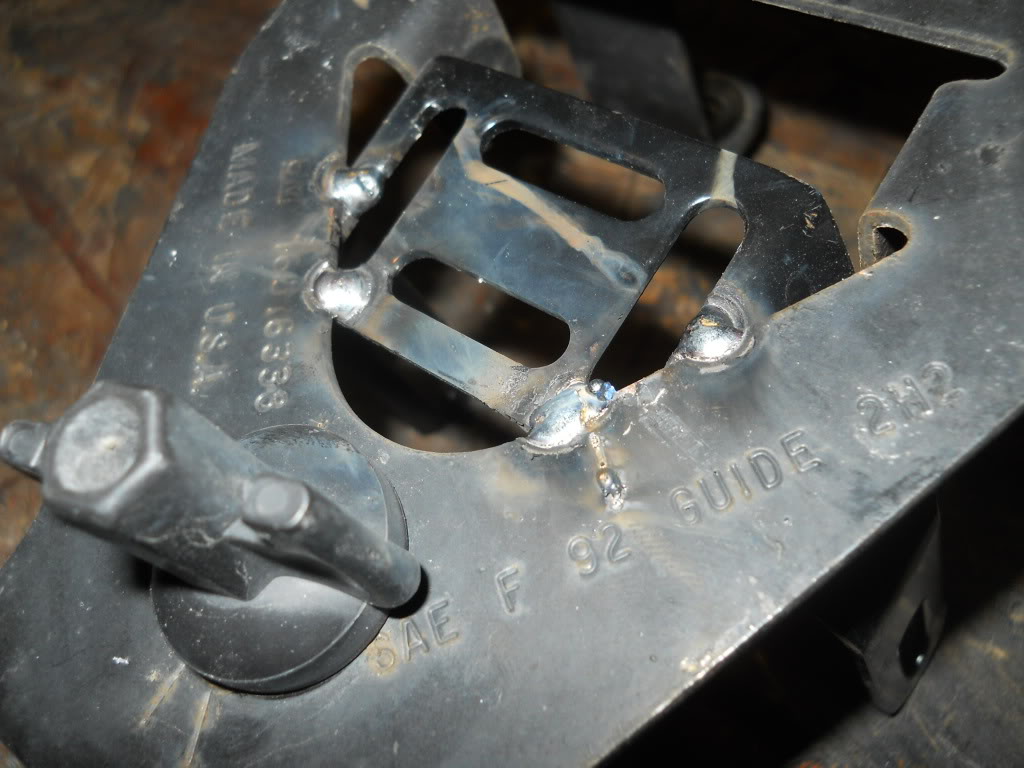
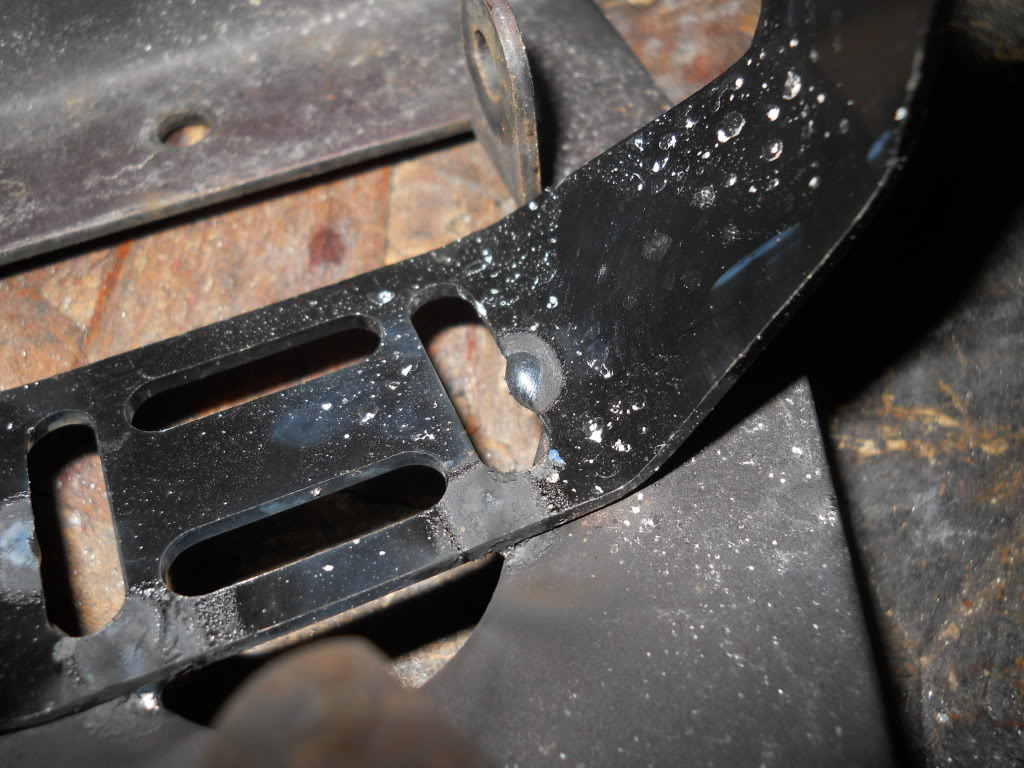
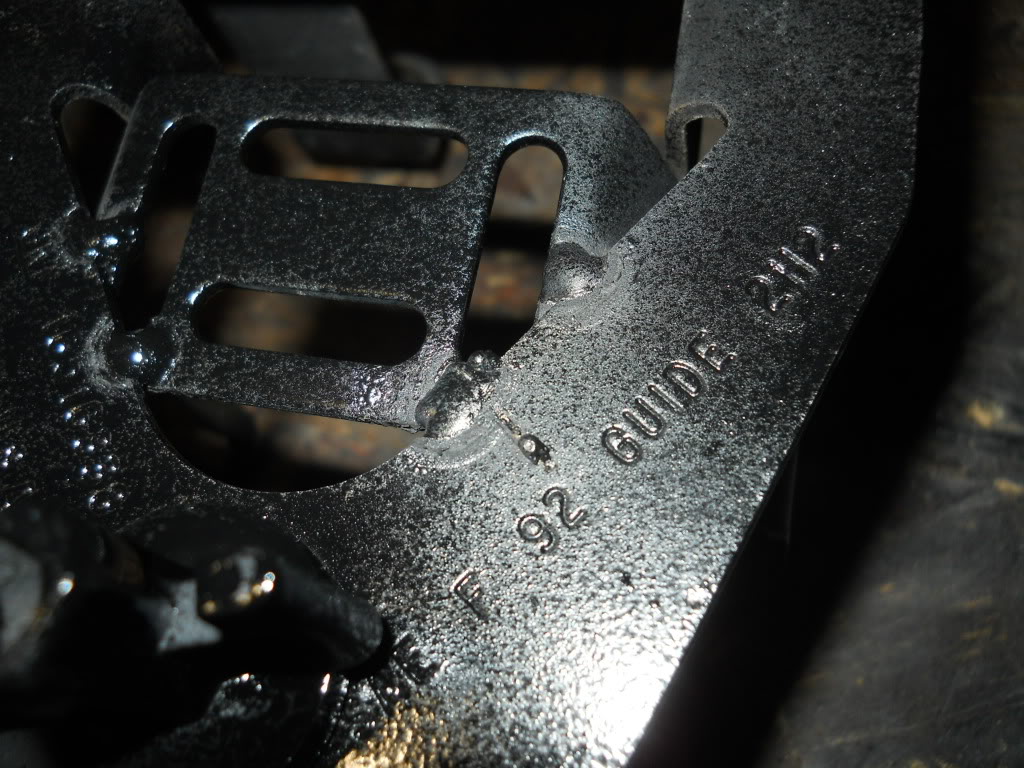
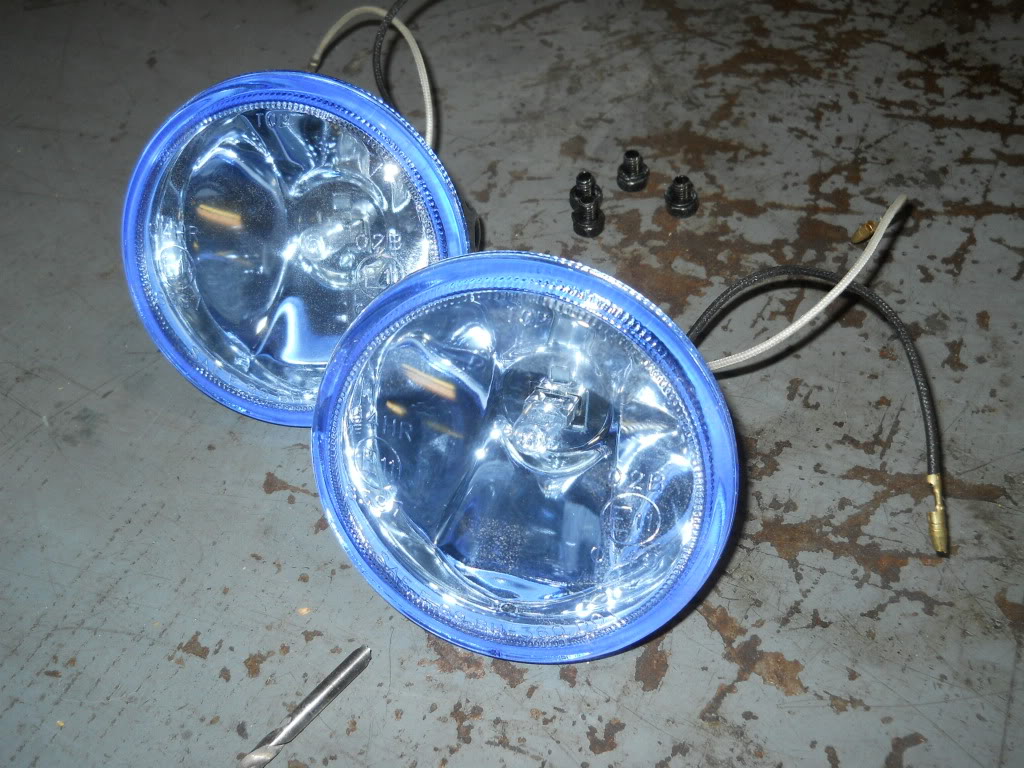
This is out of order, but here is a bit about my fog lights. I took them out and had the brackets welded onto the stock fog lamp brackets. It seems to work way too well!
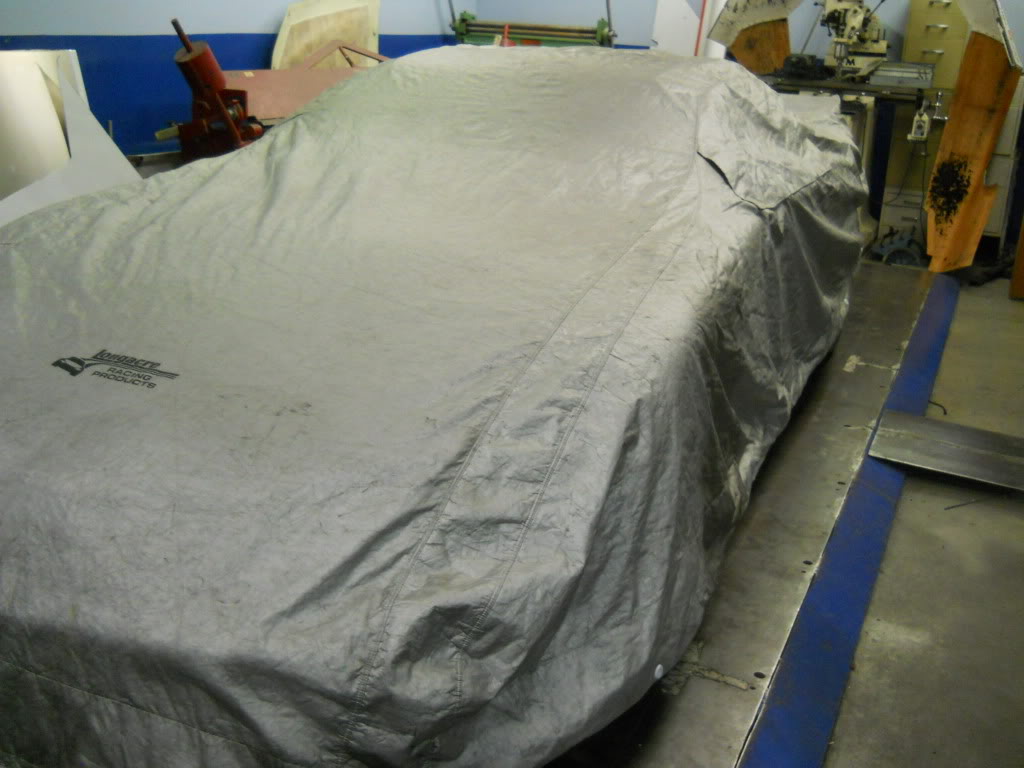
Almost finally, here'* an absolutely delicious Grand Prix ASCA racecar. It has absolutely nothing to do with a Grand Prix except for the badge and lights, which are stickers, but that'* cool anyway since it'* a GM. An amazing NA 350 with about 600 hp and the world'* flattest HP and torque curves. The cover is on, yes, but enjoy it anyway.
I have also some pictures of my exhaust parts and a few other cool things. That'* for another post. I hope you've enjoyed seeing what I had been enjoying for a few hours today/yesterday.
I arrived in a salty SLO.
The engine bay was fairly clean! I had noticed I had a coolant leak, so I tried looking for it. We found out the radiator had cracked. A couple months before I parked the STEi and started tearing it apart, I got a brand new radiator for it because the old one exploded while i was driving to work. Now, the SLO has the STEi radiator, and the STEi is waiting for further developments.
This is a racecar they were putting together. I had a few days earlier noticed the brake ducts, and they said they have some 4" available in case I wanted to change from my 4" drain pipe intake. More on this soon.
The primary issue was that the motor and trans mounts were all really aged. We changed the torque axis mount and the passenger-side rear dogbone mount to new OE replacements, and we're working on the front and rear driver'* side mounts. That will be shown soon after it'* worked out.
Under the plastic radiator cover, the radiator showed its girth. It'* so tiny! The one from the STEi that I brought in is thick and meaty compared to this. And you can see that where it leaked, over time the chassis beneath started developing rust. I'm going to strip that down soon and paint it with POR-15.
We started work on the front trans mount. It'* too tall for my setup, so we used a plasma cutter to take out its welded-on plates that made it a solid mount, and we squished and re-welded it. It'* not as solid anymore, and we're about to do some more work on it.
Now, the intake. You may have noticed already the Home Depot $10 drain tube intake, and now it'* time for a set of pictures showing the process of putting on NASCAR-oriented, aircraft grade brake duct tubing into the engine bay to act as an intake.
Top: LS1 F-body stock TB-to-MAF tube
Bottom-left: 4" drain pipe
Bottom-right: Awesome hose
Then, I took some of this 4" steel pipe and cut it up with an electric bandsaw. I painted it black, and I'm only using two small sections. Can you see it in the intake?
The dogbone mount was one of the last things to be worked on. We looked for reasons why the TOG downpipe rests very, very close to the rear subframe, and it looks like a 187K-mile rear trans mount is to blame. Lifting up the engine/trans setup just slightly, we immediately saw the benefits of a new or reworked mount.
This is out of order, but here is a bit about my fog lights. I took them out and had the brackets welded onto the stock fog lamp brackets. It seems to work way too well!
Almost finally, here'* an absolutely delicious Grand Prix ASCA racecar. It has absolutely nothing to do with a Grand Prix except for the badge and lights, which are stickers, but that'* cool anyway since it'* a GM. An amazing NA 350 with about 600 hp and the world'* flattest HP and torque curves. The cover is on, yes, but enjoy it anyway.
I have also some pictures of my exhaust parts and a few other cool things. That'* for another post. I hope you've enjoyed seeing what I had been enjoying for a few hours today/yesterday.


 12-10-2010, 04:25 PM
#6
Senior Member
True Car Nut
Thread Starter
Join Date: Sep 2006
Location: Indianapolis, IN
Posts: 4,606
Likes: 0
Received 0 Likes
on
0 Posts
Thanks! There'* more to be done, but I feel like quite a bit was accomplished.
Thank you!
Feels great! And now with the new intake, the SLO drives so much more smoothly, too. Could be the two new mounts, but I'm not too sure.
The SSEi became an STEi when I decided to put a turbo on it. I have a couple of badges from a Grand Prix STE, and I'm going to Frankenstein them with an SSEi badge to get STEi. The SLE is relatively not slow, so calling it a SLO is hilarious. Also, I plan to get a couple more SLE badges, cut the extra E letters, take out the middle, and put them together with my other badges to get SLO badges. I should do that soon, but mostly all the available badges are smaller. Great Frankenstein-ing takes time.
12-10-2010, 05:37 PM
#7
Senior Member
True Car Nut
Join Date: Mar 2010
Location: Eaton Rapids MI
Posts: 2,964
Likes: 0
Received 0 Likes
on
0 Posts
Thanks! There'* more to be done, but I feel like quite a bit was accomplished.
Thank you!
Feels great! And now with the new intake, the SLO drives so much more smoothly, too. Could be the two new mounts, but I'm not too sure.
The SSEi became an STEi when I decided to put a turbo on it. I have a couple of badges from a Grand Prix STE, and I'm going to Frankenstein them with an SSEi badge to get STEi. The SLE is relatively not slow, so calling it a SLO is hilarious. Also, I plan to get a couple more SLE badges, cut the extra E letters, take out the middle, and put them together with my other badges to get SLO badges. I should do that soon, but mostly all the available badges are smaller. Great Frankenstein-ing takes time.
Thank you!
Feels great! And now with the new intake, the SLO drives so much more smoothly, too. Could be the two new mounts, but I'm not too sure.
The SSEi became an STEi when I decided to put a turbo on it. I have a couple of badges from a Grand Prix STE, and I'm going to Frankenstein them with an SSEi badge to get STEi. The SLE is relatively not slow, so calling it a SLO is hilarious. Also, I plan to get a couple more SLE badges, cut the extra E letters, take out the middle, and put them together with my other badges to get SLO badges. I should do that soon, but mostly all the available badges are smaller. Great Frankenstein-ing takes time.
12-10-2010, 09:19 PM
#8
Senior Member
True Car Nut
Thread Starter
Join Date: Sep 2006
Location: Indianapolis, IN
Posts: 4,606
Likes: 0
Received 0 Likes
on
0 Posts
No, the 94 is completely torn down, no paint, half of an engine, bad transmission, torn out interior, etc. It needs to be cut up first and then worked on. It had 278K miles when I got it, and it was the worst-condition Bonneville I've ever seen. The saga continues.
12-11-2010, 04:59 PM
#10
Senior Member
Certified GM nut
Join Date: Dec 2005
Location: dekalb illinois
Posts: 1,916
Likes: 0
Received 0 Likes
on
0 Posts
The SSEi became an STEi when I decided to put a turbo on it. I have a couple of badges from a Grand Prix STE, and I'm going to Frankenstein them with an SSEi badge to get STEi. The SLE is relatively not slow, so calling it a SLO is hilarious. Also, I plan to get a couple more SLE badges, cut the extra E letters, take out the middle, and put them together with my other badges to get SLO badges. I should do that soon, but mostly all the available badges are smaller. Great Frankenstein-ing takes time.