Overdue Repair Finally Done! (10 pics)
 09-05-2007, 09:18 AM
#1
Senior Member
True Car Nut
Thread Starter

As a few of you know, my battery tray has had a serious cancer problem ever since a leaking battery years ago. General malaise and laziness have physically prevented me from taking care of this issue until now.... 
 As a result, some of the pictures are graphic in nature and should not be viewed by those with weak stomachs for rust and it'* resulting car-nage.
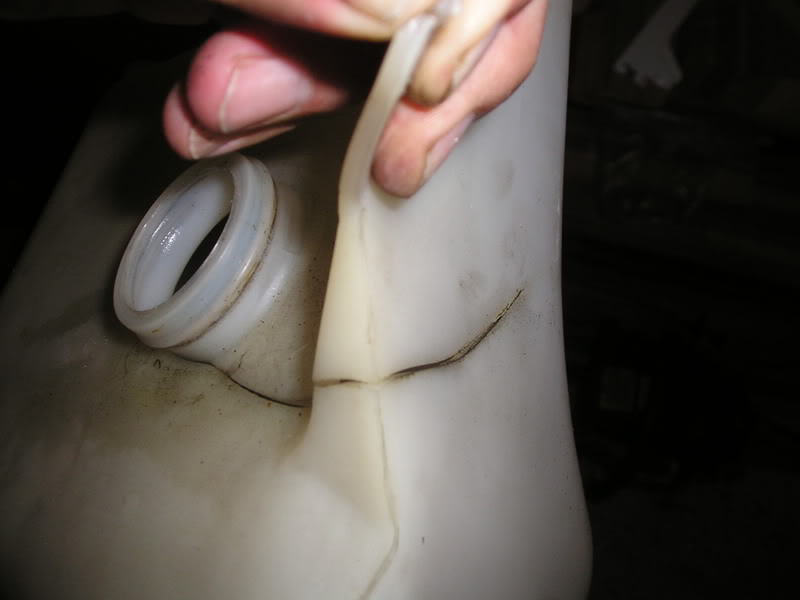
Additionally, my coolant tank has a large crack in it, so it too needed a tankonectomy and a transplant.
I considered buying a new replacement battery tray, but the $45 +tax at the dealership and alternate $33 + 2-3 weeks from GMPD, drove me to do a temporary fix for now with an eye out for a replacement tray from the JY one of these days.
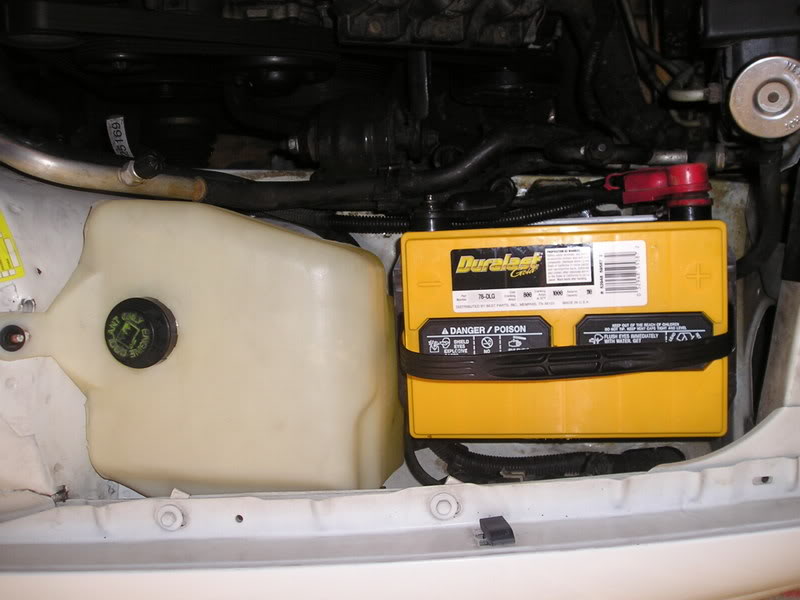
So with that in mind, this is what I started with:
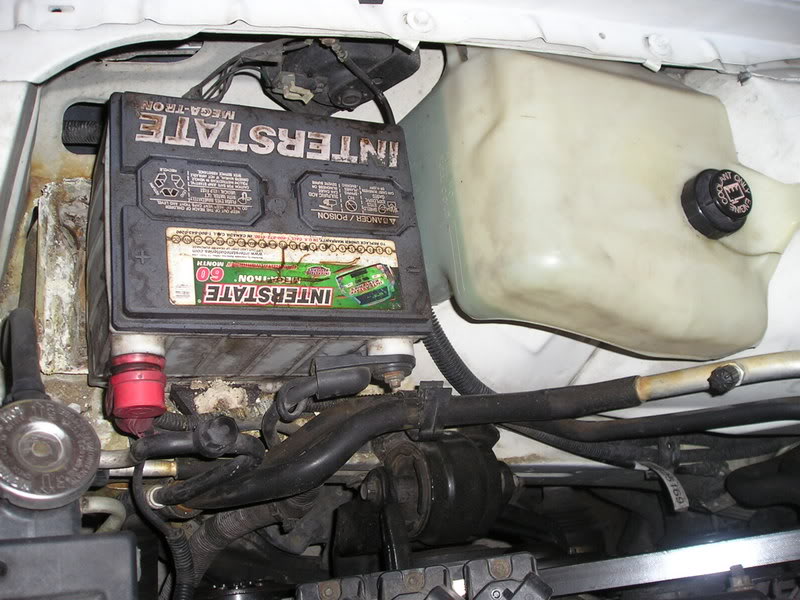
Note cracked coolant tank and general dirt from an unclean engine bay.
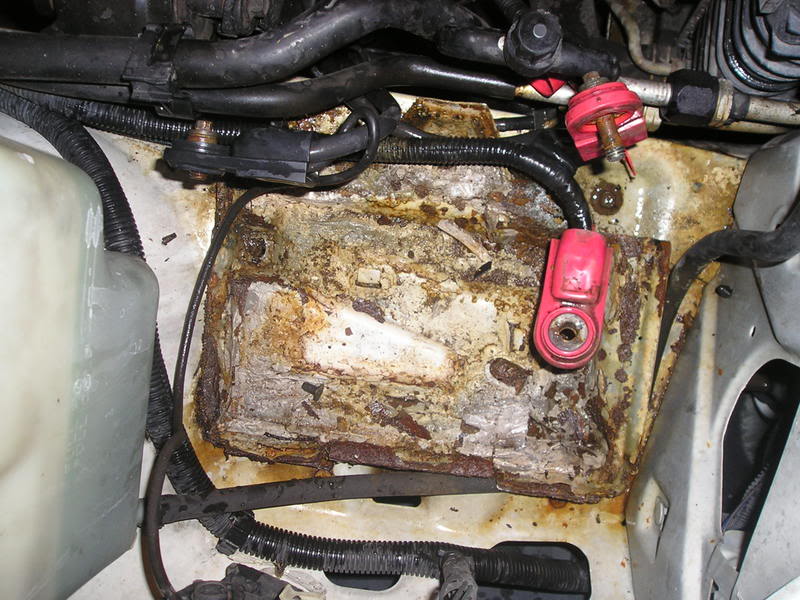
Close-up of the battery and tray as I started:
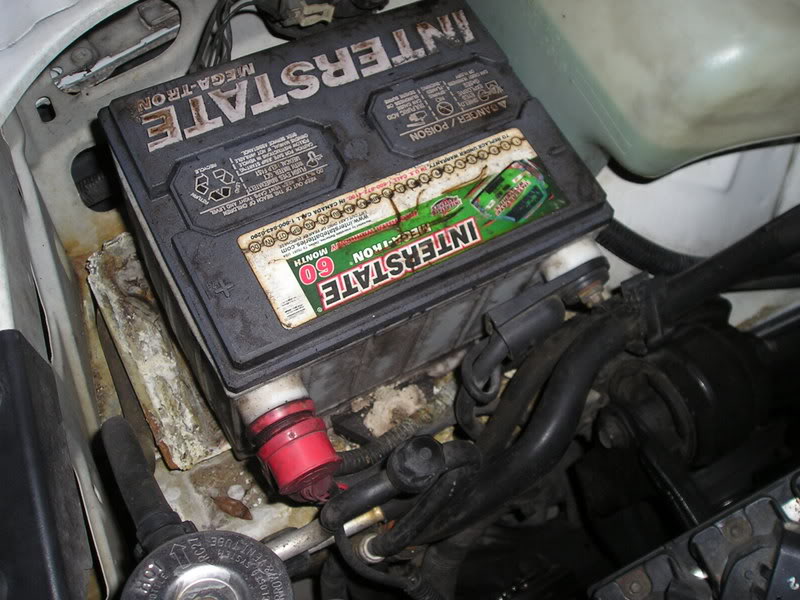
A bit of corrosion there, huh?
So, I needed the right tools and supplies for the job:
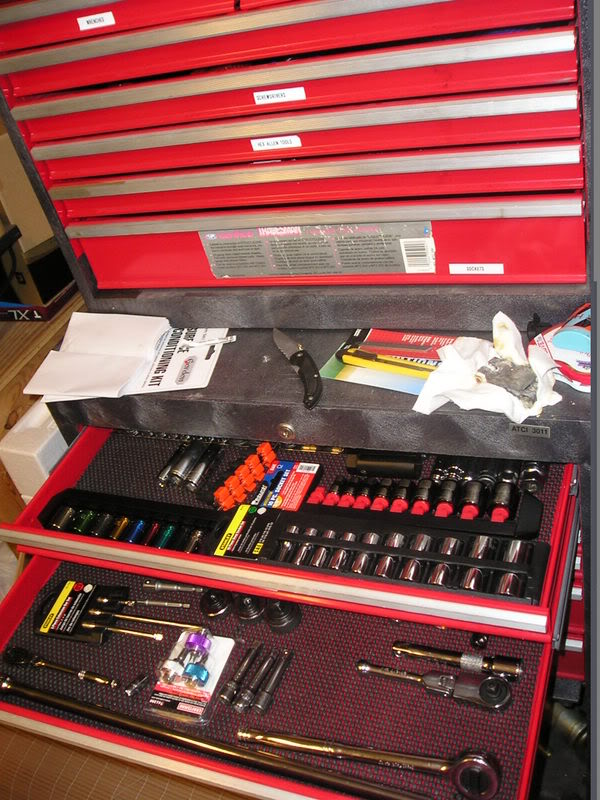
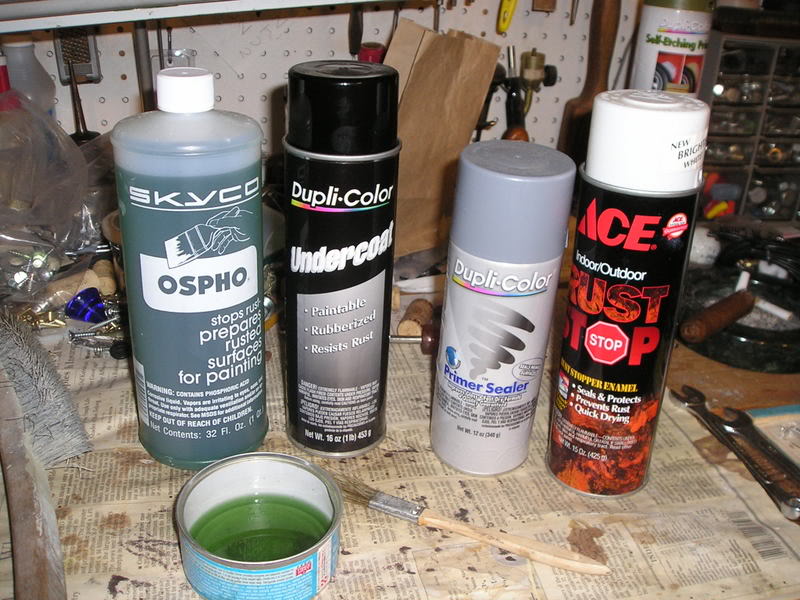
Ospho converts Iron Oxide to Iron Phosphate and allows for primer or other coatings to bond better. The undercoating is for after the primer and the white paint is for looks.
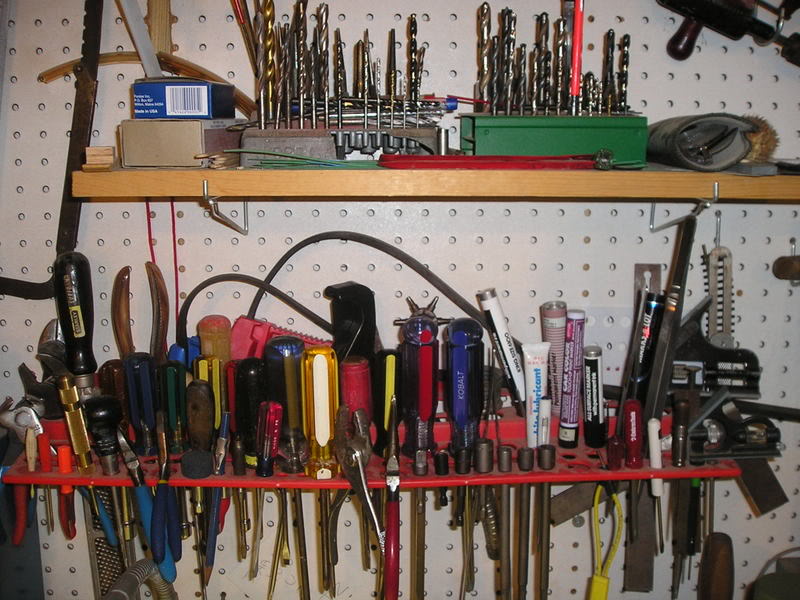
Important part of the tools for a good job:

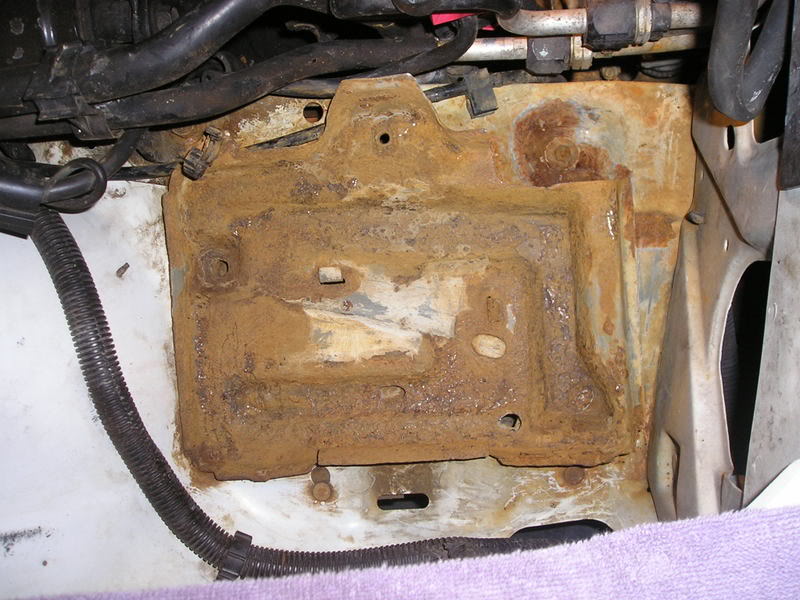
Yikes! This isn't good!
It took over a gallon of baking soda and water to nuetralize all the corrosion. Then a fresh water flush and dry before starting the de-rusting process.
Mid-way through the de-rusting process. When I got done, there were a few more drain holes in the tray than OEM spec. :P It would have gone much quicker if I had a needle scaler, but I didn't....
Coolant tank crack:
Finished...complete with dielectric grease on all connections and exposed metal surfaces.
I would have had more in-process pics, but Liz rushed me to finish it before we headed to a friend'* house for a Labor Day weekend get-together.
Additionally, my coolant tank has a large crack in it, so it too needed a tankonectomy and a transplant.
I considered buying a new replacement battery tray, but the $45 +tax at the dealership and alternate $33 + 2-3 weeks from GMPD, drove me to do a temporary fix for now with an eye out for a replacement tray from the JY one of these days.
So with that in mind, this is what I started with:
Note cracked coolant tank and general dirt from an unclean engine bay.
Close-up of the battery and tray as I started:
A bit of corrosion there, huh?
So, I needed the right tools and supplies for the job:
Ospho converts Iron Oxide to Iron Phosphate and allows for primer or other coatings to bond better. The undercoating is for after the primer and the white paint is for looks.
Important part of the tools for a good job:
Yikes!
It took over a gallon of baking soda and water to nuetralize all the corrosion. Then a fresh water flush and dry before starting the de-rusting process.
Mid-way through the de-rusting process. When I got done, there were a few more drain holes in the tray than OEM spec. :P It would have gone much quicker if I had a needle scaler, but I didn't....
Coolant tank crack:
Finished...complete with dielectric grease on all connections and exposed metal surfaces.
I would have had more in-process pics, but Liz rushed me to finish it before we headed to a friend'* house for a Labor Day weekend get-together.
 09-05-2007, 09:23 AM
#2
Senior Member
True Car Nut

Join Date: Feb 2005
Location: Brampton, Ontario
Posts: 3,014
Likes: 0
Received 0 Likes
on
0 Posts

Great job Mike, I betcha it didn't take long to post those pictures either (inside joke). I'm liking the nice shiny tool box with all the tools organized ever so neatly. Even the ones on the wall put me to shame. Oh to be organized, maybe in another life.
Way da go lasharooni.
Way da go lasharooni.
09-05-2007, 09:31 AM
#4
Senior Member
True Car Nut
Join Date: Feb 2005
Location: Brampton, Ontario
Posts: 3,014
Likes: 0
Received 0 Likes
on
0 Posts
Well you had me fooled, but hey why not take a picture of the condition of your garage so that I can feel better about the disarray of mine.
09-05-2007, 09:34 AM
#5
Senior Member
True Car Nut

Join Date: Aug 2004
Location: In your garage, swipin' da lug nutz
Posts: 3,067
Likes: 0
Received 1 Like
on
1 Post
Soundesign FTW! You name me ONE person that did NOT have a Soundesign stereo in the 80'* to early 90'*, and I'll dance the jig.
Nice job on the tray. But in all honesty, even if you did get the new tray, it'* doubtful you could even take the old one out. Those things LOVE to rust-weld themselves.
Nice job on the tray. But in all honesty, even if you did get the new tray, it'* doubtful you could even take the old one out. Those things LOVE to rust-weld themselves.
09-05-2007, 10:12 AM
#6
Guest
Posts: n/a
Good Job Mike...
Uh.... But I don't remember a Tool Box... Where did that come from?
__________________
Best Car Insurance | Auto Protection Today | FREE Trade-In Quote
Uh.... But I don't remember a Tool Box... Where did that come from?
__________________
Best Car Insurance | Auto Protection Today | FREE Trade-In Quote
09-05-2007, 10:14 AM
#7
DINOSAURUS BOOSTUS


Expert Gearhead

I've looked at the yards. They are welded to the best of my observation skills. It looks like a couple bent tabs..but there'* more than meets the eye...and prybar!
Nice new battery there Mike. We know you removed the boots and cleaned the corrosion underneath as well. Great job.
Nice new battery there Mike. We know you removed the boots and cleaned the corrosion underneath as well. Great job.

 09-05-2007, 10:51 AM
#9
Senior Member
True Car Nut
Thread Starter
Originally Posted by jr's3800
Uh.... But I don't remember a Tool Box... Where did that come from?

Originally Posted by BillBoost37
I've looked at the yards. They are welded to the best of my observation skills. It looks like a couple bent tabs..but there'* more than meets the eye...and prybar!
Nice new battery there Mike. We know you removed the boots and cleaned the corrosion underneath as well. Great job.
Nice new battery there Mike. We know you removed the boots and cleaned the corrosion underneath as well. Great job.
And yes, I did remove those boots and get the corrosion off the leads. There was the most on the inner positive cable connection. I soaked them all real well in baking soda and water, multiple times, until there was no more evidence of corrosion. Then I used a wire brushed and abrasive pad. A lot of PITA work, but both necessary and worth it.
Originally Posted by harofreak00
Duralast battery?
oh well, at least you got the warrenty
you did a good job, but am I missing the pics of after you painted it before you put the battery in?
oh well, at least you got the warrenty
you did a good job, but am I missing the pics of after you painted it before you put the battery in?
I couldn't bring myself to pay $200 for an Optima and this did have the 3-year replacement and 8-year pro-rated warranty. It'* still better than the smaller battery that was in there. :? I meant to get more pics during the finishing phase, but was a bit rushed through that part. Maybe I'll pull the battery some day and add a pic of the end result.