Engine install 96-99
 10-27-2009, 10:06 AM
#1
Retired Senior Admin


Expert Gearhead
Thread Starter
Join Date: May 2006
Location: Sheboygan Wisconsin
Posts: 29,661
Likes: 0
Received 28 Likes
on
24 Posts


Installation Procedure
Lower the engine.
note: Watching for issues/wire stragglers, AC and PS pumps.
Install the engine to transaxle bolts.
Install the torque axis engine mount.
note: Car should be jacked with passenger wheel off to tighen the lower body side TA bolts (they do not get removed, only loosened) before putting the pressure of the motor'* weight on them.
Raise the vehicle. Support the vehicle with jack stands.
Install the torque converter to flywheel bolts. Ensure that the relationship between the converter and the flywheel is the same as it was prior to disassembly.
note: There should be no worry about relationship of flywheel, the bolt holes are evenly spaced.
Install the starter motor.
Install the flywheel cover.
note: The rear bracket bolt is accessible and easy at this point. Hook up oil level sensor and front knock sensor, negative battery cable, starter electrical. AC electrical is easiest from passenger wheel well or top of motor.
Install the engine to the transaxle bracket.
note: Rear engine to trans bolt notation. Rear knock sensor wire should be located and connected first, can be a tough one to get at with this in place.
Install the A/C compressor.

Install the exhaust pipe to the rear manifold.
Power steering pump is easiest from paasenger wheel well 96-99
Oil pressure sensor install and wiring, VSS if you unhooked to keep it from binding. Splash shields need to be put back in place.
Lower the vehicle.
Install the brake booster hose to the engine vacuum connections.
Install the heater control hoses to the engine vacuum connections.
note: One small vacuum line that comes out of the wiring harness loom near the #4 injector and connects to the center port of the vacuum on top of Supercharger.
Install the emission control canister hoses to the throttle body connections.
note: Hose goes to the evap solenoid, then from evap sol to TB. Except on 96/97, there is an extra switch.
Wiring harness should be flopped back onto motor.
Connect the fuel feed and return lines to the fuel rail. Connect the fuel lines to the fuel pressure regulator.

Install the wiring harness connectors to the following locations:
* Do injector wires first, this will help line up the rest of the plugs

* The MAP sensor
* The throttle position sensor
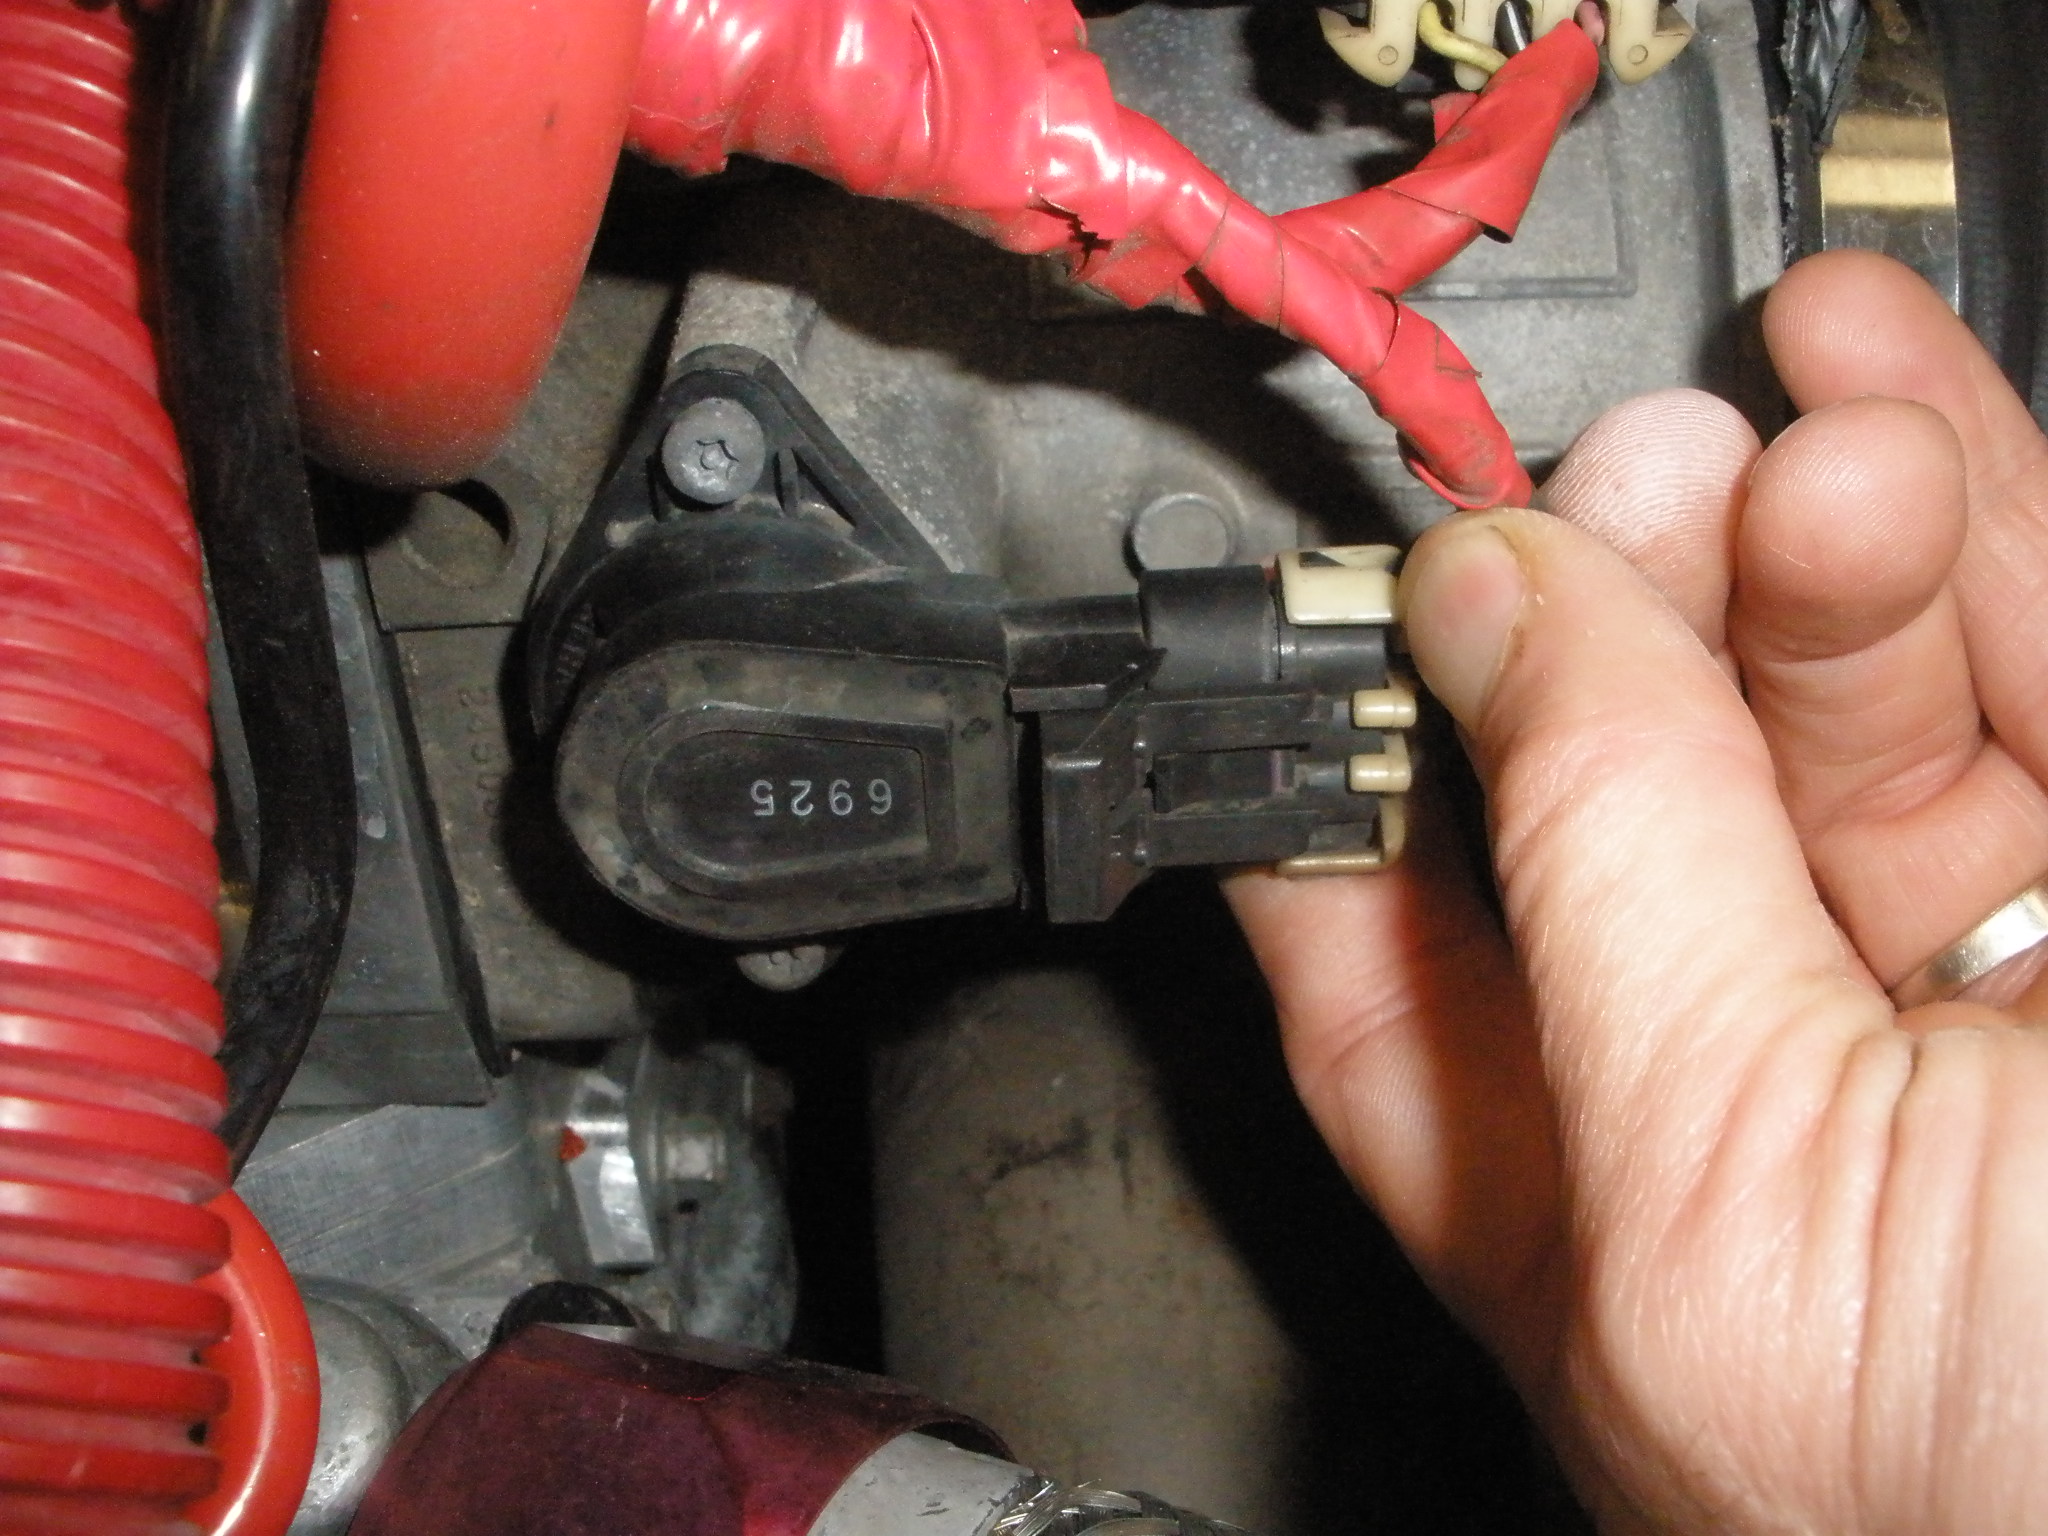
* The idle air control valve
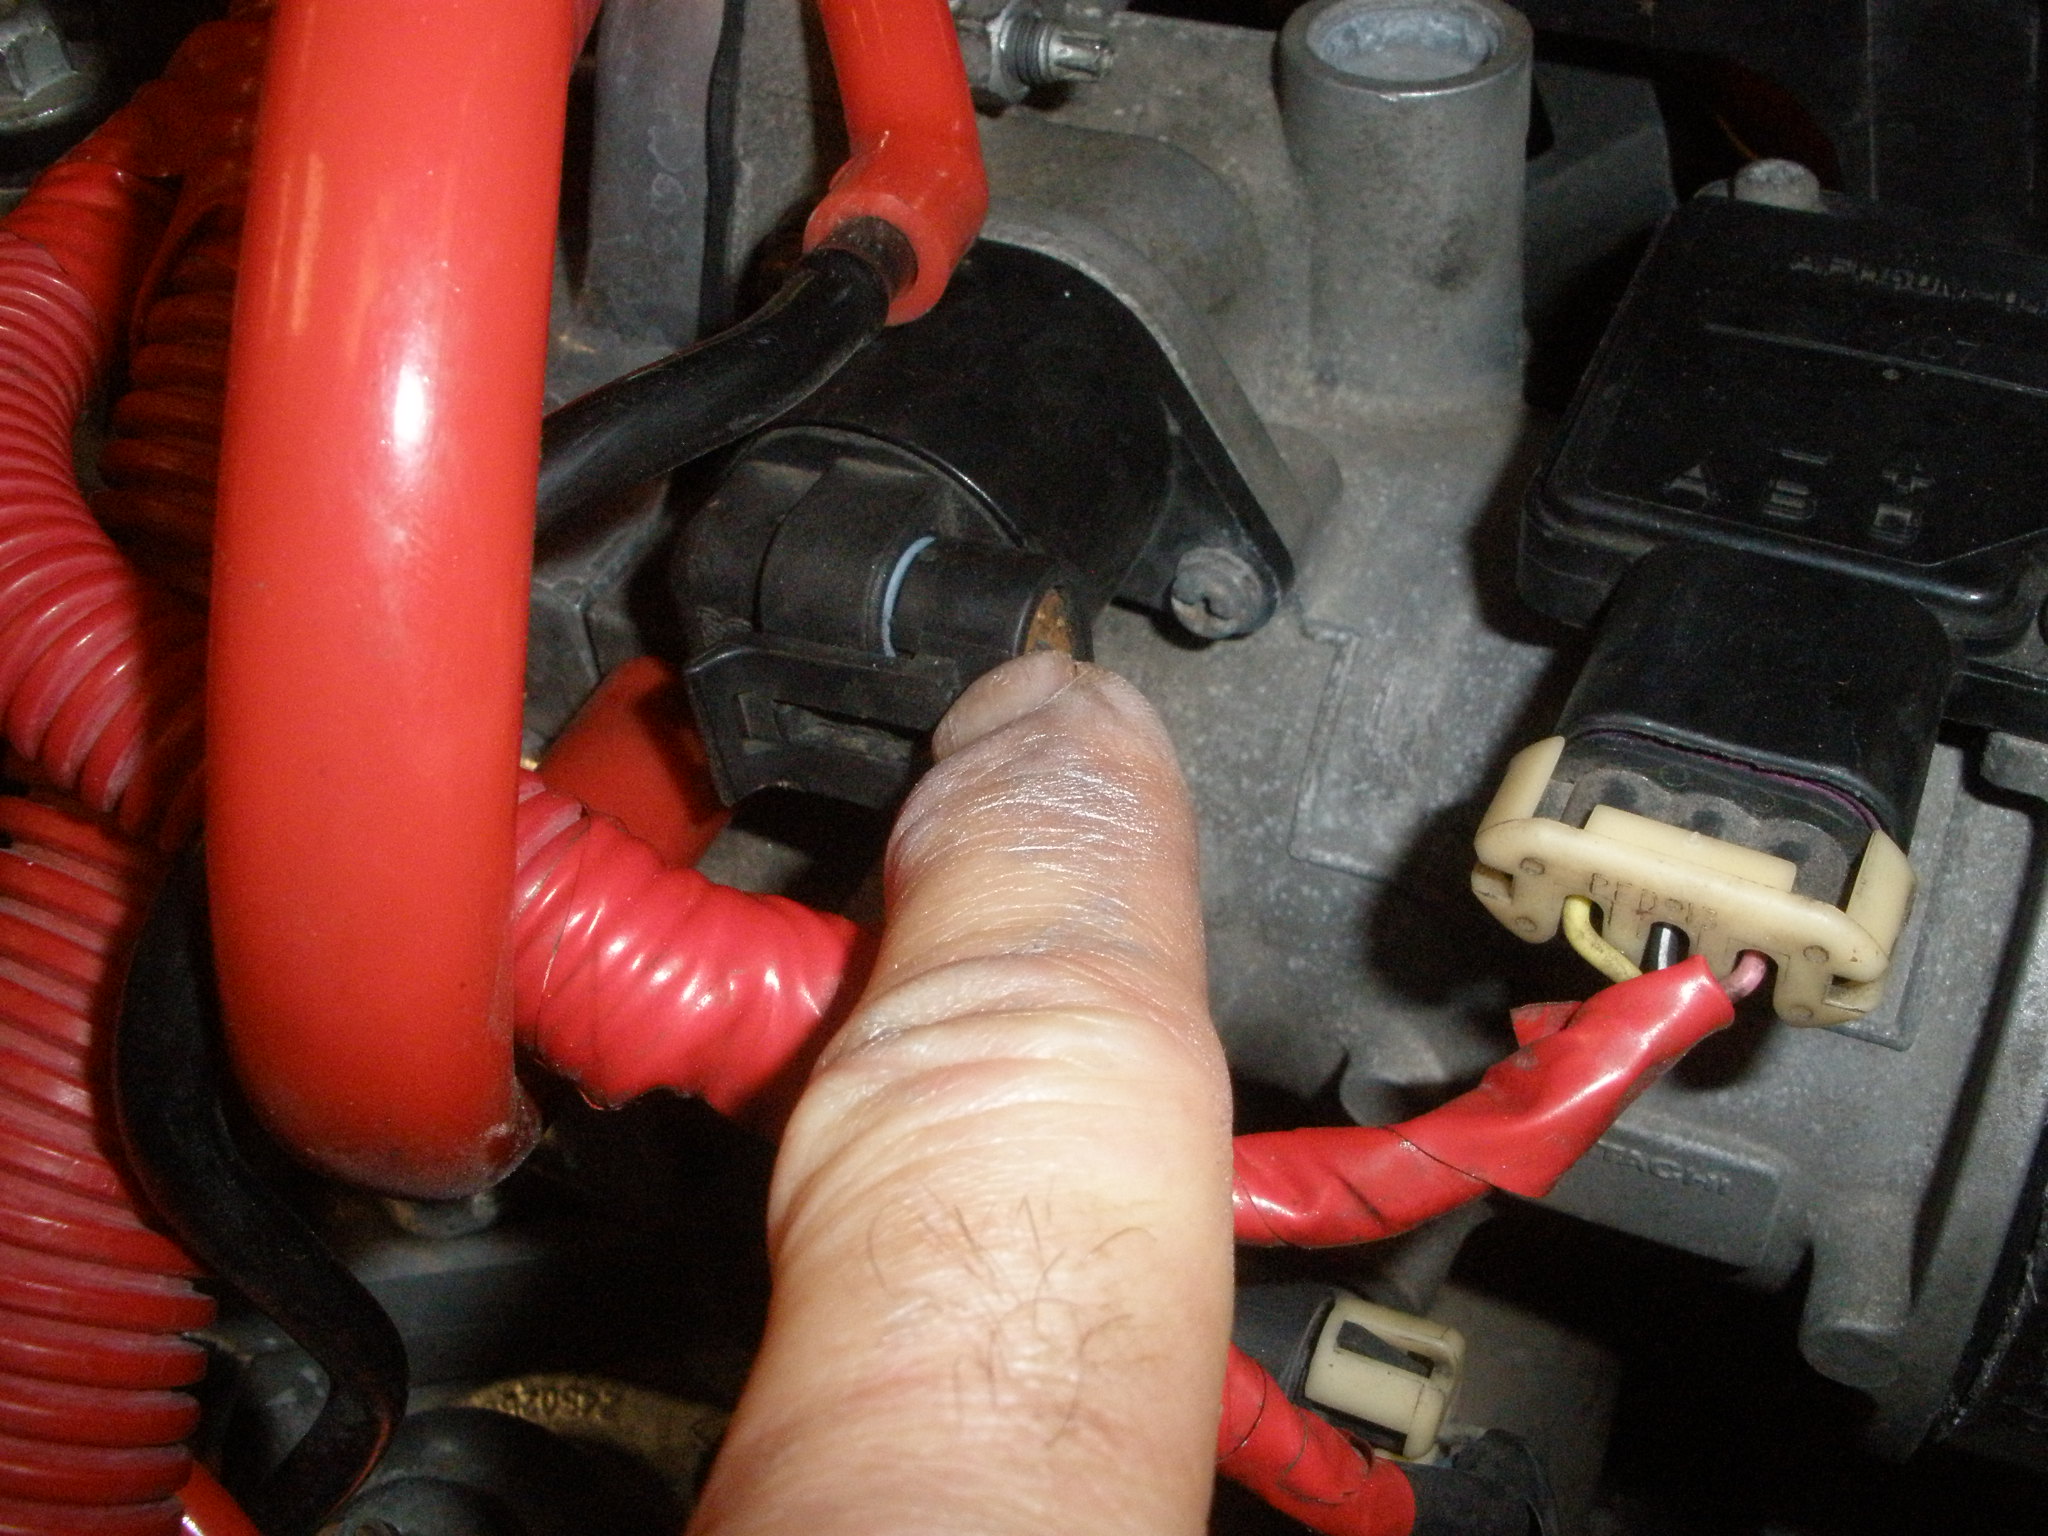
* The oxygen sensor

* The A/C compressor

* The oil pressure switch
Lower the car to the ground.
* The power steering cutout switch
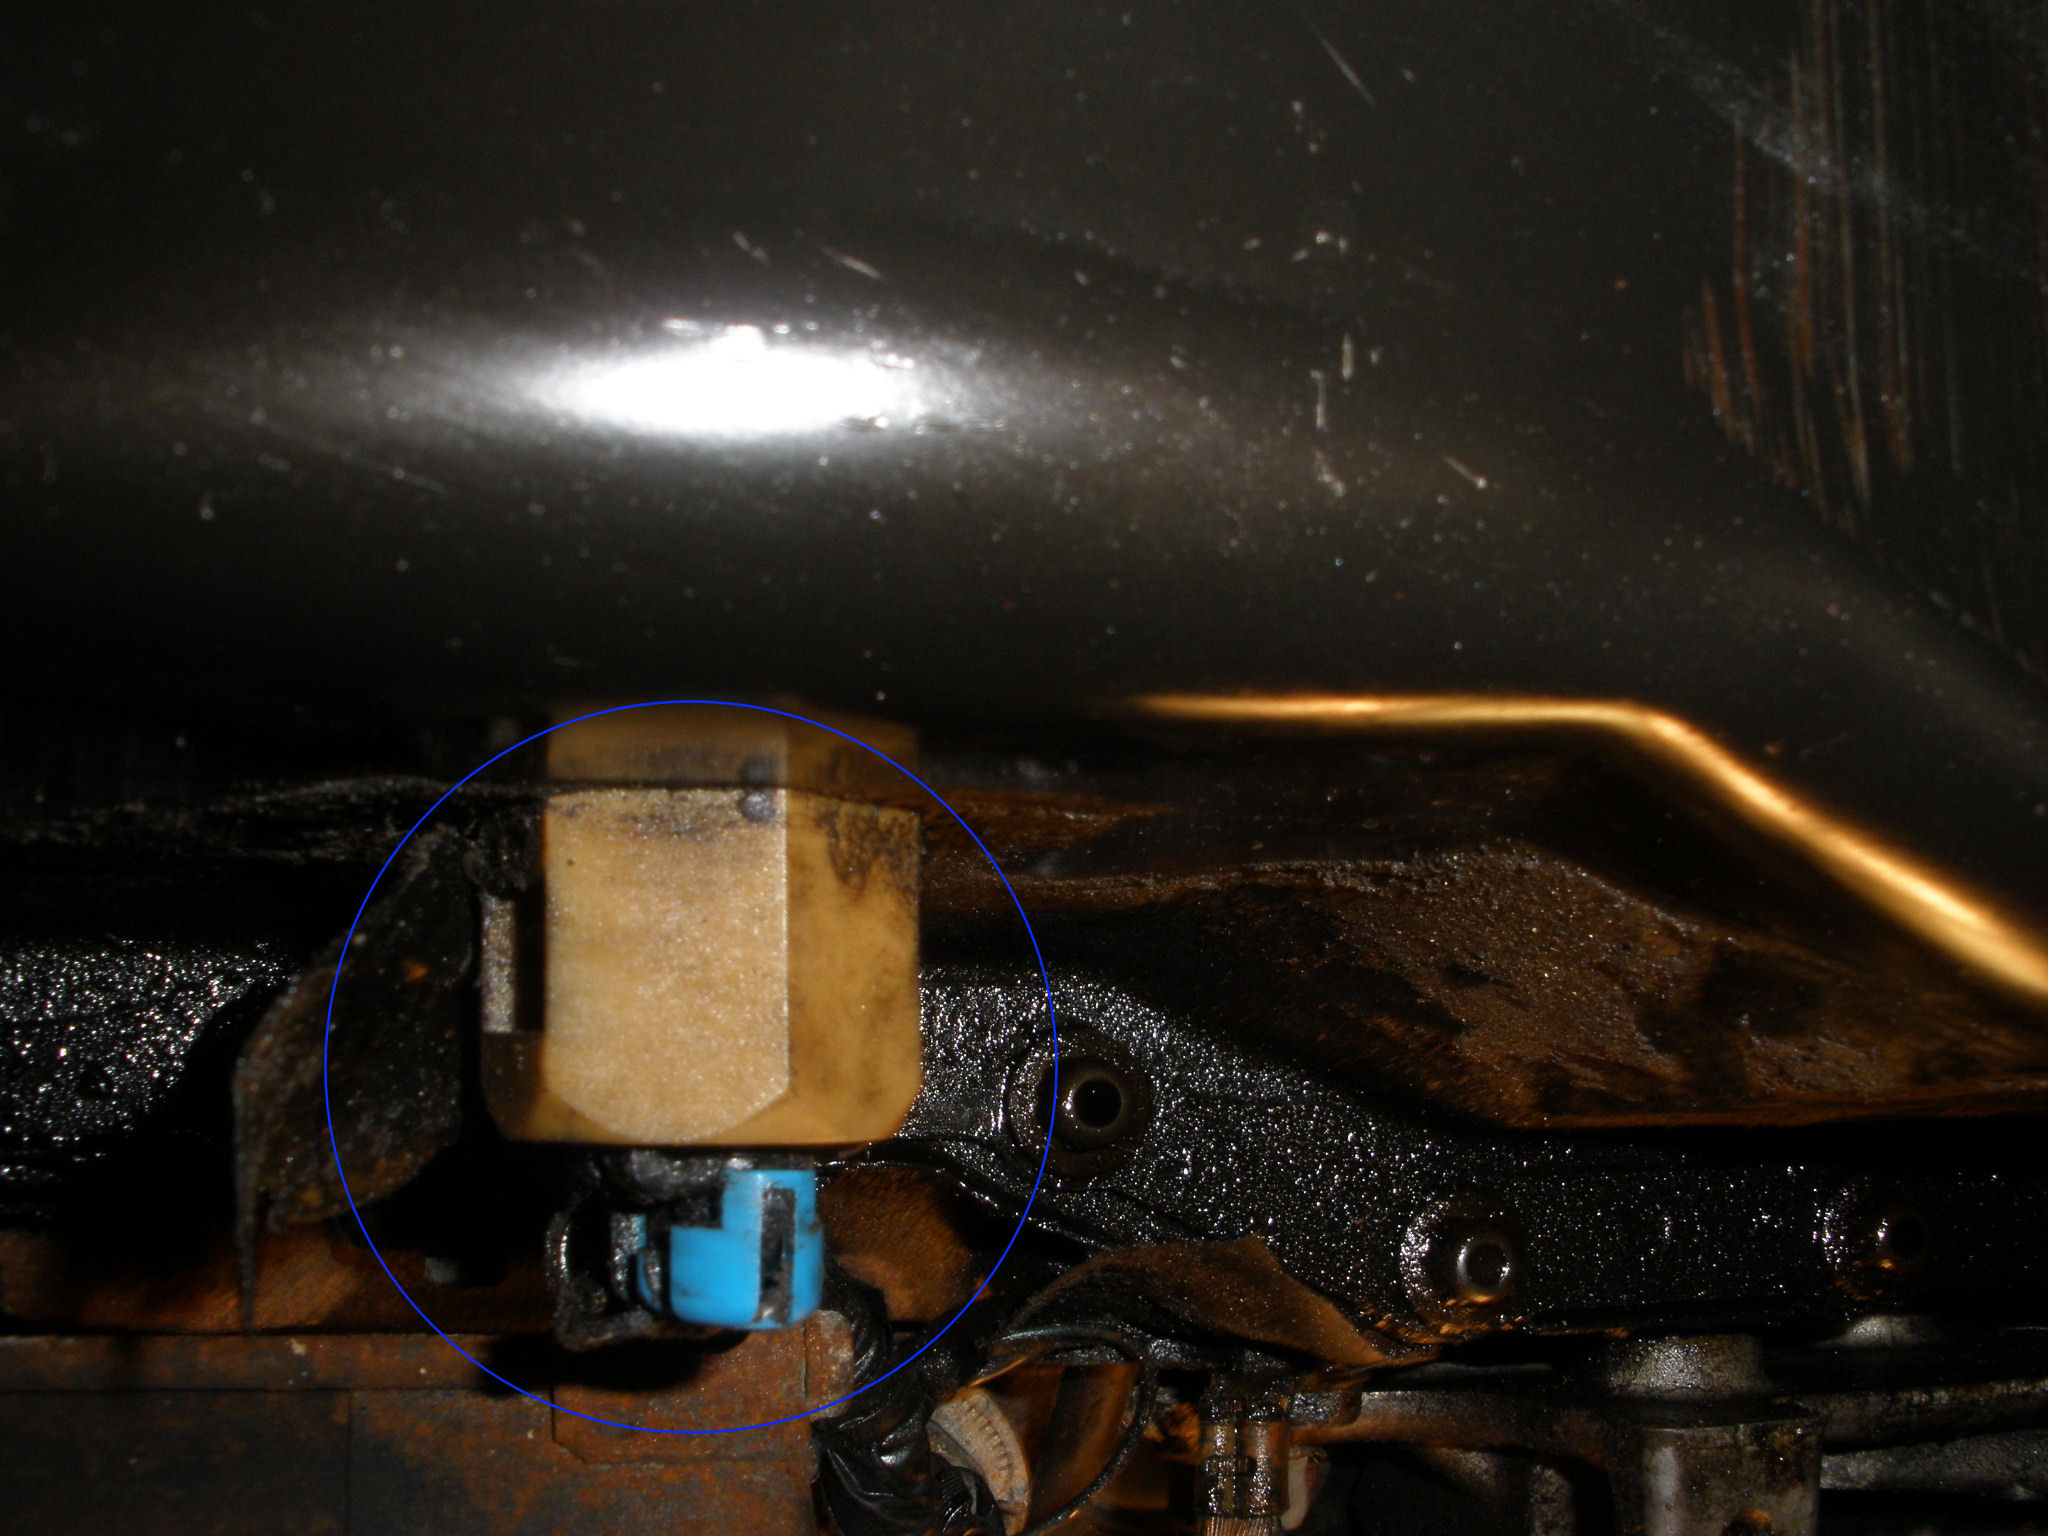
* The vehicle speed sensor (VSS)
* The low oil level sensor
Connect the throttle cable to the throttle linkage, and Cruise control
Recheck and Connect any applicable cables that may have been missed.
Install the air flow duct.
Install the drive belt.
For supercharged engines, install the supercharger drive belt.
Install both top and lower radiator hoses.
Install both heater hoses.
Refill the coolant. system will need to be bleed and level will go down until then.

Refill the engine oil. Make sure oil filter is in place

Connect the negative battery cable at the battery.

Check for the proper oil level.

recheck the fluid levels. Oil, coolant, power steering.
Inspect for fluid leaks.
Inspect for the proper completion of repairs. Recheck all connections, recheck all fluids, recheck all mounts, ensure all tools are removed from the engine compartment before cranking
Install the hood.
When putting in a motor, unhook the ICM harness at the ICM. Crank motor over for 20 seconds, release key, repeat 3-4 times. This pumps oil. Our pump is crank driven and can't be prelubed any other way except turning the crank.
Rehook ICM to crank/fire

Top: Trans to engine bolts (4) 18mm, odd looking one is lowest front position with trans mount bracket, 2 o'clock hole is not a bolt hole, only an alignment pin. TA mount, slide in place with motor lowered a bit. Put in top bolts (2) 15mm, tighen lower bolts (2) 15mm with wrench from under car. Insert main bolt between engine and trans sides of TA brackets. 15 and 18mm
Front:
Starter (2) 15MM, Flywheel to TC (3) 18mm, Flywheel cover (2-4) 10mm depending on year and cover on car, AC compressor (1) 15mm, Starter electrical (1) 8mm nuts and (1) 13mm nut,
Side:
Backwards bolt (1) 18mm, Diff to engine bracket (4) 13mm with two short bolts going into engine, PS pump (2) 13mm at 6 and 12 through the holes in the pulley, Tip, friend to rotate crank via HB bolt for flywheel bolt ease. AC compressor (3) 15mm nuts
Lower the engine.
note: Watching for issues/wire stragglers, AC and PS pumps.
Install the engine to transaxle bolts.
Install the torque axis engine mount.
note: Car should be jacked with passenger wheel off to tighen the lower body side TA bolts (they do not get removed, only loosened) before putting the pressure of the motor'* weight on them.
Raise the vehicle. Support the vehicle with jack stands.
Install the torque converter to flywheel bolts. Ensure that the relationship between the converter and the flywheel is the same as it was prior to disassembly.
note: There should be no worry about relationship of flywheel, the bolt holes are evenly spaced.
Install the starter motor.
Install the flywheel cover.
note: The rear bracket bolt is accessible and easy at this point. Hook up oil level sensor and front knock sensor, negative battery cable, starter electrical. AC electrical is easiest from passenger wheel well or top of motor.
Install the engine to the transaxle bracket.
note: Rear engine to trans bolt notation. Rear knock sensor wire should be located and connected first, can be a tough one to get at with this in place.
Install the A/C compressor.
Install the exhaust pipe to the rear manifold.
Power steering pump is easiest from paasenger wheel well 96-99
Oil pressure sensor install and wiring, VSS if you unhooked to keep it from binding. Splash shields need to be put back in place.
Lower the vehicle.
Install the brake booster hose to the engine vacuum connections.
Install the heater control hoses to the engine vacuum connections.
note: One small vacuum line that comes out of the wiring harness loom near the #4 injector and connects to the center port of the vacuum on top of Supercharger.
Install the emission control canister hoses to the throttle body connections.
note: Hose goes to the evap solenoid, then from evap sol to TB. Except on 96/97, there is an extra switch.
Wiring harness should be flopped back onto motor.
Connect the fuel feed and return lines to the fuel rail. Connect the fuel lines to the fuel pressure regulator.
Install the wiring harness connectors to the following locations:
* Do injector wires first, this will help line up the rest of the plugs
* The MAP sensor
* The throttle position sensor
* The idle air control valve
* The oxygen sensor
* The A/C compressor
* The oil pressure switch
Lower the car to the ground.
* The power steering cutout switch
* The vehicle speed sensor (VSS)
* The low oil level sensor
Connect the throttle cable to the throttle linkage, and Cruise control
Recheck and Connect any applicable cables that may have been missed.
Install the air flow duct.
Install the drive belt.
For supercharged engines, install the supercharger drive belt.
Install both top and lower radiator hoses.
Install both heater hoses.
Refill the coolant. system will need to be bleed and level will go down until then.
Refill the engine oil. Make sure oil filter is in place
Connect the negative battery cable at the battery.
Check for the proper oil level.
recheck the fluid levels. Oil, coolant, power steering.
Inspect for fluid leaks.
Inspect for the proper completion of repairs. Recheck all connections, recheck all fluids, recheck all mounts, ensure all tools are removed from the engine compartment before cranking
Install the hood.
When putting in a motor, unhook the ICM harness at the ICM. Crank motor over for 20 seconds, release key, repeat 3-4 times. This pumps oil. Our pump is crank driven and can't be prelubed any other way except turning the crank.
Rehook ICM to crank/fire
Top: Trans to engine bolts (4) 18mm, odd looking one is lowest front position with trans mount bracket, 2 o'clock hole is not a bolt hole, only an alignment pin. TA mount, slide in place with motor lowered a bit. Put in top bolts (2) 15mm, tighen lower bolts (2) 15mm with wrench from under car. Insert main bolt between engine and trans sides of TA brackets. 15 and 18mm
Front:
Starter (2) 15MM, Flywheel to TC (3) 18mm, Flywheel cover (2-4) 10mm depending on year and cover on car, AC compressor (1) 15mm, Starter electrical (1) 8mm nuts and (1) 13mm nut,
Side:
Backwards bolt (1) 18mm, Diff to engine bracket (4) 13mm with two short bolts going into engine, PS pump (2) 13mm at 6 and 12 through the holes in the pulley, Tip, friend to rotate crank via HB bolt for flywheel bolt ease. AC compressor (3) 15mm nuts


Thread
Thread Starter
Forum
Replies
Last Post
earthmover101
Performance, Brainstorming & Tuning
6
10-14-2005 02:05 PM