
Rads A pilar build on its way....
 10-31-2009, 09:31 PM
#1
Senior Member
Posts like a Turbo
Thread Starter
Join Date: May 2009
Location: Hibbing MN
Posts: 327
Likes: 0
Received 0 Likes
on
0 Posts

well on to my next project, might be slow, might be quick, im going to keep Rad in suspense a bit lol. he was wanting some pilars built so we chatted a bit and finally the pilars show haha  they are being built to each hold 1 4' infinity speaker and the driver side will have 2 gauge pods in them. nobody said the task at hand would be easy but.....thats the fun for me. only have a couple teaser pics but i proised Rad id have something up ha.
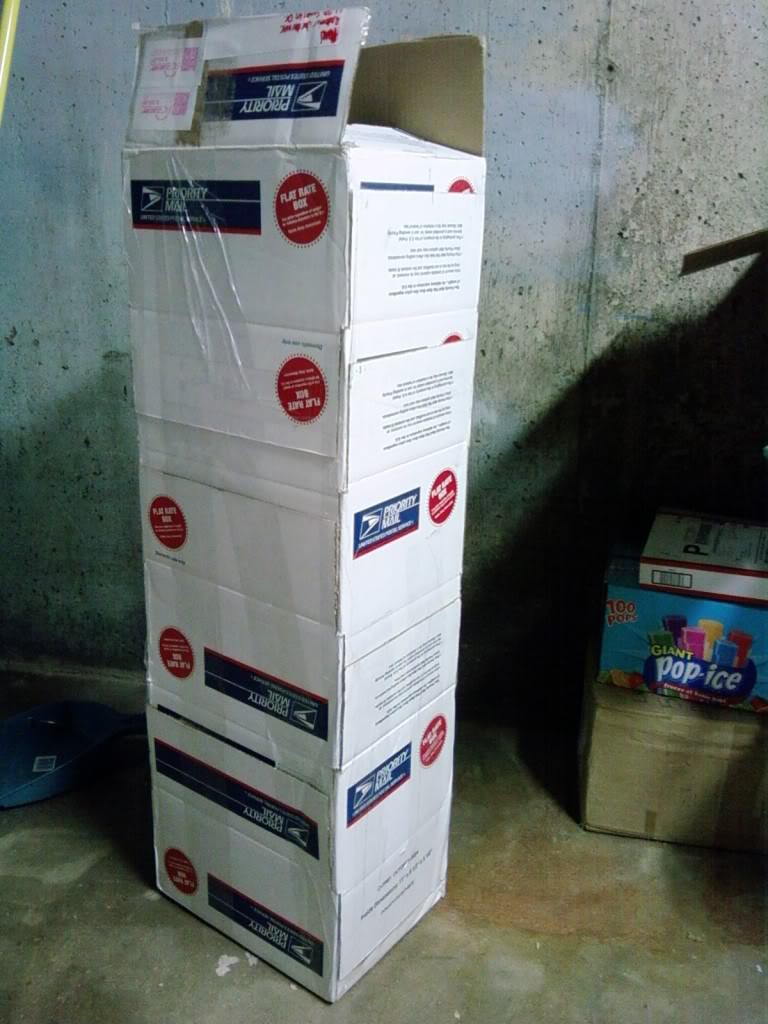
and here is the package that showed up to my door. ill let him tell the story ha
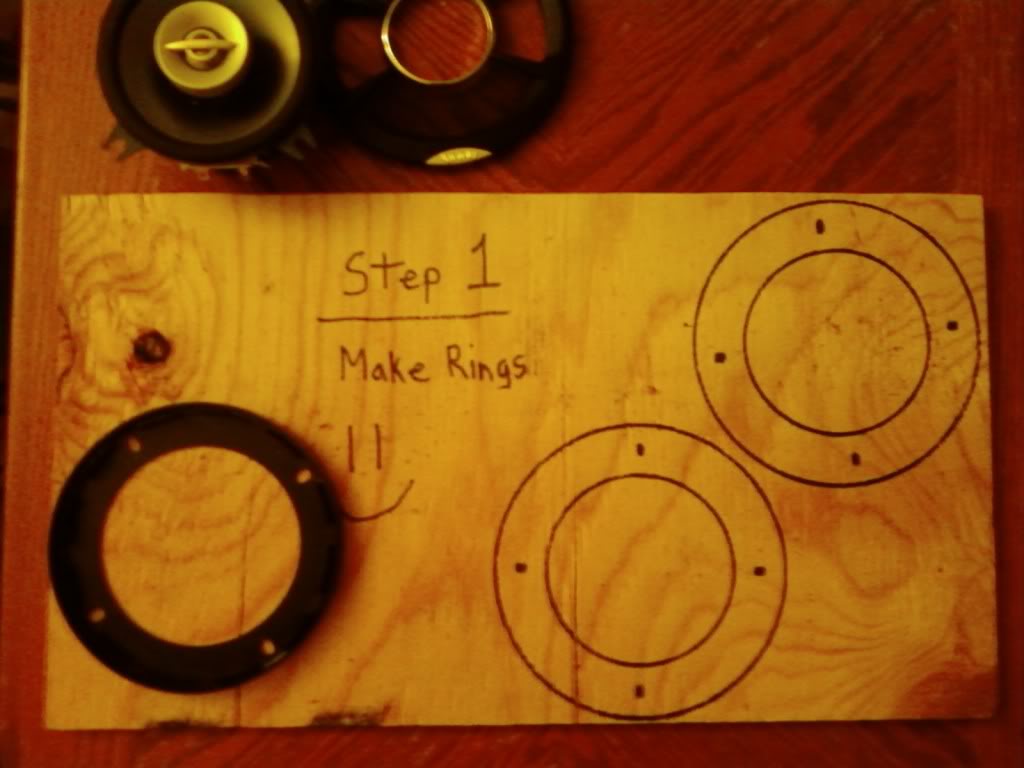
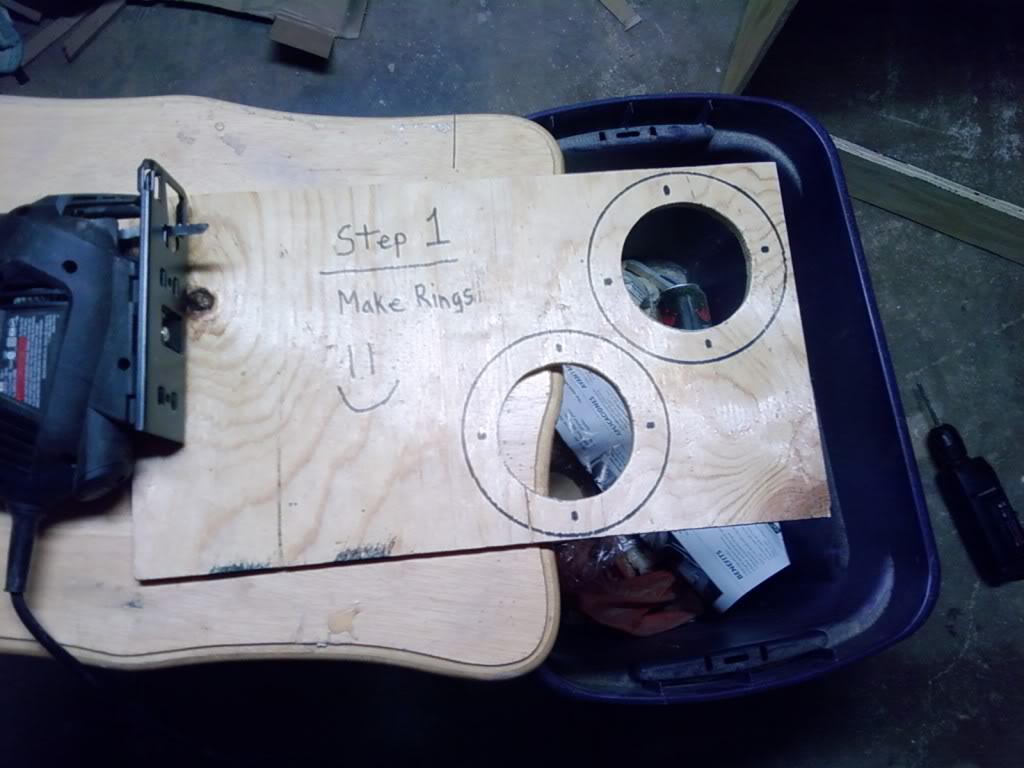
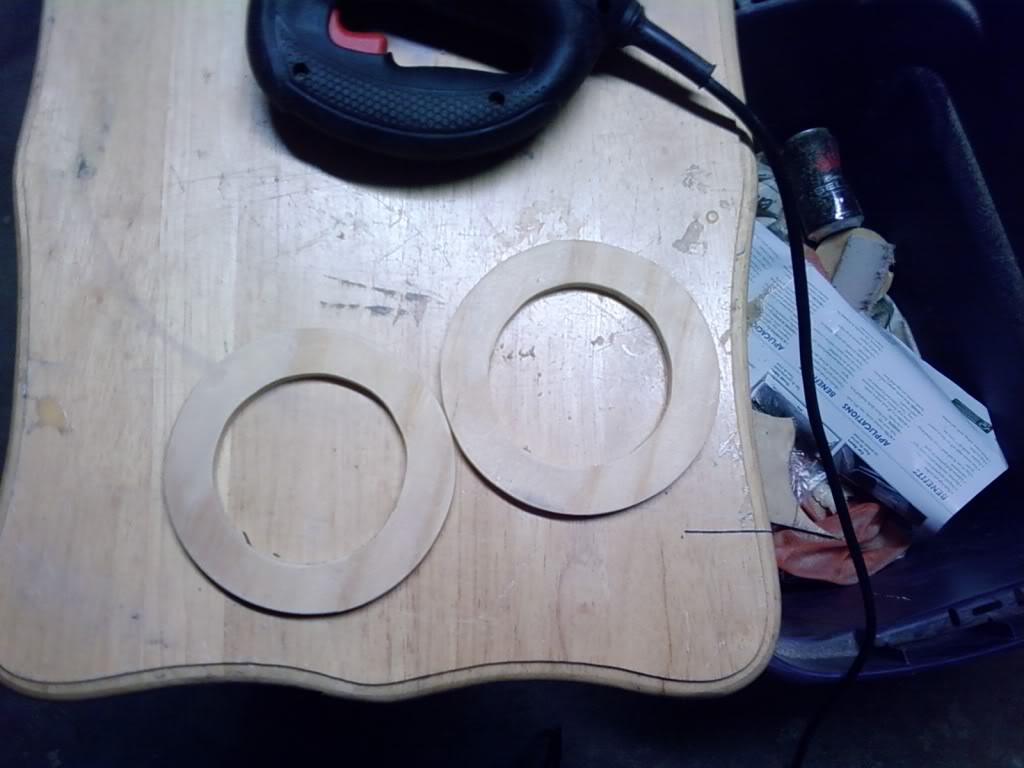
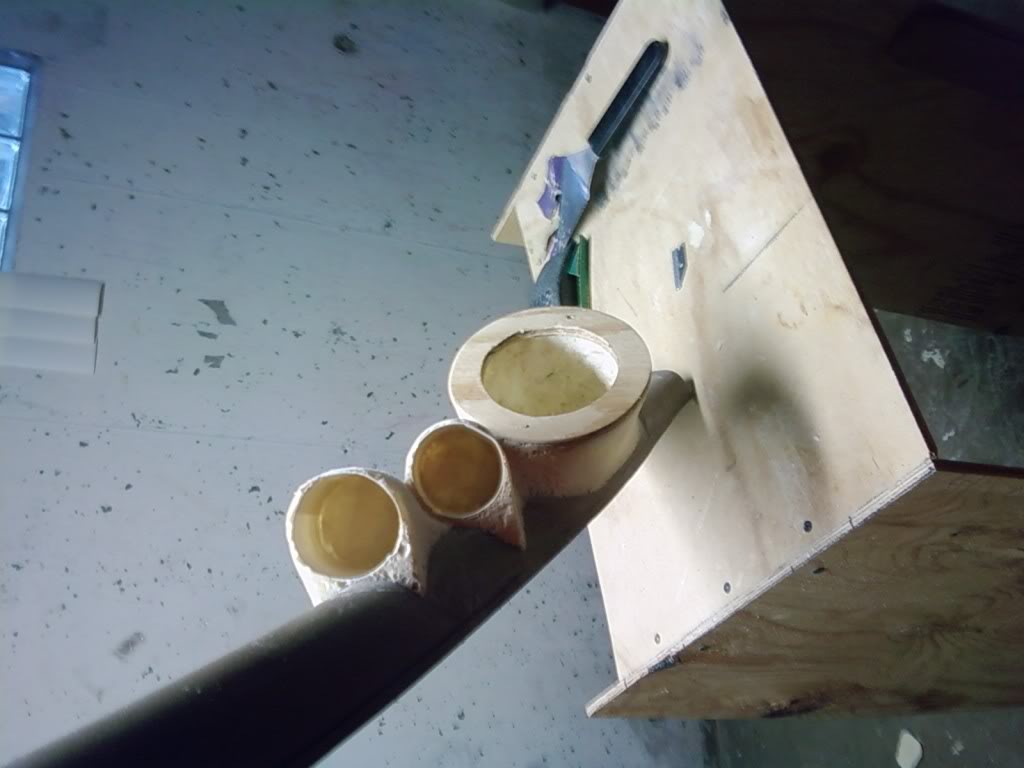
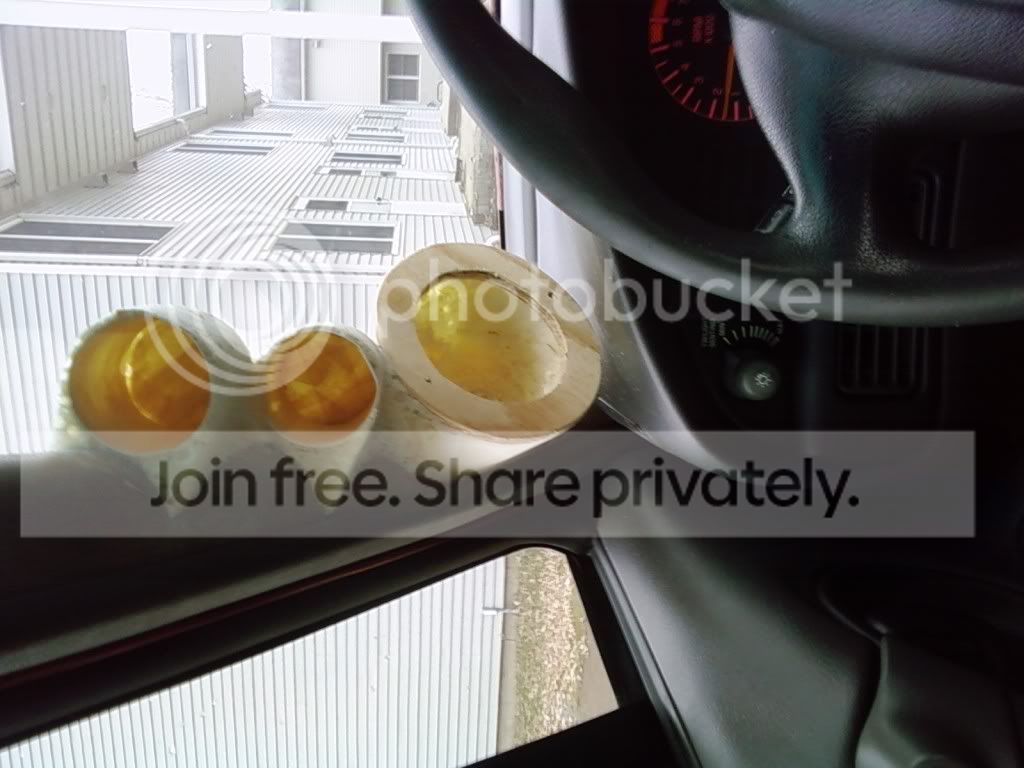
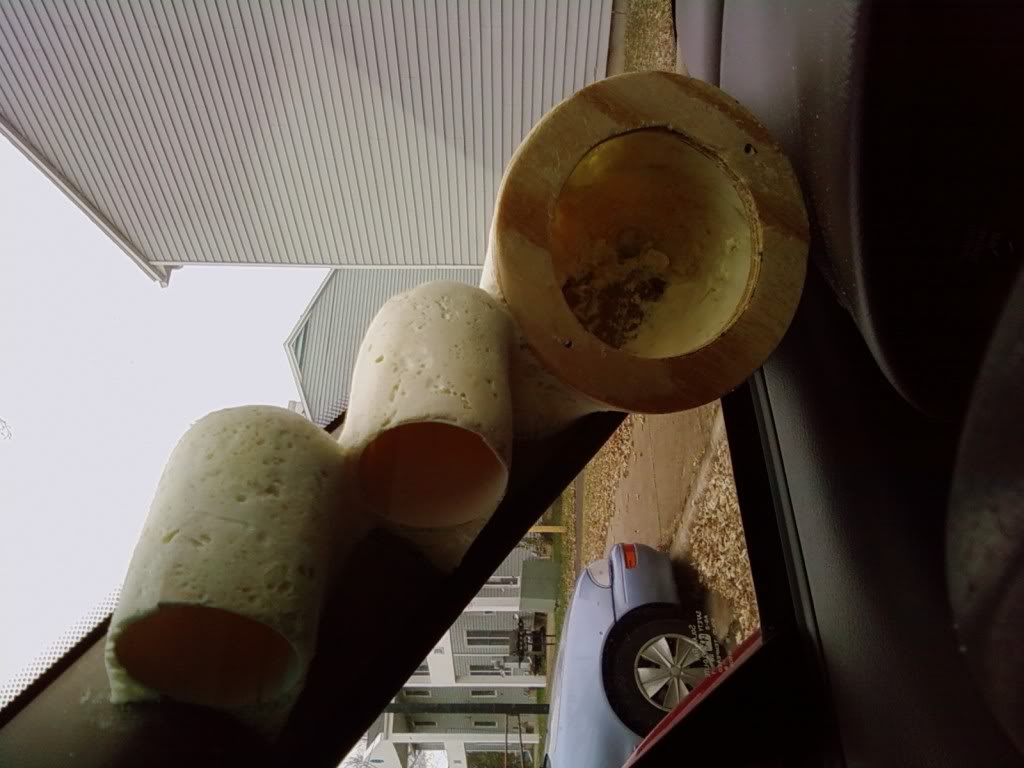
i made the rings out of 3/8" plywood instead if the 1/2 partical board i used on mine lol. making them a bit lighter to compensate for the weight of the gauges
as of today im a bit farther but ended up starting to clean the basement up a bit. starting to get messy and cant work in that mess. stay tuned....
and here is the package that showed up to my door. ill let him tell the story ha
i made the rings out of 3/8" plywood instead if the 1/2 partical board i used on mine lol. making them a bit lighter to compensate for the weight of the gauges
as of today im a bit farther but ended up starting to clean the basement up a bit. starting to get messy and cant work in that mess. stay tuned....


 11-12-2009, 01:03 PM
#8
Senior Member
Posts like a Turbo
Thread Starter
Join Date: May 2009
Location: Hibbing MN
Posts: 327
Likes: 0
Received 0 Likes
on
0 Posts
ok i happen to be cool enough to mess up our computer since the last post of mine lol no clue how i messed it up and no idea what i exactly did to fix it but seems to be working fine since yesterday woohoo lol. anyways ive been working slowly but surly on rads pilars. at the point of starting some glass work soon. weather isnt the best to work in so between finding the time to work on them and running in and out of the basement work will be a lil slower unlike summer when i can just whip the resin up and do work outside. leave out to dry. where theres a will theres a way right lol ill have some updated pics posted by nights end. im with my kids today so not sure of ill have time til later, if i do ill post em up before then. thanks for the props so far too guys, it keeps building drive going in the cooler MN temp lol
11-12-2009, 10:34 PM
#9
Senior Member
Posts like a Turbo
Thread Starter
Join Date: May 2009
Location: Hibbing MN
Posts: 327
Likes: 0
Received 0 Likes
on
0 Posts
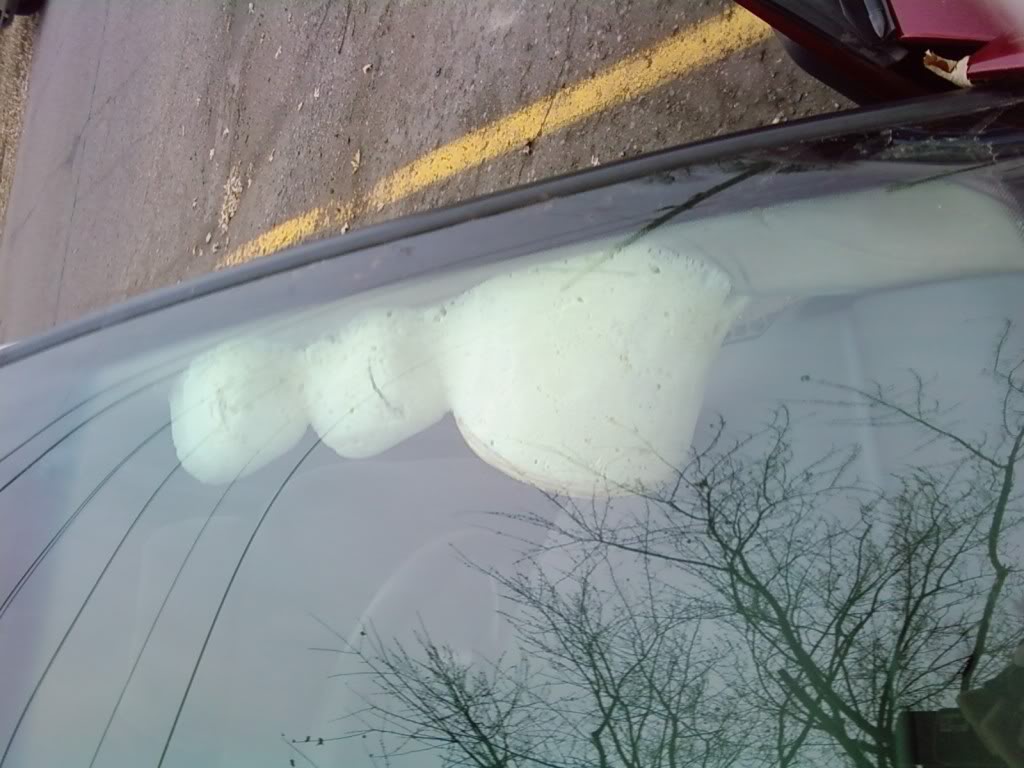
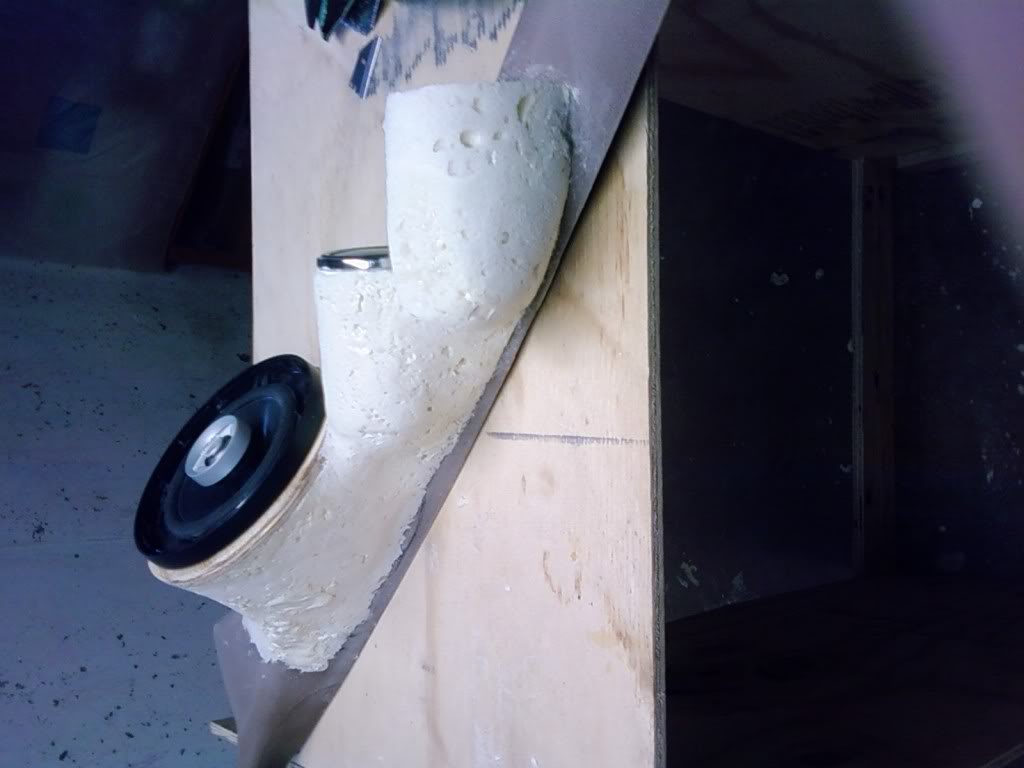
ok as promised hers a few pics. remember its always ugly before its pretty still need to do some shaping on the pass side. gotto pick up some more expanding foam when cash comes through... onto the pics of whats done so far
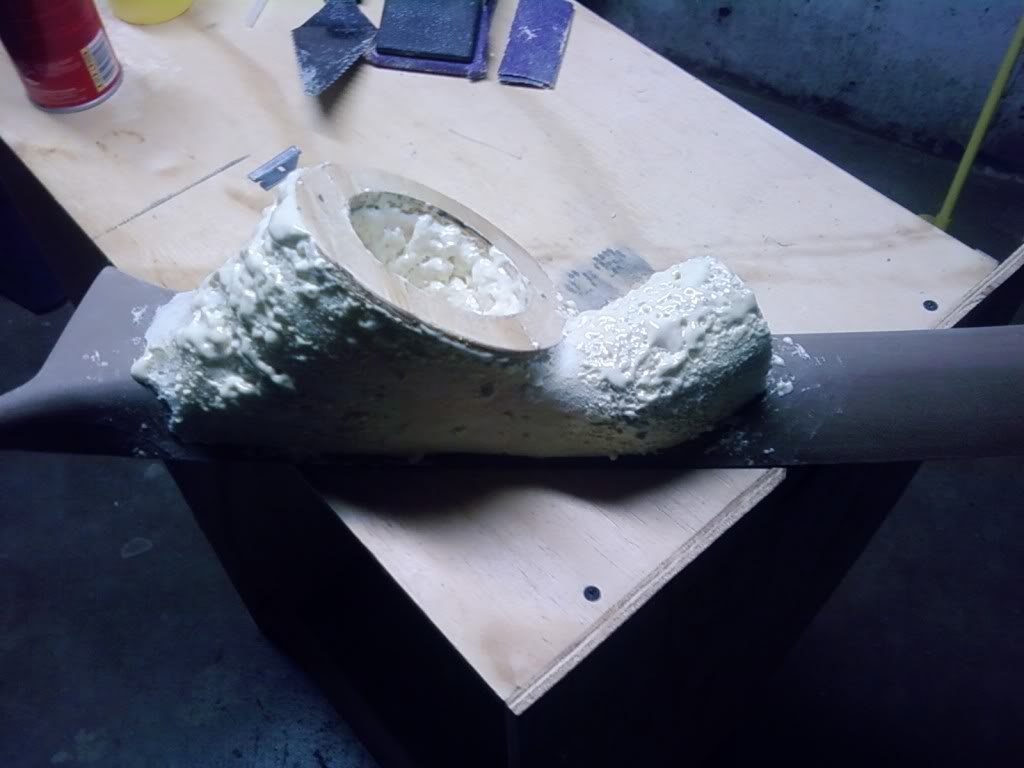
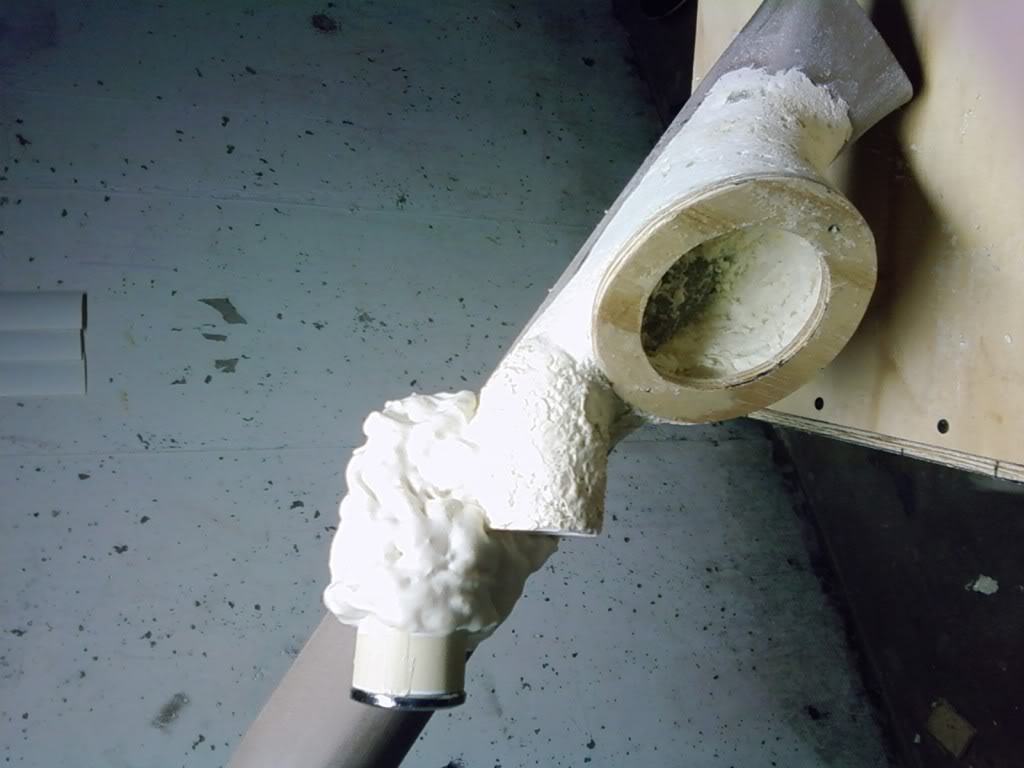
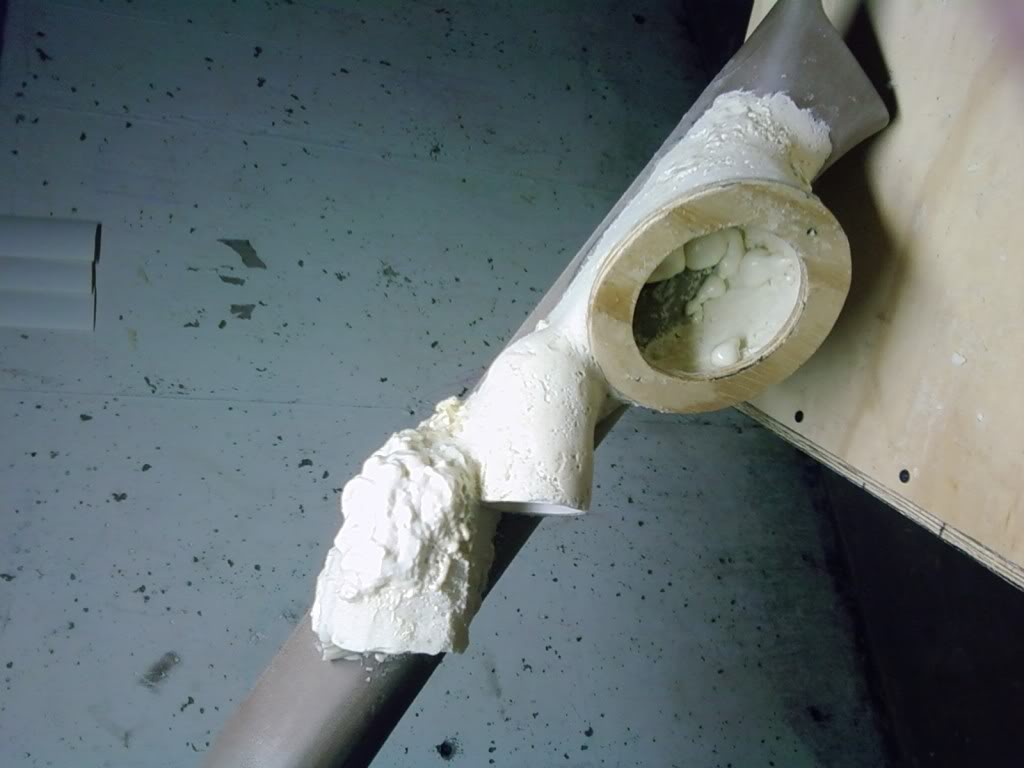
first thing i did was scuff the plastic up. i didnt have a sleave or anything for the gauge so had to make my own out of some random stuff in my crazy basement/building area lol. so with a lil super glue i glued the "sleev" to the pilar once i had the angle right.i then put the gauge itself into a plastic bag so it would stay clean and clear of out of control foam. after that i just filled around it with expanding foam. the gauge being in the pod while foaming around makes sure it holds its shape

it is really "greatstuff" cuz it cuts pretty easy and sands no prob to shape. fill in air bubbles as they show up
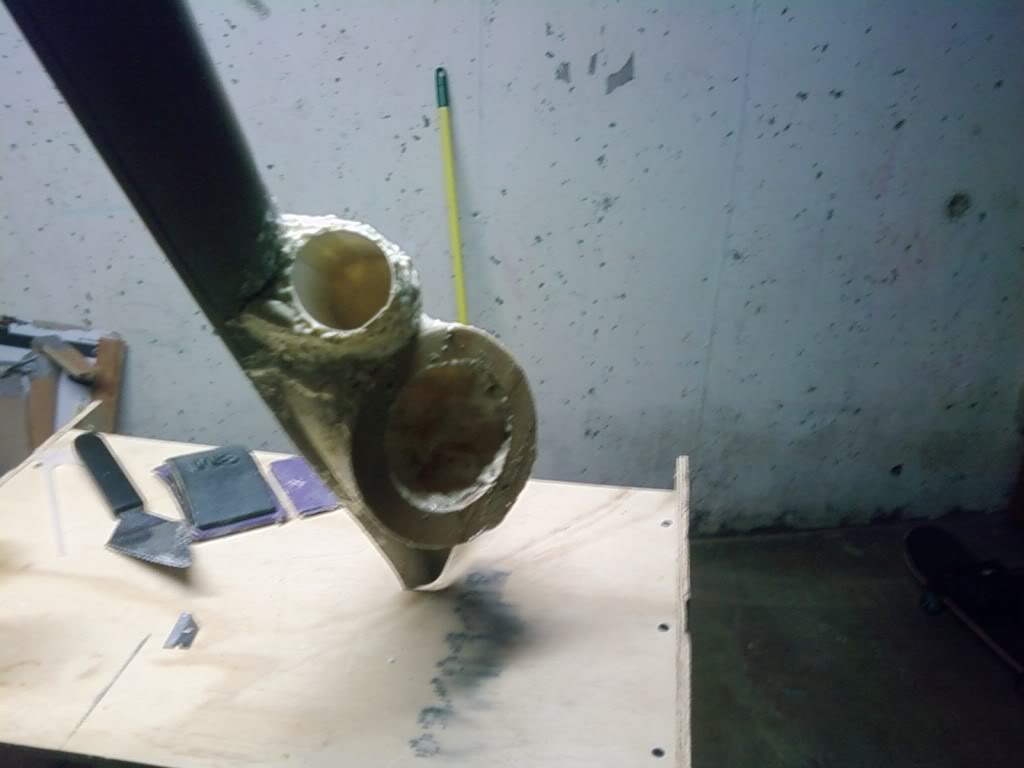
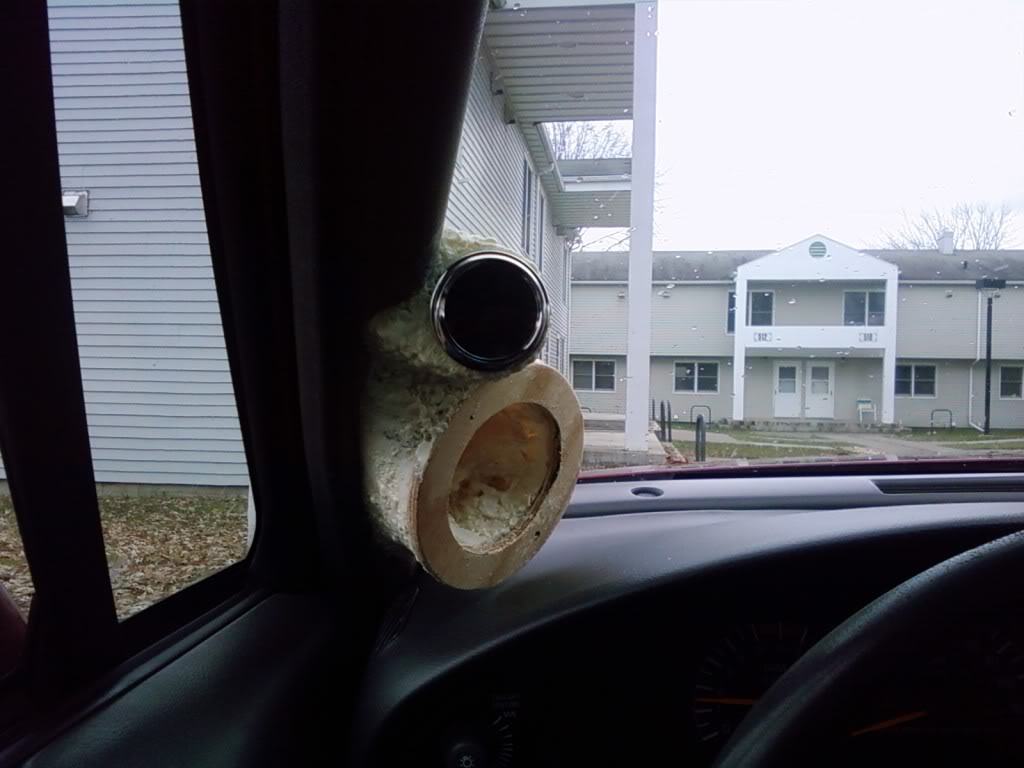
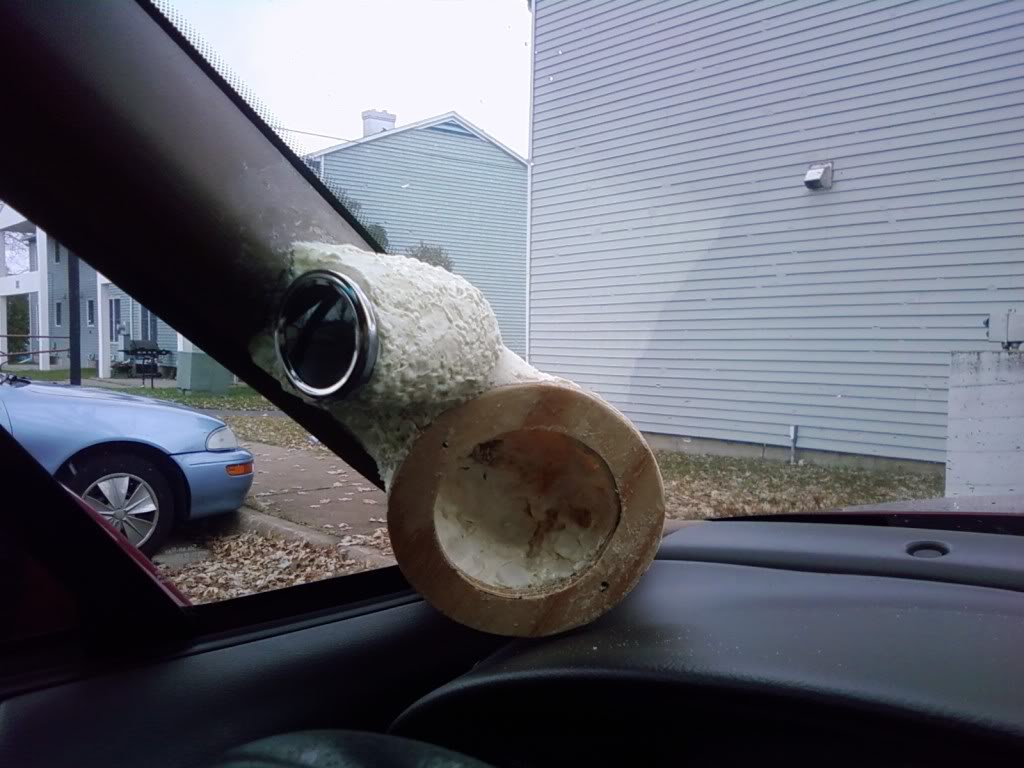
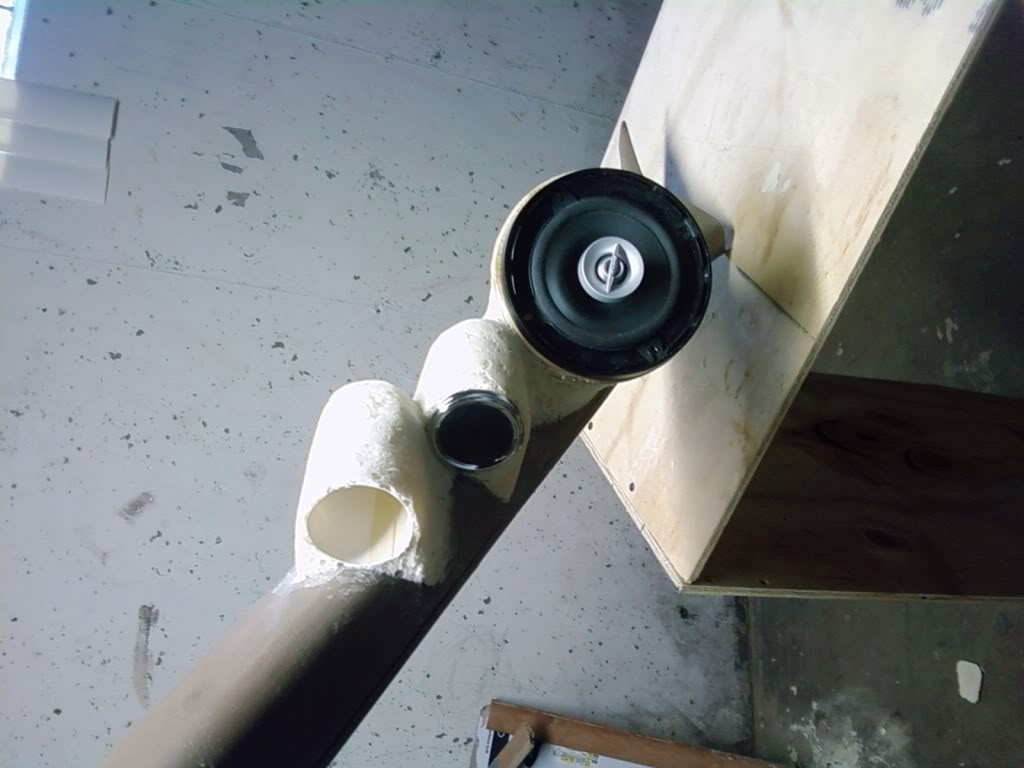
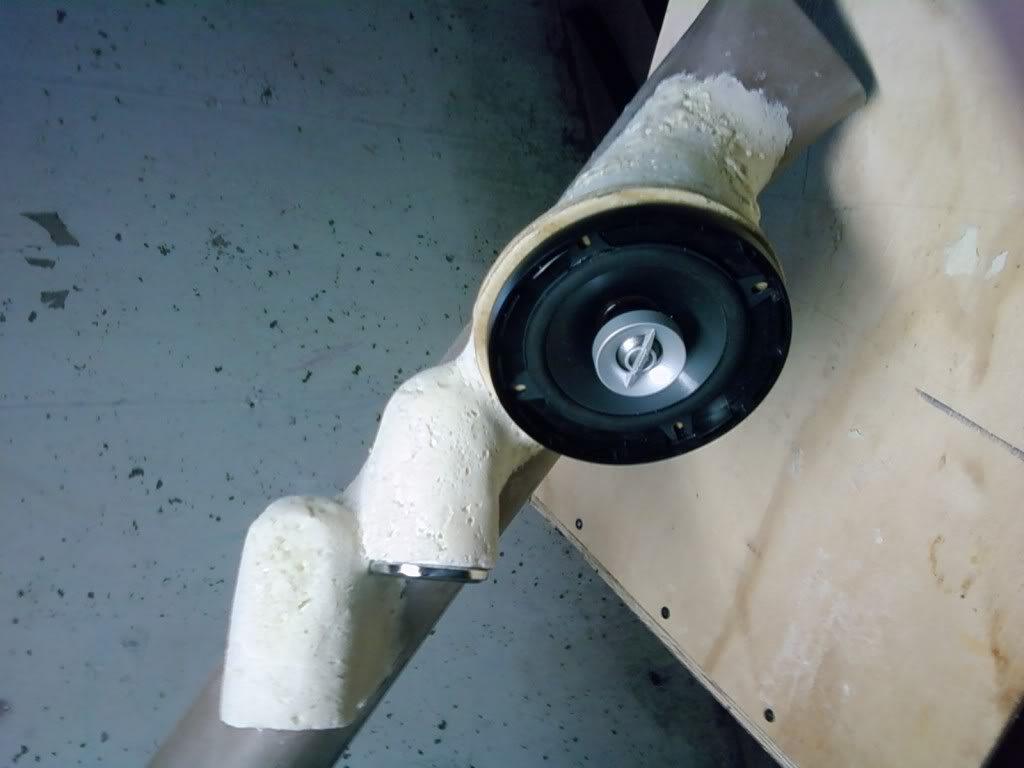
and why not a lil test fit pic huh, just remember there are no clips or anything holding it in, just kinda hanging out there lol
...hmmm only a spot for one gauge ya say........
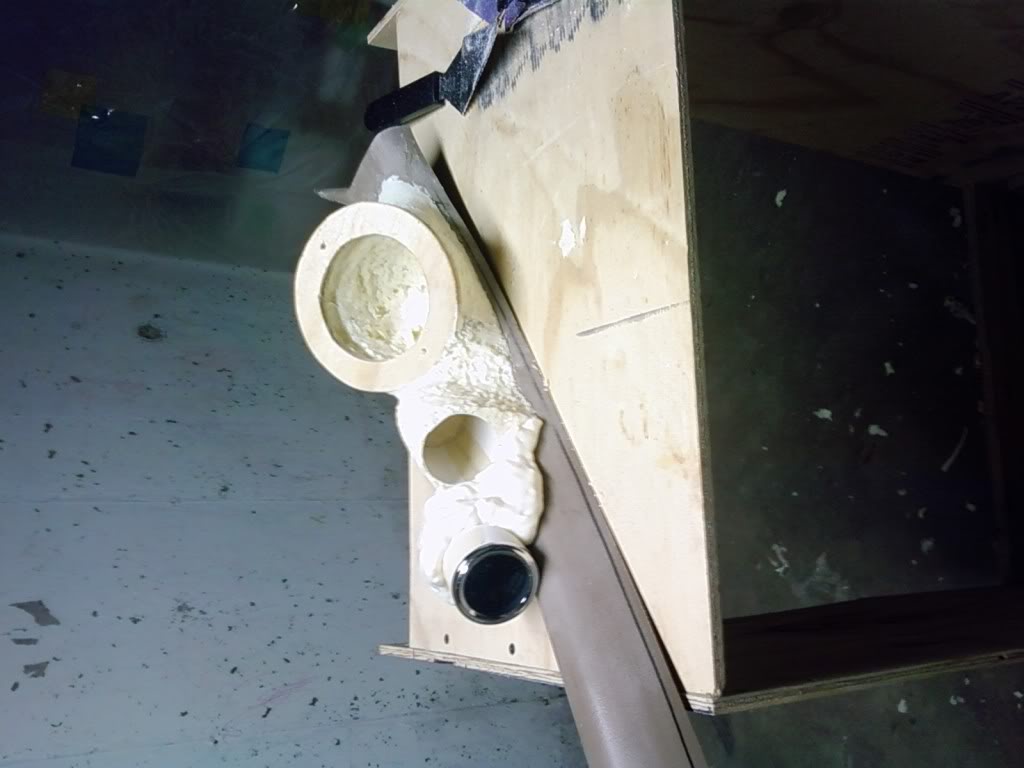
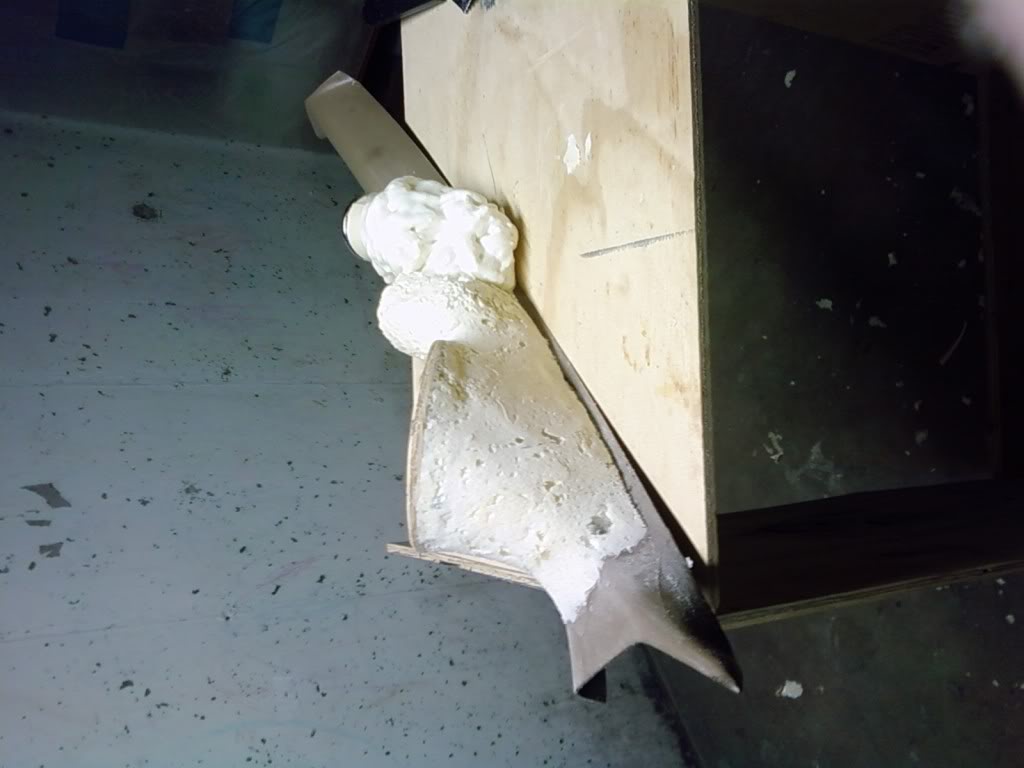


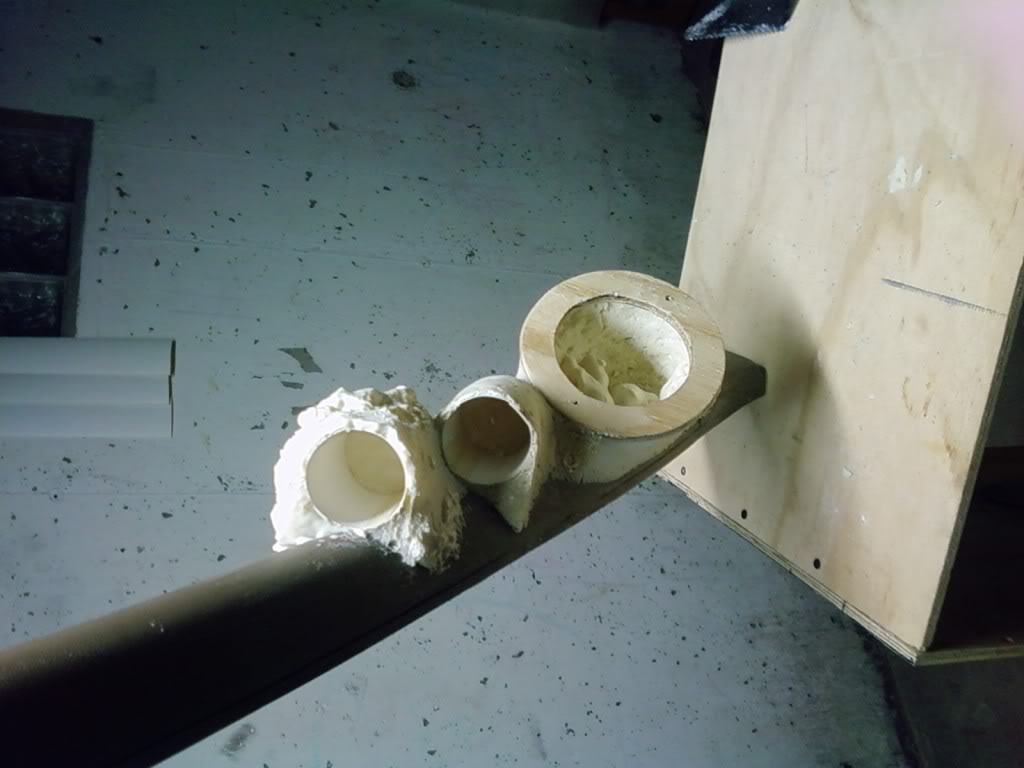

and here is where the fun starts...shaping the foam. sometimes its not bad other times its a PITA...no probs here so far lol yet


first thing i did was scuff the plastic up. i didnt have a sleave or anything for the gauge so had to make my own out of some random stuff in my crazy basement/building area lol. so with a lil super glue i glued the "sleev" to the pilar once i had the angle right.i then put the gauge itself into a plastic bag so it would stay clean and clear of out of control foam. after that i just filled around it with expanding foam. the gauge being in the pod while foaming around makes sure it holds its shape
it is really "greatstuff" cuz it cuts pretty easy and sands no prob to shape. fill in air bubbles as they show up
and why not a lil test fit pic huh, just remember there are no clips or anything holding it in, just kinda hanging out there lol
...hmmm only a spot for one gauge ya say........
and here is where the fun starts...shaping the foam. sometimes its not bad other times its a PITA...no probs here so far lol yet
11-12-2009, 10:35 PM
#10
Senior Member
Posts like a Turbo
Thread Starter
Join Date: May 2009
Location: Hibbing MN
Posts: 327
Likes: 0
Received 0 Likes
on
0 Posts
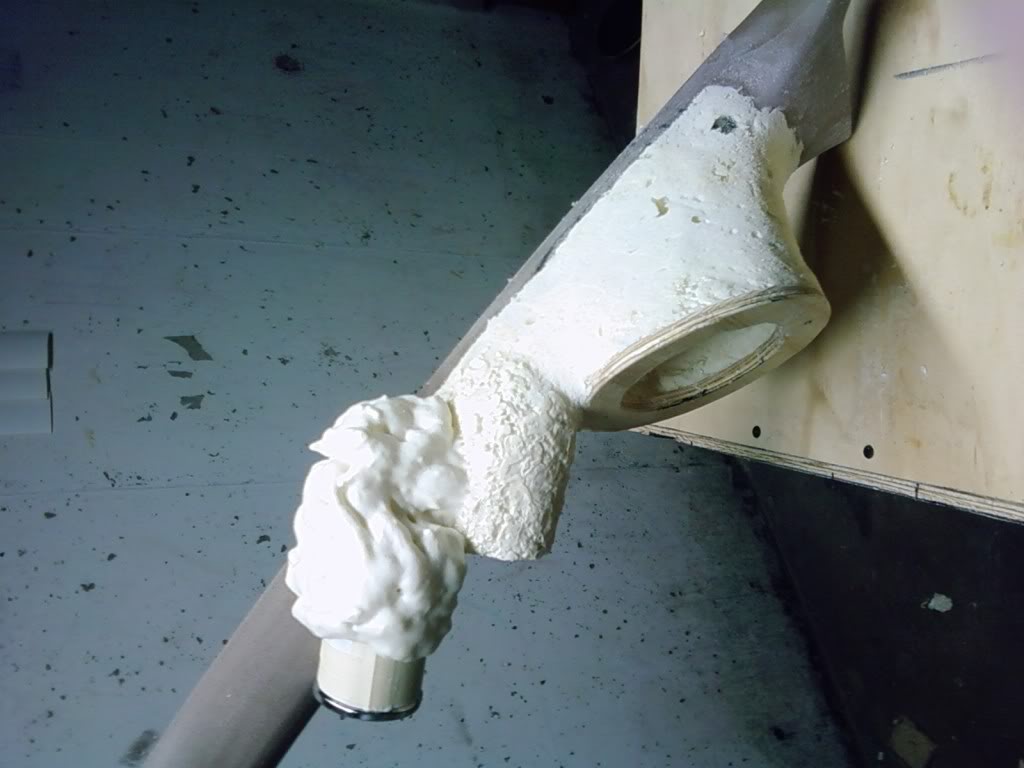
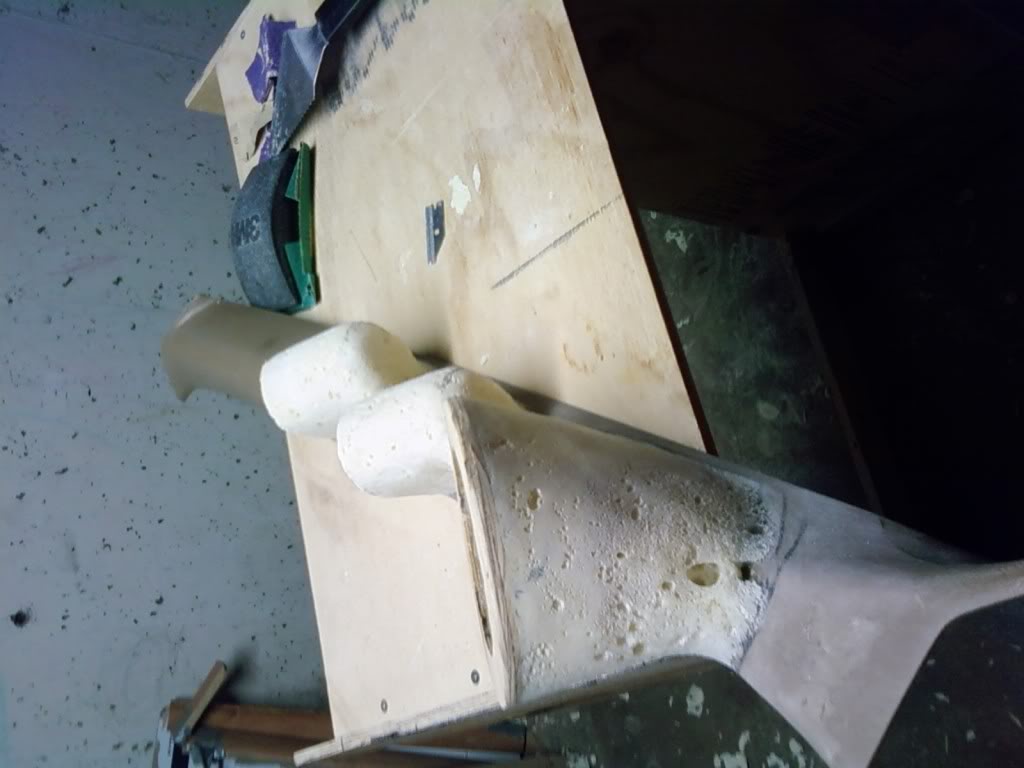
another test fit. it looks thin cuz, well it is. it will have a few layers of fiberglass on it so no worries, will be plenty tough 
and i wanted to triple check clearance for the speakers. good thing we both own the same size n brand that will make home in these pilars huh
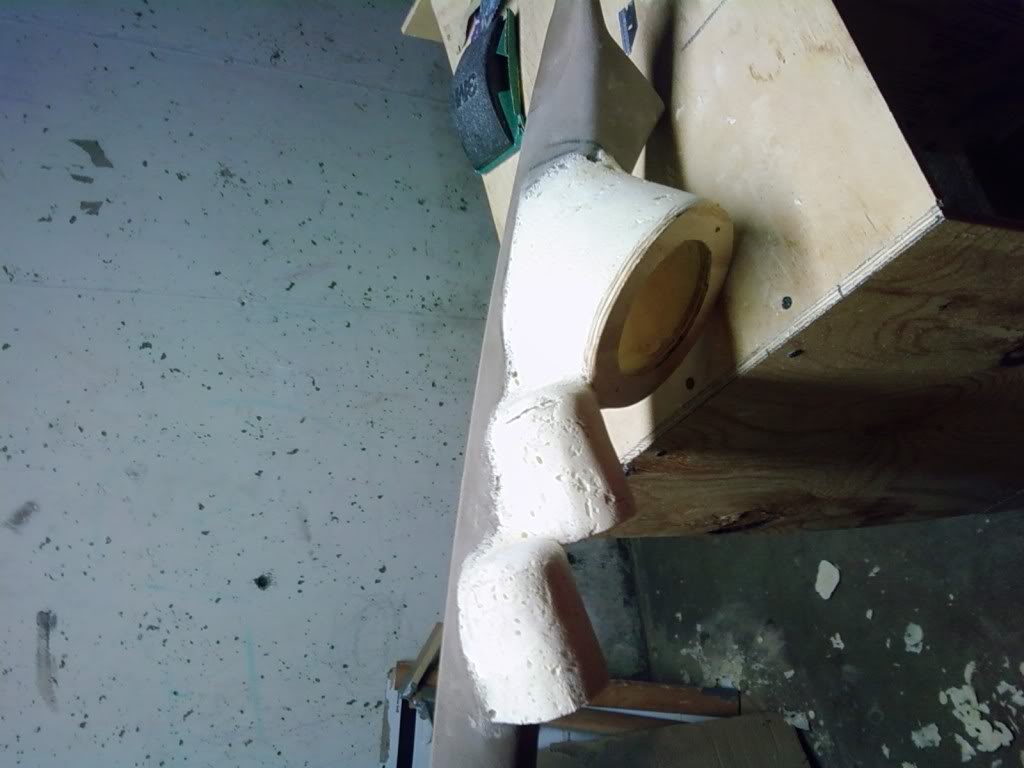
thats about all the pics i have as of now. not the best pic guy when it comes to step by step builds but ill work on something in the future. i still have to fill in some air bubbles and that before i start glassing. a lil trick i learned with the expanding foam is when it just keps foaming and giving air bubbles ill take something to spread the foam onto the part some what like body filler.put the foam all over the part, then push it into pits and that and will not expand even close to normal allowing more to go into smaller places, makes it more dense in turn making it a bit stronger too.well ill have morwe pics up when i can get more done. feels good to be back online too lol
and i wanted to triple check clearance for the speakers. good thing we both own the same size n brand that will make home in these pilars huh
thats about all the pics i have as of now. not the best pic guy when it comes to step by step builds but ill work on something in the future. i still have to fill in some air bubbles and that before i start glassing. a lil trick i learned with the expanding foam is when it just keps foaming and giving air bubbles ill take something to spread the foam onto the part some what like body filler.put the foam all over the part, then push it into pits and that and will not expand even close to normal allowing more to go into smaller places, makes it more dense in turn making it a bit stronger too.well ill have morwe pics up when i can get more done. feels good to be back online too lol