DIY M62 rebuild/polishing.(56k will exp.L27 type conditions)
 12-24-2006, 12:13 AM
#1
Senior Member
True Car Nut
Thread Starter

Join Date: Aug 2005
Posts: 5,798
Likes: 0
Received 0 Likes
on
0 Posts

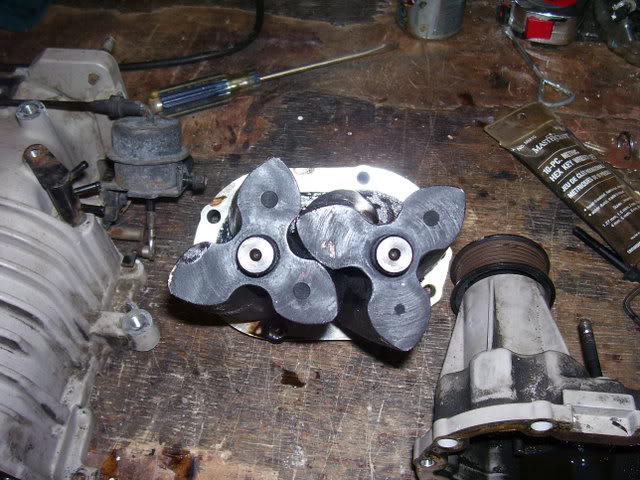
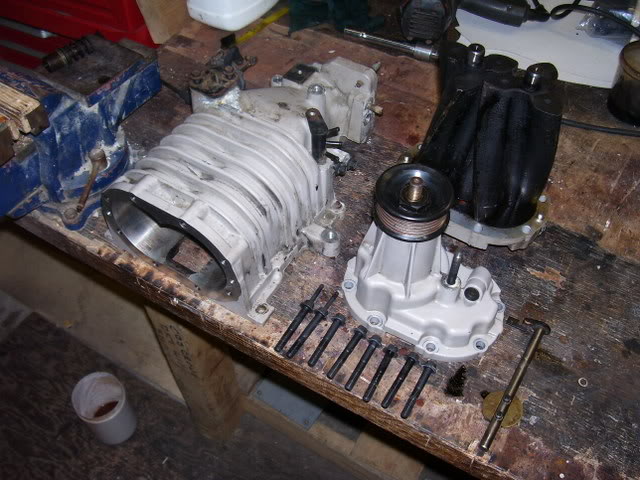
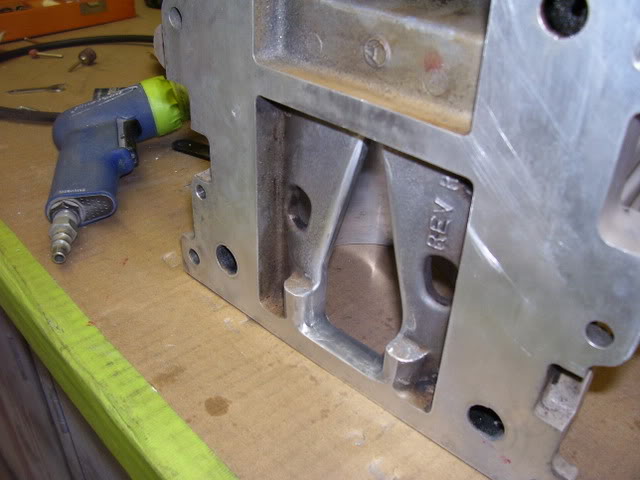
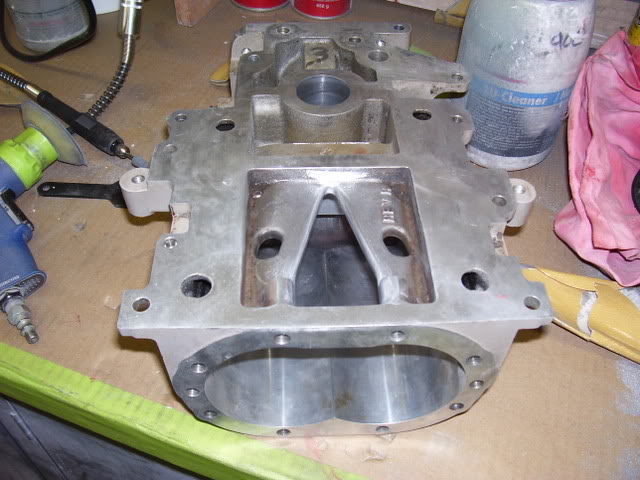
So i got a spare SC from Geoff and have started my rebuild and polishing.
I got a bunch of pich od my progress.
how it looked on arival
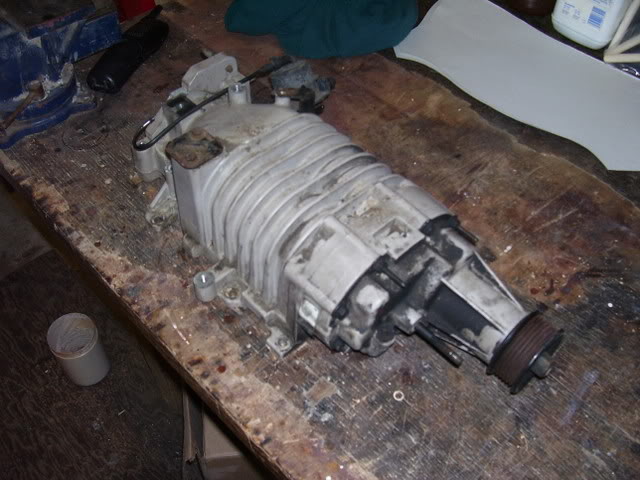
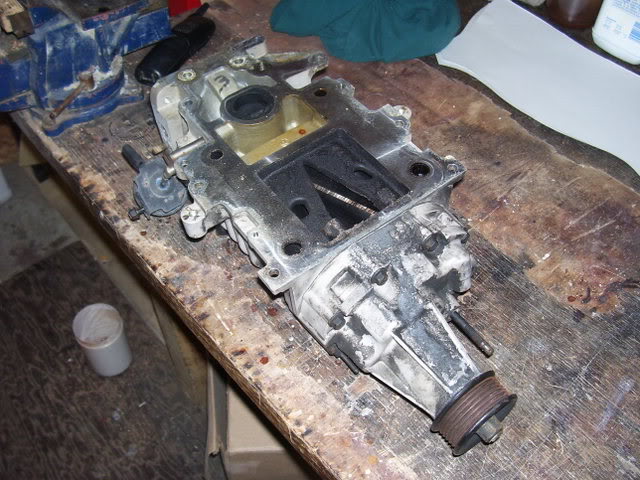
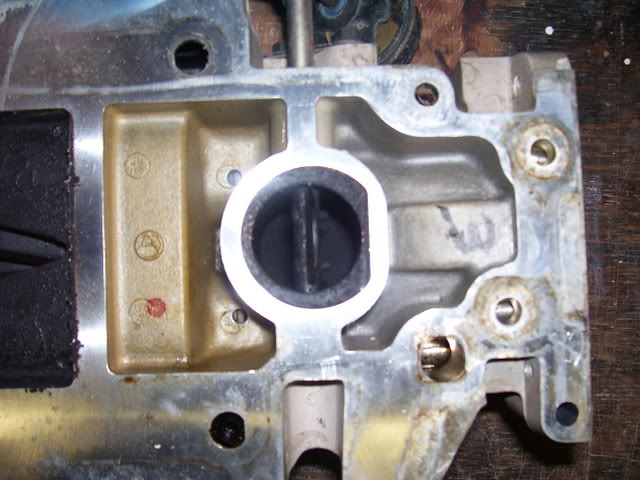
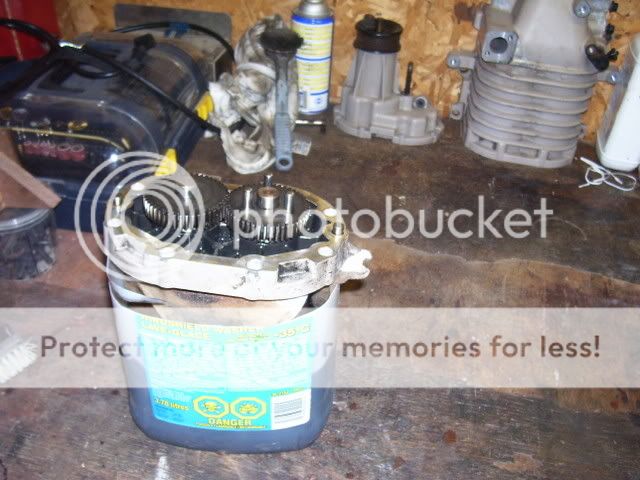
After disassembly
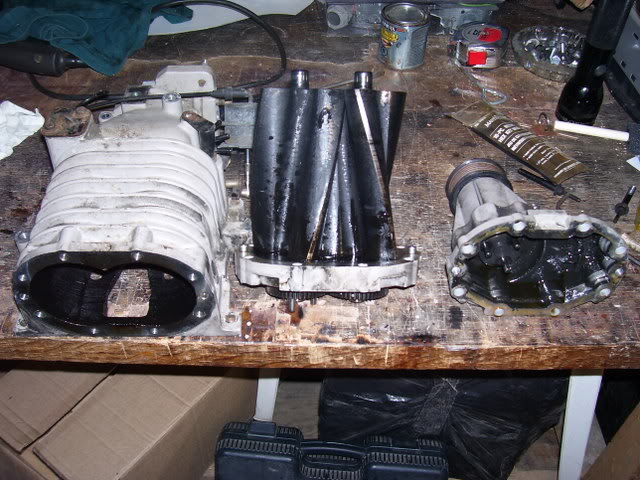

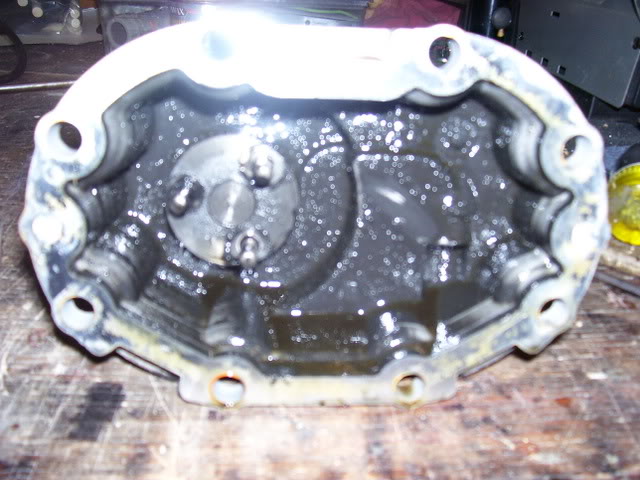

bad coupler
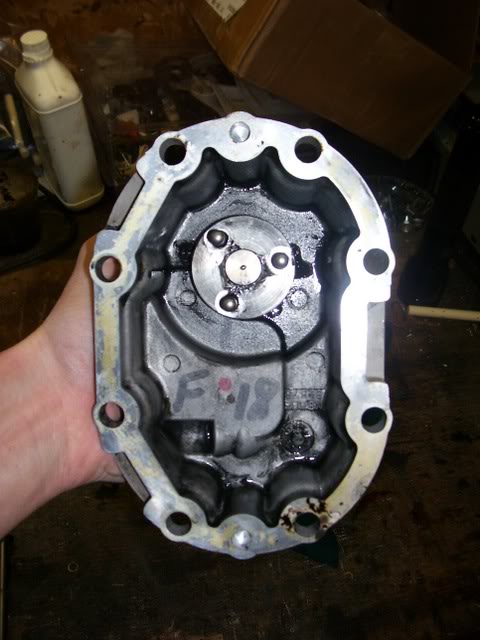
Let the cleaning begin
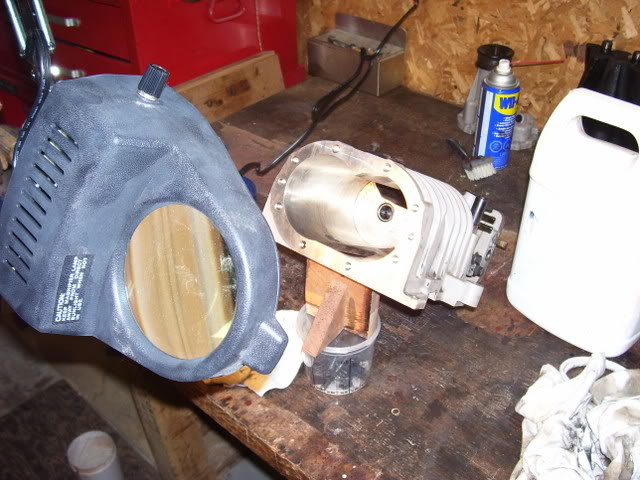
didnt take many pics of the cleaning stage, so heres the polishing so far.

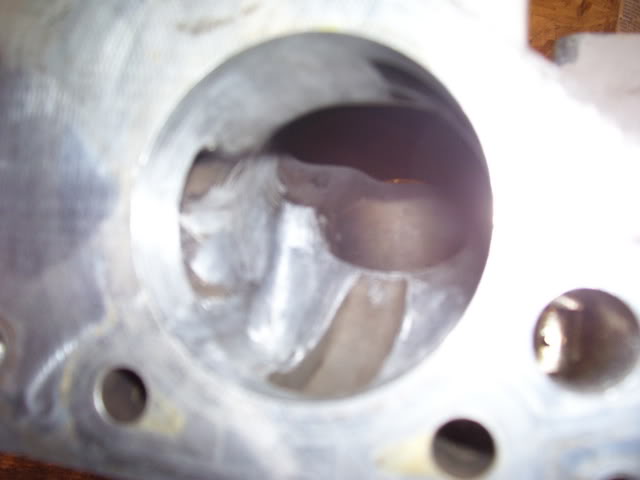
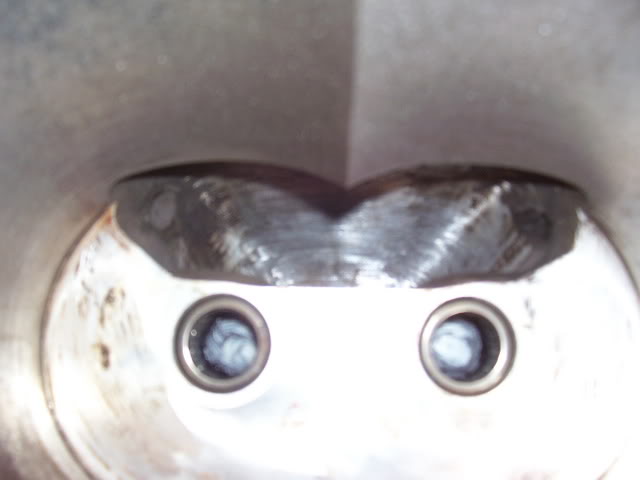
still got a LONG way to go, but thats the start and how far i am so far
I got a bunch of pich od my progress.
how it looked on arival
After disassembly
bad coupler
Let the cleaning begin
didnt take many pics of the cleaning stage, so heres the polishing so far.
still got a LONG way to go, but thats the start and how far i am so far
 12-24-2006, 12:32 AM
#2
Junior Member
Posts like a Ricer Type-R

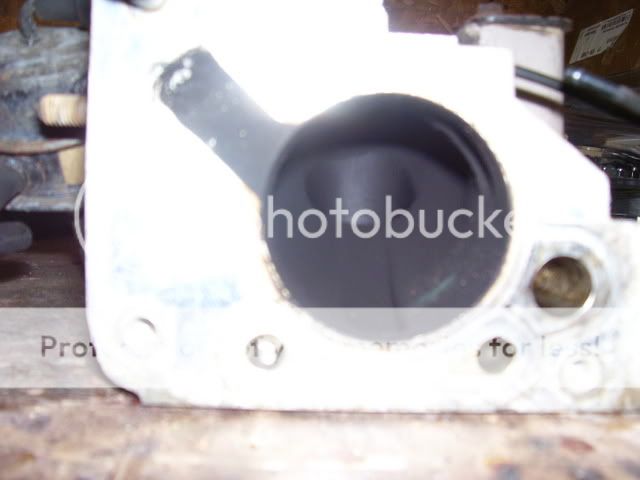
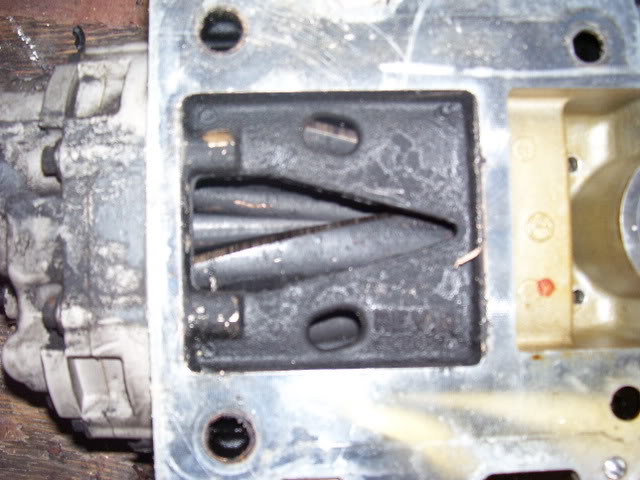
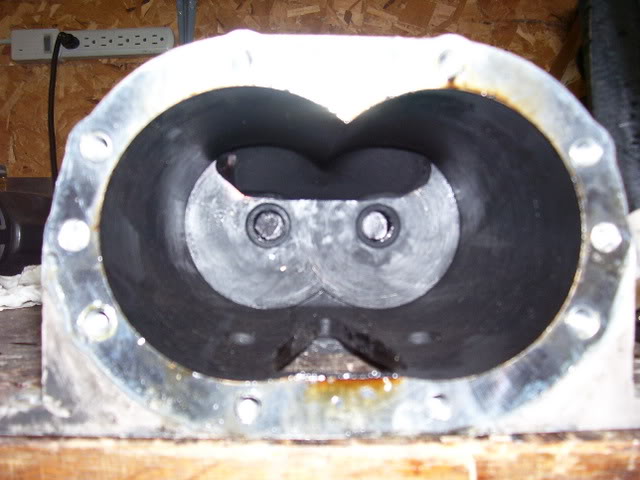
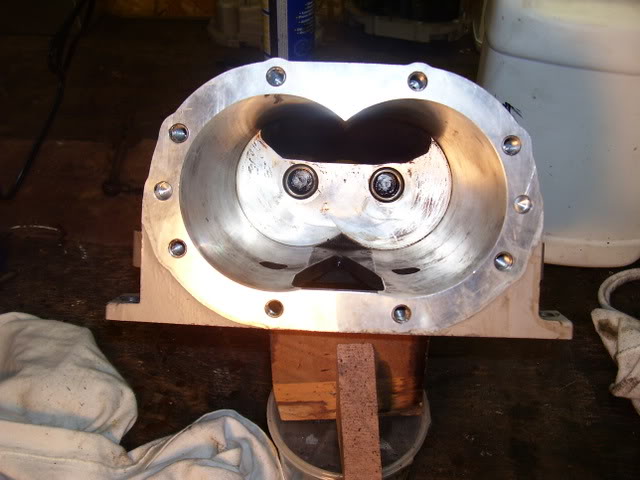
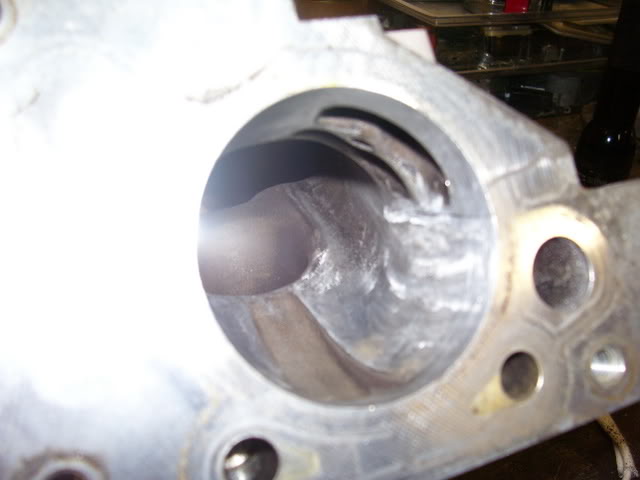
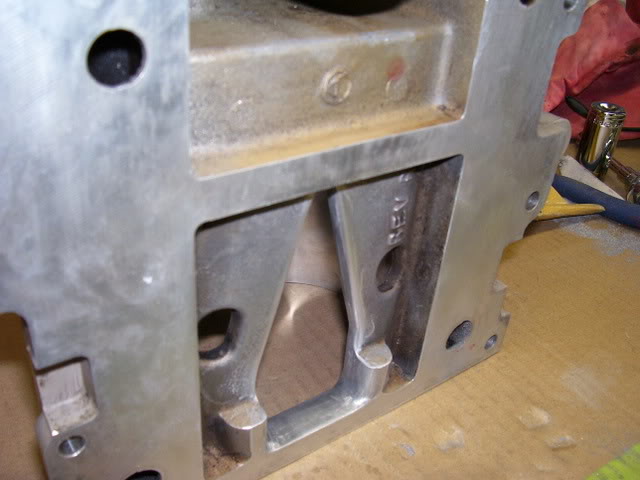
Quite a bit more to go on the inlet. You want SMOOTH. Not a mirror finish to the eye, but very smooth to the finger.
Follow my guide very carefully on the outlet.
Follow my guide very carefully on the outlet.
12-24-2006, 12:37 AM
#3
Senior Member
True Car Nut
Thread Starter
Join Date: Aug 2005
Posts: 5,798
Likes: 0
Received 0 Likes
on
0 Posts
Originally Posted by willwren
Quite a bit more to go on the inlet. You want SMOOTH. Not a mirror finish to the eye, but very smooth to the finger.
Follow my guide very carefully on the outlet.
Follow my guide very carefully on the outlet.
12-24-2006, 05:47 PM
#4
Senior Member
True Car Nut

Join Date: Dec 2002
Location: Sauk Centre, MN
Posts: 5,459
Likes: 0
Received 0 Likes
on
0 Posts
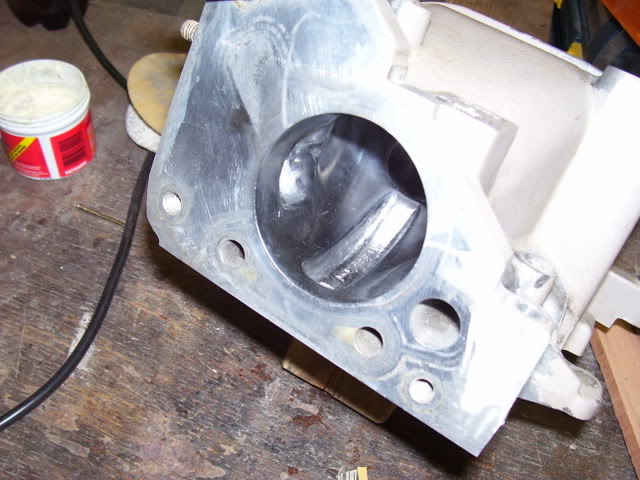
IF you don't have 'em, get 3 120 grit flapper wheels for your rotary tool.... I got by with 2 on 96BonnevilleL67'* M90, but on the 99 M90 housing I did for my dad (giving it to him for Christmas to put on his 02 Park Avenue Ultra) I needed 3, plus about ten 120 grit sandpaper wheels, a Dremel 9905 (?) carbide bit, 1 sheet of 600 grit and 1200 grit sand paper for the finishing. Still had a hell of a time getting the edges of the inlet that are really tight, but managed to smooth about 75% of the roughness out.
Good luck with the rest of the process.....
P.*. Looks like you have a better camera than me... I've tried taking about 50 pics of my porting, but close-ups make me wonder what I was taking a picture of. :?
Good luck with the rest of the process.....
P.*. Looks like you have a better camera than me... I've tried taking about 50 pics of my porting, but close-ups make me wonder what I was taking a picture of. :?
01-17-2007, 12:49 PM
#5
Senior Member
True Car Nut
Thread Starter
Join Date: Aug 2005
Posts: 5,798
Likes: 0
Received 0 Likes
on
0 Posts
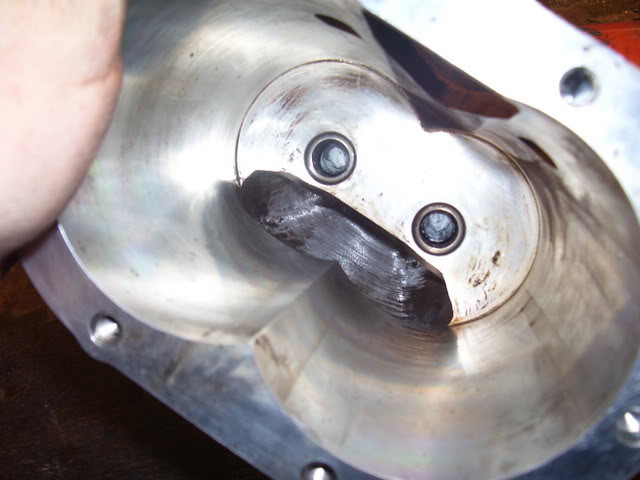
I might do a little more, but i got about 90-95% of the roughness out
i didnt have to use all the Bits you had to Marty,
i only used
1 80grit flaper (50% life left)
1 120grit flaper (still lots of life left)
2 80grit drum wheels (killed them both)
and some polishing stone wheels (went throught the different abrasivnesses, last one was so smoth it felt like rubber)

i didnt have to use all the Bits you had to Marty,
i only used
1 80grit flaper (50% life left)
1 120grit flaper (still lots of life left)
2 80grit drum wheels (killed them both)
and some polishing stone wheels (went throught the different abrasivnesses, last one was so smoth it felt like rubber)


 02-20-2007, 10:14 PM
#9
Junior Member
Posts like a Ricer Type-R
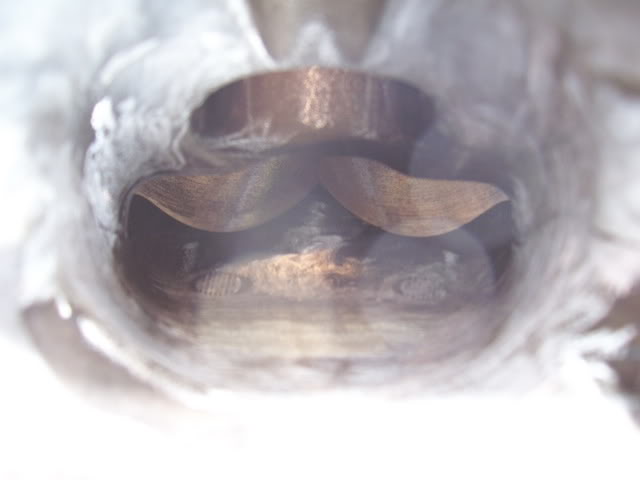
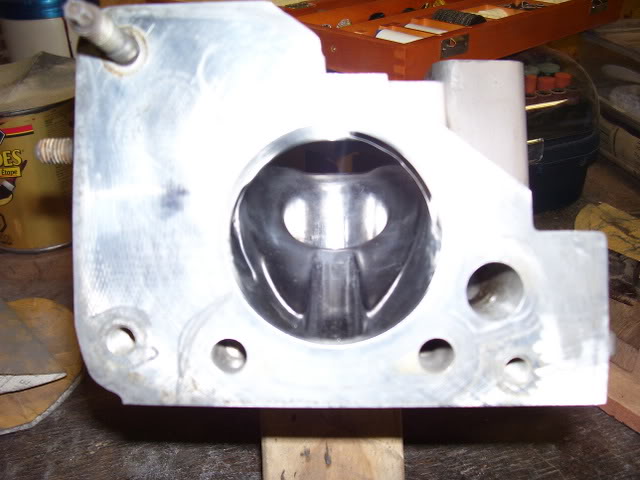
Inlet is awesome. But a mirror finish on the outlet will help prevent carbon buildup.
Make sure you LIGHTLY chamfer/break the edge of the V outlet on the INSIDE of the compressor chamber.
Make sure you LIGHTLY chamfer/break the edge of the V outlet on the INSIDE of the compressor chamber.
02-20-2007, 10:23 PM
#10
Senior Member
True Car Nut
Thread Starter
Join Date: Aug 2005
Posts: 5,798
Likes: 0
Received 0 Likes
on
0 Posts
Originally Posted by willwren
Make sure you LIGHTLY chamfer/break the edge of the V outlet on the INSIDE of the compressor chamber.

as for the mirror finnish, i can spend a little more time if you think its in my best interest. i stoped after sanding it with 600 grit

