Re-visiting Nosedrive drains
 10-17-2006, 12:12 PM
#1
Junior Member
Posts like a Ricer Type-R
Thread Starter

In response to a PM asking how it works for me:
NOTE:
Jacking the RF isn't required. But all of our superchargers, with or without a drain trap a little bit of oil between the two bearings in the nosedrive. Jacking up the RF for a minute or two will help drain this out as well.
Reposting my original, as I'd like to see more M62'* do this, and see someone find the best workable spot for an M90:
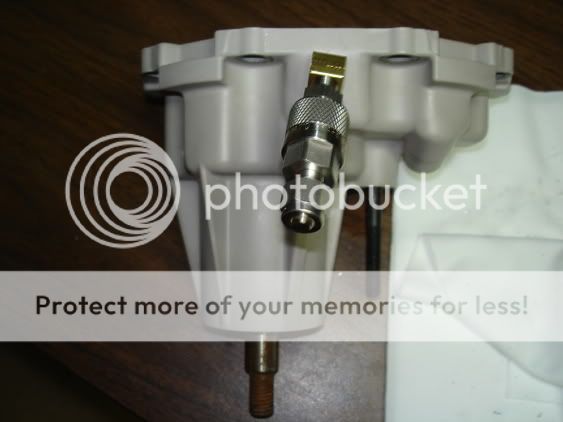
I made some minor changes to the drain hardware before install:
This install was Jan 29th, nearly a year ago. Never dripped a drop, and works great.
Yup. It'* really cool. It starts to dribble slowly when I open the drain, and really flows when I open the SC plug.
I've done it once since the install. Drains right out when it'* pre-warmed. And with the drain placement, It'* at the low point. I jack up the RF for a couple minutes to get any extra out of the ND bearings (there'* actually oil between them), then lower it back down to finish.
I've done it once since the install. Drains right out when it'* pre-warmed. And with the drain placement, It'* at the low point. I jack up the RF for a couple minutes to get any extra out of the ND bearings (there'* actually oil between them), then lower it back down to finish.
Jacking the RF isn't required. But all of our superchargers, with or without a drain trap a little bit of oil between the two bearings in the nosedrive. Jacking up the RF for a minute or two will help drain this out as well.
Reposting my original, as I'd like to see more M62'* do this, and see someone find the best workable spot for an M90:
The fitting I chose is rated for 6000psi @ 70�F, or 100psi @ 250-400�F. Nosedrive temps from the WCBF crew (thanks to the Bullet) peaked at 160�F after each run on a 100�+ day. So a 200� rating would be safe (considering your fitting or valve, if you choose to do this, would be somewhat in the moving airstream).
Centerpunch your start hole:

Drill a pilot hole:

Notice how it will overlap the ridge? And pick up the 'low spot'?

Drill with a letter "R" drill:
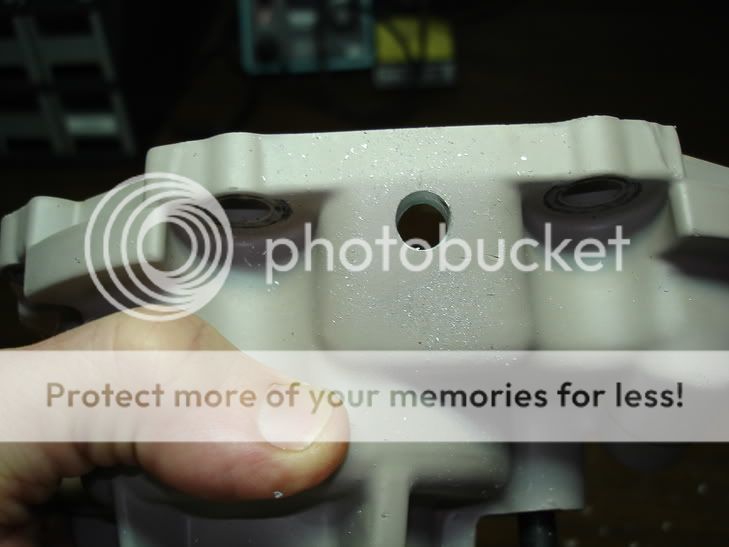
I missed by a tidbit, but it'll all work out in a minute or two:

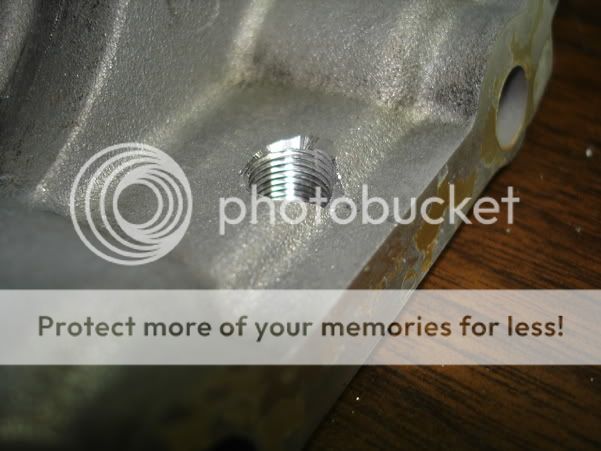
Tap with a 1/8-27 (NPT) tap:

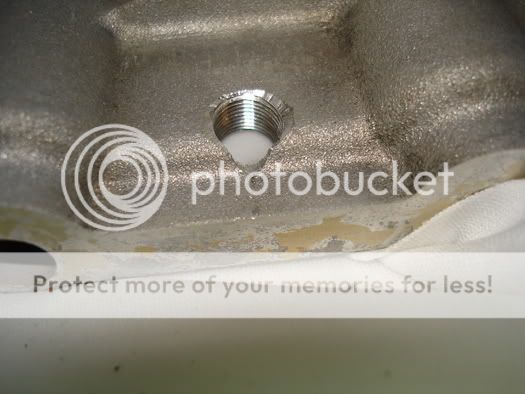
Test fit:
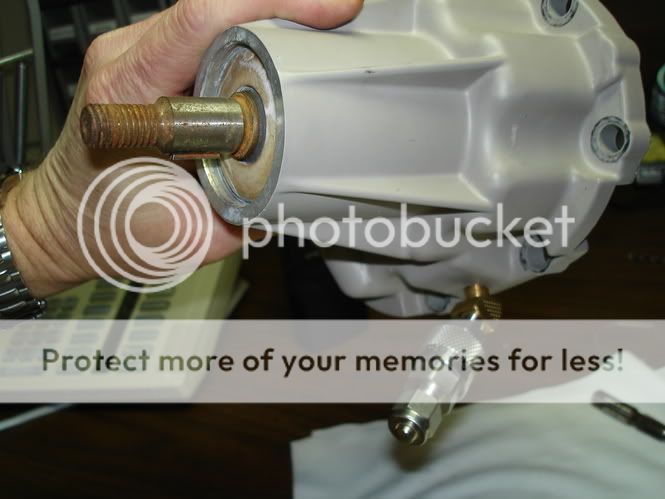
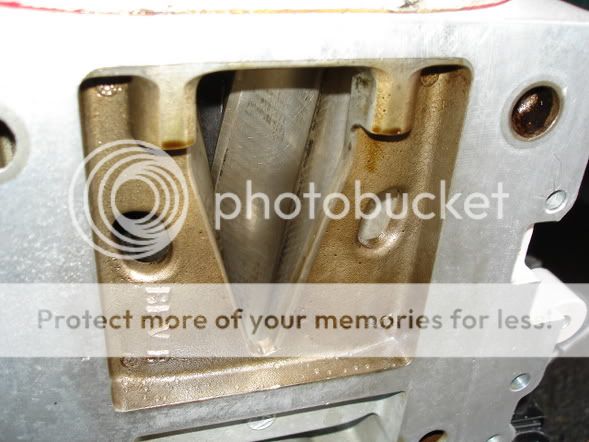
These 3 pics show how I shaped a 'cup' or 'pickup channel' to make sure it fully drains:

The angle you want for an M62 to be able to gain easy access. Roughly 'aimed' at the end of the ND shaft:
Seal appropriately. I'm using the red goop. We're all familiar with that stuff.
Centerpunch your start hole:
Drill a pilot hole:
Notice how it will overlap the ridge? And pick up the 'low spot'?
Drill with a letter "R" drill:
I missed by a tidbit, but it'll all work out in a minute or two:
Tap with a 1/8-27 (NPT) tap:
Test fit:
These 3 pics show how I shaped a 'cup' or 'pickup channel' to make sure it fully drains:
The angle you want for an M62 to be able to gain easy access. Roughly 'aimed' at the end of the ND shaft:
Seal appropriately. I'm using the red goop. We're all familiar with that stuff.
Starting the mess yesterday:
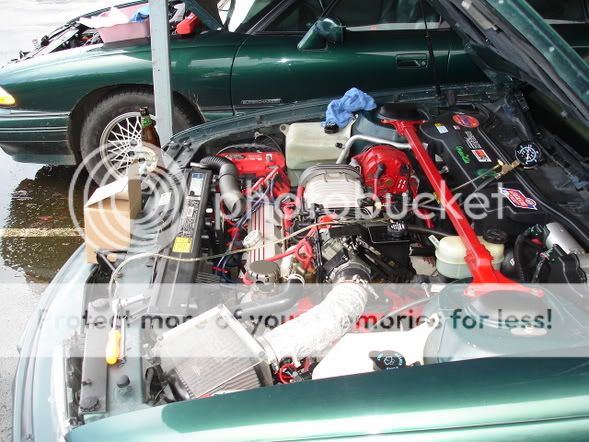
Bo was bored, but enjoyed the brief lapse in the foul weather:

5 months of running doesn't look too bad. SC outlet gasket lifted off in one piece:
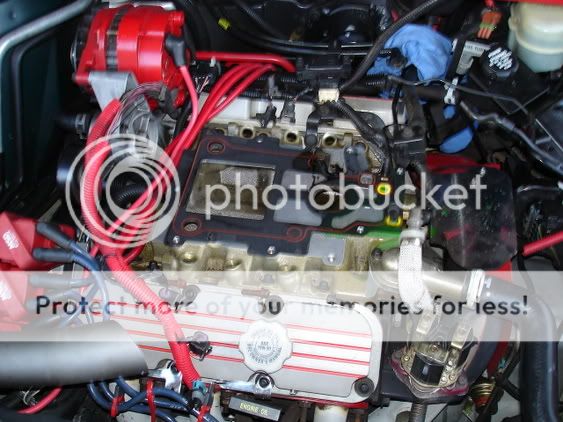
Belt dust? From the Accessory belt. Tensioner was weak. It'* running with a new one now, upgraded to a 3.25" oversized pulley to make up for the smaller Alt pulley
(this is with a GATES belt I might add, the Gatorback on the other path is fine):
Water injection (even with infrequent use) keeps SC rotors pretty clean, doesn't it?
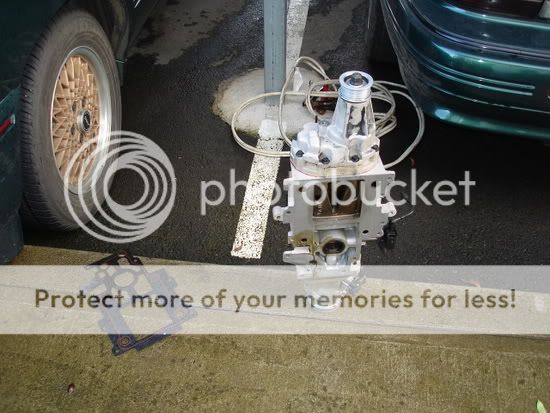
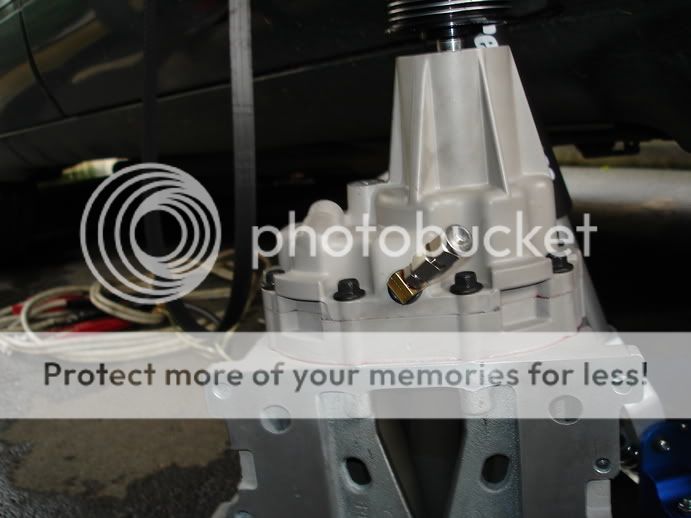
New drain for the nosedrive:
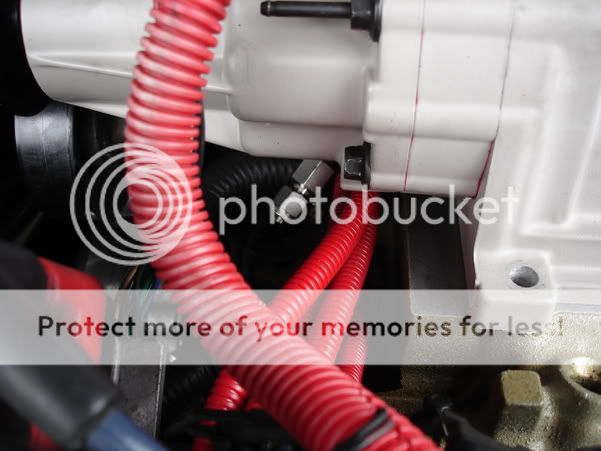
Another view of the drain:
Bo was bored, but enjoyed the brief lapse in the foul weather:
5 months of running doesn't look too bad. SC outlet gasket lifted off in one piece:
Belt dust? From the Accessory belt. Tensioner was weak. It'* running with a new one now, upgraded to a 3.25" oversized pulley to make up for the smaller Alt pulley
(this is with a GATES belt I might add, the Gatorback on the other path is fine):
Water injection (even with infrequent use) keeps SC rotors pretty clean, doesn't it?
New drain for the nosedrive:
Another view of the drain:
 10-18-2006, 11:09 PM
#2
Senior Member
True Car Nut

Join Date: May 2003
Location: Lethbridge, Alberta, _______Canada._______ West Coast Bonneville Fest ___05,06,07 Survivor___
Posts: 8,135
Likes: 0
Received 0 Likes
on
0 Posts

This an an EXCELLENT Series one mod.
Especially once you are spinning the SC at insane rpms in comparission to stock..you need to change that oil a bit more..not necessarily because it requires it, but, its a nice peice of mind...M90s are a DREAM to change in comparission..but with this mod, you're laughing
Especially once you are spinning the SC at insane rpms in comparission to stock..you need to change that oil a bit more..not necessarily because it requires it, but, its a nice peice of mind...M90s are a DREAM to change in comparission..but with this mod, you're laughing
10-18-2006, 11:13 PM
#3
Junior Member
Posts like a Ricer Type-R
Thread Starter
There'* a nasty side-effect. That brand new coupler I installed on Jan29th started showing signs of failure about 2 months ago.  Purely a result of the 2.0" pulley, but what this means for the drain is that I'll use it only once a year, then have to pull the nosedrive for a coupler change.
Drain it at 6 months, pull at 12.
Purely a result of the 2.0" pulley, but what this means for the drain is that I'll use it only once a year, then have to pull the nosedrive for a coupler change.Drain it at 6 months, pull at 12.
10-18-2006, 11:21 PM
#4
Senior Member
True Car Nut
Join Date: May 2003
Location: Lethbridge, Alberta, _______Canada._______ West Coast Bonneville Fest ___05,06,07 Survivor___
Posts: 8,135
Likes: 0
Received 0 Likes
on
0 Posts
I kinda figured that 2" would be hard on the coupler..something about..idle to WOT in short burps..that i think MIGHT be hard on it.. 
10-19-2006, 06:58 AM
#5
DINOSAURUS BOOSTUS


Expert Gearhead

Originally Posted by SSEimatt93
I kinda figured that 2" would be hard on the coupler..something about..idle to WOT in short burps..that i think MIGHT be hard on it..
M90'* are nice to change in comparision the the M62, no doubts there.
 10-19-2006, 09:37 PM
#7
Senior Member
True Car Nut
Join Date: May 2003
Location: Lethbridge, Alberta, _______Canada._______ West Coast Bonneville Fest ___05,06,07 Survivor___
Posts: 8,135
Likes: 0
Received 0 Likes
on
0 Posts
ZZP/Intense Coupler
im sure its cheaper than an OEM Eaton coupler and easier to get your hands on.
Plus u can get the nifty Service kits from INTENSE
im sure its cheaper than an OEM Eaton coupler and easier to get your hands on.
Plus u can get the nifty Service kits from INTENSE
10-19-2006, 09:39 PM
#8
Senior Member
Certified GM nut

Join Date: Jul 2004
Location: New York City
Posts: 1,912
Likes: 0
Received 0 Likes
on
0 Posts
Originally Posted by SSEimatt93
ZZP/Intense Coupler
im sure its cheaper than an OEM Eaton coupler and easier to get your hands on.
Plus u can get the nifty Service kits from INTENSE
im sure its cheaper than an OEM Eaton coupler and easier to get your hands on.
Plus u can get the nifty Service kits from INTENSE
Yes it was a green unit
.
10-19-2006, 10:00 PM
#9
Senior Member
True Car Nut
Join Date: May 2003
Location: Lethbridge, Alberta, _______Canada._______ West Coast Bonneville Fest ___05,06,07 Survivor___
Posts: 8,135
Likes: 0
Received 0 Likes
on
0 Posts
Bill had an oem coupler..
in 2002?
That was on his FIRST supercharger as well.
A car like his requires a few.
Gotta test **** out u know eh!
in 2002?
That was on his FIRST supercharger as well.
A car like his requires a few.
Gotta test **** out u know eh!
10-19-2006, 10:49 PM
#10
Member
Posts like a V-Tak

Join Date: Jul 2004
Posts: 50
Likes: 0
Received 0 Likes
on
0 Posts
Zilla'* OEM supercharger (since ported and polished) now lives on Driverjohn'* 92 SSEi If I'm not mistaken.
The coupler in the Zilla'* CURRENT SC was installed when that Gen3 swap was installed in January of this year.
It was a ZZP coupler, and is in no way defective. The abuse the 2.0" Pulley applies to the coupler is the sole reason for the early failure.
The coupler in the Zilla'* CURRENT SC was installed when that Gen3 swap was installed in January of this year.
It was a ZZP coupler, and is in no way defective. The abuse the 2.0" Pulley applies to the coupler is the sole reason for the early failure.