SSEi - Project Restoration - DAY 3 - rust removal part 2
 05-27-2007, 10:39 PM
#1
Senior Member
Certified Car Nut
Thread Starter

Join Date: Oct 2002
Posts: 11,308
Likes: 0
Received 0 Likes
on
0 Posts

Day 1.
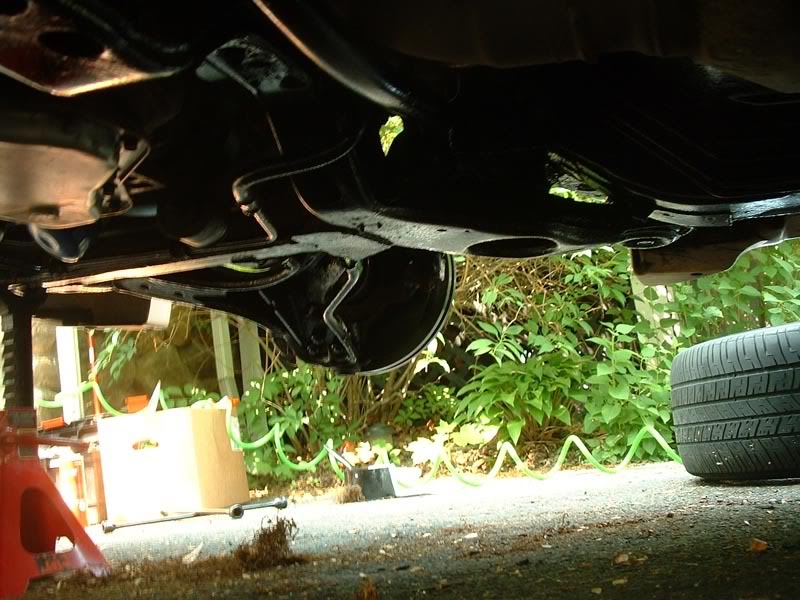
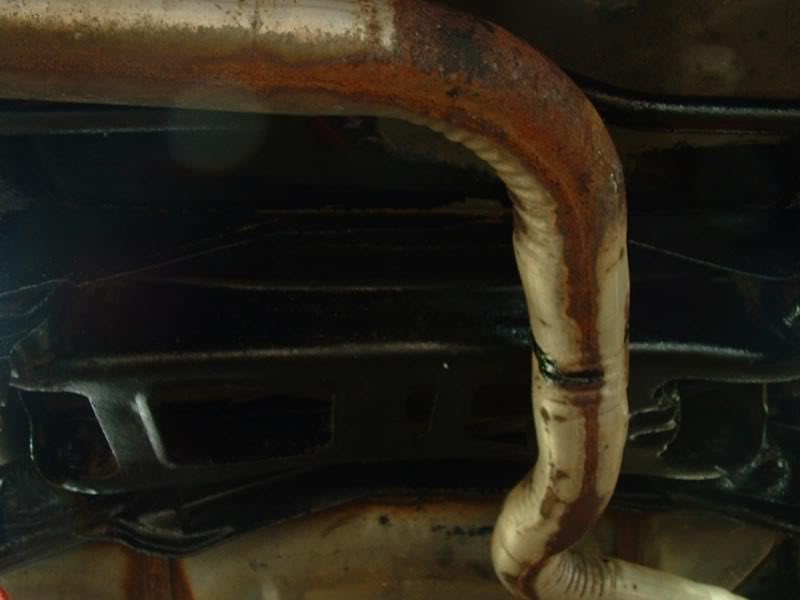
Restoration isn't quite the term to use. But in a way I am. I spent the day yesterday prepping the underbody for my POR-15 application today. For those that don't know, POR-15 is what Andrew (harofreak) used on his floor to stop the rust he had.
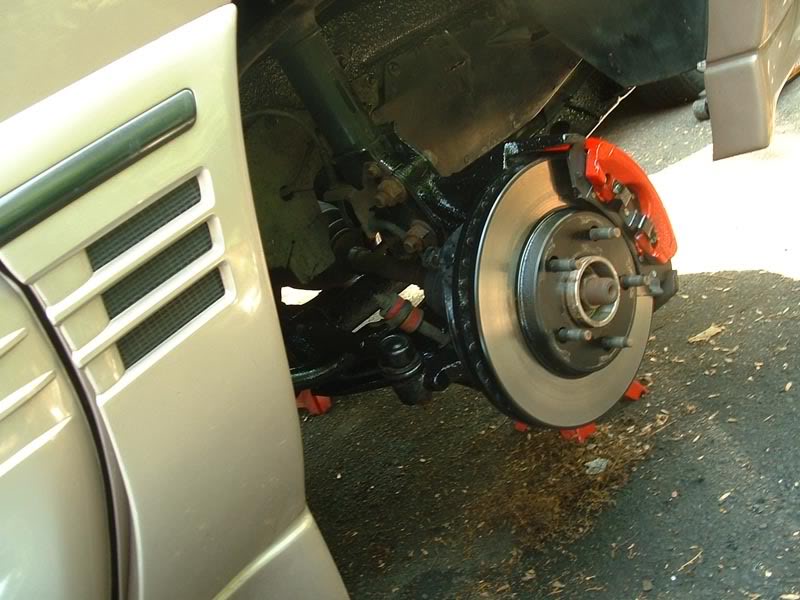
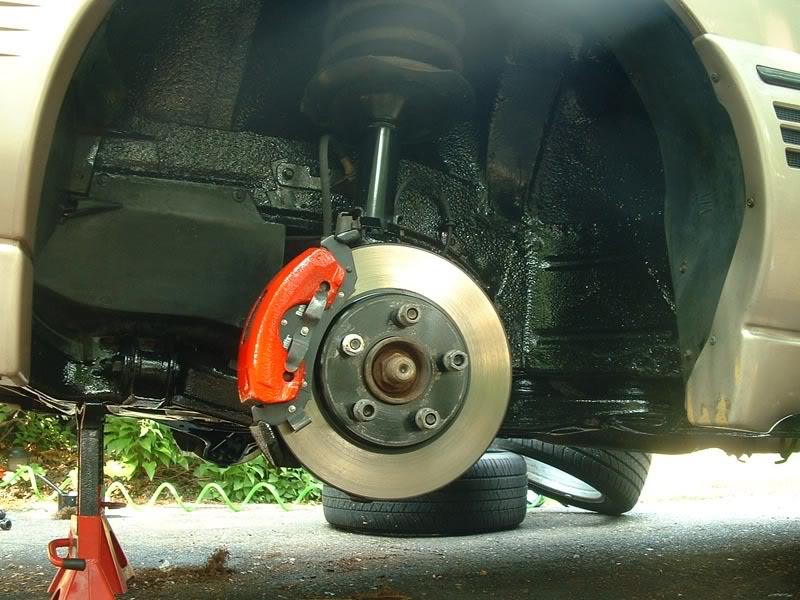
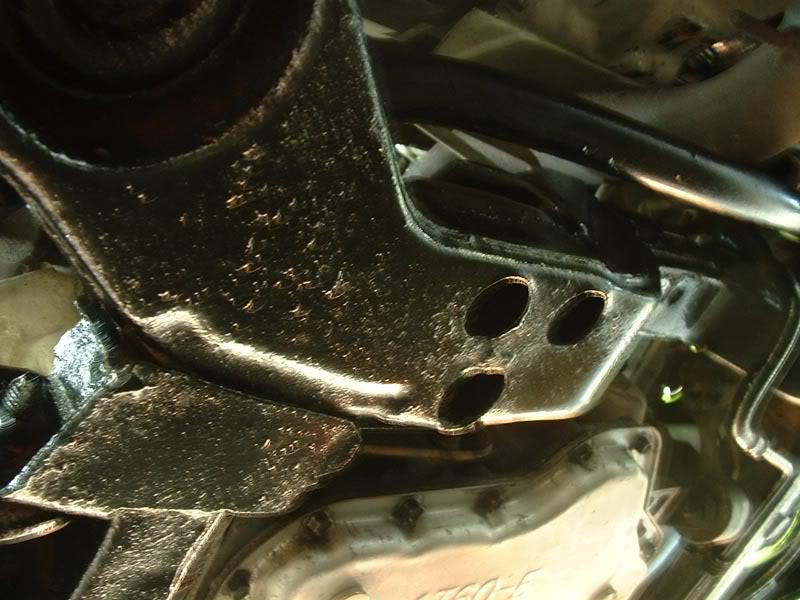
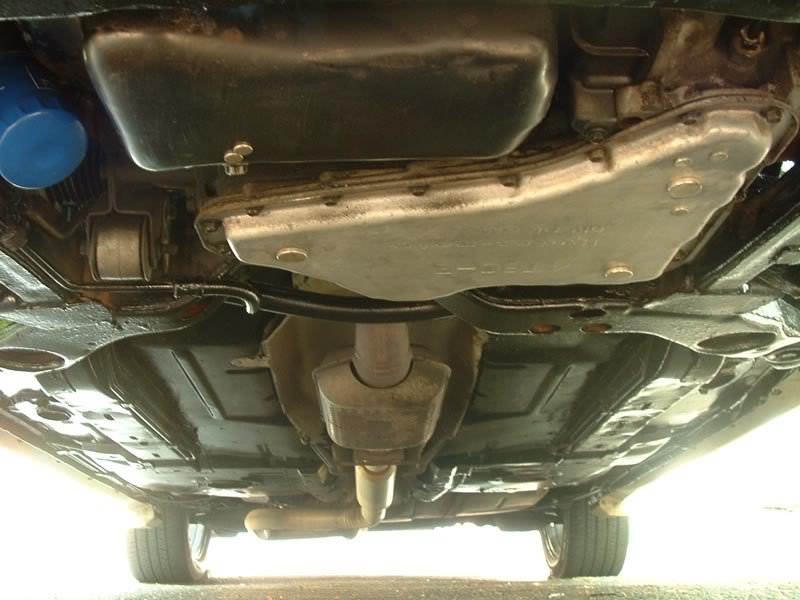
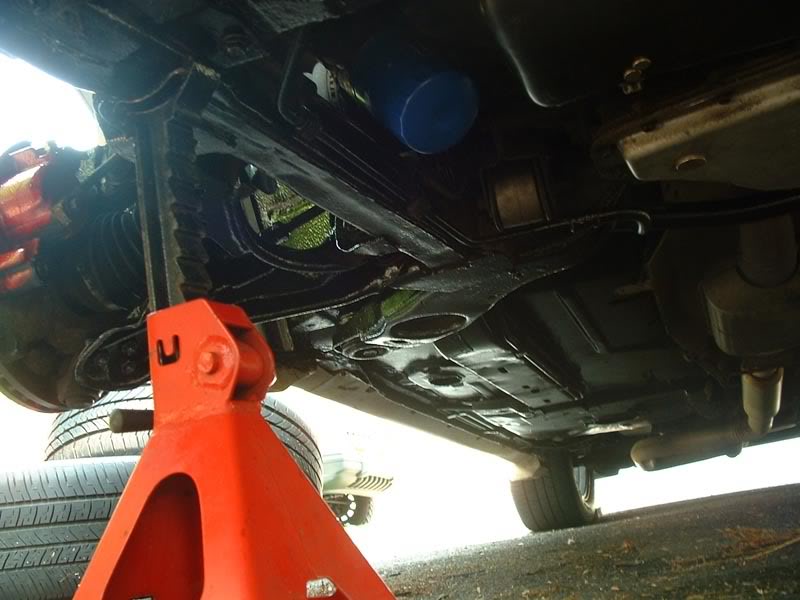
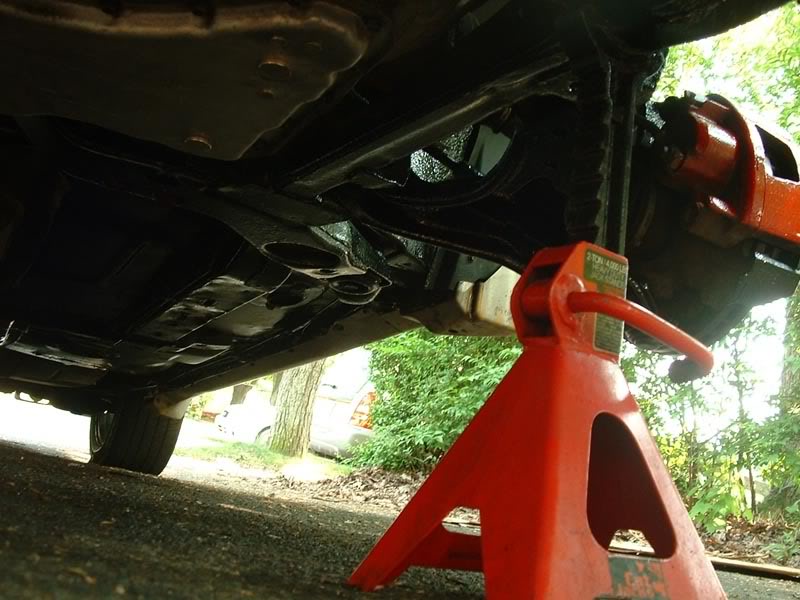
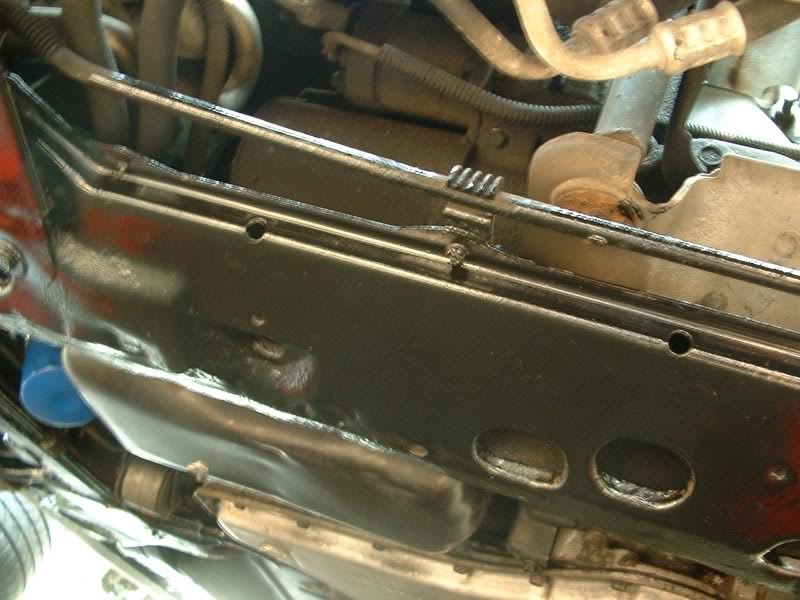
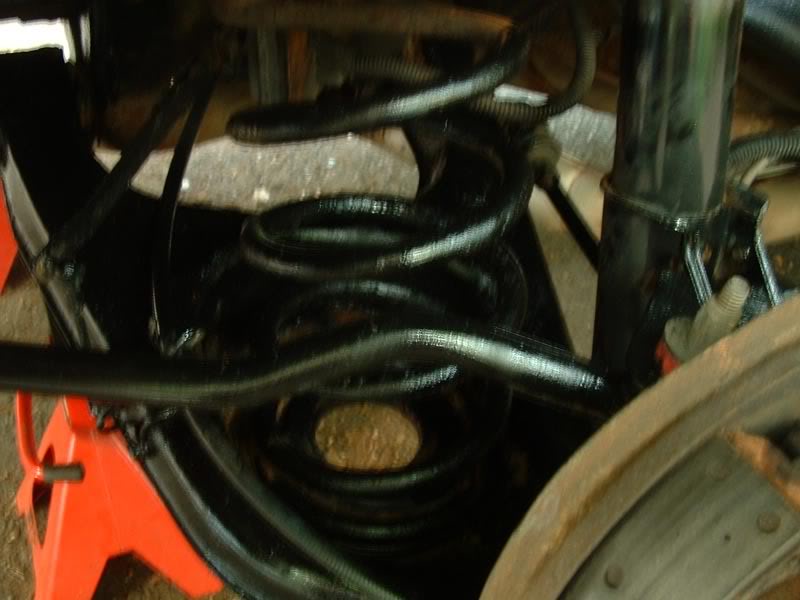
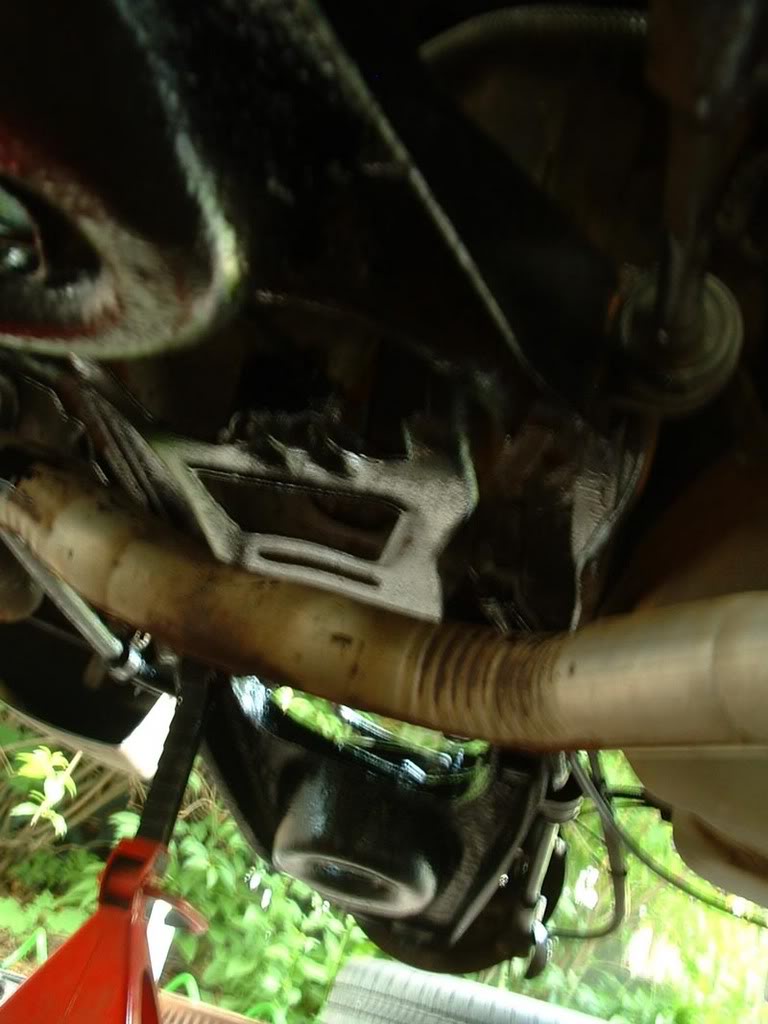
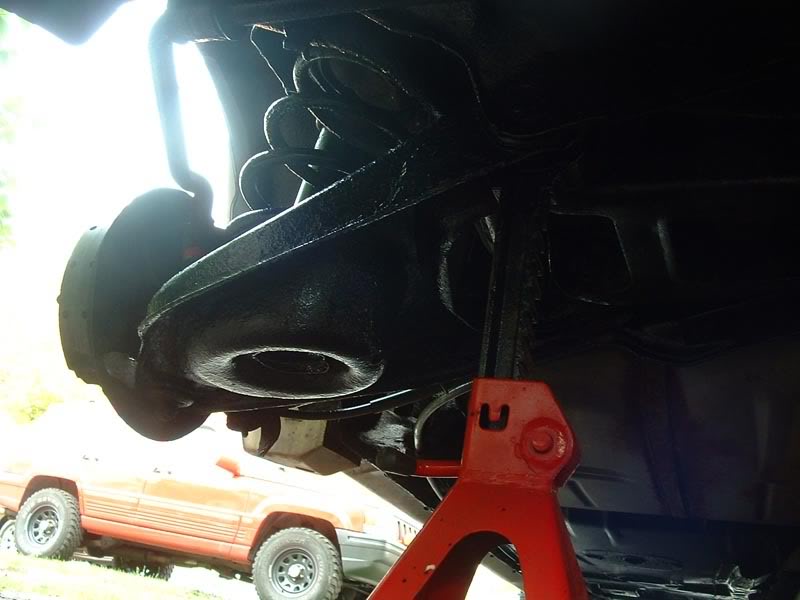
After a lot of brake clean and some scrubbing, I actually saw a lot of bare metal. Nice, clean, shiny steel uncovered with just degreaser. Not bad I thought! My front subframe was actually in great shape (it'* much better now). The back end was worse. I scraped away any loose rust from everywhere I was going to paint, sanded, cleaned, then went to town.
I covered basically everything from the lower radiator support all the way back (subframe, all control arms, tie rod ends, rear springs, all the wheel wells...). I used a large brush so it wouldn't take me all month, so some spots weren't perfect, but I wasn't too concerned. There were only a few key places I needed to get. The rest I did to make it look nicer for when mechanic Dan works on my car again.
This is a 12 beer job. Unfortunately I didn't have any.
Can anyone guess what else I upgraded from the pics?
Restoration isn't quite the term to use.
After a lot of brake clean and some scrubbing, I actually saw a lot of bare metal. Nice, clean, shiny steel uncovered with just degreaser. Not bad I thought! My front subframe was actually in great shape (it'* much better now). The back end was worse. I scraped away any loose rust from everywhere I was going to paint, sanded, cleaned, then went to town.
I covered basically everything from the lower radiator support all the way back (subframe, all control arms, tie rod ends, rear springs, all the wheel wells...). I used a large brush so it wouldn't take me all month, so some spots weren't perfect, but I wasn't too concerned. There were only a few key places I needed to get. The rest I did to make it look nicer for when mechanic Dan works on my car again.
This is a 12 beer job. Unfortunately I didn't have any.
Can anyone guess what else I upgraded from the pics?


 05-28-2007, 11:28 AM
#5
Senior Member
Certified Car Nut
Thread Starter
Join Date: Oct 2002
Posts: 11,308
Likes: 0
Received 0 Likes
on
0 Posts
Bill you're right...it is a paint remover. Brake clean alone removed rubber undercoating that had been on the car for who knows how long.
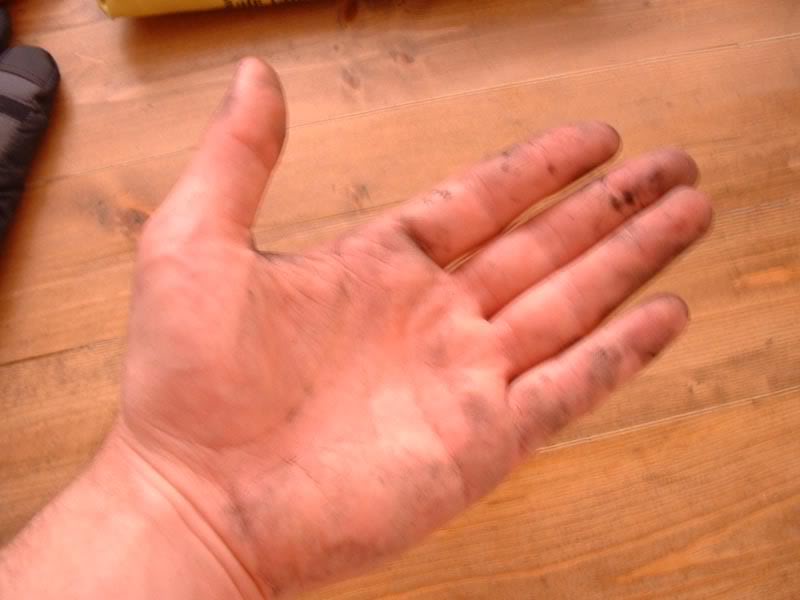
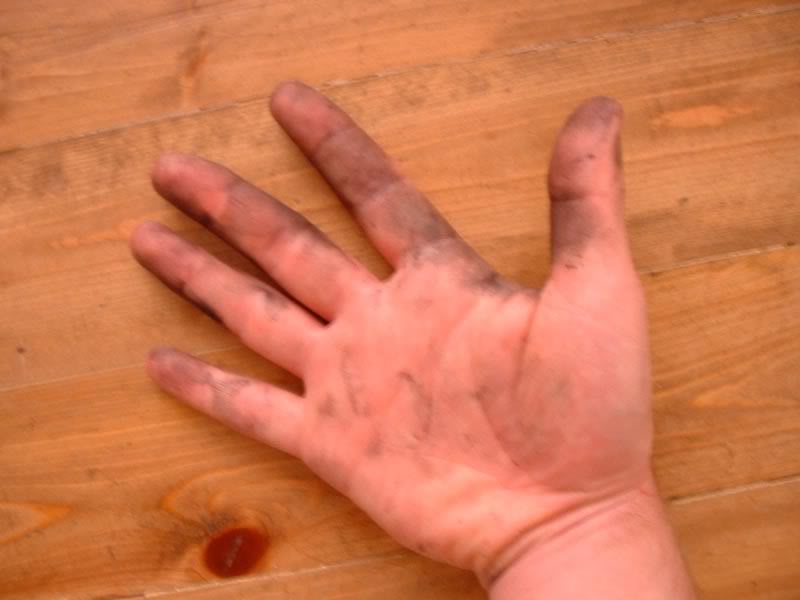
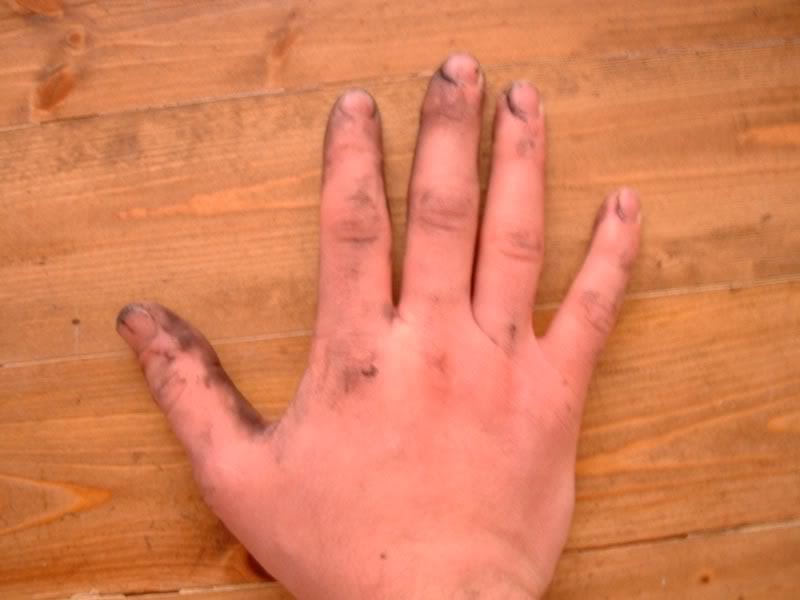
POR-15 is good stuff, but I ran out of brake clean to clean my hands (I WAS wearing gloves until I ran out). You HAVE to wear gloves with this stuff. So unfortunately my hands are stained semi-permanently. Maybe I'll get a shot of them. It would have been nicer to do this job while the car was on a lift though. Lying down underneath it made it a bit tricky to keep the paint from dripping on my hands.
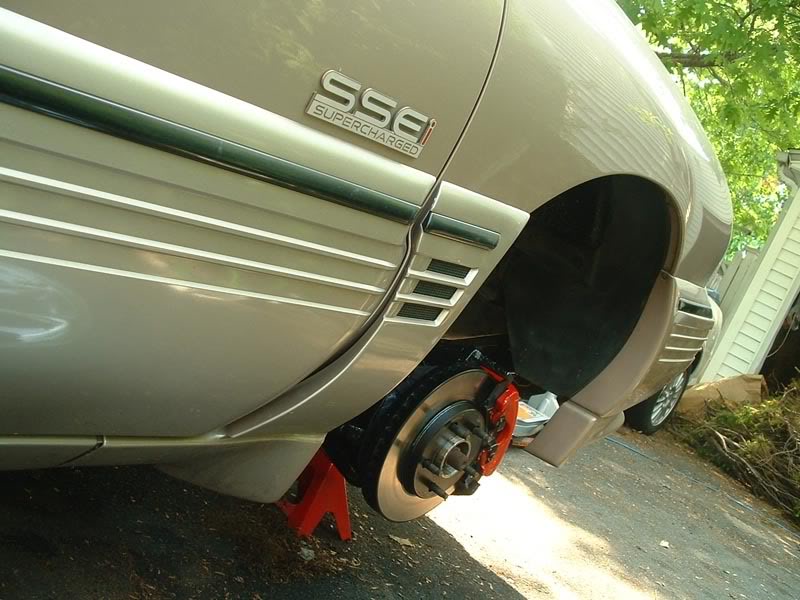
Oh, and Saturday I upgraded to Bendix rotors w/ ceramics. My pads had worn out after 7-8 months. I was getting some squealing already. So I felt I should do it right this time and get good rotors/pads, and replace the one original caliper, so both calipers are new.
POR-15 is good stuff, but I ran out of brake clean to clean my hands (I WAS wearing gloves until I ran out). You HAVE to wear gloves with this stuff. So unfortunately my hands are stained semi-permanently.
Maybe I'll get a shot of them. It would have been nicer to do this job while the car was on a lift though. Lying down underneath it made it a bit tricky to keep the paint from dripping on my hands. Oh, and Saturday I upgraded to Bendix rotors w/ ceramics. My pads had worn out after 7-8 months. I was getting some squealing already. So I felt I should do it right this time and get good rotors/pads, and replace the one original caliper, so both calipers are new.
 05-28-2007, 11:36 AM
#7
Senior Member
Certified Car Nut
Thread Starter
Join Date: Oct 2002
Posts: 11,308
Likes: 0
Received 0 Likes
on
0 Posts
Andrew, I still have a small amount left of the quart. When I started the back, I just used it straight from the can though since I figured I'd use the rest of it. I'm not sure if I can use what'* left since you're not supposed to use it from the can. I'll find out though. There'* still more to do and I hope I don't have to spend another $40 on a quart.
I'll take a pic of my hands. I'm going to look horrible for work for a couple weeks.
At least everyone knows I'm a 'mechanic' on the weekends, so it won't be a surprise. lol
I'll take a pic of my hands. I'm going to look horrible for work for a couple weeks.
At least everyone knows I'm a 'mechanic' on the weekends, so it won't be a surprise. lol
 05-28-2007, 11:52 AM
#9
Senior Member
True Car Nut

Join Date: Jan 2006
Location: NEBF:06,07 | NYBF:06,07 | ONBF:06,07 | CNBF:06 & more............
Posts: 8,029
Likes: 0
Received 0 Likes
on
0 Posts
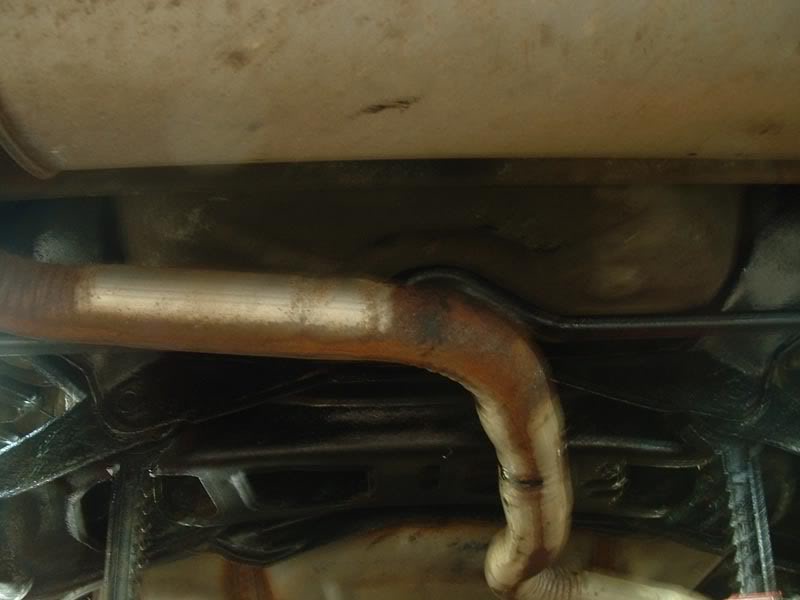
should paint the exhaust also with some high temp paint. i did that to mine right after i had the cat put on and the Rez deleted. and after a winter, still nice and Black
But looks great pete, I think i might do mine also.
But looks great pete, I think i might do mine also.
05-28-2007, 12:22 PM
#10
Senior Member
Certified Car Nut
Thread Starter
Join Date: Oct 2002
Posts: 11,308
Likes: 0
Received 0 Likes
on
0 Posts
IIRC, POR-15 withstands very high temps, so if I'm right I could have done the exhaust with the POR-15 to seal out moisture/prevent further rust as well.
*off to research*
*off to research*