Installing a shift kit. 4t65-hd transmission
 01-13-2009, 02:57 PM
#1
Retired Senior Admin


Expert Gearhead
Thread Starter
Join Date: May 2006
Location: Sheboygan Wisconsin
Posts: 29,661
Likes: 0
Received 28 Likes
on
24 Posts


Time to install that street/strip shift kit? Feeling a little stressed about it? Well, don't. It'* a easy job, just make sure you read and follow the directions very closely. Read, look, read again. Check it a third time just to make sure.
You will need a inch pound torque wrench.
Jack up the front of your car and use jack stands.
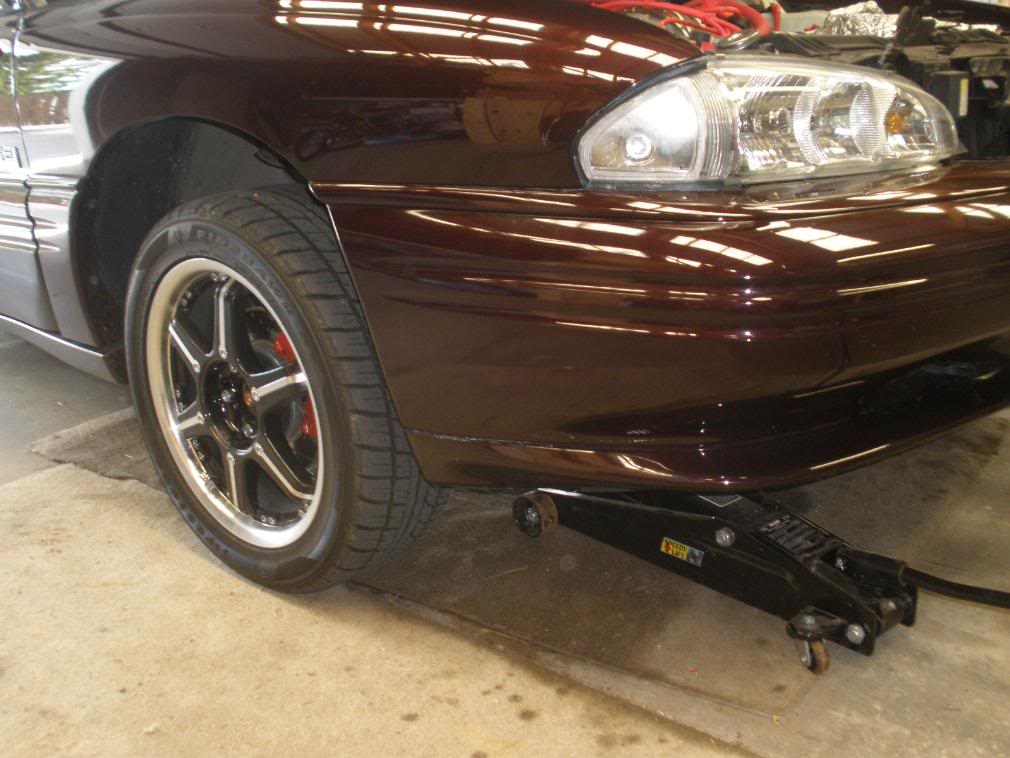
Or put it up on ramps.
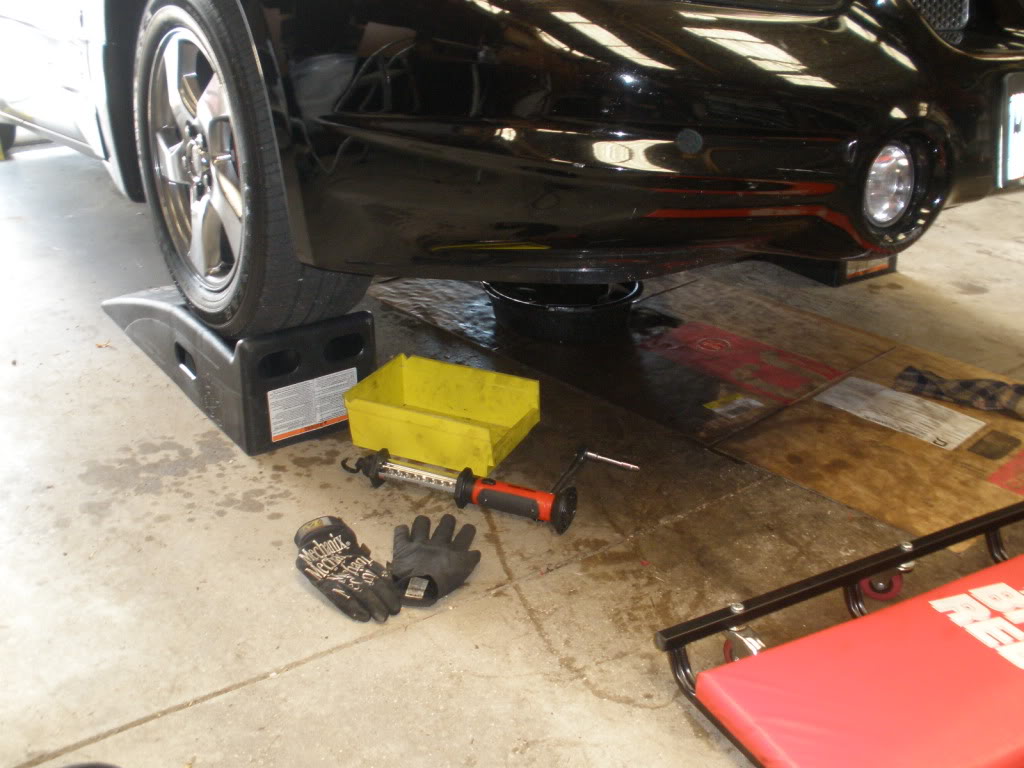
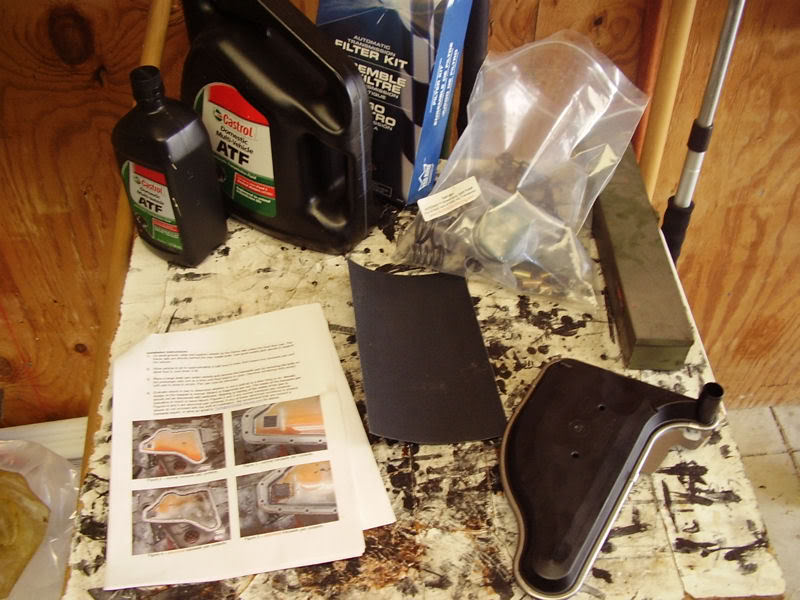
Get everything laid out, fluid, the kit, even a extra gasket. Mine had a reusable gasket so I didn't need one.
Locate your tranny pan.
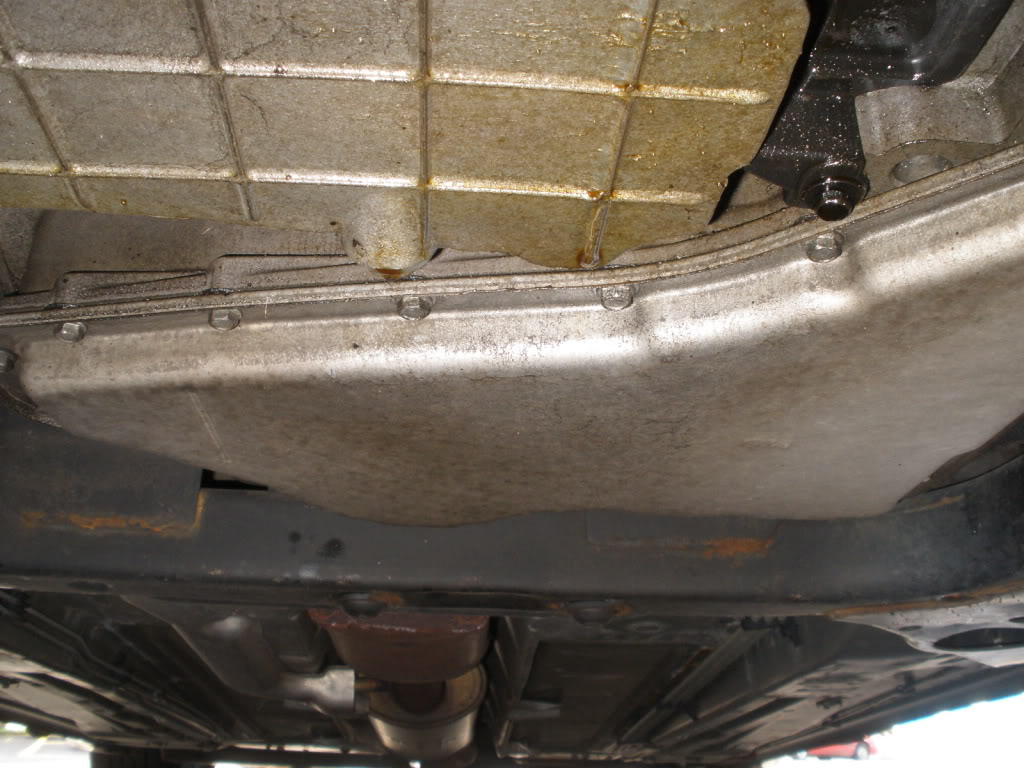
It'* going to be a big mess. Get a large pan to catch the fluid, a few extras are a good idea. Crack the bolts on the pan loose. Loosen the back bolts a bit more so it will drain from that area. When the fluid stops you can start to remove all the bolts.
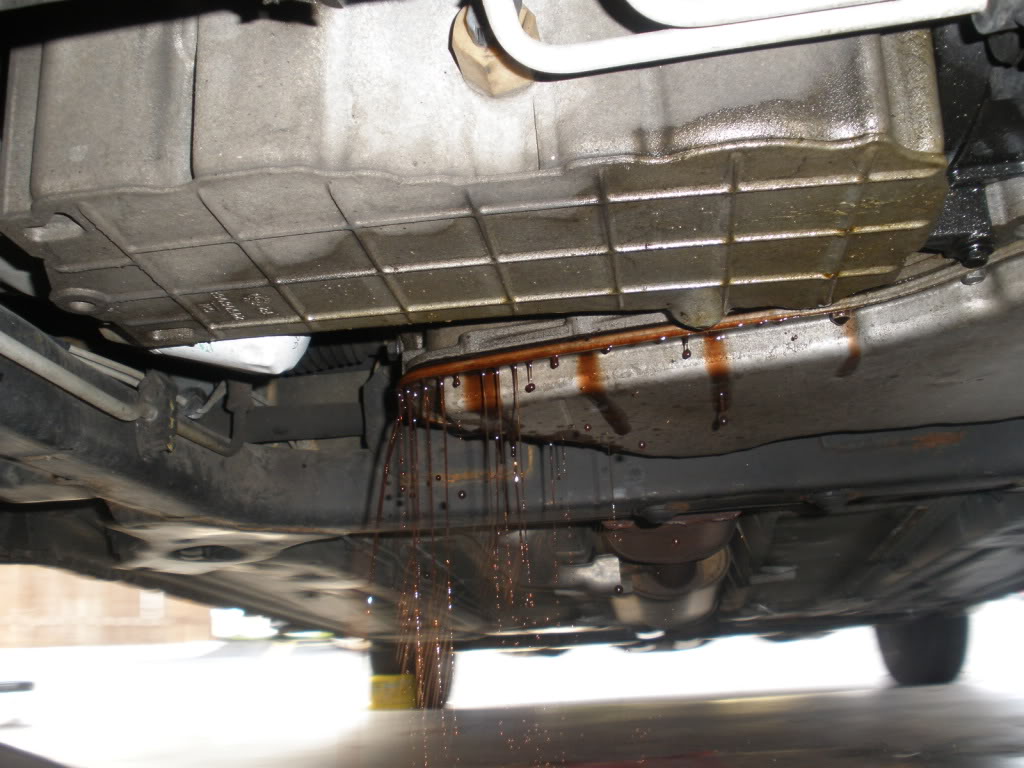
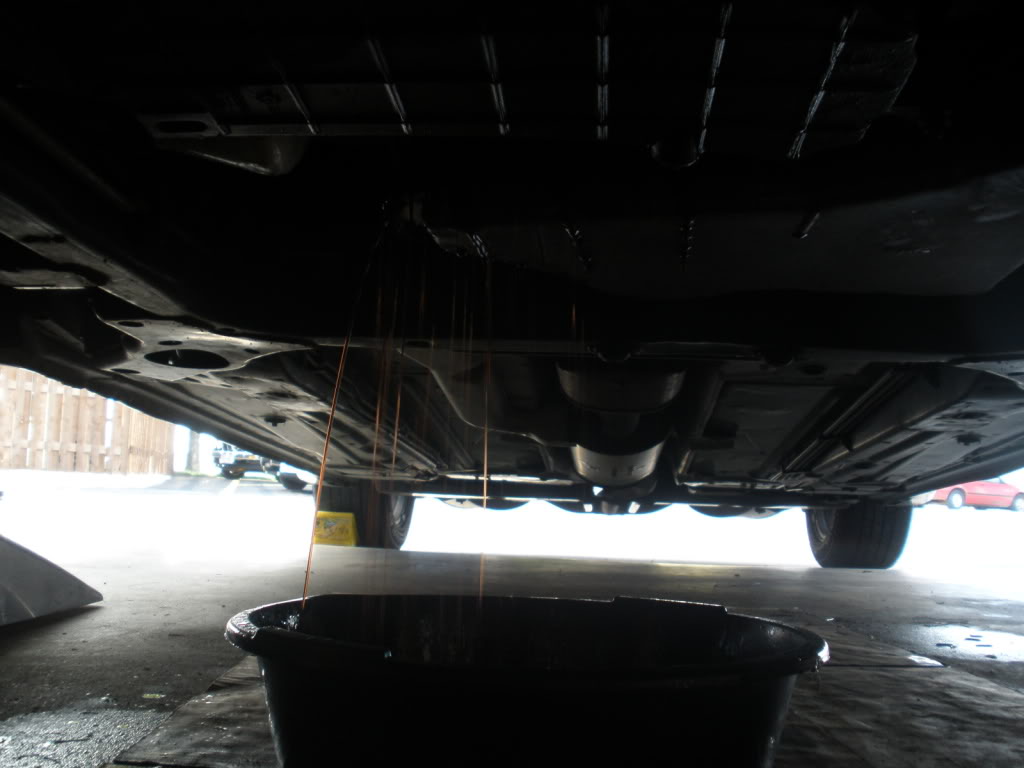
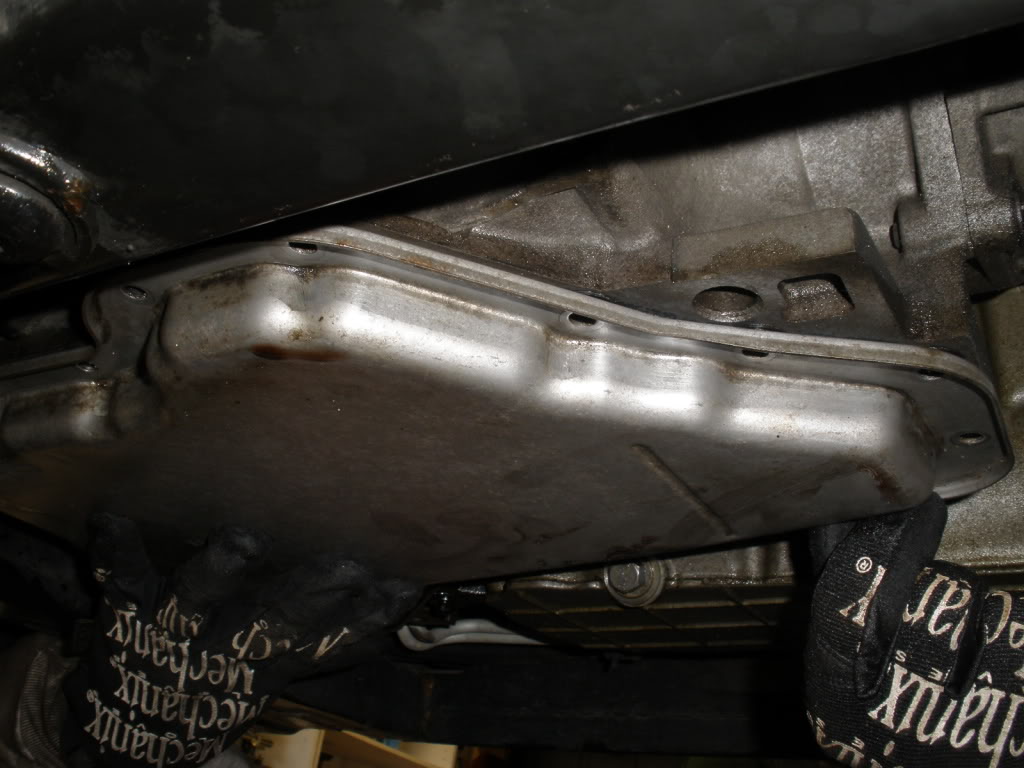
Remove the pan and set it aside
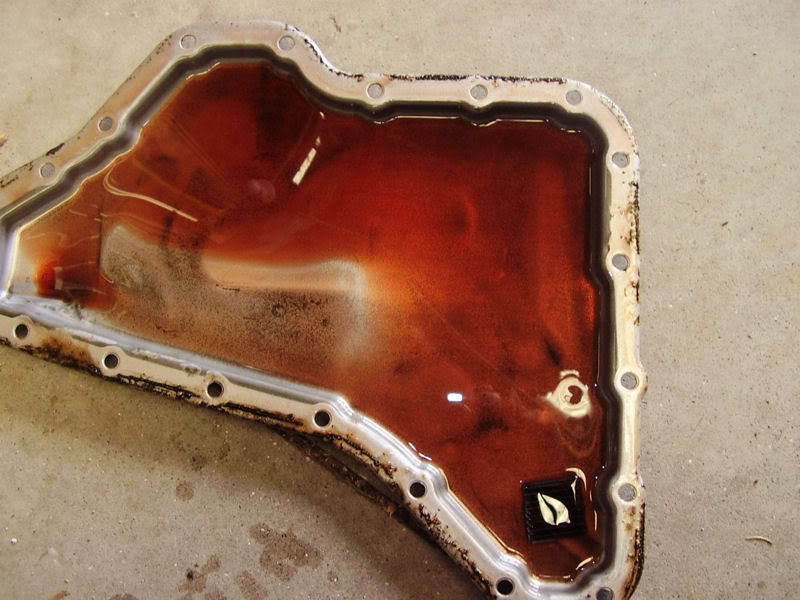
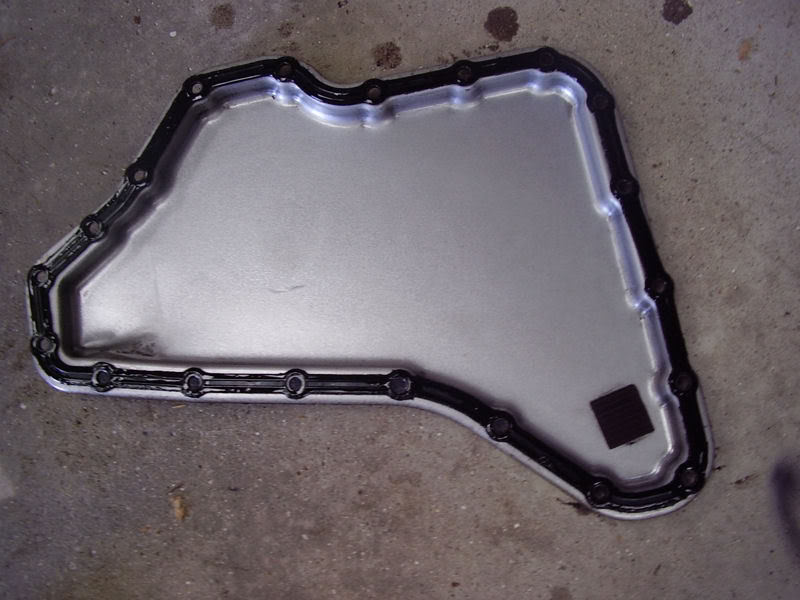
Wipe it down good. Check the magnet for any metal shavings. If you see a lot of shavings, I suggest not installing the kit at this time.
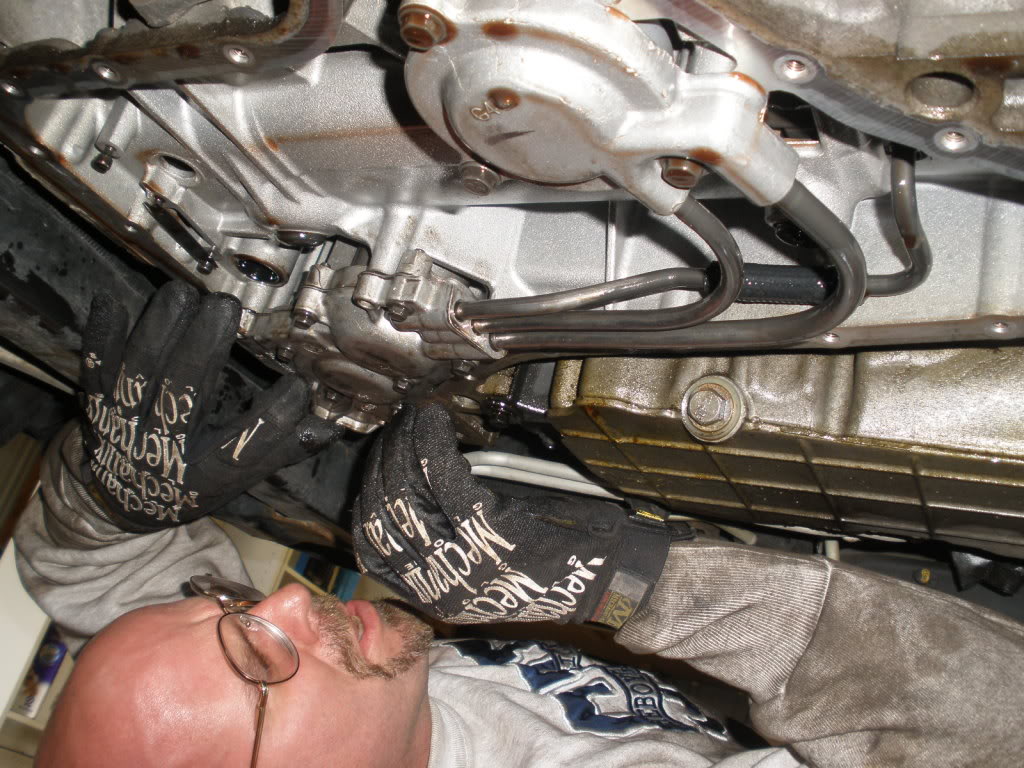
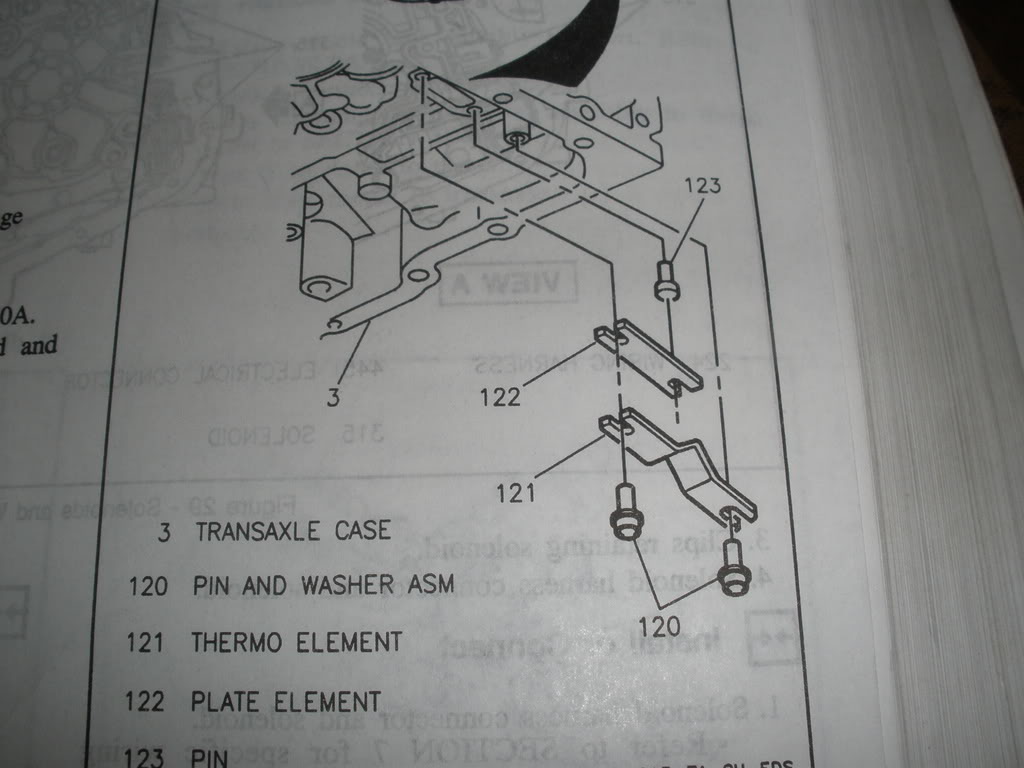
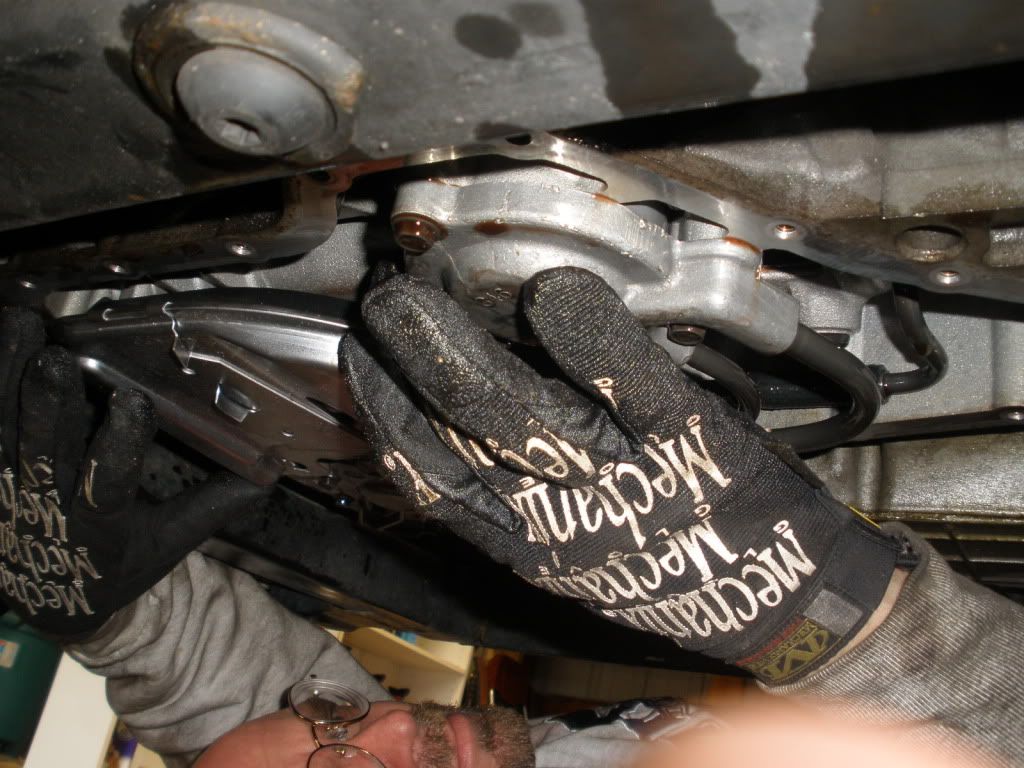
Back under the car you will see the shift modulator in the tranny
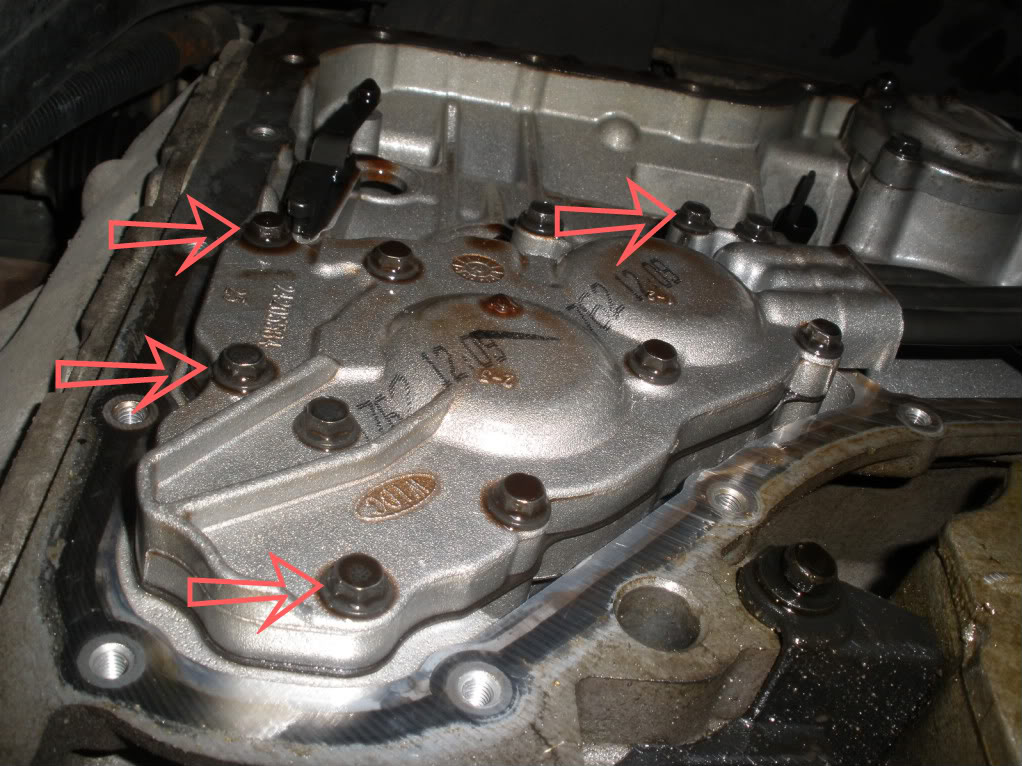
Remove the 4 bolts holding it in the tranny. One is on the left side and the other three are along the right side
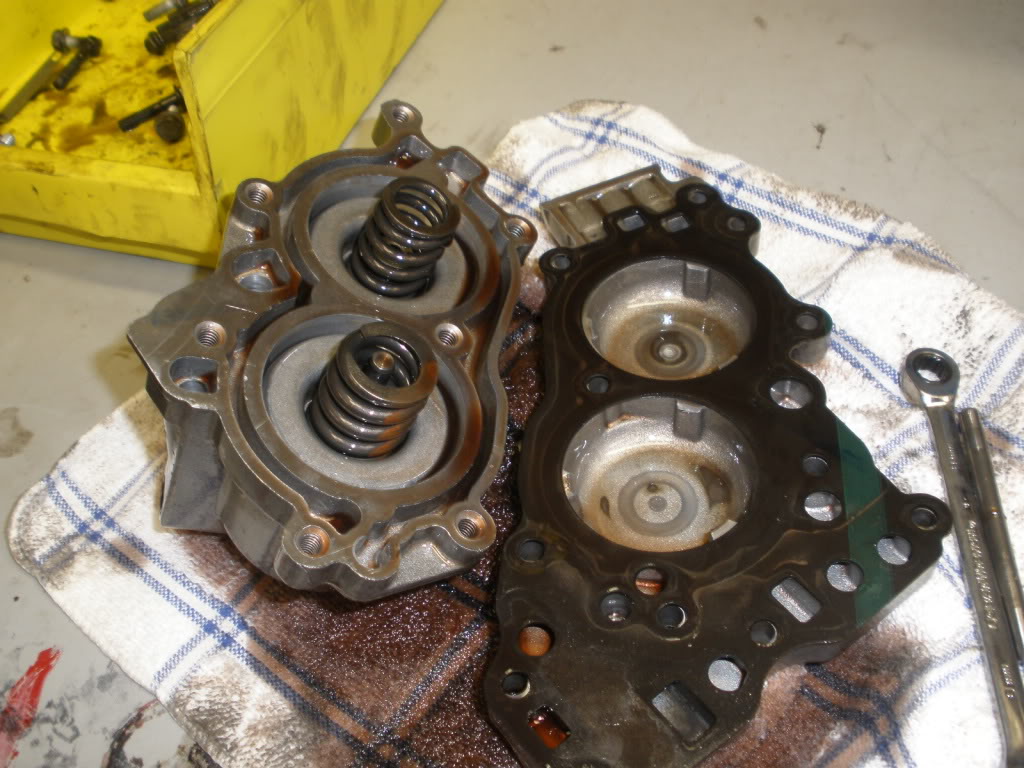
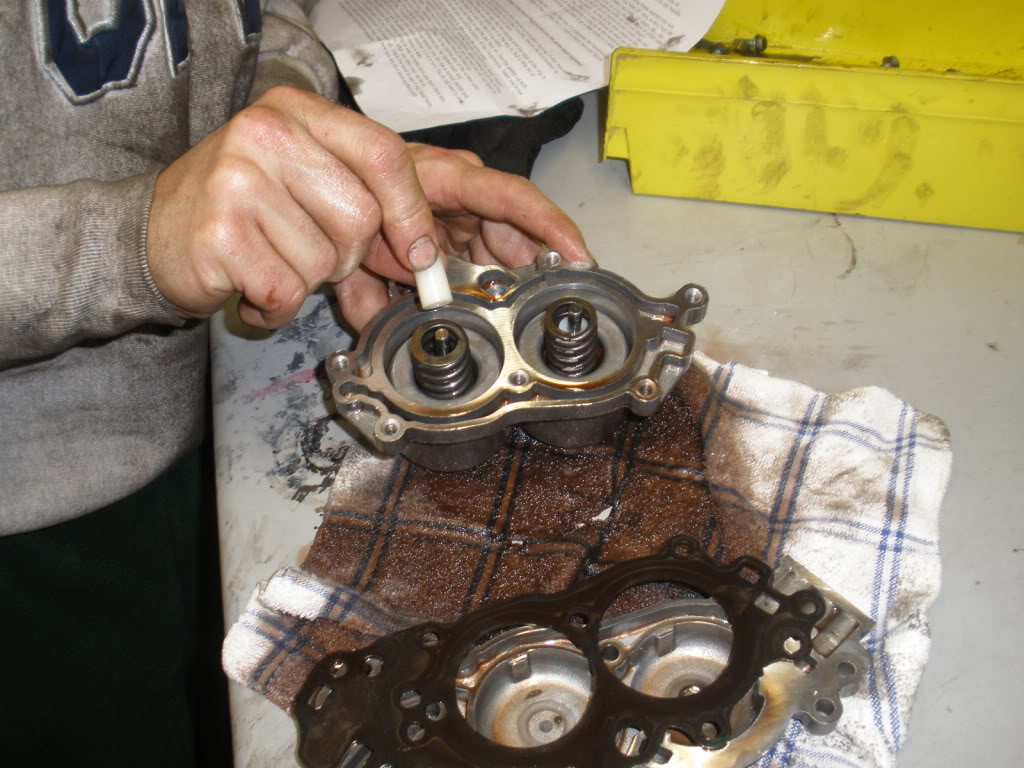
Clean everything up and inspect for damage or wear. Then place on a clean work area and remove the last of the bolts holding the modulator together and open it up
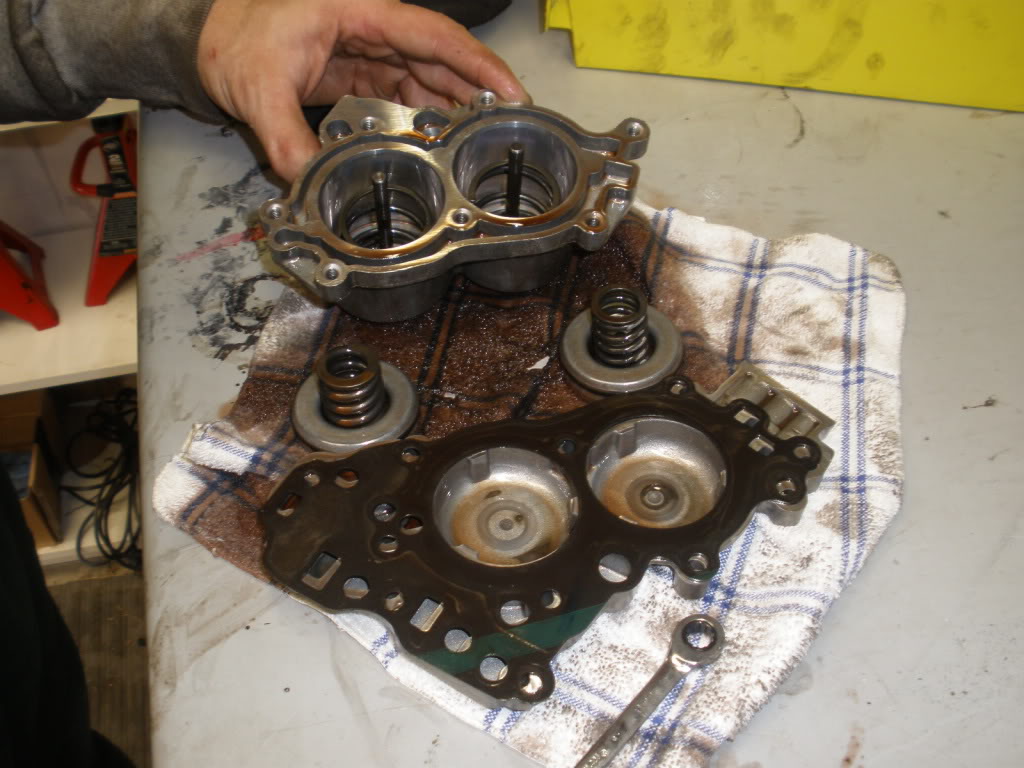
Remove the pistons, make sure they go back in the same cylinder. then place the 3/4" spacer on the bottom of both cylinders.
Put the pistons back in the cylinders and put a 1/2" spacer in the 1-2 cylinder.
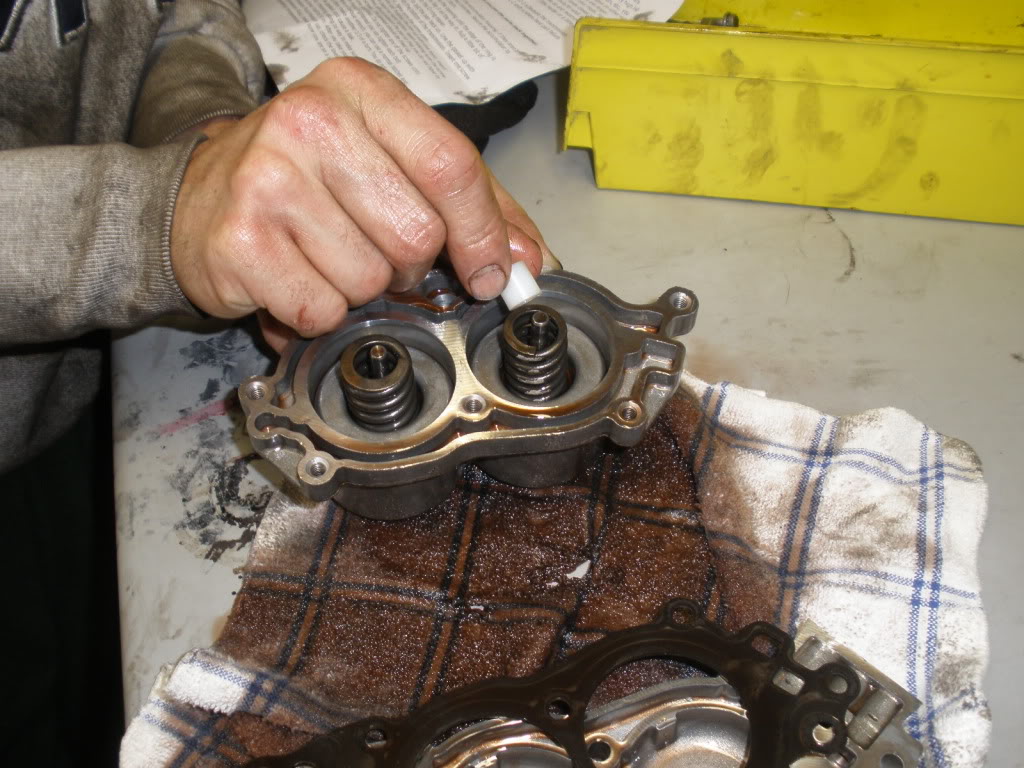
and a 3/4" spacer in the 2-3 cylinder
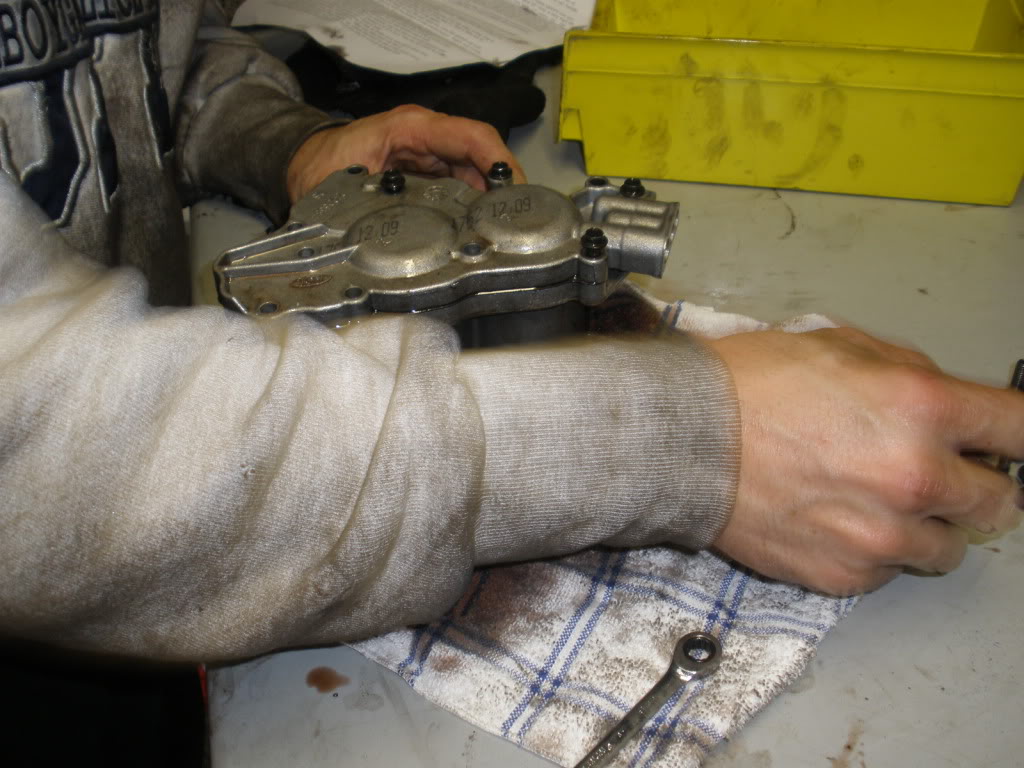
Now put the cover back on the modulator and torque all bolts to required amount.
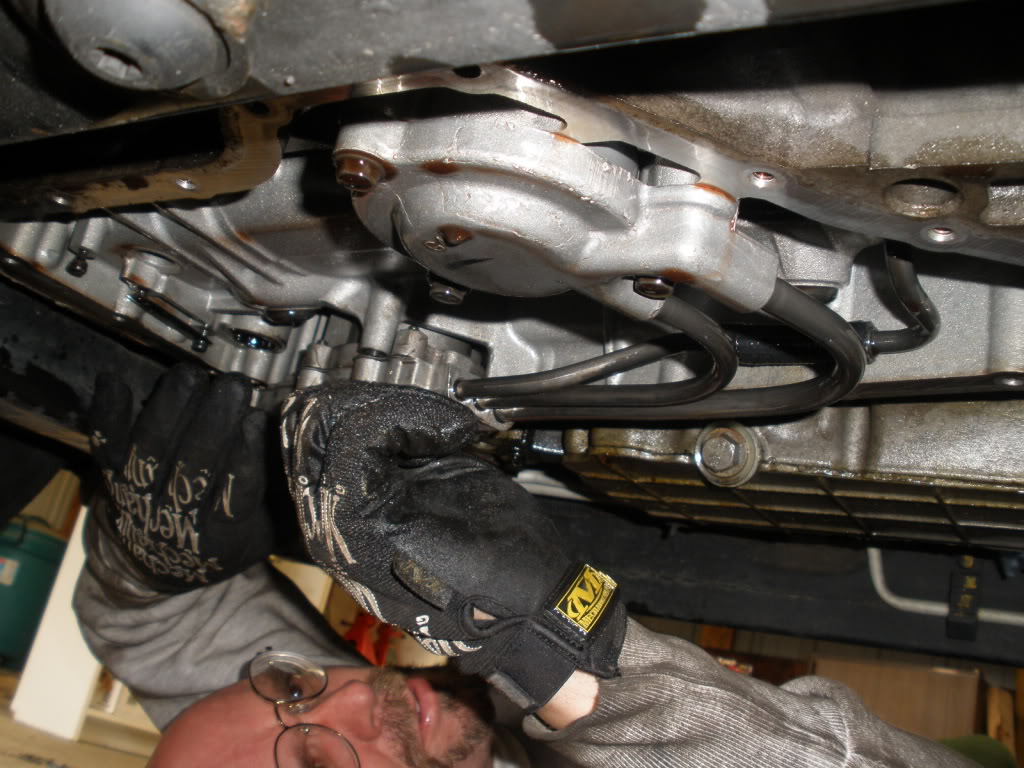
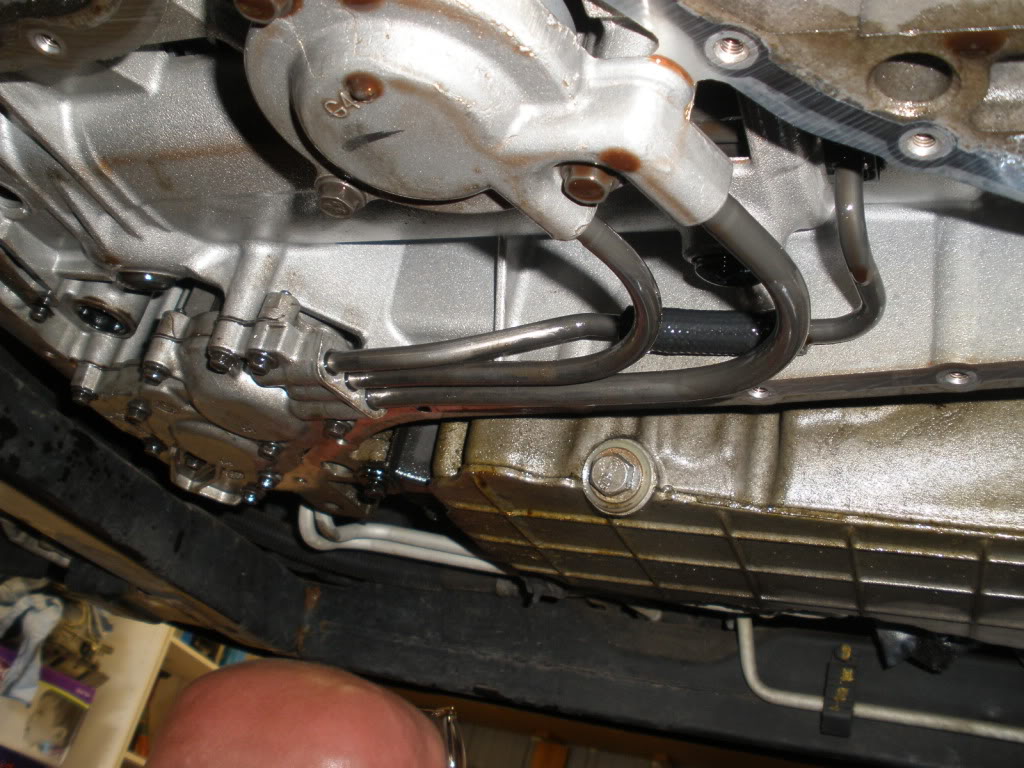
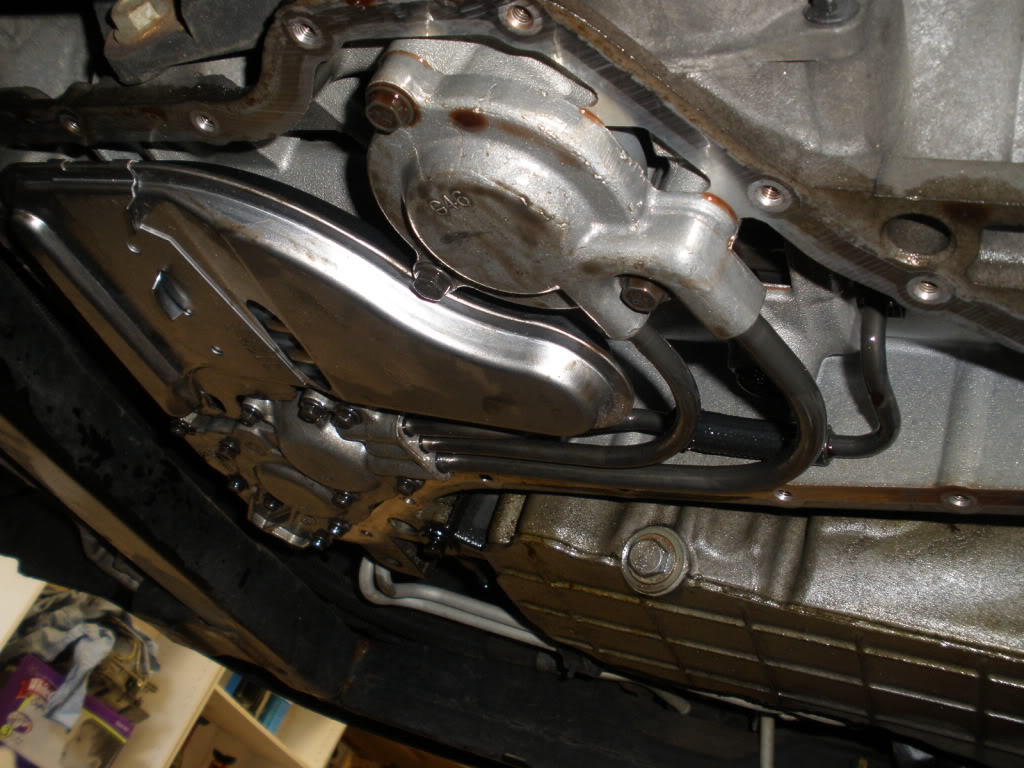
Now reinstall the modulator in the tranny connecting the lines and then line everything up and torque to the correct amount as listed in the directions. As you lift it up each tube will line up.
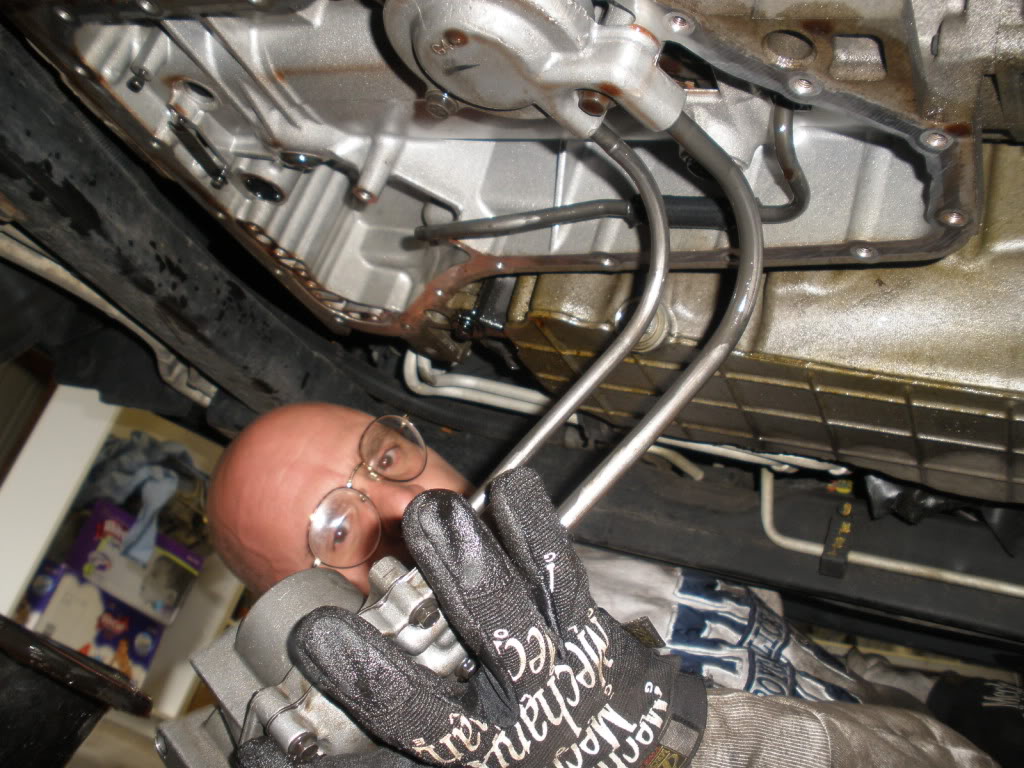
Then install the 4 bolts holding the modulator in place and torque to required amount.
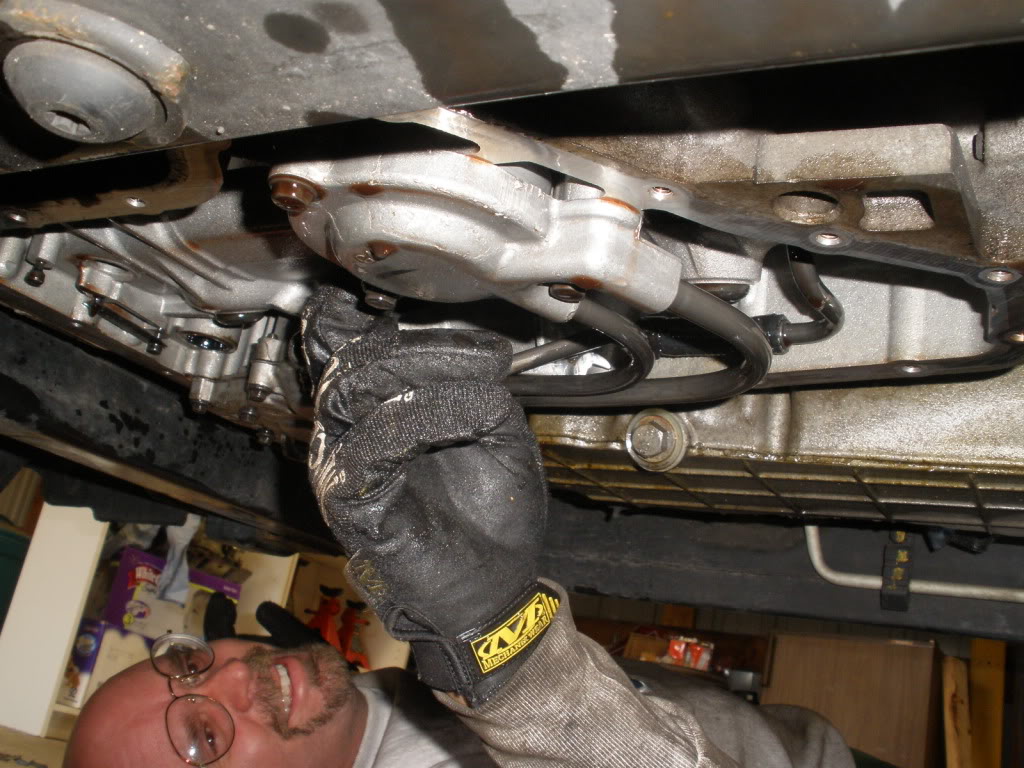
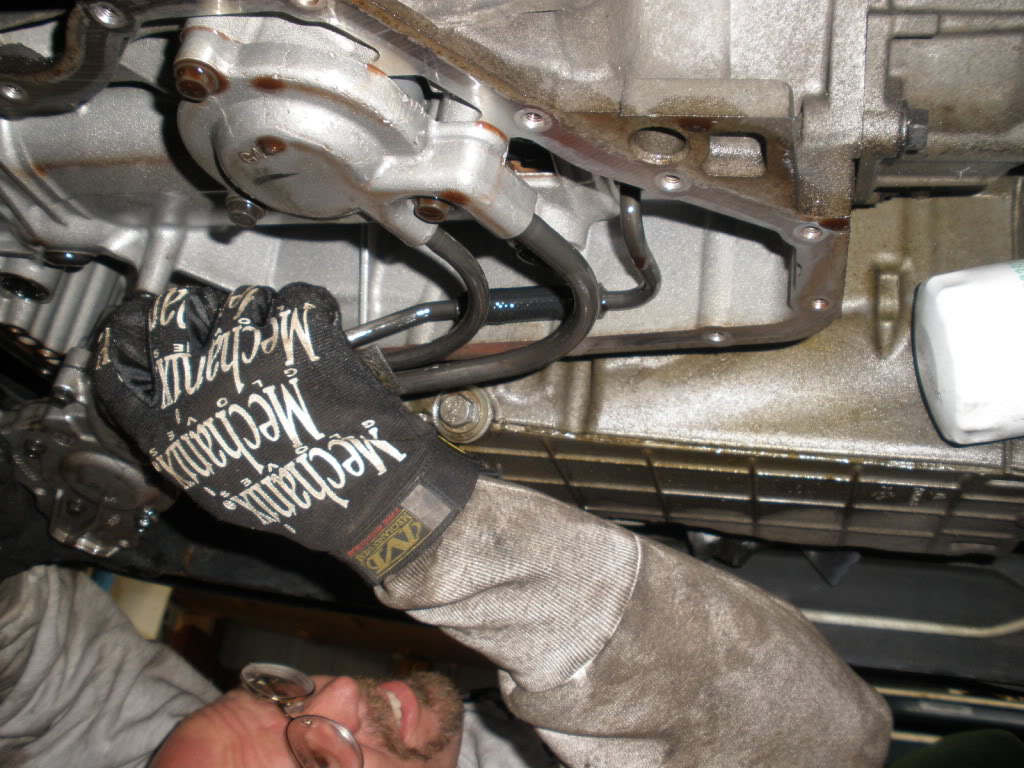
This piece tends to fall out very easy. So watch for this small piece of metal. Make sure it'* in place before you put the pan back on. It'* on the passenger side. You can see in the pictures above, it was not there. It was replace just before the pan was put back on.
Install your new filter.
Now put your pan in place and get a few bolts started. then snug up each bolt
Now with a clicker type inch pound torque wrench torque each bolt to 120 inch pounds. That'* inch pounds, NOT foot pounds
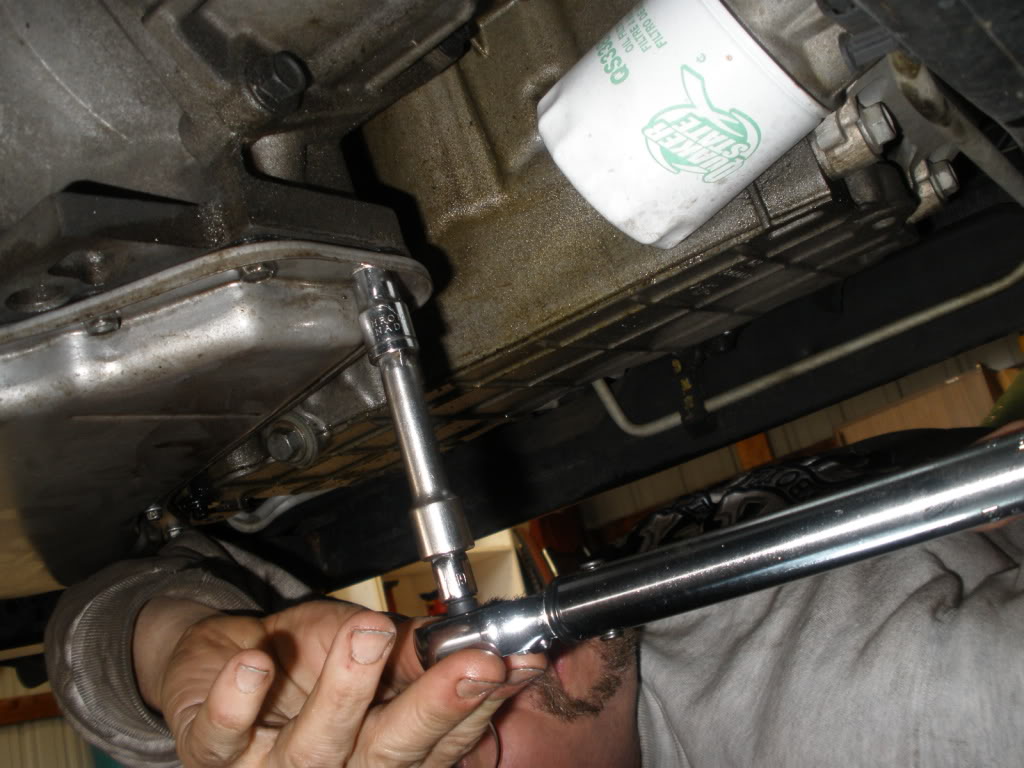
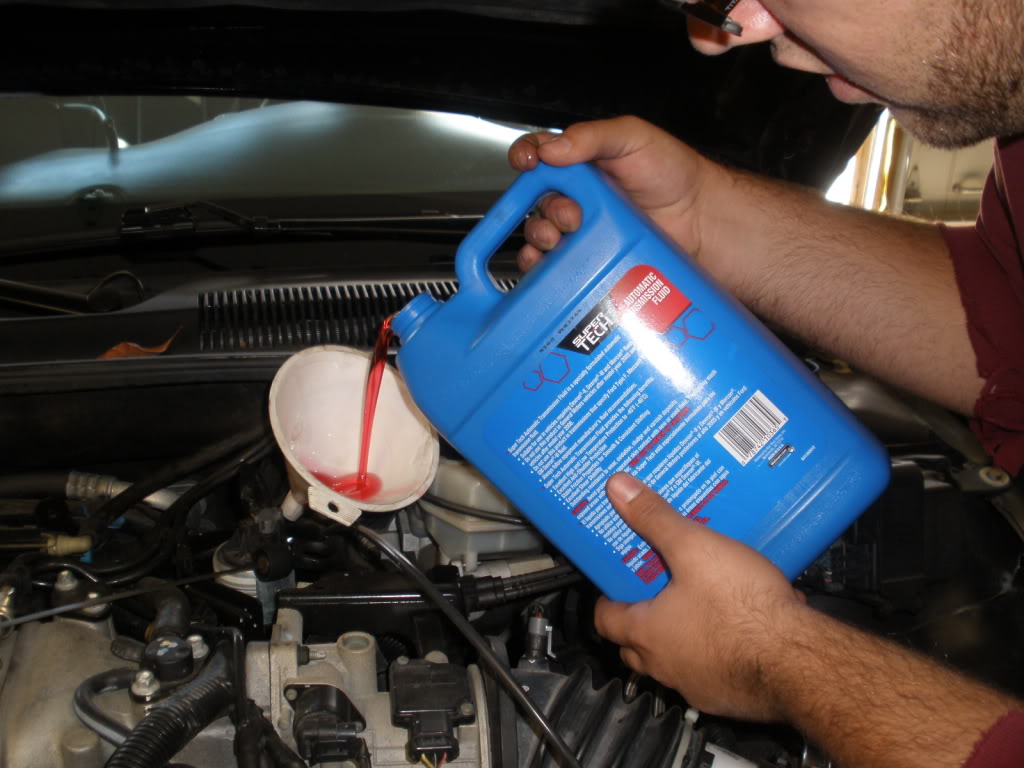
Once the pan is torqued you will need to fill the tranny with the correct fluid. You will do this threw the dip stick tube. You will need a funnel. Make sure you get GM fluid. You will need to add fluid, then start the engine and go threw the gears, then add more fluid and go threw the gears again. It will take some time to fill the tranny back up.
Congratulations, you have now installed your shift kit. Your shifts will be much firmer and quicker.
This kit has also been shown to remove a fair amount of KR.
You will need a inch pound torque wrench.
Jack up the front of your car and use jack stands.
Or put it up on ramps.
Get everything laid out, fluid, the kit, even a extra gasket. Mine had a reusable gasket so I didn't need one.
Locate your tranny pan.
It'* going to be a big mess. Get a large pan to catch the fluid, a few extras are a good idea. Crack the bolts on the pan loose. Loosen the back bolts a bit more so it will drain from that area. When the fluid stops you can start to remove all the bolts.
Remove the pan and set it aside
Wipe it down good. Check the magnet for any metal shavings. If you see a lot of shavings, I suggest not installing the kit at this time.
Back under the car you will see the shift modulator in the tranny
Remove the 4 bolts holding it in the tranny. One is on the left side and the other three are along the right side
Clean everything up and inspect for damage or wear. Then place on a clean work area and remove the last of the bolts holding the modulator together and open it up
Remove the pistons, make sure they go back in the same cylinder. then place the 3/4" spacer on the bottom of both cylinders.
Put the pistons back in the cylinders and put a 1/2" spacer in the 1-2 cylinder.
and a 3/4" spacer in the 2-3 cylinder
Now put the cover back on the modulator and torque all bolts to required amount.
Now reinstall the modulator in the tranny connecting the lines and then line everything up and torque to the correct amount as listed in the directions. As you lift it up each tube will line up.
Then install the 4 bolts holding the modulator in place and torque to required amount.
This piece tends to fall out very easy. So watch for this small piece of metal. Make sure it'* in place before you put the pan back on. It'* on the passenger side. You can see in the pictures above, it was not there. It was replace just before the pan was put back on.
Install your new filter.
Now put your pan in place and get a few bolts started. then snug up each bolt
Now with a clicker type inch pound torque wrench torque each bolt to 120 inch pounds. That'* inch pounds, NOT foot pounds
Once the pan is torqued you will need to fill the tranny with the correct fluid. You will do this threw the dip stick tube. You will need a funnel. Make sure you get GM fluid. You will need to add fluid, then start the engine and go threw the gears, then add more fluid and go threw the gears again. It will take some time to fill the tranny back up.
Congratulations, you have now installed your shift kit. Your shifts will be much firmer and quicker.
This kit has also been shown to remove a fair amount of KR.


Thread
Thread Starter
Forum
Replies
Last Post
Hans
Performance, Brainstorming & Tuning
19
10-31-2007 11:37 AM