Update 10-30-07! Work Whorage!
 10-17-2007, 05:15 PM
#61
Senior Member
True Car Nut
Thread Starter
Join Date: Sep 2006
Location: Indianapolis, IN
Posts: 4,606
Likes: 0
Received 0 Likes
on
0 Posts

Originally Posted by harofreak00
why did you tint the tails OUTSIDE?!
did you clear the tails?
did you clear the tails?
I put on about 2 layers, cleared them, and tinted again. The last tint is not cleared, but I will do this soon. I just got too giddy with how cool they look.
 10-24-2007, 02:18 AM
#62
Senior Member
True Car Nut
Thread Starter
Join Date: Sep 2006
Location: Indianapolis, IN
Posts: 4,606
Likes: 0
Received 0 Likes
on
0 Posts
Riding gave me a great idea, and I'm writing it out here to remind myself. I've just recently found out about El wire:
http://www.vibelights.com/index.html
I'm going to wrap this around my grille housing and the logo in the front. If I use white El wire, I'll have a nice, white oval in the middle of my headlights (and above the fog lights) with a Pontiac logo in the middle whenever the lights are on.
This should be fairly easy with the wire on the inside of the logo (toward the engine rather than blatantly showing) but also on the very edge, thin and even, and coated with something clear to make a really good, clear Pontiac logo on the front.
This addition, along with a good cleaning job, engine detailing, the finished interior, finished audio, and finished trunk should be the end of this set of work whorage. I think I'm almost done with my project idea.
10-26-2007, 02:44 PM
#65
Senior Member
True Car Nut
Thread Starter
Join Date: Sep 2006
Location: Indianapolis, IN
Posts: 4,606
Likes: 0
Received 0 Likes
on
0 Posts
First, and completely non sequitur, is a picture of my sister'* puppy, a yorkie-chihuahua mix:

And now, there has been some work. Unfortunately, whorage has not been completely possible because it started raining. :( Well, the tips had fallen off on my way from Indianapolis to Muncie, IN. Somewhere on I-69, there'* a chrome exhaust tip. So, I got another one and put back on both of them. I'm not sure if this is a permanent look, but it'* very nice. Also, I cleaned out my trunk somewhat and "improved" the way my bumper attaches.
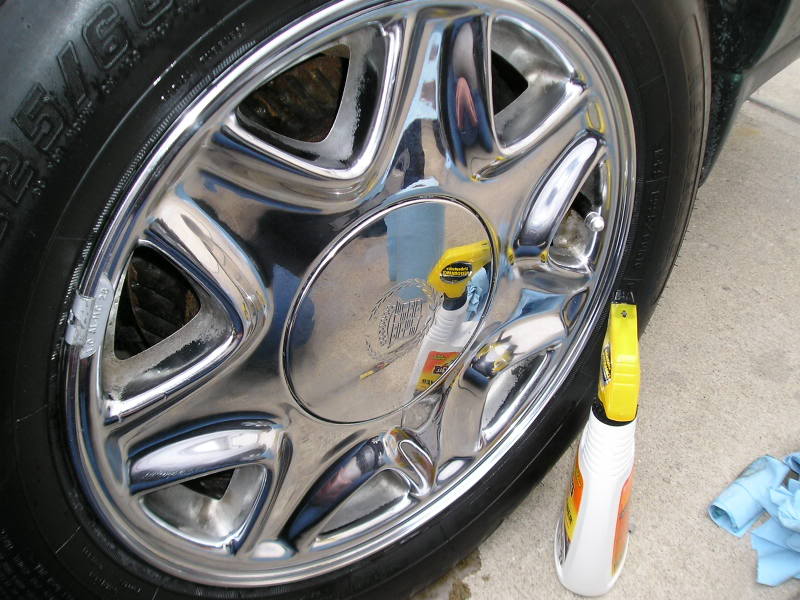
There'* also been a lot of wheel cleaning. You can see how on the first wheel, some chrome is missing from the previous owner letting brake dust sit on these.
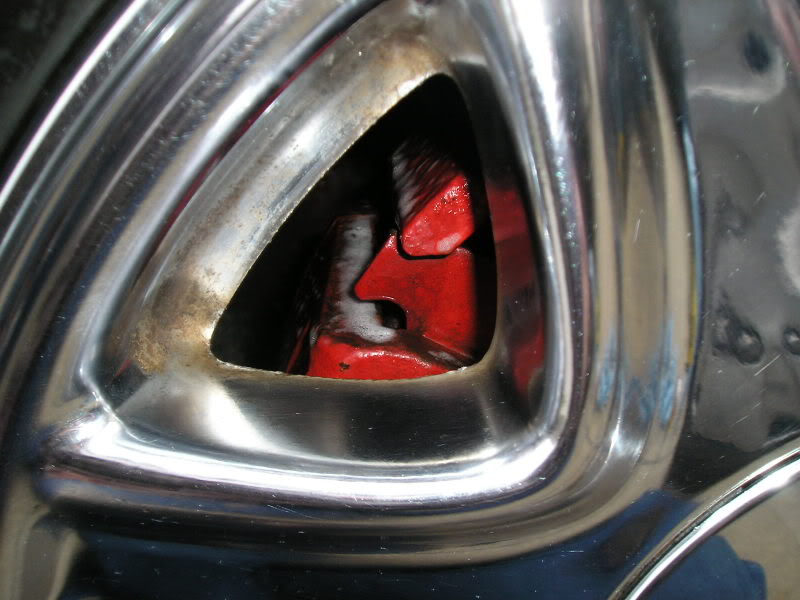
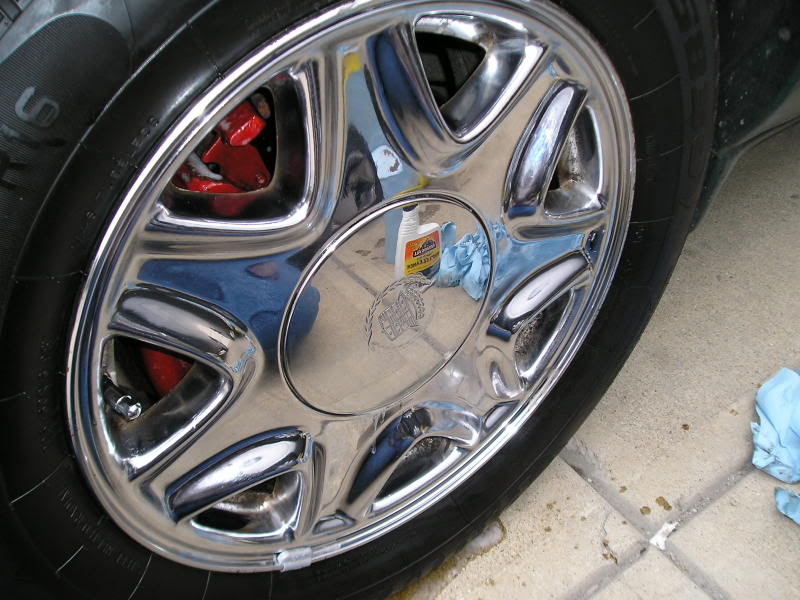
The other wheel, however, has very recent brake dust. I have ceramic pads, so the dust isn't as bad. This was evidently someone else'* stuff.
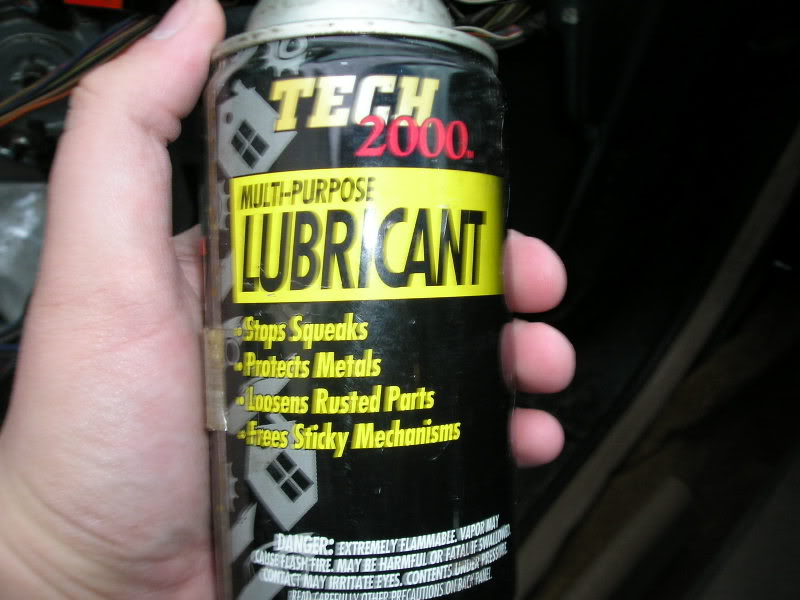
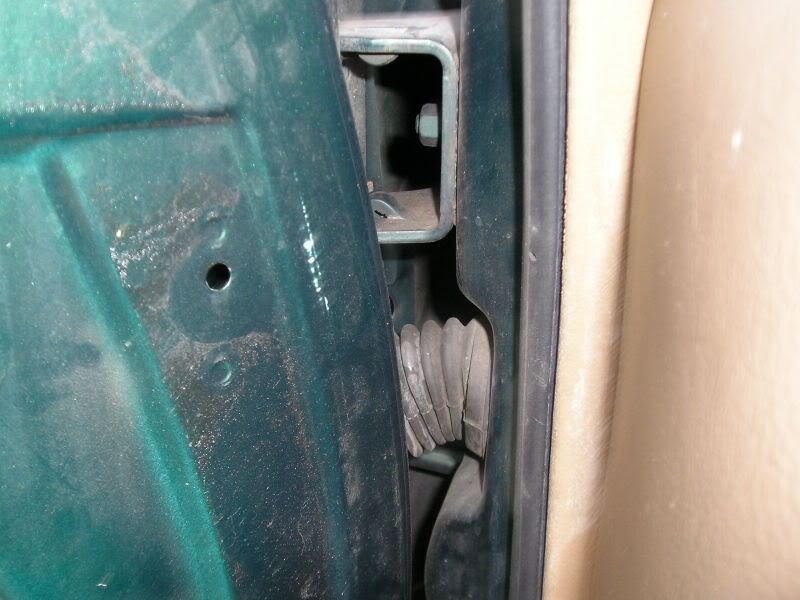
I found a squeak in my door and hosed it down with lubricant.
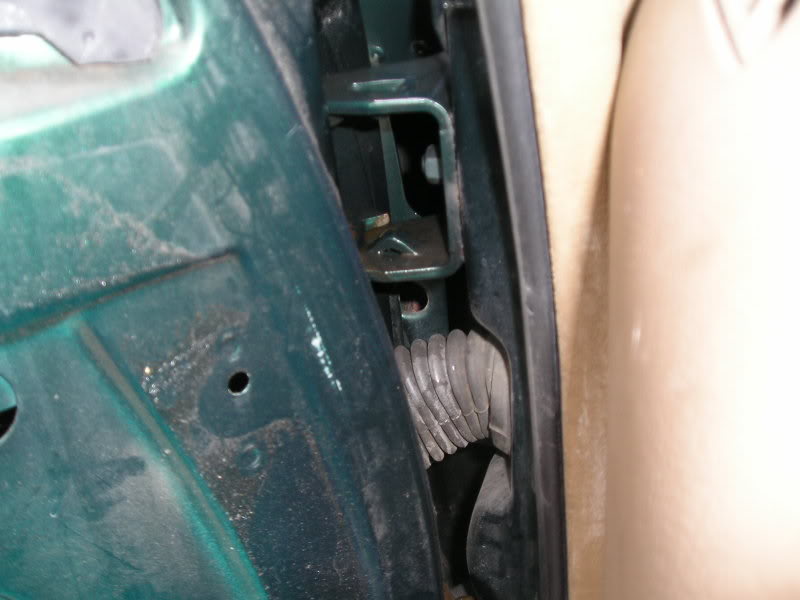
I don't know why I've taken this picture.
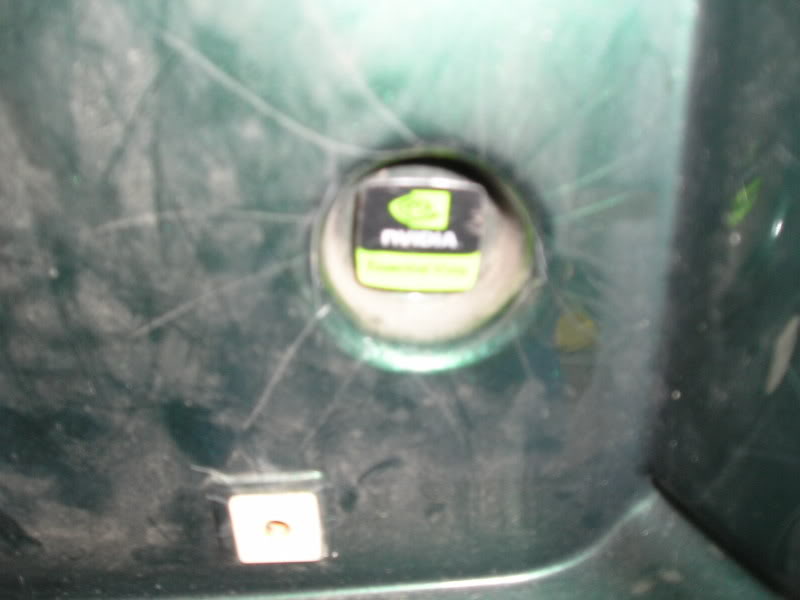
There is some major paint chipping. Who knows how to fix this? It'* on the rear quarterpanel.
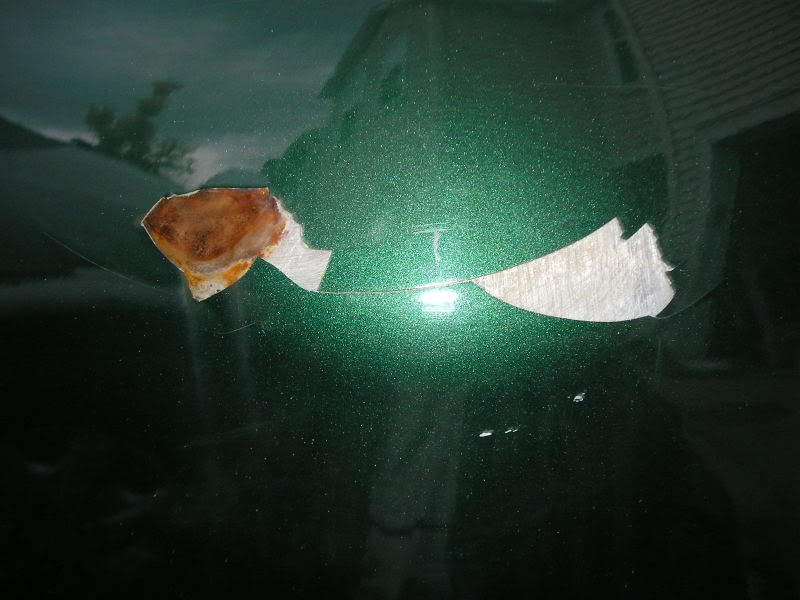
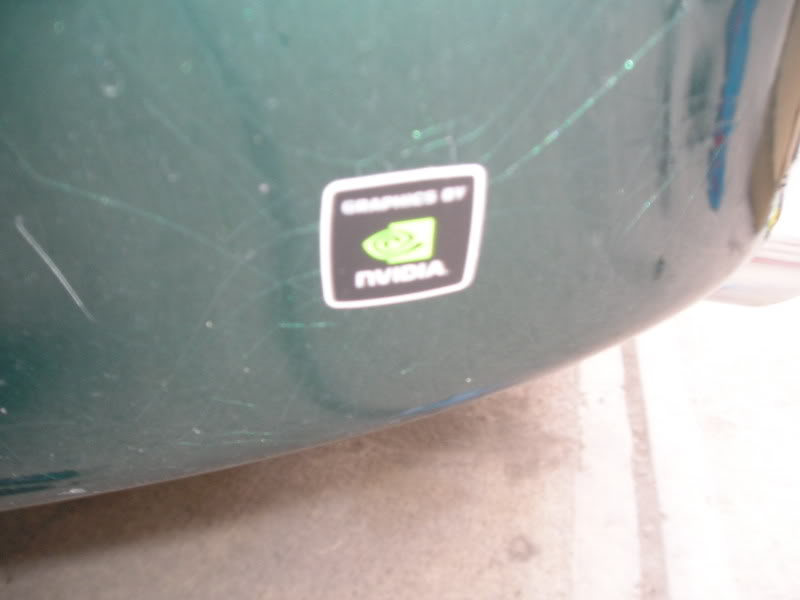
I know how to fix this small chip!
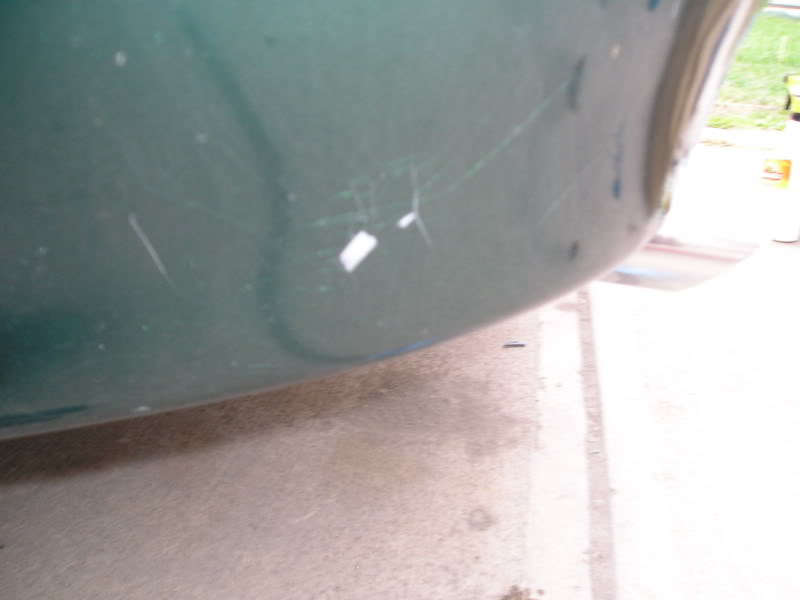
With a sticker!!!
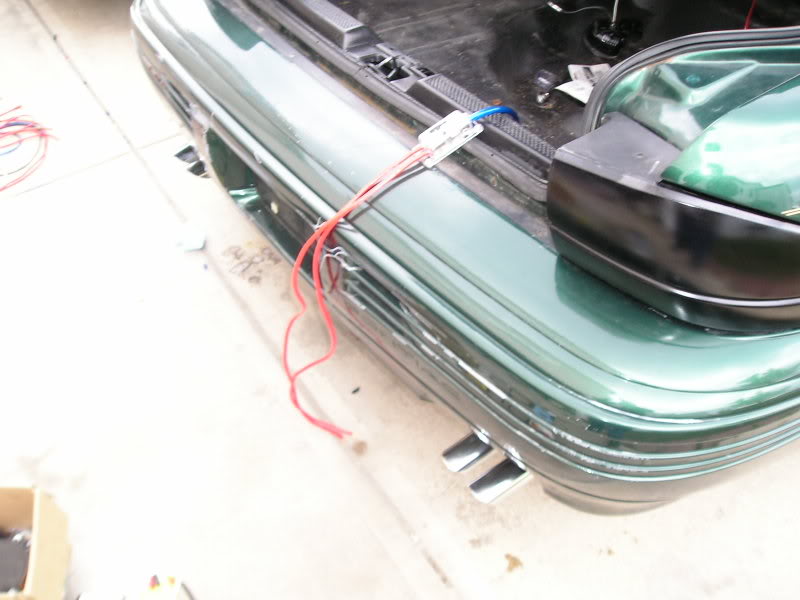
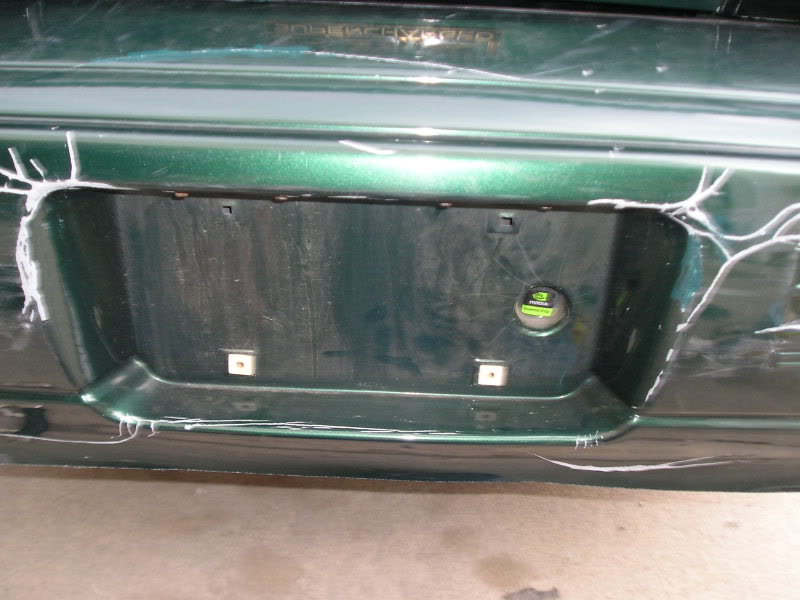
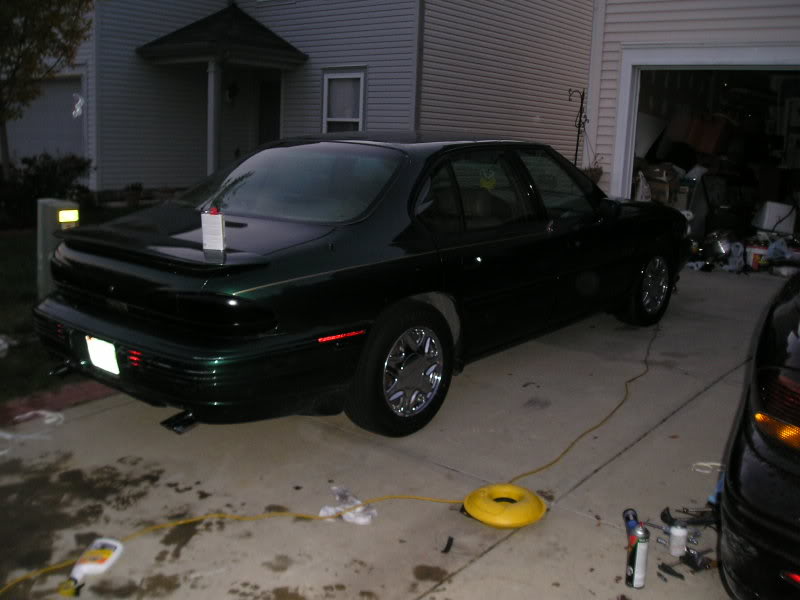
This is the back of my car with the license plate removed for the bumper cover work.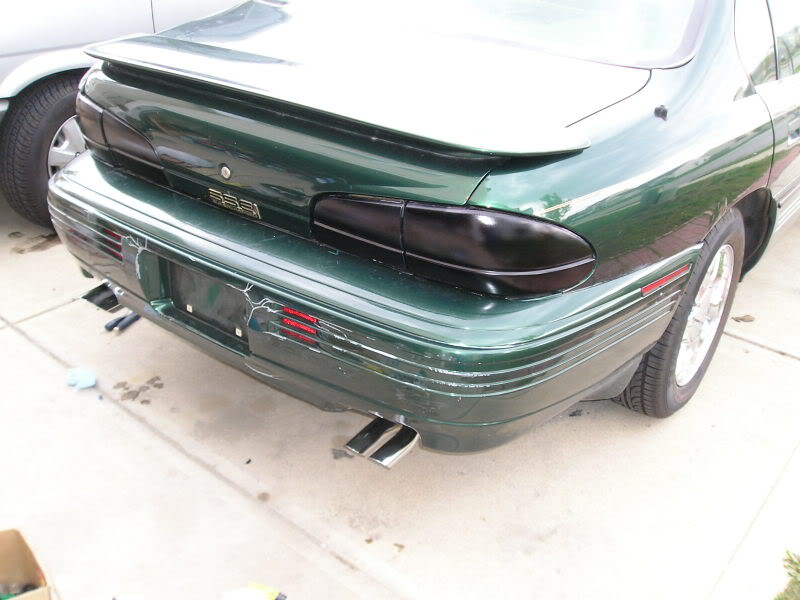
Oh, no! How do I "hide" this bolt?
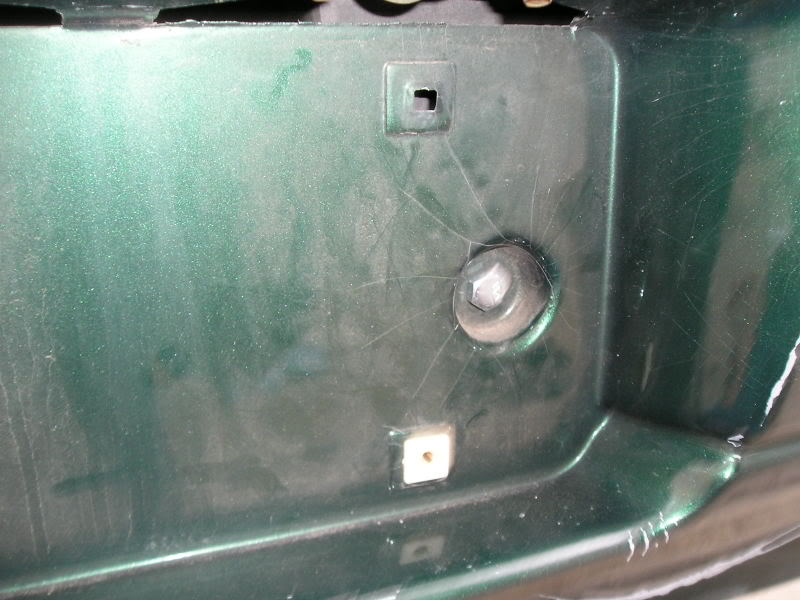
With a sticker!!!
Oh, that'* wonderful.
And now, there has been some work. Unfortunately, whorage has not been completely possible because it started raining. :( Well, the tips had fallen off on my way from Indianapolis to Muncie, IN. Somewhere on I-69, there'* a chrome exhaust tip. So, I got another one and put back on both of them. I'm not sure if this is a permanent look, but it'* very nice. Also, I cleaned out my trunk somewhat and "improved" the way my bumper attaches.
There'* also been a lot of wheel cleaning. You can see how on the first wheel, some chrome is missing from the previous owner letting brake dust sit on these.
The other wheel, however, has very recent brake dust. I have ceramic pads, so the dust isn't as bad. This was evidently someone else'* stuff.
I found a squeak in my door and hosed it down with lubricant.
I don't know why I've taken this picture.
There is some major paint chipping. Who knows how to fix this? It'* on the rear quarterpanel.
I know how to fix this small chip!
With a sticker!!!
This is the back of my car with the license plate removed for the bumper cover work.
Oh, no! How do I "hide" this bolt?
With a sticker!!!
Oh, that'* wonderful.
10-28-2007, 08:22 PM
#66
Senior Member
True Car Nut
Thread Starter
Join Date: Sep 2006
Location: Indianapolis, IN
Posts: 4,606
Likes: 0
Received 0 Likes
on
0 Posts
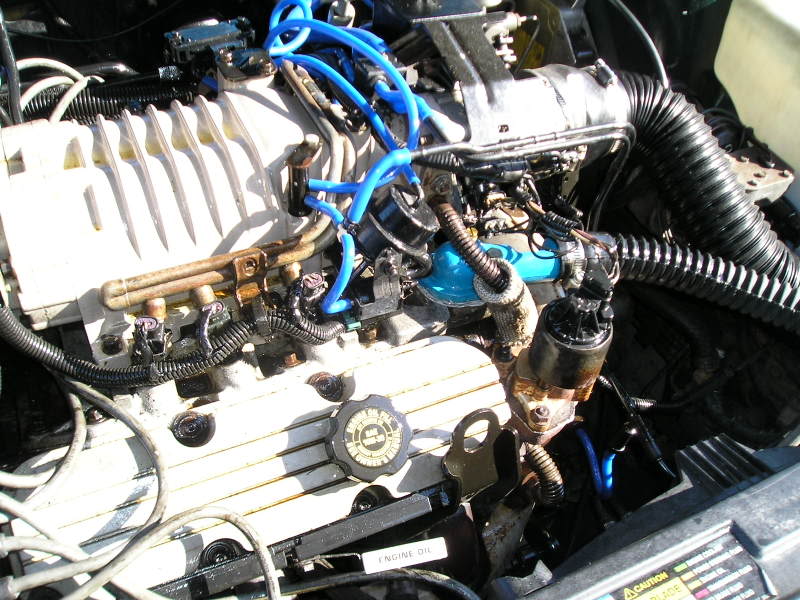
I put in a new (slightly used) 180 thermostat. I was going to drill it, but I didn't because of a lack of the proper bit and no real need to do it.
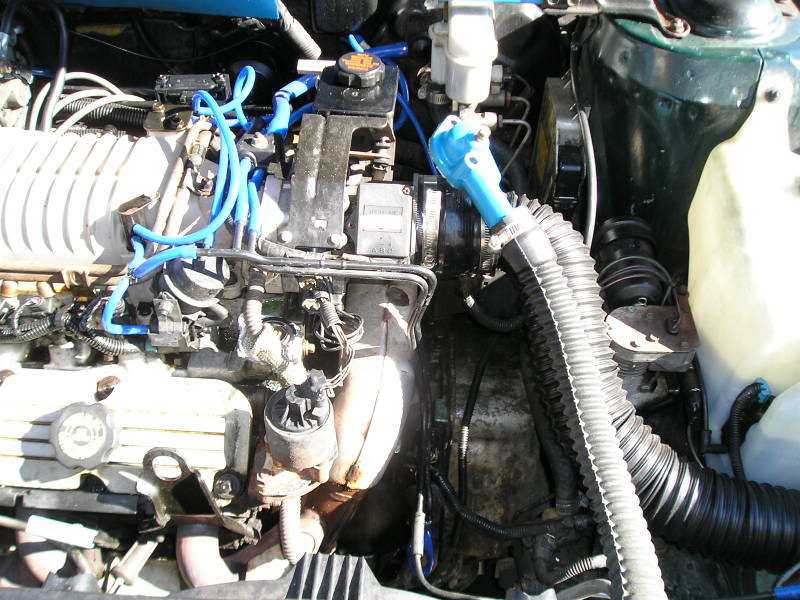
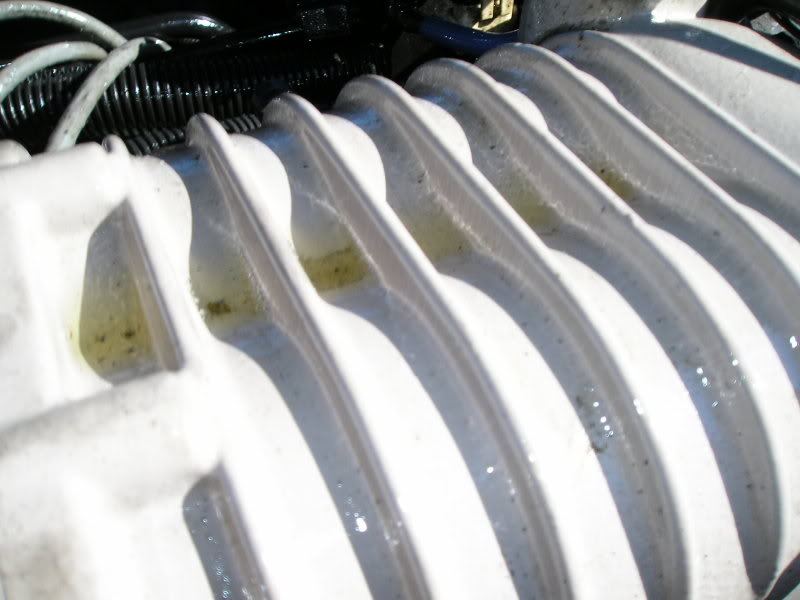
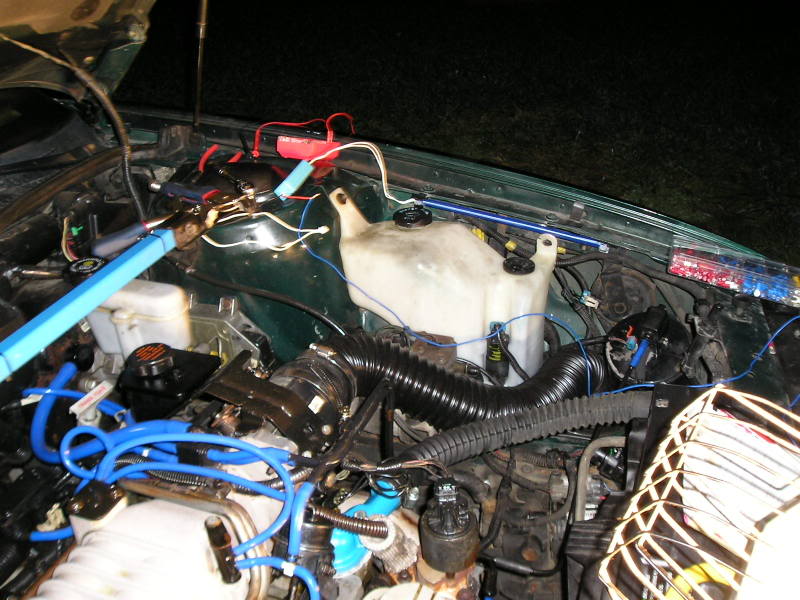
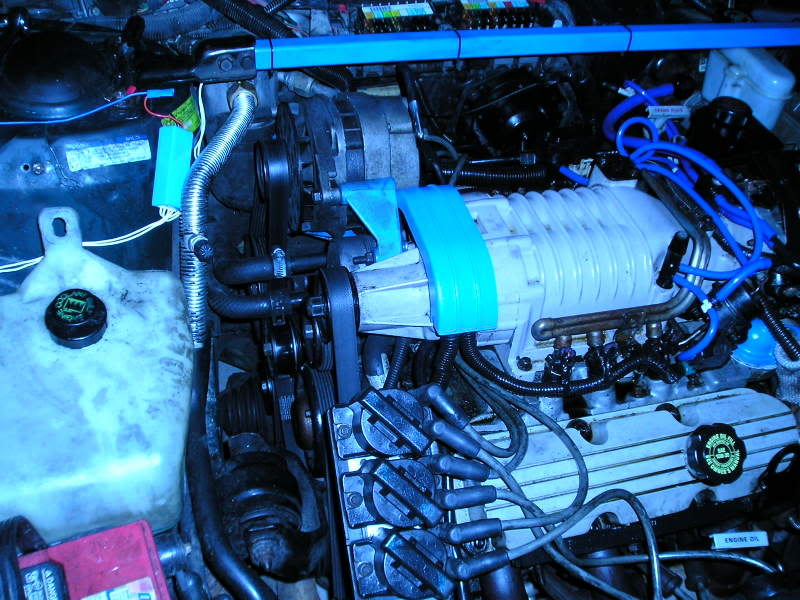
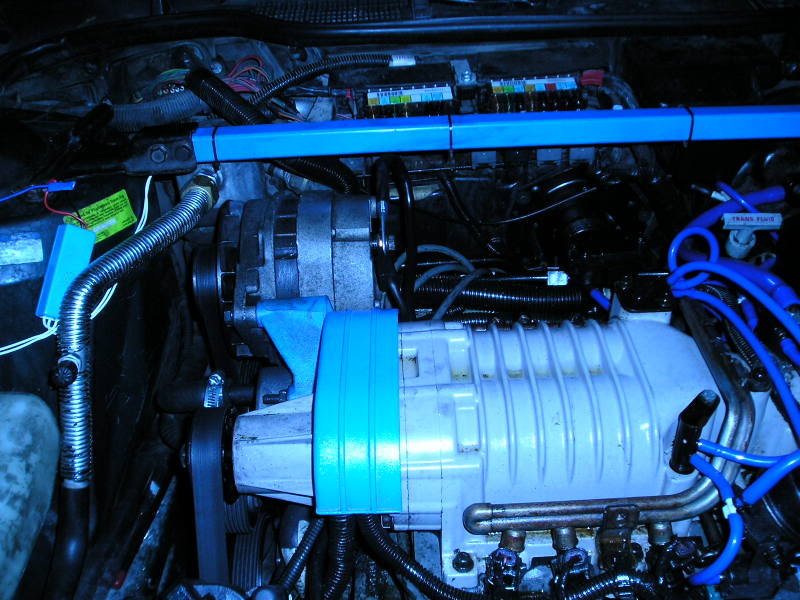
Here'* my engine. I lost the wire cover from the supercharger.
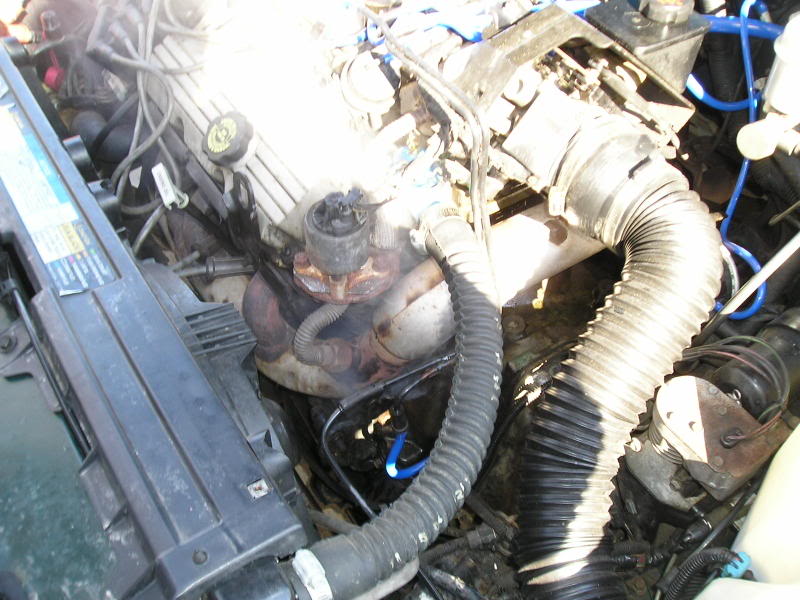
I degreased my engine bay.
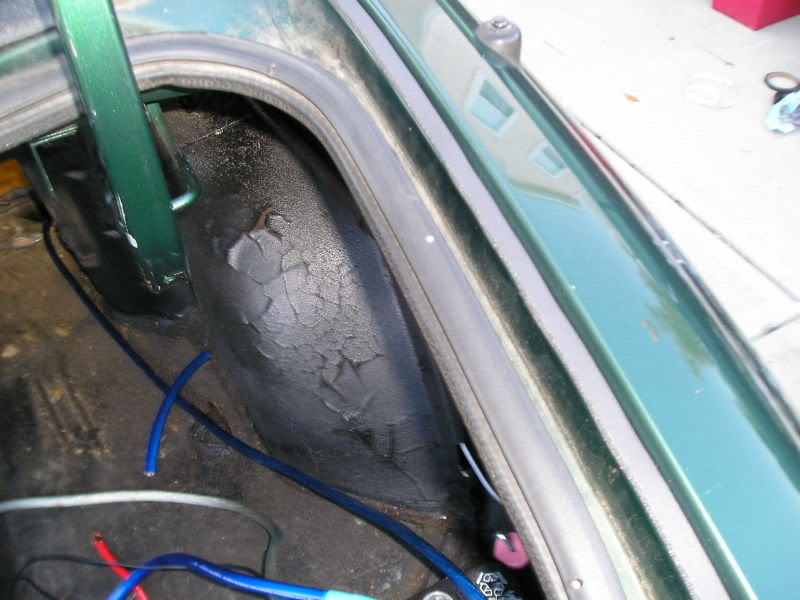
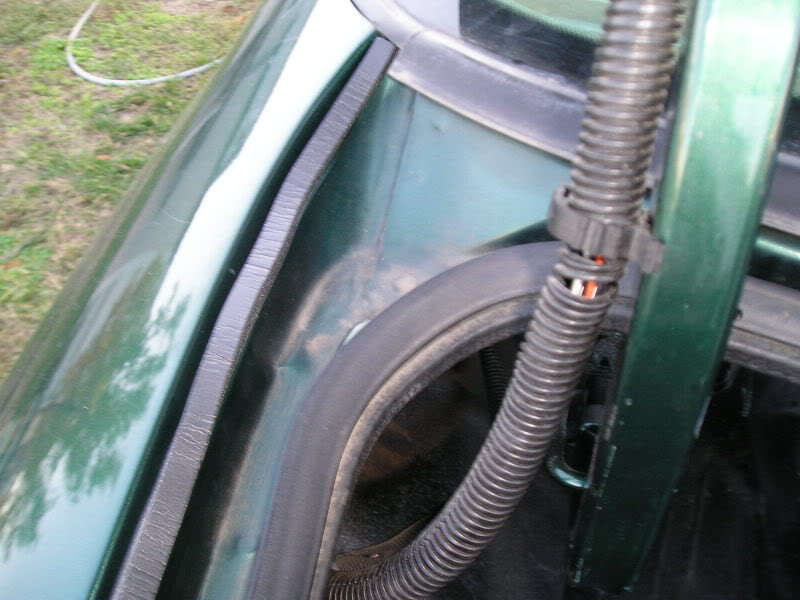
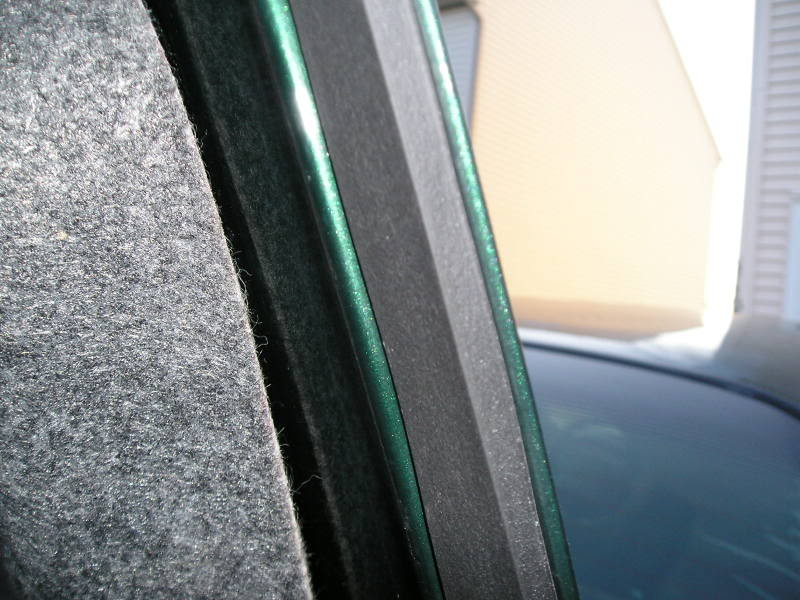
And for a change of pace, I put weatherstripping on the sides of my trunk. It'll still drain properly, but now it'll seal better - hopefully. I tested it, and this really works!
Also, 1337ssei was over at my house, so we did a lot of things. More on this in the appropriate threads will be posted soon.
Here'* my engine. I lost the wire cover from the supercharger.
I degreased my engine bay.
And for a change of pace, I put weatherstripping on the sides of my trunk. It'll still drain properly, but now it'll seal better - hopefully. I tested it, and this really works!
Also, 1337ssei was over at my house, so we did a lot of things. More on this in the appropriate threads will be posted soon.
 10-28-2007, 09:56 PM
#68
Senior Member
True Car Nut
Thread Starter
Join Date: Sep 2006
Location: Indianapolis, IN
Posts: 4,606
Likes: 0
Received 0 Likes
on
0 Posts
Originally Posted by samueljackson
whats the reason on the extra weather stripping? is that for trunk rattle?
Now that I've put the foam and rubber/silicone weather stripping along the sides and also on the trunk lid, it seals so well that I can only hear the music coming clearly from the edge closest to the front. That'* the side with the hinges. It'* not sealed, so sound comes out of there. As for the effect of the stripping, however, I noticed the music is more "in your face" on the rear speakers with the new stripping. Wherever you sit in the car, you get a better range and can hear even more stuff you've never heard before. The music just keeps getting better. I'm tempted to dynamat my trunk now. For the big finish, I'll tie this all together, but based on what I've done today, there may be a bit more sealing to do.
And yes, the trunk rattles less, but that'* an unforeseen consequence since I've never put on weatherstripping to this extent.
10-30-2007, 10:51 PM
#69
Senior Member
True Car Nut
Thread Starter
Join Date: Sep 2006
Location: Indianapolis, IN
Posts: 4,606
Likes: 0
Received 0 Likes
on
0 Posts
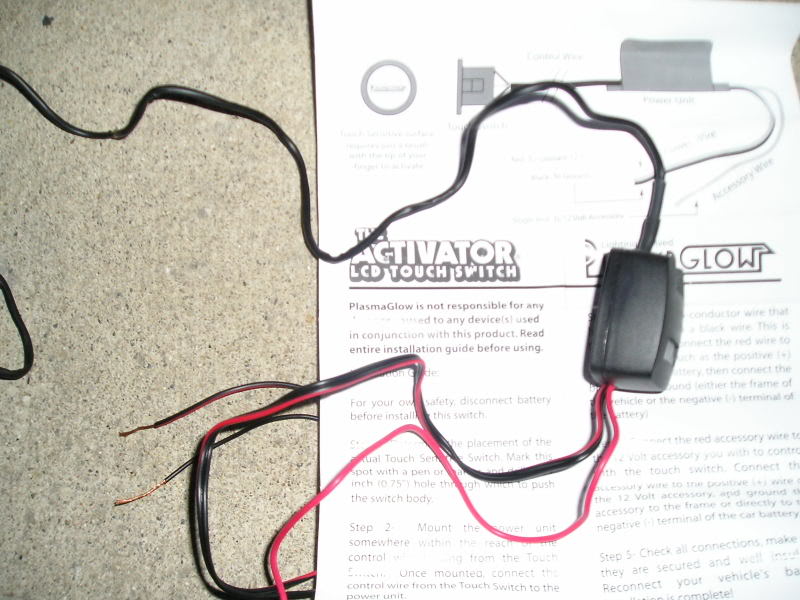
I got this from 1337ssei:
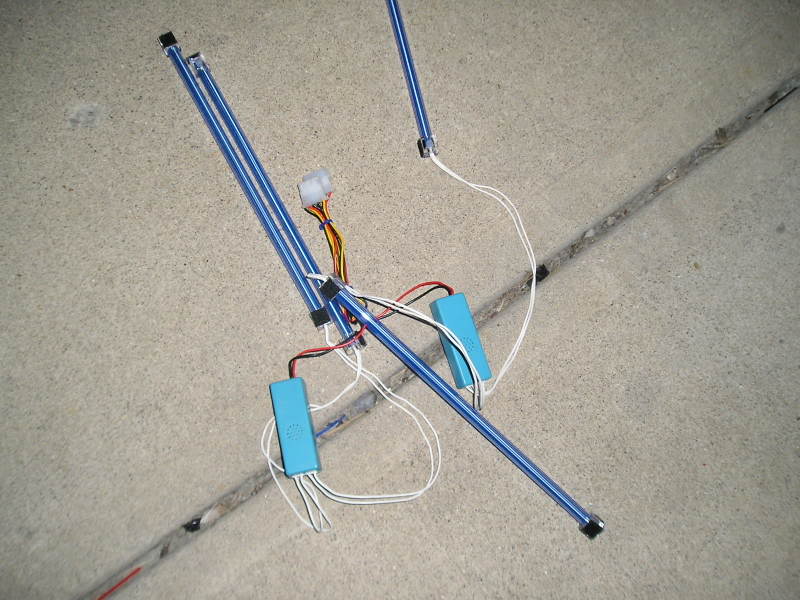
I got this from my computer:
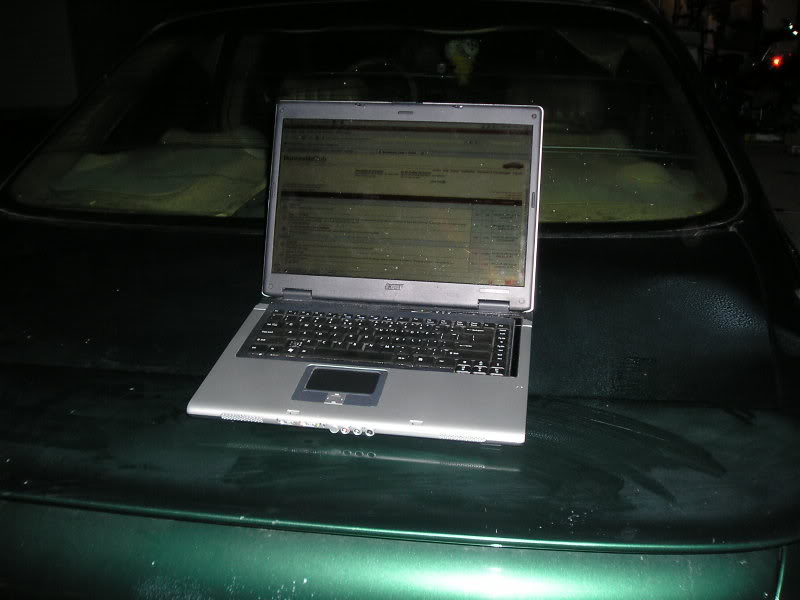
This is a good thing to have while working:
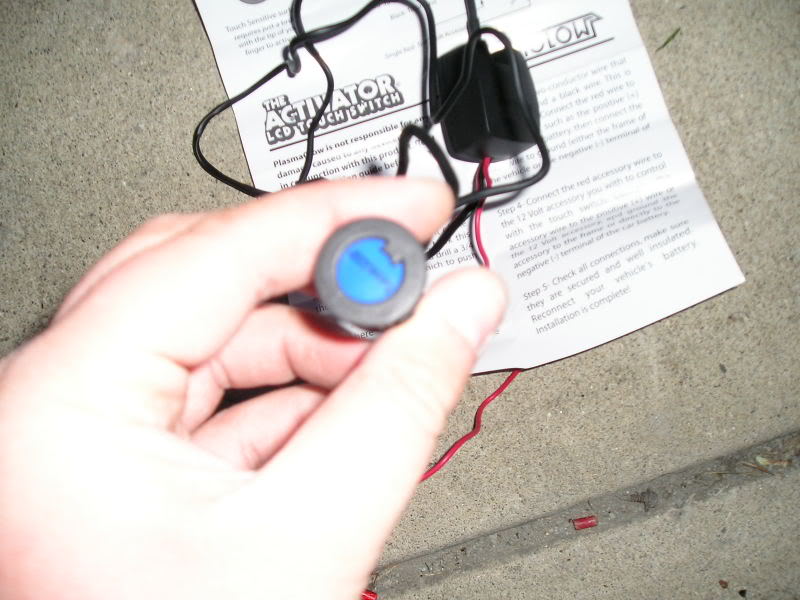
I was going to wire this up to look stock, but I didn't have time this evening. It'll look awesome, though. If you remember, the fuse panel cover is now blue. The blue button that lights up blue when pressed will be mounted on that so all you see is just a blue button on a fuse panel and perhaps some wires.
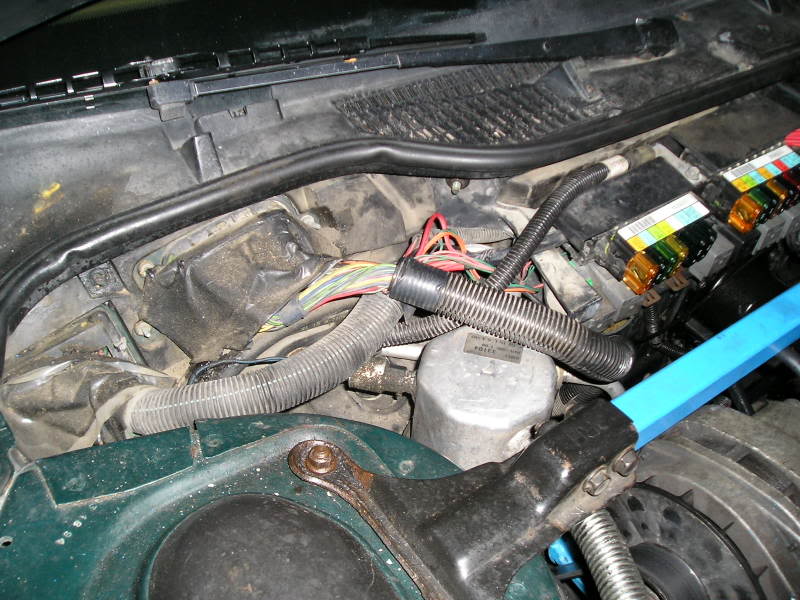
Here is how I started off:
And....
Just kidding. It didn't work. :( That was my camera and its "cool" special effects. Only one of the two blue boxes functioned, so that wasn't enough illumination. Also, these lights are a lot brighter inside a computer case. I think I'm going to have to get a lot more! BUAHAHAHA As for now, I have a lot of wiring and cleaning up to do. I should finish my car in about 2 weeks. Then, I'll start on other projects but be happy with the way my car looks and functions.
I got this from my computer:
This is a good thing to have while working:
I was going to wire this up to look stock, but I didn't have time this evening. It'll look awesome, though. If you remember, the fuse panel cover is now blue. The blue button that lights up blue when pressed will be mounted on that so all you see is just a blue button on a fuse panel and perhaps some wires.
Here is how I started off:
And....
Just kidding.
It didn't work. :( That was my camera and its "cool" special effects. Only one of the two blue boxes functioned, so that wasn't enough illumination. Also, these lights are a lot brighter inside a computer case. I think I'm going to have to get a lot more! BUAHAHAHA As for now, I have a lot of wiring and cleaning up to do. I should finish my car in about 2 weeks. Then, I'll start on other projects but be happy with the way my car looks and functions.
10-31-2007, 09:25 AM
#70
Senior Member
Posts like a 4 Banger

Join Date: Sep 2007
Location: Indianapolis, Indiana
Posts: 130
Likes: 0
Received 0 Likes
on
0 Posts
Being the compulsive type that I am, I'd think you would wanna go with green lighting and colors. I'd say yellow but the sprite/ 7-up look doesn't sit well.
That'* just me, and like I told you at your place, I tend to have a rather crazy thought process and ideas.
That'* just me, and like I told you at your place, I tend to have a rather crazy thought process and ideas.