The Bonnevilles, 2000 SE, 2002 SLE and 2003 SSEi
 06-21-2012, 11:47 PM
#1
Senior Member
Posts like a Corvette
Thread Starter

Join Date: Feb 2007
Location: Sanford Michigan
Posts: 1,201
Likes: 0
Received 0 Likes
on
0 Posts

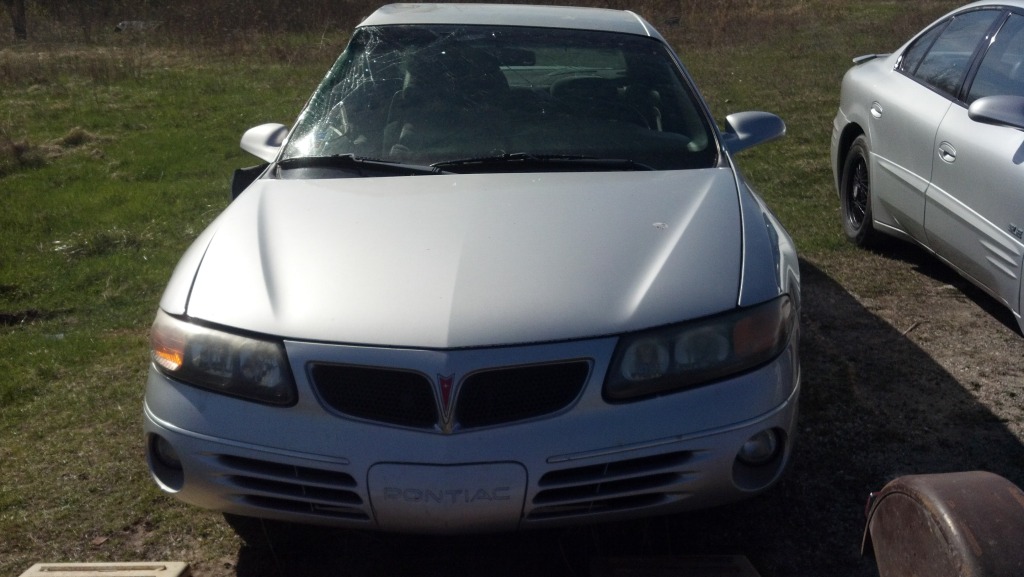
First up is the 2000 SE and 2002 SLE. I snagged them both up for cheap, the SE for a few parts for the SLE, then to part out. The SE had slid sideways into a tree over winter and the SLE had a tree fall on it during the first snow storm of last year.
Here is how they looked when I first got them home.
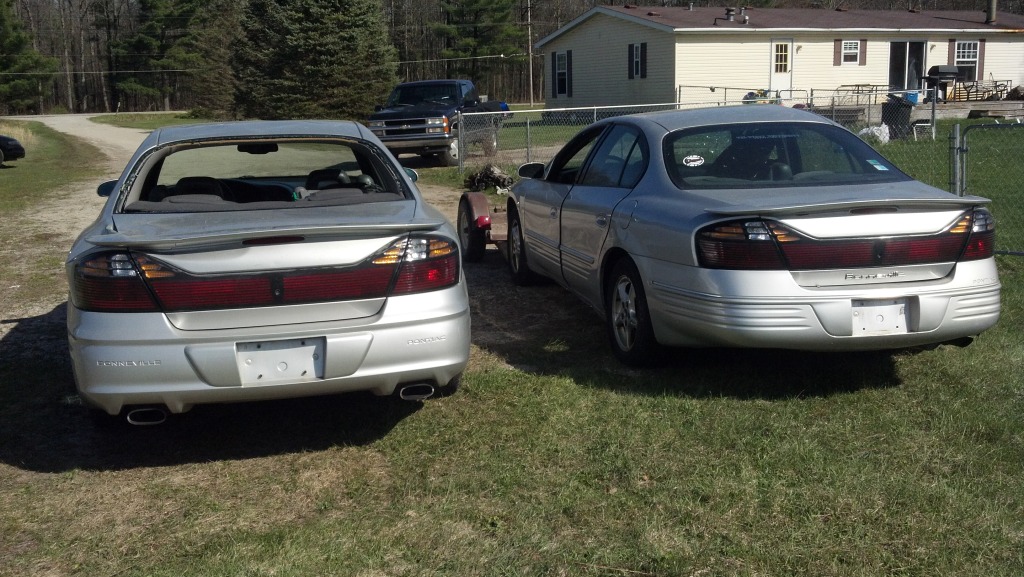


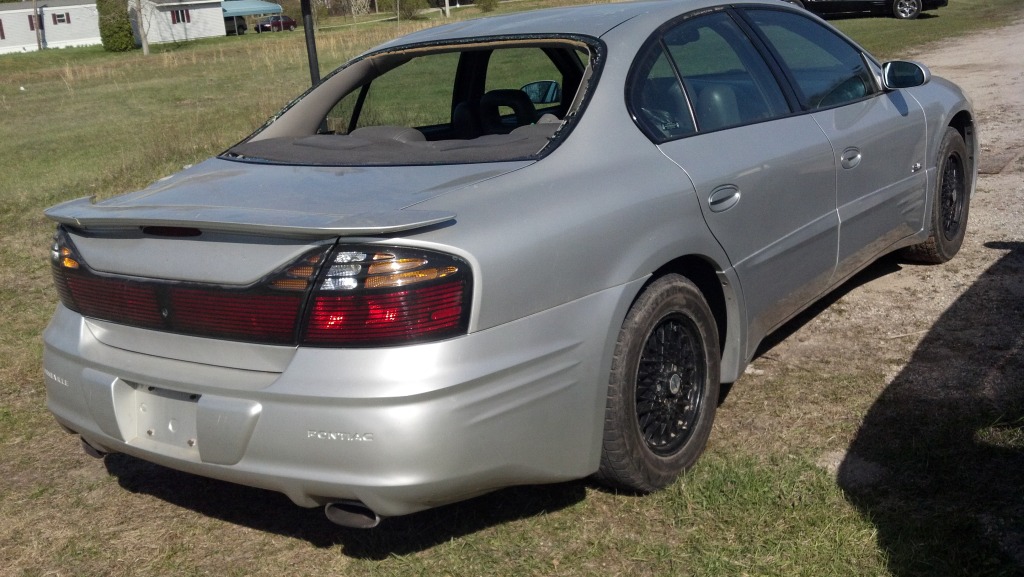
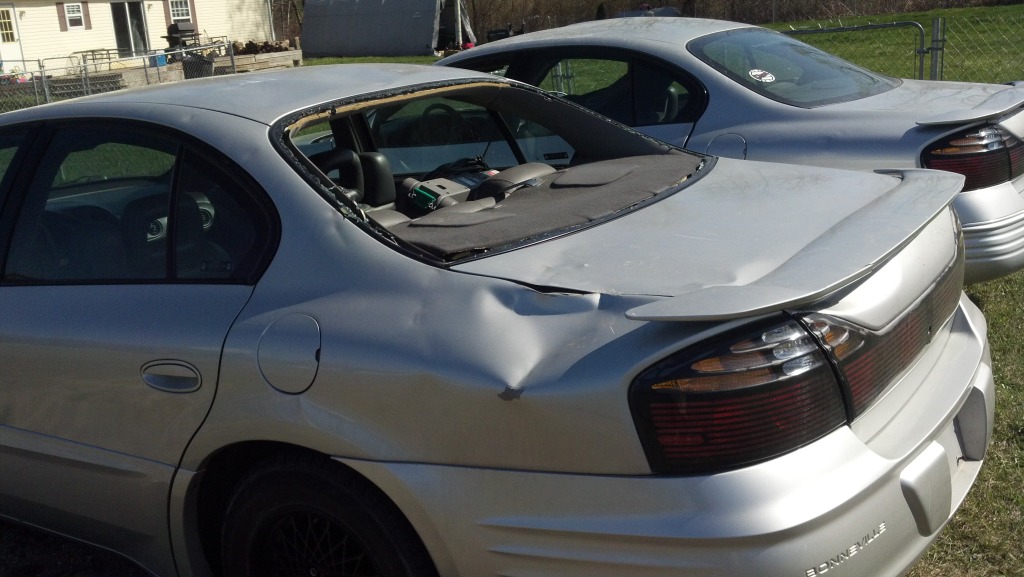

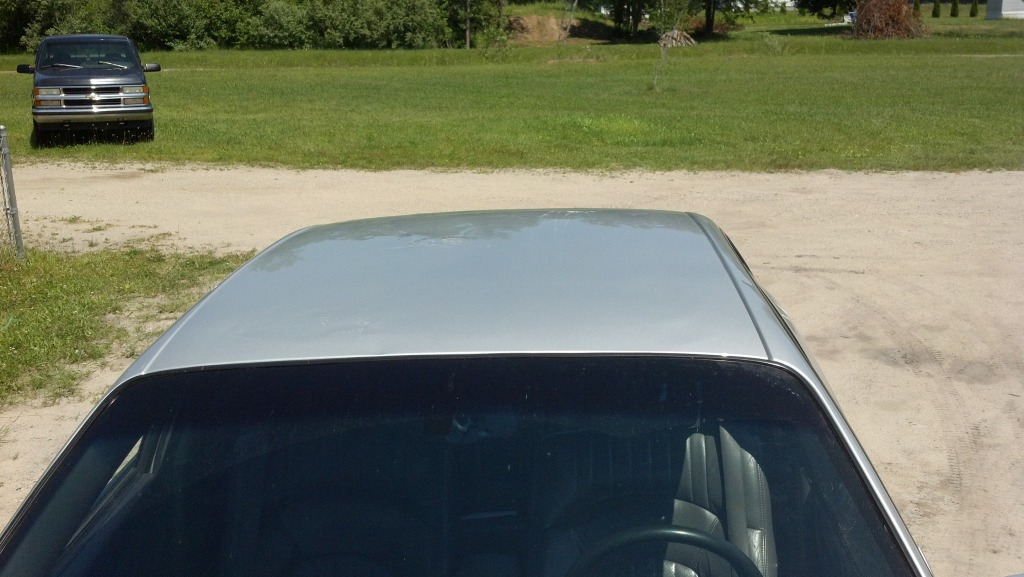
The SE is currently basically stripped, still have most of the body parts and transmission, it will be going in for scrap really soon, keeping the rest to sell off here and there. I swapped in a back glass into the SLE and worked on the dents, still working on them some, but getting close! Here is how it sits now...

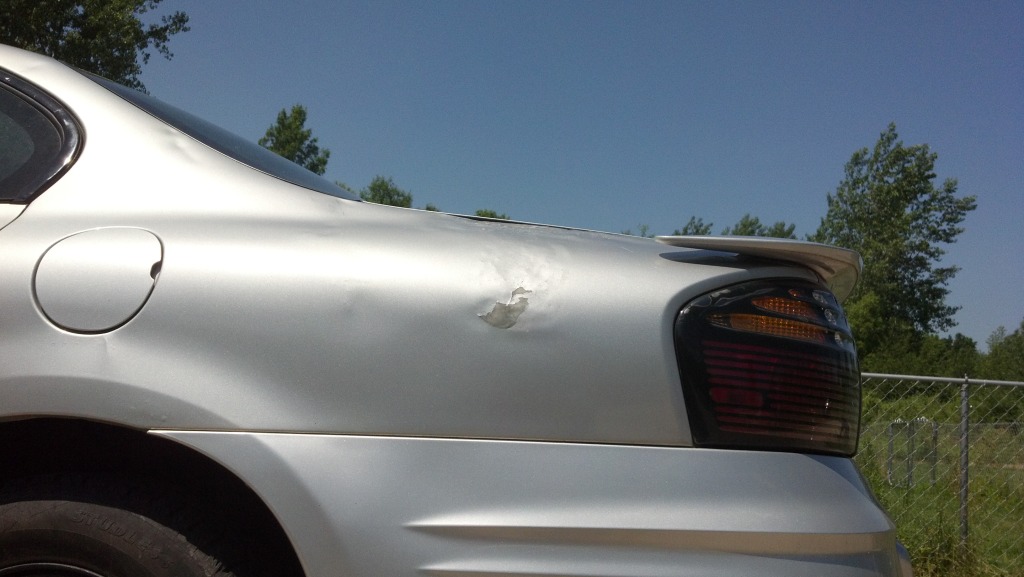


Haven't touched the roof yet since the first attempt.
Tinted the amber reflector, painted the blinker housing sides gloss black, painted bulb glare caps flat black with VHT header paint.

The SLE is my current daily driver, right about 206,000 miles on it and it runs / drives like a brand new car! I get about 27 - 30 MPG out of it too! Although I am currently trying to sell it because I found a GXP locally for DIRT CHEAP
Here is how they looked when I first got them home.
The SE is currently basically stripped, still have most of the body parts and transmission, it will be going in for scrap really soon, keeping the rest to sell off here and there. I swapped in a back glass into the SLE and worked on the dents, still working on them some, but getting close! Here is how it sits now...
Haven't touched the roof yet since the first attempt.
Tinted the amber reflector, painted the blinker housing sides gloss black, painted bulb glare caps flat black with VHT header paint.
The SLE is my current daily driver, right about 206,000 miles on it and it runs / drives like a brand new car! I get about 27 - 30 MPG out of it too! Although I am currently trying to sell it because I found a GXP locally for DIRT CHEAP
 06-21-2012, 11:55 PM
#2
Senior Member
Posts like a Corvette
Thread Starter
Join Date: Feb 2007
Location: Sanford Michigan
Posts: 1,201
Likes: 0
Received 0 Likes
on
0 Posts
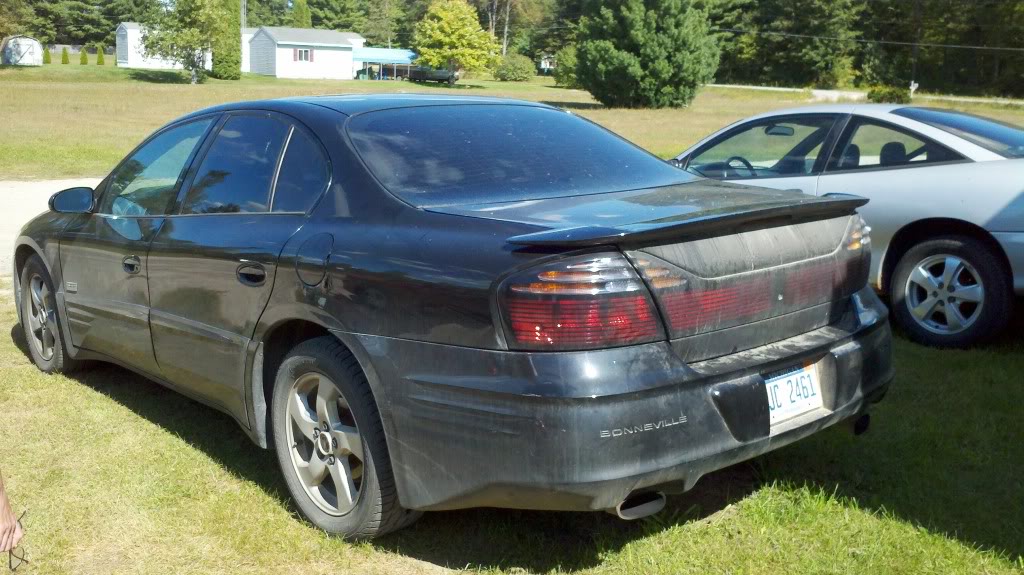
Here is the 2003 SSEi. Bought this one five years ago with 125,000 miles on it and it now sits at 231,000 miles, this also runs and drives beautiful other then needing new front struts.
I got it when I was married, we got divorced and she was supposed to keep the car. Long story short, she gave the car back (I did NOT want it... it was TRASHED) and I cleaned it up and my now fiance drives it as her daily driver.
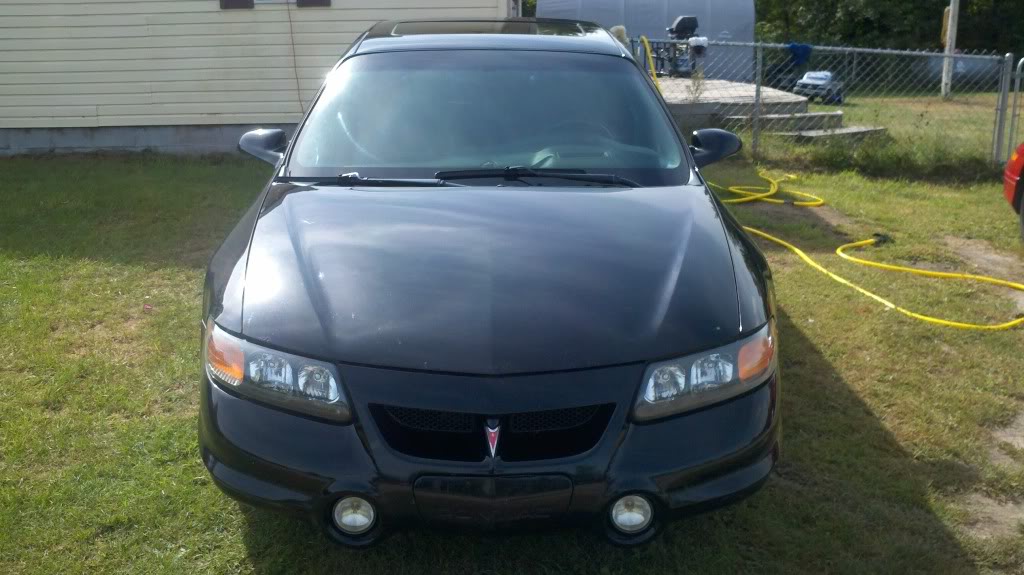
This is how it looked when I got it back from my ex.


After MUCH cleaning this is what it ended up like.


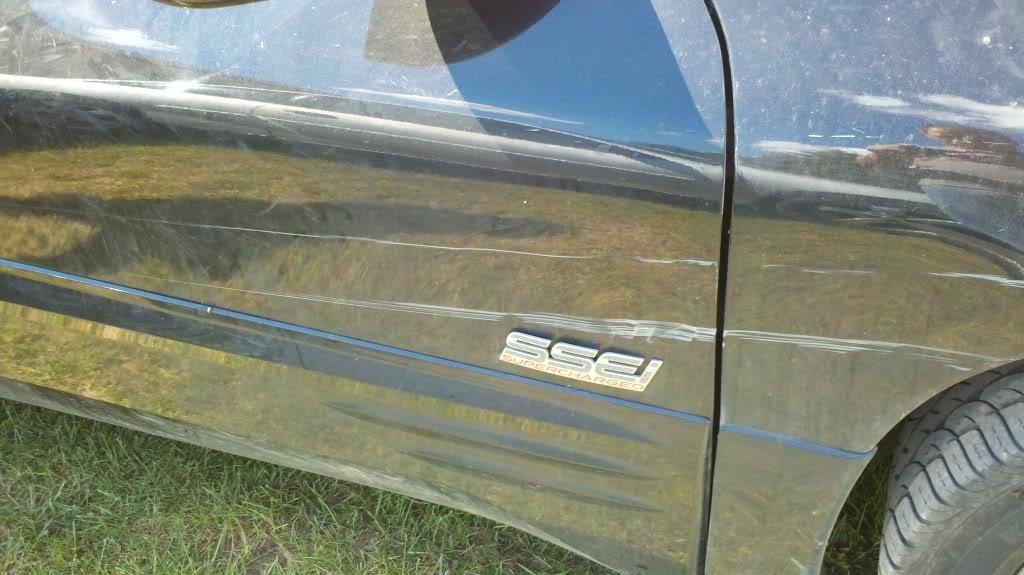
Nasty scratch

Mangled up fender

Scratch and nasty dent

continued scratch

Interior after cleaned up and vacuumed.


NASTY engine, haven't touched it yet though

SO... that was where we started at this morning.
However, the interior wasn't quite as good as we wanted, and I also wanted to tackle the drivers side seat heater that hasn't worked since I originally bought the car.
Close your eyes and hide your children


Heather did an amazing job cleaning the carpet up! (not done here, just starting)

Aso having issues with the drivers door not working with any of the switches and buttons, heard of a tan / white wire that likes to corrode at a connector under the drivers seat, figured I would look for that first.

I didn't get any more pics of it, but it looked really clean, but I removed the cheap splice and soldered all four wires together and completed with shrink wrap for a good tight seal.

Found something interesting for the seat heaters though!

All soldered back together and ready for shrink wrap

Even under the carpets was just disgusting! Vacuumed that all up.

Cleaned up the rust and painted it with some Rust-Oleum spray paint I had laying around. Not perfect, but much better then leaving the rust alone.

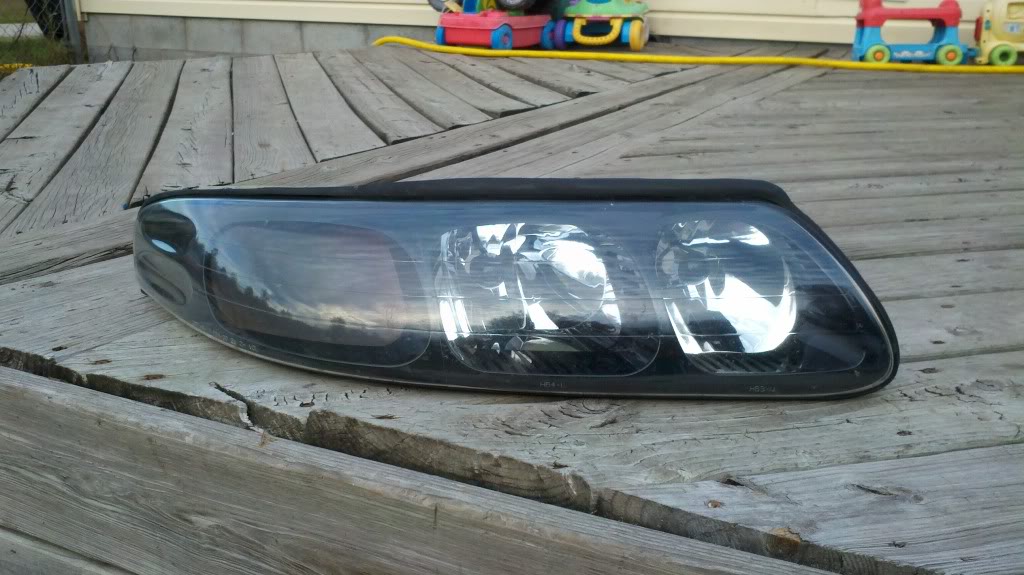
Now, while waiting for the carpet to dry, I took the drivers side door panel off to check the drivers door module (no issues found with it, gonna get one from haro) and also the blower control module (also no issues found, gonna get one from haro). After that was all done I had an idea of what to do with the headlights. I wanted to originally clear them, but couldn't find the silverstar bulbs, so I came up with another plan.
Little preview of the first try


Wasn't quite happy yet so I went a little further, here is a finished light

Original


Modded (before I went darker with the reflector though)
All done (headlights), hope you guys like it!

Blinker on, still plenty bright

Running light, a little dim, but will be plenty good at night

Carpet back in

Center console in

All done now!


Took a few pics of current condition of the paint


This is after some polishing. Now don't freak out here, it looks like crap because it has only been compounded at this point which is a very aggressive cut polish. This step MUST be followed by a medium cut then a fine cut polish to look right.

Here is the familiar nasty scratch on the front door. This is after polishing with the compound and the medium cut.


Front door again after polishing, not fine cut yet.

Back to the scratch on the front door. I filled most of the nastiness in with touch up paint then let it dry and wet sanded it down level.

Compounded, not medium or light cut polish yet. Where did the scratch go???


This is the back door, the scratch is been filled in with a touch up pen, but as we all know when you use touch up paint it leaves nice little raised spots above the rest of the paint.

I decided I didn't want ANY more orange peel... wetsanded the entire top of the door.
Close up of the paint, rock chip in there that needs some work and you can see the scratch a little on the bottom yet.

Half the door compounded

Door completely compounded and medium cut polish done, still no fine cut or wax.


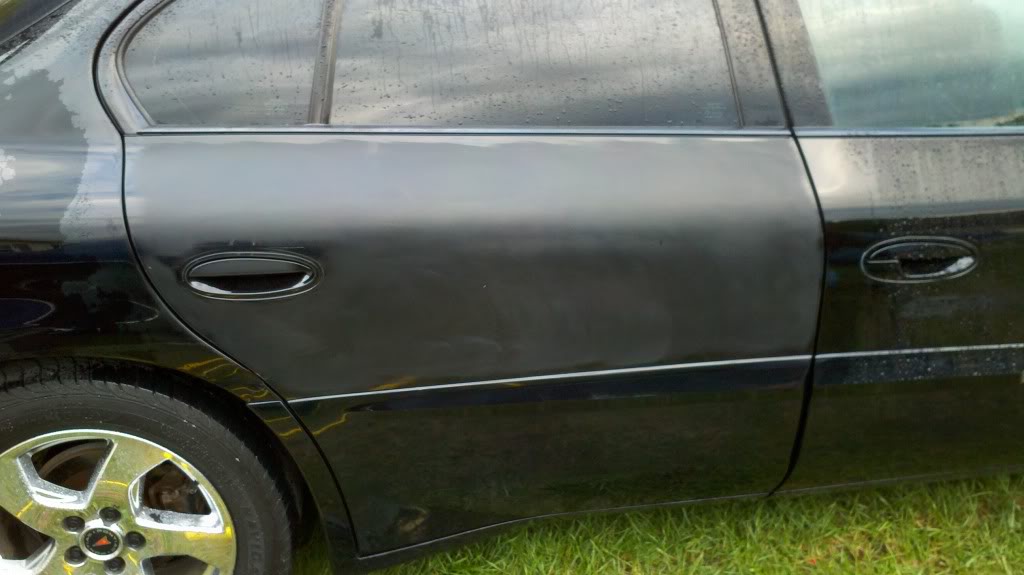
Paint condition on the rear passenger side quarter panel, remember that nice nasty scratch...


Wet sanded the entire quarter and the bottom of the back door.

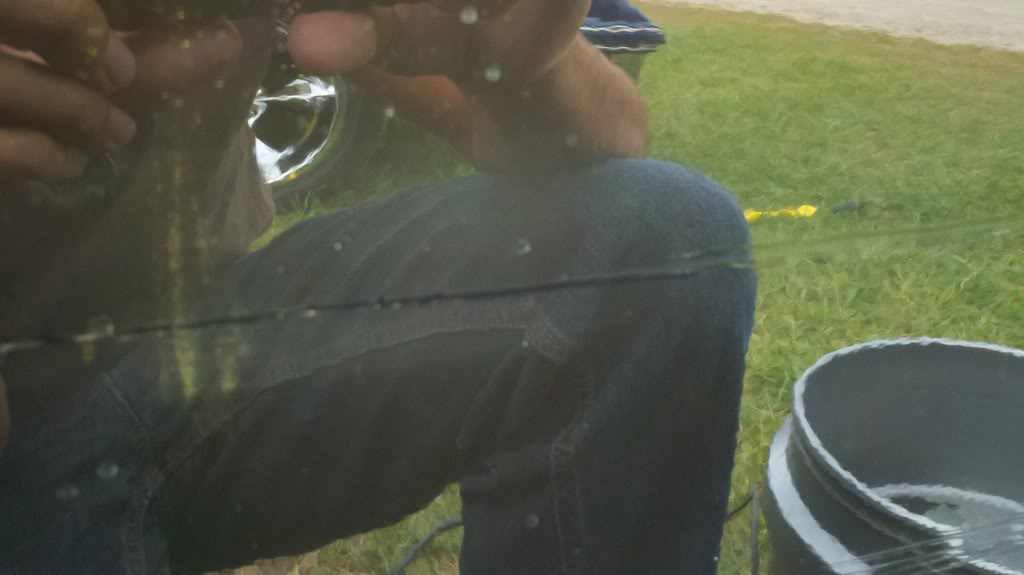
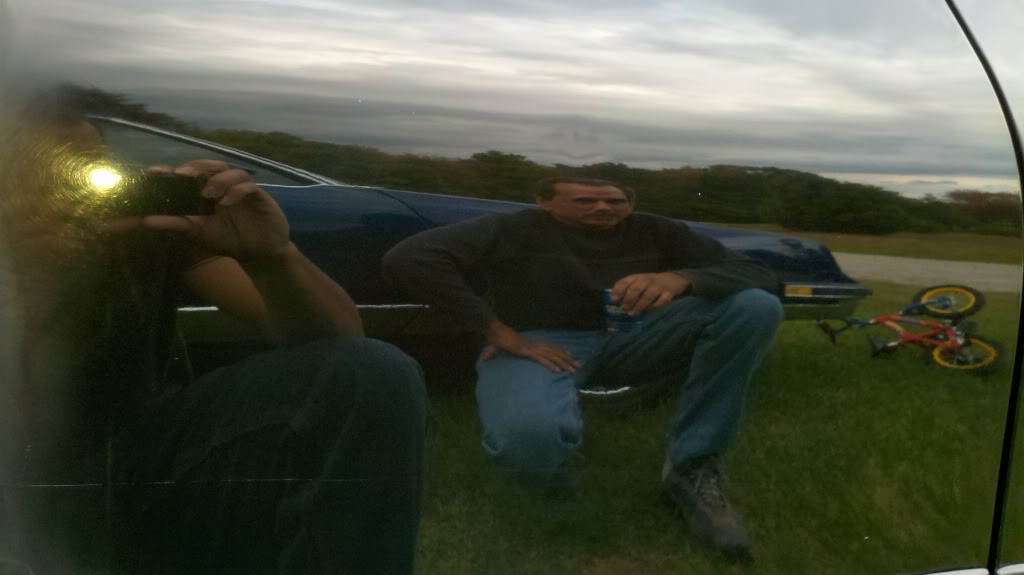
Some reflection shots after wet sanding, compounding, and medium cut polish.

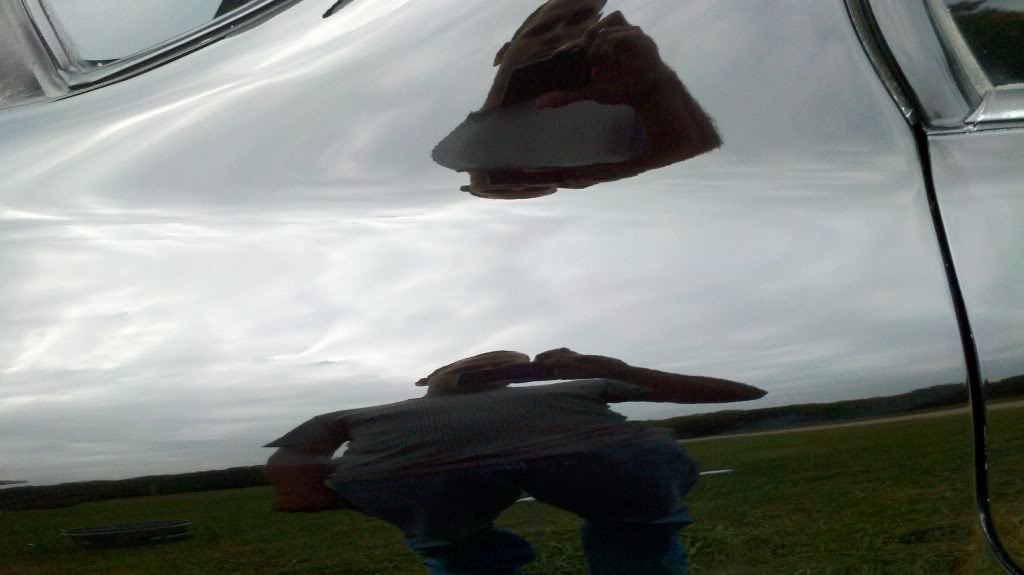


These next pics have already tricked a few people... notice the text


Now on to the drivers side, this is the condition of the paint before any work was done.


Drivers side fender, and both doors all wet sanded. Notice that there is still some shiny spots that were not sanded, that is because you want to stay away from sharp corners and edges (or be EXTREMELY careful with them) as it is very easy to sand the clear and paint right off. I chose to just get close to them and not actually do any sanding in those areas.

I got it when I was married, we got divorced and she was supposed to keep the car. Long story short, she gave the car back (I did NOT want it... it was TRASHED) and I cleaned it up and my now fiance drives it as her daily driver.
This is how it looked when I got it back from my ex.
After MUCH cleaning this is what it ended up like.
Nasty scratch
Mangled up fender
Scratch and nasty dent
continued scratch
Interior after cleaned up and vacuumed.
NASTY engine, haven't touched it yet though
SO... that was where we started at this morning.
However, the interior wasn't quite as good as we wanted, and I also wanted to tackle the drivers side seat heater that hasn't worked since I originally bought the car.
Close your eyes and hide your children
Heather did an amazing job cleaning the carpet up! (not done here, just starting)
Aso having issues with the drivers door not working with any of the switches and buttons, heard of a tan / white wire that likes to corrode at a connector under the drivers seat, figured I would look for that first.
I didn't get any more pics of it, but it looked really clean, but I removed the cheap splice and soldered all four wires together and completed with shrink wrap for a good tight seal.
Found something interesting for the seat heaters though!
All soldered back together and ready for shrink wrap
Even under the carpets was just disgusting! Vacuumed that all up.
Cleaned up the rust and painted it with some Rust-Oleum spray paint I had laying around. Not perfect, but much better then leaving the rust alone.
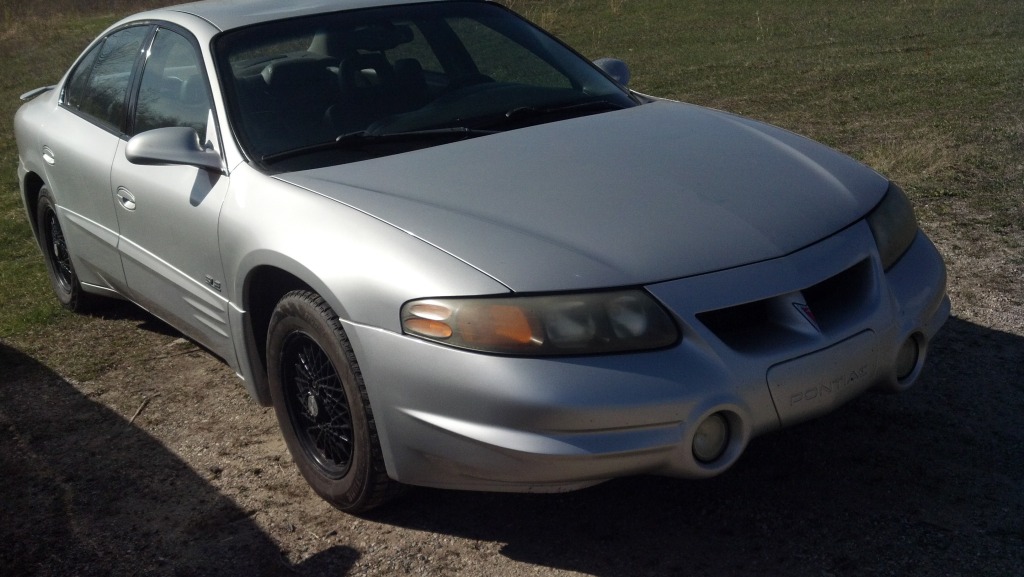
Now, while waiting for the carpet to dry, I took the drivers side door panel off to check the drivers door module (no issues found with it, gonna get one from haro) and also the blower control module (also no issues found, gonna get one from haro). After that was all done I had an idea of what to do with the headlights. I wanted to originally clear them, but couldn't find the silverstar bulbs, so I came up with another plan.
Little preview of the first try
Wasn't quite happy yet so I went a little further, here is a finished light
Original
Modded (before I went darker with the reflector though)
All done (headlights), hope you guys like it!
Blinker on, still plenty bright
Running light, a little dim, but will be plenty good at night
Carpet back in
Center console in
All done now!
Took a few pics of current condition of the paint
This is after some polishing. Now don't freak out here, it looks like crap because it has only been compounded at this point which is a very aggressive cut polish. This step MUST be followed by a medium cut then a fine cut polish to look right.
Here is the familiar nasty scratch on the front door. This is after polishing with the compound and the medium cut.
Front door again after polishing, not fine cut yet.
Back to the scratch on the front door. I filled most of the nastiness in with touch up paint then let it dry and wet sanded it down level.
Compounded, not medium or light cut polish yet. Where did the scratch go???
This is the back door, the scratch is been filled in with a touch up pen, but as we all know when you use touch up paint it leaves nice little raised spots above the rest of the paint.
I decided I didn't want ANY more orange peel... wetsanded the entire top of the door.
Close up of the paint, rock chip in there that needs some work and you can see the scratch a little on the bottom yet.
Half the door compounded
Door completely compounded and medium cut polish done, still no fine cut or wax.
Paint condition on the rear passenger side quarter panel, remember that nice nasty scratch...
Wet sanded the entire quarter and the bottom of the back door.
Some reflection shots after wet sanding, compounding, and medium cut polish.
These next pics have already tricked a few people... notice the text
Now on to the drivers side, this is the condition of the paint before any work was done.
Drivers side fender, and both doors all wet sanded. Notice that there is still some shiny spots that were not sanded, that is because you want to stay away from sharp corners and edges (or be EXTREMELY careful with them) as it is very easy to sand the clear and paint right off. I chose to just get close to them and not actually do any sanding in those areas.
06-21-2012, 11:59 PM
#3
Senior Member
Posts like a Corvette
Thread Starter
Join Date: Feb 2007
Location: Sanford Michigan
Posts: 1,201
Likes: 0
Received 0 Likes
on
0 Posts
Reflection after wet sanded, compounded, and medium cut polish.


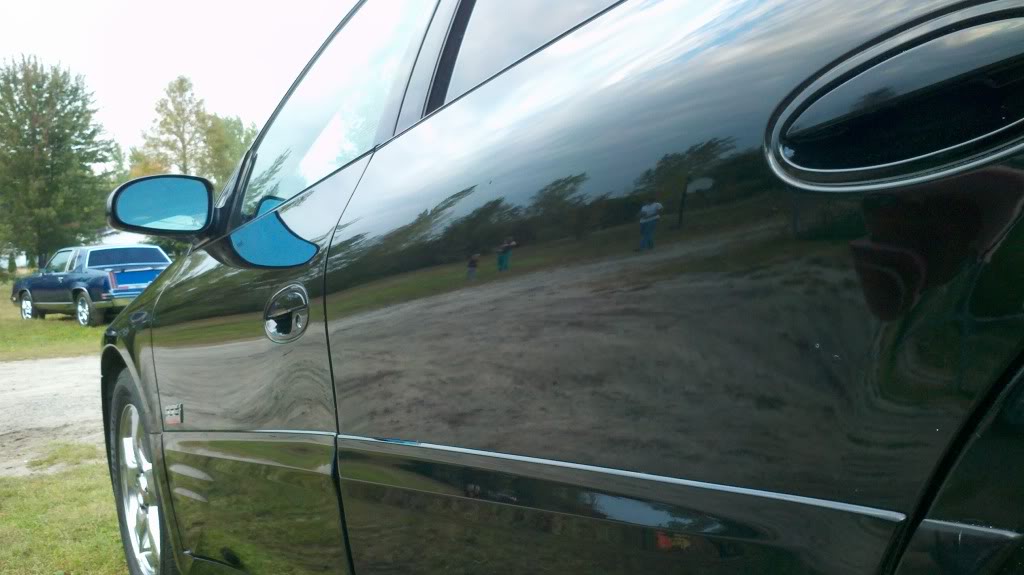


AND that is where I stand with the '03 SSEi right now. That was done last fall and I haven't had a time to completely finish it yet :( Rust is taking over under the fuel door so that needs to be addressed as well... All in due time!
Sorry for the MASSIVE INSANE amount of pics, but every car has a story and I like to tell it
06-22-2012, 05:33 AM
#4
Retired Administrator


True Car Nut

Great pics, the black SSEi reallt shows it color well. It is a good feeling to get the carpet and and cleaned, so mucj cleaner than cleaning the carpet with the seats in.
06-22-2012, 12:40 PM
#8
Senior Member
Posts like a Corvette
Thread Starter
Join Date: Feb 2007
Location: Sanford Michigan
Posts: 1,201
Likes: 0
Received 0 Likes
on
0 Posts
Thanks for the compliments so far guys! I have a little work into the '02 SLE, but I have at least 35 hours of actual work into the '03 SSEi to get it to this point so far! It has been a LONG road with that one, but well worth it!
You would be surprised as to how many people have said that LMAO
You would be surprised as to how many people have said that LMAO

Thread
Thread Starter
Forum
Replies
Last Post
Pologuy
General GM Chat
10
09-10-2007 07:04 AM
Pologuy
Introductions for new members
2
09-09-2007 02:23 PM
toxictelevision
Performance, Brainstorming & Tuning
3
02-23-2003 06:41 AM