Headlight Alignment
 03-22-2009, 07:42 PM
#1
Retired Senior Admin


Expert Gearhead
Thread Starter
Join Date: May 2006
Location: Sheboygan Wisconsin
Posts: 29,661
Likes: 0
Received 28 Likes
on
24 Posts


This is a basic headlight alignment write up. This will get your headlights close, but to get them perfect you will need a headlight alignment tool with a bubble level.
First you will need to get the car on a level area with a wall to shine the lights on. A wall of about 25 feet is ideal. This write up was done at close range for demonstration.
Tape your headlights off like this making a thin line across the center of the light.

Now using a level and a yard stick, ensure the opening is exactly the same on both headlights.

Now turn on the headlights and place some tape on the edge. Try to get this as close to the edge as possible.

Now turn the headlights off. Do not leave them on to long as they will get hot.

As you can see the two sides of the car are different.

Now take a 1/4 nut driver or socket.

Locate your adjusters

Now adjust your lights so both sides are the same.
Now take a long strip of tape and go all the way across. Then take your level and check. It should be level. If not, make adjustments.

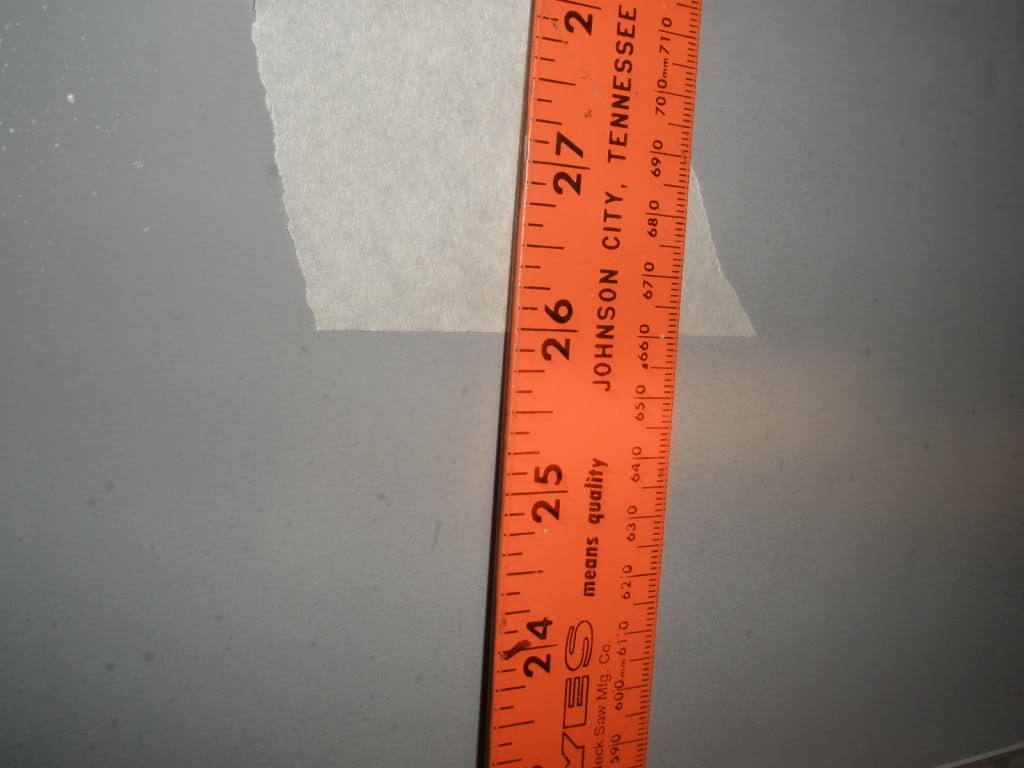
Now, for the finale adjustment. You will need to back the car away from this wall 25 feet. Again check the hight of the beam. At this distance it should be 2 inches below the line. (This is the line you had just made above and should be the exact hight at the slit the tape forms.) Make sure you car is still on a level surface and the same hight as your starting point.
Remove the tape.
Now, from inside the car the lights should look level and not cross eyed.

First you will need to get the car on a level area with a wall to shine the lights on. A wall of about 25 feet is ideal. This write up was done at close range for demonstration.
Tape your headlights off like this making a thin line across the center of the light.
Now using a level and a yard stick, ensure the opening is exactly the same on both headlights.
Now turn on the headlights and place some tape on the edge. Try to get this as close to the edge as possible.
Now turn the headlights off. Do not leave them on to long as they will get hot.
As you can see the two sides of the car are different.
Now take a 1/4 nut driver or socket.
Locate your adjusters
Now adjust your lights so both sides are the same.
Now take a long strip of tape and go all the way across. Then take your level and check. It should be level. If not, make adjustments.
Now, for the finale adjustment. You will need to back the car away from this wall 25 feet. Again check the hight of the beam. At this distance it should be 2 inches below the line. (This is the line you had just made above and should be the exact hight at the slit the tape forms.) Make sure you car is still on a level surface and the same hight as your starting point.
Remove the tape.
Now, from inside the car the lights should look level and not cross eyed.


Thread
Thread Starter
Forum
Replies
Last Post