Project: Build Awesome Mini Speakers
 03-01-2011, 11:21 PM
#11
Senior Member
True Car Nut
Thread Starter
Join Date: Jun 2007
Location: New Lenox, IL
Posts: 2,478
Likes: 0
Received 0 Likes
on
0 Posts

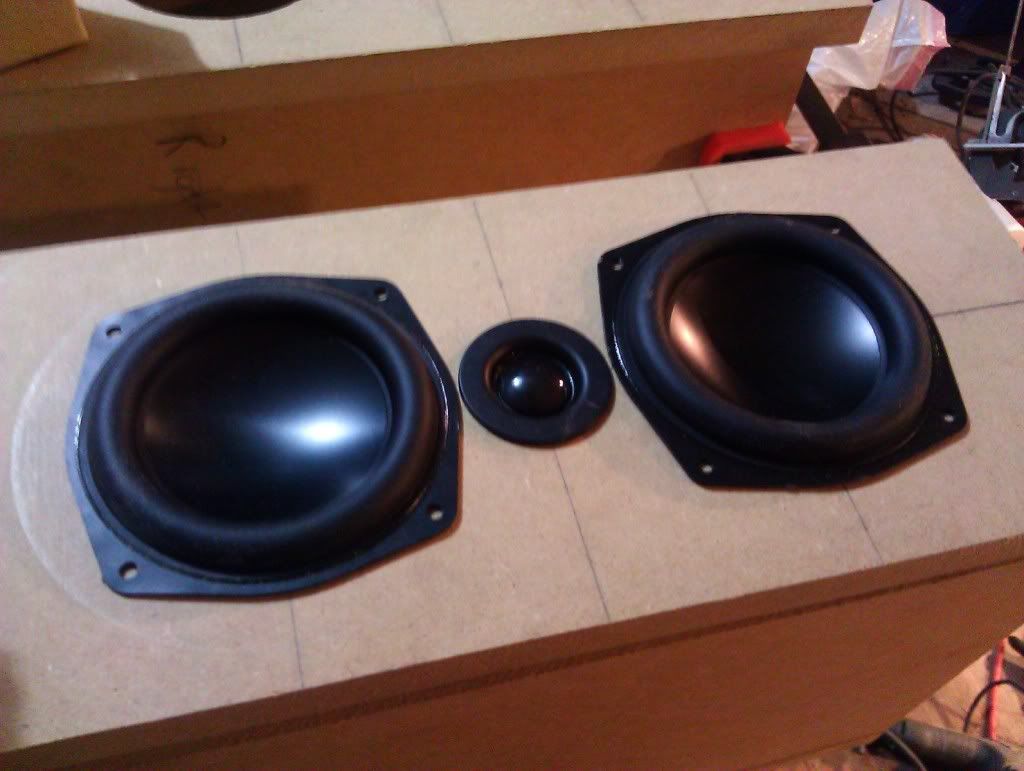
Holy hell the excursion on these 2.5" drivers is long. Lots of bass for such little speakers. These will be quite amazing to listen to at casual listening levels. They're not made to be extremely loud by any means, but they'll easily fill an entire living room with sound at a casual party.
 03-04-2011, 02:48 AM
#12
-- SITE DONATOR --

True Car Nut

Awesome project you have going on here. I like the look and sound of the speakers. Really makes me wish I had a wood shop. I've got the skills, just need the tools and space. (and time).
I think your dad is going to love these and it'* very awesome of you to help him out like that.
I think your dad is going to love these and it'* very awesome of you to help him out like that.
03-04-2011, 11:39 PM
#13
Senior Member
True Car Nut
Thread Starter
Join Date: Jun 2007
Location: New Lenox, IL
Posts: 2,478
Likes: 0
Received 0 Likes
on
0 Posts
Awesome project you have going on here. I like the look and sound of the speakers. Really makes me wish I had a wood shop. I've got the skills, just need the tools and space. (and time).
I think your dad is going to love these and it'* very awesome of you to help him out like that.
I think your dad is going to love these and it'* very awesome of you to help him out like that.
For those who are interested in making replicas of what I'm making, here'* a parts list. There are two prices; one for each unit, and one for the total of the quantity. If the second number is higher, do the math to figure out how many you need.
Your Shopping Cart
Dayton DNR-2.0 2 Ohm 10W Precision Audio Grade Resistor
Part Number: 004-2
$1.25 $2.50
Dayton DNR-20 20 Ohm 10W Precision Audio Grade Resistor
Part Number: 004-20
$1.25 $2.50
4 Ohm 10W Resistor
Part Number: 016-4
$0.44 $0.88
2.2uF 100V Non-Polarized Capacitor
Part Number: 027-324
$0.35 $0.70
6.8uF 100V Non-Polarized Capacitor
Part Number: 027-336
$0.56 $1.12
#8 x 1" Deep Thread Pan Head Screws Black 100 Pcs.
Part Number: 081-425
$3.25 $3.25
Dayton Audio BPGS-25G Binding Post with 1" Thread 2 Pair
Part Number: 091-1250
$13.49 $13.49
.205" (16-14) Female Disconnect 50 Pcs.
Part Number: 095-282
$4.10 $4.10
.110" (16-14) Female Disconnect 50 Pcs.
Part Number: 095-286
You might also need:
$4.59 $4.59
2.0mH 18 AWG I Core Inductor
Part Number: 266-554
$7.87 $15.74
Dayton Audio DMPC-5.6 5.6uF 250V Polypropylene Capacitor
Part Number: 027-425
$2.63 $5.26
Jantzen 0.25mH 20 AWG Air Core Inductor
Part Number: 255-026
$3.70 $7.40
Precision Port 2" Flared Port Tube Kit
Part Number: 268-348
$8.00 $16.00
Acoustic Foam 1-1/2" 24" x 18" UL 94
Part Number: 260-516
$6.00 $18.00
Dayton Audio ND20FA-6 3/4" Neodymium Dome Tweeter
Part Number: 275-030
$7.96 $15.92
Dayton Audio ND105-4 4" Aluminum Cone Midbass Driver 4 Ohm
Part Number: 290-212
$24.85 $99.40
Subtotal: $210.85
Yes, the drivers are more expensive. I picked them up on sale for $15.60 a pop.
03-04-2011, 11:50 PM
#14
Senior Member
True Car Nut
Thread Starter
Join Date: Jun 2007
Location: New Lenox, IL
Posts: 2,478
Likes: 0
Received 0 Likes
on
0 Posts
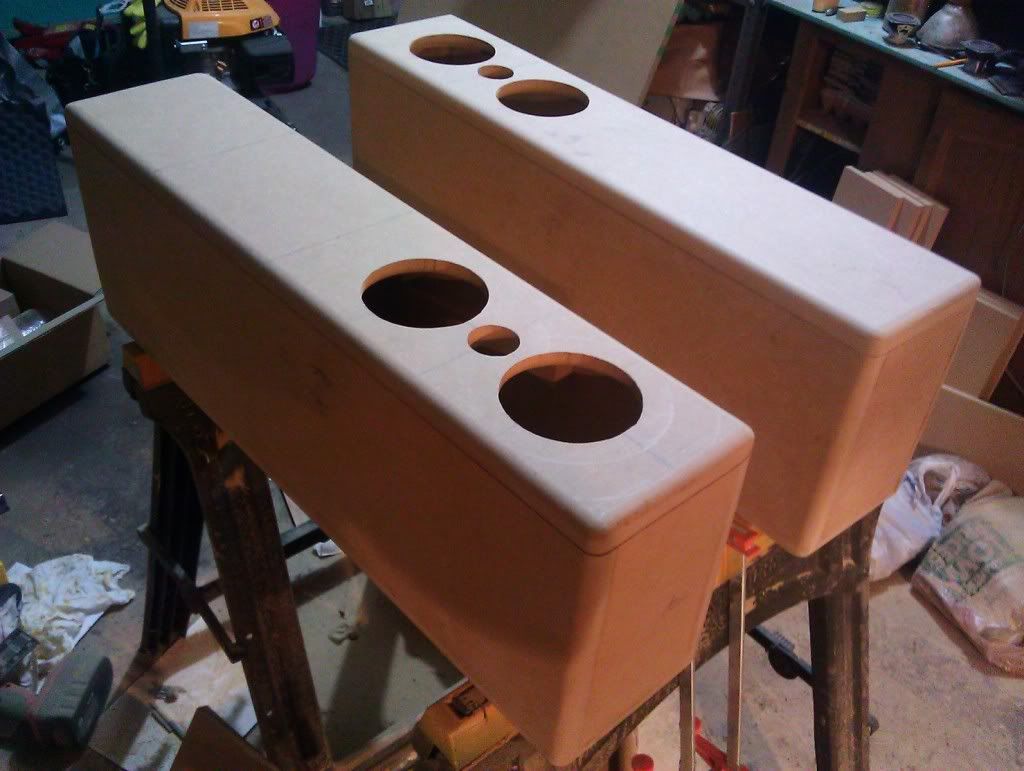
Here are the external dimensions of the box:
28h x 6w x 9.5d
Upper woofer'* center needs to be mounted 4" down from the box top, tweeter'* center is mounted 7" from the top, and lower woofer'* center is mounted 10" from the top.
For simplicity, I would mount the crossover board on a platform where it can be easily accessed and removed if necessary. Last thing you want to do is screw something up and not be able to get your crossover out of the box. Mounting it to a board on the rear of the cabinet that is sealed with a gasket or some caulk but can be removed would be your best bet. This is the route I will be taking. Alternately, you can also make a removable baffle. Google is your friend.
I didn't realize how small these would be till I had the MDF cut at home depot. You will need 12" stands for these so the tweeters are at ear level in a sitting position. Get creative with this one.
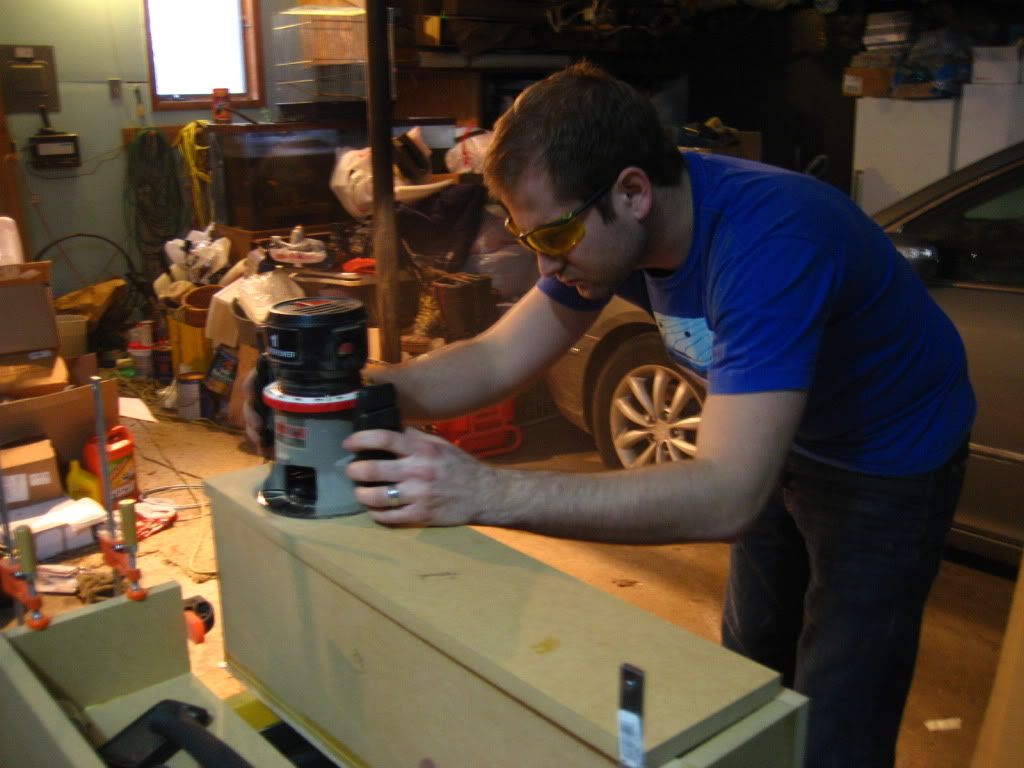
Round over edges, in the front at bare minimum. You will need a roundover tool, and this is absolutely necessary. Baffle diffraction will yield undesirable results if you do not. You will have peaks where you don't want them and it won't sound as good.
Finish:
50/50 mixture of Titebond II wood glue and water. Brush it smoothly across the entire surface. This is extremely important at the raw edges of the MDF because that will absorb paint and primer like a sponge. This will seal the entire box.
Prime with a paint brush, let dry, and sand till smooth. Repeat.
Paint with black high gloss. Allow to dry, sand with 600 grit. Clean off. Repeat 2x.
Paint with your choice of clear coat and allow to dry recommended intervals. Sand lightly with 600 grit between coats. Repeat 2x.
Allow to dry completely, sand any imperfections with 600 grit, and sand again with 1500-2000 grit. Get some rubbing polishing compound and go to town till you get the mirror finish you want.
28h x 6w x 9.5d
Upper woofer'* center needs to be mounted 4" down from the box top, tweeter'* center is mounted 7" from the top, and lower woofer'* center is mounted 10" from the top.
For simplicity, I would mount the crossover board on a platform where it can be easily accessed and removed if necessary. Last thing you want to do is screw something up and not be able to get your crossover out of the box. Mounting it to a board on the rear of the cabinet that is sealed with a gasket or some caulk but can be removed would be your best bet. This is the route I will be taking. Alternately, you can also make a removable baffle. Google is your friend.
I didn't realize how small these would be till I had the MDF cut at home depot. You will need 12" stands for these so the tweeters are at ear level in a sitting position. Get creative with this one.
Round over edges, in the front at bare minimum. You will need a roundover tool, and this is absolutely necessary. Baffle diffraction will yield undesirable results if you do not. You will have peaks where you don't want them and it won't sound as good.
Finish:
50/50 mixture of Titebond II wood glue and water. Brush it smoothly across the entire surface. This is extremely important at the raw edges of the MDF because that will absorb paint and primer like a sponge. This will seal the entire box.
Prime with a paint brush, let dry, and sand till smooth. Repeat.
Paint with black high gloss. Allow to dry, sand with 600 grit. Clean off. Repeat 2x.
Paint with your choice of clear coat and allow to dry recommended intervals. Sand lightly with 600 grit between coats. Repeat 2x.
Allow to dry completely, sand any imperfections with 600 grit, and sand again with 1500-2000 grit. Get some rubbing polishing compound and go to town till you get the mirror finish you want.
03-04-2011, 11:59 PM
#16
Senior Member
True Car Nut
Thread Starter
Join Date: Jun 2007
Location: New Lenox, IL
Posts: 2,478
Likes: 0
Received 0 Likes
on
0 Posts
03-05-2011, 12:02 AM
#17
Senior Member
True Car Nut
Thread Starter
Join Date: Jun 2007
Location: New Lenox, IL
Posts: 2,478
Likes: 0
Received 0 Likes
on
0 Posts
Not sure if i mentioned this, but I did pick up some 2.5" mini versions of these drivers to build mini cubes. Picked up some 1/4" oak to build little boxes for these. They're stupid loud for such tiny drivers. I'll be building these at some point as well.
03-07-2011, 02:54 AM
#19
Senior Member
True Car Nut
Thread Starter
Join Date: Jun 2007
Location: New Lenox, IL
Posts: 2,478
Likes: 0
Received 0 Likes
on
0 Posts
Start from the bottom.
IMG_20110306_215724.jpg
IMG_20110306_215715.jpg
IMG_20110306_201725.jpg
IMG_20110306_200905.jpg
IMG_20110306_200644.jpg
IMG_20110306_200627.jpg
IMG_20110306_182527.jpg
IMG_20110306_182301.jpg
IMG_20110306_182240.jpg
IMG_0598.jpg
IMG_0596.jpg
IMG_0595.jpg
IMG_0593.jpg
IMG_0592.jpg
IMG_0590.jpg
IMG_0589.jpg
IMG_0586.jpg
IMG_0585.jpg
IMG_0579.jpg
IMG_0575.jpg
IMG_0574.jpg
IMG_0573.jpg
IMG_0572.jpg
IMG_0571.jpg
IMG_0570.jpg
IMG_0569.jpg
IMG_0567.jpg
IMG_0562.jpg
IMG_0560.jpg
IMG_0557.jpg
IMG_0555.jpg
IMG_0554.jpg
IMG_0552.jpg
IMG_0550.jpg
 03-08-2011, 01:35 AM
#20
Senior Member
True Car Nut
Thread Starter
Join Date: Jun 2007
Location: New Lenox, IL
Posts: 2,478
Likes: 0
Received 0 Likes
on
0 Posts
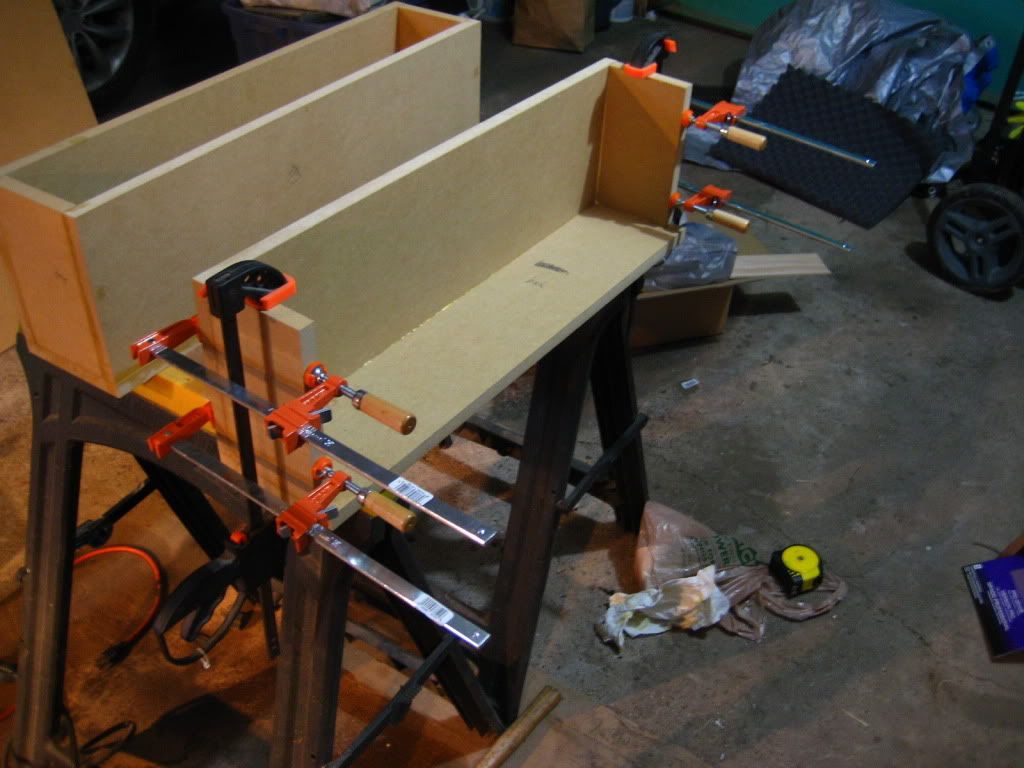
Got the removable baffle nuts fitted today.
IMG_20110307_214314.jpg
I drilled the holes in the baffle, had to oval out some of them to line up with the bolts. Finally got everything to fit properly, and I got to making the port. I read the instructions and discovered that the port length is measured only during the length of tube that is 2" inner diameter, and not the actual flares themselves. Considering my internal depth was 8" and I needed a 7.09" port to begin with, this was a bit of a problem.
I stood there thinking for a while and finally decided to put the port facing downward on the bottom as I really don't want to use PVC pipe. I got the port hole cut for one of the cabinets and the port fits like a glove.