Another one of those days.
 04-09-2010, 05:28 PM
#1
Retired Senior Admin


Expert Gearhead
Thread Starter
Join Date: May 2006
Location: Sheboygan Wisconsin
Posts: 29,661
Likes: 0
Received 28 Likes
on
24 Posts


Got a lot done, was all the way up to 49*
First, I finished lowering the car about a inch.
P4090510.jpg
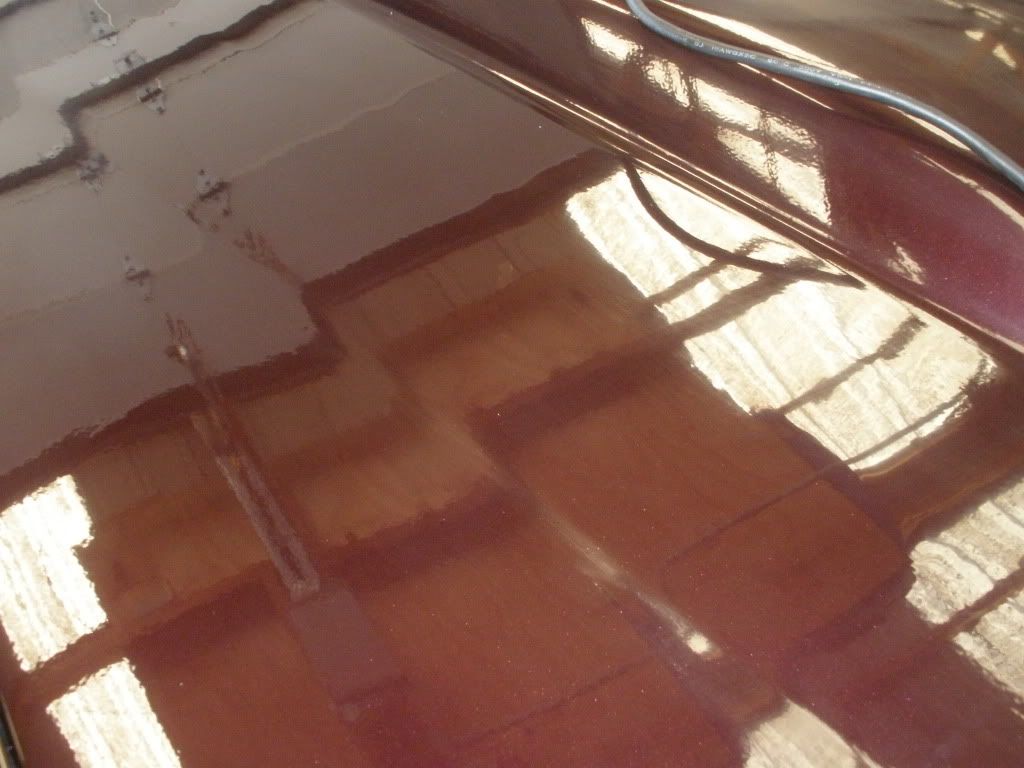
Did a bunch more wet sanding on the hood.
P4090511.jpg
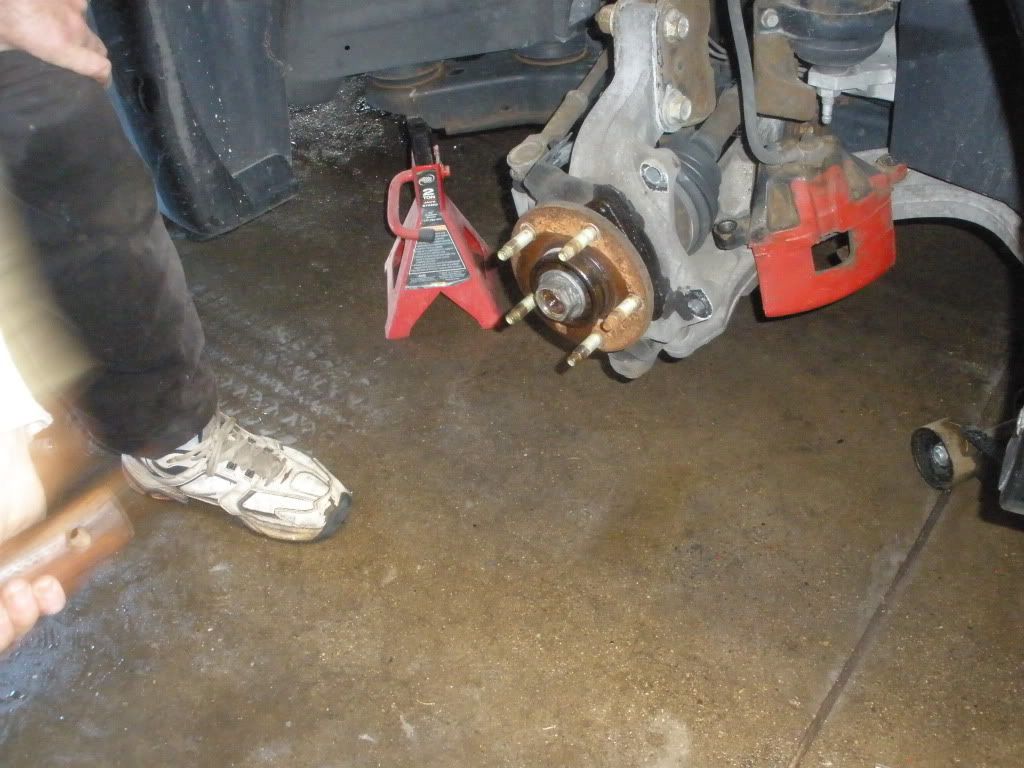
Then a Bonneville came over for a wheel hub change.
Took off the calipers.
P4090512.jpg
PB blaster is my friend.
P4090513.jpg
Off with the nut.
P4090514.jpg
Winding up with the hammer.
And off with the bolts.
P4090516.jpg
Roys idea for a hub remover.
P4090520.jpg
First time trying it.
P4090521.jpg
No effort, came right off.
P4090522.jpg
Axel was a bit stubborn.
P4090523.jpg
And out it came.
P4090524.jpg
In with the new one.
P4090525.jpg
All bolted back in.
P4090526.jpg
And it'* done.
P4090527.jpg
Had us a little mini meet today.
P4090528.jpg
This is the one that got the new hubs.
P4090529.jpg
The red one is getting new valve springs next week.
And I finally get back to the hood.
Still have a bit more polishing to do, but it'* nearly done.
P4090531.jpg
Got the emblems one.
P4090532.jpg
From the side.
P4090533.jpg
I think I need to wash the car.
P4090538.jpg
First, I finished lowering the car about a inch.
P4090510.jpg
Did a bunch more wet sanding on the hood.
P4090511.jpg
Then a Bonneville came over for a wheel hub change.
Took off the calipers.
P4090512.jpg
PB blaster is my friend.
P4090513.jpg
Off with the nut.
P4090514.jpg
Winding up with the hammer.
And off with the bolts.
P4090516.jpg
Roys idea for a hub remover.
P4090520.jpg
First time trying it.
P4090521.jpg
No effort, came right off.
P4090522.jpg
Axel was a bit stubborn.
P4090523.jpg
And out it came.
P4090524.jpg
In with the new one.
P4090525.jpg
All bolted back in.
P4090526.jpg
And it'* done.
P4090527.jpg
Had us a little mini meet today.
P4090528.jpg
This is the one that got the new hubs.
P4090529.jpg
The red one is getting new valve springs next week.
And I finally get back to the hood.
Still have a bit more polishing to do, but it'* nearly done.
P4090531.jpg
Got the emblems one.
P4090532.jpg
From the side.
P4090533.jpg
I think I need to wash the car.
P4090538.jpg


 04-09-2010, 05:44 PM
#4
Retired Senior Admin
Expert Gearhead
Thread Starter
Join Date: May 2006
Location: Sheboygan Wisconsin
Posts: 29,661
Likes: 0
Received 28 Likes
on
24 Posts
I've got I will guess between 30 and 40 hours of work on the hood, with the filling, sanding, painting, and now wet sanding and polishing. I figure I have a few more hours of work to finish it off.
04-09-2010, 06:56 PM
#7
Senior Member
Posts like a Turbo
Join Date: Mar 2009
Location: Clawson, Michigan
Posts: 478
Likes: 0
Received 0 Likes
on
0 Posts
that nut and bolt trick, is that going through an existing hole or did you cut the bolt to leghth?
Very nice lookin hood there, V2 is much better!
Very nice lookin hood there, V2 is much better!
04-09-2010, 08:52 PM
#9
Administratus Emeritus
Certified Car Nut
Looks like a good day all around Dan!. Glad you got one the way things have been going. Going to remember the hub trick. We have several GXP'* that had the bearings fail @ 50k and a little higher. I think I'll play it safe and replace @ 50K. I'm planning a trip to MI in July.