| Trans Am GTA hood vent install guide |
|
Description
|
How to install GTA hood vents in a 92-99 Bonneville
|
|
Uploader
|
willwren
|
|
Date
|
Tue Jun 19, 2007 8:44 pm
|
|
Type
|
How-to
|
|
Rating
|
10/10, 1 vote(s)
|
|
Applicable Models
|
Unknown
|
|
Information Source
|
Unknown
|
The details won't be specific, because this is a very involved project with may possible pitfalls.
These hood vents are the closest OEM or aftermarket FIT you an find.
They will improve the looks of the car as well as the Performance. They
are VERY effective at purging heatsoak from the engine bay,
particularly if you have already done a high-speed fan override.
You CAN do this without repainting your hood (see the topic about
driverjohn's install to see how). Mine needed it anyway, so I did the
first install on mine. We did driverjohn2005's together, without having
to repaint his hood. Follow the topic links, measurements, and
insturctions carefully, but PLEASE don't neglect measuring your OWN hood
and cutting very carefully as you go.
Original topic:
http://www.bonnevilleclub.com/forum/viewtopic.php?t=40476
Original install on the Zilla:
http://www.bonnevilleclub.com/forum/viewtopic.php?t=41785
What to do about the hood insulator:
http://www.bonnevilleclub.com/forum/viewtopic.php?t=44080
Second install on Gravenge (driverjohn2005):
http://www.bonnevilleclub.com/forum/viewtopic.php?t=45613
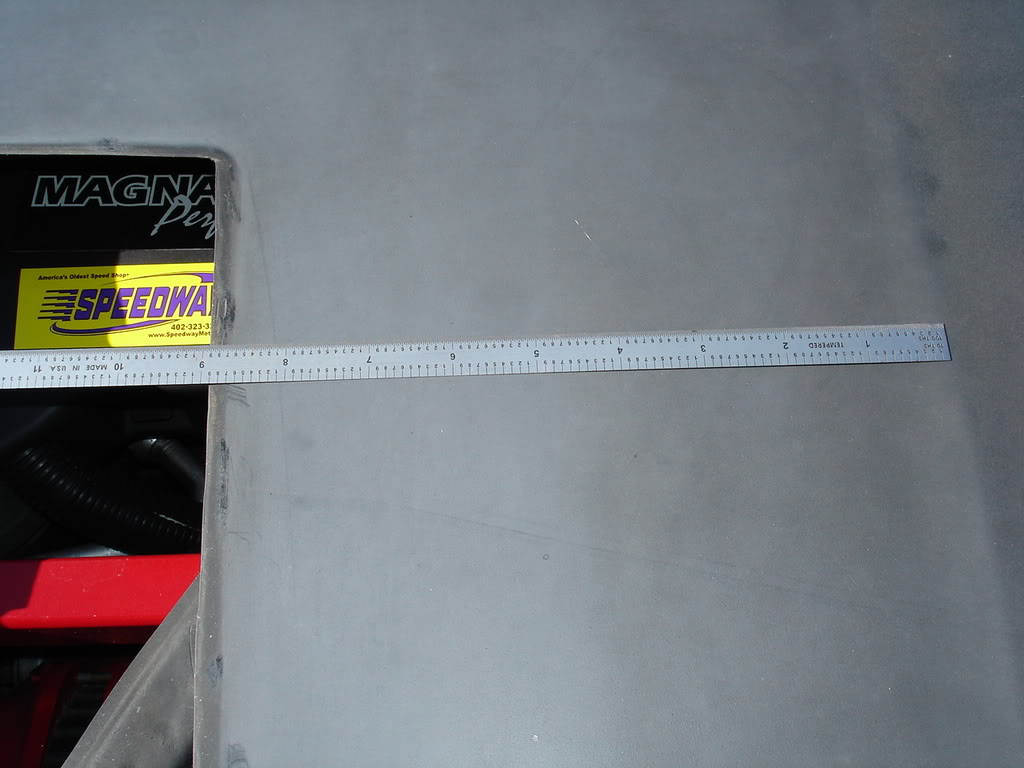
Now on to the install. The first cut you need to make is exactly 9"
from (and parallel to) the center crease in the hood. Start your cut
from 9" away from the wiper cowl end of the hood (near the windshield)
in a straight line parallel to the hood center crease, and end at 12".
STOP THERE and re-measure everything to determine how far back and
forward to cut.
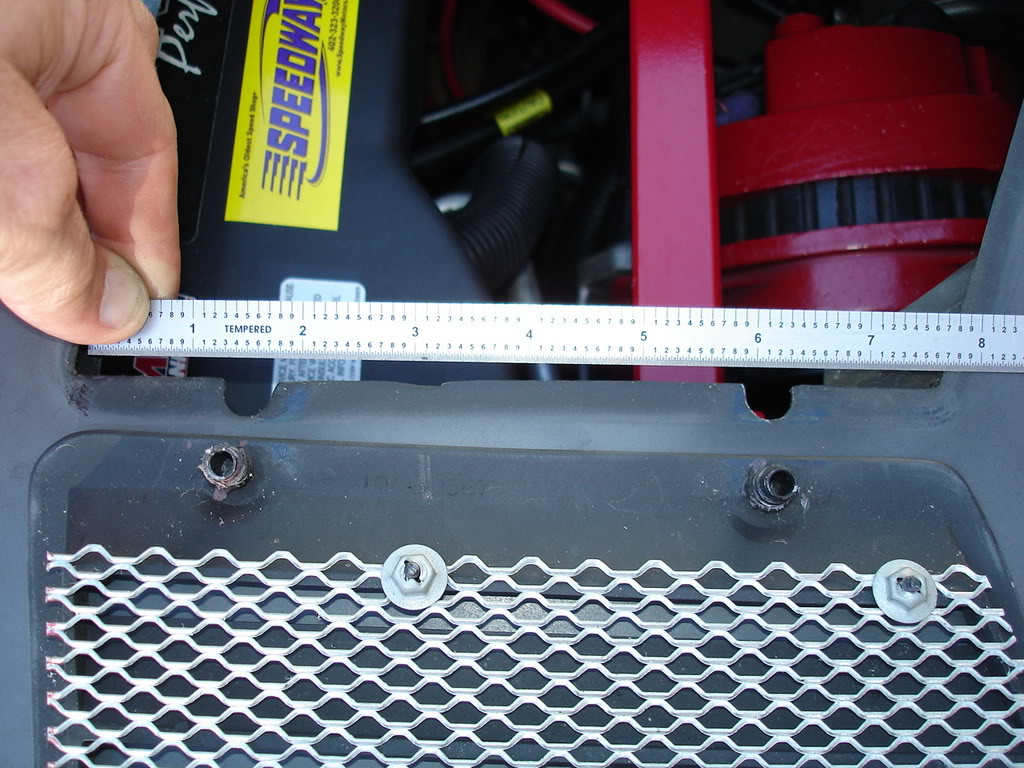
But WIDE masking tape on your hood everywhere you need to cut, then mark and cut on and through the tape.
From centerline hood crease to each side:
From cowl:

And the outer from the cowl:

Finish your cuts by the measurements from the vents (I suggest making a cardboard template carefully fitted to the vent):


Test fit the vents throughout this process. Here I'm inserting the vent
from the passenger side fender towards the centerline of the hood.
Front of the car to the right, rear to the left:

Now lower the vent and grind out the two spots for the plastic studs:

Re-meshing the vents can be done if you choose to by buying 'gutter guard' from Home Depot or Lowes:


More reference pics:


You may be exposing your alternator to unwanted moisture (and freezing)
in the winter. Consider covering the car or parking inside overnight,
or cutting the magnetic vinyl crap they make car door signs out of to
fit over these for the winter.
Do this at your own risk.
|
| |
|
|
|
DISCLAIMER: Although every effort has been made to ensure the accuracy
of the data within this knowledge base, there are no guarantees; errors
might exist. Don't attempt anything that you're not qualified to do.
Always take safety precautions. BonnevilleClub.com, its owner, and its
staff are not liable for anything that goes wrong as a result of this
information; after all, you're the one doing the work.
Powered by Knowledge Base MOD, wGEric & Haplo © 2002-2005
PHPBB.com MOD
Powered by phpBB © phpBB Group
Pontiac and Bonneville might be registered trademarks of General Motors
© 2002-2007 BonnevilleClub.com
Posts represent the opinions of their authors
This site is not associated with GM
|
