Rebuilding a supercharger
 05-26-2010, 05:07 PM
#1
Retired Senior Admin


Expert Gearhead
Thread Starter
Join Date: May 2006
Location: Sheboygan Wisconsin
Posts: 29,661
Likes: 0
Received 28 Likes
on
24 Posts


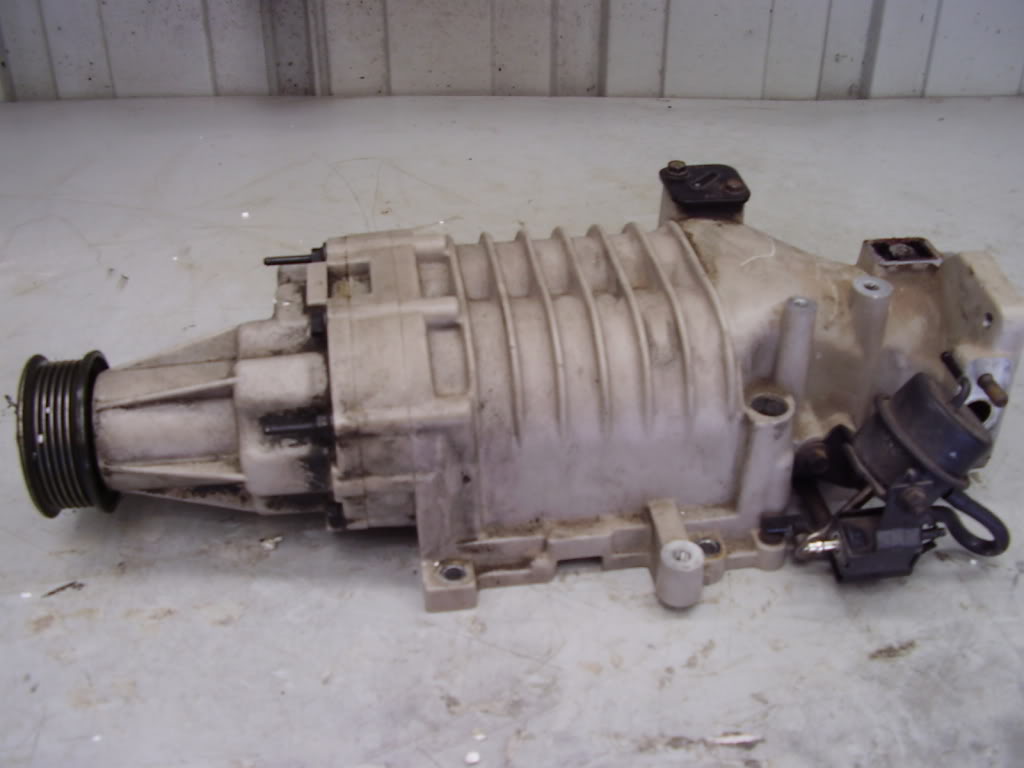
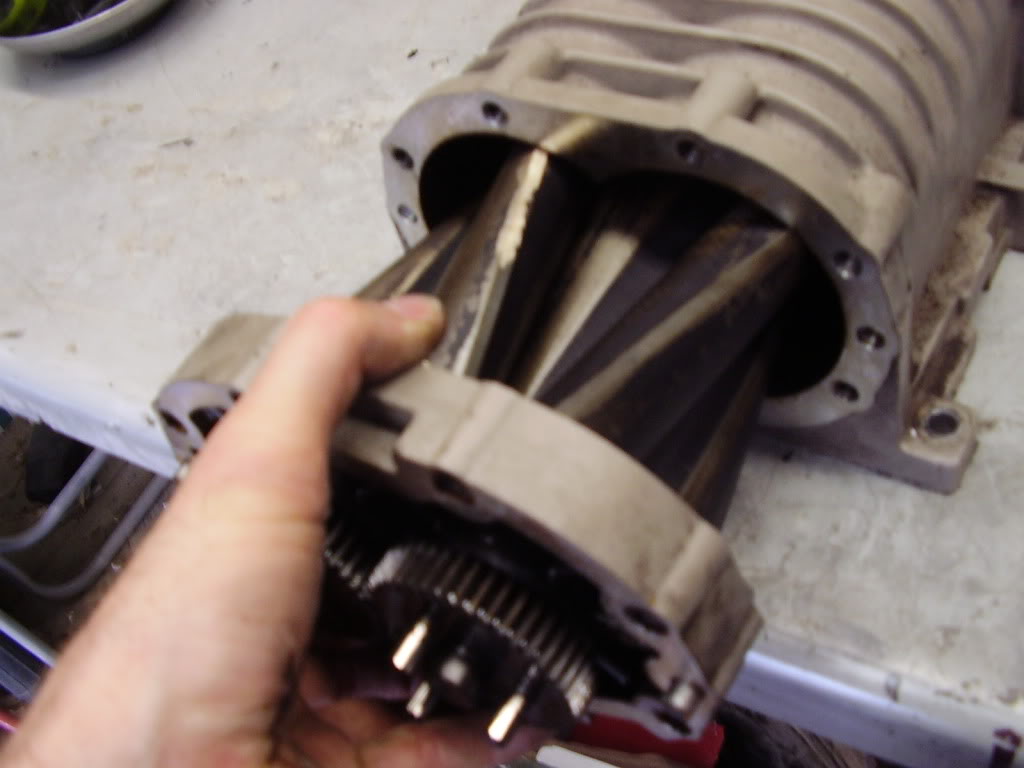
Here I am rebuilding a M62 supercharger. When I'm all done I will make up a write up and post it in the tech info area. This will cover all superchargers, the only exception is the gen5 needle bearings.
The M62
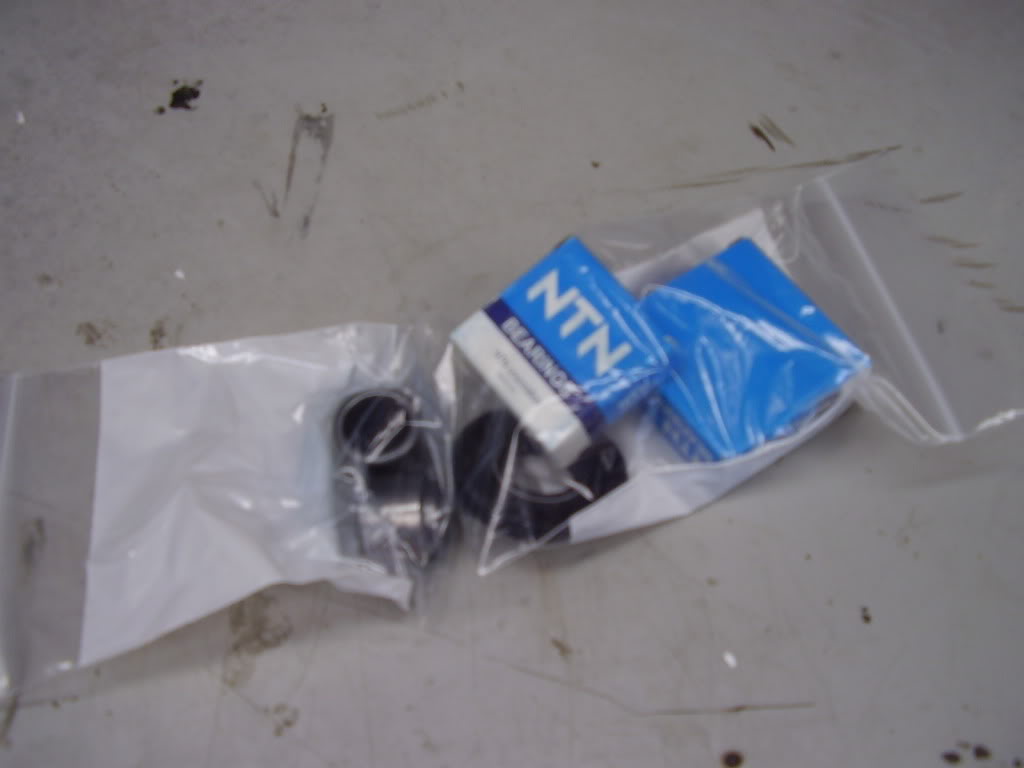
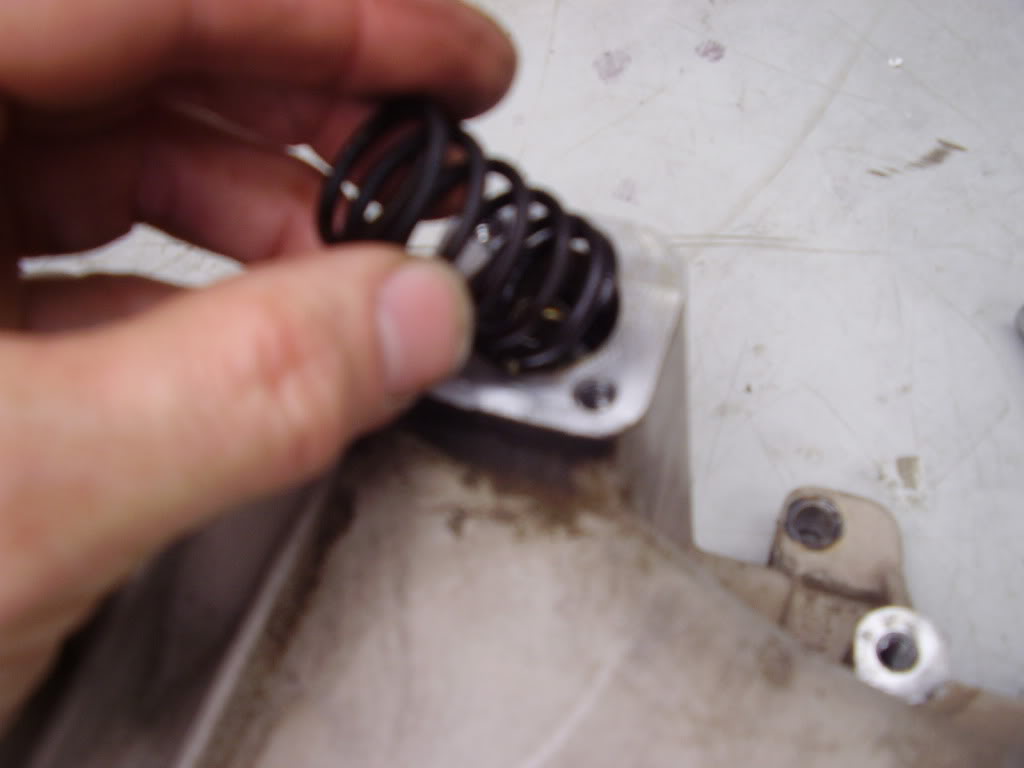
The rebuild parts, bearings and seal.
Removing all the parts.
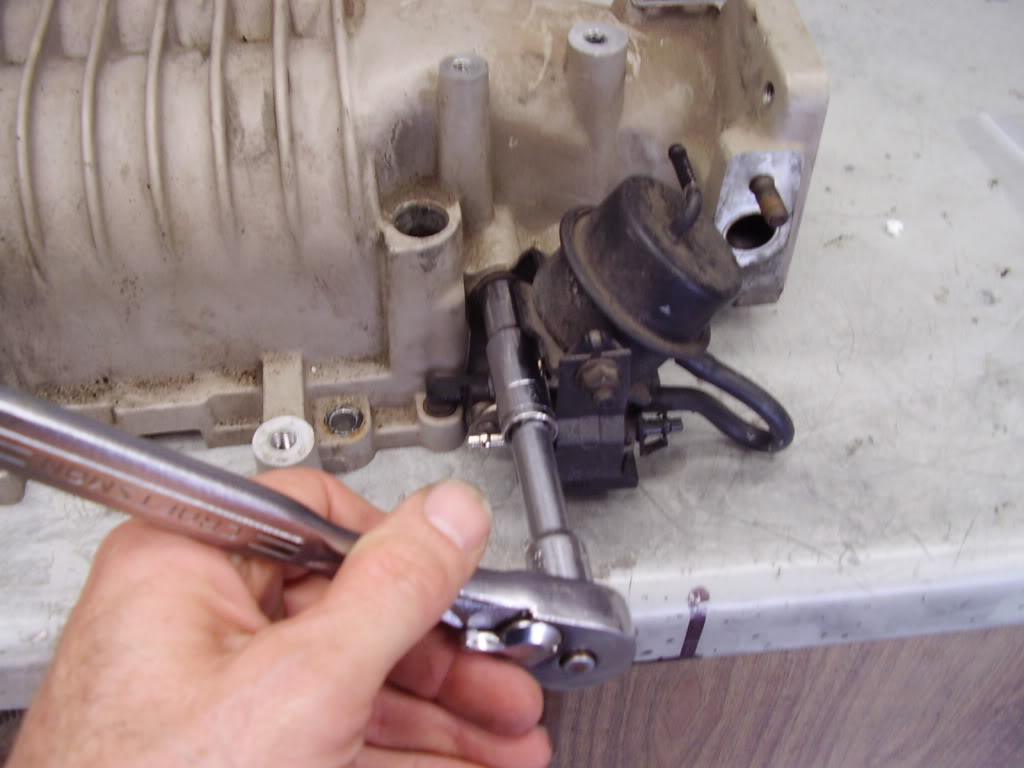
PCV valve.
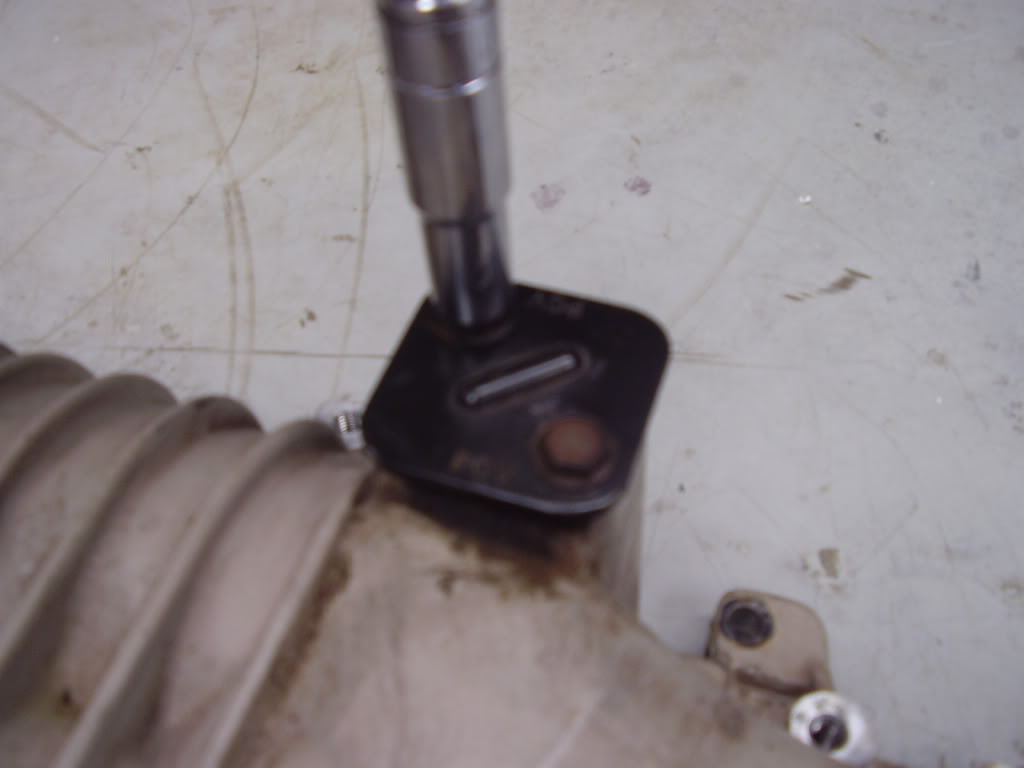
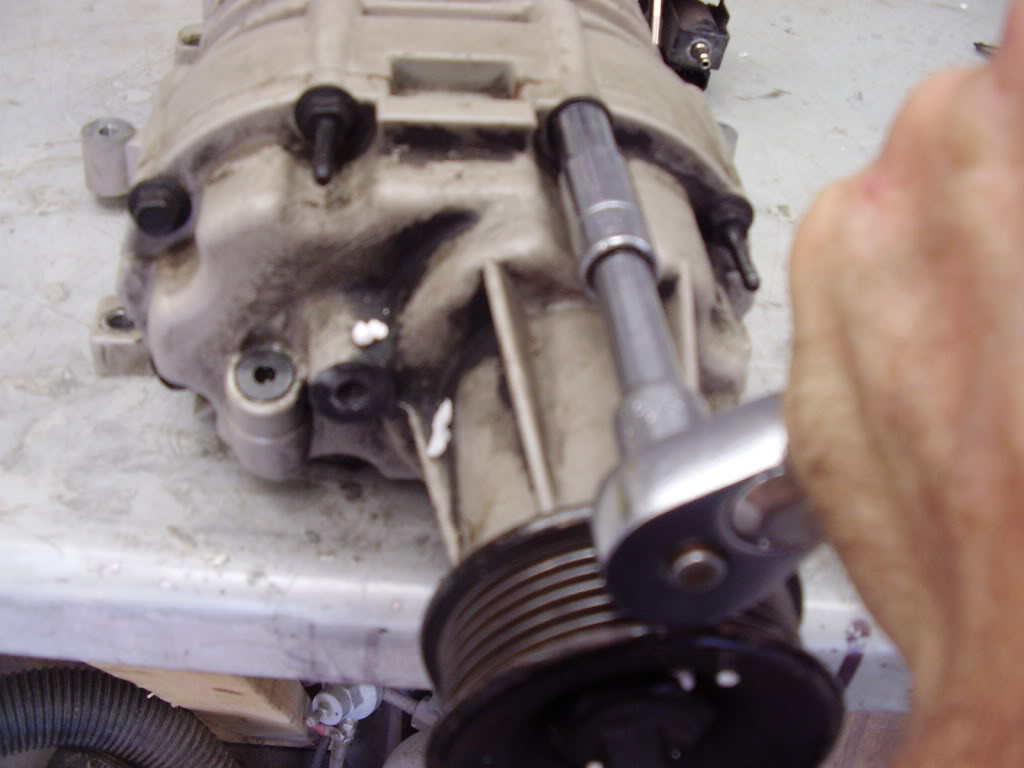
Removing the snout.
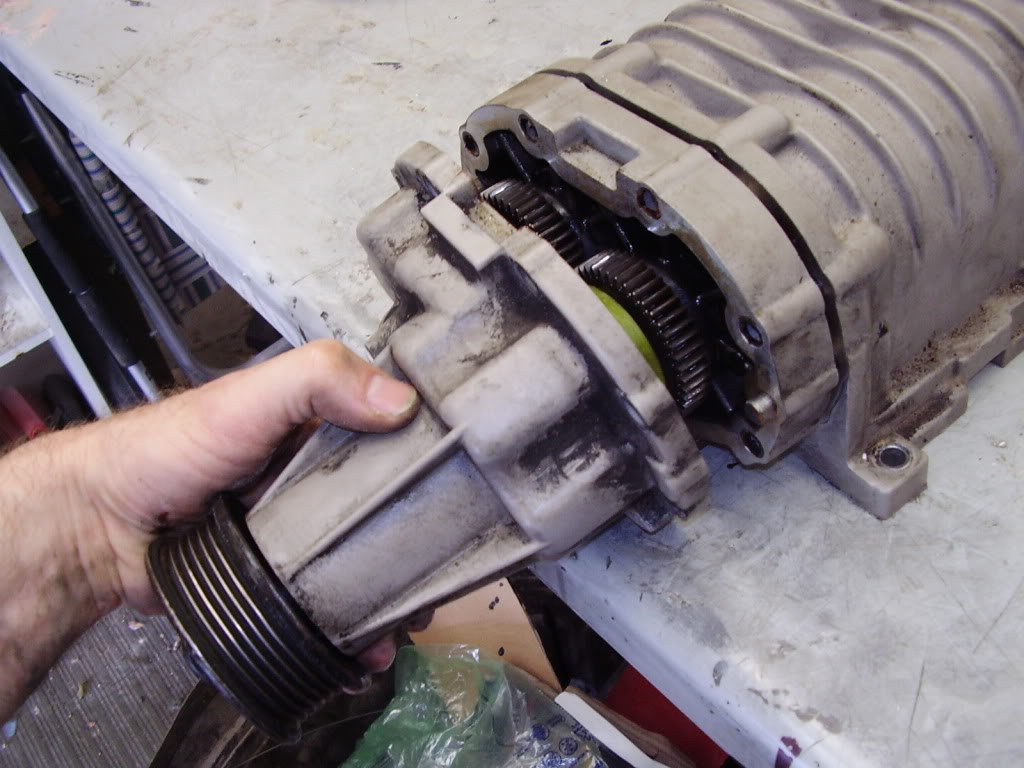
Opening it up.
Coupler
Rotors.
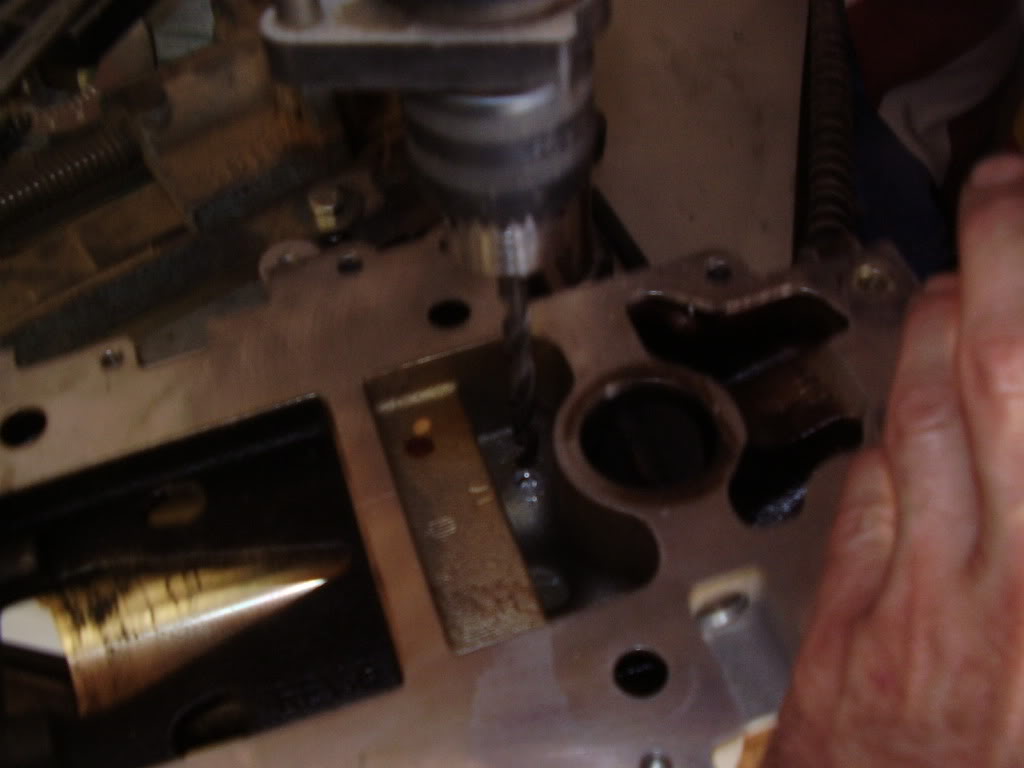
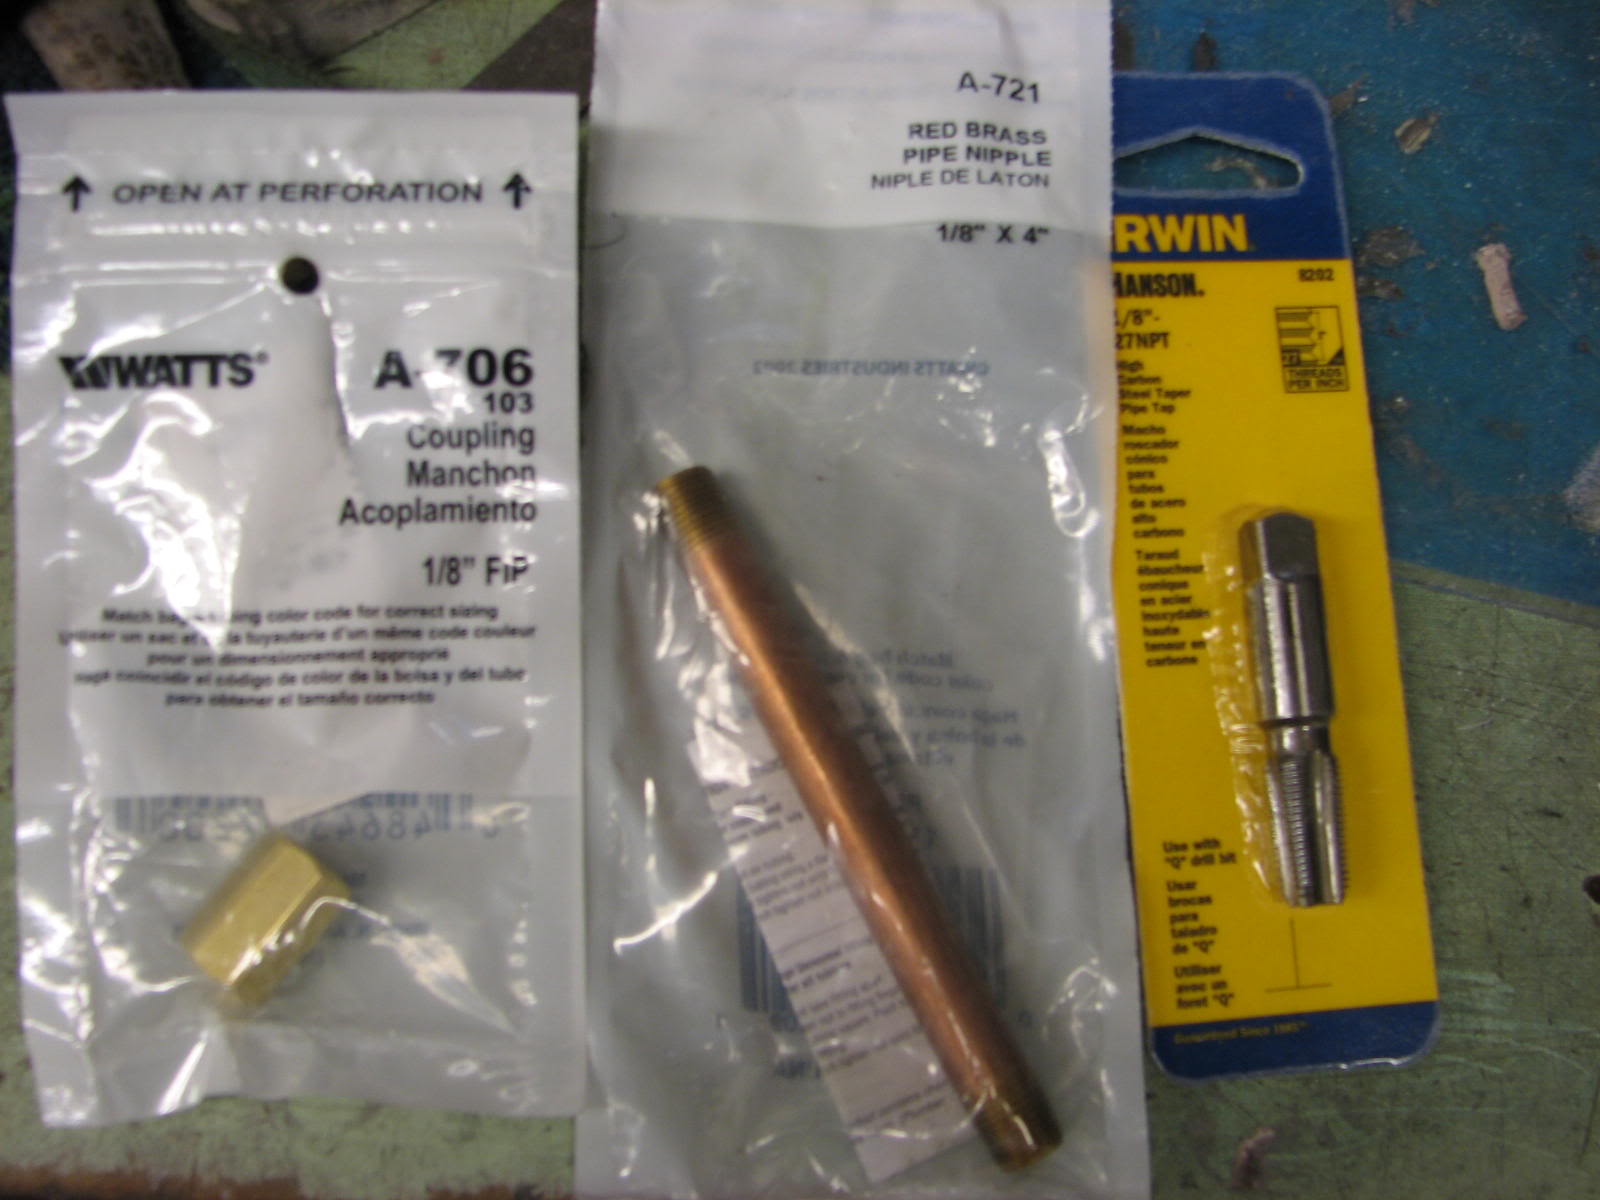
Parts needed to remove the needle bearings. 1/8" NPT tap, 1/8" brass nipple, 1/8" brass NTP coupler, and a 1/8" NTP zerk. And a 11/32 drill bit.

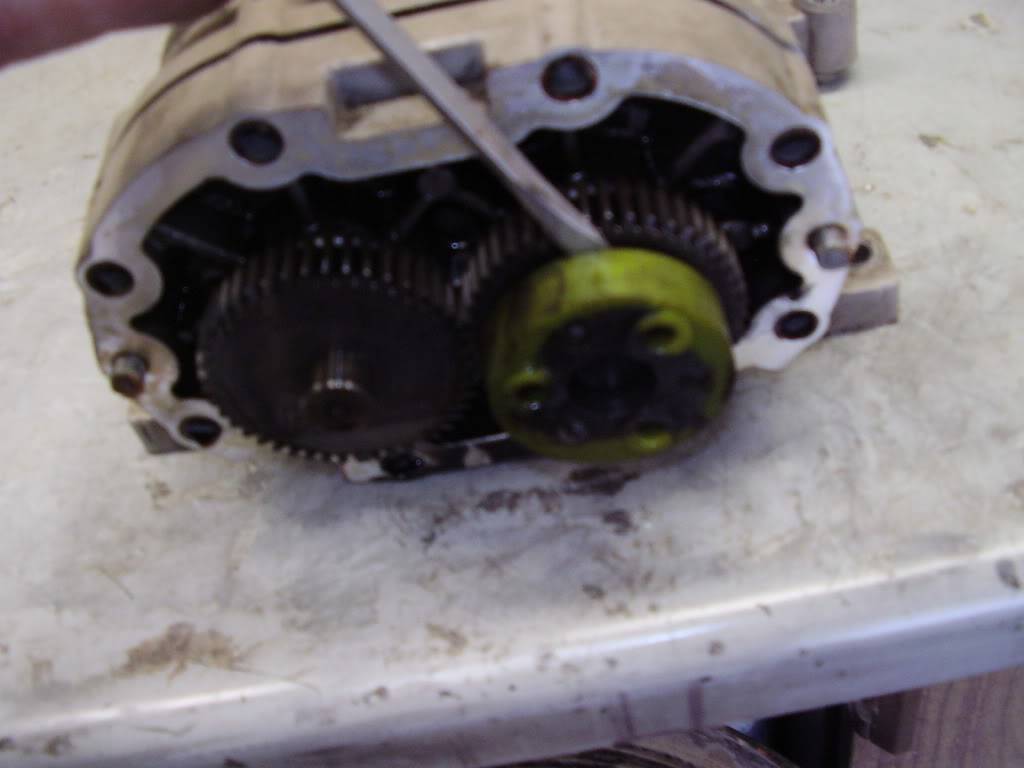
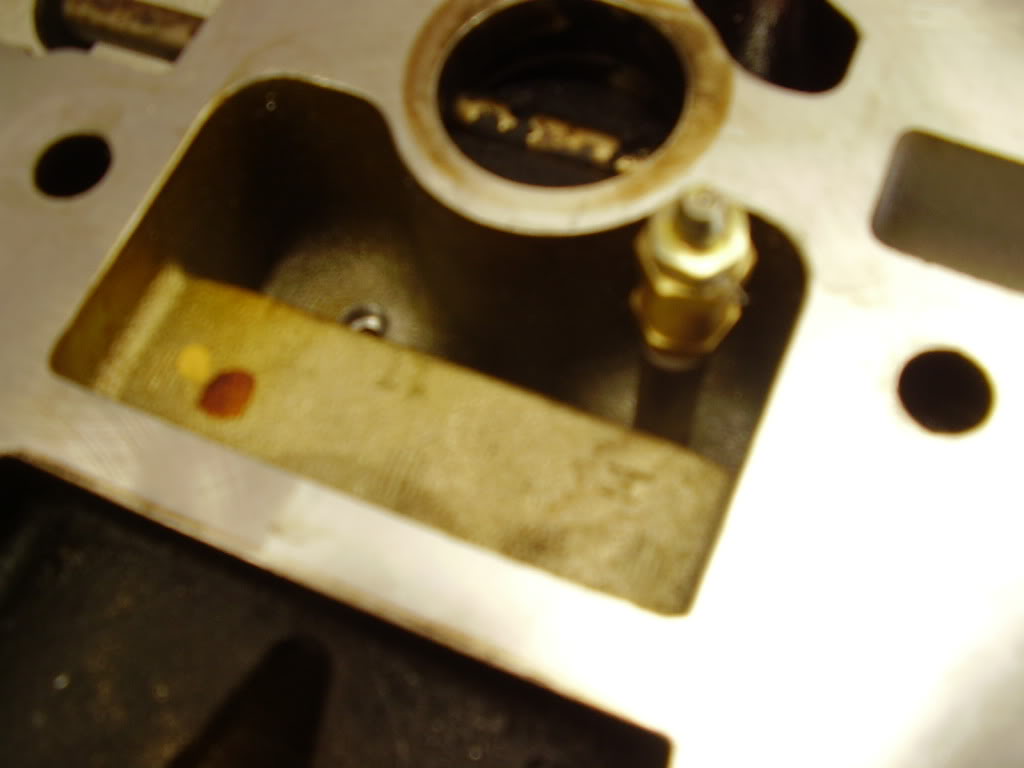
Drilling out behind the bearings.
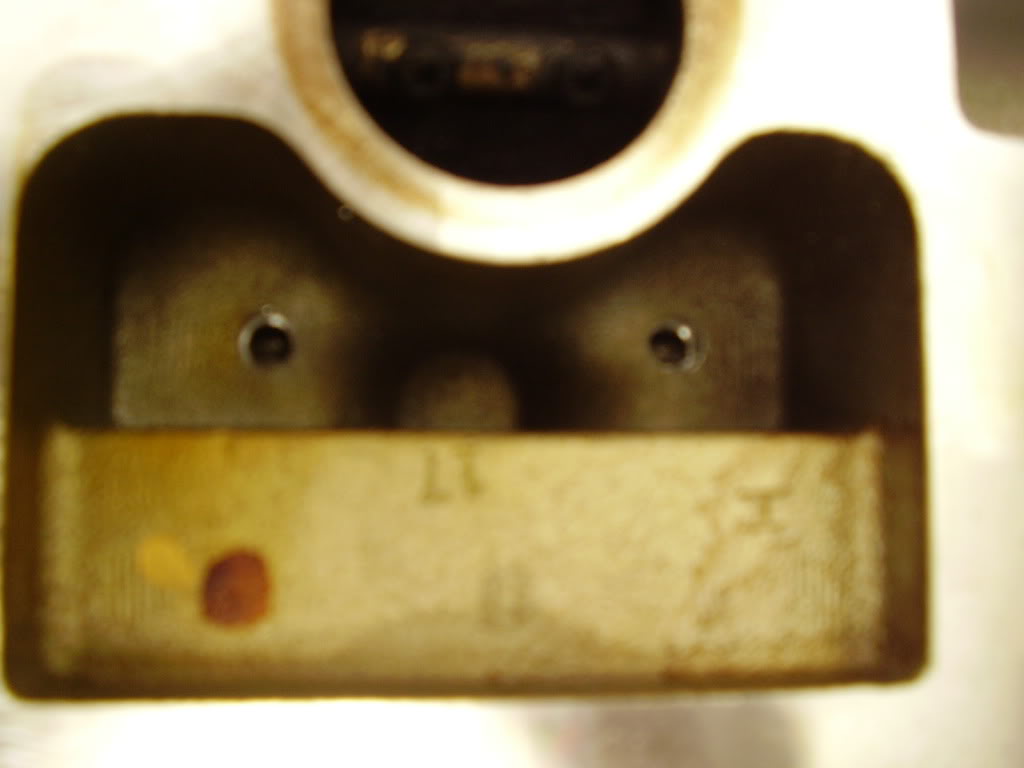
All drilled.
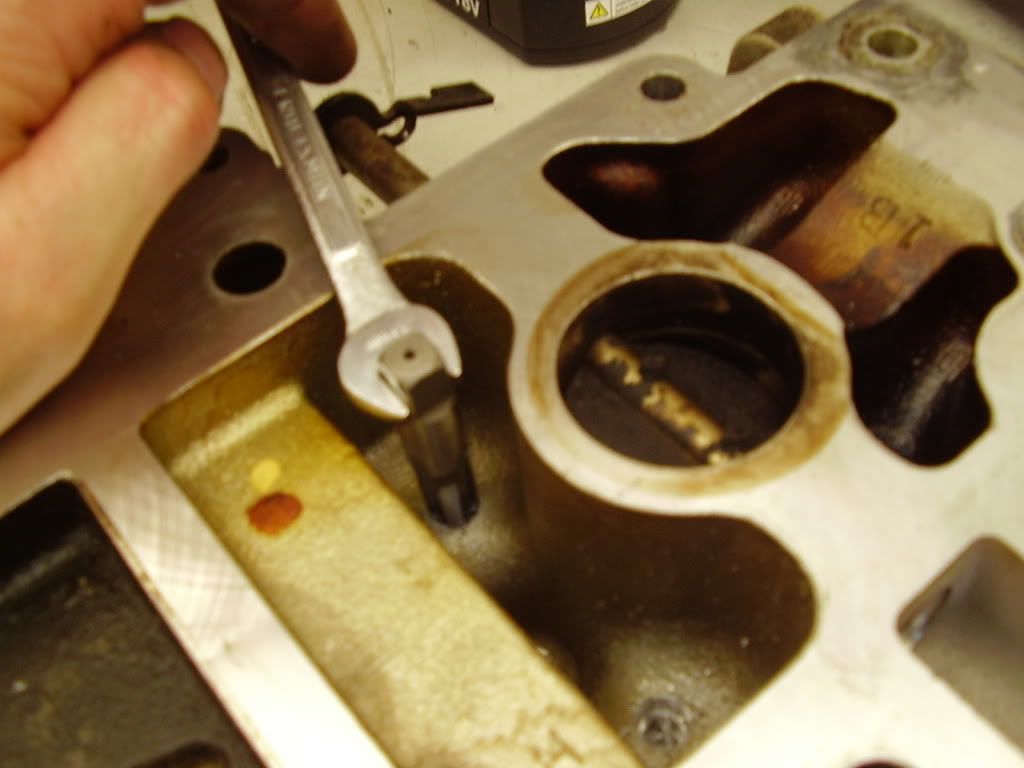
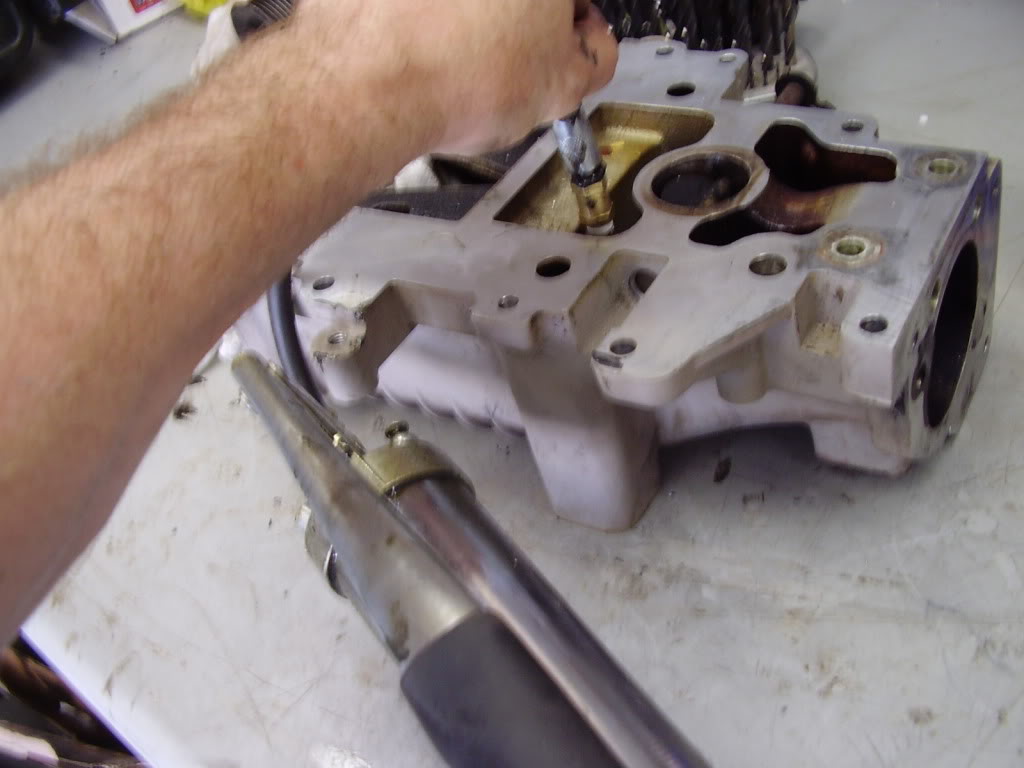
Tapping the holes.
Installed the zerk
Could be messy when the bearings come out, so putting a rag in the way.
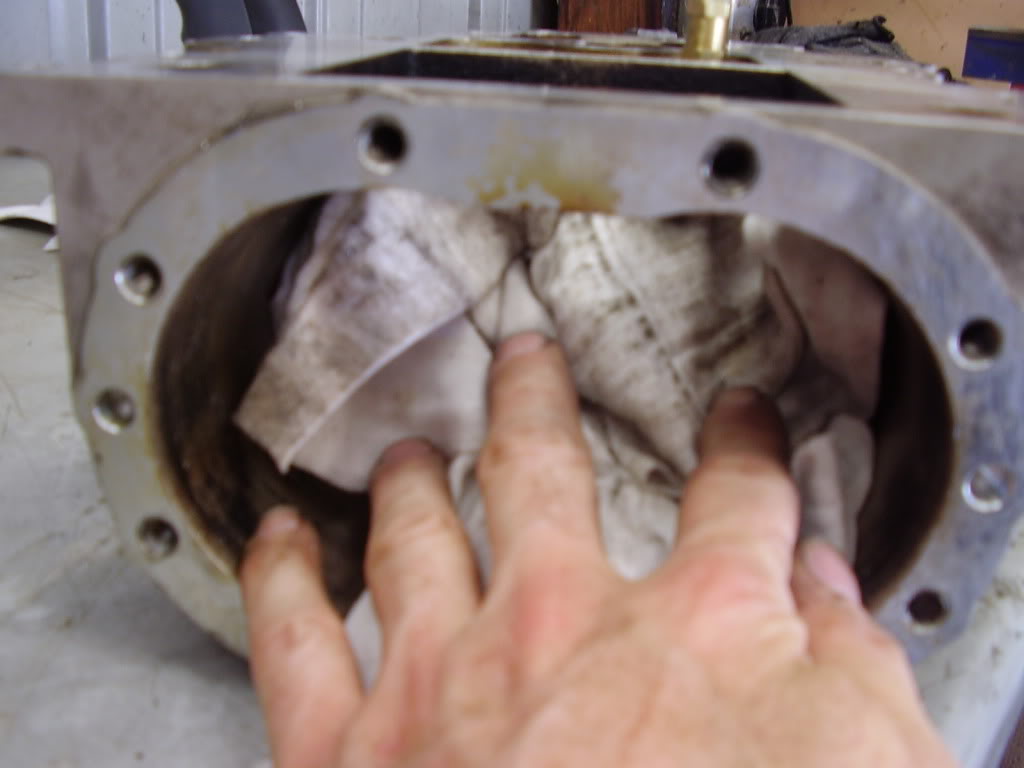
Pumping grease in.
The M62
The rebuild parts, bearings and seal.
Removing all the parts.
PCV valve.
Removing the snout.
Opening it up.
Coupler
Rotors.
Parts needed to remove the needle bearings. 1/8" NPT tap, 1/8" brass nipple, 1/8" brass NTP coupler, and a 1/8" NTP zerk. And a 11/32 drill bit.
Drilling out behind the bearings.
All drilled.
Tapping the holes.
Installed the zerk
Could be messy when the bearings come out, so putting a rag in the way.
Pumping grease in.
 05-26-2010, 05:26 PM
#3
Retired Senior Admin
Expert Gearhead
Thread Starter
Join Date: May 2006
Location: Sheboygan Wisconsin
Posts: 29,661
Likes: 0
Received 28 Likes
on
24 Posts
Take a 17mm socket with a long extension. Put the socket on the extension upside down. Then press them in with a Arbor press.
By the way, it'* going to take a good grease gun to force them out. Mine is leaking around the end so I'm taking it in to work. I'm already looking at a new grease gun.
By the way, it'* going to take a good grease gun to force them out. Mine is leaking around the end so I'm taking it in to work. I'm already looking at a new grease gun.
05-26-2010, 05:57 PM
#4
Senior Member
True Car Nut
Take a 17mm socket with a long extension. Put the socket on the extension upside down. Then press them in with a Arbor press.
By the way, it'* going to take a good grease gun to force them out. Mine is leaking around the end so I'm taking it in to work. I'm already looking at a new grease gun.
By the way, it'* going to take a good grease gun to force them out. Mine is leaking around the end so I'm taking it in to work. I'm already looking at a new grease gun.
I've used a piece of iron wood dowel, a small level and a dead blow...little taps until it get'* going, and then heavier taps. The key is to keep the dowel perpendicular to the case.
DO NOT PUT GREASE ON THE OUTSIDE OF THE NEEDLE BEARING TO AID IT IN....bad things will happen!
05-26-2010, 06:43 PM
#6
Senior Member
Posts like a Turbo

Join Date: May 2009
Location: OHIO
Posts: 360
Likes: 0
Received 0 Likes
on
0 Posts
WoW I see you got it. I am glad it got there in one piece. The write up is sure nice and the pictures Rock! I must say thank you Dan for helping me out and doing this for me. I can't wait to put it back in my Bonnie and fire her up.
05-26-2010, 07:01 PM
#8
Senior Member
Posts like a Turbo
Join Date: May 2009
Location: OHIO
Posts: 360
Likes: 0
Received 0 Likes
on
0 Posts
That'* all right with me it will just be nice to have a car again. She is just sitting in the driveway hoping for a better day. Been walking and it hasn't been no fun, I guess not having a job right has helped. I am just trying to get by each day right now until something comes along. Thanks so much Dan! You are the Best!
05-27-2010, 07:10 AM
#9
DINOSAURUS BOOSTUS
Expert Gearhead
Dan since you are buying a new gun, consider the trigger handle ones. I love mine for one handed operation while holding the hose on the zerk with the other.
I've used a press, and gently tapped with sockets and a brass hammer. Both work about the same, the key is to install straight....this is much tougher on an M90 as the inlet is angled to one side.
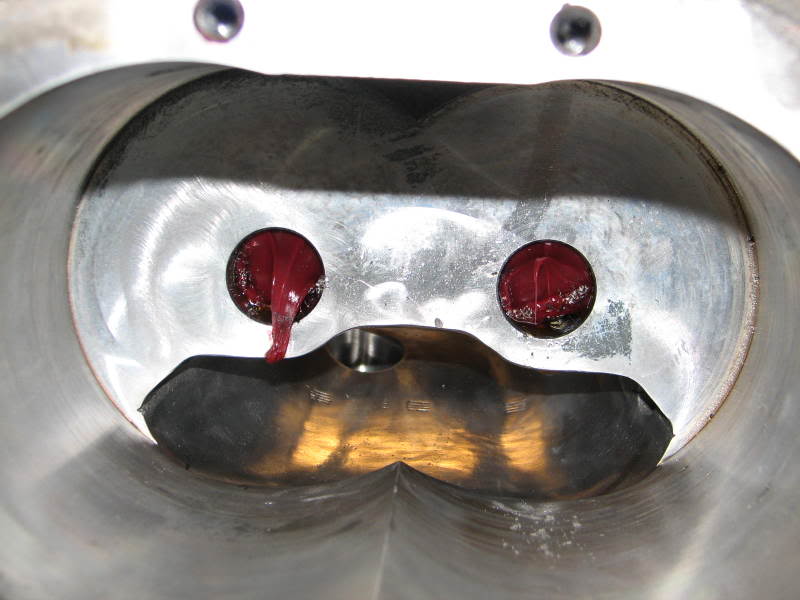
Tapping an M90 it would be nice to have a longer tap. The distance from the side of the casing and the depth could be a challenge for someone going at it for the first time.
Hehe found the pics from a write up I did in the past.
Notice the hole on the left in this pic. It'* tight to the side
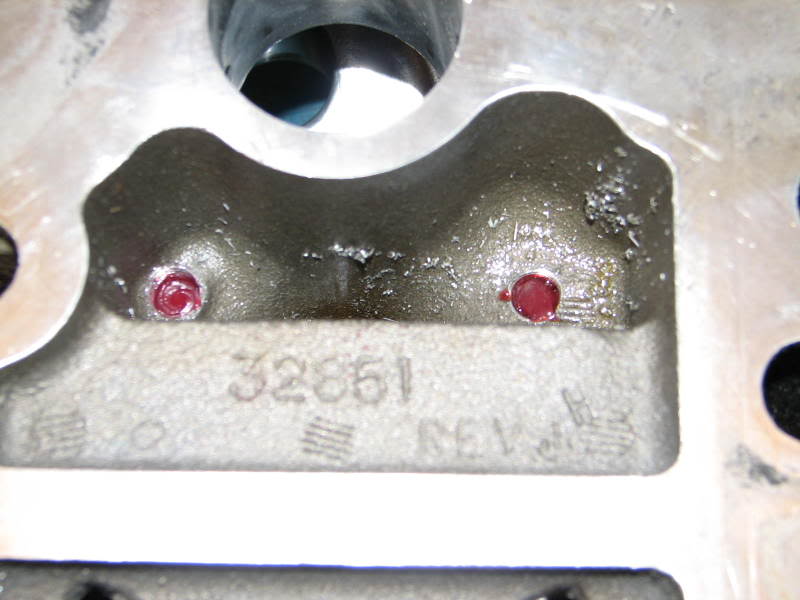

Fire in the hole (Pop)
I've used a press, and gently tapped with sockets and a brass hammer. Both work about the same, the key is to install straight....this is much tougher on an M90 as the inlet is angled to one side.
Tapping an M90 it would be nice to have a longer tap. The distance from the side of the casing and the depth could be a challenge for someone going at it for the first time.
Hehe found the pics from a write up I did in the past.
Notice the hole on the left in this pic. It'* tight to the side
Fire in the hole (Pop)


Thread
Thread Starter
Forum
Replies
Last Post

