
3800 series 1 lack of power in the "yellow" rpm zone

 04-08-2011, 02:33 PM
#12
Senior Member
True Car Nut
Join Date: Jun 2007
Location: New Lenox, IL
Posts: 2,478
Likes: 0
Received 0 Likes
on
0 Posts

Porting took about 6-8 hours while being very careful. Well worth the time for the amount of power I gained.
04-08-2011, 03:49 PM
#13
Senior Member
Posts like a Supercharger
Thread Starter

Join Date: Apr 2011
Location: Pointe-des-Cascades, QC
Posts: 192
Likes: 0
Received 2 Likes
on
2 Posts
Haha I guess that this is whats gonna be happening if I order the parts before the very day I'm ready to do the work!
With average mechanics skills, how long do you think it can possibly take to do everything? Is there a lot to take out before actually reaching to head bolts or it'* pretty much like : disconnect exhaust manifolds, intake, supercharger belt and voila?
With average mechanics skills, how long do you think it can possibly take to do everything? Is there a lot to take out before actually reaching to head bolts or it'* pretty much like : disconnect exhaust manifolds, intake, supercharger belt and voila?
04-08-2011, 04:46 PM
#14
Senior Member
True Car Nut
Join Date: Jun 2007
Location: New Lenox, IL
Posts: 2,478
Likes: 0
Received 0 Likes
on
0 Posts
Haha I guess that this is whats gonna be happening if I order the parts before the very day I'm ready to do the work!
With average mechanics skills, how long do you think it can possibly take to do everything? Is there a lot to take out before actually reaching to head bolts or it'* pretty much like : disconnect exhaust manifolds, intake, supercharger belt and voila?
With average mechanics skills, how long do you think it can possibly take to do everything? Is there a lot to take out before actually reaching to head bolts or it'* pretty much like : disconnect exhaust manifolds, intake, supercharger belt and voila?
There'* not a lot to take out. Like I said, its a pretty easy engine to work on. Expect it to take a weekend as a worst case scenario. Start on friday night, do most of the removal and porting on saturday, and put it back together saturday night into sunday. Its not too terribly involved, just keep track of the bolts. I used an empty egg carton to organize the bolts in order of when I took them off, so going in reverse order I knew what was next.
 04-09-2011, 01:18 AM
#16
Senior Member
True Car Nut
Join Date: Jun 2007
Location: New Lenox, IL
Posts: 2,478
Likes: 0
Received 0 Likes
on
0 Posts
Here are posts I made elsewhere about the porting job I did:
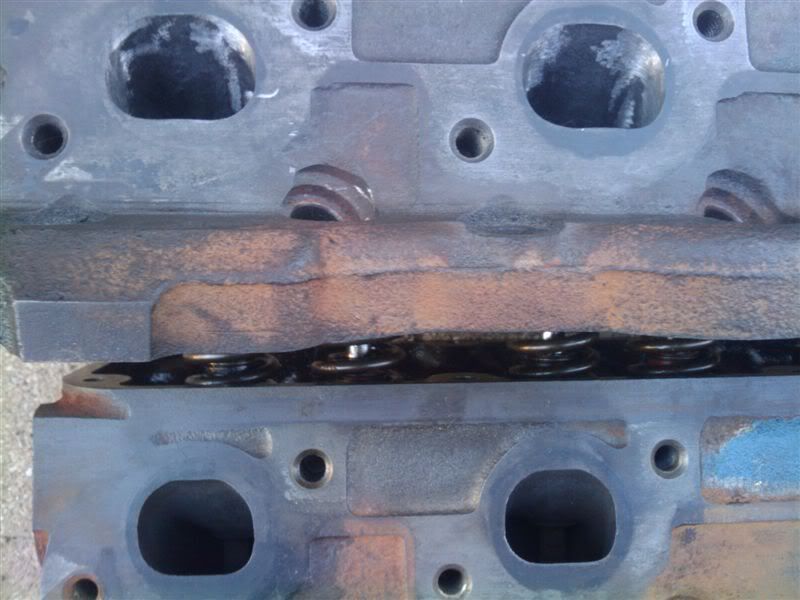
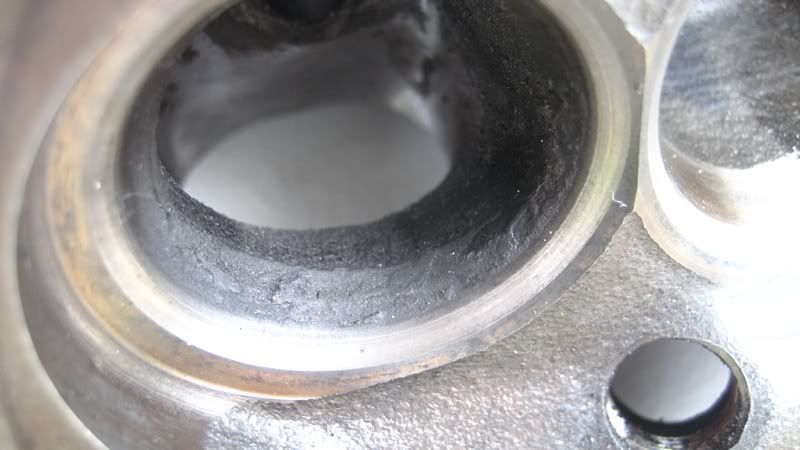
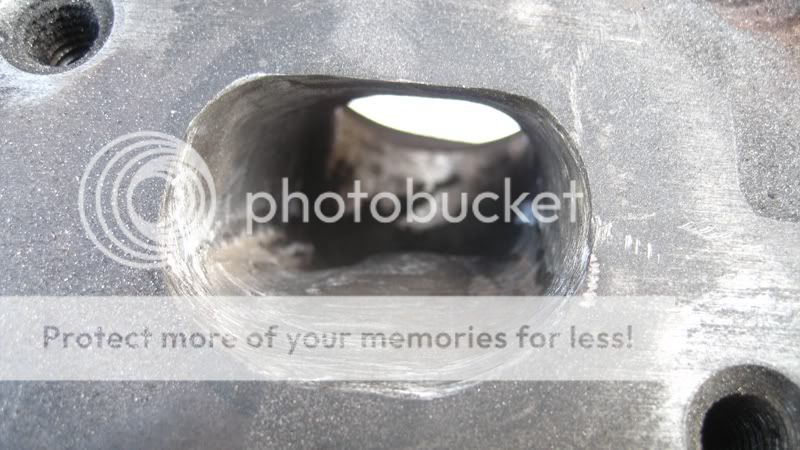
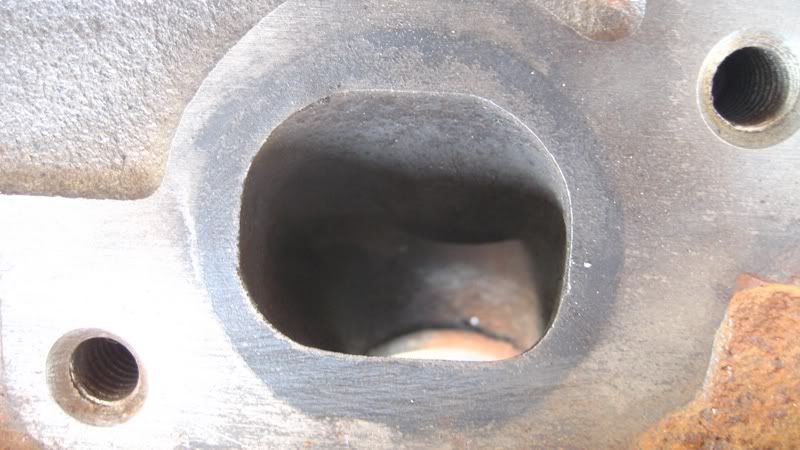
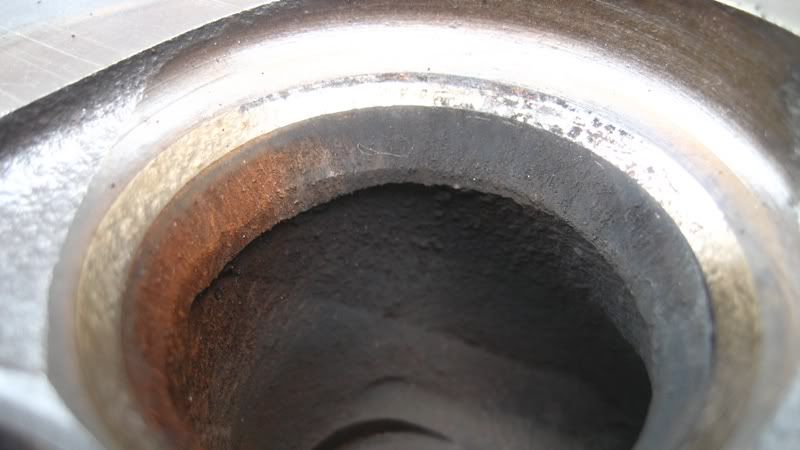
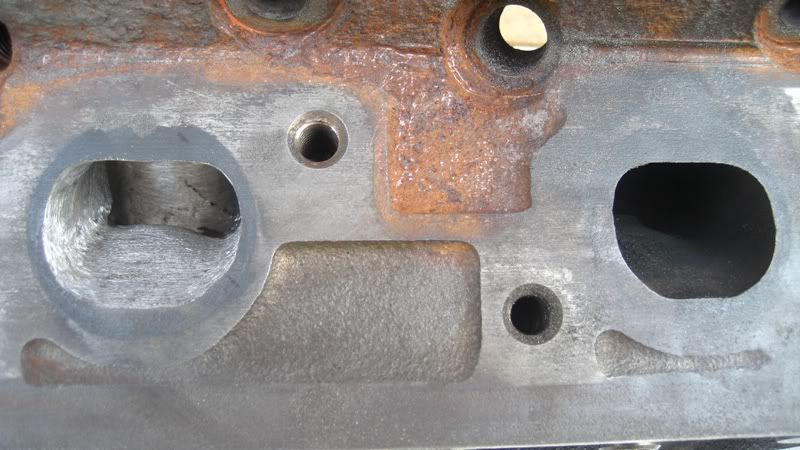
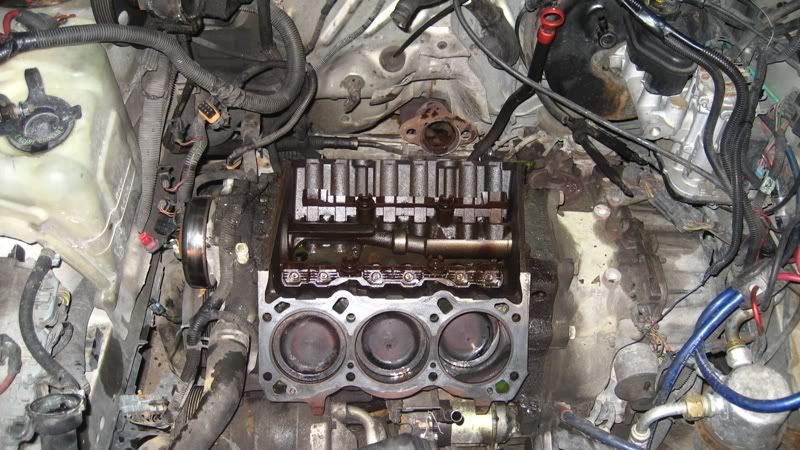
After a while I got sick of unbolting **** so i started porting my new heads, and made some massive improvements with the exhaust ports. I'm 100% sure this will make a huge difference. You can see the size of the actual exhaust manifold in black around the port, just to give you an idea of how tiny these ports really are.
This was all done with grinding stones on my dremel and my cordless drill. I wish I had my air die grinder back. :(
I kept the ports d-shaped as they were from the factory because A. there isn't much you can do with the floor of the ports as far as flow goes, and B. they were made that way to prevent reversion.
I still have to do some light sanding to smooth out the ports a bit, but that'* where I am so far.
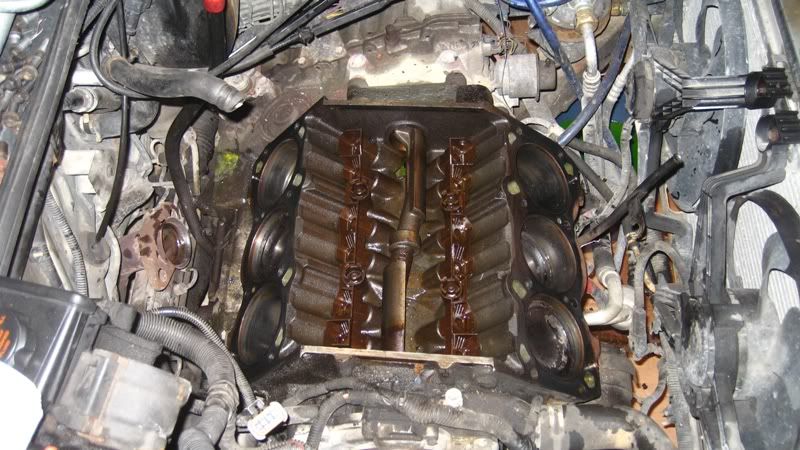
Got some more porting work done today.
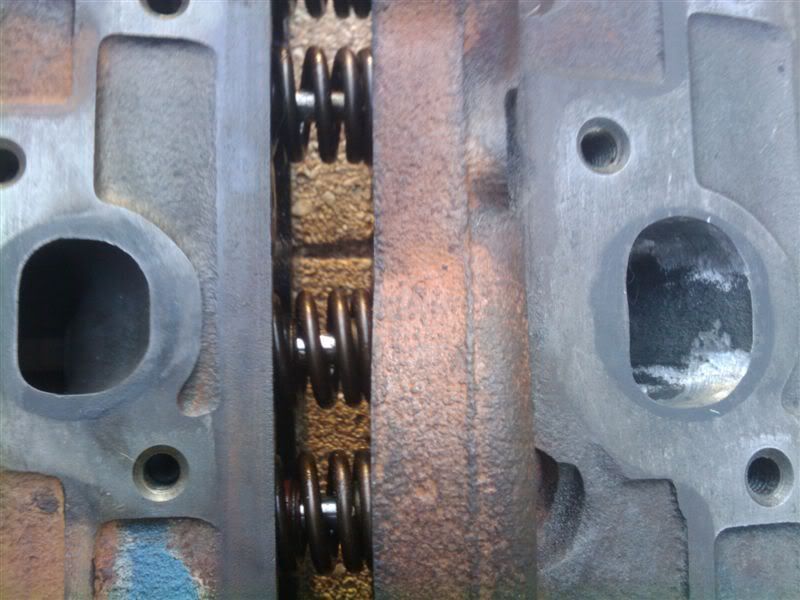
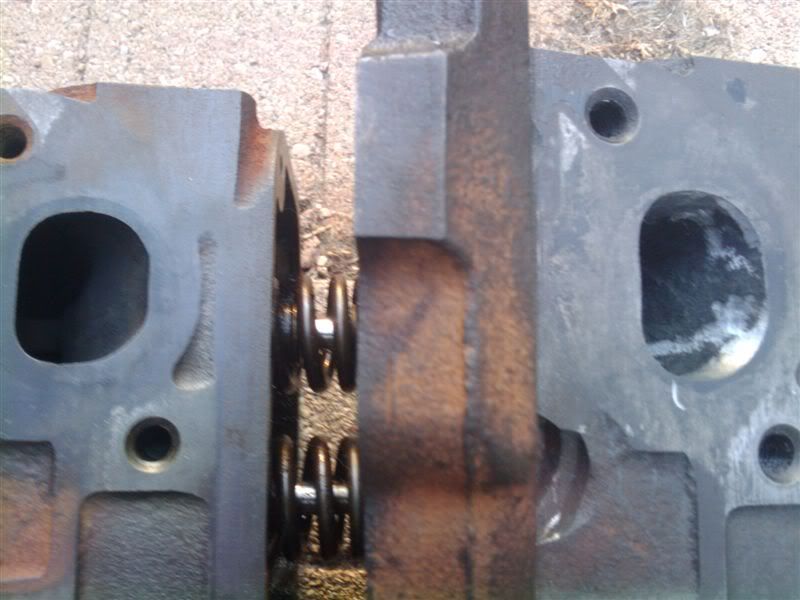
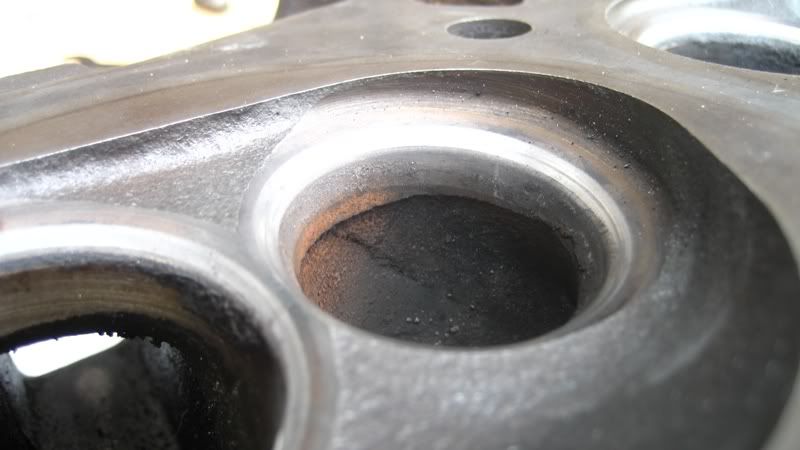
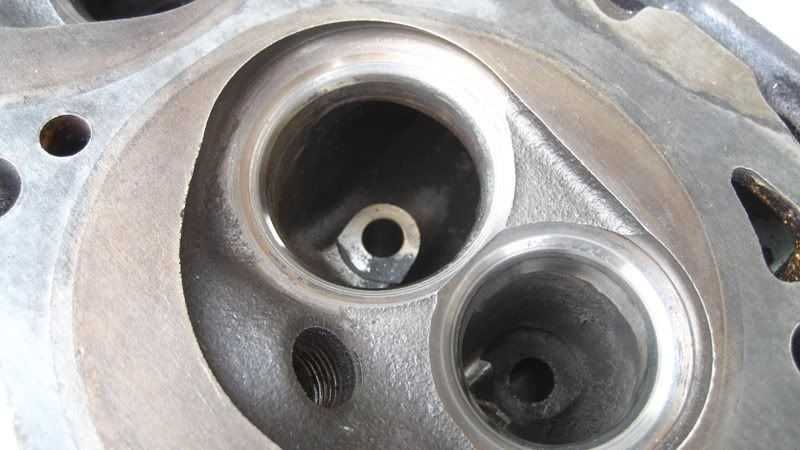
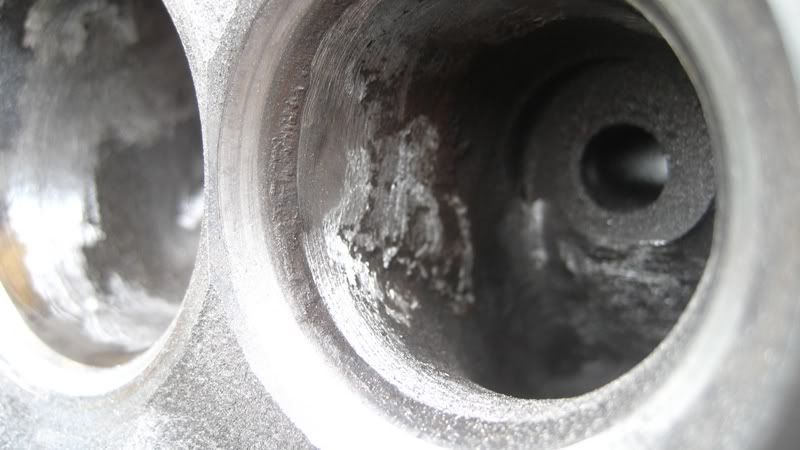
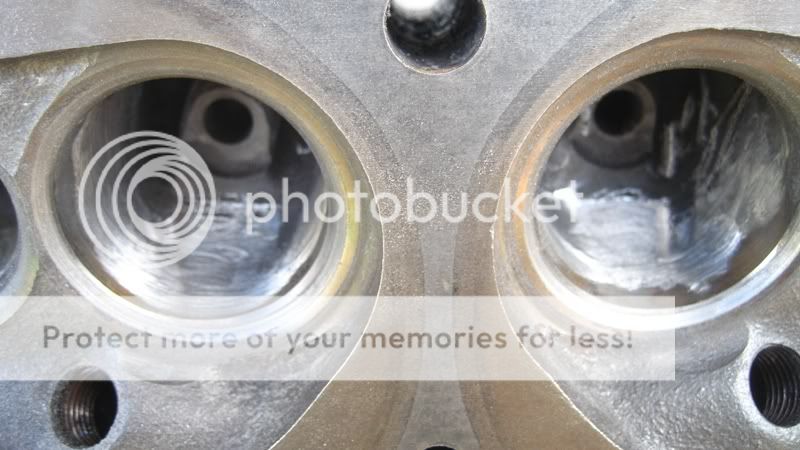
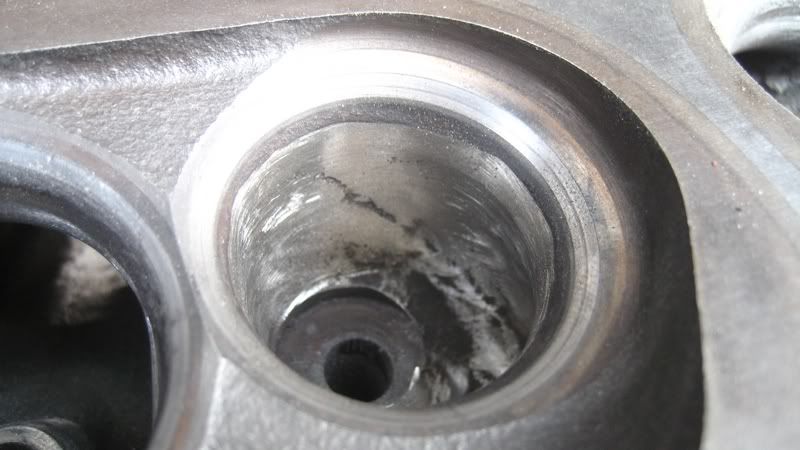
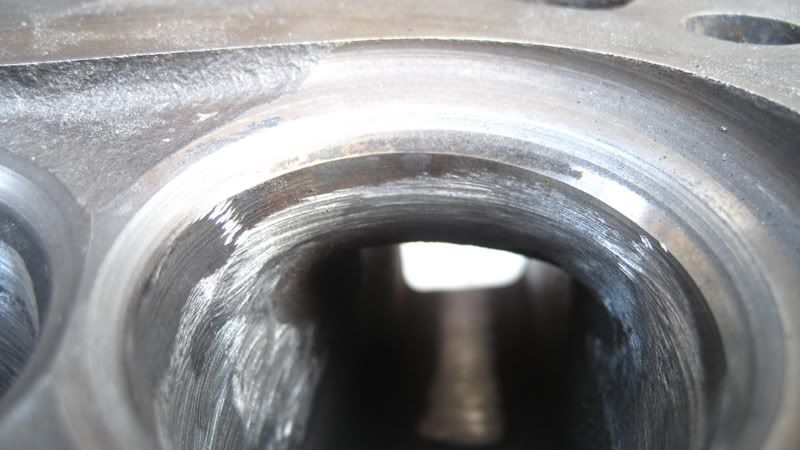
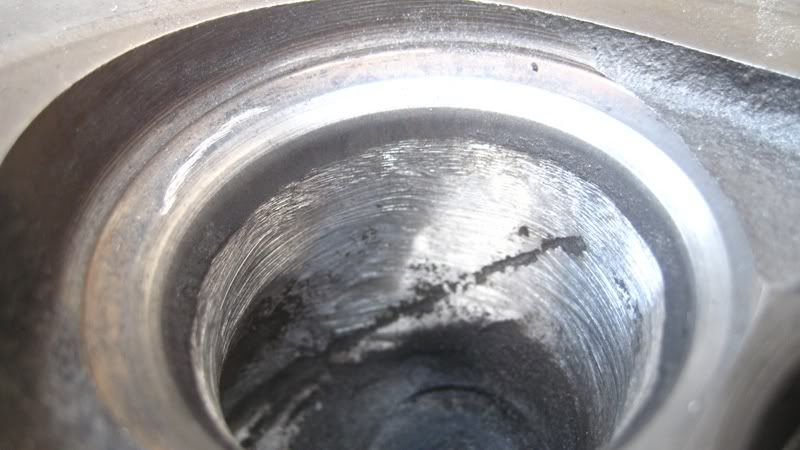
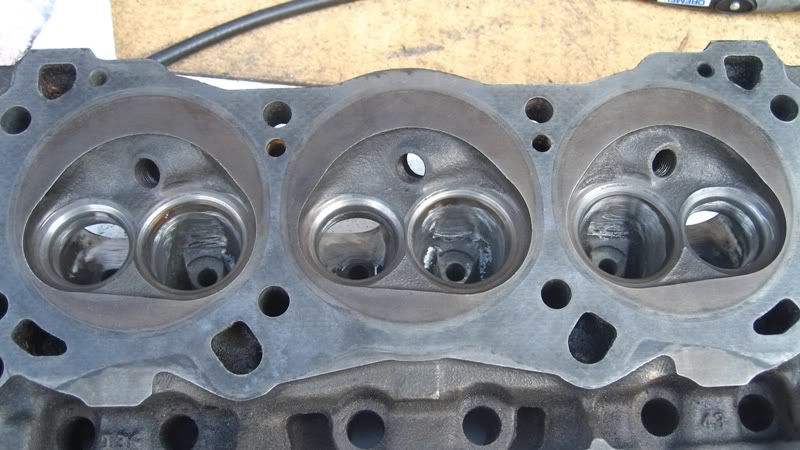
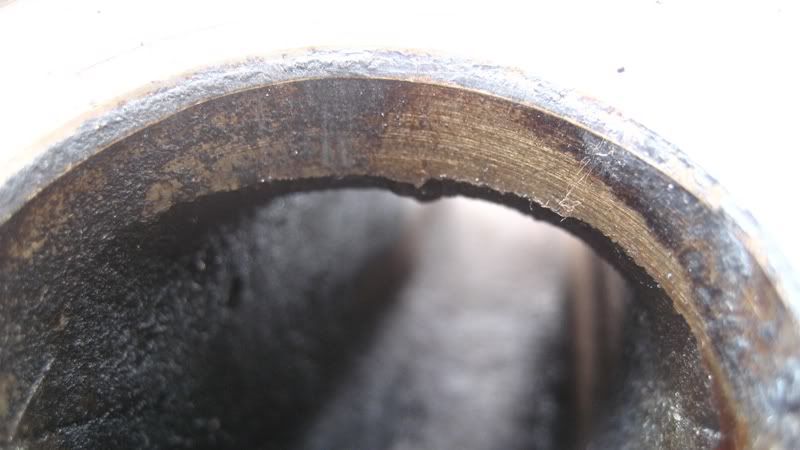
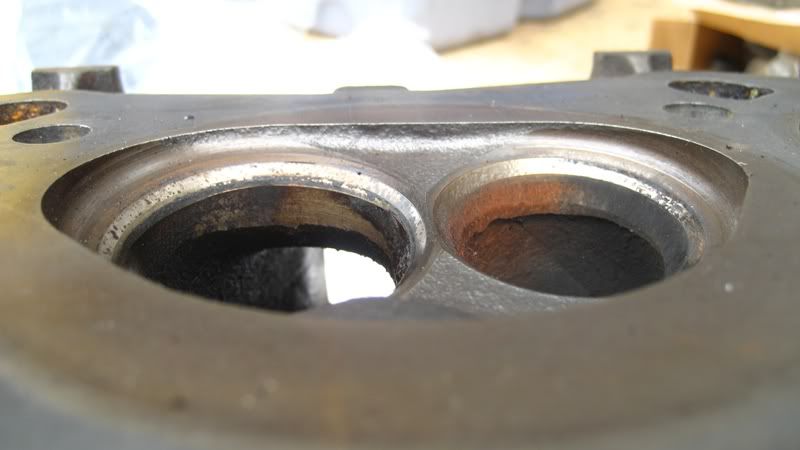
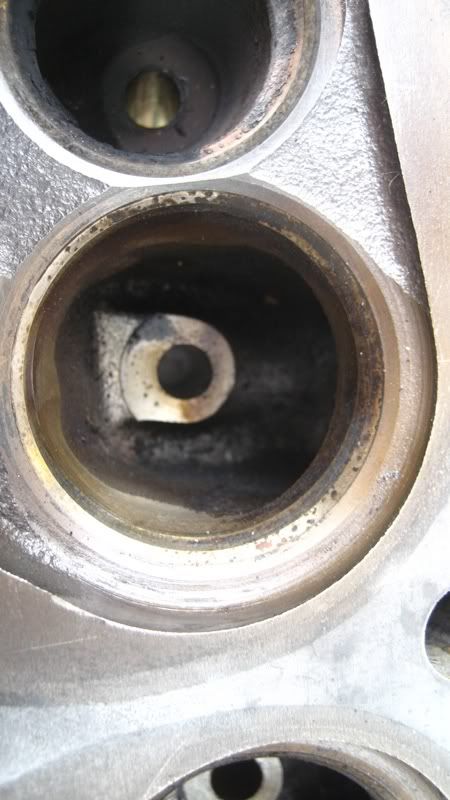
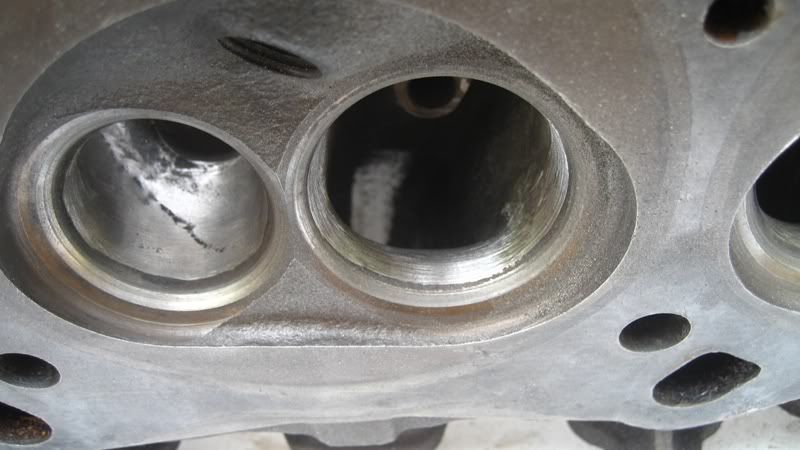
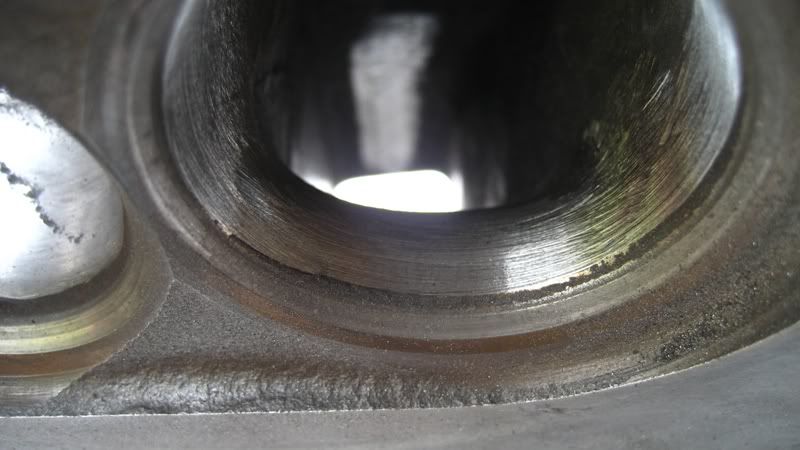
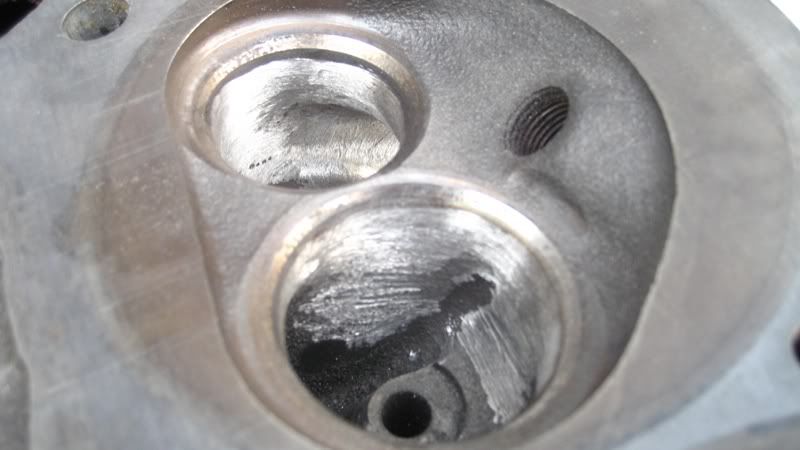
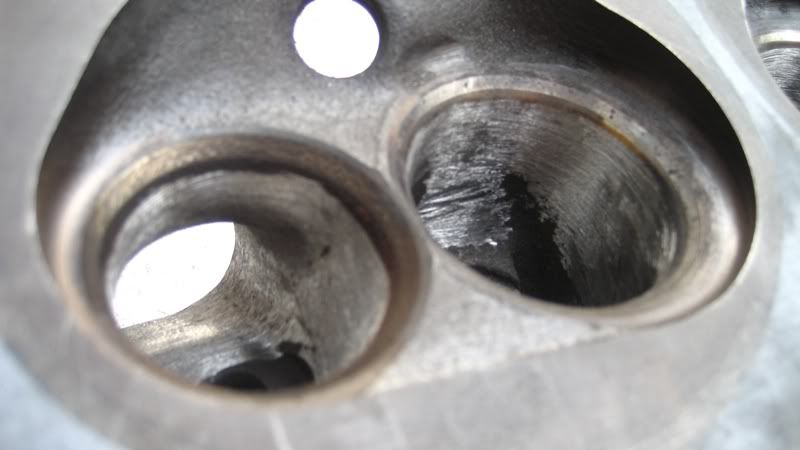
There are some pretty big casting imperfections that I smoothed out. Keep a close eye on the before and after shots of the floor of the intake ports, and the edges of the exhaust ports near the valve seat. Also look at the casting around the valve guide. I didn't get many pictures up, but I took away some material around the valve guide to allow for better flow past the valve.
Ridges on the exhaust port:
Ridge on the floor of the intake port:

Casting around valve guide:
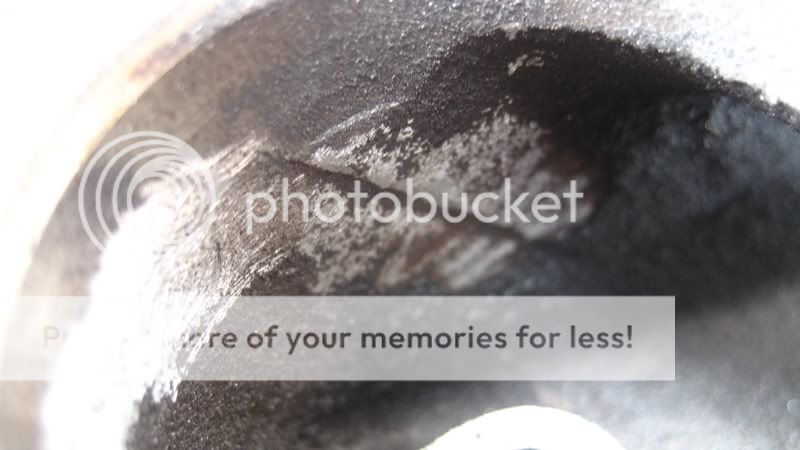
Other rough casting imperfections:
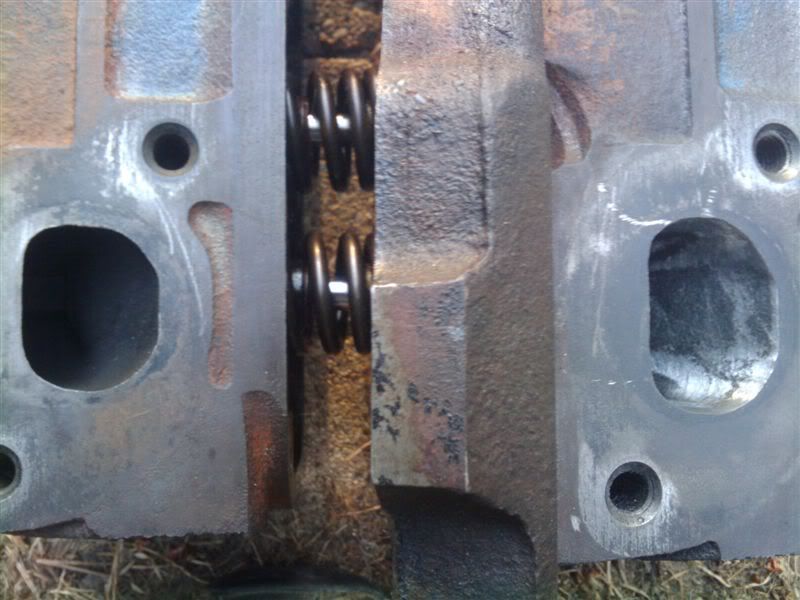
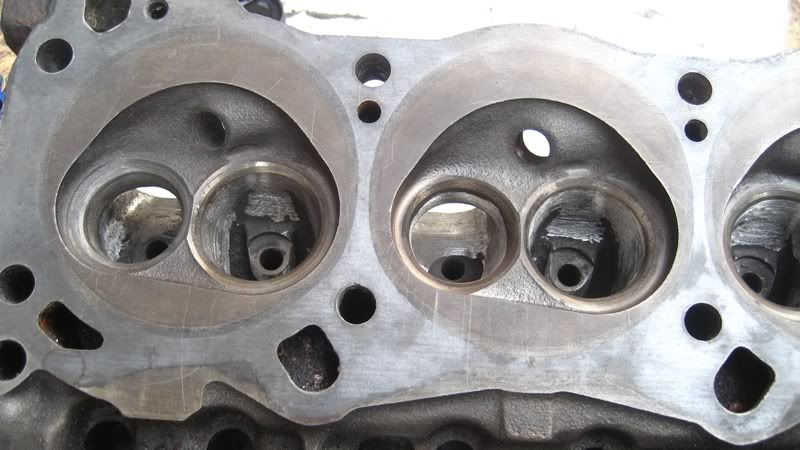
After shots:
There are some pretty big casting imperfections that I smoothed out. Keep a close eye on the before and after shots of the floor of the intake ports, and the edges of the exhaust ports near the valve seat. Also look at the casting around the valve guide. I didn't get many pictures up, but I took away some material around the valve guide to allow for better flow past the valve.
Ridges on the exhaust port:
Ridge on the floor of the intake port:
Casting around valve guide:
Other rough casting imperfections:
After shots:
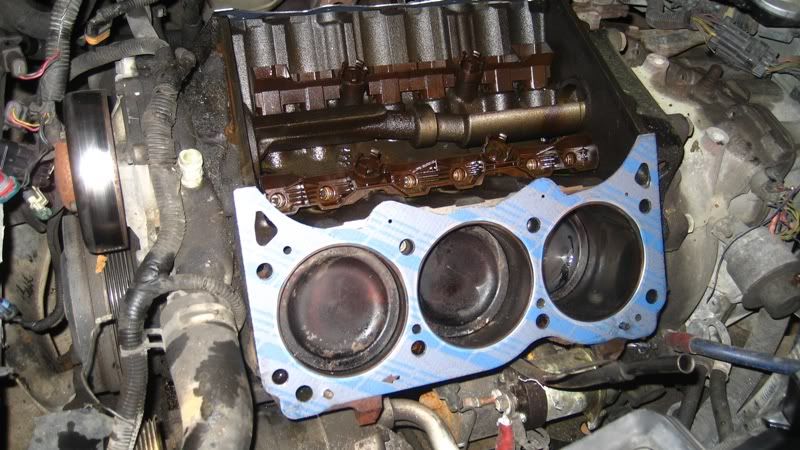
Got some more progress done today.
Before:
After (I lapped the valves after this):


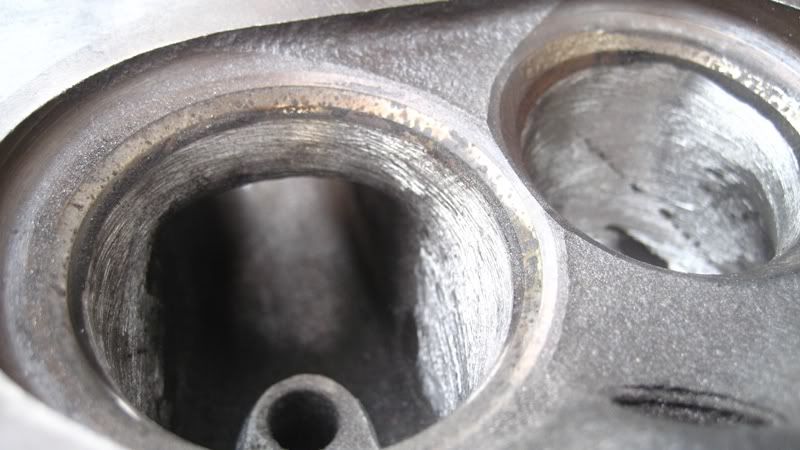
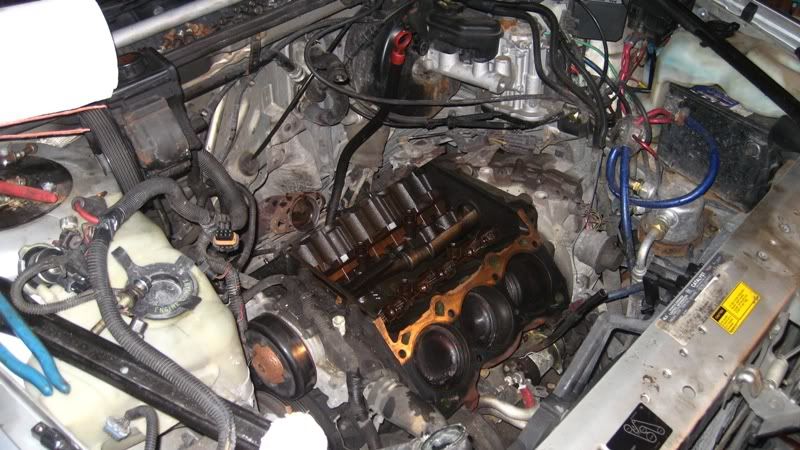
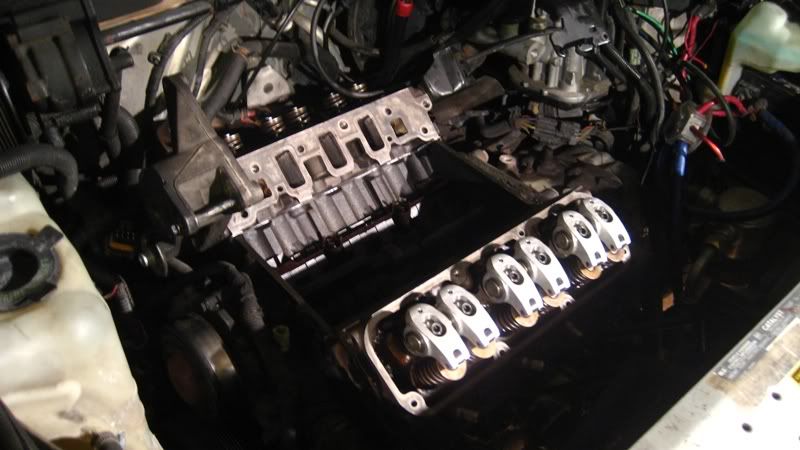
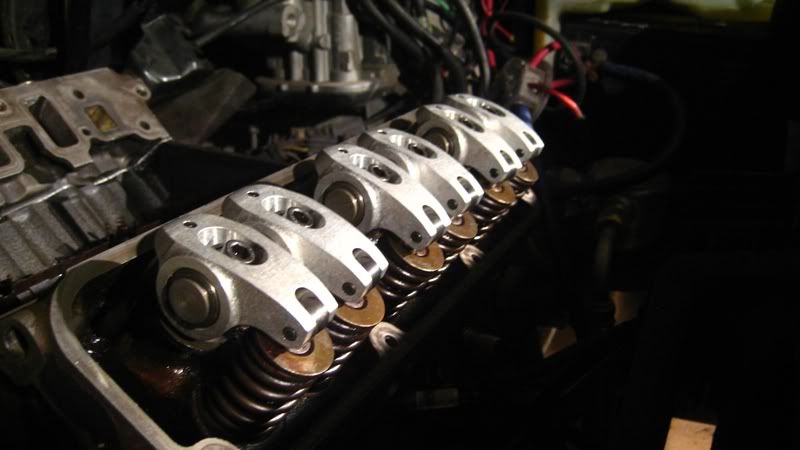
Heads are now torqued down, and I got the first set of rockers on. Then I realized it was 11:00 so I called it a night. I'll finish the car tomorrow.
Before:
After (I lapped the valves after this):
Heads are now torqued down, and I got the first set of rockers on. Then I realized it was 11:00 so I called it a night. I'll finish the car tomorrow.
04-10-2011, 02:25 AM
#18
Senior Member
True Car Nut
Join Date: Jun 2007
Location: New Lenox, IL
Posts: 2,478
Likes: 0
Received 0 Likes
on
0 Posts
04-10-2011, 10:24 AM
#19
Senior Member
Posts like a Supercharger
Thread Starter
Join Date: Apr 2011
Location: Pointe-des-Cascades, QC
Posts: 192
Likes: 0
Received 2 Likes
on
2 Posts
I believe I stumbled across some info saying the series II had a better fuel consumption because of it'* revised manifolds... I guess I know what they revised!