The How To Do Heated Seats Thread (From start to finish)
 12-06-2005, 11:49 PM
#1
DINOSAURUS BOOSTUS


Expert Gearhead
Thread Starter

I'd like to toss out the thanks to Jimmyfloyd. He'* the one that got me started and supplied me with the info I needed.
Seat heaters are from a Cadillac El Dorado. Not sure on the year. Probably Pre 95. I used a razor blade to slice the leather off the seats. Being careful not to cut the center of the seats. The heaters are sewn to the center pieces of leather that can extend to the outter edge of the seat if the piece of leather does. I found this at the shoulders and lower thighs. Then I did what it took to remove all the wiring that was attached to the seat heaters. This included a relay on each seat then following the wires that went into the center console to the switches. I took all the wiring and switches. My plans are to get better switches and install them to a factory look. In the meantime it'* cold in New England. :(
Here we go.
Step 1: Get seat heaters and switches by cutting leather and getting the switch pack. Here you can see them on the leather. The white is the heaters.
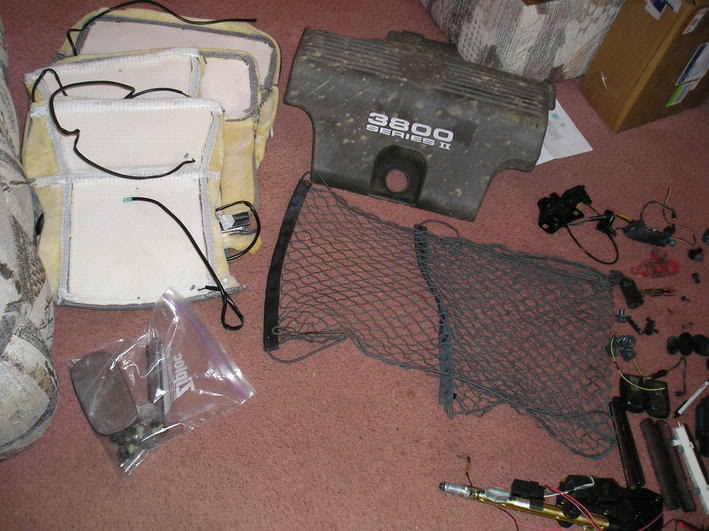
Step 2: Test heaters to ensure they are work bothering to pull the heaters off the seats and being the process of installation. I redneck rigged them from the wiring diagram to my car battery. Not the recommended way. I wouldn't suggest doing it if you do not know what you are doing. I had the wiring diagram.
Step 3: Remove your seats from the car. My seats are AL7 option. Remove nuts bolting seat to floor and then the electrical and air connectors.
Step 4: The front of the seat back has a channel sewn to the bottom of it and the back of the seat back has a arrow looking piece sewn into it and they are clipped together. I used my finger to get it started on coming apart and then gently pulled the whole thing apart. The there are other plastic clips (white) as seen here with the seat back held open.
Step 5: Unhook side bolsters, they are clipped on the back they are the white side pieces in the above pic. This releases the bolster area. The I used two pair of needle nosed pliers to partially open the hog rings that hold the upper shoulder areas of the seat leather on. Here is a pic of one side with the rings still installed.

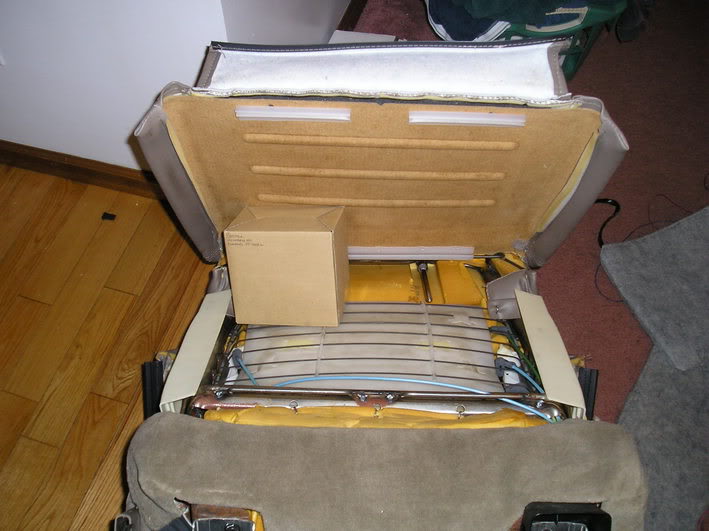
Step 6: Using your hands under the leather, gently work it upward releasing the velcro that holds the leather to the cushion. Your seat back looks like this inside. The black is the velcro and the orange stuff is fluffly threadlike stuff that is sewn to the leather and hooks to the velcro.
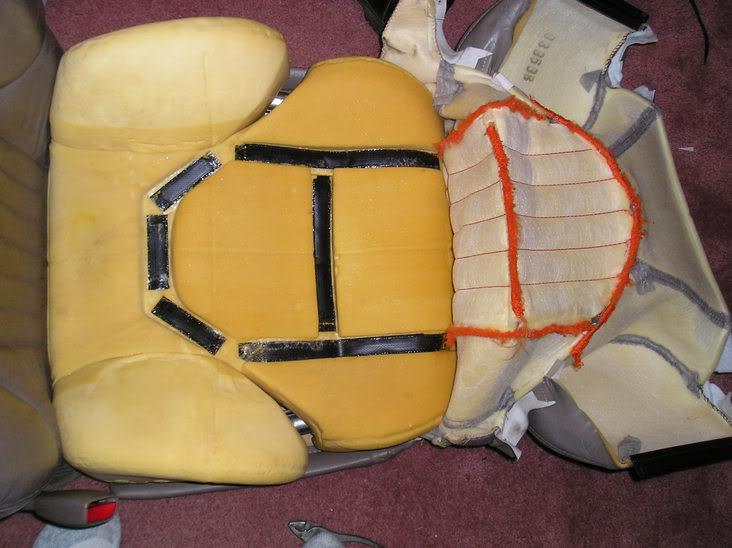
I then took my heating element for the shoulder area and was able to insert it under the leather at the top of the seat and have it come to just above the piece of velcro that goes horizontally across, midway up the seat. It stuck tot he velcro nicely and I do not think it can move. I routed this wire down beside the vertical velcro and then behind the bolster into the back of the seat, then through a hole for the lumbar air lines. Then pull the cover down and slide your hand up under it to ensure the edges of the heater have not moved and are nice and flat.
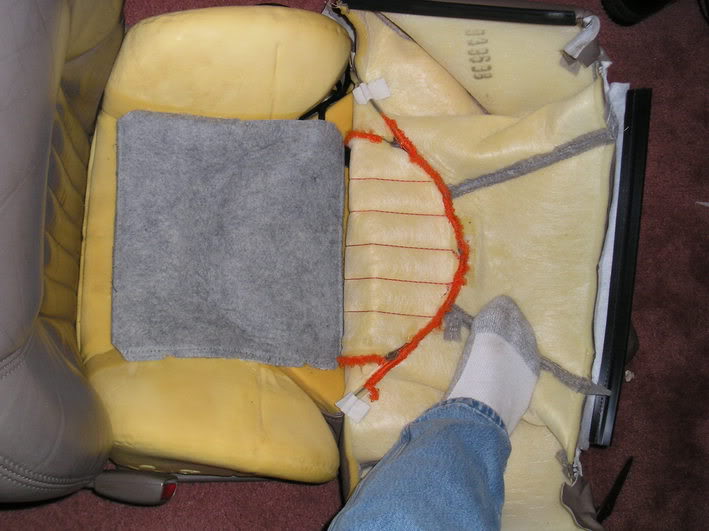
Step 7: Inserted the lower seat back heating element and like the first piece it held onto the velcro well. Wires run through hole for air lines. Foot only needed for pic taking, not installation.
Step 8: Pull leather back around, clip bolsters and put hog rings back in the same places. Pushed front leather back under seat and clipped rear pieces onto bars. The pushed back lower piece under seat. The back piece is supposed to go under and loop back to clip into the front piece. I found that pushing the rear piece straight in it didn't clip properly but it did clip and I could not undo it. If it comes undone I will deal with getting it clipped properly.
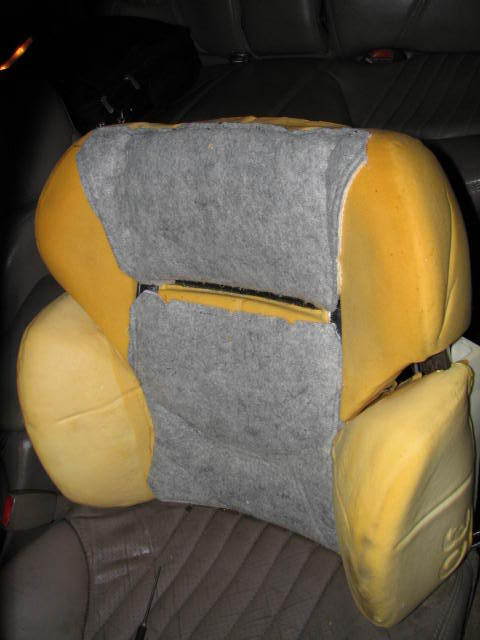
Step 9: Seat bottom, basically there are white clips like the bolsters and bars that they clip onto. I pulled down and undid 1/2 of the seat. The other 1/2 was the back and one side that is pretty well under parts of the mechanism. Pushing down on the cushion the leather can be folded up over it. Again working the velcro loose with my hand. Slid the element in and routed the cord to into the lumbar air line hole. Left a piece of velcro for the leather to hold onto like the top. Then inserted the last element for the lower thighs. The wires are on the side but would show. I cut about half to a full inch into the cushion and inserted the wire in the newly cut groove that led down the side of the seat. Pulled the leather back over and checked via my hand again to ensure all element edges were smooth under the leather. Reclip bottom seat. I found this to be super easy.
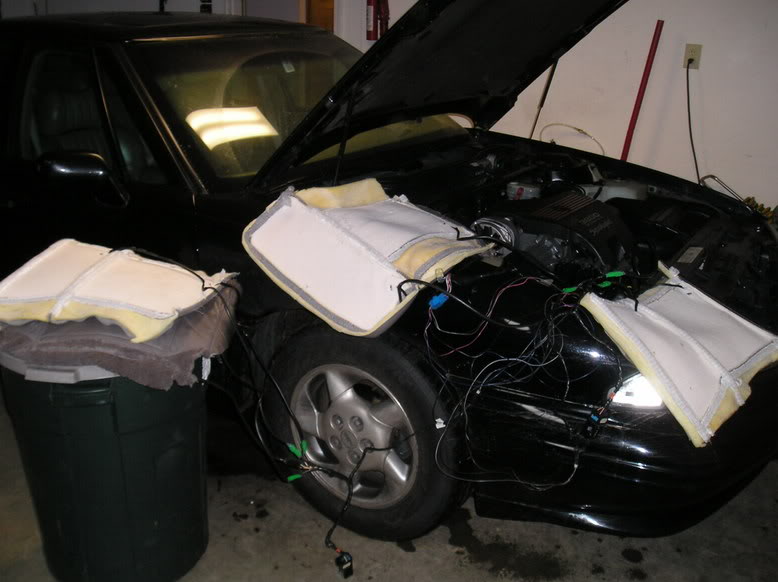
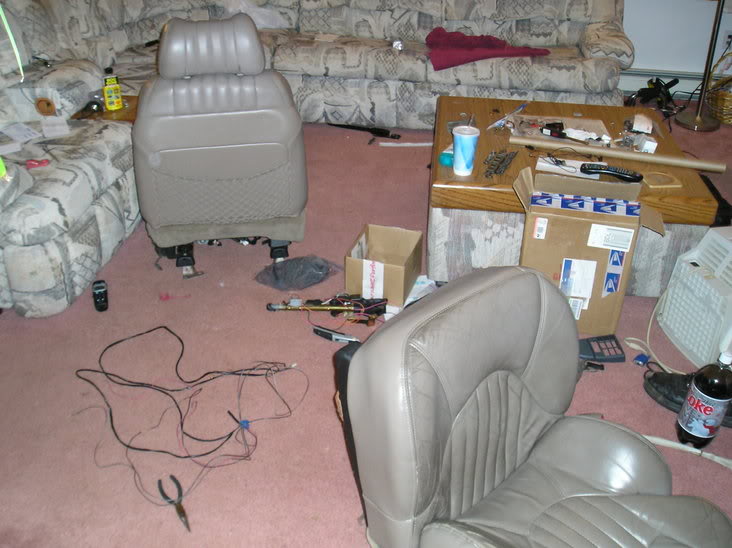
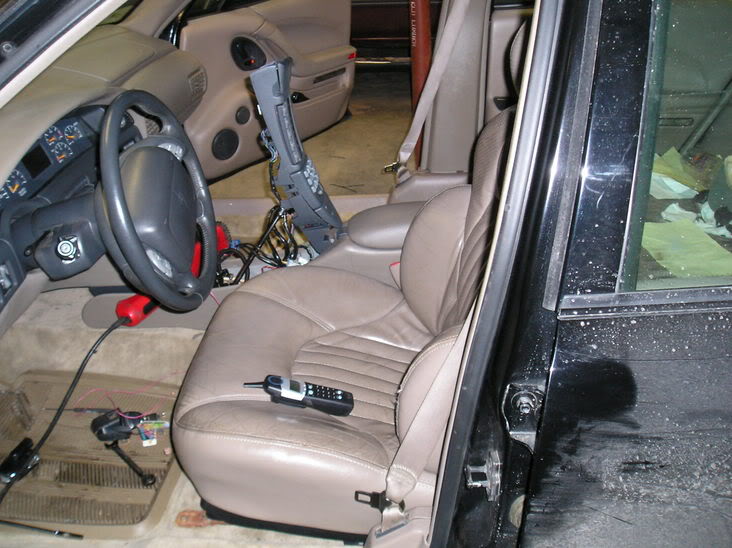
Step 10: Repeat element insertion on other seat. Here are my seats in my living room where I put the elements into them.
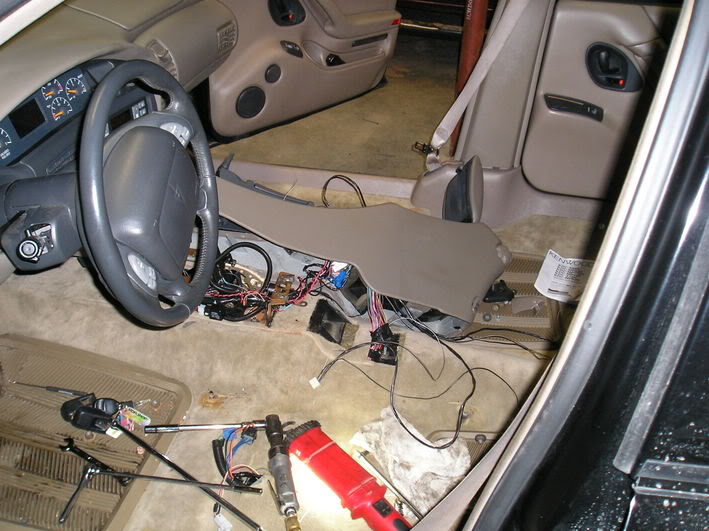
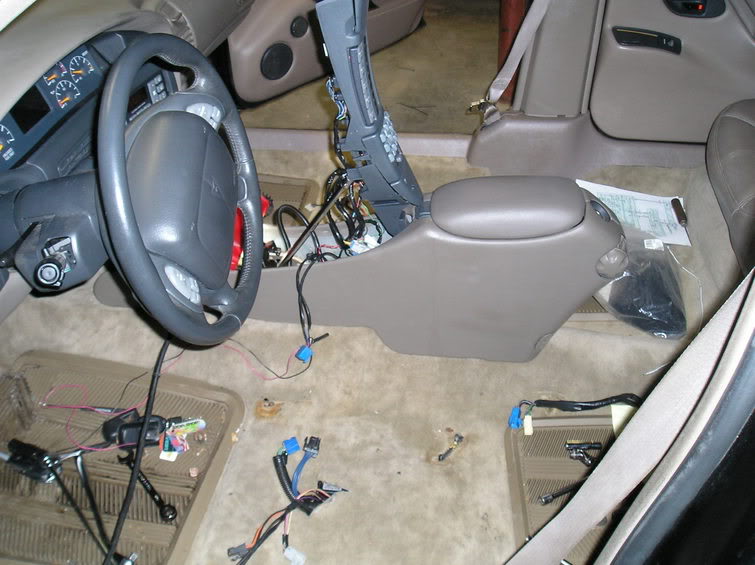
Step 11: With seats out, partially remove console in car to route wiring under carpet. Connect wiring per your diagram. Here is the console unbolted and laying on it'* side.
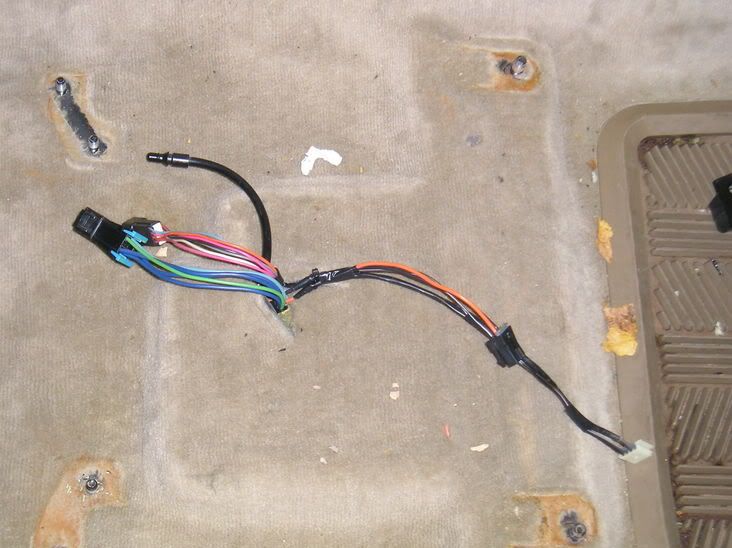
My diagram called for constant power to the seat relay and also ground. Here is my hookup at the power seat connector directly under each seat. Fused to 25amps.
Step 11: Reinstall console and hang new wires out of it, because my new switches are not in yet. Therefore I am not permanently mounting the switches.
Step 12: Reinstall seats.
Step 13: Hook in switches and go for a test drive.
I can tell you they work fantastic. I like them already and will enjoy them this winter.

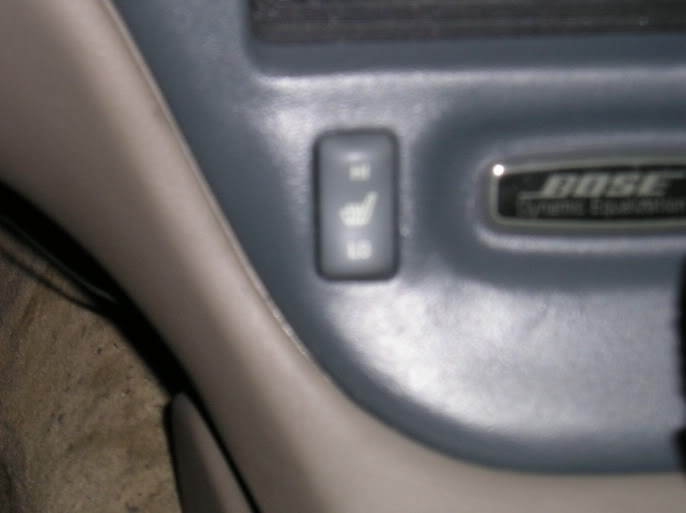
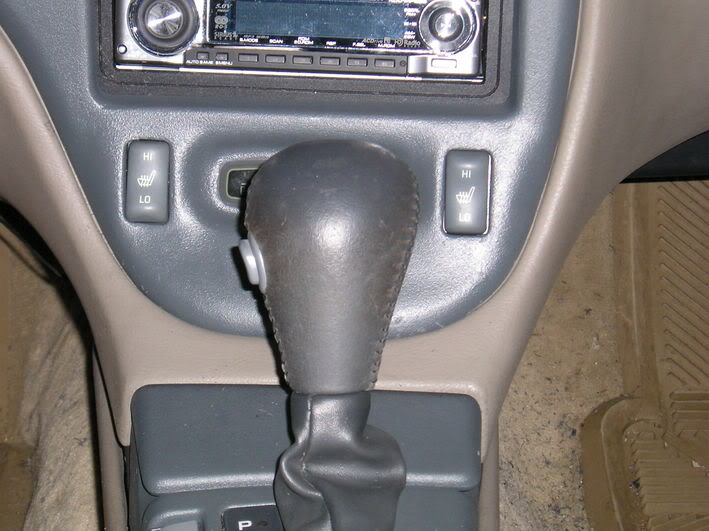
I had ordered Grand Prix switches as they match the Bonneville interior. After they arrived I took out the dash panel and modified it for the switches.
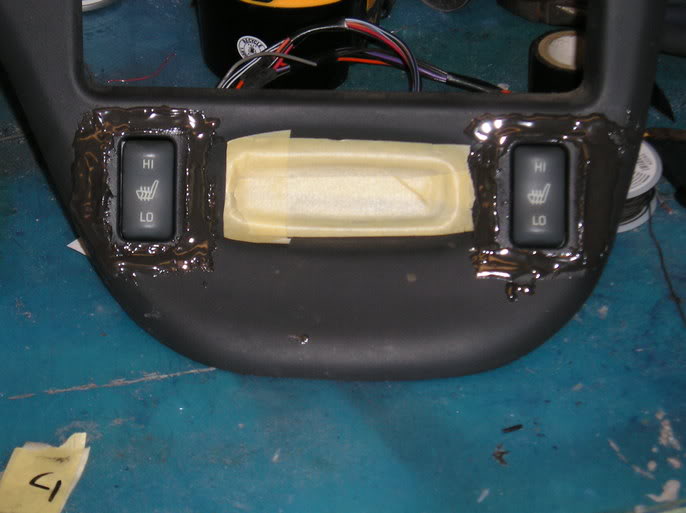
Cut the panel and JB welded portions of the switch bezel in order to hold the switches into the panel.
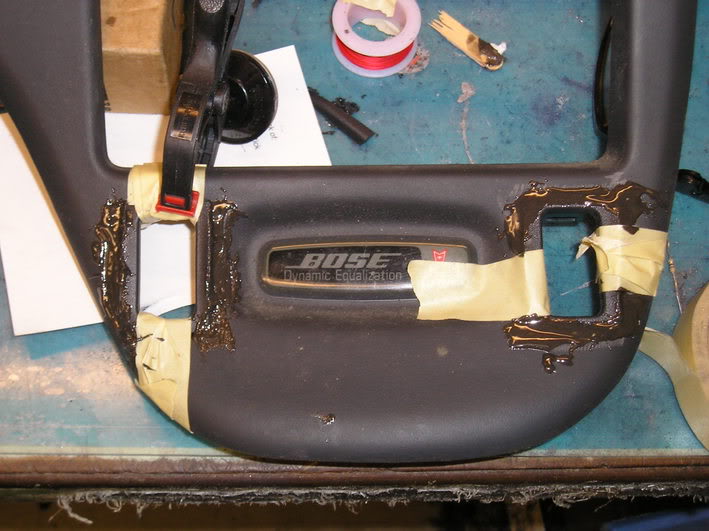
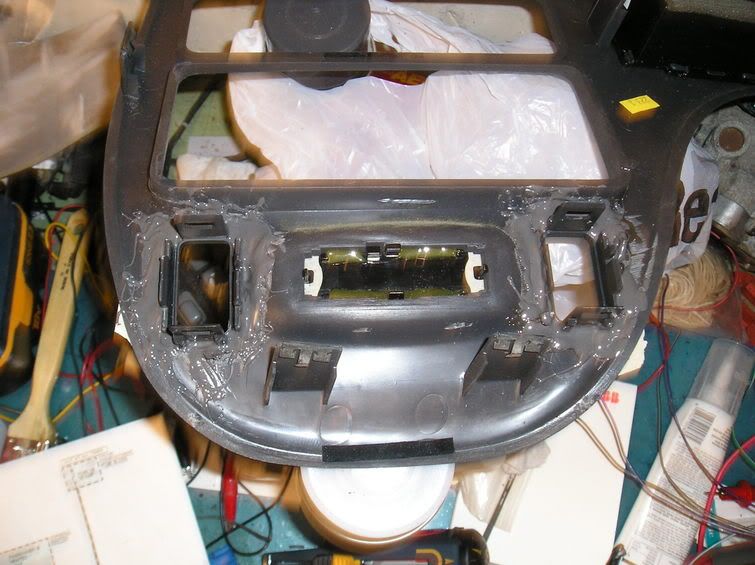
Backside
While waiting for that to setup to be sanded, I made the wiring harness to go to the switches.

Quick test fit
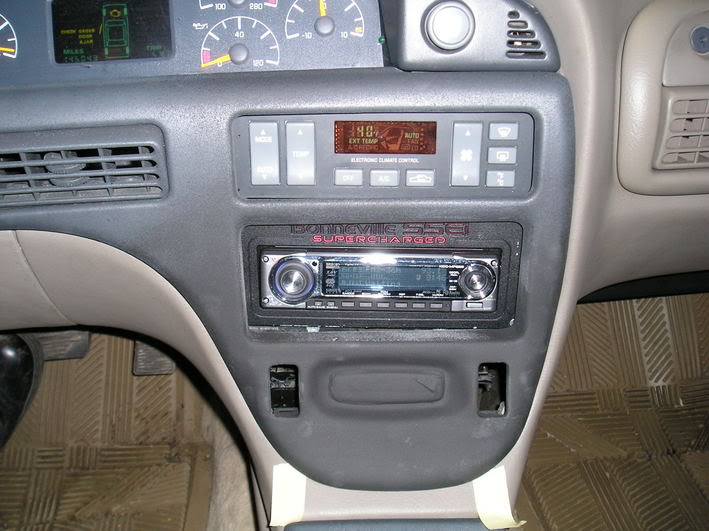
And the finished product
Seat heaters are from a Cadillac El Dorado. Not sure on the year. Probably Pre 95. I used a razor blade to slice the leather off the seats. Being careful not to cut the center of the seats. The heaters are sewn to the center pieces of leather that can extend to the outter edge of the seat if the piece of leather does. I found this at the shoulders and lower thighs. Then I did what it took to remove all the wiring that was attached to the seat heaters. This included a relay on each seat then following the wires that went into the center console to the switches. I took all the wiring and switches. My plans are to get better switches and install them to a factory look. In the meantime it'* cold in New England. :(
Here we go.
Step 1: Get seat heaters and switches by cutting leather and getting the switch pack. Here you can see them on the leather. The white is the heaters.
Step 2: Test heaters to ensure they are work bothering to pull the heaters off the seats and being the process of installation. I redneck rigged them from the wiring diagram to my car battery. Not the recommended way. I wouldn't suggest doing it if you do not know what you are doing. I had the wiring diagram.
Step 3: Remove your seats from the car. My seats are AL7 option. Remove nuts bolting seat to floor and then the electrical and air connectors.
Step 4: The front of the seat back has a channel sewn to the bottom of it and the back of the seat back has a arrow looking piece sewn into it and they are clipped together. I used my finger to get it started on coming apart and then gently pulled the whole thing apart. The there are other plastic clips (white) as seen here with the seat back held open.
Step 5: Unhook side bolsters, they are clipped on the back they are the white side pieces in the above pic. This releases the bolster area. The I used two pair of needle nosed pliers to partially open the hog rings that hold the upper shoulder areas of the seat leather on. Here is a pic of one side with the rings still installed.
Step 6: Using your hands under the leather, gently work it upward releasing the velcro that holds the leather to the cushion. Your seat back looks like this inside. The black is the velcro and the orange stuff is fluffly threadlike stuff that is sewn to the leather and hooks to the velcro.
I then took my heating element for the shoulder area and was able to insert it under the leather at the top of the seat and have it come to just above the piece of velcro that goes horizontally across, midway up the seat. It stuck tot he velcro nicely and I do not think it can move. I routed this wire down beside the vertical velcro and then behind the bolster into the back of the seat, then through a hole for the lumbar air lines. Then pull the cover down and slide your hand up under it to ensure the edges of the heater have not moved and are nice and flat.
Step 7: Inserted the lower seat back heating element and like the first piece it held onto the velcro well. Wires run through hole for air lines. Foot only needed for pic taking, not installation.
Step 8: Pull leather back around, clip bolsters and put hog rings back in the same places. Pushed front leather back under seat and clipped rear pieces onto bars. The pushed back lower piece under seat. The back piece is supposed to go under and loop back to clip into the front piece. I found that pushing the rear piece straight in it didn't clip properly but it did clip and I could not undo it.
If it comes undone I will deal with getting it clipped properly.Step 9: Seat bottom, basically there are white clips like the bolsters and bars that they clip onto. I pulled down and undid 1/2 of the seat. The other 1/2 was the back and one side that is pretty well under parts of the mechanism. Pushing down on the cushion the leather can be folded up over it. Again working the velcro loose with my hand. Slid the element in and routed the cord to into the lumbar air line hole. Left a piece of velcro for the leather to hold onto like the top. Then inserted the last element for the lower thighs. The wires are on the side but would show. I cut about half to a full inch into the cushion and inserted the wire in the newly cut groove that led down the side of the seat. Pulled the leather back over and checked via my hand again to ensure all element edges were smooth under the leather. Reclip bottom seat. I found this to be super easy.
Step 10: Repeat element insertion on other seat. Here are my seats in my living room where I put the elements into them.
Step 11: With seats out, partially remove console in car to route wiring under carpet. Connect wiring per your diagram. Here is the console unbolted and laying on it'* side.
My diagram called for constant power to the seat relay and also ground. Here is my hookup at the power seat connector directly under each seat. Fused to 25amps.
Step 11: Reinstall console and hang new wires out of it, because my new switches are not in yet. Therefore I am not permanently mounting the switches.
Step 12: Reinstall seats.
Step 13: Hook in switches and go for a test drive.
I can tell you they work fantastic. I like them already and will enjoy them this winter.I had ordered Grand Prix switches as they match the Bonneville interior. After they arrived I took out the dash panel and modified it for the switches.
Cut the panel and JB welded portions of the switch bezel in order to hold the switches into the panel.
Backside
While waiting for that to setup to be sanded, I made the wiring harness to go to the switches.
Quick test fit
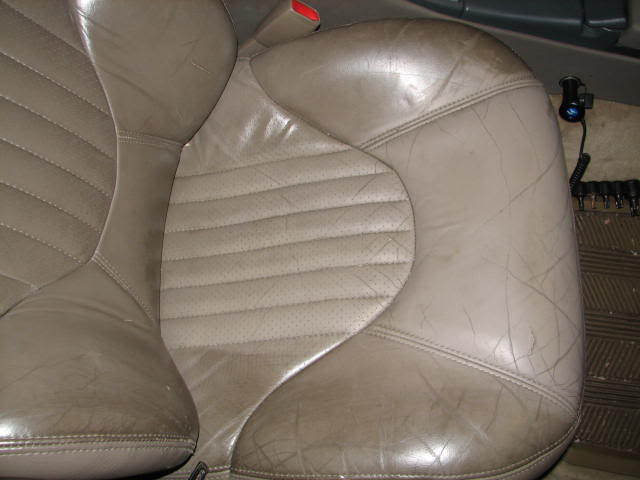
And the finished product


 12-06-2005, 11:59 PM
#6
Senior Member
Posts like a Corvette

Join Date: Jan 2004
Location: Mastic, NY NEBF2 Survivor
Posts: 1,568
Likes: 0
Received 0 Likes
on
0 Posts

Mr boosty, I am going to track down some AL7s and some heated pads and we are gonna do a full conversion on my car at the next NEBF
12-07-2005, 12:01 AM
#8
Senior Member
Certified Car Nut

Join Date: Oct 2003
Posts: 19,756
Likes: 0
Received 0 Likes
on
0 Posts
Originally Posted by Garb
Mr boosty, I am going to track down some AL7s and some heated pads and we are gonna do a full conversion on my car at the next NEBF
12-07-2005, 12:01 AM
#9
DINOSAURUS BOOSTUS
Expert Gearhead
Thread Starter
Originally Posted by Garb
Mr boosty, I am going to track down some AL7s and some heated pads and we are gonna do a full conversion on my car at the next NEBF
12-07-2005, 12:02 AM
#10
Senior Member
Posts like a Corvette
Join Date: Jan 2004
Location: Mastic, NY NEBF2 Survivor
Posts: 1,568
Likes: 0
Received 0 Likes
on
0 Posts
Originally Posted by BillBoost37
Originally Posted by Garb
Mr boosty, I am going to track down some AL7s and some heated pads and we are gonna do a full conversion on my car at the next NEBF