Tune Up -Plug Wires Question
 03-05-2012, 05:49 AM
#11
Senior Member


True Car Nut


I thought that the Delco wires may have been 8mm so it is good to know the spec is 7mm.
I looked today at a set of NGK wires (blue) and they were also 7mm. Sure looked thin.
I was surprised that no wire loom clips were included with the new wires set.
Does any member have a photo of their wire set up, and how many looms are required?
I do not think that who ever installed the last set ever used them as they are all loose, without clips anywhere.
I'd have to go and look, but on my 96' I am pretty sure there is 3 of them, one at the back a bit above the O2 sensor, the UIM has grooves for the wires to run along, there should also be one up there in the middle of the UIM area, and one at the front, which is kind of at the base on of front/bottom of the UIM, I'll see if I have any pics from when I did a UIM/LIM job on it.
I found one pic, only of the front one, it pops into a hole on the fuel rail, behind where the purge solenoid connector hooks on to.
Other is a bit behind the grooves on the LIM, the other at the back, it pops into the bracket coming off the block, the one holding the fuel rail supports.
I did find a pic that gives u an idea where each goes.
https://www.gmforum.com/attachment.p...1&d=1330944564
 03-07-2012, 10:47 AM
#12
Senior Member


True Car Nut
Thread Starter
Thanks William for that diagram very helpful. Almost about to do the wires replacement and spark plugs. Can anyone conform this diagram to be correct for the firing order on 3.8?

And the front spark plugs look easy to access, but the rears ah...not so.
Any tips on how to get the rear ones done without breaking your back or hands?
Does this motor tilt upwards on mounts or something?
And the front spark plugs look easy to access, but the rears ah...not so.
Any tips on how to get the rear ones done without breaking your back or hands?
Does this motor tilt upwards on mounts or something?
03-07-2012, 02:32 PM
#14
Senior Member
True Car Nut
Thread Starter
Since I have discovered a rear valve cover leak, I am going to tackle this whole job all at once. Both valve gaskets, new Iridium plugs, and the NGK wires that will fit into looms.
Over all the NGK quality looks good in basic silicone 7mm wire set.

So how hard are these rear plugs to access??
Over all the NGK quality looks good in basic silicone 7mm wire set.
So how hard are these rear plugs to access??
03-07-2012, 10:35 PM
#15
Senior Member
True Car Nut
Since I have discovered a rear valve cover leak, I am going to tackle this whole job all at once. Both valve gaskets, new Iridium plugs, and the NGK wires that will fit into looms.
Over all the NGK quality looks good in basic silicone 7mm wire set.
So how hard are these rear plugs to access??
Over all the NGK quality looks good in basic silicone 7mm wire set.
So how hard are these rear plugs to access??
The rear ones are hard to see while taking out, but if you have skinny arms, and a small extension you should be able to get them out, I always cut my hands up a tad when doing the rears, but they get done without me having to move the motor..
03-07-2012, 10:38 PM
#16
Senior Member
True Car Nut
Just be careful, and not break the wiring on your O2 Sensor that is on the rear exhaust manifold in the process, it is right in the area you will be working.
03-08-2012, 01:04 PM
#17
Senior Member
True Car Nut
Thread Starter
Thanks for that William. I am more worried about breaking my not so small hands LOL!
I will pay careful attention to 02 sensor and everything else in the way!
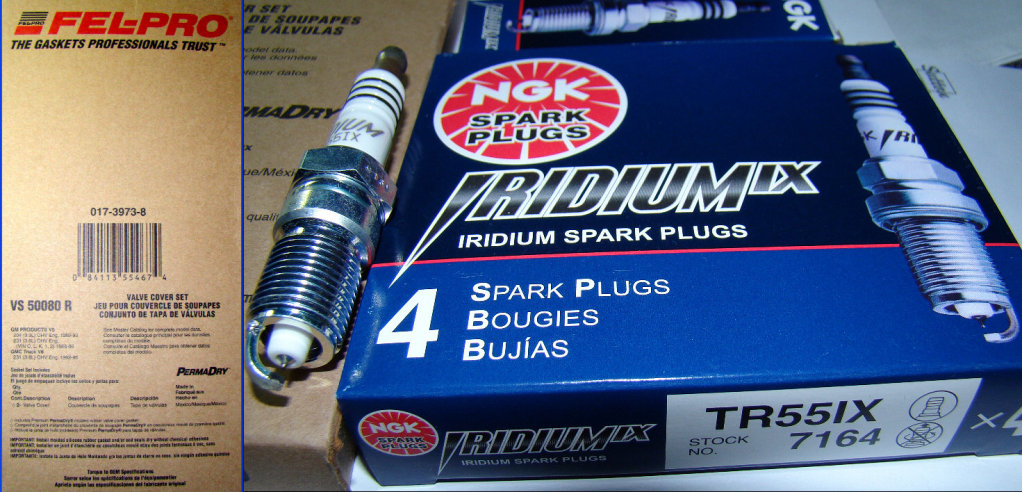
I Went with the NGK Iridium plugs and the FelPro Perma Dry gaskets for covers.
Wish me luck..going to be a few hours on this job.
I will pay careful attention to 02 sensor and everything else in the way!
I Went with the NGK Iridium plugs and the FelPro Perma Dry gaskets for covers.
Wish me luck..going to be a few hours on this job.
03-08-2012, 09:14 PM
#18
Senior Member
True Car Nut
Thanks for that William. I am more worried about breaking my not so small hands LOL!
I will pay careful attention to 02 sensor and everything else in the way!
I Went with the NGK Iridium plugs and the FelPro Perma Dry gaskets for covers.
Wish me luck..going to be a few hours on this job.
I will pay careful attention to 02 sensor and everything else in the way!
I Went with the NGK Iridium plugs and the FelPro Perma Dry gaskets for covers.
Wish me luck..going to be a few hours on this job.
The rear valve cover gasket may need a little RTV to hold it in the valve cover as you put it in place, my old one stayed in place without it, but I got lucky I think.
Nice plugs and wires should make the car happy for a while, let us know how it goes, good luck with it!
03-09-2012, 09:14 PM
#19
Senior Member
True Car Nut
Thread Starter
Ok ...Job is done! Ya!
First off the previous owner used Champions RS14YC6 that were like new condition.
Some would say that these stock type plugs are very reliable and long lasting in gap department. I chose to use the first class Iridium'* to replace the above ones.

The valve covers were both starting to leak, so it was a great time to get the FelPro action happening. The valvetrain was clean, no sludge at all, good news for my 83 k motor.
Thanks William a ton for the engine diagram, it really made the plug install go smoothly and wires laid correctly!
So here is the final result (2.5 hours) and not to much bleeding (just some alcohol)...
wipes that is.....

First off the previous owner used Champions RS14YC6 that were like new condition.
Some would say that these stock type plugs are very reliable and long lasting in gap department. I chose to use the first class Iridium'* to replace the above ones.
The valve covers were both starting to leak, so it was a great time to get the FelPro action happening. The valvetrain was clean, no sludge at all, good news for my 83 k motor.
Thanks William a ton for the engine diagram, it really made the plug install go smoothly and wires laid correctly!
So here is the final result (2.5 hours) and not to much bleeding (just some alcohol)...
wipes that is.....
03-09-2012, 09:41 PM
#20
Senior Member
True Car Nut
Glad the diagram was useful, also happy to see the job got done without a problem.
Those old plugs did not look that bad, normal wear on them, that is a good sign!
It looks nice and clean under there, you must take exceptional care of that Park Ave!
Those old plugs did not look that bad, normal wear on them, that is a good sign!
It looks nice and clean under there, you must take exceptional care of that Park Ave!

