Heated Seat Fix
 01-06-2010, 07:36 PM
#1
DINOSAURUS BOOSTUS


Expert Gearhead
Thread Starter

I DD a Regal. In my case the fix was easier than most because I replaced the seat leather and pulled the heater off the old leather in the summer. Therefore it isn't sewn to the leather like most would be.
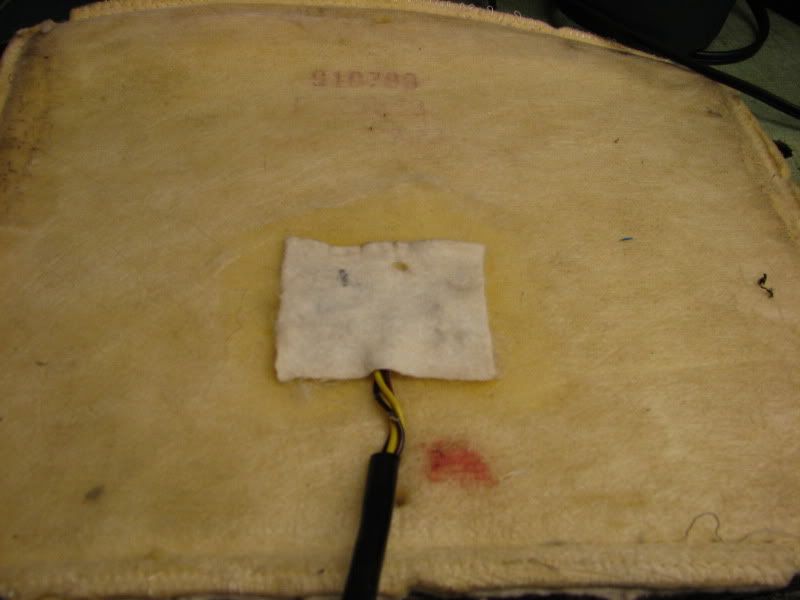
I fixed this last week and it worked for three days. This time I headed in with the camera. Started off by pulling the heater out from under the leather after disconnecting the plug for it.
Green tape was added protection to my last repair
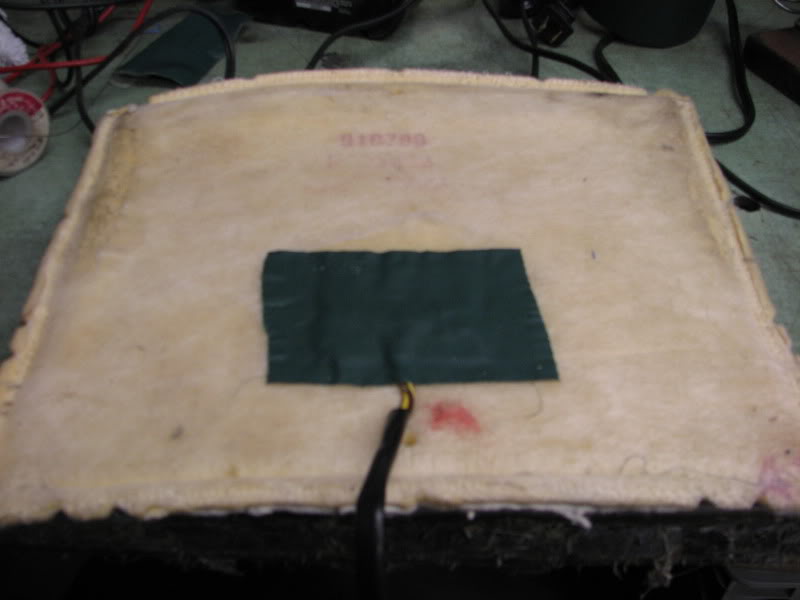
The white patch is what the factory puts on originally to hold the wiring with some hot glue.
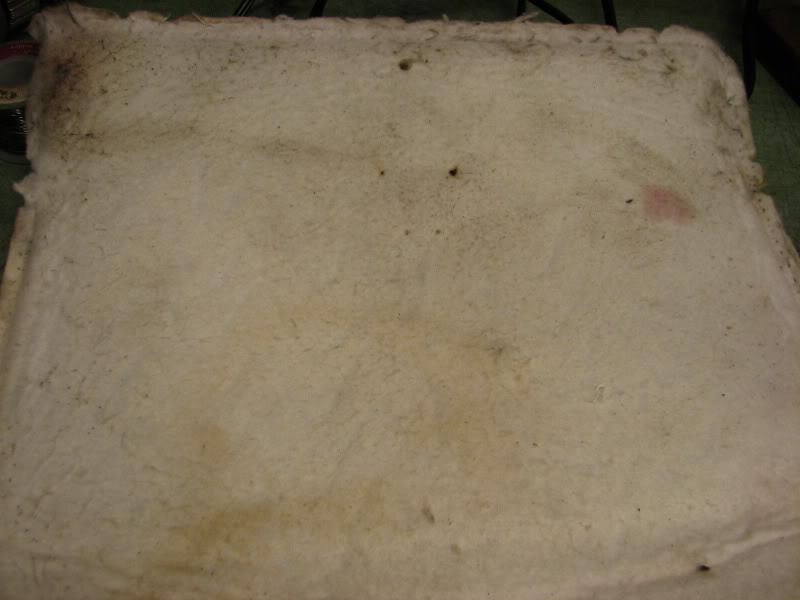
Looking at the heating pad we see two burn marks in it. When I fixed this last week, there was only one mark.
Close up
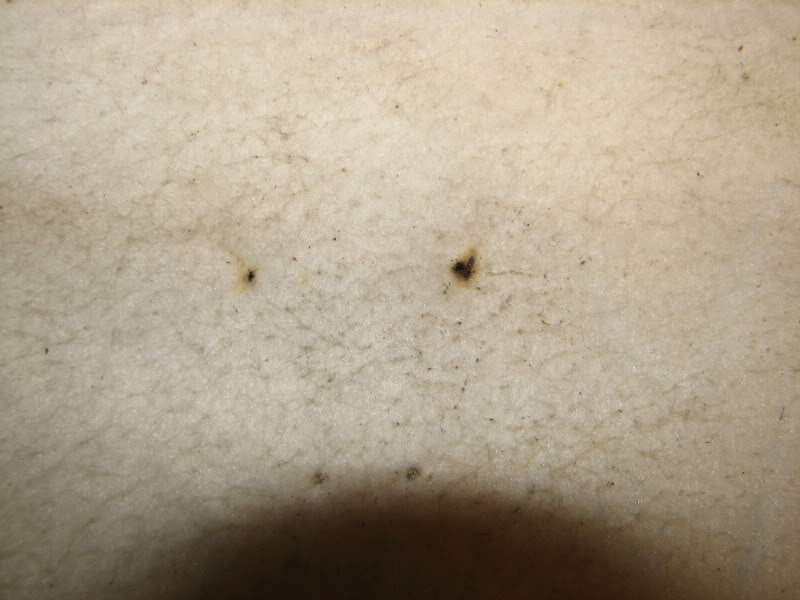
Fixing one of these near the wiring (which is where many of the breaks frequently occur) is rather easy. Lifting up the wire, there was an obvious weak spot. That'* where it broke.
Being that I deal with thin buss wire like this for other things, I know that dragging a razor over it (lengthwise with the wire) is about the only way to get the coating off w/o breaking the wire further. Here'* the spare piece as I was unable to click a picture while doing the one on the heater.
Then rewrap it on the regular wire coming in and solder. Test with a multimeter for continuity. As Dick mentioned the wire comes in and goes out, then to the seat back element and back to the relay under the seat. You should have continuity when testing this part.
Add hot glue to hold things from flexing at the solder joint, then tested again.
I put GM'* little sticky patch back on
Then a new piece of super de duper tape (aka the same tape they use to fix a bus seat)
Reinstalled the heater and tested it out.
:Thumbs
I fixed this last week and it worked for three days. This time I headed in with the camera. Started off by pulling the heater out from under the leather after disconnecting the plug for it.
Green tape was added protection to my last repair
The white patch is what the factory puts on originally to hold the wiring with some hot glue.
Looking at the heating pad we see two burn marks in it. When I fixed this last week, there was only one mark.
Close up
Fixing one of these near the wiring (which is where many of the breaks frequently occur) is rather easy. Lifting up the wire, there was an obvious weak spot. That'* where it broke.
Being that I deal with thin buss wire like this for other things, I know that dragging a razor over it (lengthwise with the wire) is about the only way to get the coating off w/o breaking the wire further. Here'* the spare piece as I was unable to click a picture while doing the one on the heater.
Then rewrap it on the regular wire coming in and solder. Test with a multimeter for continuity. As Dick mentioned the wire comes in and goes out, then to the seat back element and back to the relay under the seat. You should have continuity when testing this part.
Add hot glue to hold things from flexing at the solder joint, then tested again.
I put GM'* little sticky patch back on
Then a new piece of super de duper tape (aka the same tape they use to fix a bus seat)
Reinstalled the heater and tested it out.
:Thumbs

 01-22-2013, 12:51 PM
#3
Junior Member

Join Date: Jan 2013
Posts: 2
Likes: 0
Received 0 Likes
on
0 Posts

thanks for the reply but that'* not my question - my question is how do I take the seat apart to get to the heat pad which I have a replacement pad - I do not need to repair the pad - I want to get to it & replace it
thanks,
Paul
thanks,
Paul

Thread
Thread Starter
Forum
Replies
Last Post