BIG score = lots of work **Complete** with More pics
 11-10-2004, 09:26 PM
#1
Senior Member
True Car Nut
Thread Starter

I aquired an Eclipse AVX2404 yesterday. In dash touch-screen LCD with built-in DVD, MP3, ... all the goodies. The problem is, it'* a double DIN unit. I first was thinking of putting it in my truck but that opening is slightly less than double DIN and would require modifications anyway. So I decided that it was going into the Bonny.
I grabbed the spare dash from the shed and the Dremmel and went to town. I needed to fit it into the dash to get an idea of where to cut the trim panel. Slung around some fibergalss... and here are the unfinished results:
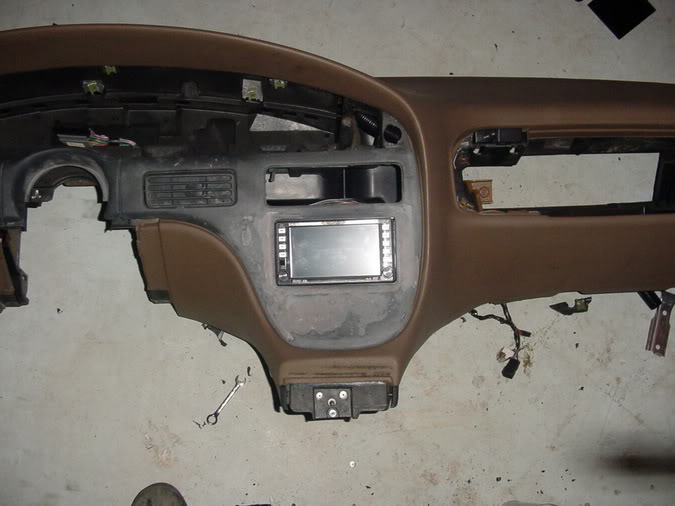
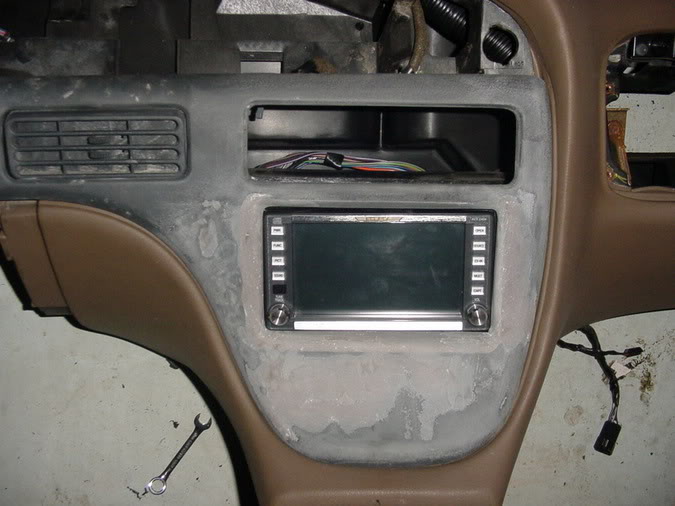
Tomorrow I move into the Bondo phase to clean up the surfaces a bit more. The weekend will be when the mounting bracket is fabbed.
I grabbed the spare dash from the shed and the Dremmel and went to town. I needed to fit it into the dash to get an idea of where to cut the trim panel. Slung around some fibergalss... and here are the unfinished results:
Tomorrow I move into the Bondo phase to clean up the surfaces a bit more. The weekend will be when the mounting bracket is fabbed.


 11-10-2004, 10:29 PM
#4
Senior Member
Posts like a Corvette

Join Date: Oct 2002
Location: N.W. Indiana
Posts: 1,206
Likes: 0
Received 0 Likes
on
0 Posts

Are you going to take off the cover and mold it all together. So if you paint it it looks like it came that way from the factory. Does look nice. How did you go about reinforcing the back end.
11-10-2004, 10:58 PM
#5
Senior Member
Posts like a Camaro

Join Date: Feb 2003
Location: Indianapolis, IN / West Lafayette
Posts: 1,004
Likes: 0
Received 0 Likes
on
0 Posts
awesome i love those i was thinking about getting one like that but yah the double din problem...so now im going with the sun visor monitors and some 7" flip downs in the back. i have a sony 7" motorized flip down right now but its acting up (it likes to open and close randomly because of a bad tilt sensor) and im just gonna return it. beautiful work you are doing. i would be scared to mess up my dash doing all of that.
 11-11-2004, 06:45 AM
#7
Senior Member
True Car Nut

Join Date: Apr 2004
Location: Three Oaks, Michigan
Posts: 4,879
Likes: 0
Received 0 Likes
on
0 Posts
That is beautiful, man! You should have put it in the '90  . Talk about classic pimpin'
Straitor: Remember that Idea we were talking about? I wonder if that would work?
Randy: what kind of price did you pay [or should have paid?], and what kind of inputs do you have on that screen [if any?].
-justin
. Talk about classic pimpin'Straitor: Remember that Idea we were talking about? I wonder if that would work?
Randy: what kind of price did you pay [or should have paid?], and what kind of inputs do you have on that screen [if any?].
-justin
11-11-2004, 07:46 AM
#8
Senior Member
True Car Nut
Thread Starter
Originally Posted by Roadrash187
Are you going to take off the cover and mold it all together. So if you paint it it looks like it came that way from the factory. Does look nice. How did you go about reinforcing the back end.
Originally Posted by opensourceguy
Randy: what kind of price did you pay [or should have paid?], and what kind of inputs do you have on that screen [if any?].
It has two aux video inputs: Navi in and Aux for rear view camera or other video source. It even has a split screen so two sources can be seen at the same time.
 11-12-2004, 11:20 PM
#10
Senior Member
True Car Nut
Thread Starter
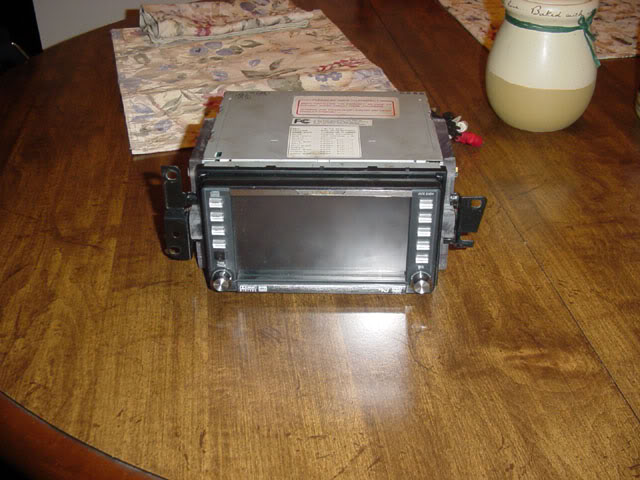
I had a rather sleepless night last night thinking of how I was going to mount this puppy. I couldn't wait for the weekend so I started this afternoon. I came up with many ideas. Some of which required a sheet metal bending brake which I do not own (yet). The ideas gradually got more and more complex but in the end, simplicity won. The idea was to make the new radio the same width as the the factory radio and use the factory mounting brackets. The difference in width between the factory and aftermarket units was just over 3/4". I had some 3/8" polycarbonate laying around from an abandoned project that would work very nicely as a spacer. Here they are here:
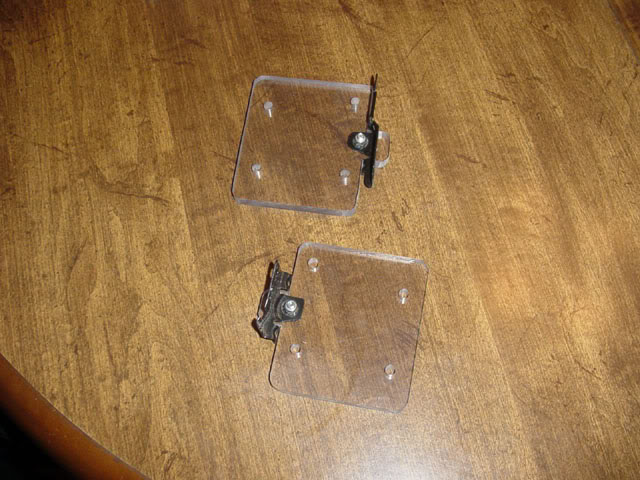
The factory mounting tabs are fastened to the spacers using a flat head screw and a nylon locking nut. The spacers mount to the radio with four more screws. The holes are enlarged so slight adjustments can be made to the up and down alignment. Overall, the width is 1/8" smaller than the factory radio allowing for shims (washers) to be placed for left to right adjustment. It'* ready to be installed but the weather might put a stop to this tomorrow. The dash trim still needs to be finished and painted so that can get done easily tomorrow. Hopefully I can have some completed pics before Monday.
The factory mounting tabs are fastened to the spacers using a flat head screw and a nylon locking nut. The spacers mount to the radio with four more screws. The holes are enlarged so slight adjustments can be made to the up and down alignment. Overall, the width is 1/8" smaller than the factory radio allowing for shims (washers) to be placed for left to right adjustment. It'* ready to be installed but the weather might put a stop to this tomorrow. The dash trim still needs to be finished and painted so that can get done easily tomorrow. Hopefully I can have some completed pics before Monday.