04MonteLS's "Project SQ Monte"
 01-24-2011, 04:44 AM
#41
Senior Member
True Car Nut
Join Date: Mar 2010
Location: Eaton Rapids MI
Posts: 2,964
Likes: 0
Received 0 Likes
on
0 Posts

it was just those first pics u put up looked like u were already forming the port and i figured u knew better thats why i said it prolly just looks that way in the pics.. but now i see that wasnt the port at all
 01-24-2011, 02:48 PM
#42
Senior Member
Posts like a Turbo
Thread Starter
Join Date: Jul 2010
Location: Sacramento, CA.
Posts: 326
Likes: 0
Received 0 Likes
on
0 Posts
Well, not too sure if i'm going to be able to paint my port like I had planned, I just don't see how I could get even coverage when the port opening is just 2.5" wide. Do you think I should just try to paint the front part of the port as far back as I can, knowing that I likely won't be able to get further than halfway back or just leave it as is?
01-24-2011, 03:13 PM
#43
Senior Member
True Car Nut
Join Date: Mar 2010
Location: Eaton Rapids MI
Posts: 2,964
Likes: 0
Received 0 Likes
on
0 Posts
is the box fully assembled now?u could use a small hand roller with a long handle..
Hey i got a buddy looking for a very specific sub to recone.. An old school Rockford Fosgate RFR2212.. doesnt matter how beat up it is as long as the basket and magnet r good. Can u seek one out for me?
Hey i got a buddy looking for a very specific sub to recone.. An old school Rockford Fosgate RFR2212.. doesnt matter how beat up it is as long as the basket and magnet r good. Can u seek one out for me?
01-24-2011, 03:35 PM
#44
Senior Member
Posts like a Turbo
Thread Starter
Join Date: Jul 2010
Location: Sacramento, CA.
Posts: 326
Likes: 0
Received 0 Likes
on
0 Posts
is the box fully assembled now?u could use a small hand roller with a long handle..
Hey i got a buddy looking for a very specific sub to recone.. An old school Rockford Fosgate RFR2212.. doesnt matter how beat up it is as long as the basket and magnet r good. Can u seek one out for me?
Hey i got a buddy looking for a very specific sub to recone.. An old school Rockford Fosgate RFR2212.. doesnt matter how beat up it is as long as the basket and magnet r good. Can u seek one out for me?
01-24-2011, 11:48 PM
#45
Senior Member
Posts like a Turbo
Thread Starter
Join Date: Jul 2010
Location: Sacramento, CA.
Posts: 326
Likes: 0
Received 0 Likes
on
0 Posts
Well, decided to leave the port unpainted. It would have looked sick painted red but oh well, performance is more important than looks anyway.
Not much I could do today.....
First thing I realized is that somehow I messed up...my plan was to paint the port red and the rest of the box black but since I also resined the whole inside of the box and my port being 2.5" wide it doesn't look like i'm gonna be able to paint it (the port). I doubt I'd be able to get any kind of even coverage in the port walls so i'm just gonna let it ride as is. Still gonna paint the rest of it black though. So tonight all I was able to do was clean out the inside of the box real good and pour my resin 45'*...I didn't think pouring that much resin into the corner would harden up so quick (about an hour or so) but it did so I was able to tilt the box to the other corner and pour the 45'* in the port wall corner and box corner too. While I was doing that I noticed the upper edge of the port wall on the inside of the port didn't seem to be sealed up all the way with the top of the box....i'm talking a hairline seam, so just to be safe i'm gonna drip some more resin along that edge just to make sure tomorrow when I resin the inside of the first baffle. I didn't do that tonight cause I has no more paint brushes. That'* all for tonight.
01-30-2011, 11:11 PM
#46
Senior Member
Posts like a Turbo
Thread Starter
Join Date: Jul 2010
Location: Sacramento, CA.
Posts: 326
Likes: 0
Received 0 Likes
on
0 Posts
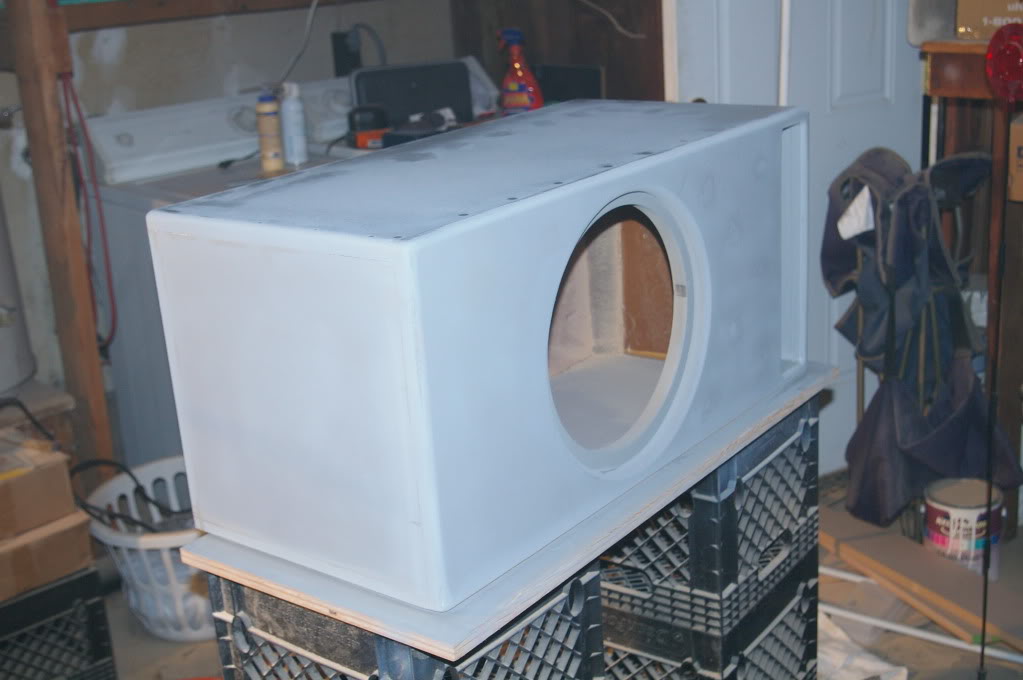
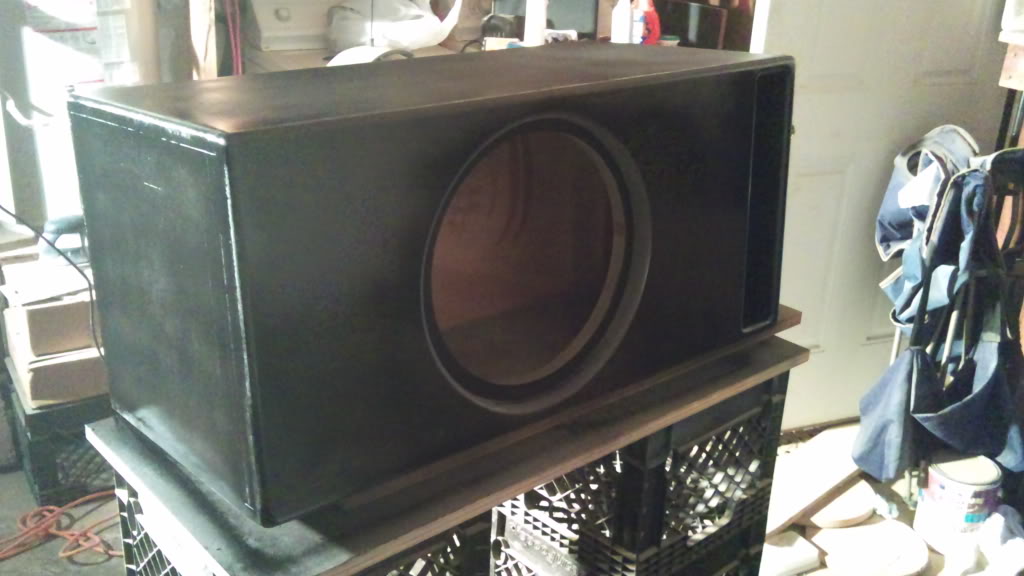
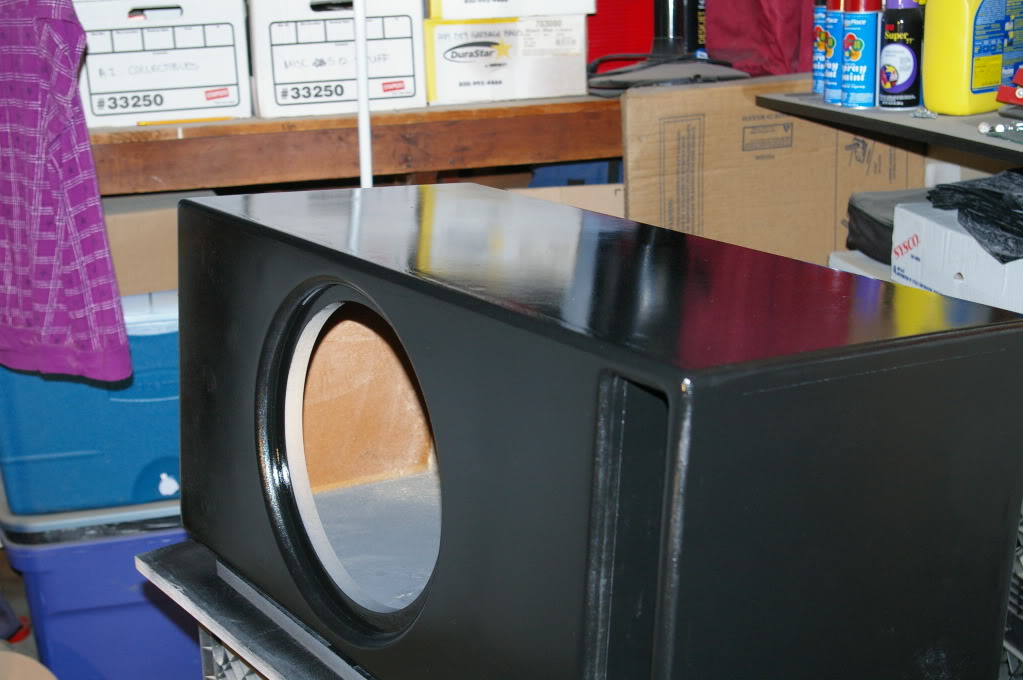
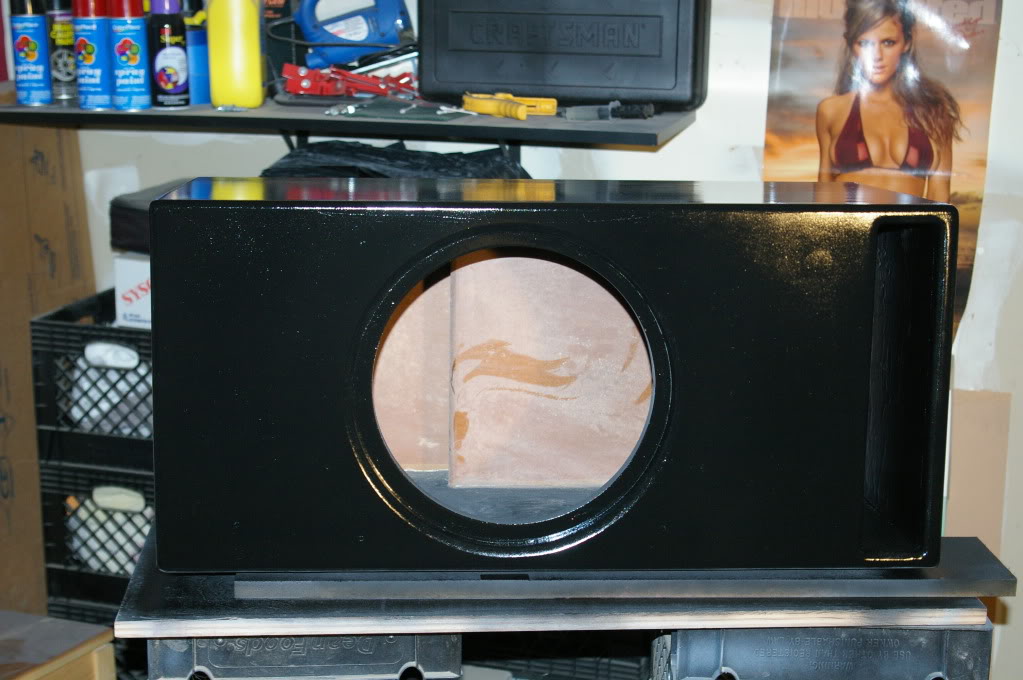
Been doing a little work when I could throughout the week and finally have the box fully assembled, just working on the exterior now to get it as smooth as possible in preparation for paint. It'* been a long process, definitely learned alot (mainly, NEVER let 99vic operate a power tool :noob: ) but it'* coming along nicely.
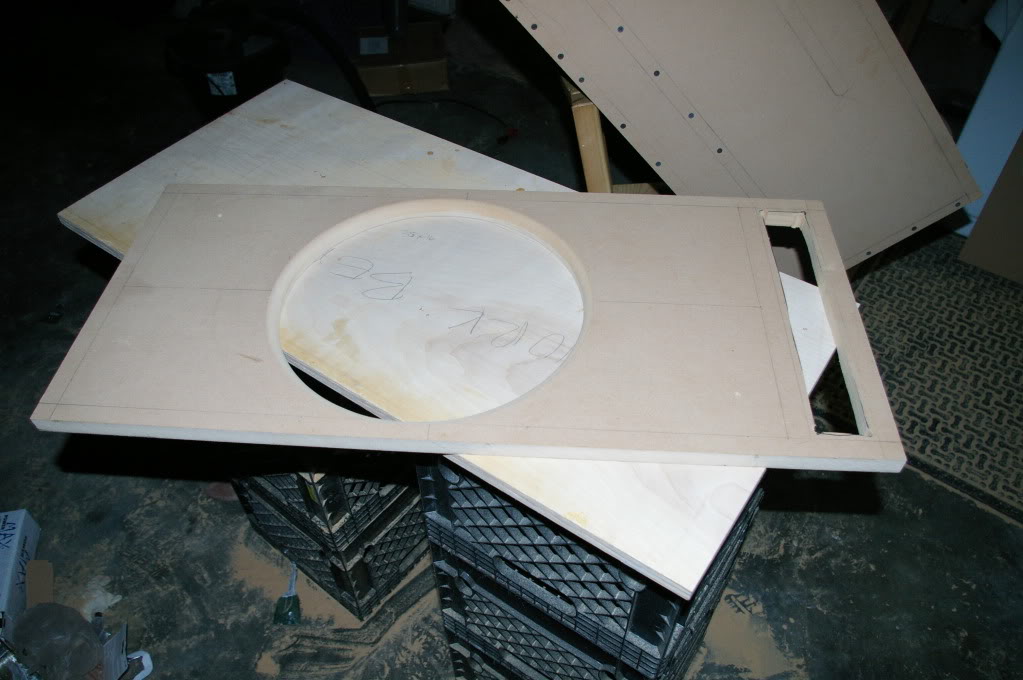
Here'* what I call the "flush baffle", I drilled a hole in each corner of where the port opening needed to be and took a jigsaw to it for the "rough cut".
Then I poured the 45'*
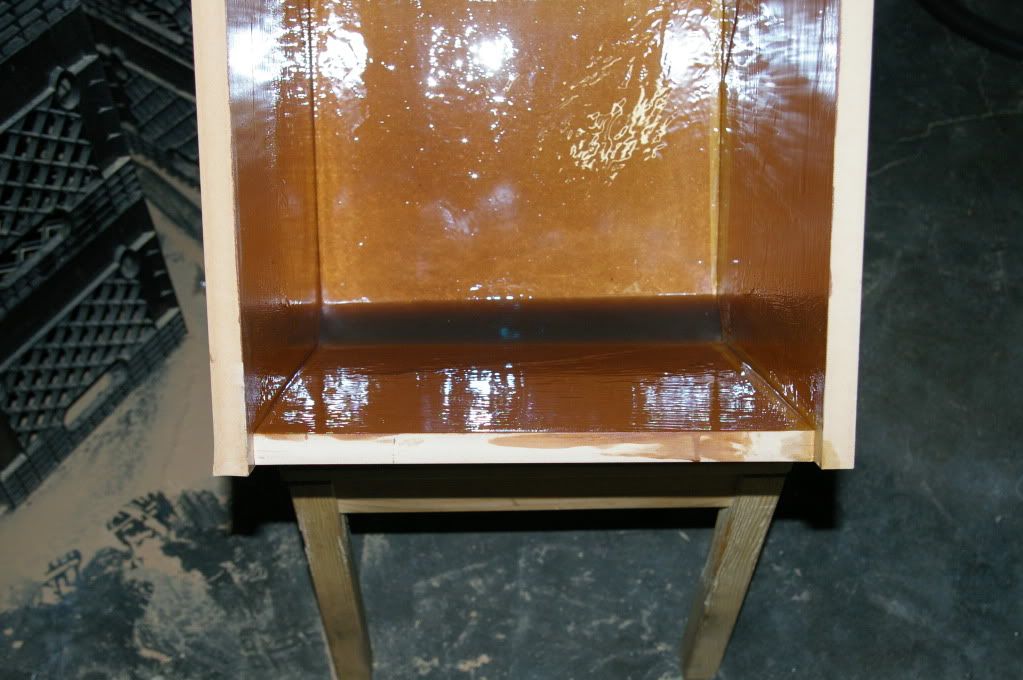
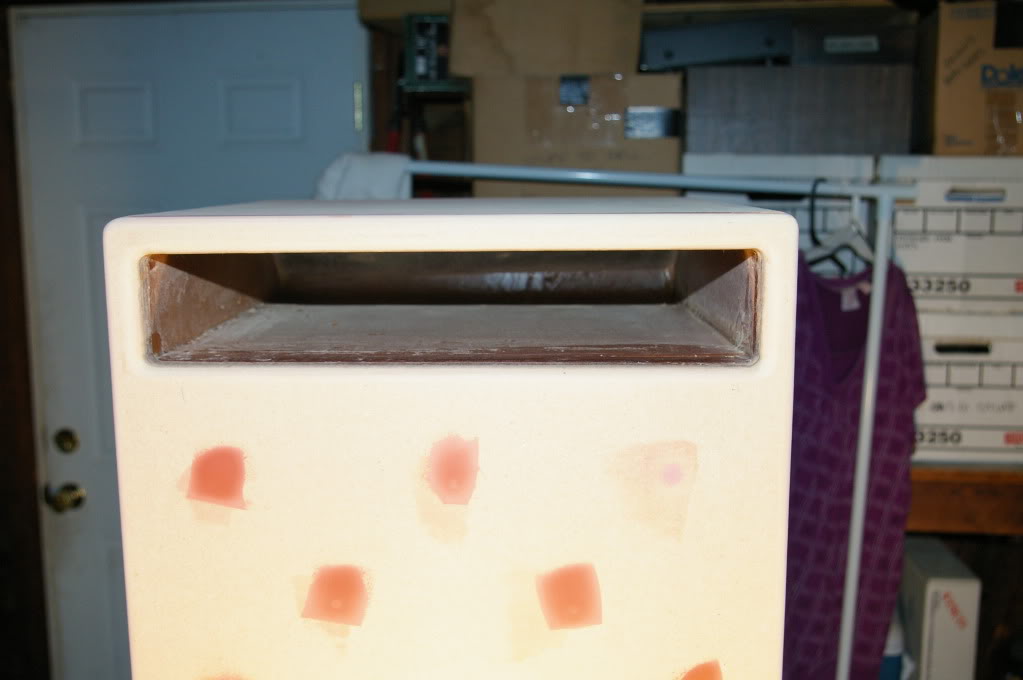
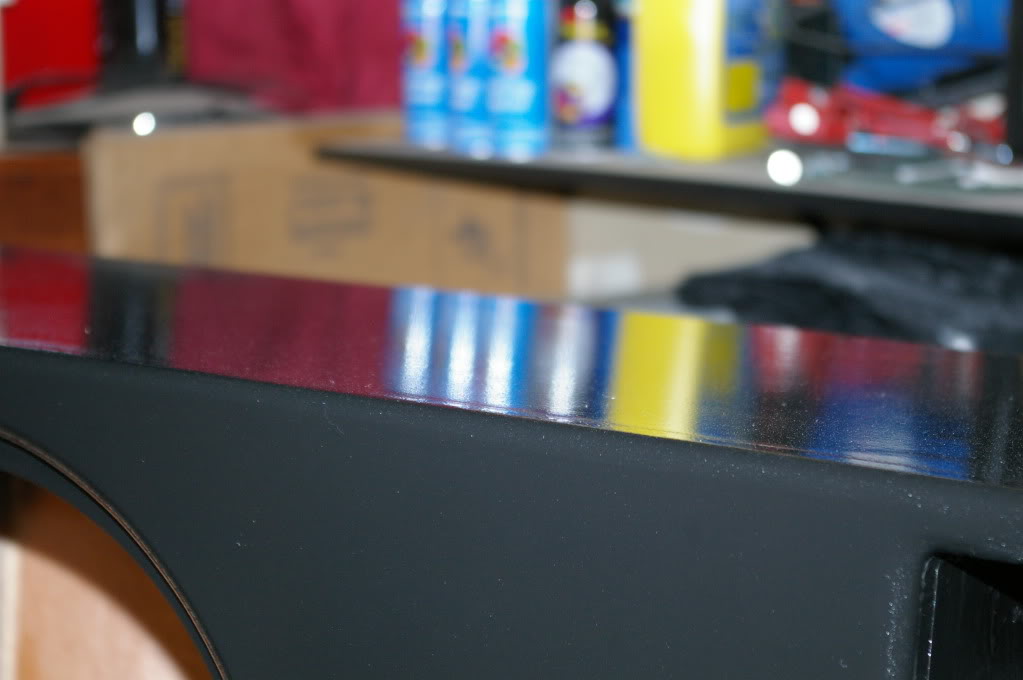
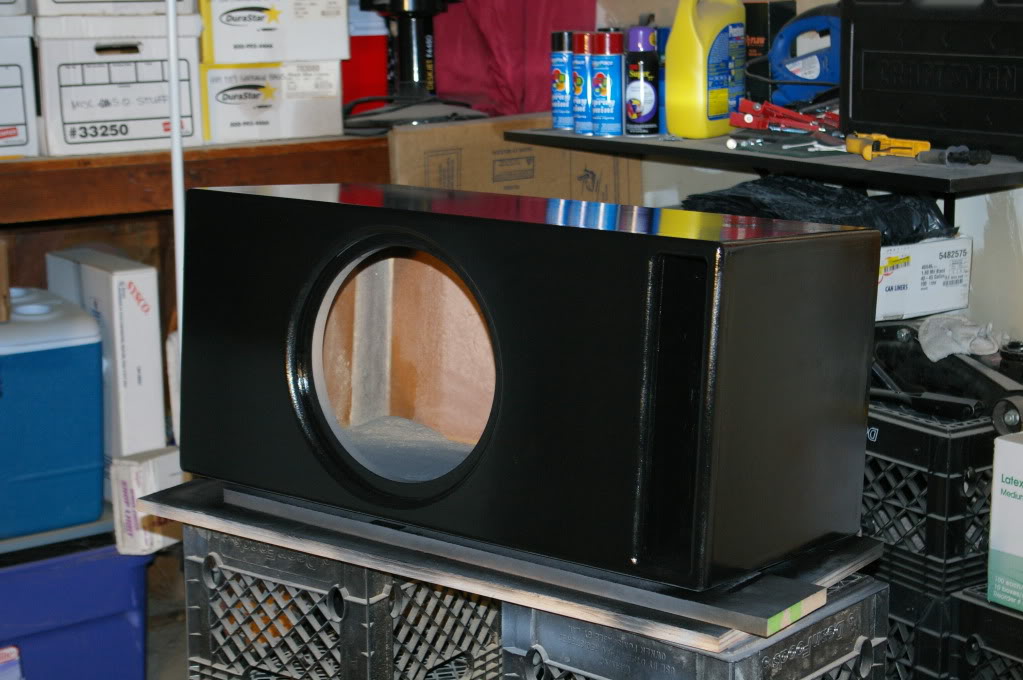
Shortly after doing the 45'* I realized I wasn't gonna be able to paint the port red like I wanted. I was kinda bummed but it is what it is...the look of the resin isn't too bad so it'* gonna have to do. Once the 45'* were done I glued and screwed both baffles in place and let that sit overnight. Last night I did the last little bit of resin work, laying down a coat or two in the port opening. Ever since then I've been removing screws, filling holes, sanding, filling holes again, sanding, tedious work this sanding stuff. Finally, today I was able to get the roundovers done....still working on getting the holes filled in nicely and sanded to a smooth finish. I thought this would be the easiest part of the build....haha, not so much. Well, this is the box as it sits now, trying to speed up the drying process of the spot putty with my worklight.
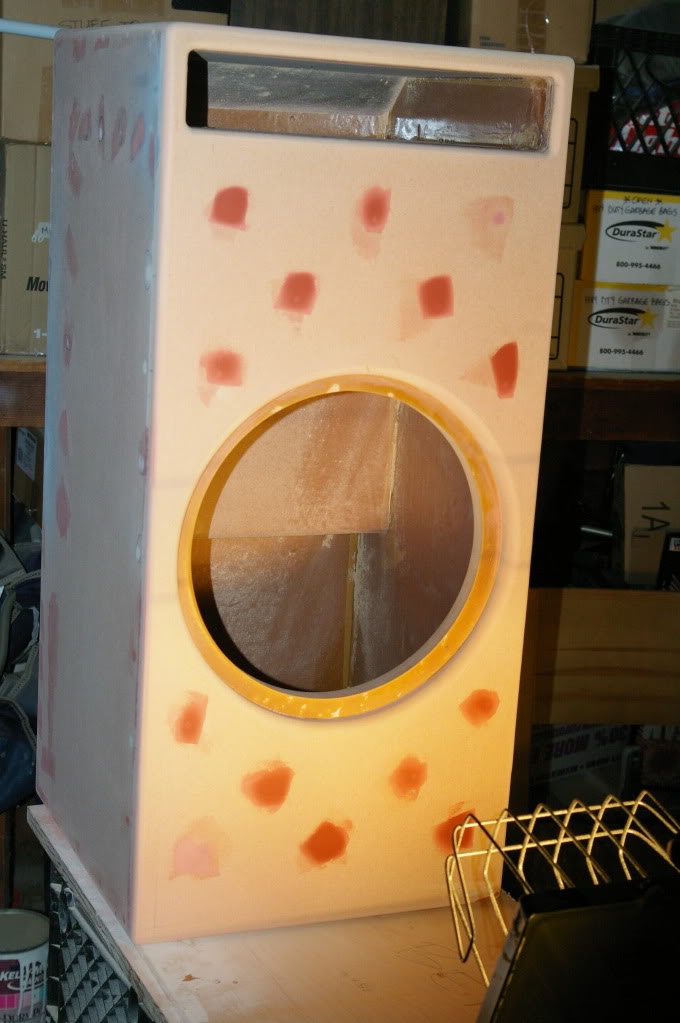
Hopefully I can get some primer on it tomorrow night
Here'* what I call the "flush baffle", I drilled a hole in each corner of where the port opening needed to be and took a jigsaw to it for the "rough cut".
Then I poured the 45'*
Shortly after doing the 45'* I realized I wasn't gonna be able to paint the port red like I wanted. I was kinda bummed but it is what it is...the look of the resin isn't too bad so it'* gonna have to do. Once the 45'* were done I glued and screwed both baffles in place and let that sit overnight. Last night I did the last little bit of resin work, laying down a coat or two in the port opening. Ever since then I've been removing screws, filling holes, sanding, filling holes again, sanding, tedious work this sanding stuff. Finally, today I was able to get the roundovers done....still working on getting the holes filled in nicely and sanded to a smooth finish. I thought this would be the easiest part of the build....haha, not so much. Well, this is the box as it sits now, trying to speed up the drying process of the spot putty with my worklight.
Hopefully I can get some primer on it tomorrow night
02-01-2011, 12:49 AM
#48
Senior Member
Posts like a Turbo
Thread Starter
Join Date: Jul 2010
Location: Sacramento, CA.
Posts: 326
Likes: 0
Received 0 Likes
on
0 Posts
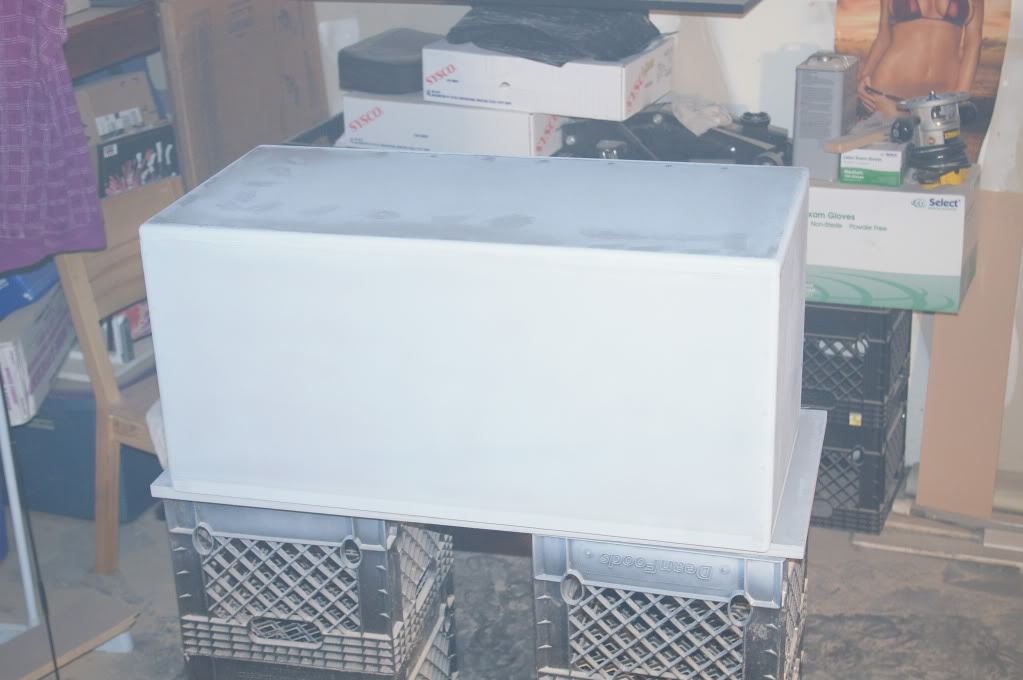
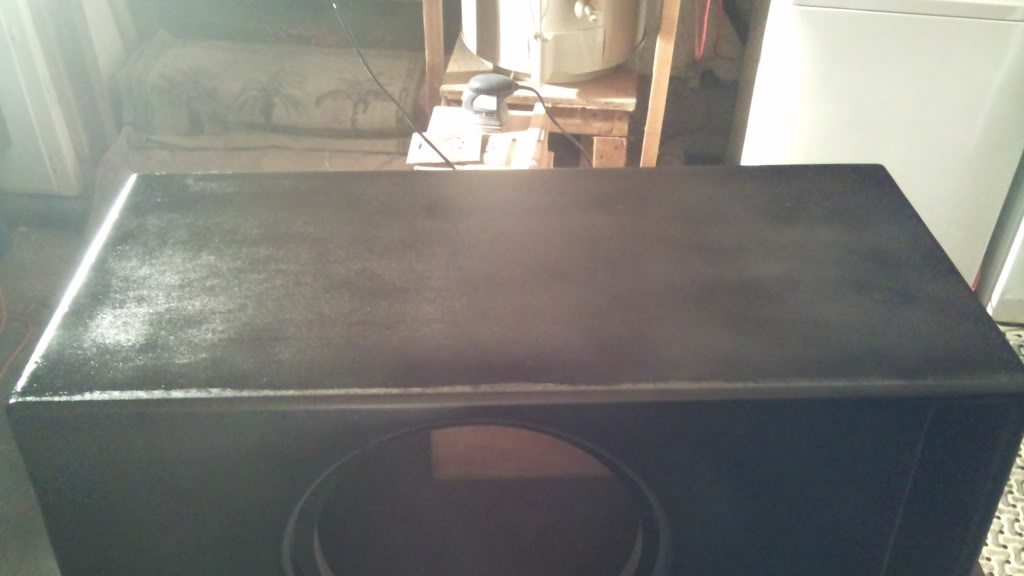
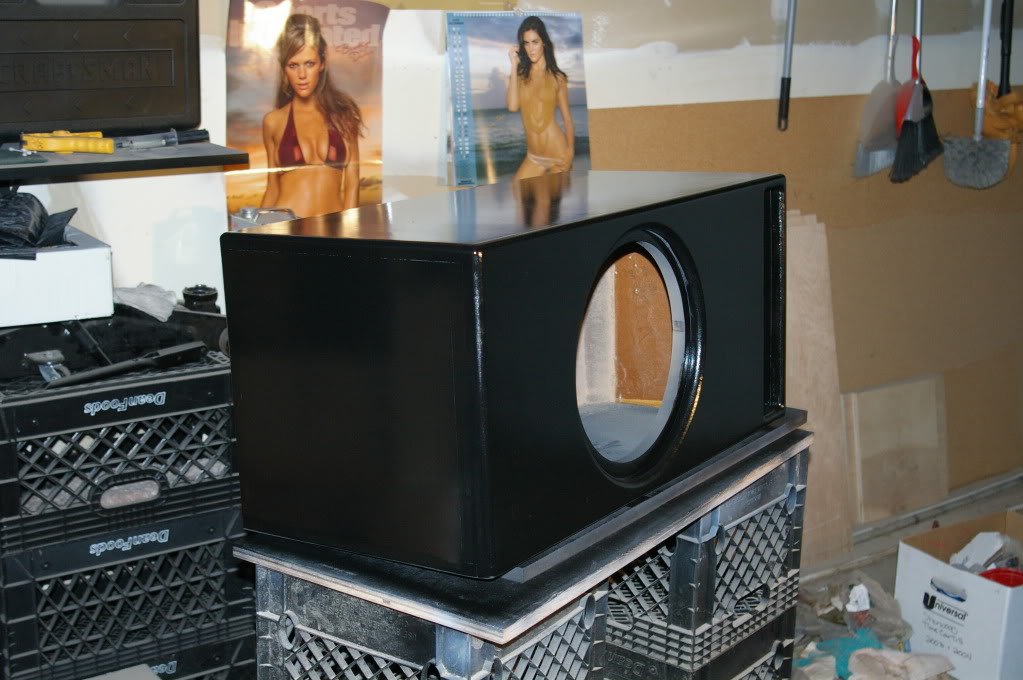
I have only a couple pics of tonights work, which was sanding down the filled holes on the baffle and spraying two cans of primer....i'm gonna do a little sanding tomorrow and lay down another can of primer, mainly on the edges. If everything goes right, I should be applying color by Wednesday
02-03-2011, 10:18 AM
#49
Senior Member
Posts like a Turbo
Thread Starter
Join Date: Jul 2010
Location: Sacramento, CA.
Posts: 326
Likes: 0
Received 0 Likes
on
0 Posts
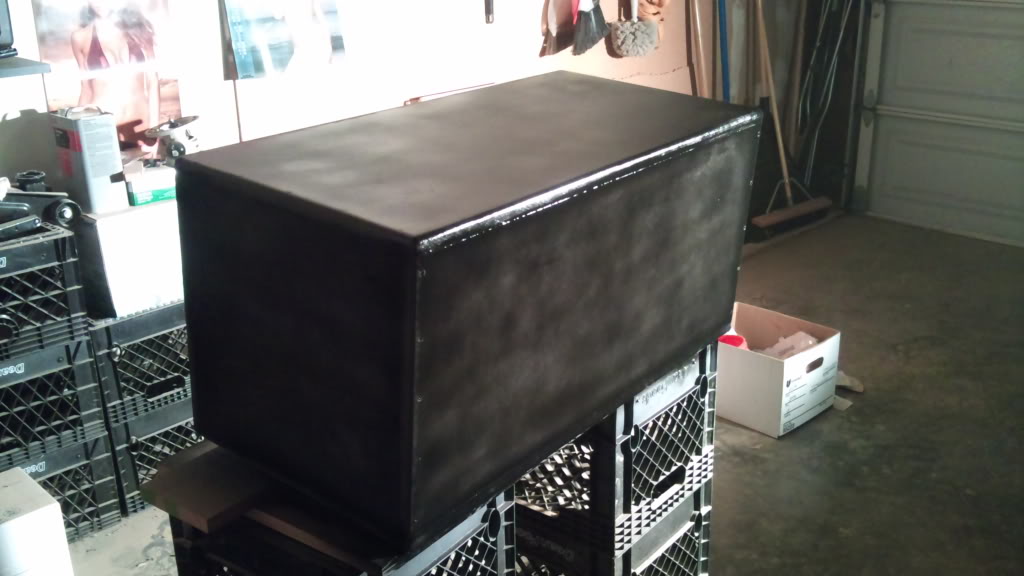
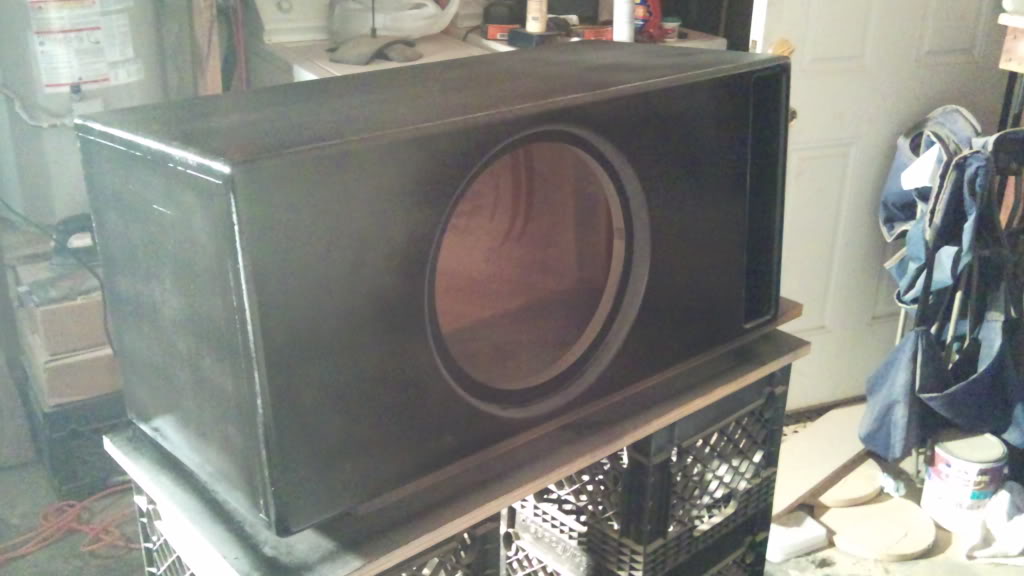
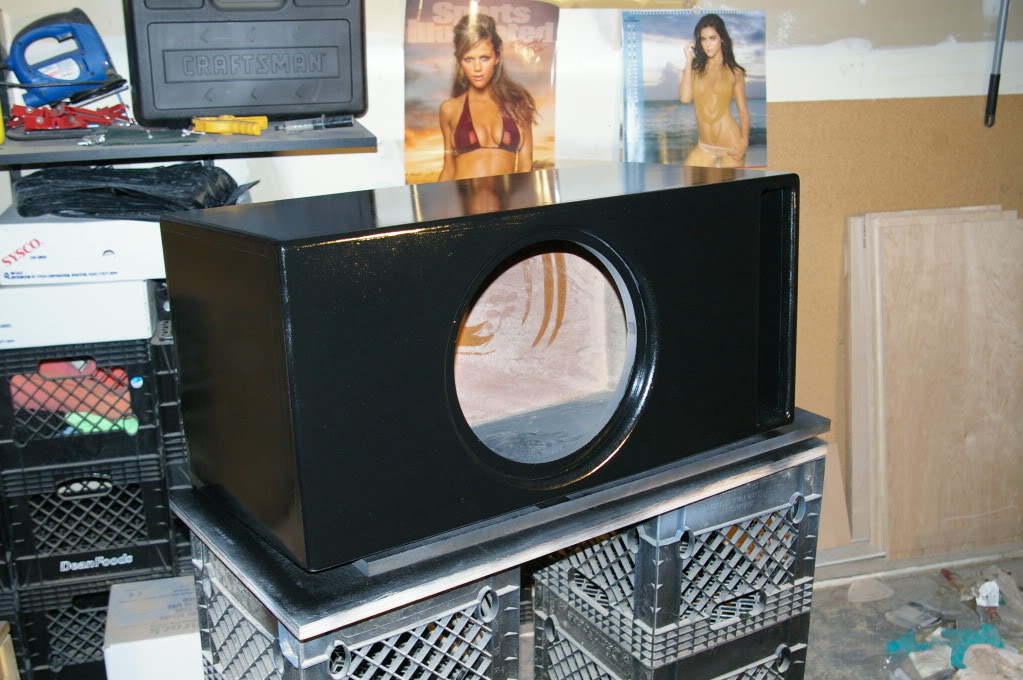
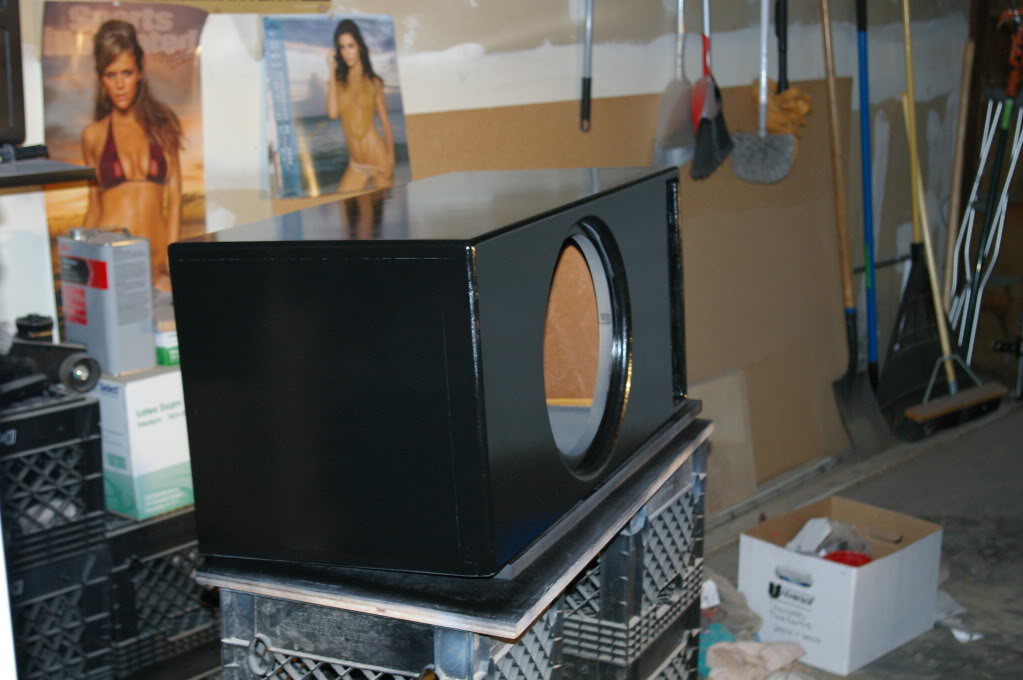
Man, this box has been a challenge, but a learning experience as well. Finally got some color on it but ran into a problem when the raw edges wouldn't take the color very well no matter how heavy I sprayed them. They just kept soaking up the paint. So I decided to try a little trick to seal them up and get the color to take.....I applied a thin layer of glue to all the raw edges. It was a shot in the dark but I took a chance and it paid off. After getting such good results from that I went ahead and laid down another 3 coats of color so for all intents and purposes, this box is done! All that I gotta do now is install the bolts (speaker terminals) and the sub and i'm finito!


02-03-2011, 11:58 AM
#50
Administratus Emeritus

Certified Car Nut
Looking Great Rich!. Don't we all learn as we do things like this. I'd like to cull your posts and pics/and host the write up in our Tech/Audio when it'* finished. Good project, and great man, Man.