Water water everywhere
 01-09-2007, 08:01 PM
#41
Senior Member
Posts like a Northstar
Thread Starter

Join Date: Dec 2006
Location: Niagara Region, ON, Canada
Posts: 635
Likes: 0
Received 0 Likes
on
0 Posts

Hi folks,
First of all, maybe someone could fix my links again like above? Thanks.
Got her back together today.
My boss was kind enough to give me the afternoon off so I could get her done.
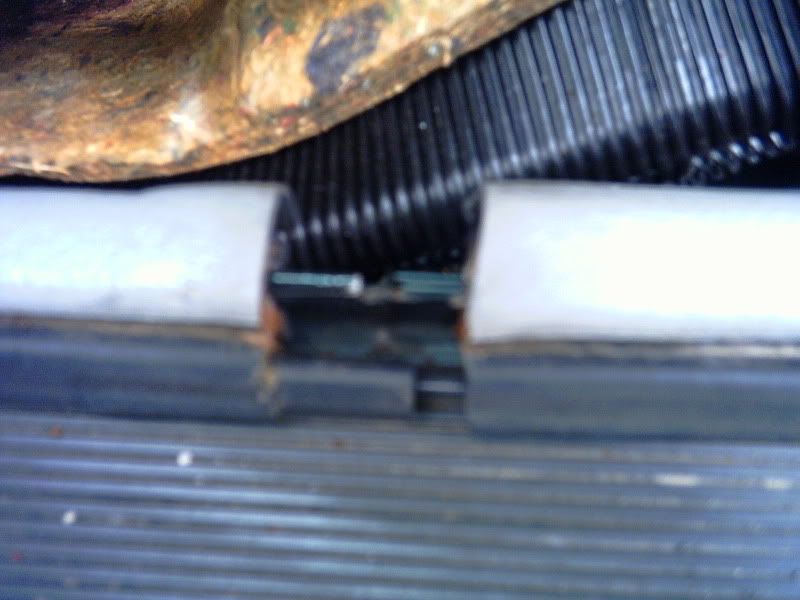
So the first thing was to cut the weatherstripping from the junk yard to fill in the gaps from re-fitting.
http://i114.photobucket.com/albums/n...0/PICT0019.jpg
Unfortunately my digital camera decided to delete that finished pic, but Bill Buttermore'* picture on page 1 gives you the idea of how it should look when fixed.
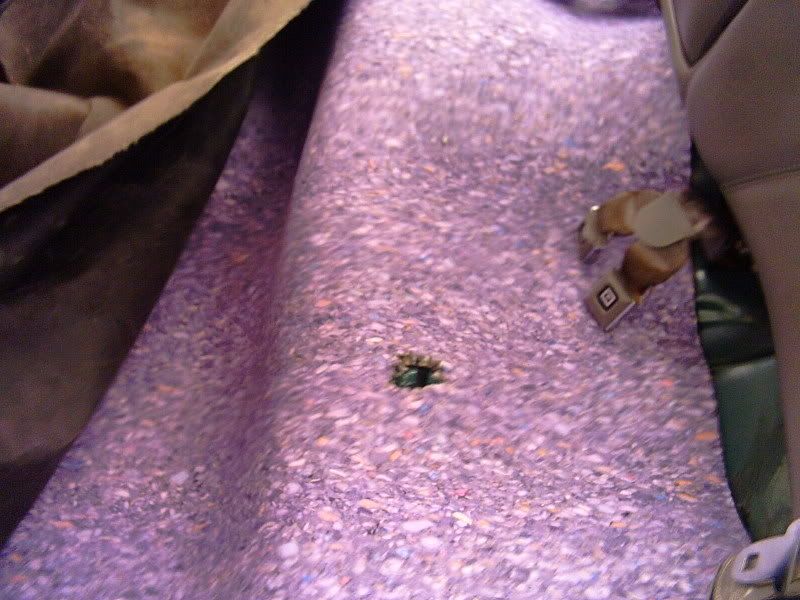
Next thing, was to move the front seats all the way forward, and cut the new underpad to fit:
http://i114.photobucket.com/albums/n...0/PICT0014.jpg
Dig that crazy purple colour?
I added a piece for under the back seat that was a bit easier to work with, so I could cut around the seat belts, and the hold downs for the back seat.
This pad is thicker than the original. The rear passengers should enjoy sinking there toes in it!
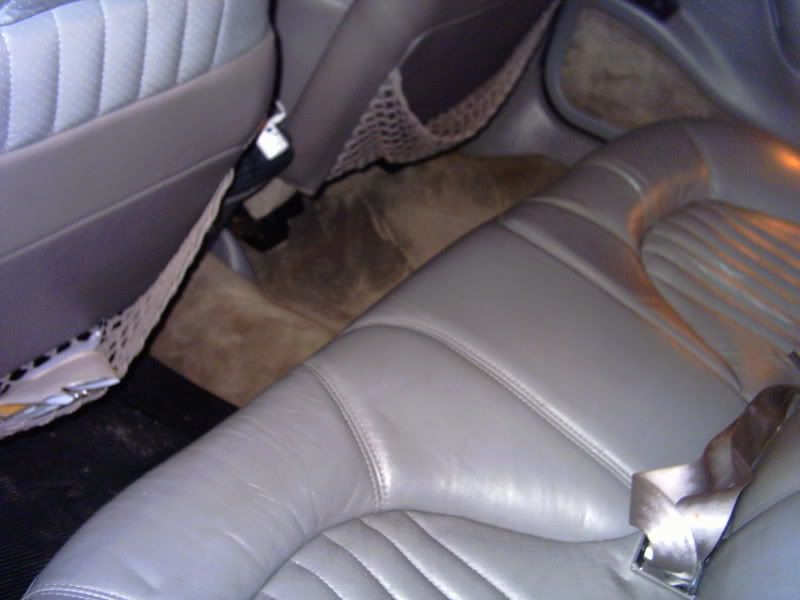
Now onto final assembly. I re-installed the holy sh*t handle, the rear trim panels (make sure you stretch the weather stripping back over this panel for a proper fit.
Finally, I put the carpet back in place under the rear trim, and clipped it all back together. Last thing was to replace the back seat which has been sunbathing on my back porch for a couple of days.
It was tough to put back in place, due to the thicker padding. A straight screwdriver was of great assistance to align the pins properly.
Here we are:
http://i114.photobucket.com/albums/n...rcompleted.jpg
After taking the car for a spin, I have been rewarded with a much quiter riding car. The wind noise has been reduced thanks to the re-fitted weatherstripping, and road noise has been reduced thanks to the thicker underpad.
Thanks to all for your encouragement and advice during this not-so-enjoyable project. Hopefully I can focus on more pressing issues now, like performance enhancements!
That'll learn those turtles for trying to move in!
Cheers!
Adam
First of all, maybe someone could fix my links again like above? Thanks.
Got her back together today.
My boss was kind enough to give me the afternoon off so I could get her done.
So the first thing was to cut the weatherstripping from the junk yard to fill in the gaps from re-fitting.
http://i114.photobucket.com/albums/n...0/PICT0019.jpg
Unfortunately my digital camera decided to delete that finished pic, but Bill Buttermore'* picture on page 1 gives you the idea of how it should look when fixed.
Next thing, was to move the front seats all the way forward, and cut the new underpad to fit:
http://i114.photobucket.com/albums/n...0/PICT0014.jpg
Dig that crazy purple colour?
I added a piece for under the back seat that was a bit easier to work with, so I could cut around the seat belts, and the hold downs for the back seat.
This pad is thicker than the original. The rear passengers should enjoy sinking there toes in it!
Now onto final assembly. I re-installed the holy sh*t handle, the rear trim panels (make sure you stretch the weather stripping back over this panel for a proper fit.
Finally, I put the carpet back in place under the rear trim, and clipped it all back together. Last thing was to replace the back seat which has been sunbathing on my back porch for a couple of days.
It was tough to put back in place, due to the thicker padding. A straight screwdriver was of great assistance to align the pins properly.
Here we are:
http://i114.photobucket.com/albums/n...rcompleted.jpg
After taking the car for a spin, I have been rewarded with a much quiter riding car. The wind noise has been reduced thanks to the re-fitted weatherstripping, and road noise has been reduced thanks to the thicker underpad.
Thanks to all for your encouragement and advice during this not-so-enjoyable project. Hopefully I can focus on more pressing issues now, like performance enhancements!
That'll learn those turtles for trying to move in!
Cheers!
Adam
 01-09-2007, 11:20 PM
#42
Junior Member
Posts like a Ricer Type-R

Adam, use the buttons above your 'posting' window that say IMG. Click it once, paste your image location, then click it again.
[img] image url [/img] is what it looks like when you type. When you post, it'll display the image. Try editing your post this way.
[img] image url [/img] is what it looks like when you type. When you post, it'll display the image. Try editing your post this way.
01-10-2007, 06:55 AM
#43
DINOSAURUS BOOSTUS


Expert Gearhead

Originally Posted by labonnevillastrangiato
Hi folks,
First of all, maybe someone could fix my links again like above? Thanks.
Got her back together today.
My boss was kind enough to give me the afternoon off so I could get her done.
So the first thing was to cut the weatherstripping from the junk yard to fill in the gaps from re-fitting.
 Unfortunately my digital camera decided to delete that finished pic, but Bill Buttermore'* picture on page 1 gives you the idea of how it should look when fixed.
Next thing, was to move the front seats all the way forward, and cut the new underpad to fit:
Dig that crazy purple colour?
I added a piece for under the back seat that was a bit easier to work with, so I could cut around the seat belts, and the hold downs for the back seat.
This pad is thicker than the original. The rear passengers should enjoy sinking there toes in it!
Now onto final assembly. I re-installed the holy sh*t handle, the rear trim panels (make sure you stretch the weather stripping back over this panel for a proper fit.
Finally, I put the carpet back in place under the rear trim, and clipped it all back together. Last thing was to replace the back seat which has been sunbathing on my back porch for a couple of days.
It was tough to put back in place, due to the thicker padding. A straight screwdriver was of great assistance to align the pins properly.
Here we are:
After taking the car for a spin, I have been rewarded with a much quiter riding car. The wind noise has been reduced thanks to the re-fitted weatherstripping, and road noise has been reduced thanks to the thicker underpad.
Thanks to all for your encouragement and advice during this not-so-enjoyable project. Hopefully I can focus on more pressing issues now, like performance enhancements!
That'll learn those turtles for trying to move in!
Cheers!
Adam
First of all, maybe someone could fix my links again like above? Thanks.
Got her back together today.
My boss was kind enough to give me the afternoon off so I could get her done.
So the first thing was to cut the weatherstripping from the junk yard to fill in the gaps from re-fitting.
Unfortunately my digital camera decided to delete that finished pic, but Bill Buttermore'* picture on page 1 gives you the idea of how it should look when fixed.Next thing, was to move the front seats all the way forward, and cut the new underpad to fit:
Dig that crazy purple colour?
I added a piece for under the back seat that was a bit easier to work with, so I could cut around the seat belts, and the hold downs for the back seat.
This pad is thicker than the original. The rear passengers should enjoy sinking there toes in it!
Now onto final assembly. I re-installed the holy sh*t handle, the rear trim panels (make sure you stretch the weather stripping back over this panel for a proper fit.
Finally, I put the carpet back in place under the rear trim, and clipped it all back together. Last thing was to replace the back seat which has been sunbathing on my back porch for a couple of days.
It was tough to put back in place, due to the thicker padding. A straight screwdriver was of great assistance to align the pins properly.
Here we are:
After taking the car for a spin, I have been rewarded with a much quiter riding car. The wind noise has been reduced thanks to the re-fitted weatherstripping, and road noise has been reduced thanks to the thicker underpad.
Thanks to all for your encouragement and advice during this not-so-enjoyable project. Hopefully I can focus on more pressing issues now, like performance enhancements!
That'll learn those turtles for trying to move in!
Cheers!
Adam
01-10-2007, 09:22 AM
#45
Senior Member
Certified Car Nut

Join Date: Jul 2003
Location: Robbinsdale, MN
Posts: 15,408
Likes: 0
Received 0 Likes
on
0 Posts
Hit the Quote button on one of the posts with good pics, and you can see how the code looks.
Just don't hit submit when you're done studying...
Just don't hit submit when you're done studying...
01-11-2007, 06:40 PM
#46
Junior Member
Posts like a Ricer Type-R

Join Date: Jan 2007
Location: Florence, Kentucky
Posts: 23
Likes: 0
Received 0 Likes
on
0 Posts
Well guys I just got outta the trunk. My brother in law was working the hose while i was inside. he ran water for about 15 minutes and never say a drop come in. when i got out of the trunk and left the lid open and started running the hose again. Thats when I saw it. My tail lights were filling up with water and running out into my trunk. So I took them off and gonna caulk em. I also discovered that this is the same source for the water under my back seat. My trunk got so full of water it would eventually start runing from the trunk to the backseat. Thanks again for your help everyone.

Thread
Thread Starter
Forum
Replies
Last Post