1995 R&R Left drive axle
 12-16-2010, 08:06 AM
#1
Member
Posts like a V-Tak
Thread Starter

Join Date: Dec 2010
Posts: 39
Likes: 0
Received 0 Likes
on
0 Posts

I want to remove and replace the left drive axle.
I have the GM factory service manual, and I know I will have to remove the hub and bearing assembly. But I have a some issues about removing the axle.
1) I don't know how to separate the ball joint. The manual calls for use of the special ball joint separator J-36226, which I don't have and which costs $200. The manual warns that the ball joint will be damaged if it is done any other way. Should I leave the ball joint alone and remove the big bolts from the hinge of the control arm? I think that way I could pull the control arm outward and move the knuckle out of the way enough to clear the end of the axle. Would this be a bad approach? If I rotate the control arm outward, pivoting around the ball joint, will I tear up the boot of the ball joint?
2) To pull the drive axle out of the transaxle, the manual calls for use of a slide hammer and an adapter J-33008 to fix the hammer to the inner CV joint housing. Apparently this is to overcome a retaining ring. What is a good way to do this without the hammer and adapter?
None of the local parts stores seem to have the above-mentioned special tools to lend.
Thanks!
----------------------------
1995 Park Avenue Ultra, 160,000 miles, 4T60-E transaxle, L67
 12-16-2010, 08:22 AM
#2
DINOSAURUS BOOSTUS


Expert Gearhead

I'm pretty sure this is documented in the how to ... but the hub doesn't have to come off. That'* GM'* way of taking longer to do a repair.
Unbolt the sway bar end link.
Remove the 34/36mm axle nut and tap the end of the axle to free it from the hub splines
Remove the cotter pin and nut from the balljoint
Unbolt the brake line where it'* held to the body with a 10mm bolt in the wheel well
Prying down and hitting the balljoint on the non-zerk side. This jars the joint and frees it up. I use a 4 foot prybar over the control arm, under the axle and then under the body.
Once the joint is apart, you can pull out and back on the caliper with one hand and reach in to pull the axle out of the hub with the other. Then pop it out of the trans and you have the axle out.
12-16-2010, 08:41 AM
#3
DINOSAURUS BOOSTUS
Expert Gearhead
Ohhh man. It'* in a pb album called Axles Removal. I tell you guys..I got nearly everything.
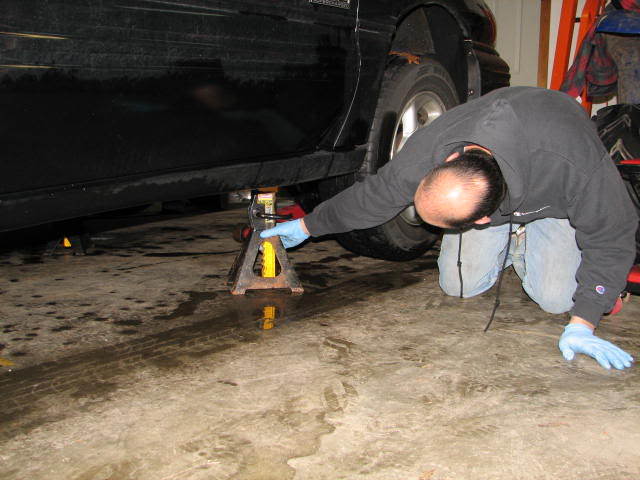
Jack and support the car.
Zip the tire out of the way
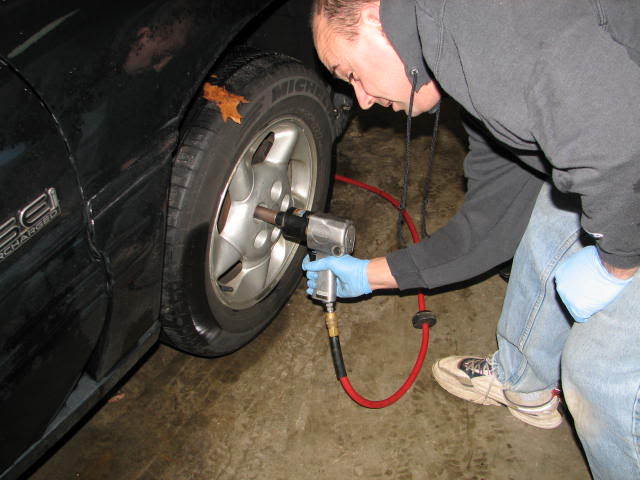
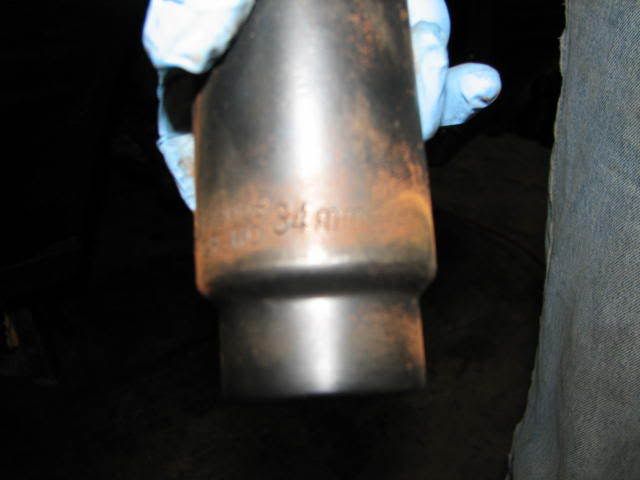
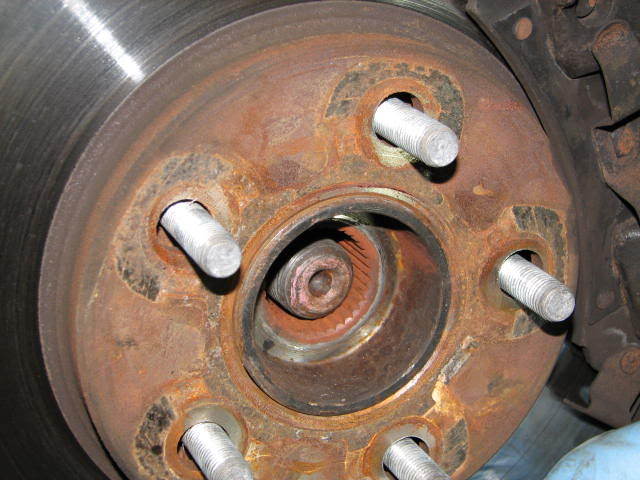
34mm socket for Bonneville axle nuts, remove axle nut
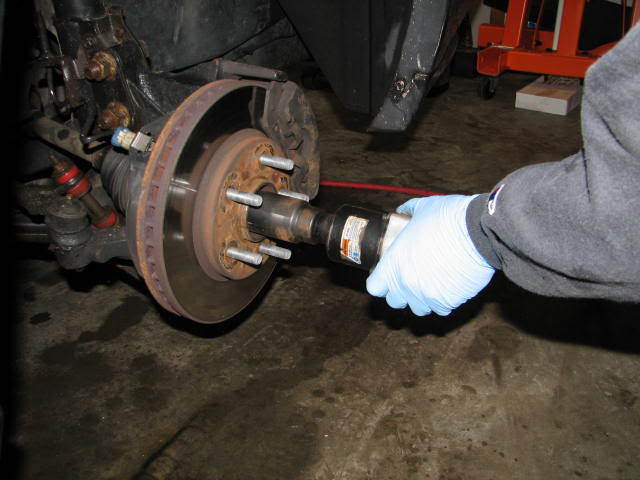
Thread nut back on so it'* flush with the end of the axle. This way when you hit it, the threads on the axle do not become hurt. Hit until you see axle move inward. This is to free it from the tapered splines of the hub/bearing.

Remove cotter pin from the castle nut on the balljoint
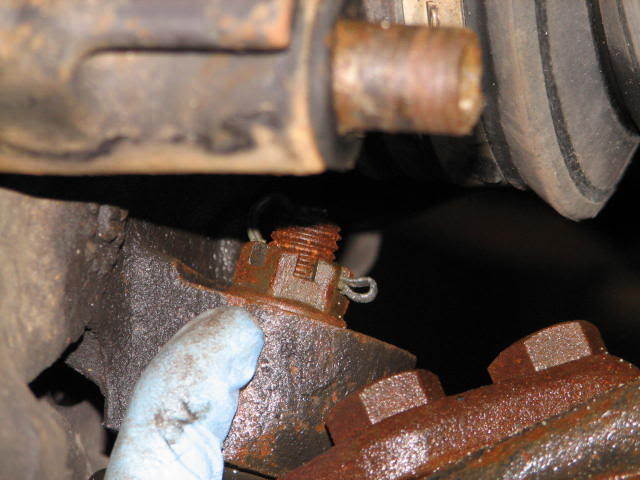
Using your 18mm wrench remove the castle nut from the balljoint
If the nut won't come out.. do your best to have it fully loosened.
Undo your endlink to facilitate the control arm moving.
Unbolt the brake like from the body.
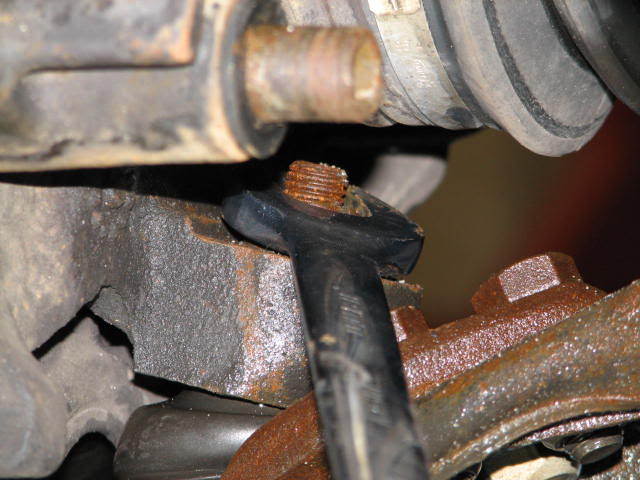
Bring in a 4-5 foot prybar (I use my steel floor jack handle) from by the front bumper where the wheel well meets it toward the body between the body edge and subframe bolts. Slide it under the axle and over the control arm.
Pry down. It helps to have a helper. At the same time as the prying, hit the balljoing on the side (not where the grease zerk is, other side ) and after a few hits the ball joint will come free from the knuckle. Move the strut/knuckle behind the ball joint before letting the control arm back up.
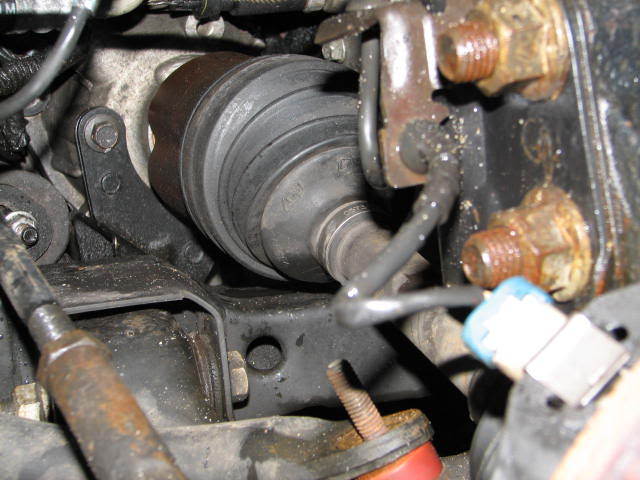
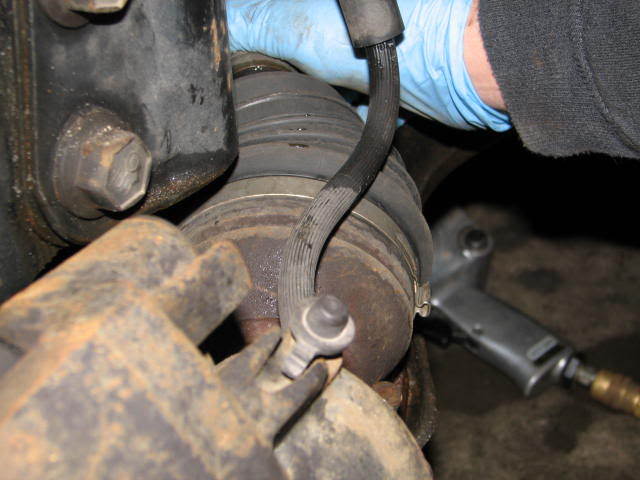
I like to sit/kneel facing the hub. My hand that is closer to the rear of the vehicle grabs the caliper and pulls outward and toward the rear of the vehicle. At the same time, the hand that is closer to the front of the car reaches around and cups the CV between the hub an the outter CV joint. Pushing backward on the CV and outward and back on the knuckle you pull the axle out of the hub and then lay it on the control arm. Pics for this part are poor because I was basically blocking all the shots with my body to do the work.
I moved my hand off the CV for a second for this shot. My hand was between the hub and the outter boot of the CV.
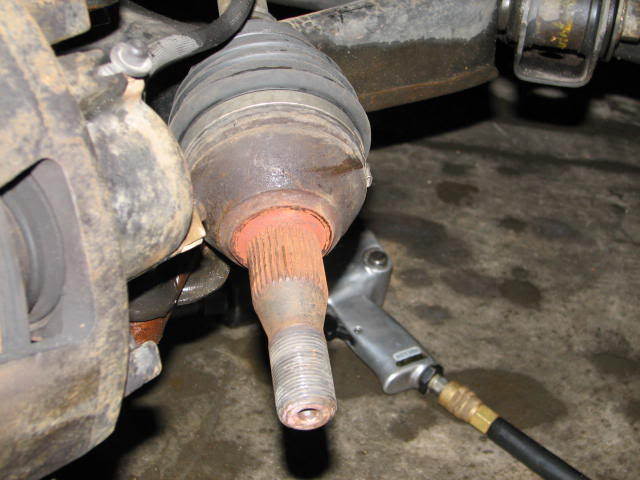
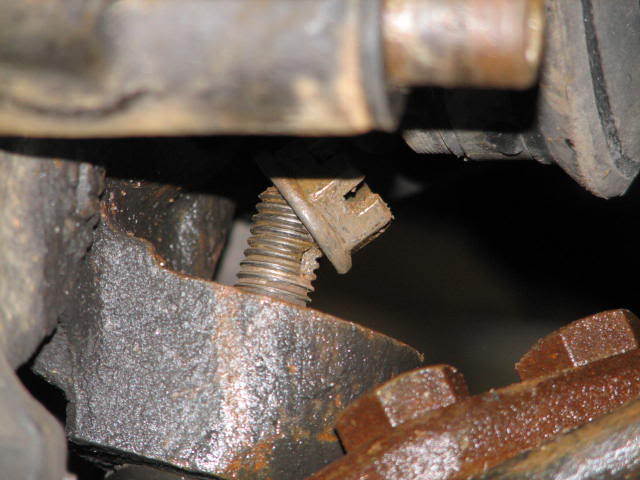
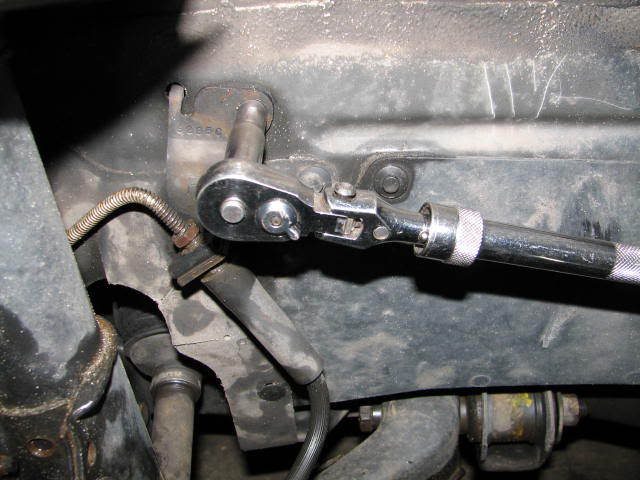
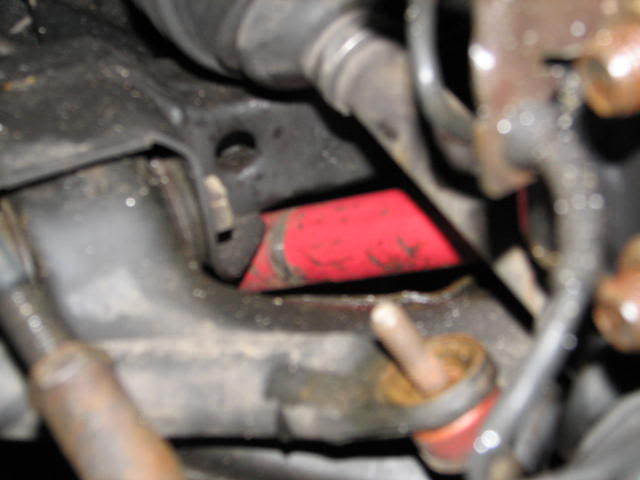
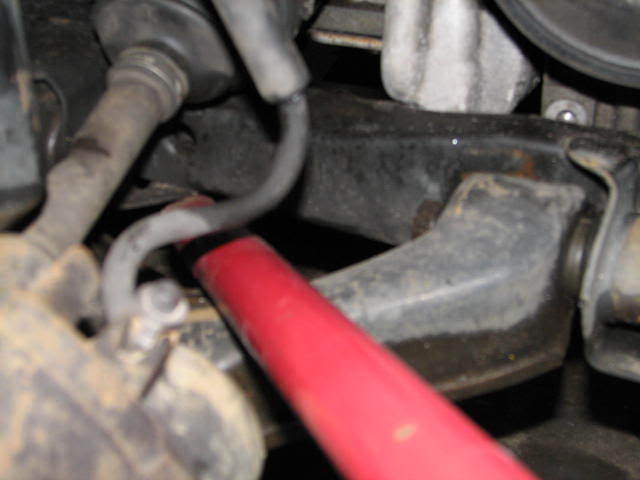
Crawl under and use a prybar etc (usually I use a block of wood and hammer on the pass side and prybar on driverside). to give the CV a quick pop like hit from the back. If you put tension on it the clip will hold it in. A quick pop is what is needed to remove it. Here we have the prybar in place.

And the axle is out.
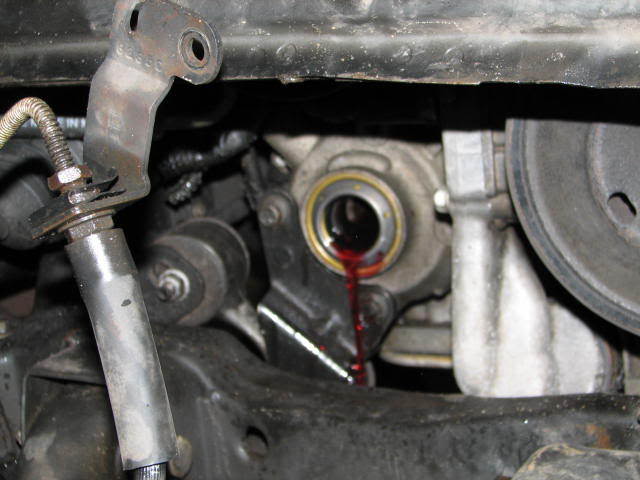
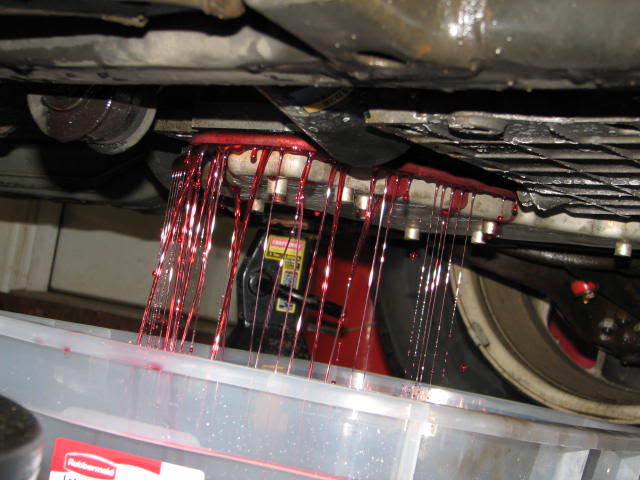
You may notice that somebody forgot that the axle seals, seal the axles from leaking trans fluid because the level of fluid is above them.")

That someone then got under the car and drained the trans.
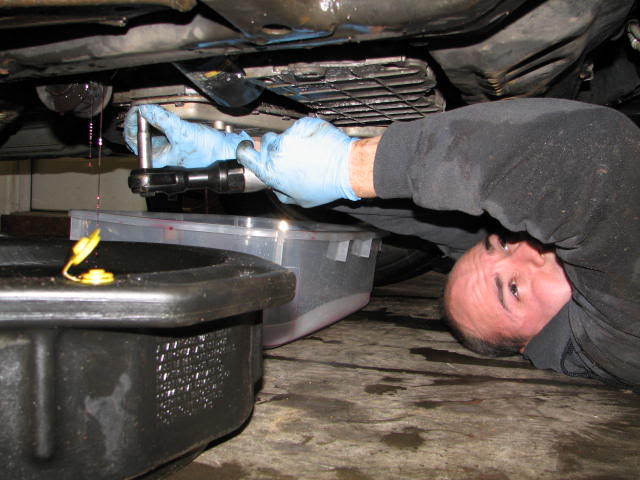
Technically this step should be before now. For anyone wondering $5 Steralite or Rubbermaid from Walmarts storage section.
Hope this helps.... feel free to turn this post into a write up .. I'm probaby off to bed soon.
Jack and support the car.
Zip the tire out of the way
34mm socket for Bonneville axle nuts, remove axle nut
Thread nut back on so it'* flush with the end of the axle. This way when you hit it, the threads on the axle do not become hurt. Hit until you see axle move inward. This is to free it from the tapered splines of the hub/bearing.
Remove cotter pin from the castle nut on the balljoint
Using your 18mm wrench remove the castle nut from the balljoint
If the nut won't come out.. do your best to have it fully loosened.
Undo your endlink to facilitate the control arm moving.
Unbolt the brake like from the body.
Bring in a 4-5 foot prybar (I use my steel floor jack handle) from by the front bumper where the wheel well meets it toward the body between the body edge and subframe bolts. Slide it under the axle and over the control arm.
Pry down. It helps to have a helper. At the same time as the prying, hit the balljoing on the side (not where the grease zerk is, other side
) and after a few hits the ball joint will come free from the knuckle. Move the strut/knuckle behind the ball joint before letting the control arm back up.I like to sit/kneel facing the hub. My hand that is closer to the rear of the vehicle grabs the caliper and pulls outward and toward the rear of the vehicle. At the same time, the hand that is closer to the front of the car reaches around and cups the CV between the hub an the outter CV joint. Pushing backward on the CV and outward and back on the knuckle you pull the axle out of the hub and then lay it on the control arm. Pics for this part are poor because I was basically blocking all the shots with my body to do the work.
I moved my hand off the CV for a second for this shot. My hand was between the hub and the outter boot of the CV.
Crawl under and use a prybar etc (usually I use a block of wood and hammer on the pass side and prybar on driverside). to give the CV a quick pop like hit from the back. If you put tension on it the clip will hold it in. A quick pop is what is needed to remove it. Here we have the prybar in place.
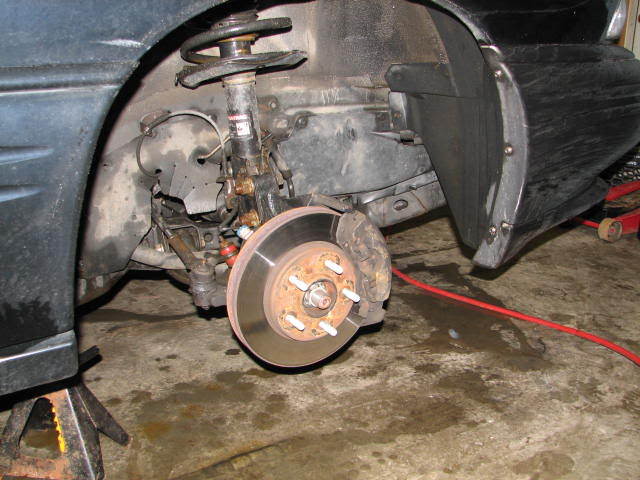
And the axle is out.
You may notice that somebody forgot that the axle seals, seal the axles from leaking trans fluid because the level of fluid is above them.
That someone then got under the car and drained the trans.
Technically this step should be before now.
For anyone wondering $5 Steralite or Rubbermaid from Walmarts storage section. Hope this helps.... feel free to turn this post into a write up .. I'm probaby off to bed soon.
 12-16-2010, 12:04 PM
#6
Senior Member

True Car Nut
here is my write up just for some extra help..watching the video inside will show you how to put everything back together https://www.gmforum.com/mechanical-134/axel-replacement-94-bonneville-se-296711/
12-16-2010, 12:09 PM
#7
Member
Posts like a V-Tak
Thread Starter
Join Date: Dec 2010
Posts: 39
Likes: 0
Received 0 Likes
on
0 Posts
Thanks for the procedure and the nice photos. I am kind of a beginner, and I'm not sure how well your work translates to my '95 Park Ave Ultra. My '95 GM manual covers Bonneville, LeSabre, Olds 88, and Olds 98.
I should have mentioned that the bearing on that wheel (left) is bad, so I will be removing that part anyway.
You may have answered my question about getting the drive axle assembly loose from the transaxle. You say to pop it out by whacking a small prybar placed between the joint housing and the transaxle case. You were working on the right side. Will the technique work just as well on the left side?
12-16-2010, 12:13 PM
#8
Senior Member
True Car Nut
it will work all the same on either side...if you take a look at the link i posted that was the axel replacement on the drivers side...All these cars are set up the same in that sense both showings will translate right to your PA..
12-16-2010, 12:28 PM
#9
Member
Posts like a V-Tak
Thread Starter
Join Date: Dec 2010
Posts: 39
Likes: 0
Received 0 Likes
on
0 Posts
Thanks.
You wrote: "when free out of the hub push it as far in as you can to release the lock ring and it should pull right out..you may have to get behind it and pry a little"
So pushing the axle assembly into the trans somehow releases the lock ring? Can you say some more about that?
You wrote: "when free out of the hub push it as far in as you can to release the lock ring and it should pull right out..you may have to get behind it and pry a little"
So pushing the axle assembly into the trans somehow releases the lock ring? Can you say some more about that?
12-16-2010, 12:44 PM
#10
Senior Member
True Car Nut
Thats really all there is to it..you more than likely won't even feel it move but usually just a quick umph toward the trans will do it..and if it doesnt slide right out youll just have to pry it out(the axel like in the above pics bill has a pic of such)